
I’m still working like mad to get ready for the upcoming June 2nd Vintage Market. It’s been crazy around here trying get ready in such a short period of time. I’m very excited to go though, and hope all the hard work pays off.
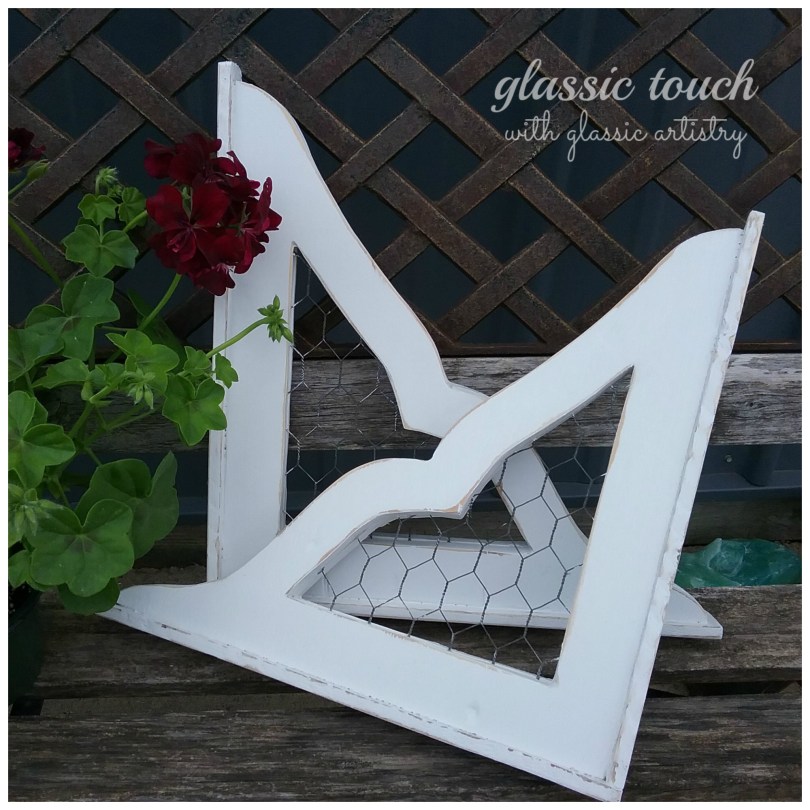
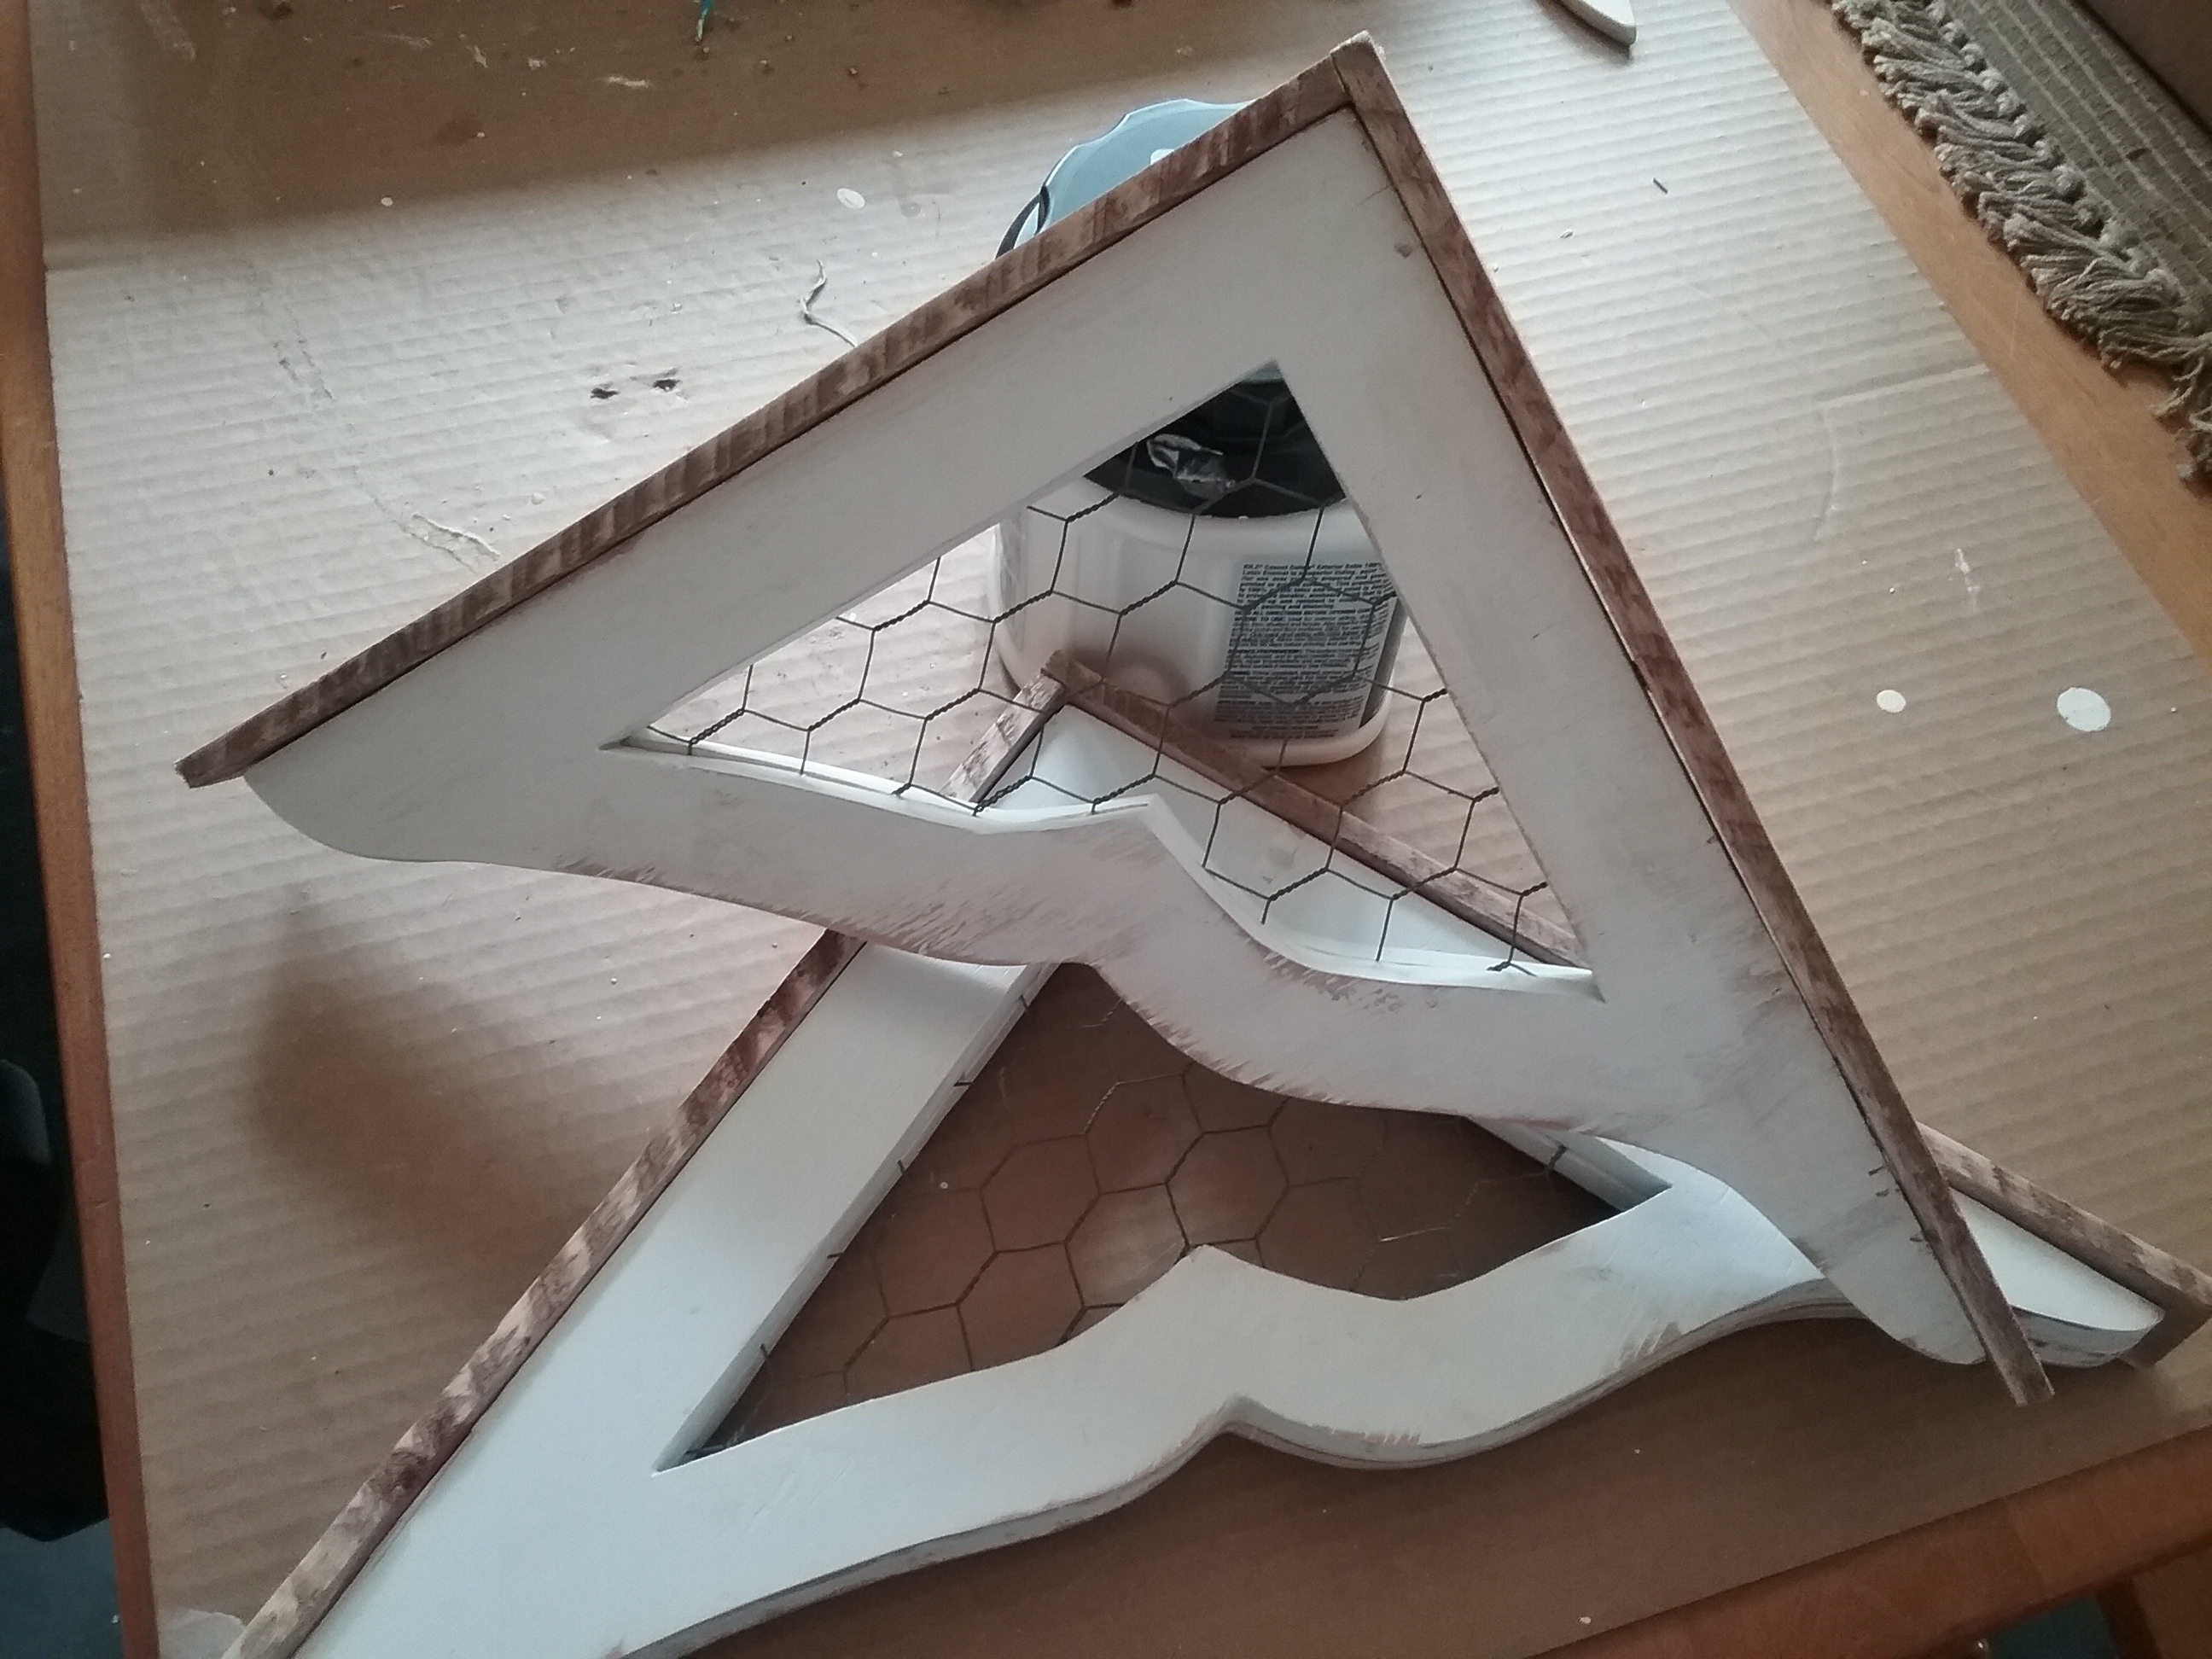
I came up with a new bracket idea to take to the market, and also offer in varied sizes and designs, in my shop “out behind the house” this summer. Chicken wire inserts were added to give them just the right touch for some fun vintage farmstyle/country decorating. They take a little time, but I think they are worth the effort.
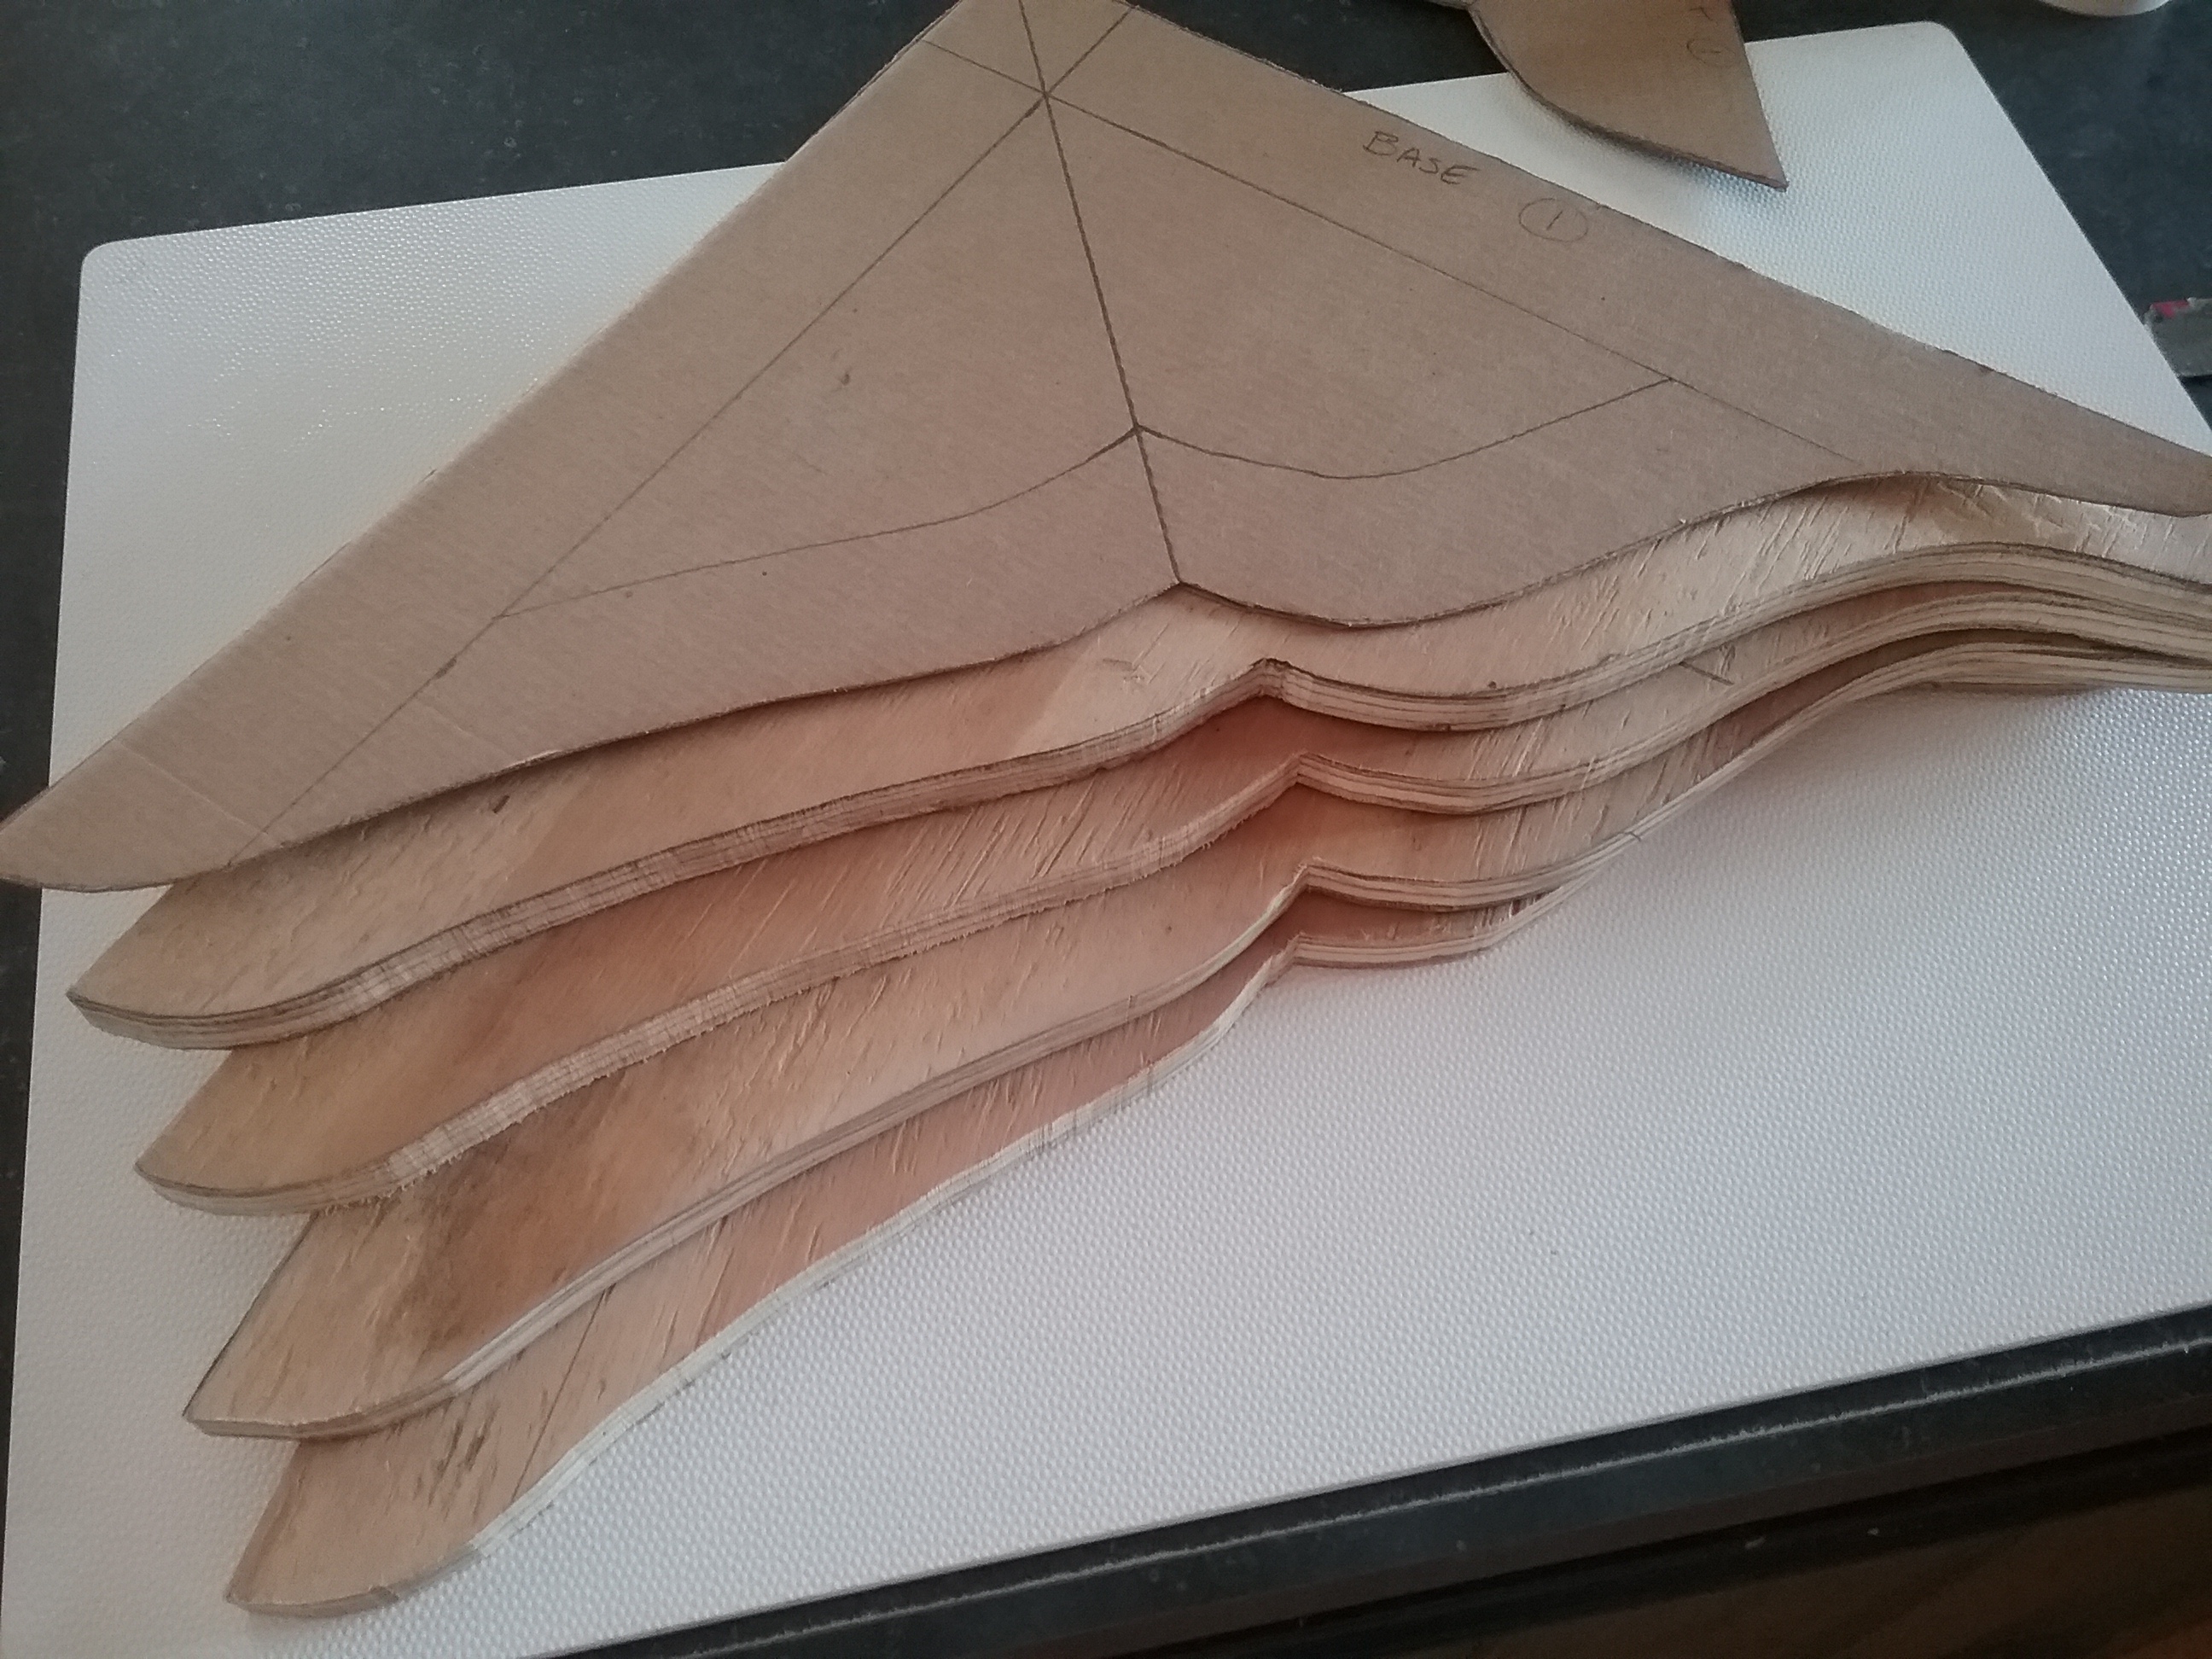
I traced my bracket pattern on to 1/2″ plywood. The plywood was only finished on one side, so the pattern was traced 2 face up, 2 face down, making sure the grain was running the same direction on all, then cut out with a scroll or band saw.

The insert pattern was centered and traced on each bracket.

Drill several large holes inside the drawn lines of the insert tracing. Cut the insert openings out with a scroll saw. I found it easier to connect some of the holes first, removing small chunks of wood from the center, then get a clean cut on the traced lines.

Sand to smooth all the rough edges before painting with exterior primer and paint so they can be used indoors or out.
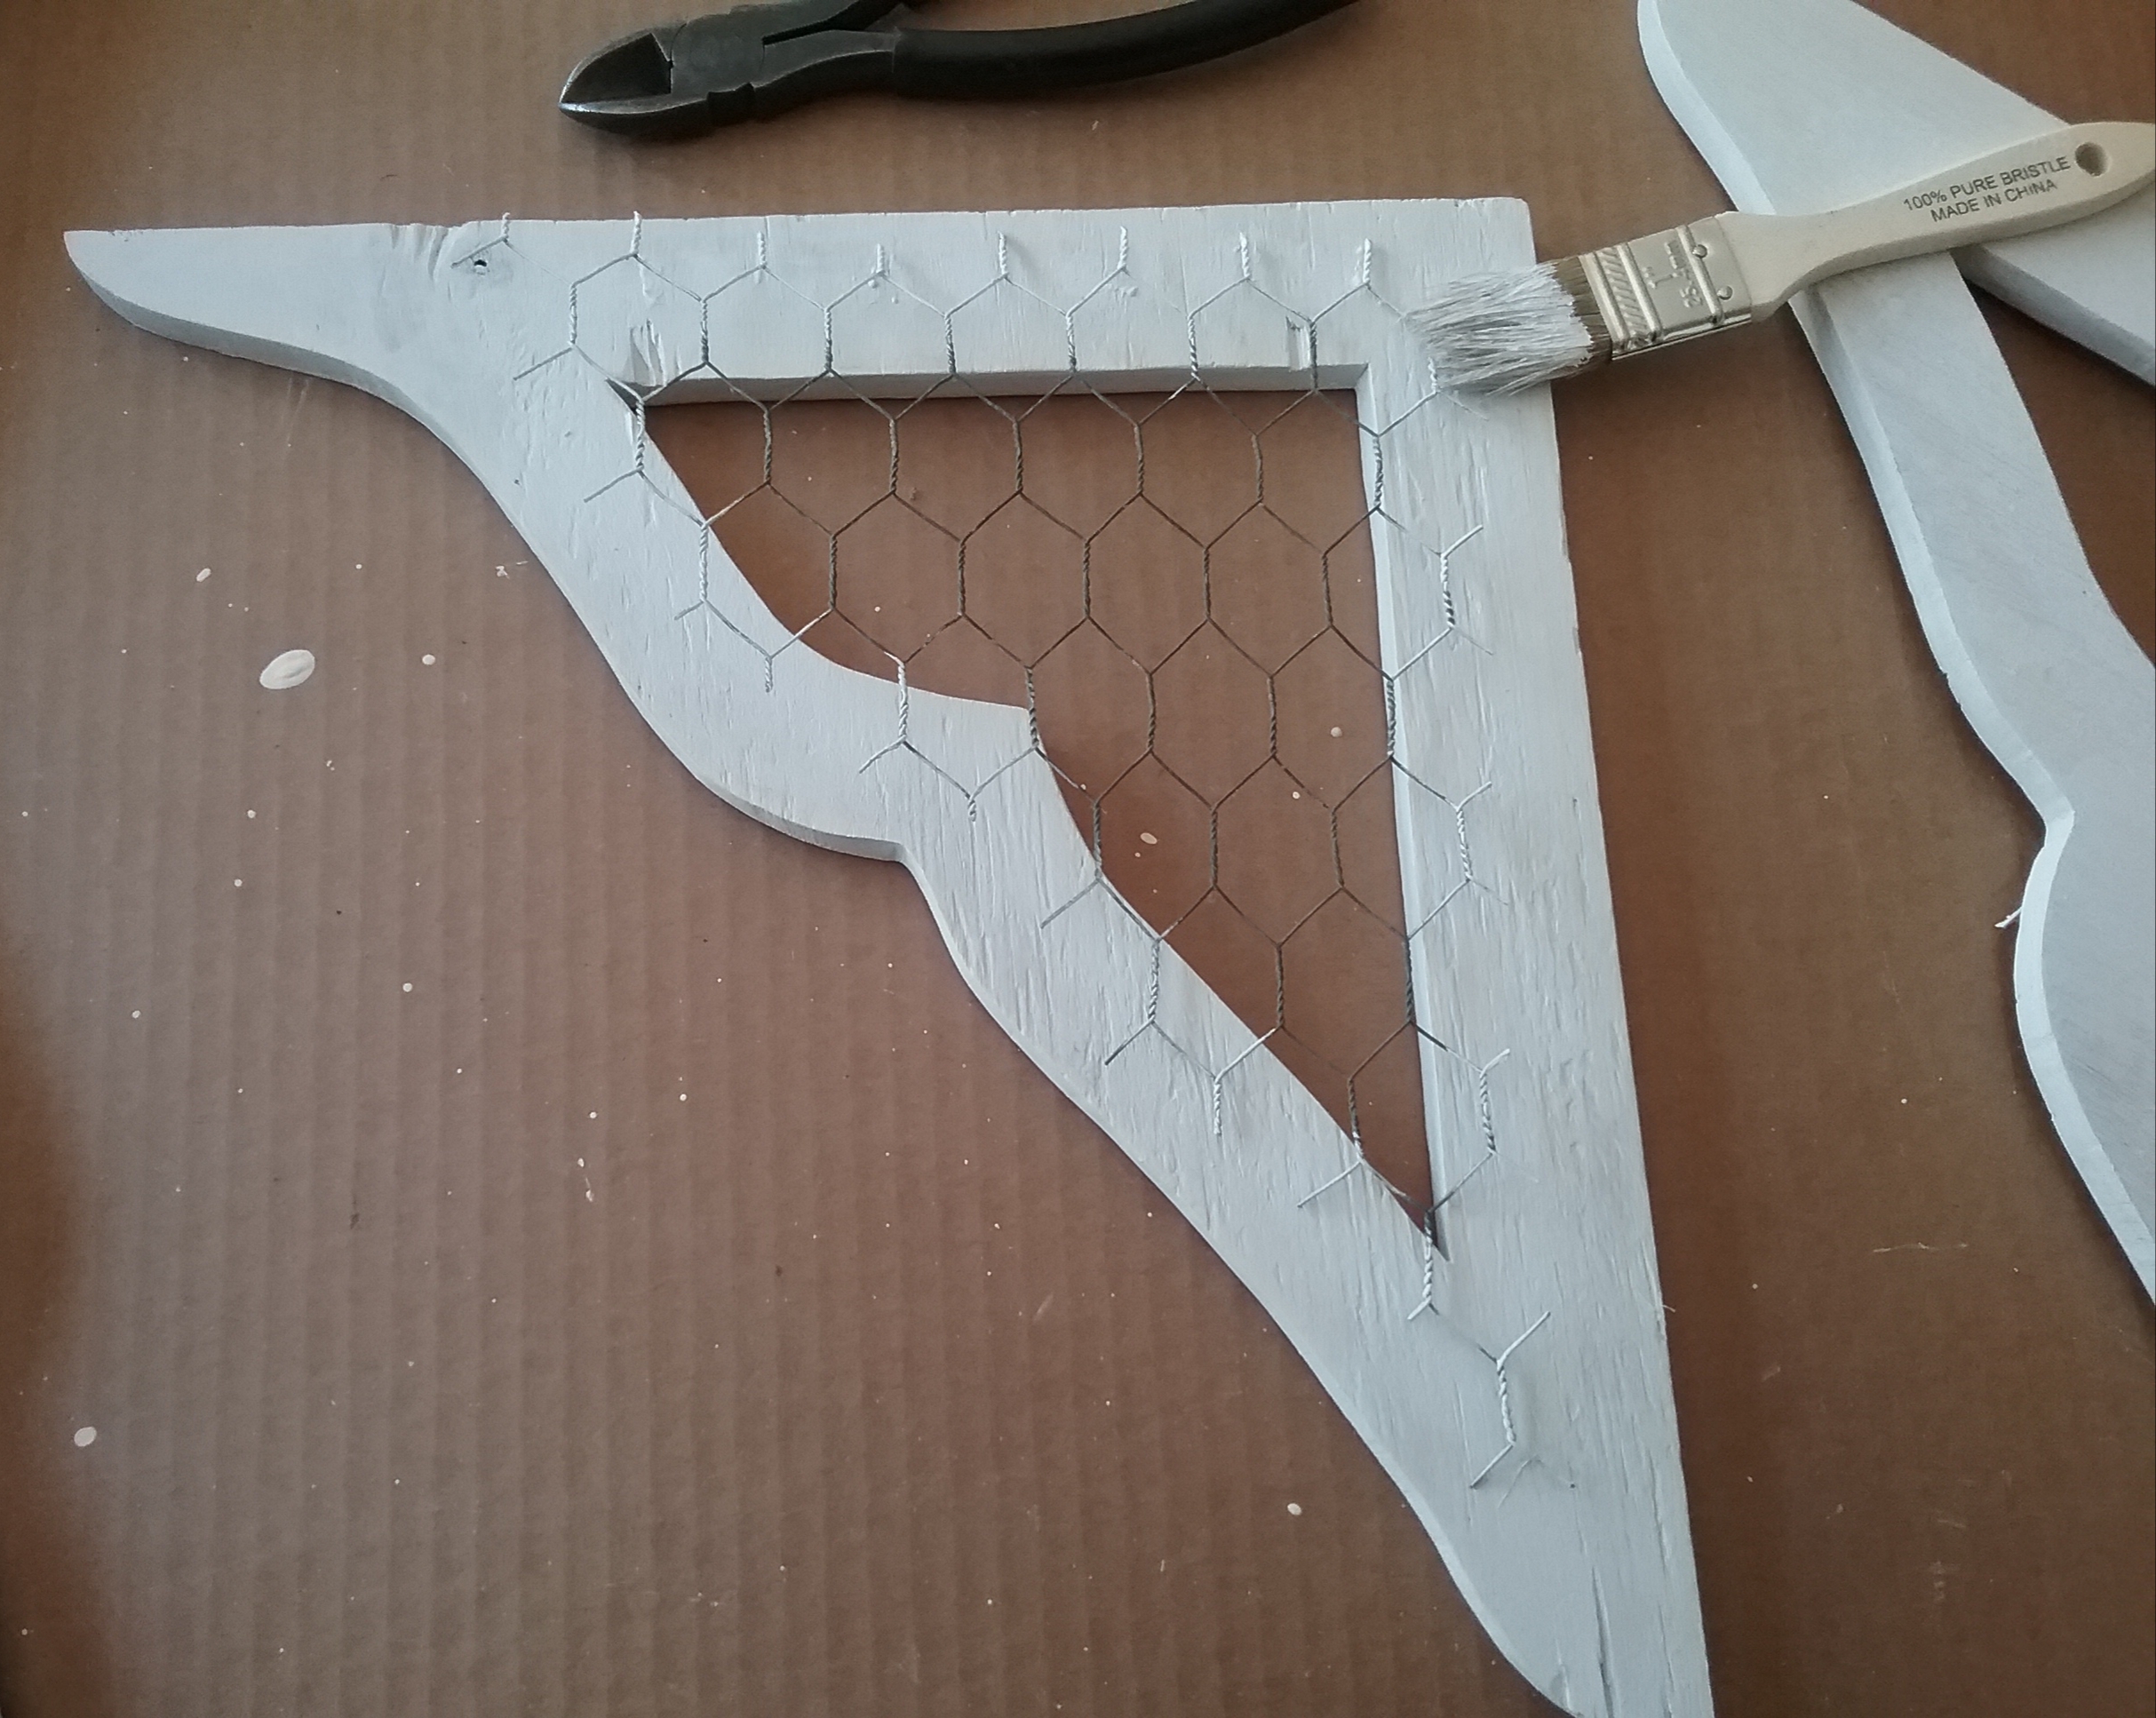
Cut two pieces of chicken wire to extend over and cover the insert area, matching the pattern in the wire.
With a bracket finished side down, place the wire over the insert opening. Brush a little paint on the wire that extends on to the wood. Flatten the painted wire with a hammer. Staple the wire to the wood. Flatten the staples with a hammer so they are as flat as possible.


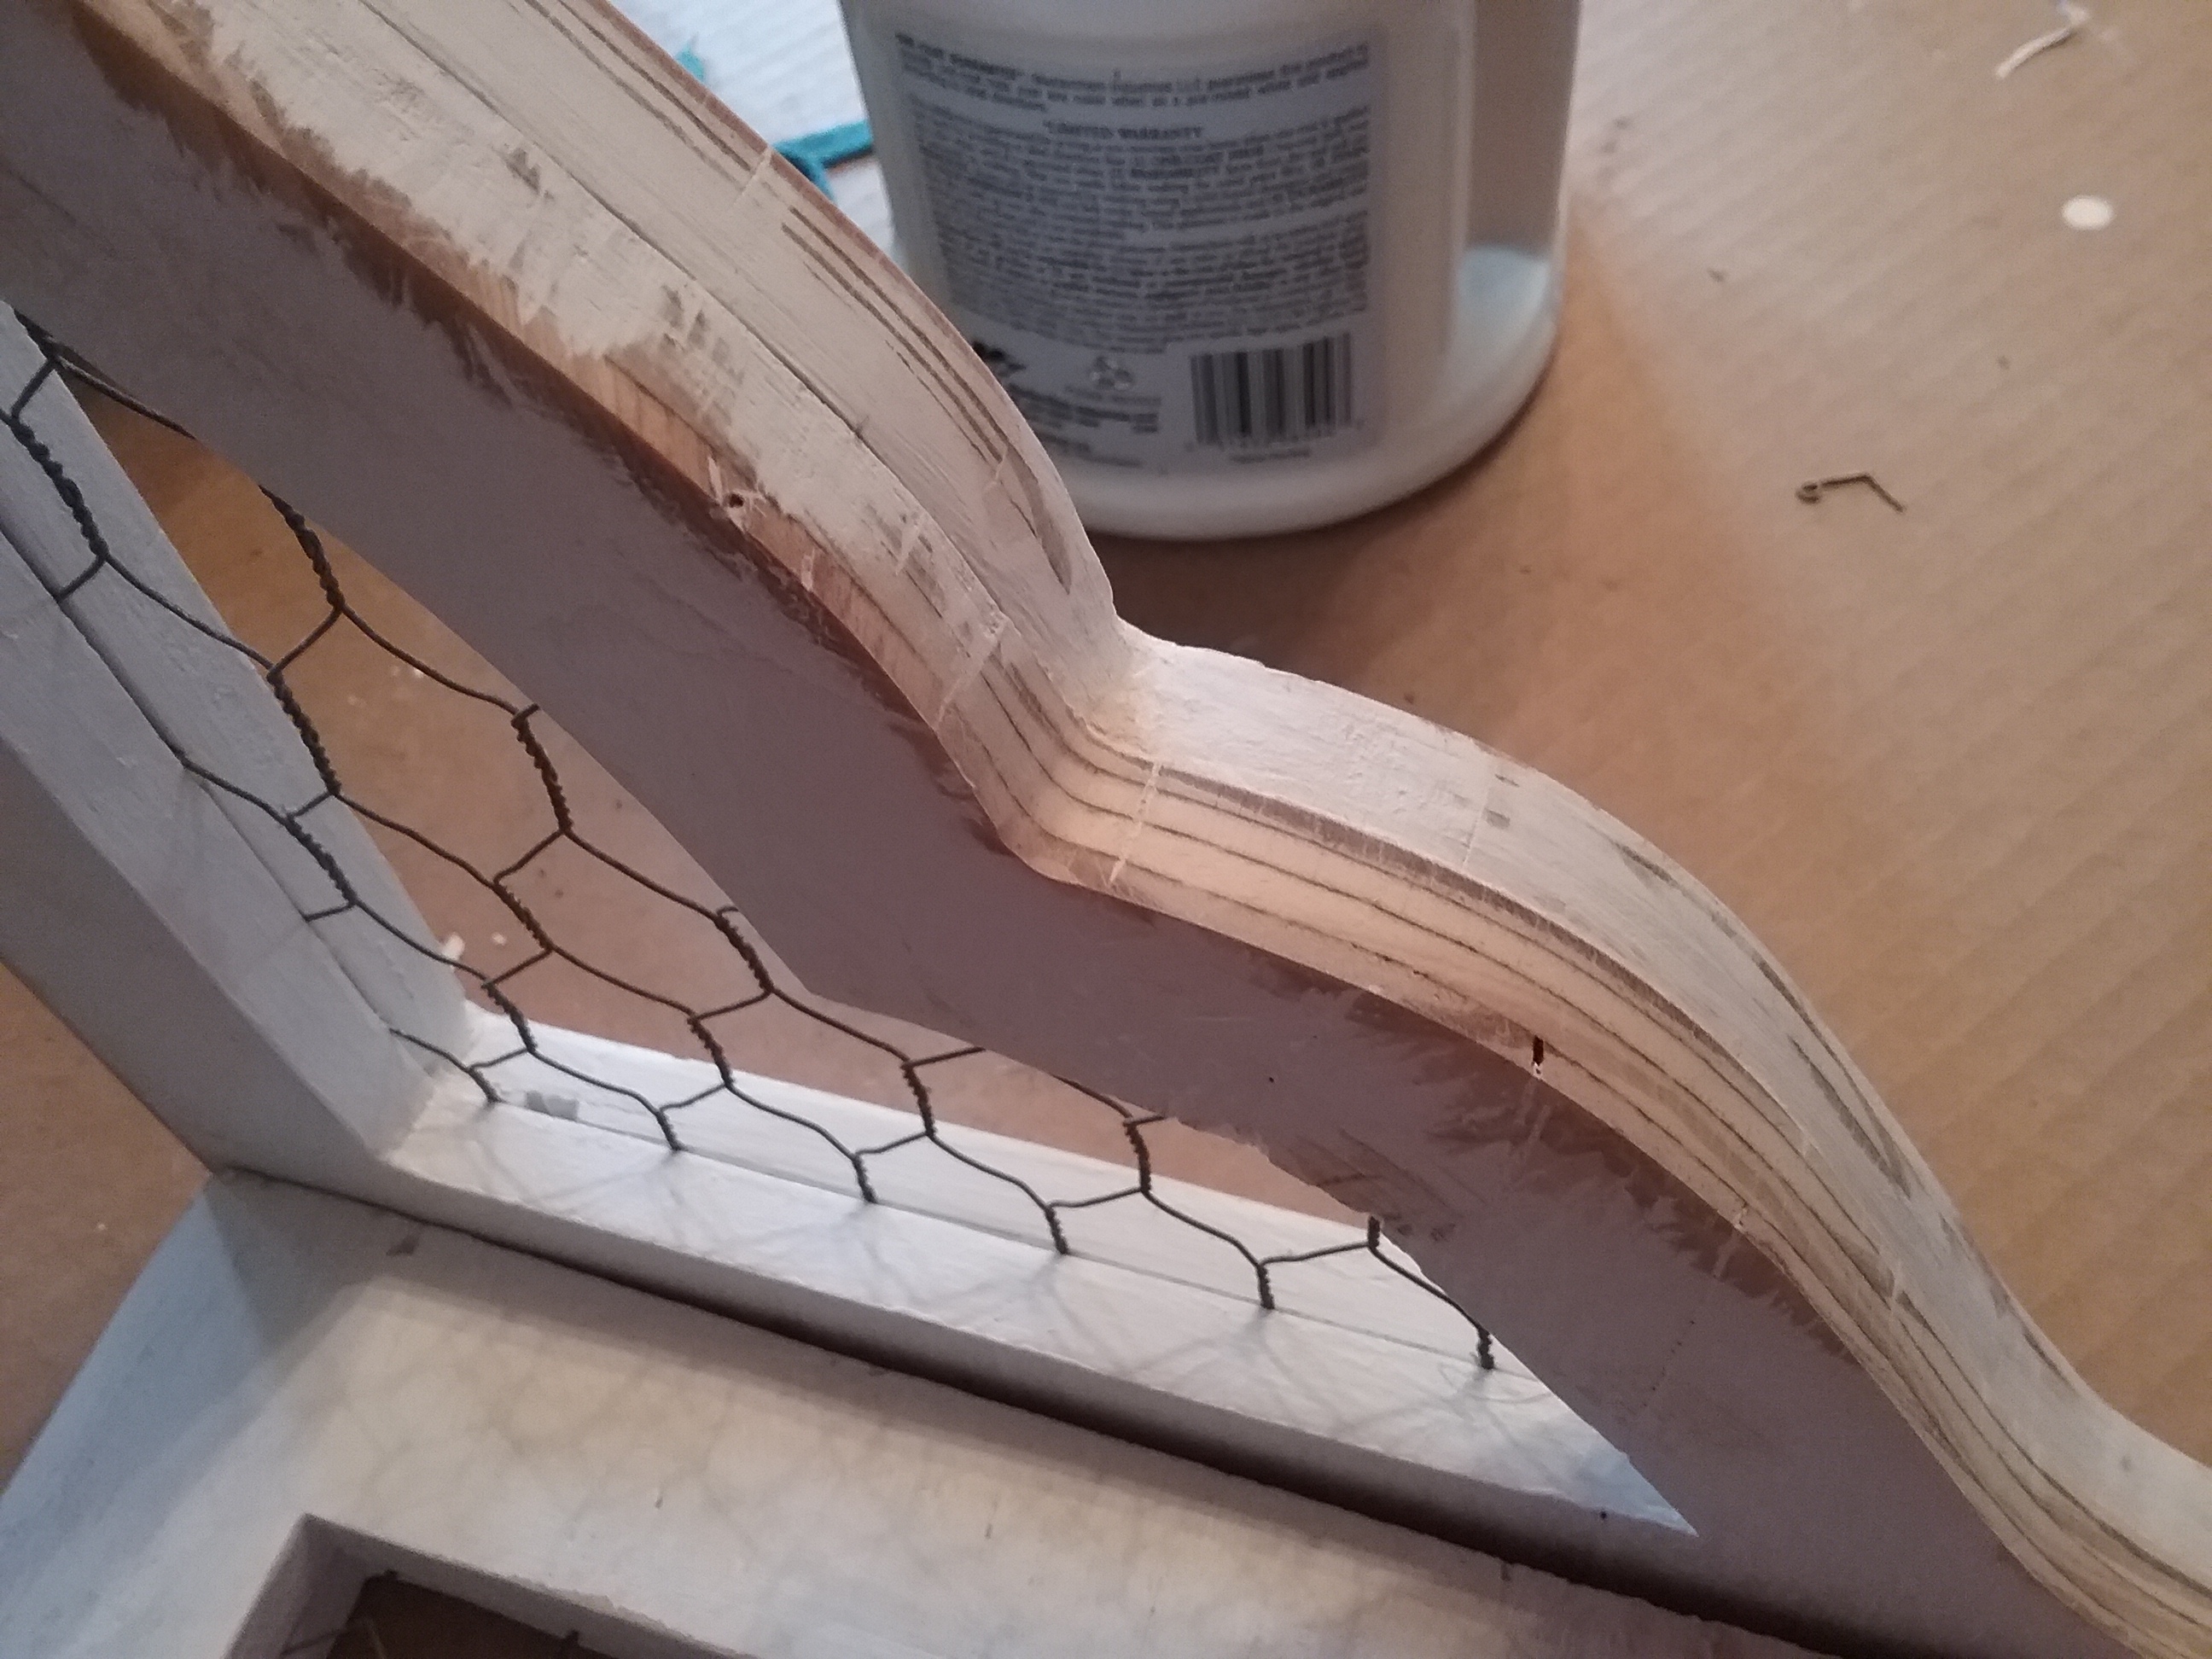
Apply some wood glue, and cover it with a matching bracket, finished side up. Clamp together tightly to dry. My brackets were large. I ended up using twice the amount of clamps that are shown in the picture below. It looked like some sort of a torture device when I sit it down to dry. Make sure to wipe away any glue that squeezes out when tightening the clamps.


After the brackets are dry, they can be sanded to smooth any uneven edges, and touched up with paint.
The brackets are done and can be used at this point, or, the outside edge can be trimmed with 1/4″ thick wood strips, which is how I choose to finish this pair before repainting.

So, what do you think? Think they’ll catch someone’s eye at the market?

So cute, I love these. Would be gorgeous with a shelf across them with country, vintage items on top.
LikeLiked by 1 person
Thank You Belinda! I think they’d look great with a shelf too. I have a shelf design in mind with them that will come in an update a little later. I could see them in the corners of a large doorway too!
LikeLike
Yes, so agree
LikeLiked by 1 person
Where is the least expensive place to get chicken wire. Cheap or free.
LikeLiked by 1 person
Hi Laura, I’m lucky when it comes to some of my supplies, my husband does salvage work so mine was free. I would check at a Home Improvement or a Farm and Home Store if buying it new. Used rolls can be found in many junk stores and tag sales.
LikeLike
Oh boy!! I found a big roll in the dumpster and snagged it before trash man came..Woot Woot!!
LikeLiked by 1 person
Always gotta keep an eye on those dumpsters and curbs! Lucky You!
LikeLike