Look, I’ve found the way back to my blog. There’s no doubt at all that if I had to rely on this to make a living, I would starve, lol.
As most know, I store treasures in my garage. It’s pretty cluttered, and, with no tables, I mostly work on the floor, or move out to the old picnic table when weather permits.
Late last fall one area of my garage got a big improvement when my husband was looking for a place to temporarily store a lift. He had no problem if it was covered and used as a work table. Wow, what a difference it made and I can stand up to work!
BEFORE

AFTER
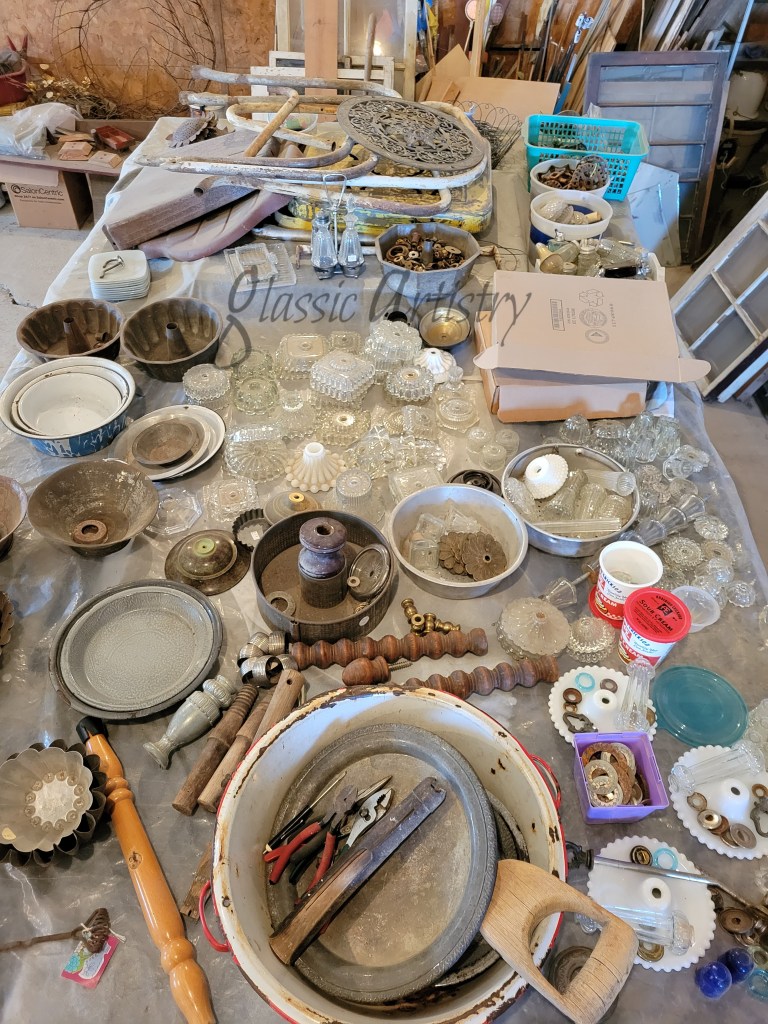
Most of my treasures were collected pre-covid and way before, when I was actively participating in more shows and events. I’m excited to get out to this summer’s junk jaunts and tag sales to find some larger pieces for my home and discover some new ideas to play around with. But, first, now that the weather is getting warmer, I need to get back to work on some of those projects in the pictures above; they’ve been waiting for me all winter.
I was in the process of making myself a simple, rustic garden tote last year. The pieces were gathered and laid out, but I got busy with stained glass work and didn’t follow through. So, that seems like a great place to start now.
A large capacity bowl, and an easy grip handle was what I wanted and why I chose the pieces I did for this project.

To keep further rusting at bay and for easy cleaning, a coat of Briwax was applied to the cleaned pans and buffed. A car wax or Shield spray could also be used.
The shovel handle was stained and sealed.
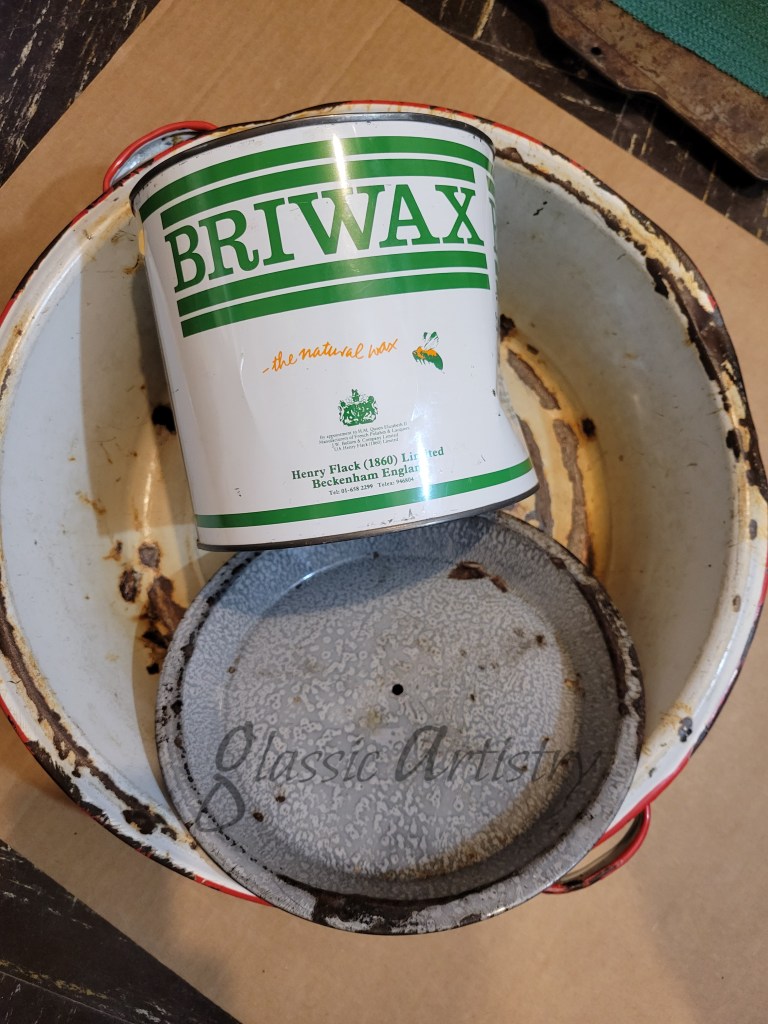
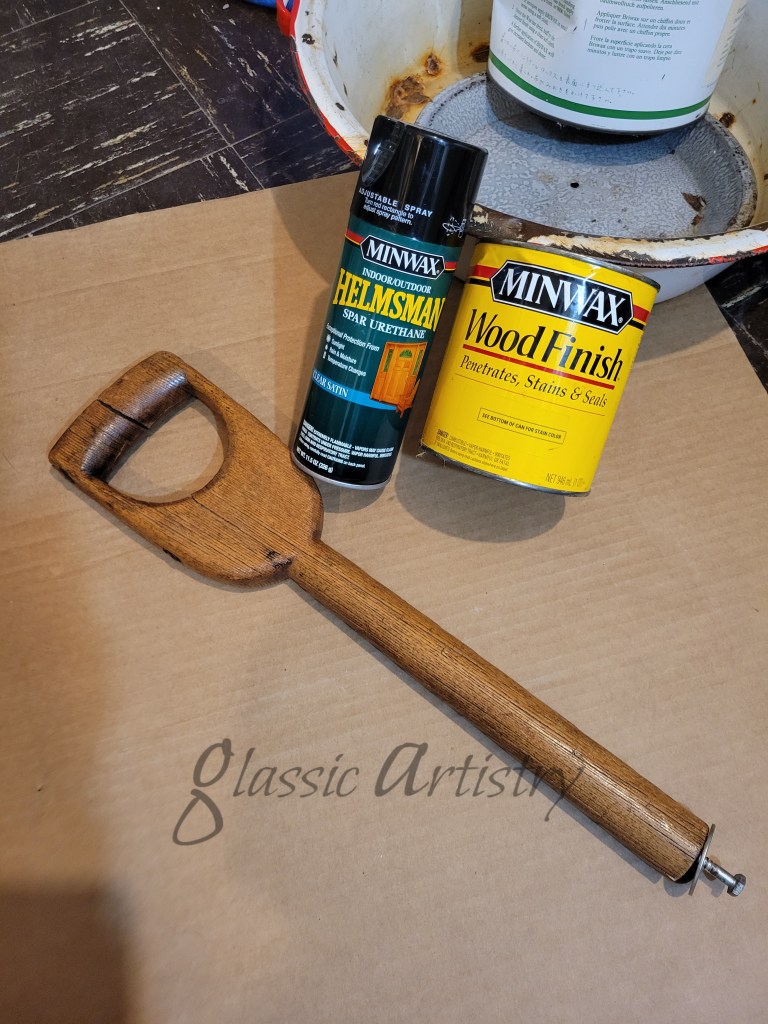
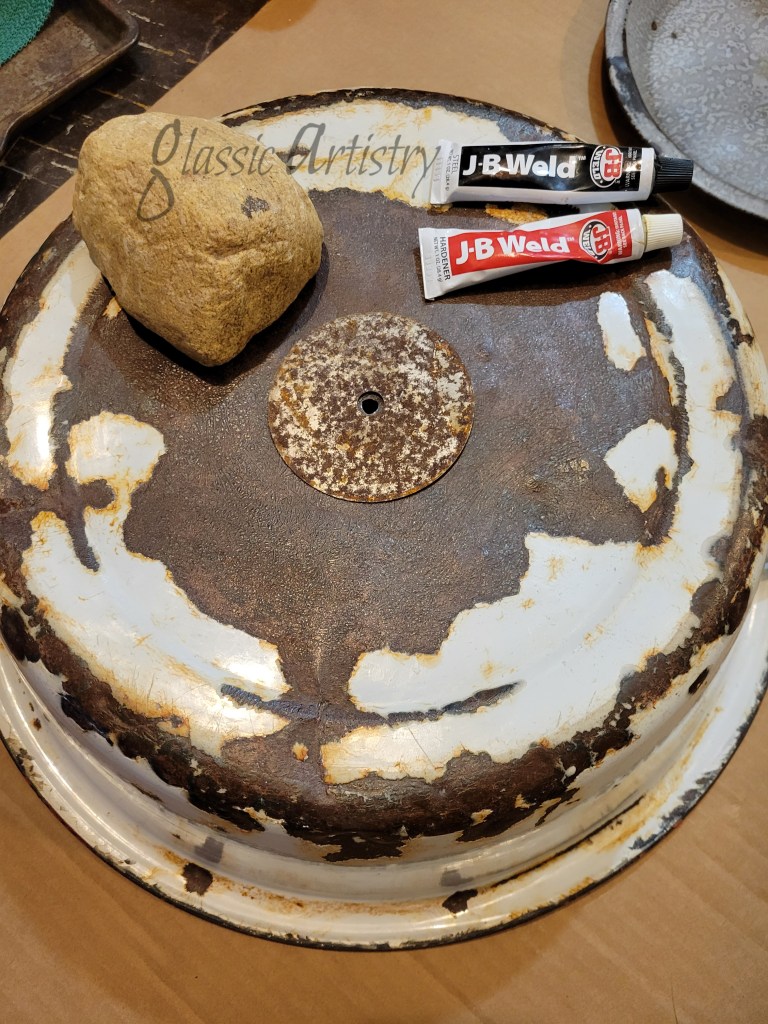
For added strength, and to give the shovel handle a more solid seat to rest on, a small area of Briwax coating was sanded off the bottom of the large pan, and a large scrap washer was adhered with JB Weld; weighted down to dry overnight. E6000 could also be used.
Both hands and a crescent wrench was needed to get the shovel handle screwed on securely. I found the best way to do this was to work from the bottom up. After laying the inverted pie pan on the bottom of the large upturned pan, the lag screw was pushed through the flat washer and the pans.

A large bead of E6000 was laid on the cut bottom of the shovel handle.

While holding the pans on their side, the shovel handle was lined up with the screw and started. I then held the shovel handle with my left hand, balancing the pans while I tightened the lag screw with my right; went together quickly, and done! Clean away any excess glue.
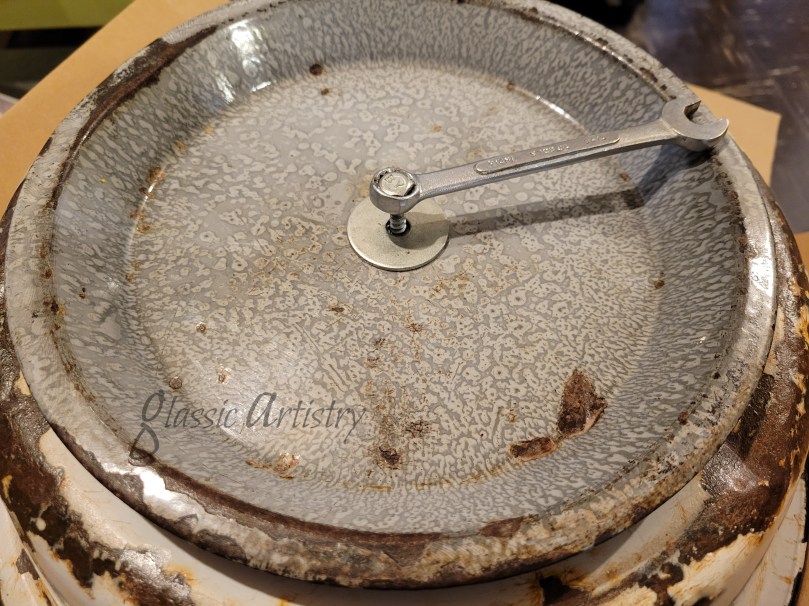

The handle looked bare, so it got a scrap of wire wrapped around it, under the grip, just to break it up a little.

We’re a ways off from our gardening season yet, but, I’m ready for it. My new garden tote will be much handier than our big green Tupperware bowl. Hope you don’t mind, I grabbed a few props from the frig for pictures. 🙂
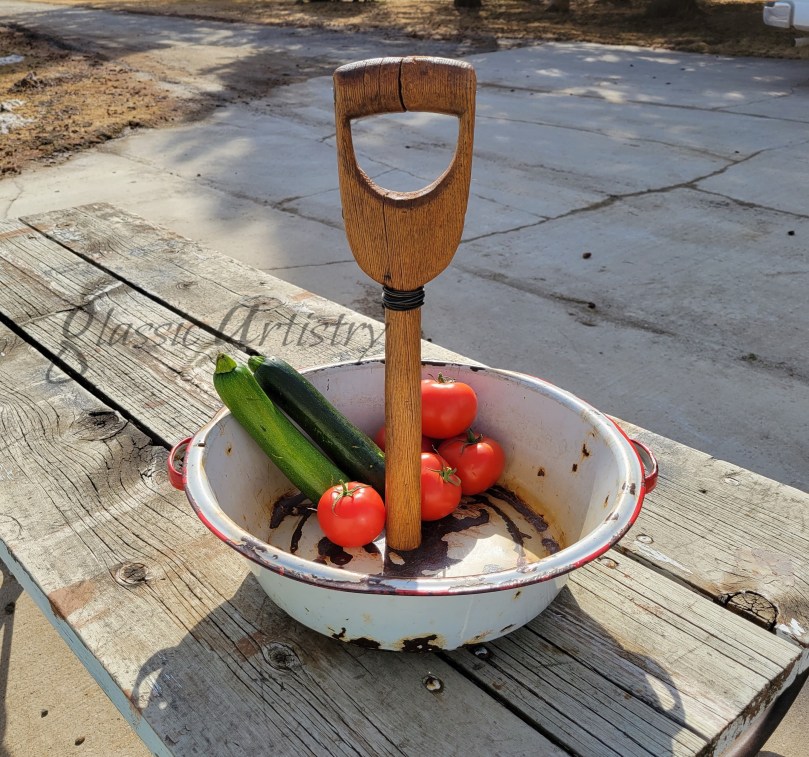
Although I’m planning on using this piece as a garden tote/basket, it could also lend farm house country charm filled with pots of flowers or herbs on a patio; just a thought.
We’ve got another week of nice weather in our forecast and I’ll be moving on to another project. Pondering over the pieces on my new work table, it looks like some tiered trays will be on the agenda next, and soon. I hope you’ve liked what you’ve seen today, please comment, like, and share. Repurposing and upcycling with salvaged materials can help lessen the load on our landfills and have a huge impact on our environment. Thanks for visiting my blog, stay well, stay safe, and have a great day!


Really would come in handy in the garden, good thinking. I have a handle and a pan, now my husband will have to make me one.
LikeLiked by 1 person
Thank You Karen. I hope you share a picture when its done!
LikeLike
Lovely
LikeLiked by 1 person
Thank You Mariya 🙂
LikeLike
[…] opengreenenergy: DIY Solar Bottle Lamp glassic touch: Repurposed Garden Tote Garden Basket DIY […]
LikeLiked by 1 person