Glass & Resin Concrete Garden Stone DIY

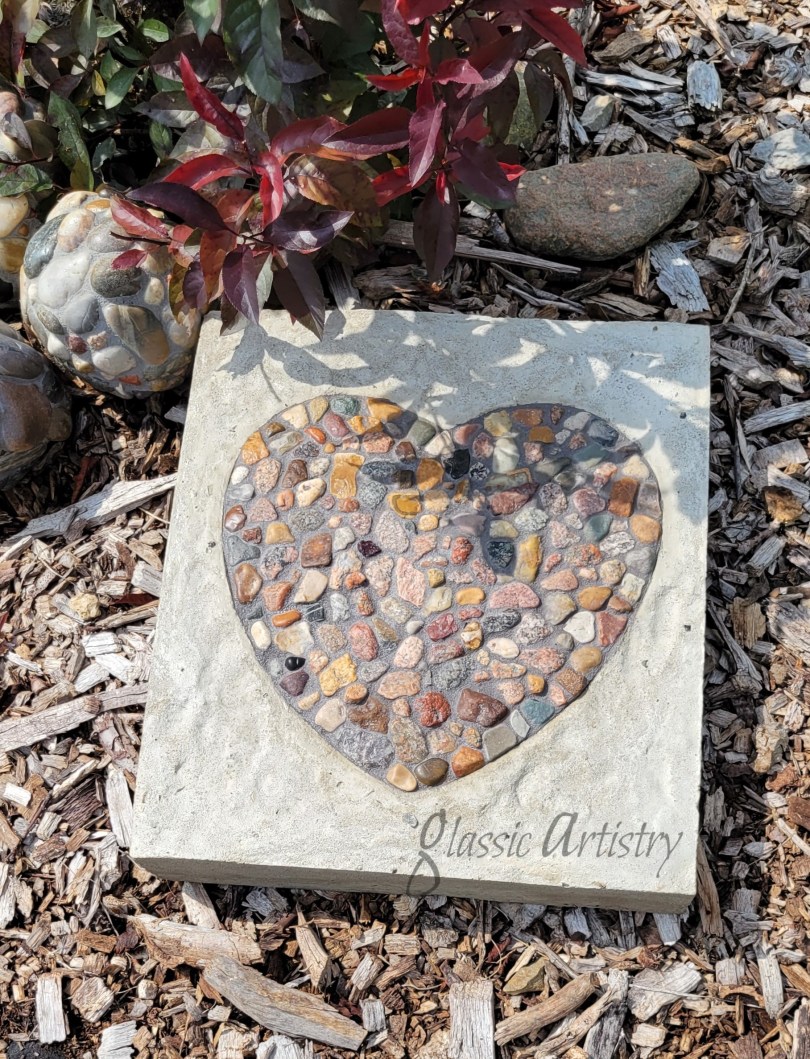
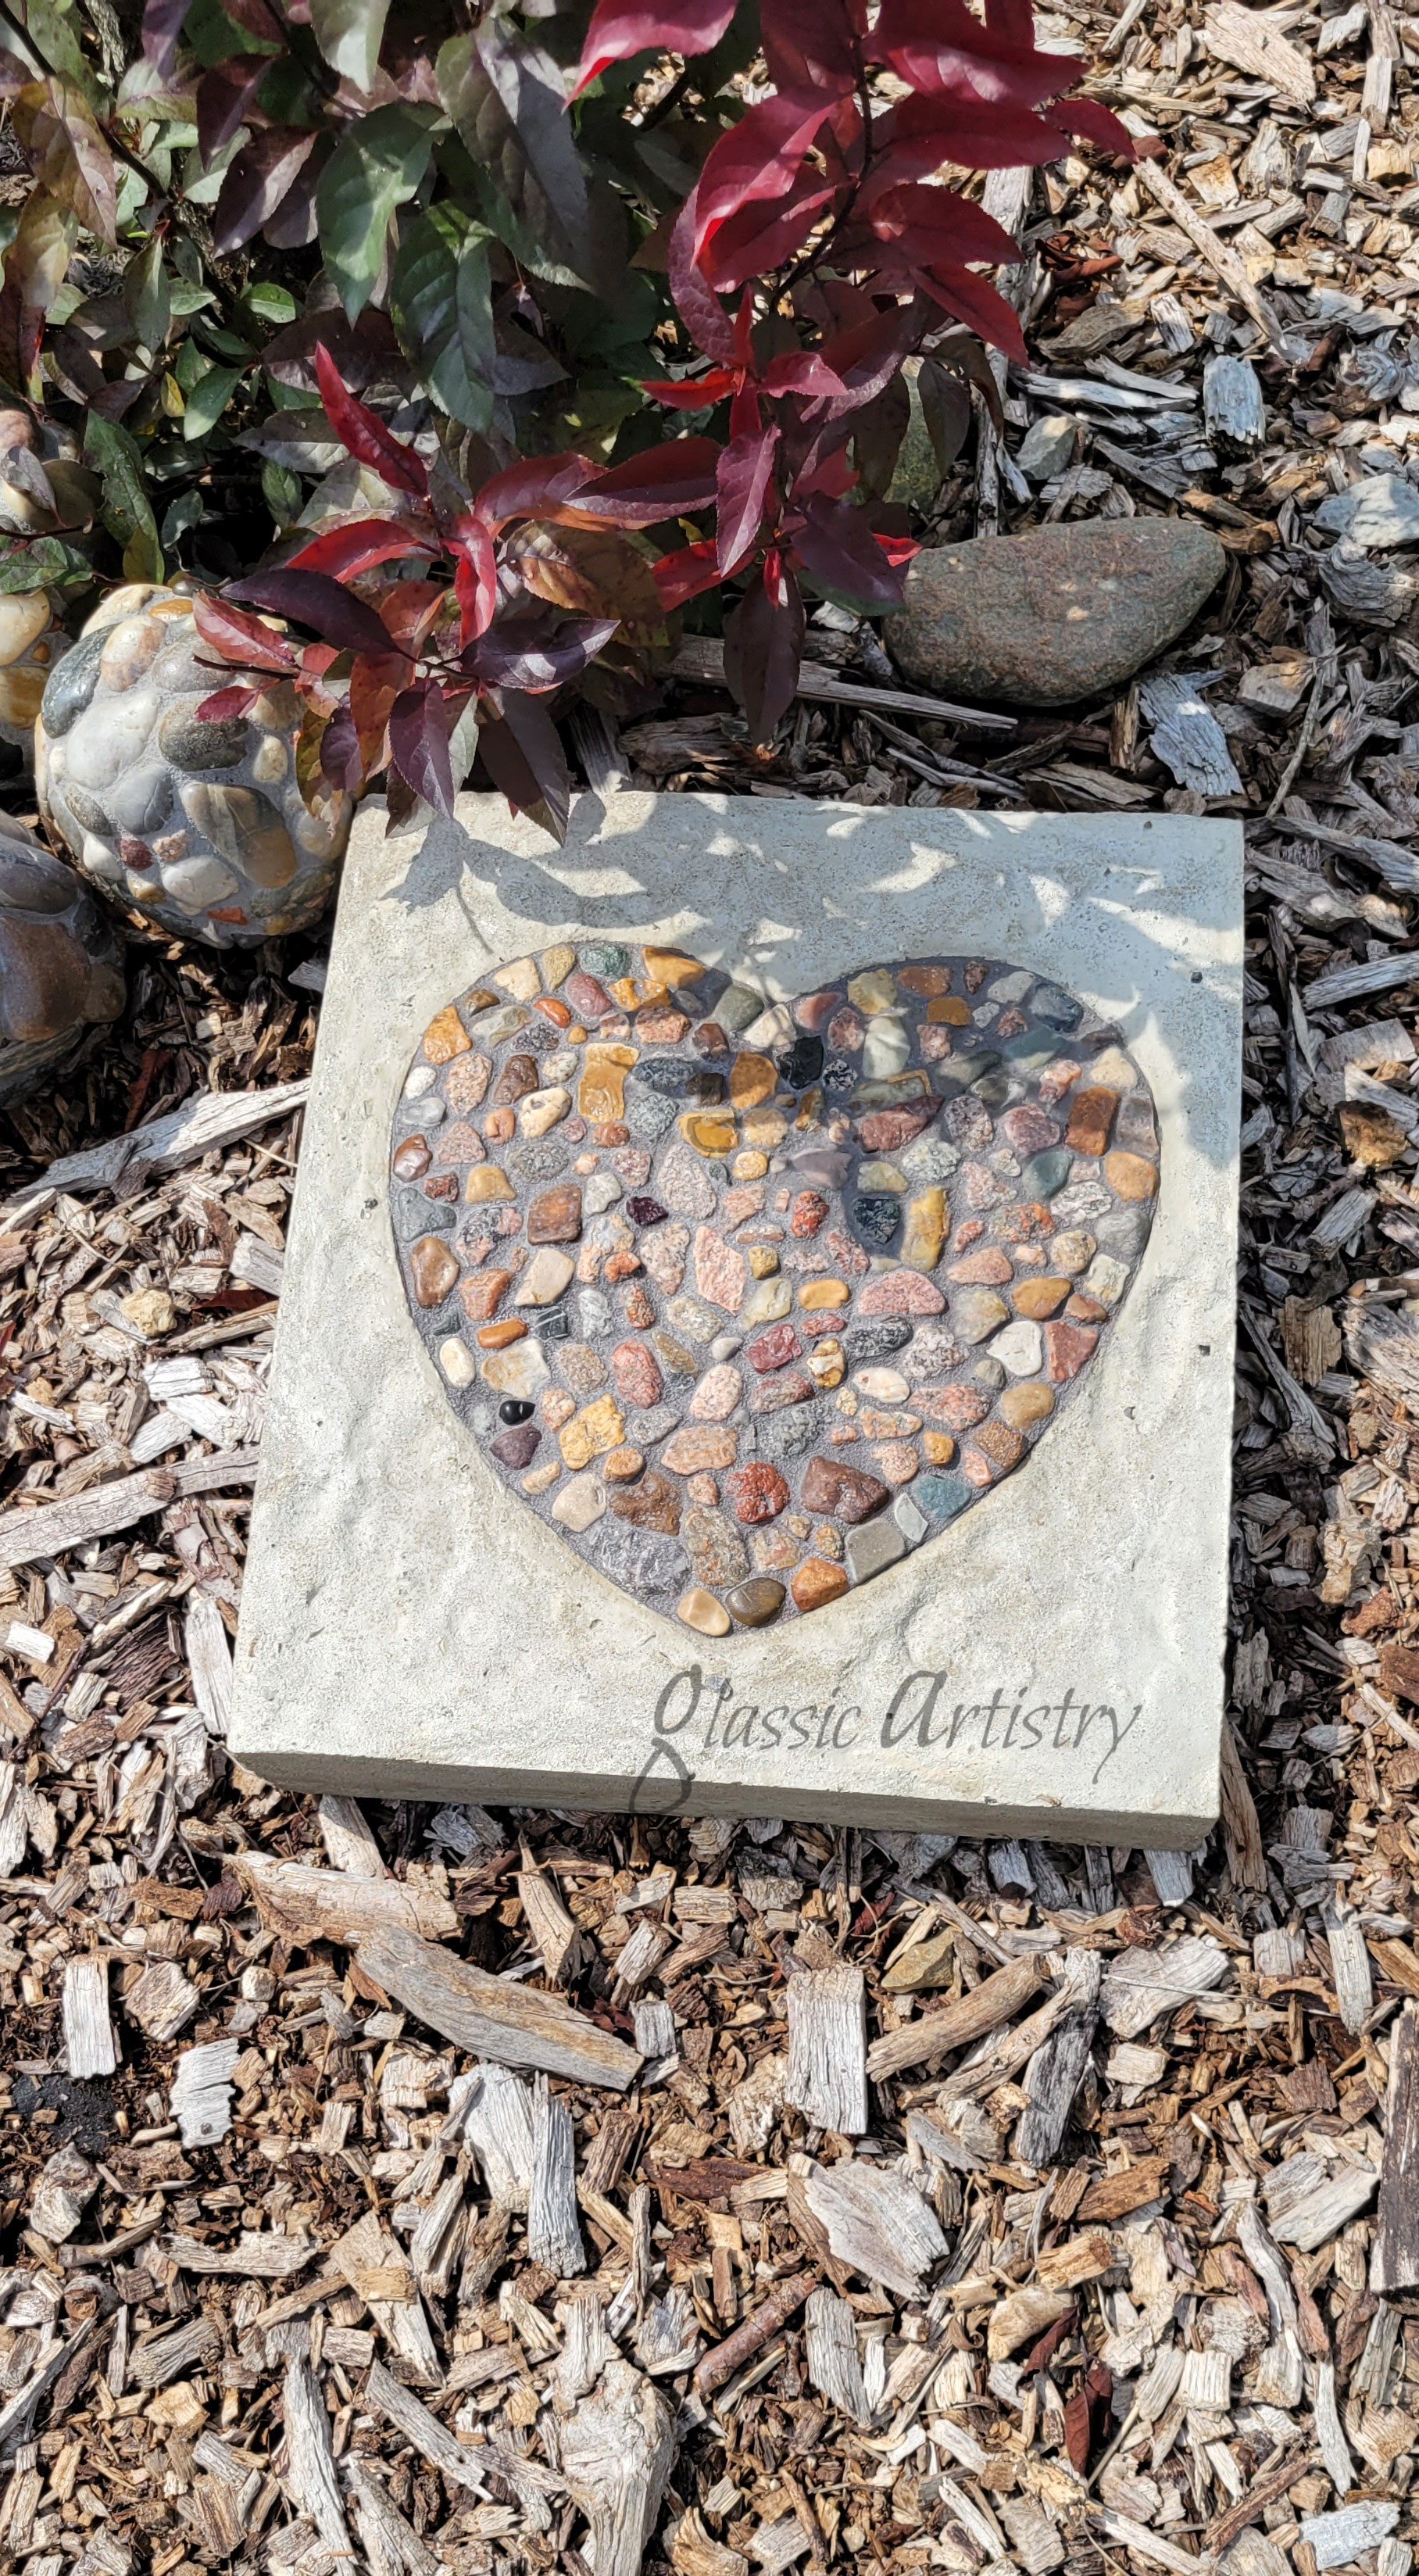
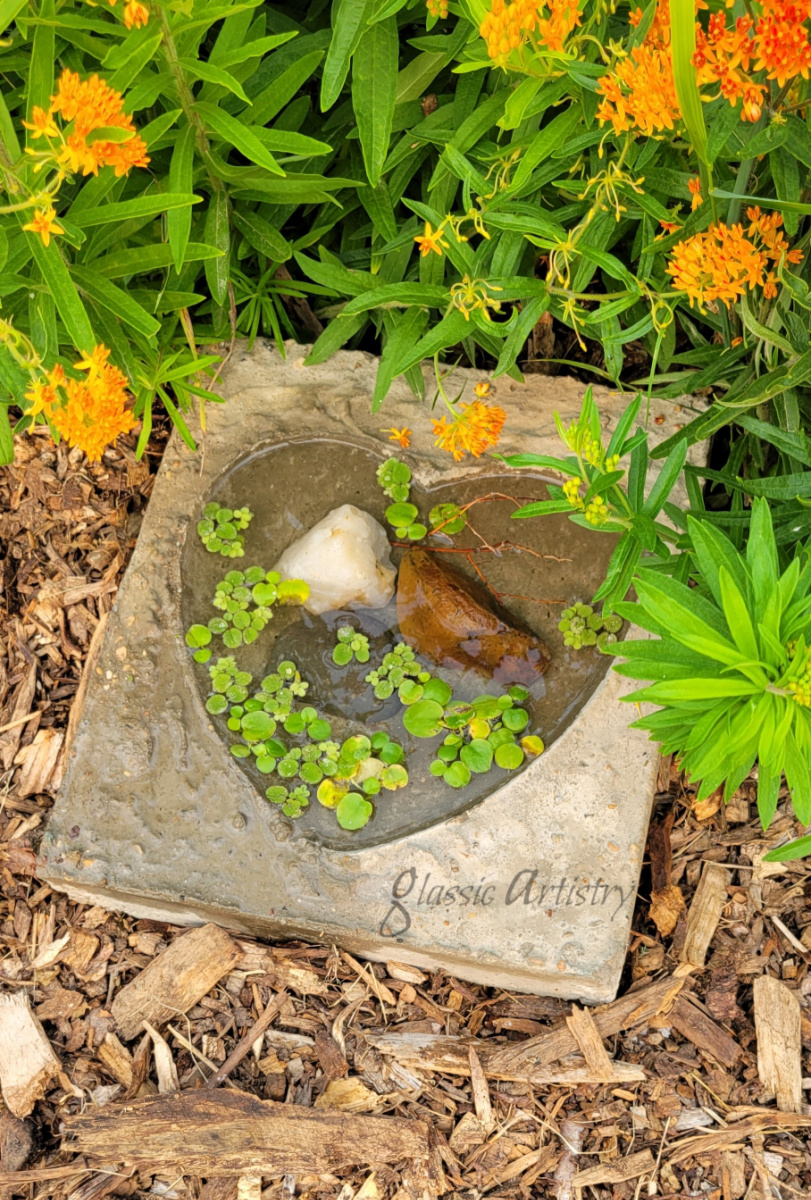
A small amount of extra mixed concrete from my last project, pink glass, and resin, yielded a cute little accent stone for my daughter’s flower garden. It measured 6 ½” x 6 ½” x 1 ½”.

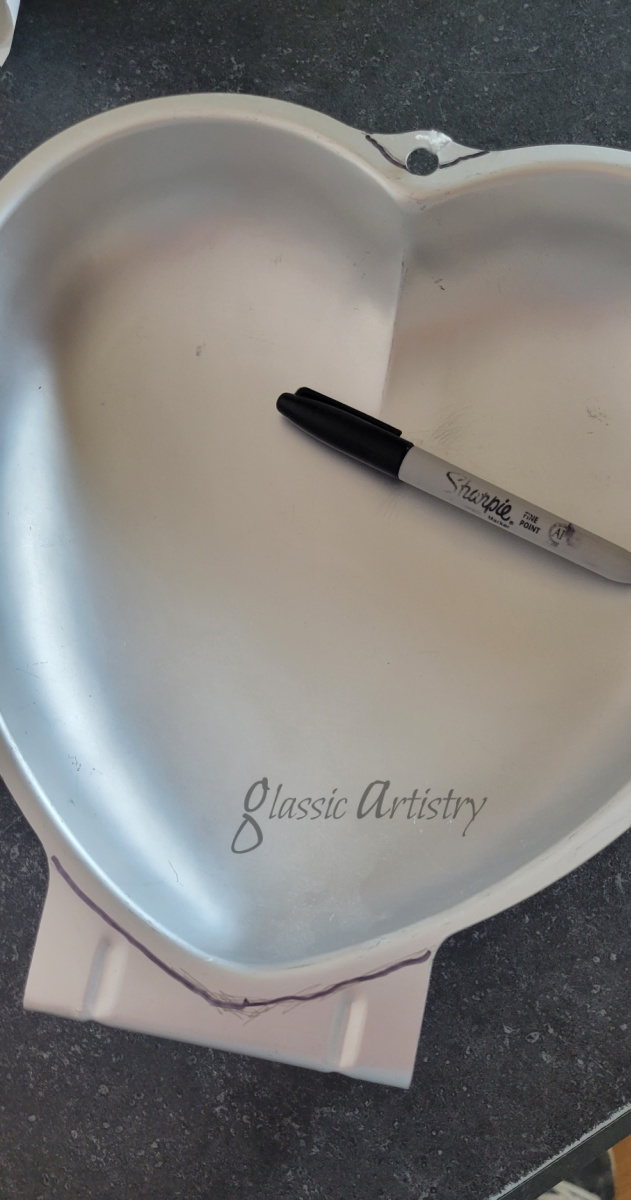
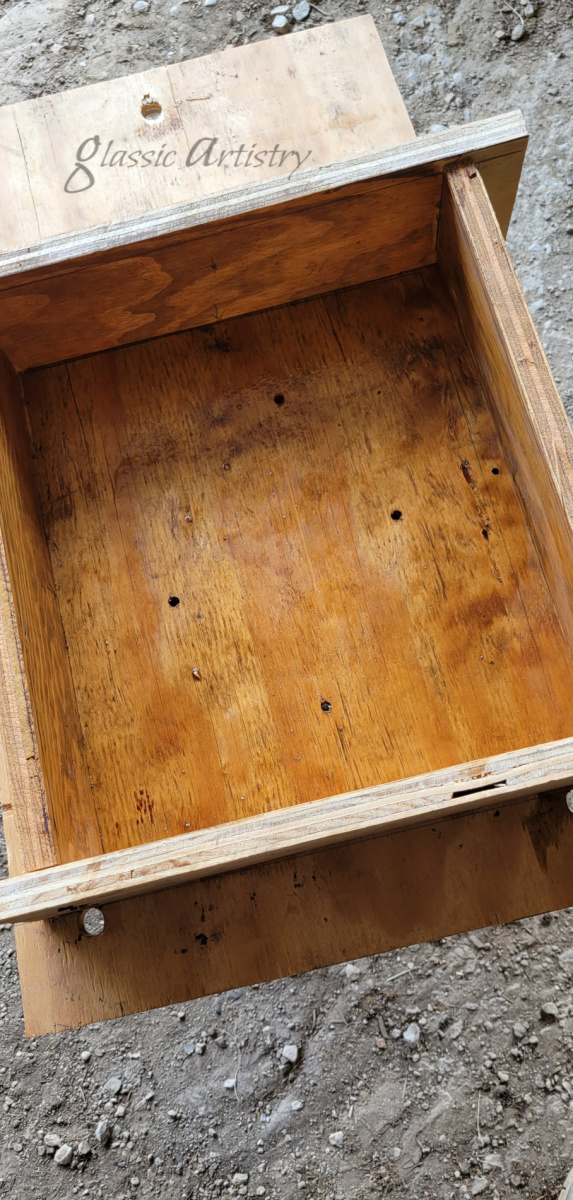
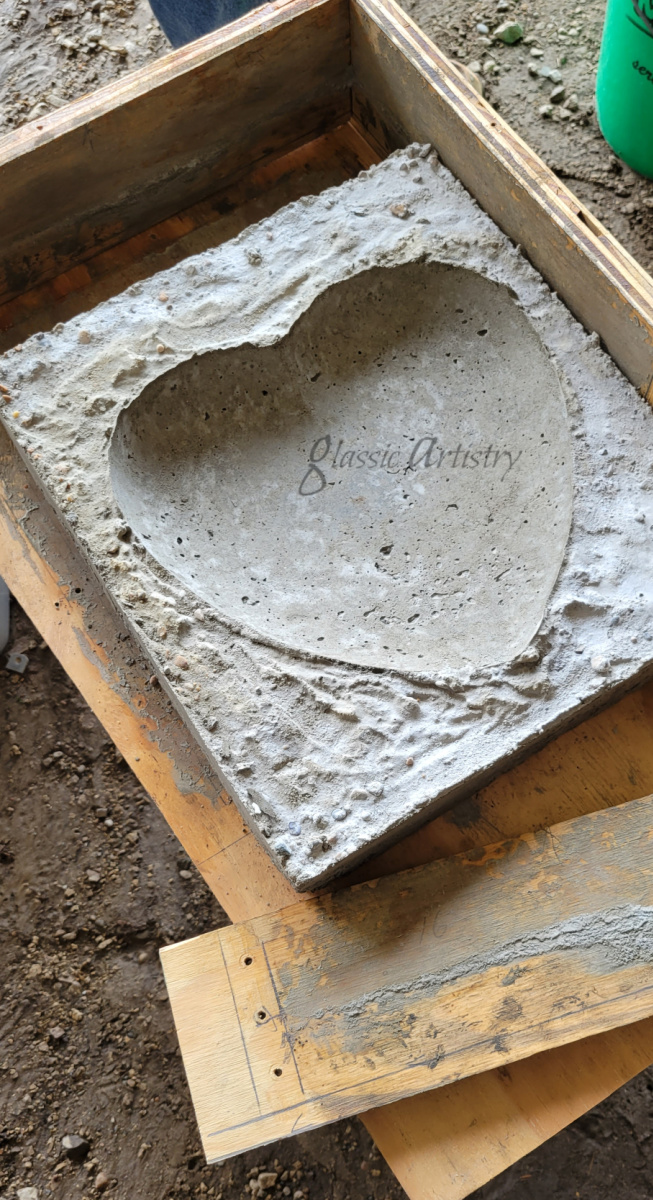
Thinking there might be a little extra concrete, four small holes were drilled in the bottom of a square plastic ice cream bucket.  I was just going to make a square stone if there was extra until I remembered a mini metal heart mold I had. The inside of the bucket and backside of the heart mold were sprayed with cooking spray in preparation. 

There was just enough concrete to pour about 1½” depth into the bucket. A small metal ring had been removed from the heart mold years ago so it was able to be pushed into the wet concrete all the way to the rim and weighed down. I left it to dry for 24 hours before unmolding, then let it dry another 12 hours.  A few rough edges were filed down before filling the heart cavity with pink glass shards.

An interior/exterior resin (Amazon) was poured over the glass. This was the first time I’d used resin, but it was so simple and took very little. The resin had to set for 24 hours. The concrete absorbed the resin in a few places around the edge of the heart, but it scraped away easily, before sealing the concrete with grout sealer.

That’s all for now folks, I’m all caught up. I’ll leave you to your weekend. Enjoy!

Stay Well!

Mosaic Heart Concrete Stepping Stone DIY

Now that I’ve started, I think I could really get into this concrete crafting.  Oh, the possibilities, and what fun to create some unique designs.

Concrete/stone pathways have been on my garden “want list” for a long time. My grands and I have been collecting rocks from our fields for years and there are so many cool ideas on Pinterest.  If only there were more hours in a day.

Anyway, with all the supplies here, I decided to use them again and start making a pathway happen!  I have no idea what the rest of the design will be, but it’s a step in the right direction.  

The stone was poured as in my previous post except the concrete was a little thinner and I smoothed the top. https://glassictouch.com/2023/08/11/concrete-heart-garden-stone-diy/

I still have a thing for rocks, so I scooped up a bucket of them and gave them a quick wash and rinse. When they were dry, I started layering and gluing them into the heart shape with E6000, trying to keep them level with the heart edge.  Sometimes tape was used to hold a glued rock in place to dry and then I filled in under it. Let glue dry a couple days.

The heart opening was taped off before grouting with an indoor/outdoor sanded grout. After a couple hours, the tape was removed and any unwanted grout was scraped away to make a clean line around the edge of the heart.  The grout was left to cure for 7 days before sealing the entire stone with grout sealer. I waited another week before putting it outside. (I do plan on covering this stone during the winter to protect it from ice.)

I won’t be making anymore of these large hearts for my garden, but plan on using the wooden box form several more times.  My garden is pretty good sized, so a few large shapes will help fill in areas more quickly.  I think I’ve already decided where my new stone will go, but don’t want to lock myself into anything until I figure out what I would like to put around it.  I have several ideas whirring in my mind, so we’ll see. It would be nice if I could get at least a 6’ x 6’ area completed after the weather cools this fall and share my progress with you. Fingers crossed.

As a newcomer to concrete, I forget that there is often a little extra mixed concrete left over after pouring a project. Such was the case here.  I didn’t expect much but was prepared with a prepped ice cream bucket and mini tart pan just in case.  And guess what?  The little stone is coming next, lol.  I don’t mean to overwhelm today, but it’s too hot to work outside, giving me a chance to catch up on my neglected social media until the afternoon sun passes. Hope you don’t mind. 

Thanks for hanging with me.😊

Concrete Heart Garden Stone DIY

Hello Friends!  I’m back to share a lovely piece I made for my garden.

The inspiration came from a picture in a flea market gardening magazine I was reading several years ago.  It was a rain filled, square concrete block with a heart shape embedded in it.  As I recall, it looked aged with its worn corners and heavily pebbled concrete. You could easily imagine it being a pleasant little surprise one might find in their grandma’s garden that had been catching water for years. While I could never duplicate the one in the magazine, I’m pretty pleased with the result I got.

After a long search for an inexpensive heart shape to use for this project, I finally found a puffed heart cake pan at a flea market a couple months ago for six bucks. Then all that was needed was scrap wood and concrete and it was a go.

First, a line was drawn on the cake pan and some of the excess was cut off with tin snips. The sharp metal edges were ground smooth.

Screw together a wooden box frame mold and attach a bottom as was done in https://glassictouch.com/2015/09/08/a-new-concrete-boot-scraper/ .  The inside dimensions of mine were 12″W 14″L. Drill drain holes in the bottom.  Brush the inside of the box with diesel fuel to prevent the concrete from sticking.

I found it handy to center and lay the box mold over an upright 5 gallon bucket. Concrete was mixed per instructions on the bag.  I left the concrete kind of thick and scooped it in the box. Not wanting a real smooth top, it was leveled out roughly with the bottom of a jar and my fingertips and was approximately 2 ½” thick.  The back of the cake pan was sprayed with cooking spray, pushed down evenly, about half way, into the wet concrete, weighed down with rocks, and left to dry for 24 hours.

After 24 hours, remove the cake pan, and with an extra pair of hands, unmold by standing the frame on its side and unscrewing the back first.  Lay it down and remove the sides. Let it dry for at least another 24 hours.

That’s it.  Some water, a few rocks, and sun happy miniature water plants (Amazon) brought it to life. It’s tucked in among the flowers in my garden for the bees and butterflies to enjoy, and hopefully begin its own aging process. 

I hope you found this project fun.  Share if you like.  

I’ve recently used my frame and cake pan again – there’s another project coming!

Enjoy your weekend!