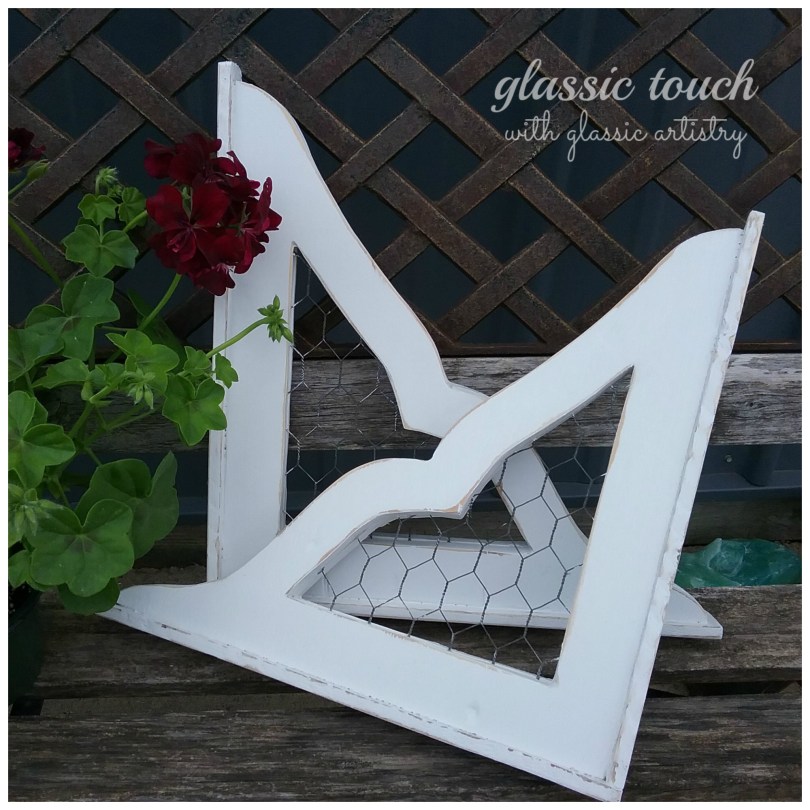
Spring break gave me the time needed to complete my latest project.
I’m pretty excited about this piece. Not only do I get something for my bathroom wall, I discovered a nifty new way to make a basket that may come in handy in the future.
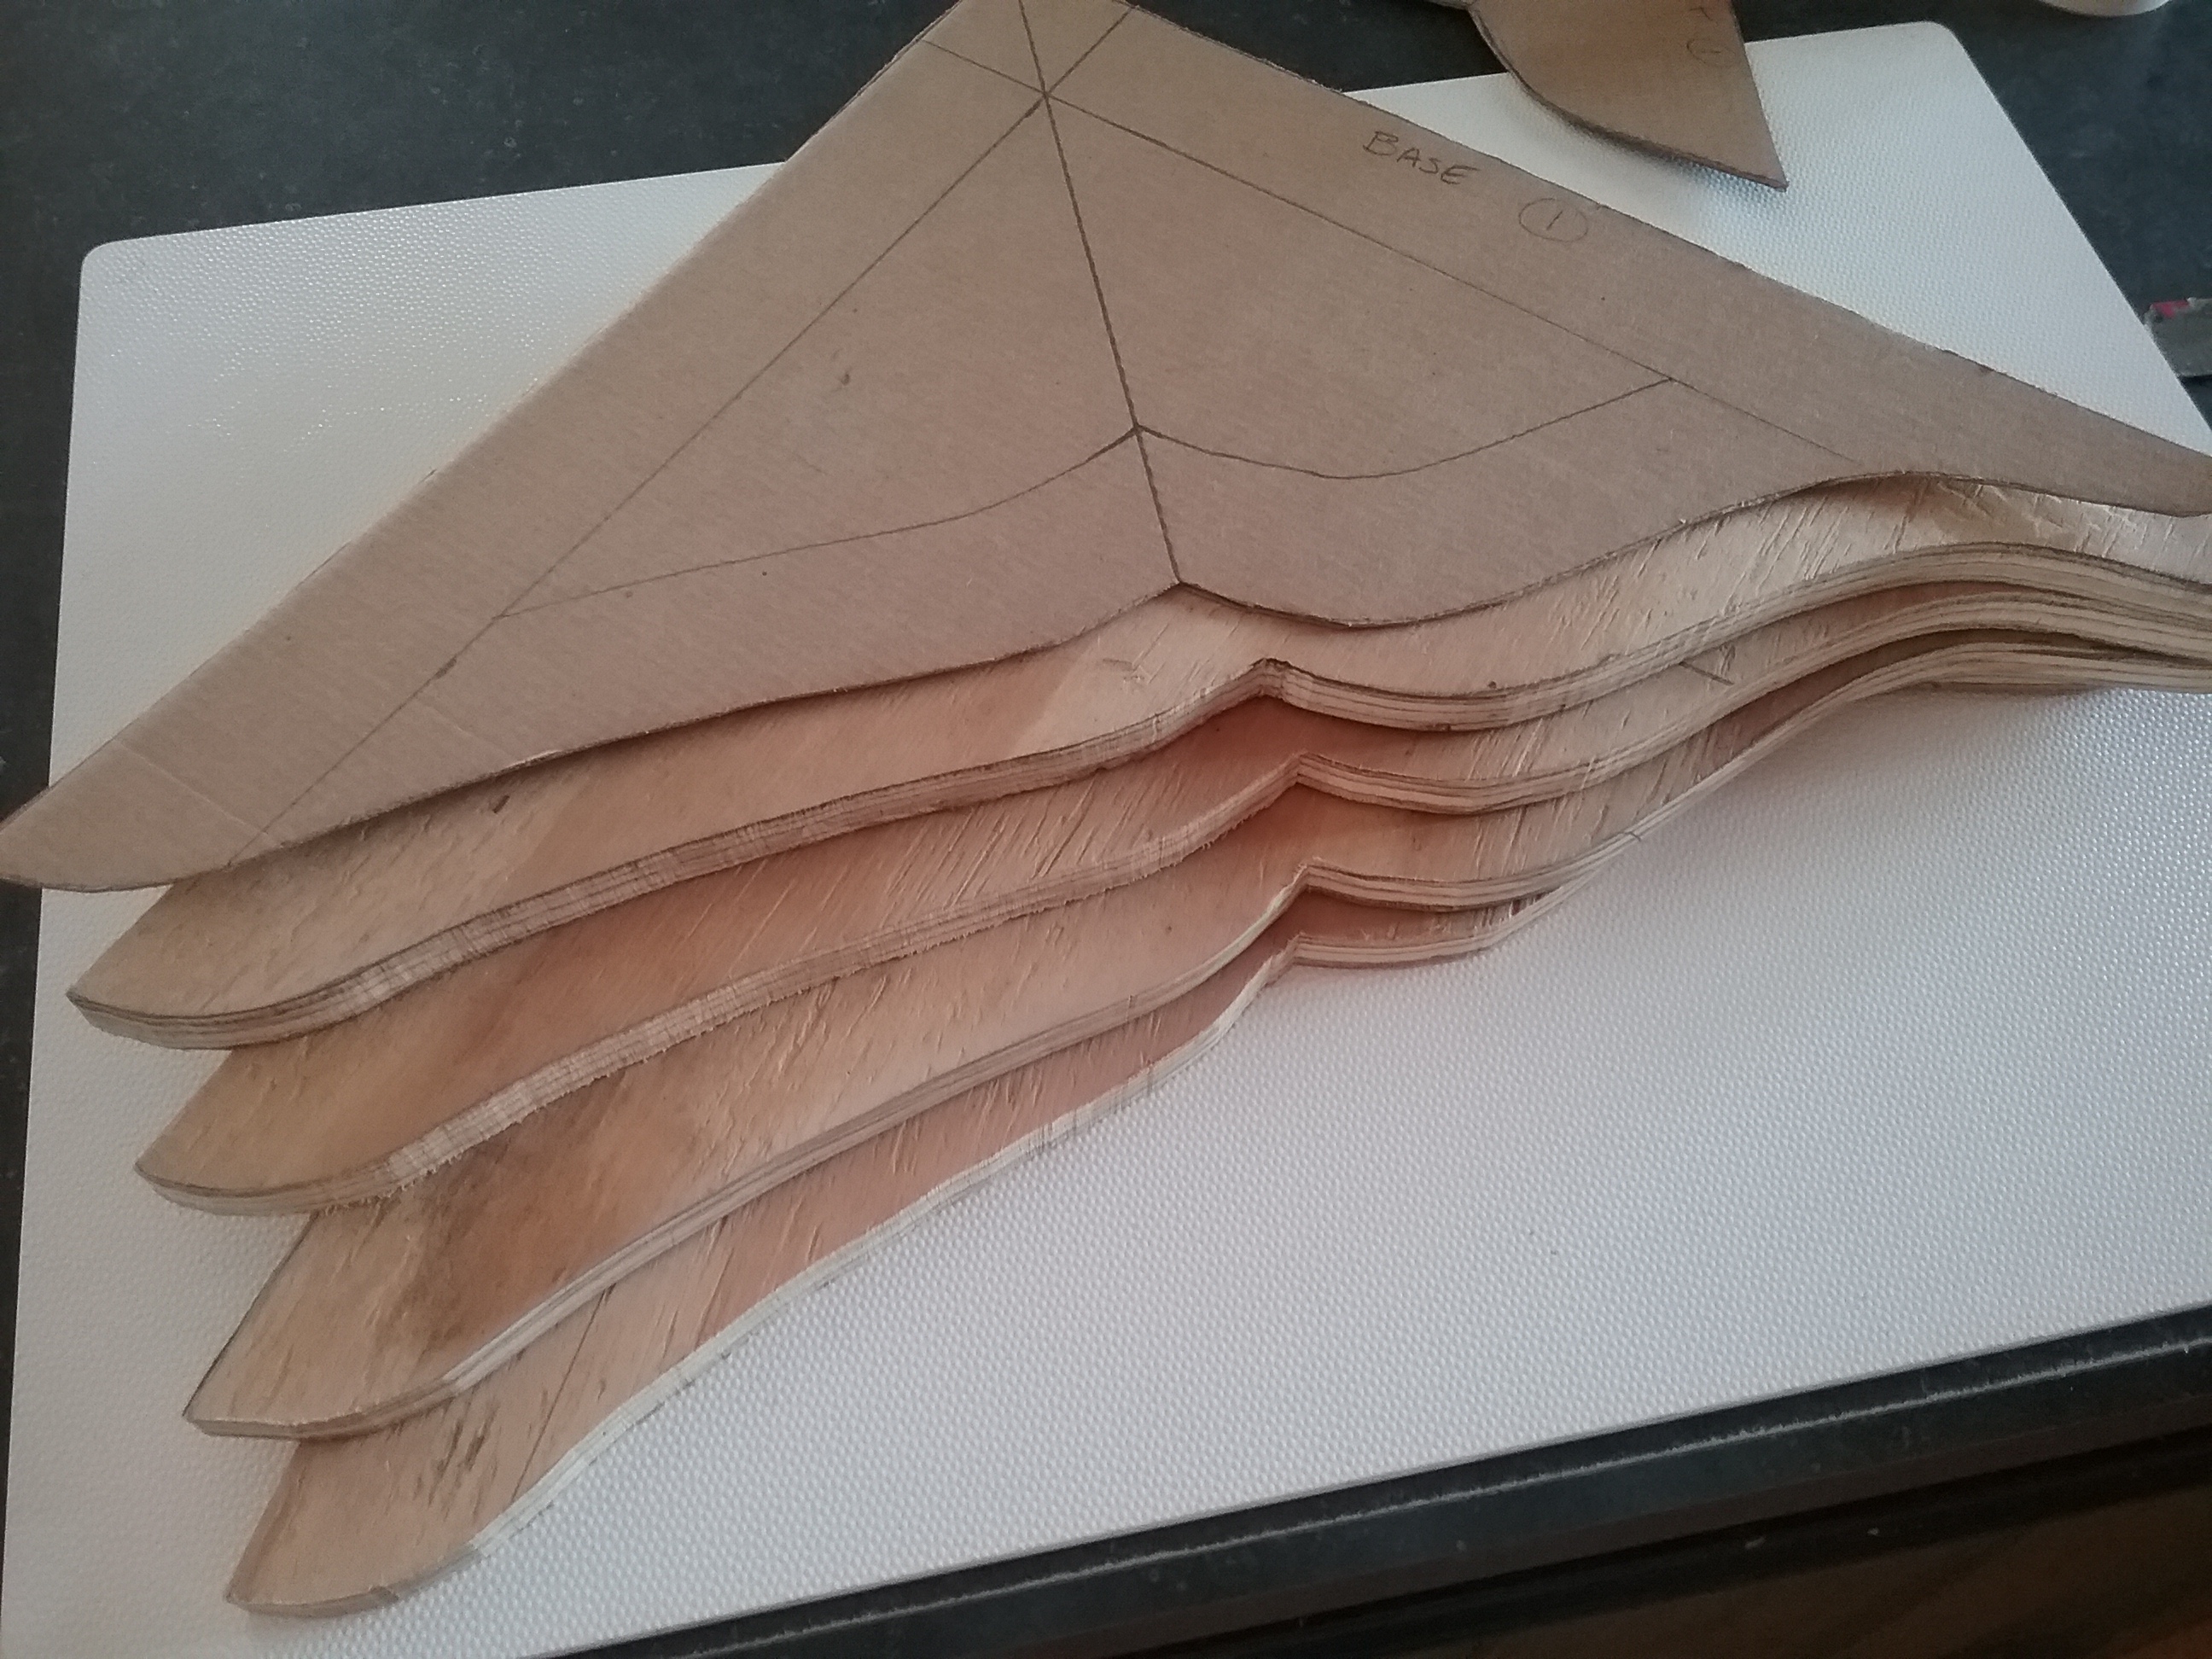
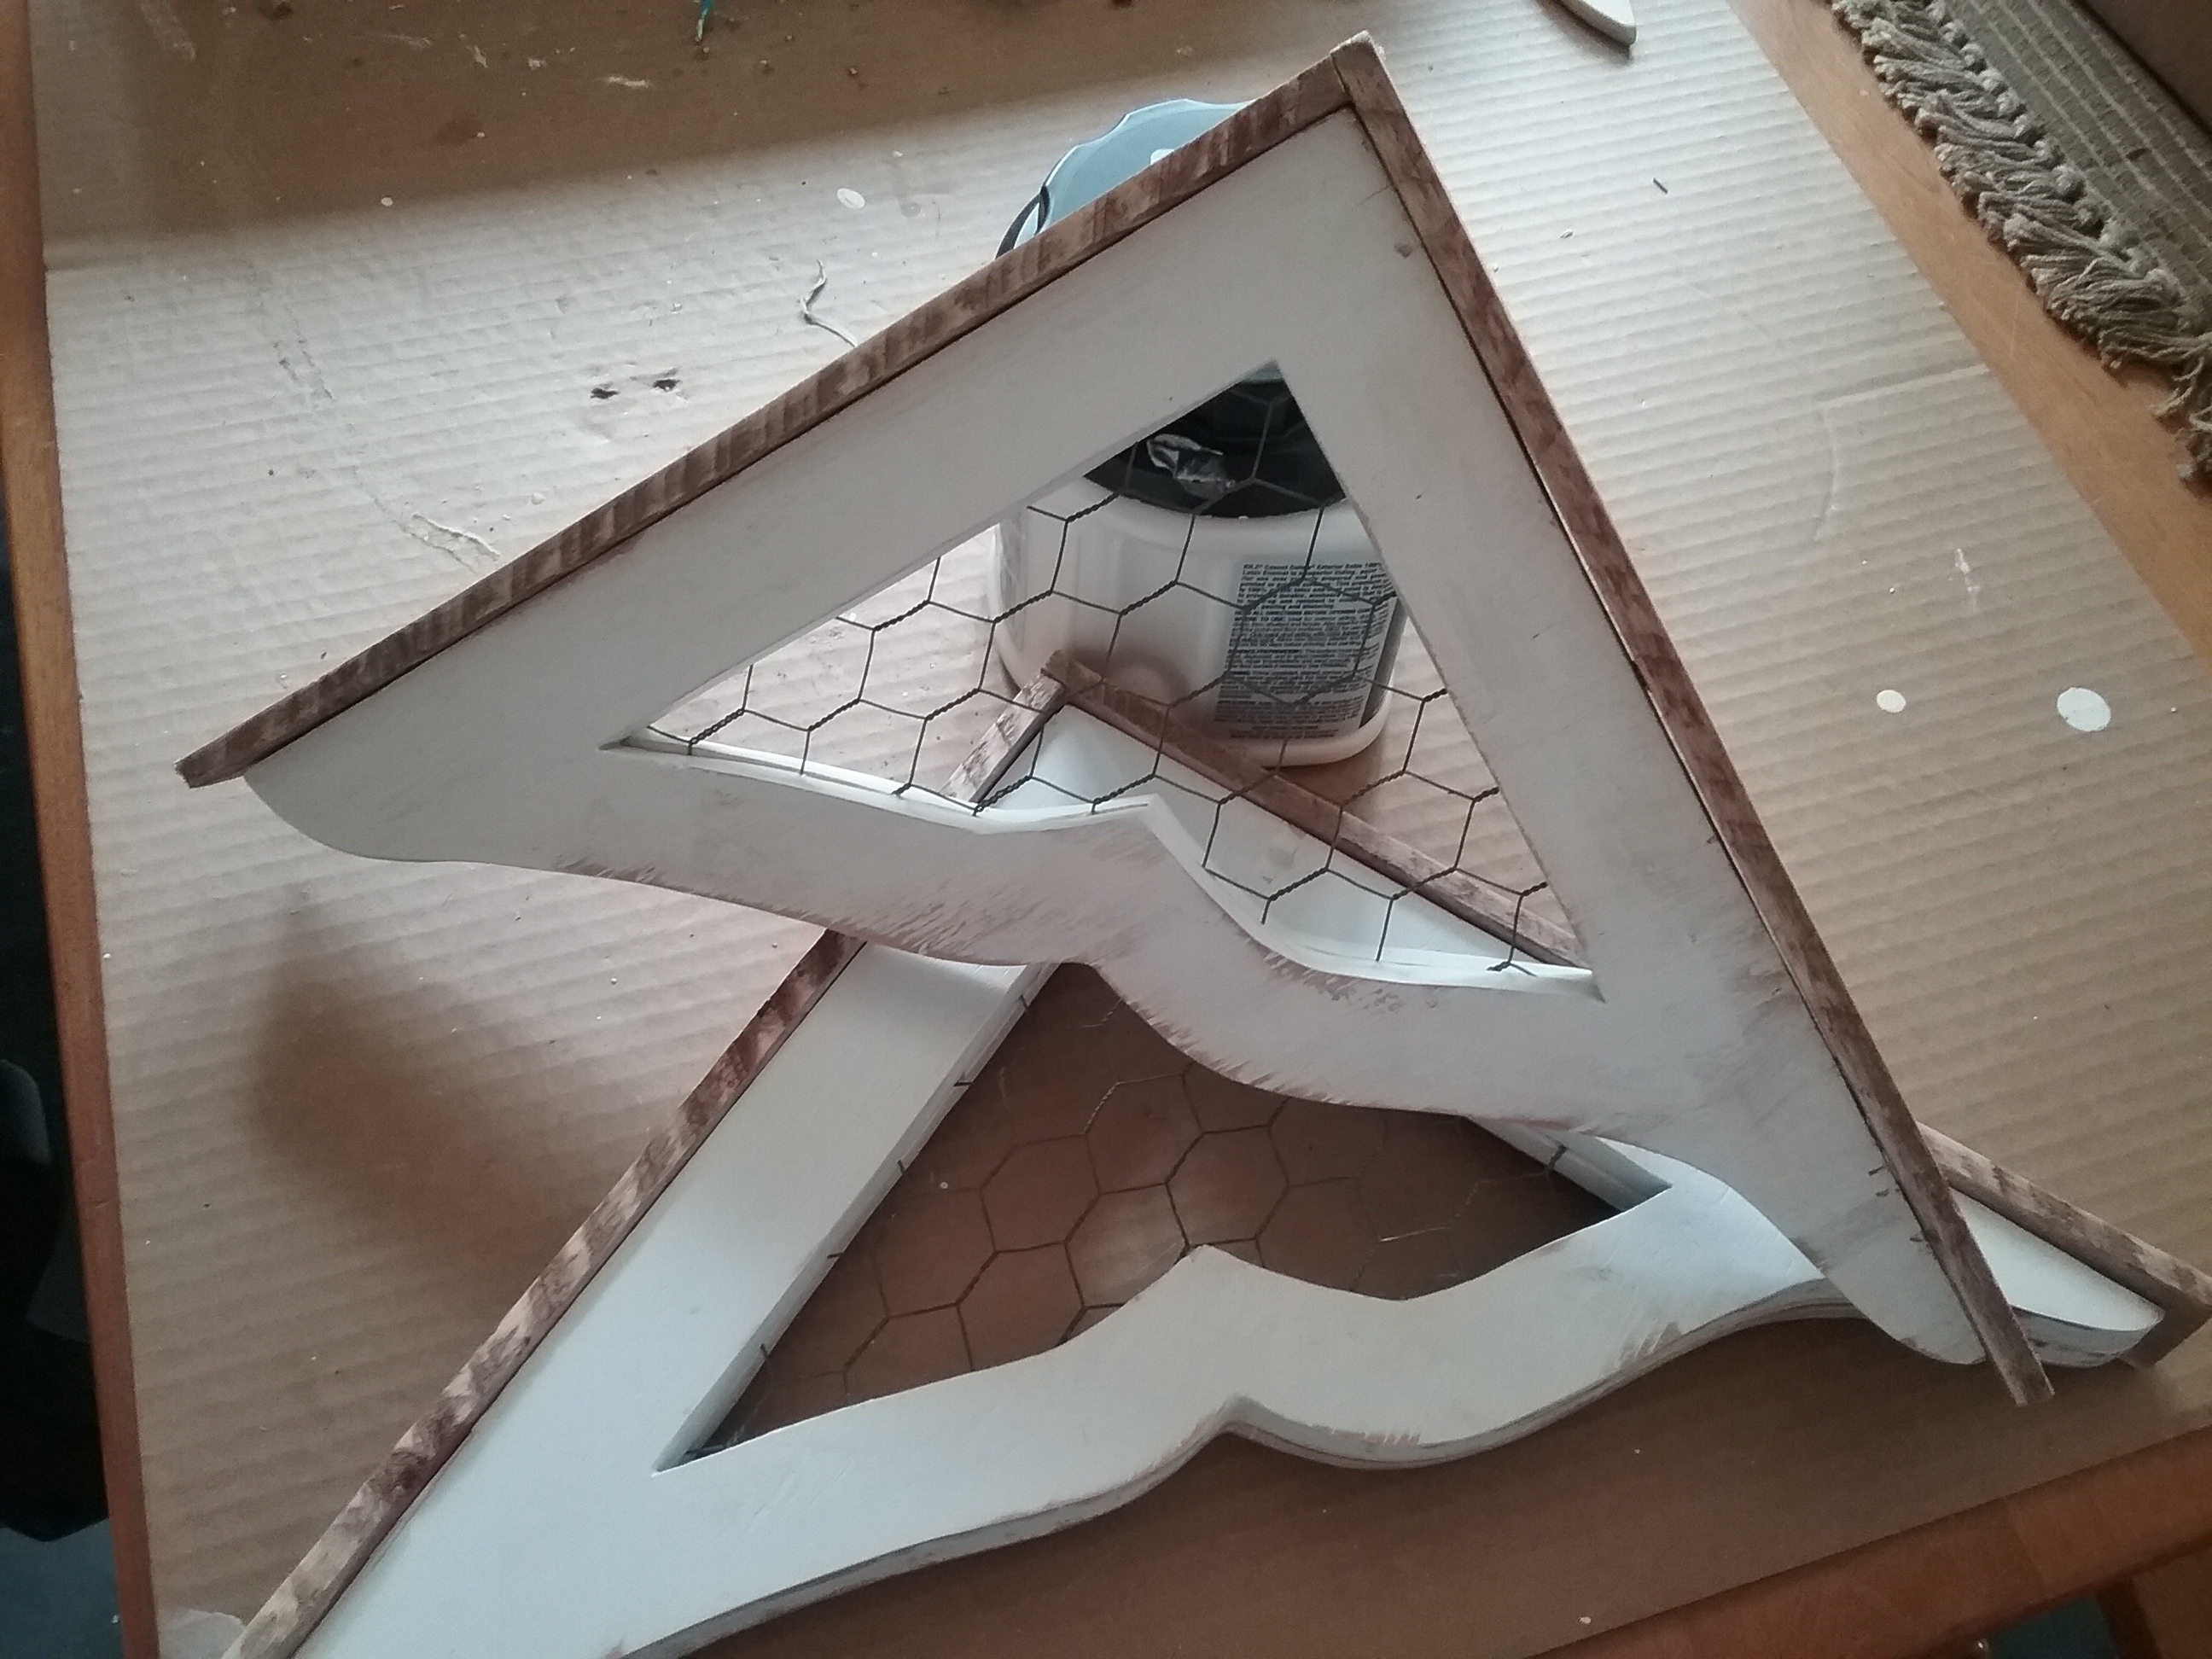
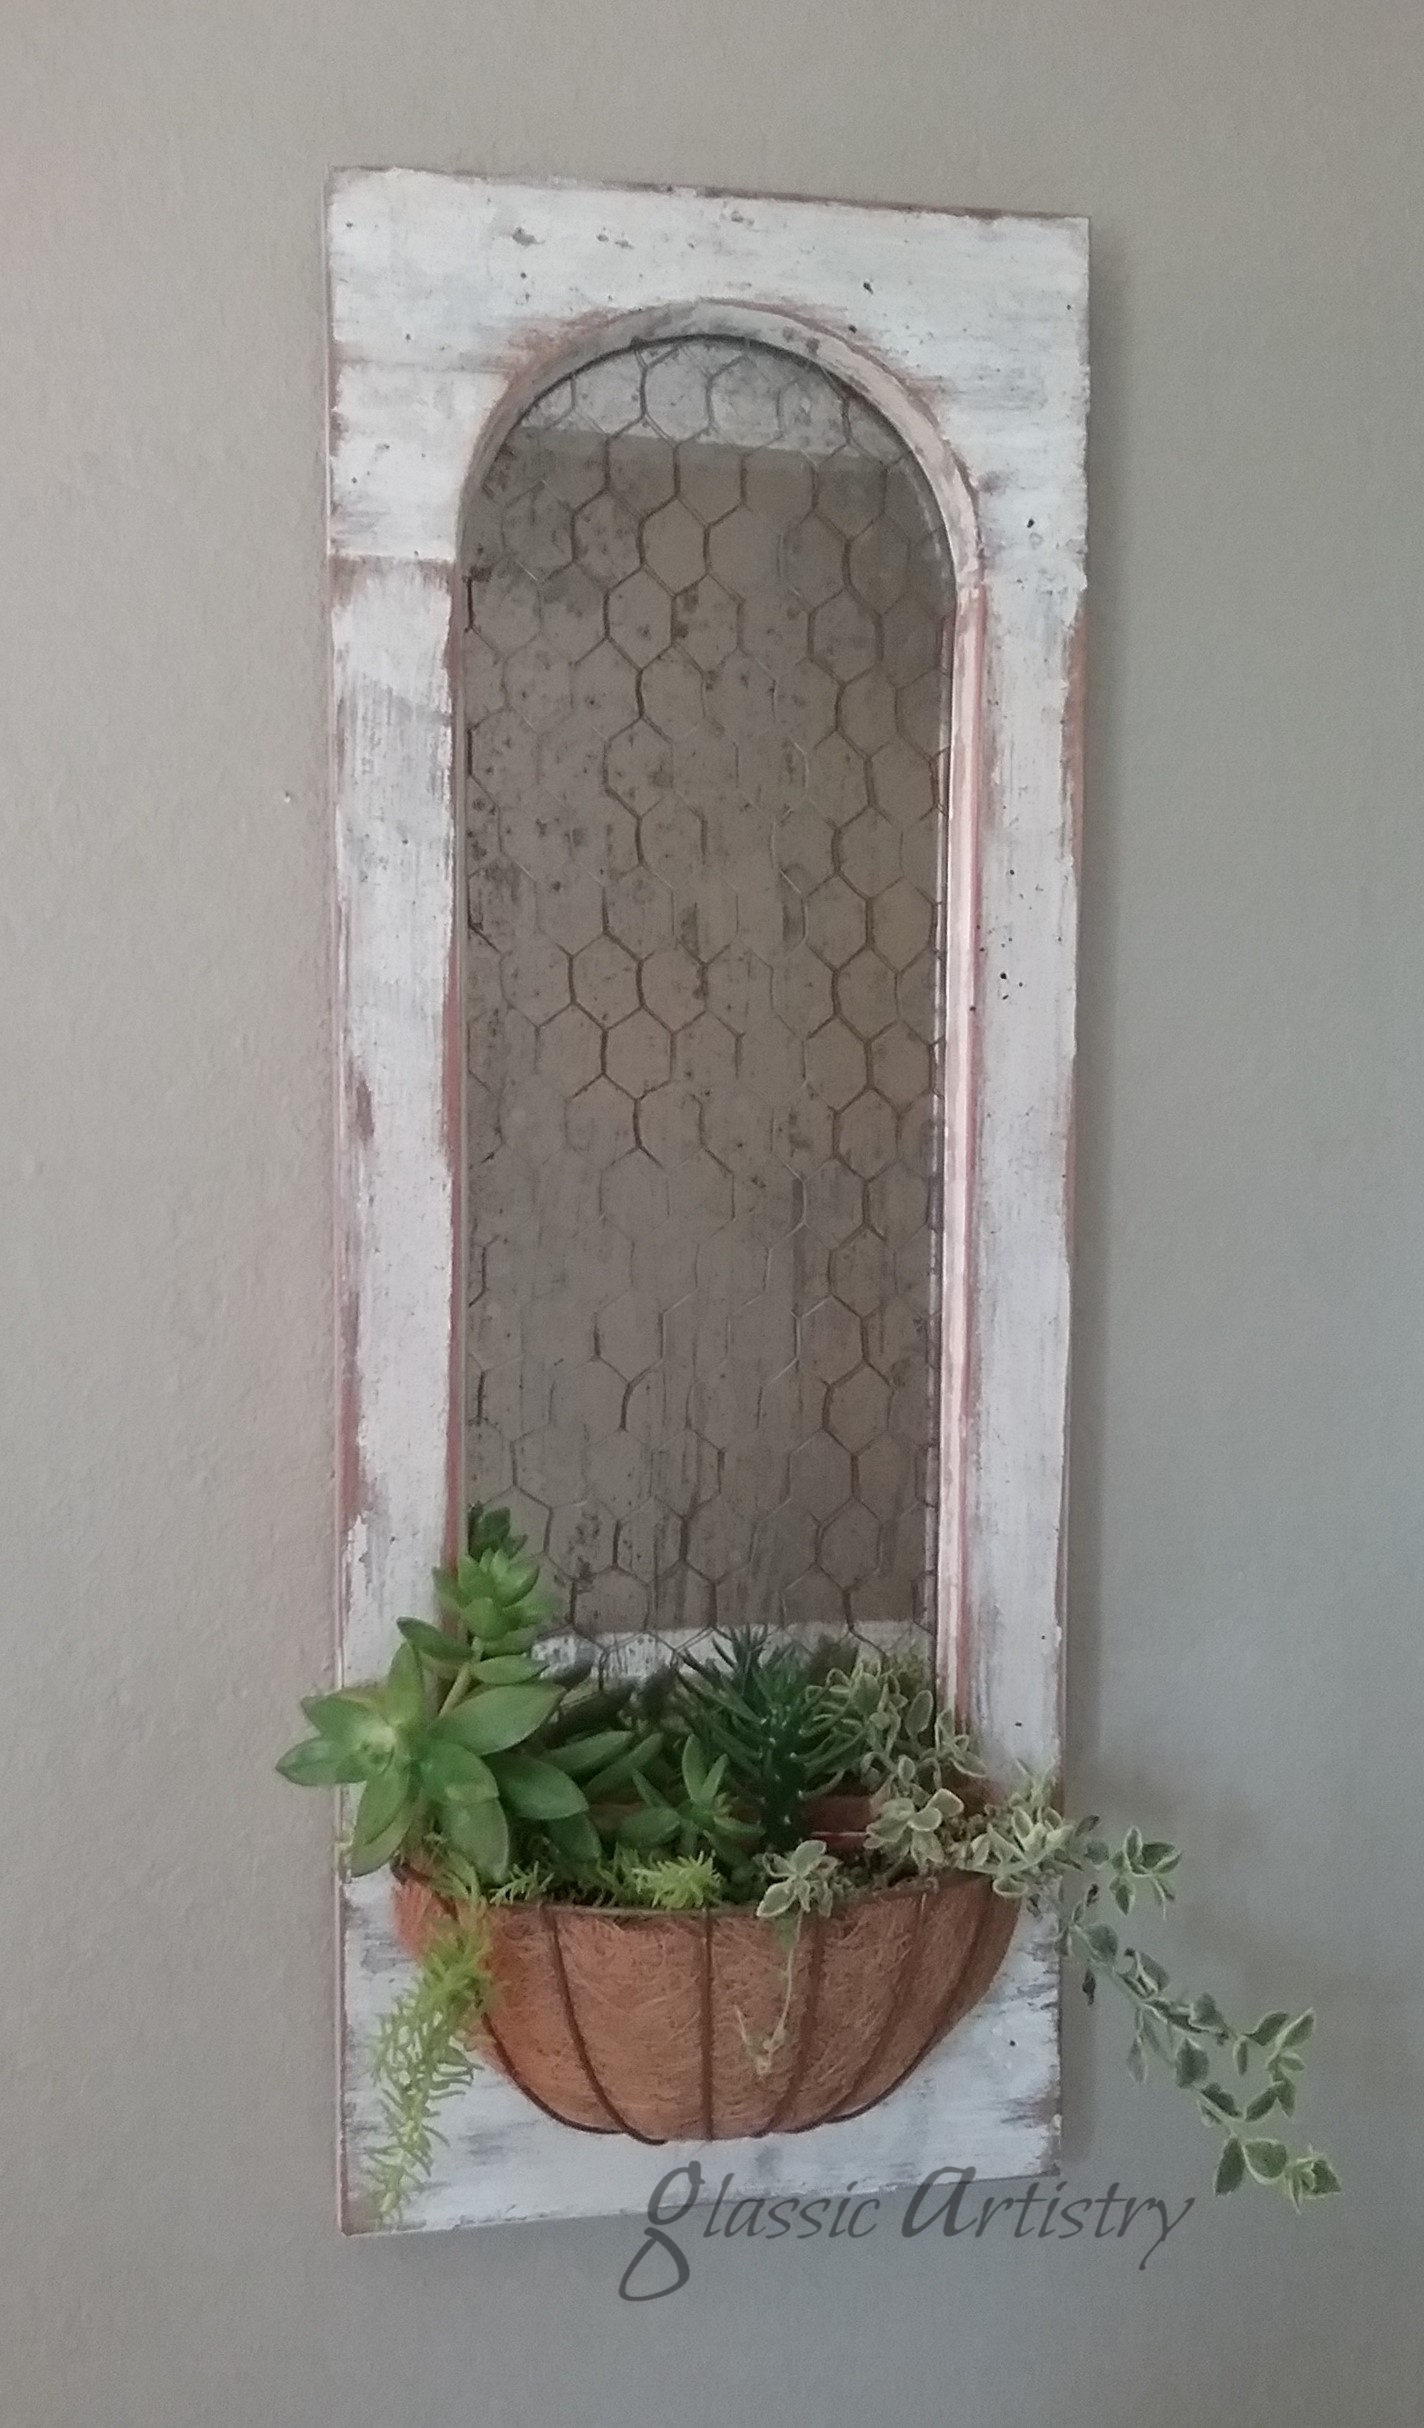
I started with a chunky, long, oval wooden frame purchased at a vintage fair a few years back. It needed a little work to get squared up and made sturdy before a cardboard template could be drawn for the opening.

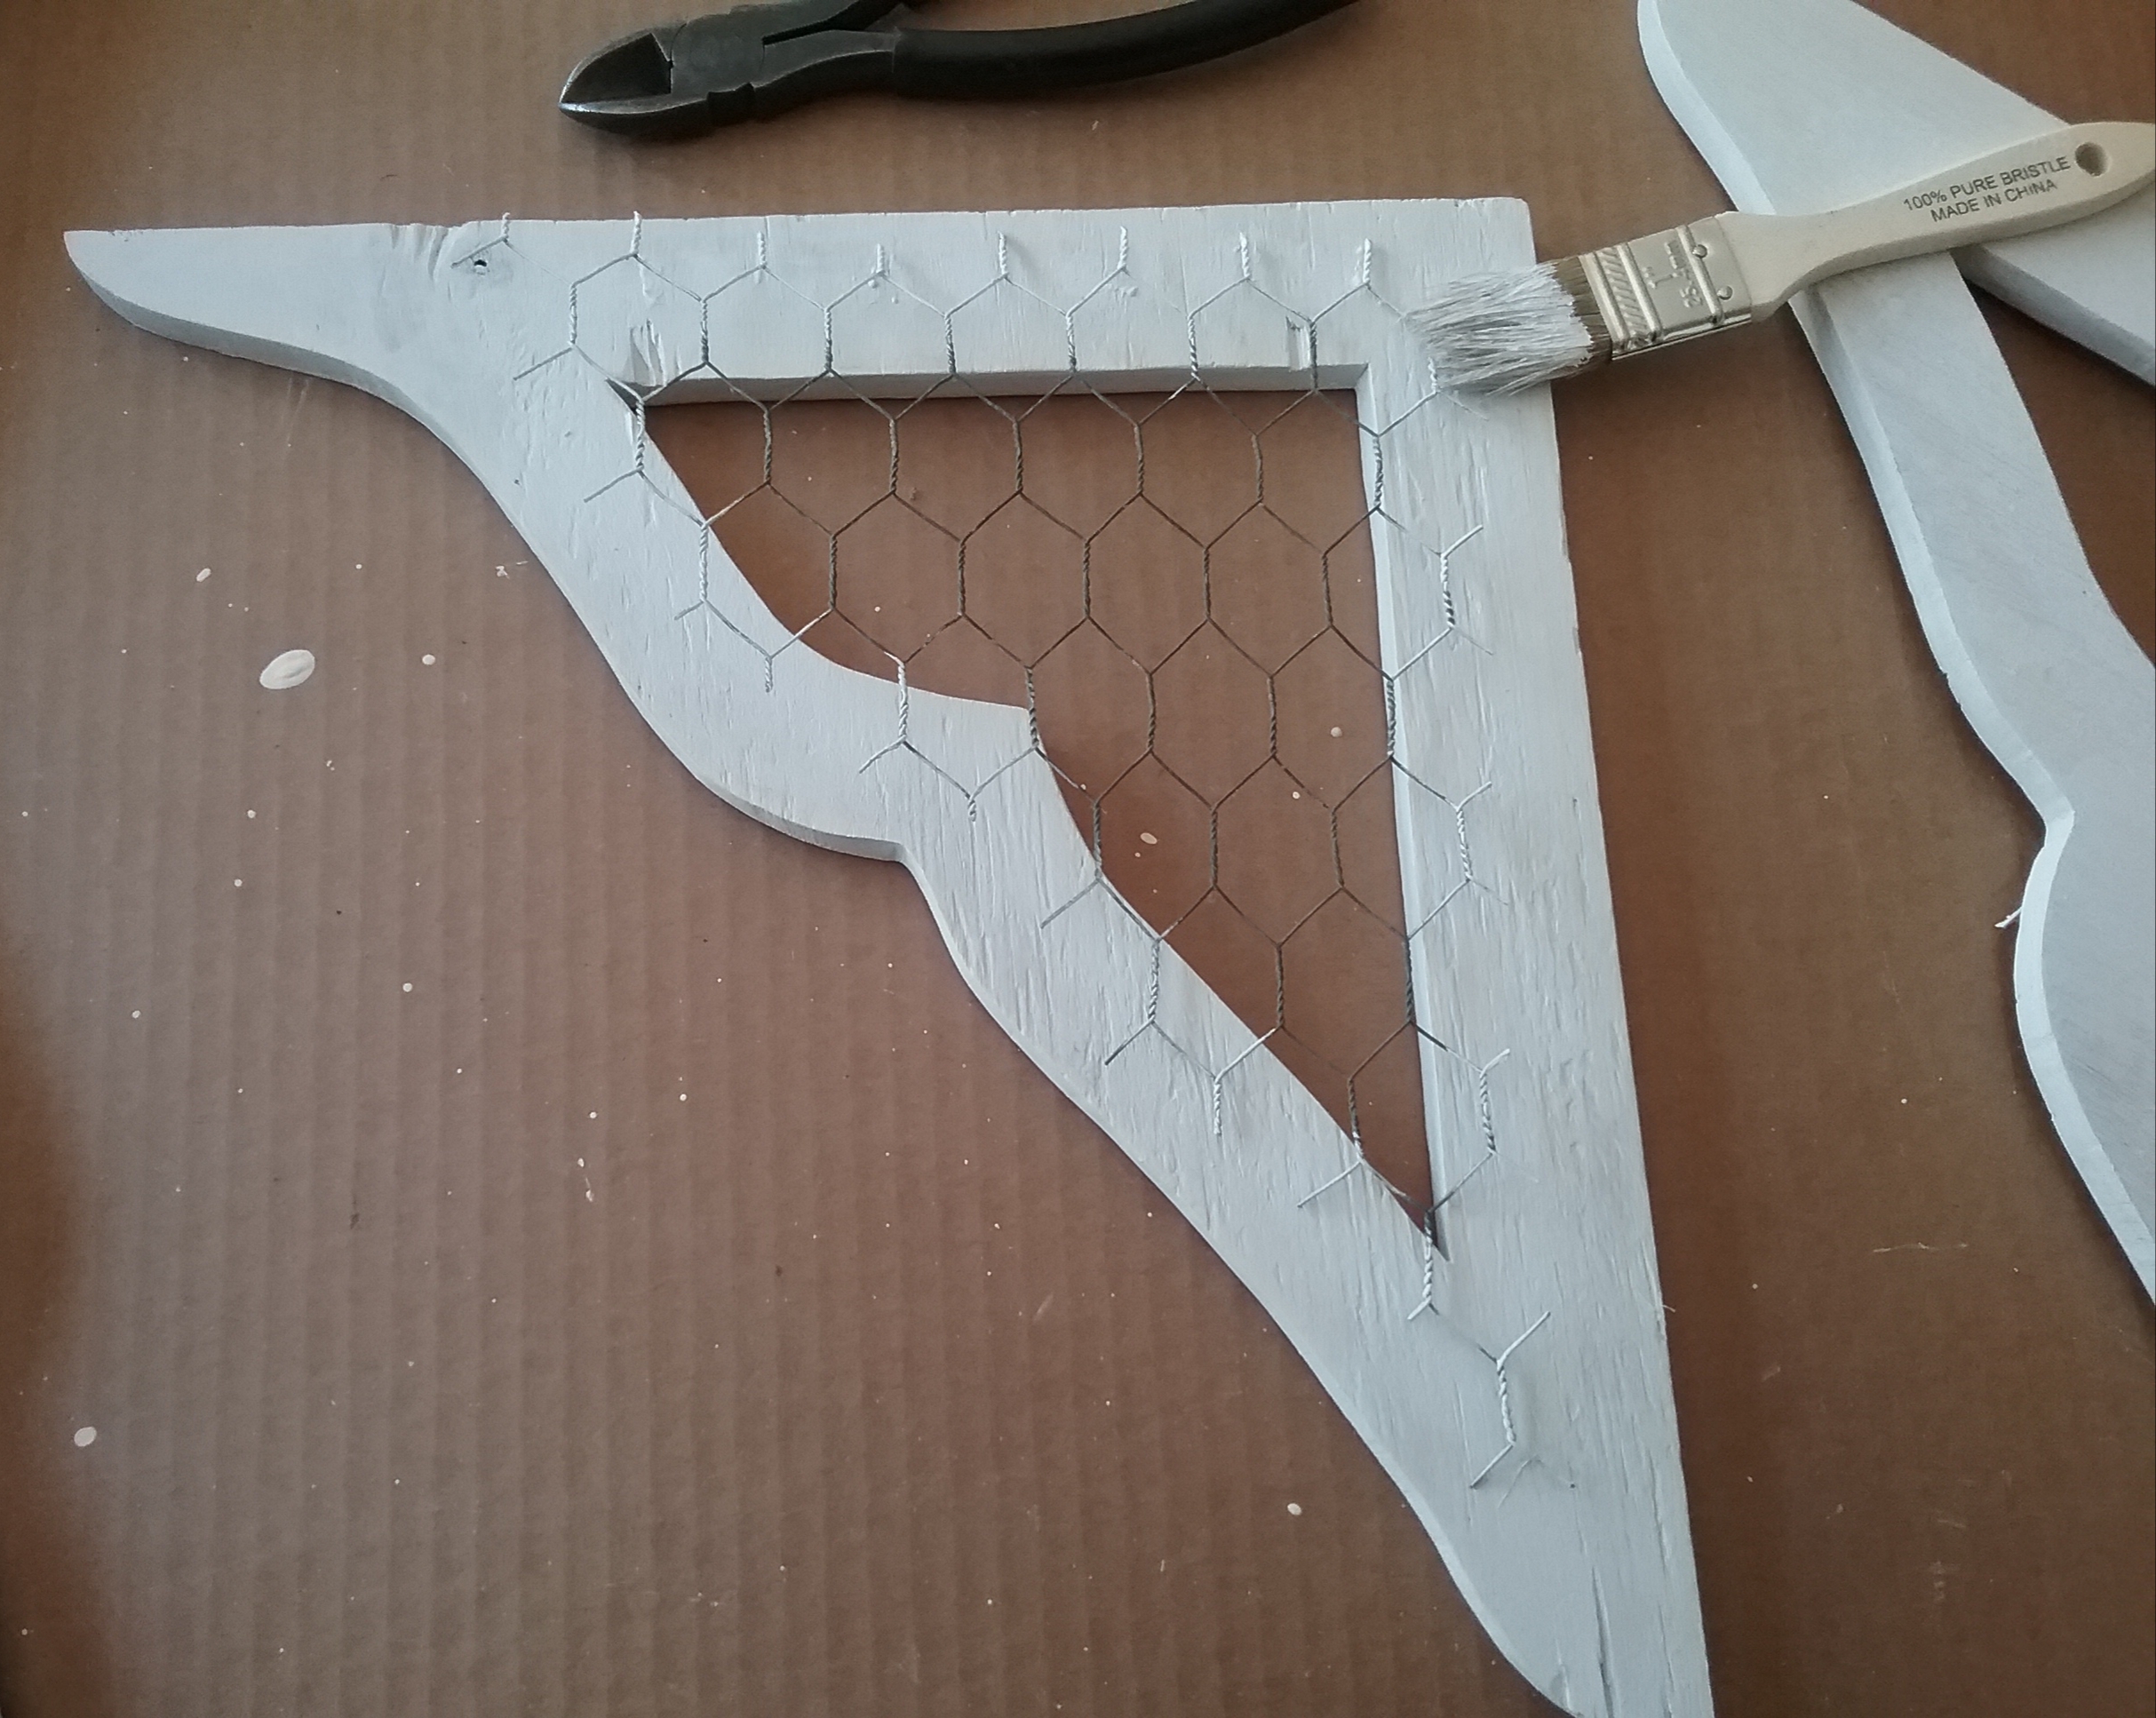
Tracing the template, I cut and shaped a piece of mirror, a piece of clear glass, and a piece of old chicken wire. The mirror was cut from an unwanted, inexpensive, thin, full length mirror I had in the garage, and luckily I found a large enough piece of clear glass in an old window pane. Another option for this planter would be to use chicken wire alone.

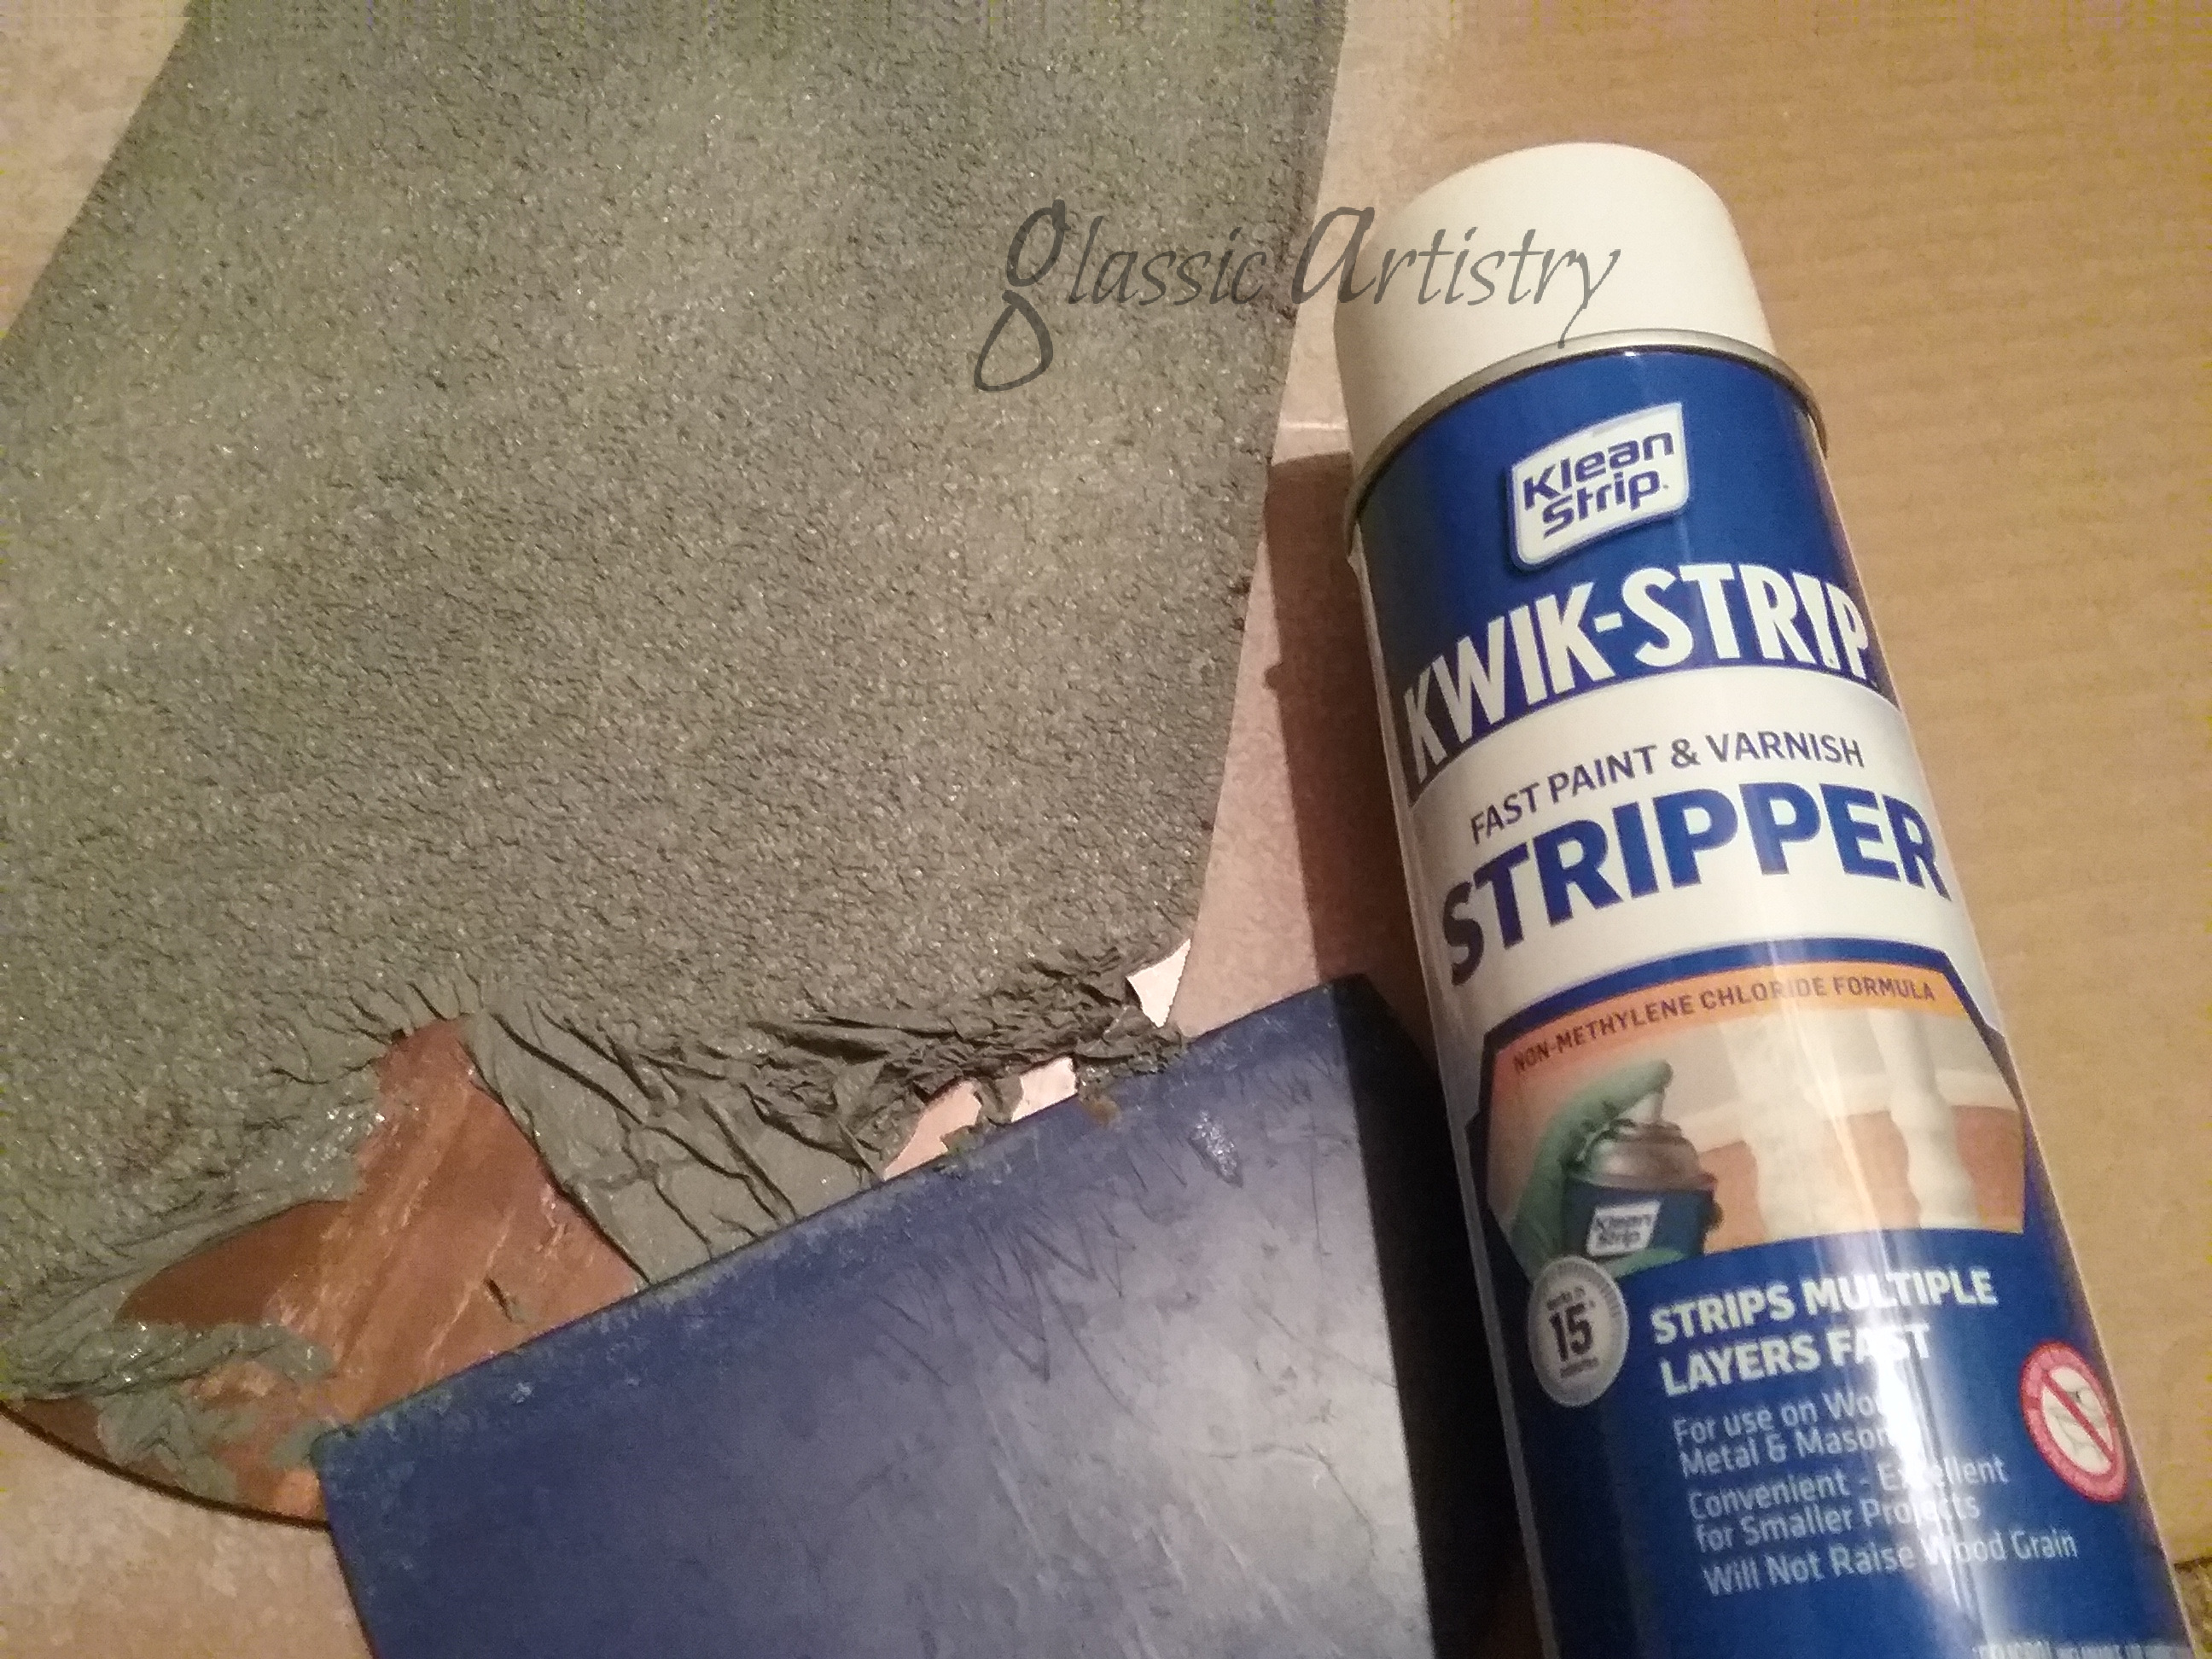
I removed the back of the mirror with a spray stripper, and used a wide plastic putty knife to gently remove it. Spray stripper is pretty awesome; much better than using a brush for this step. Once it was stripped and washed clean, I used bleach to sponge the back lightly in a few places and speckle with a toothbrush splatter. Always protect your eyes and wear gloves when doing something like this. I let the bleach sit for about an hour. After washing off the bleach, you can add black speckling, metallic powders or paint, or vintage papers to show through the mirror, but I left mine plain.

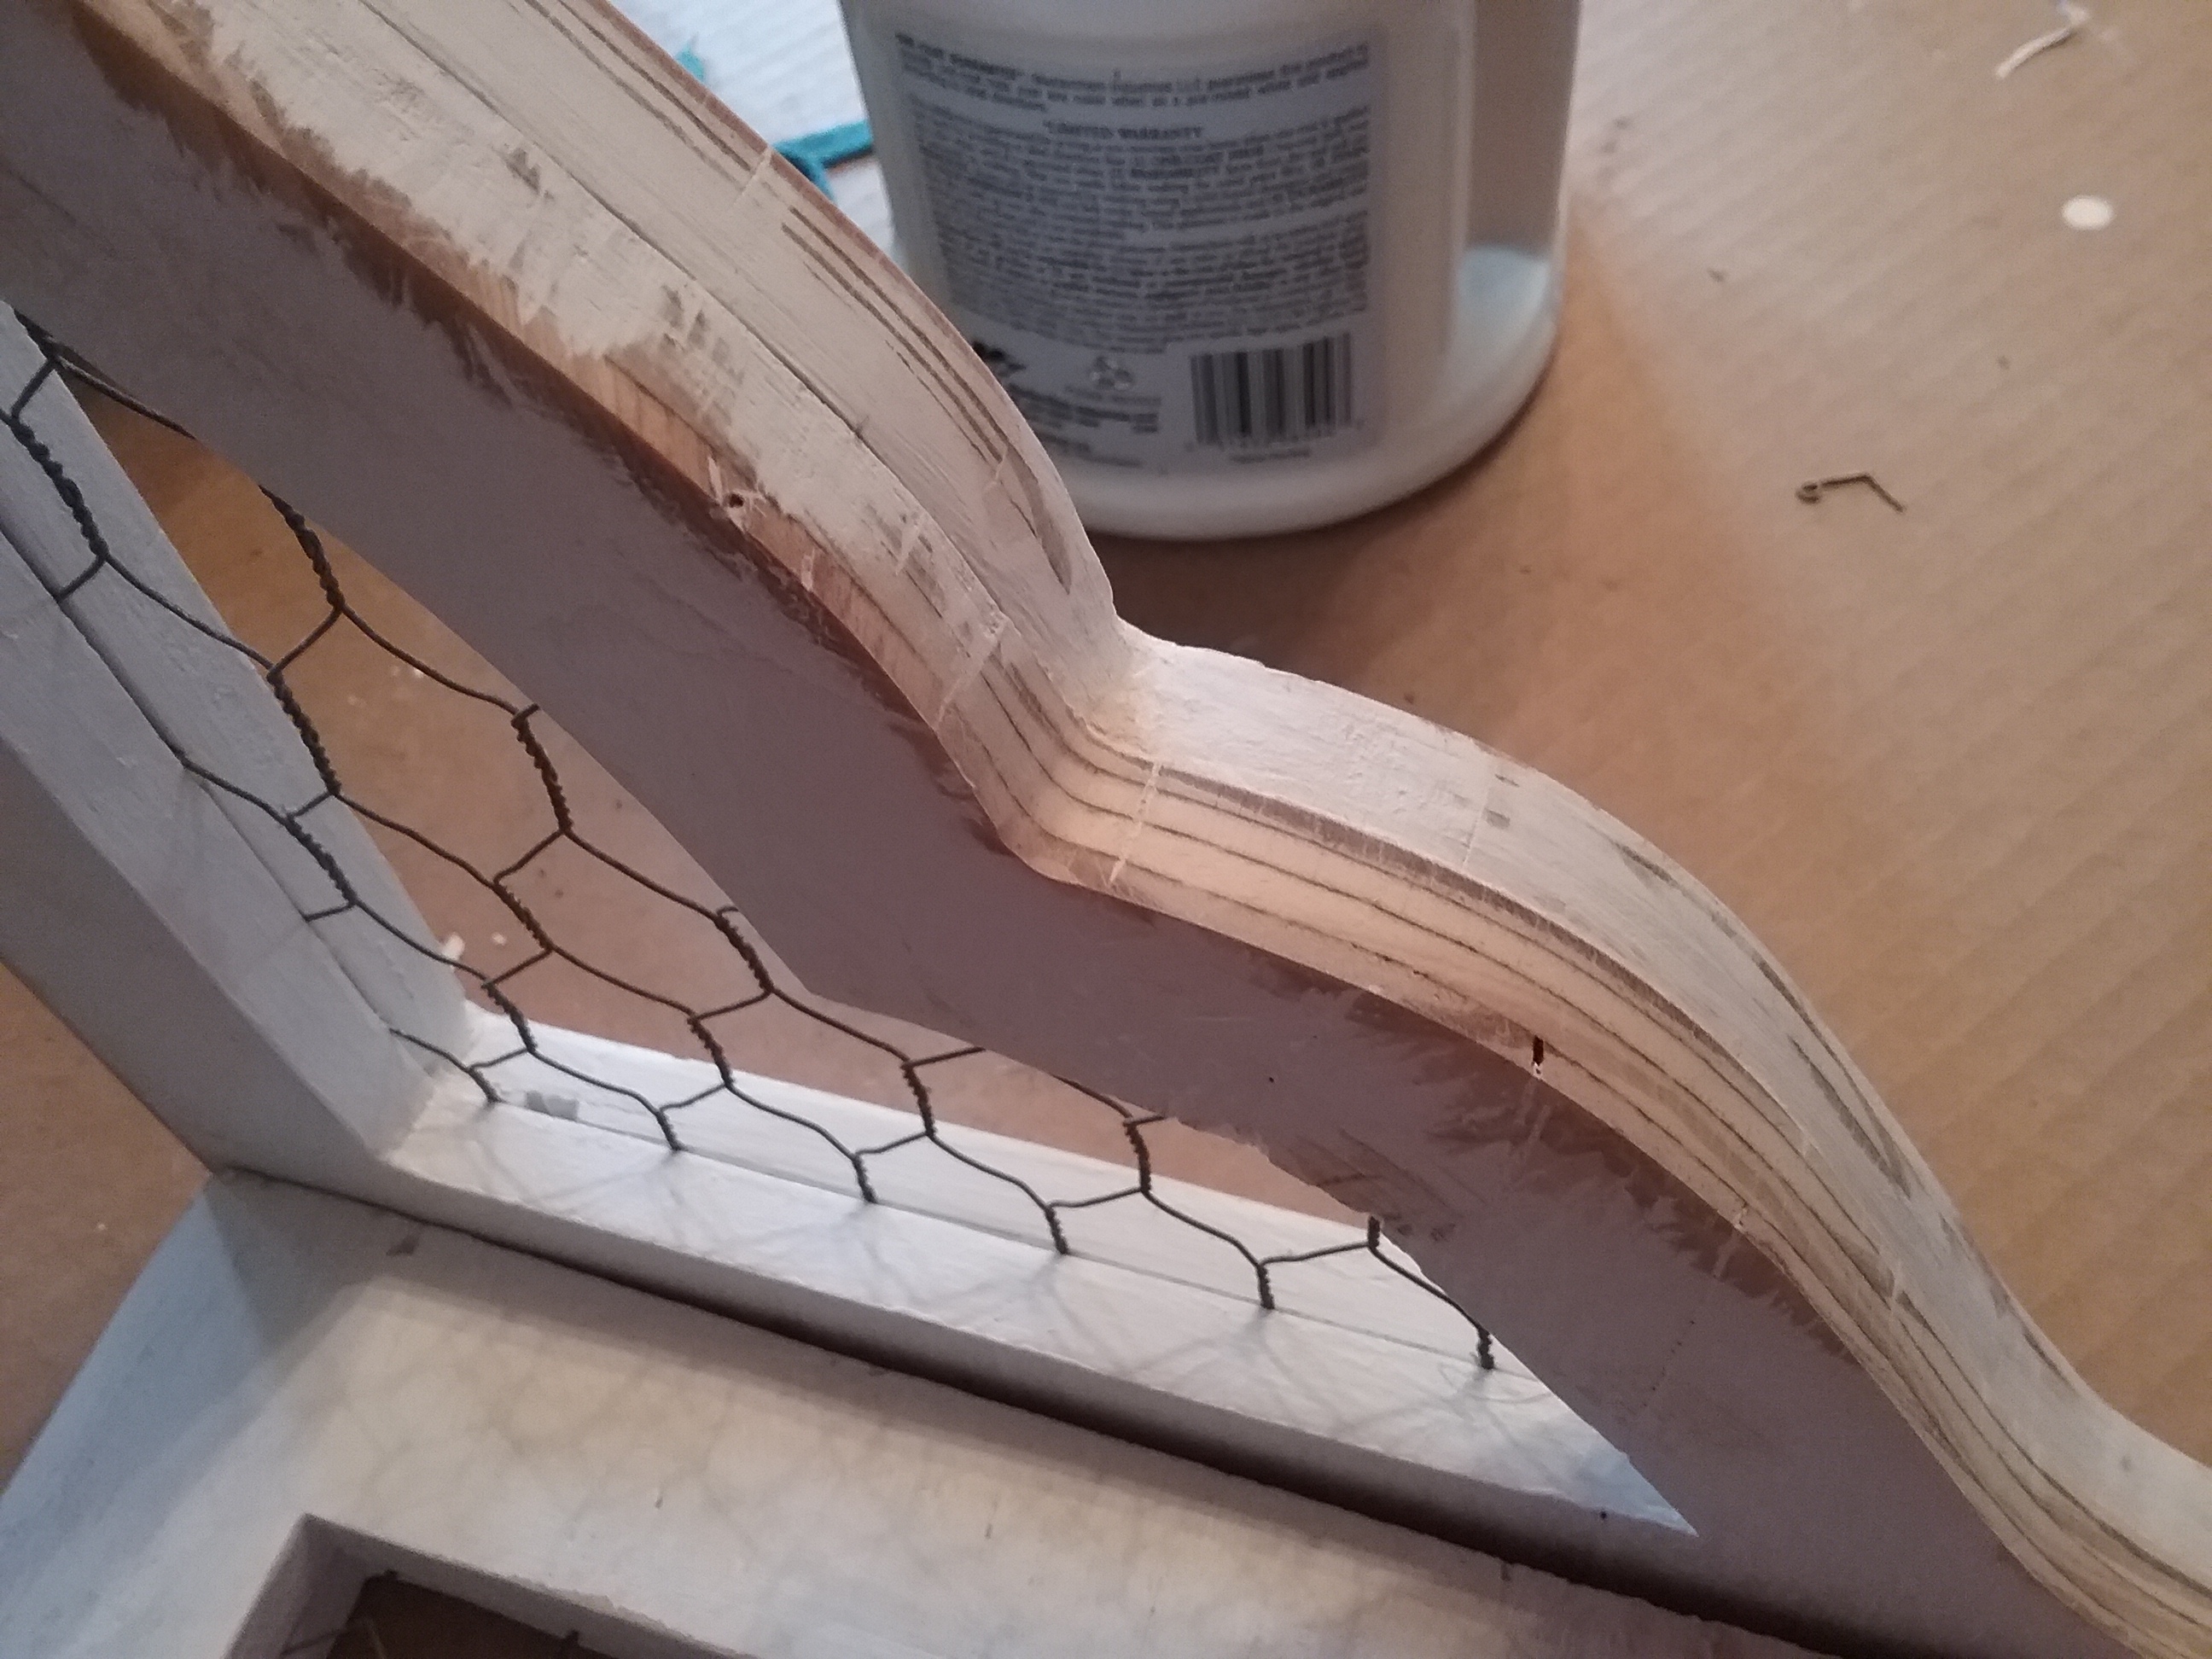
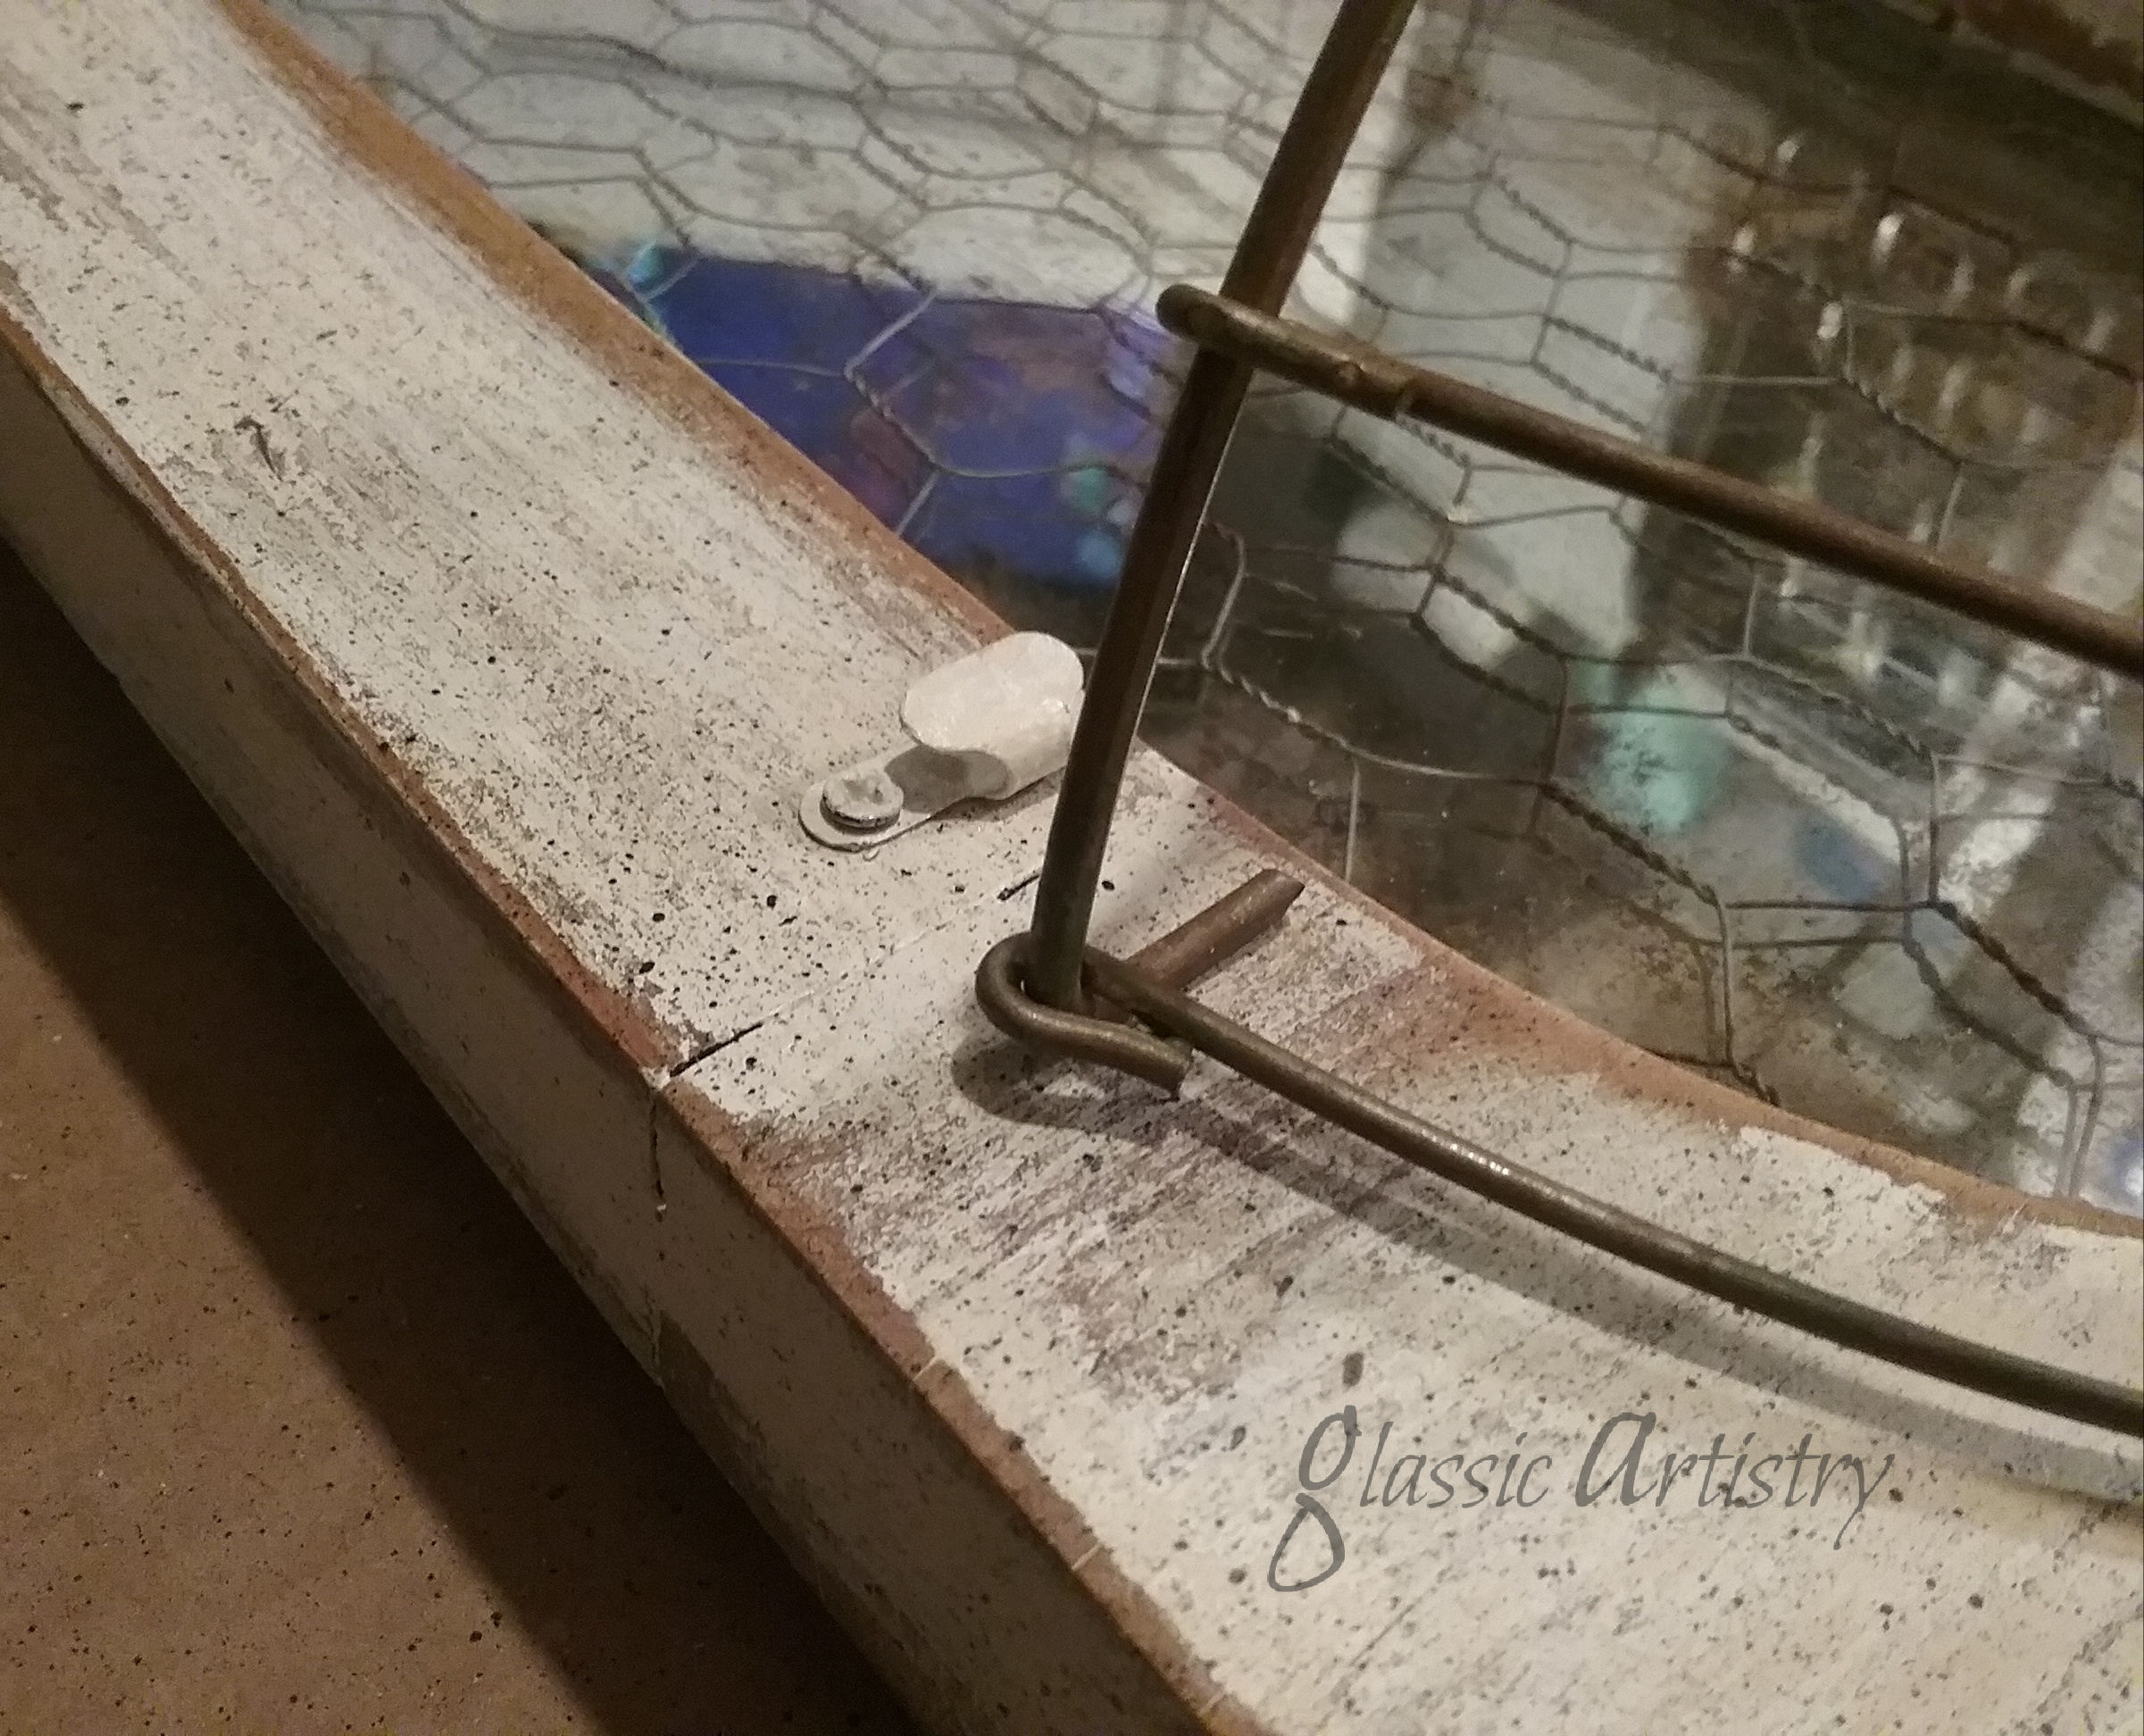
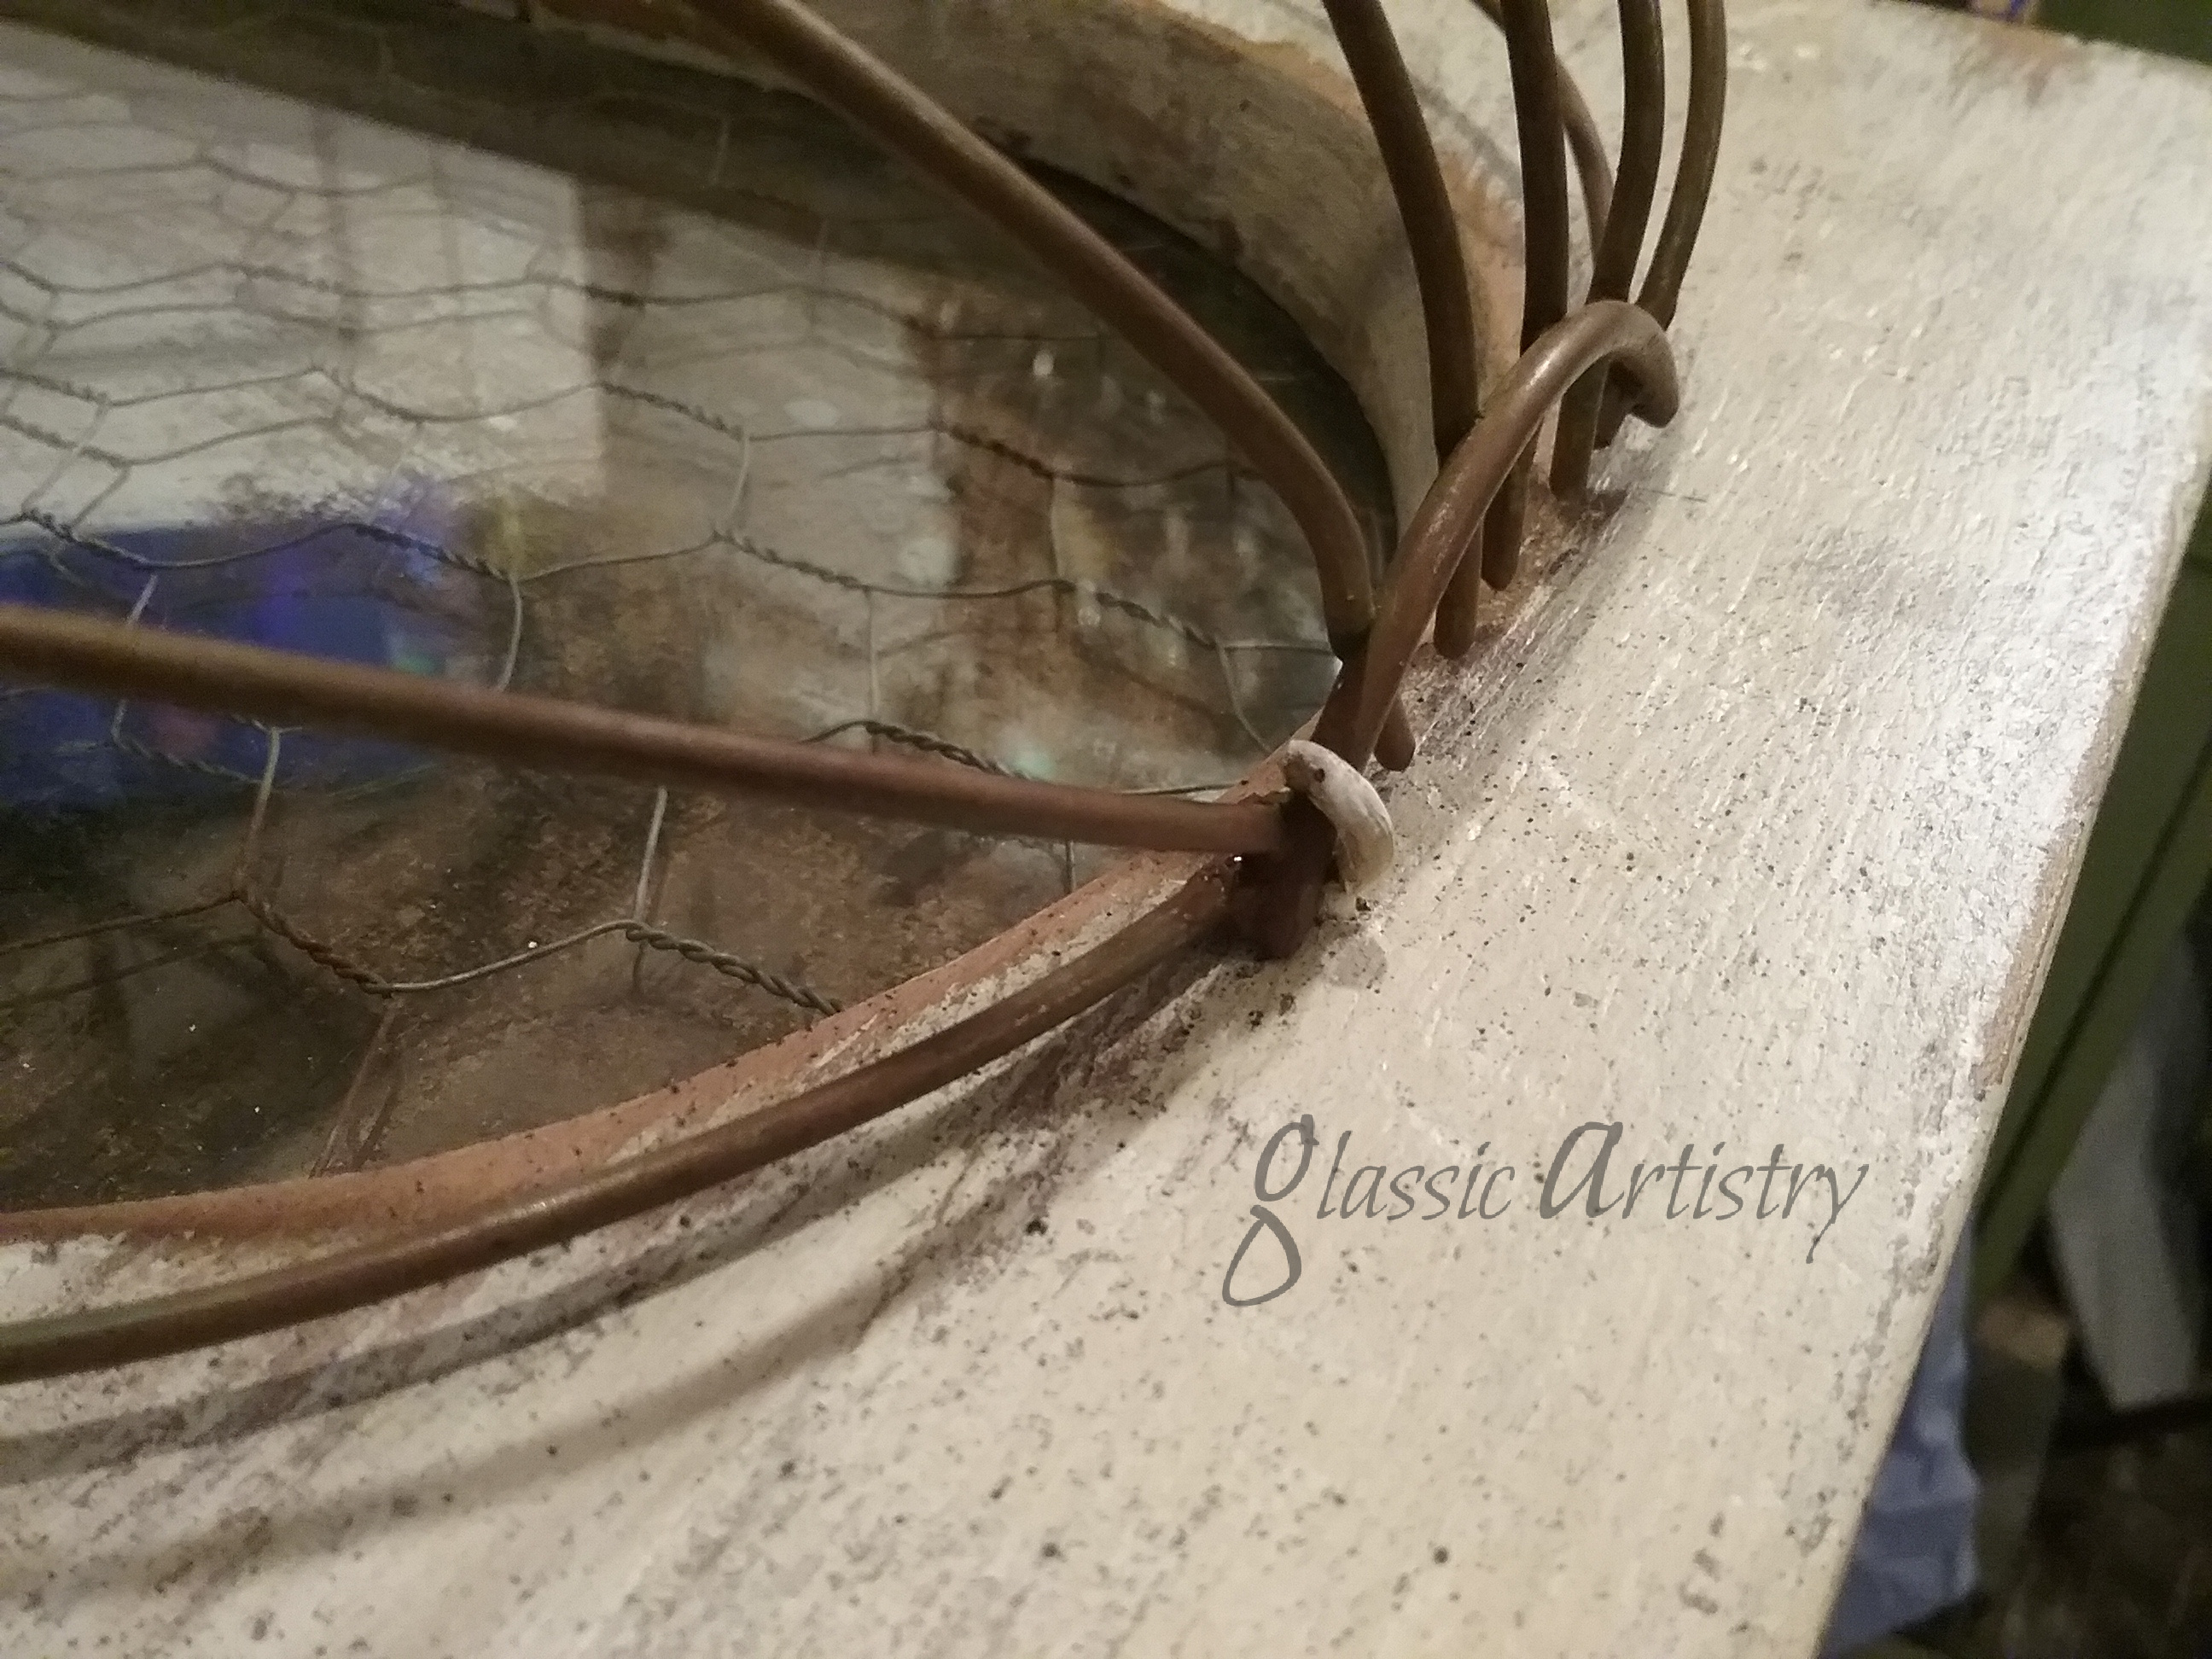
After a few layers of stain, paint, and sanding, the frame was sealed with a coat of clear, satin, water based sealer. After the sealer dried, the cut pieces were inserted in the frame opening, sandwiching the chicken wire between the clear glass and the mirror. Secured with glazier points.
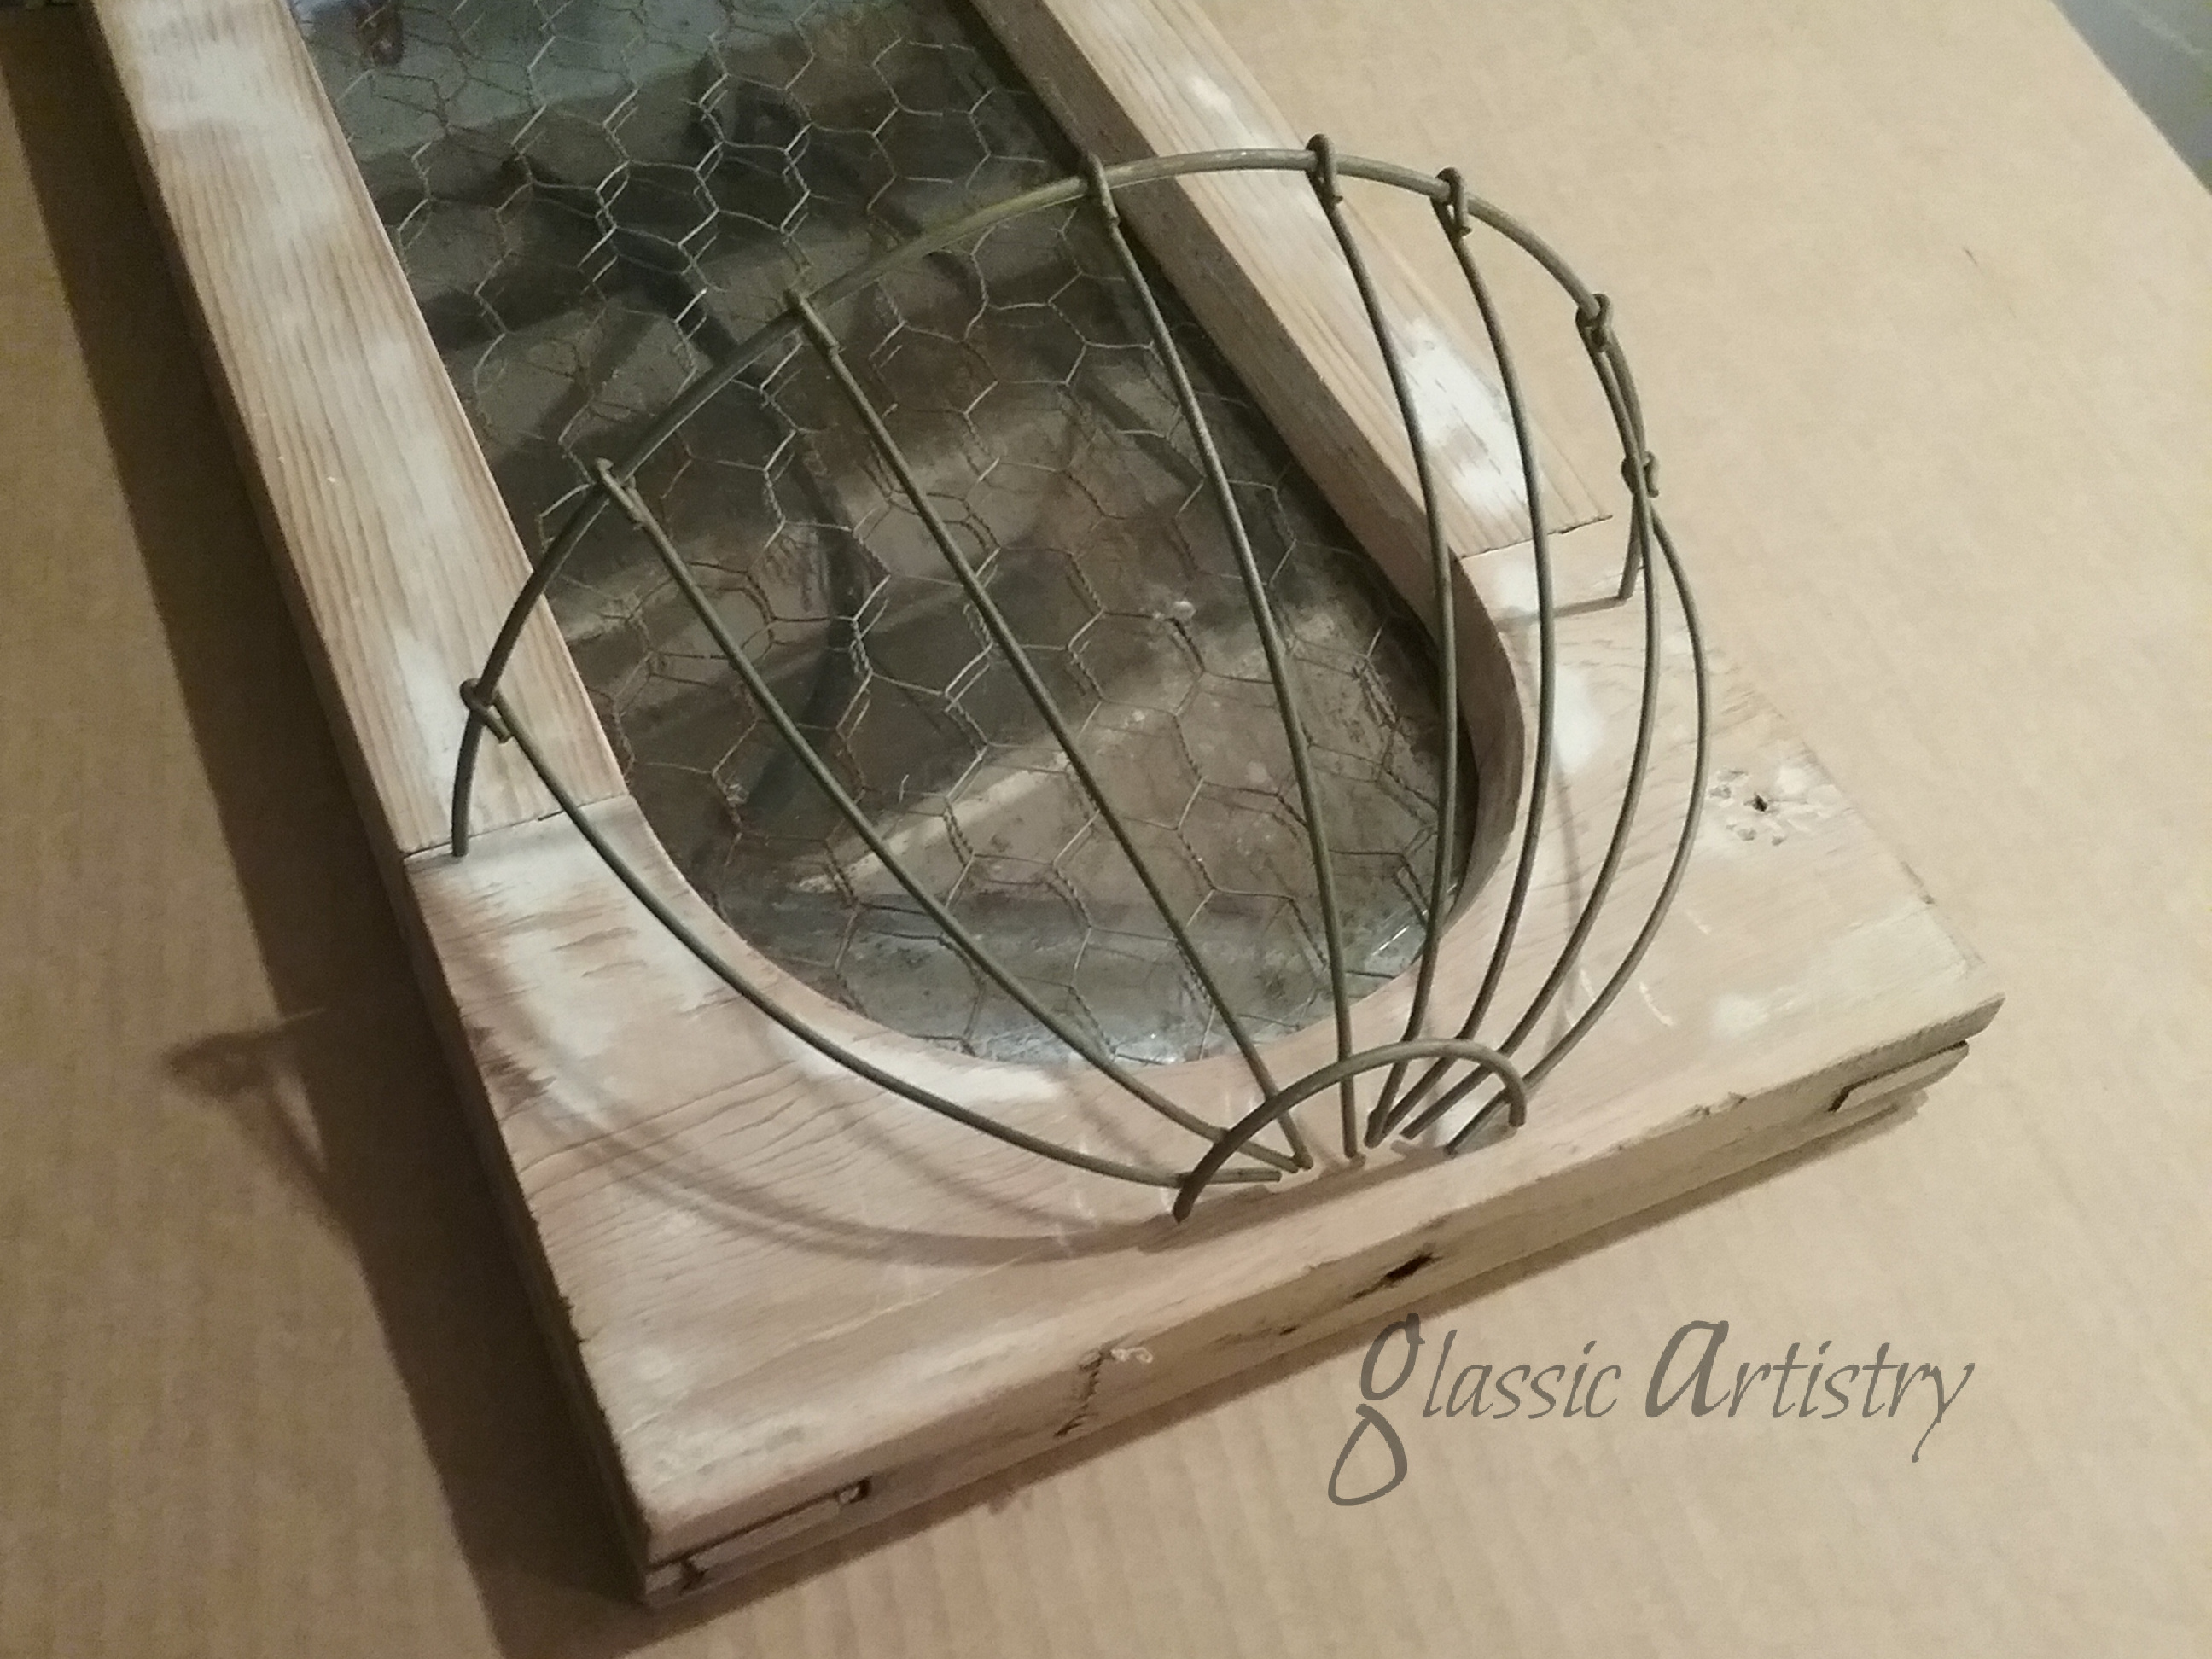
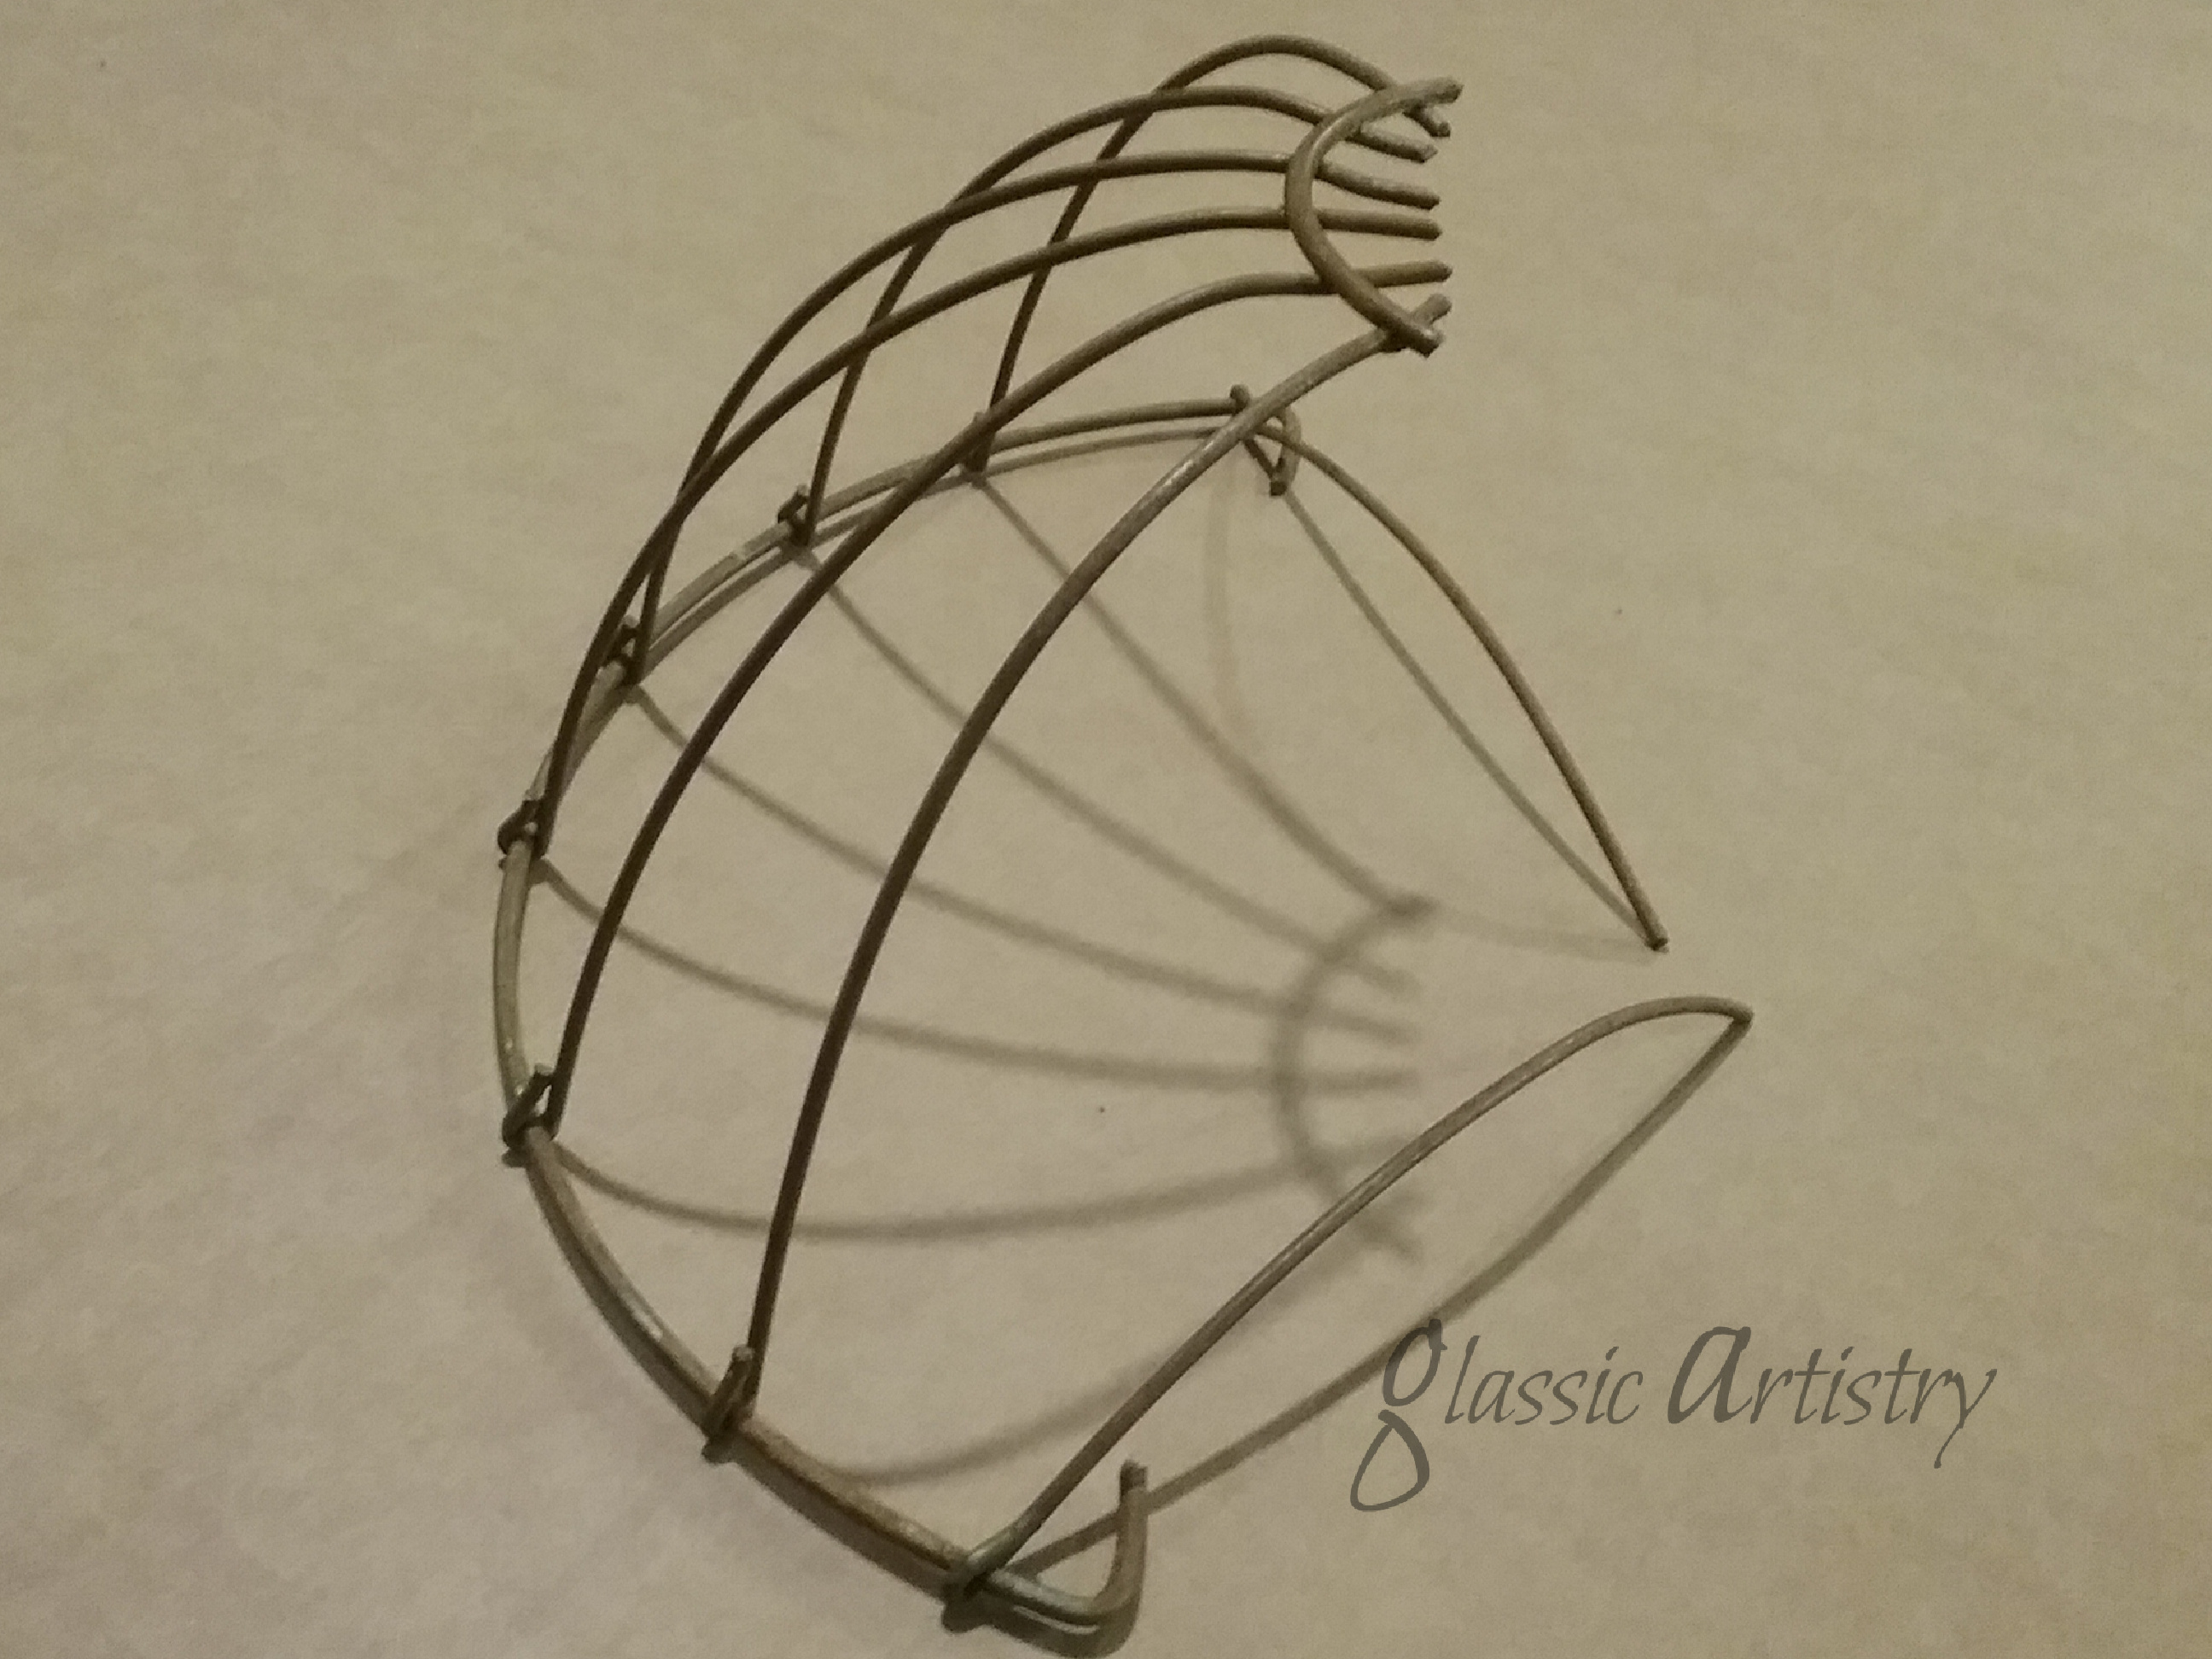
I cut a 10” hanging wire basket in half and laid it on the front of the frame to see what it would look like and figure out where I would need to trim it to fit well. I left extra length on each end of the top rim wire so L shaped corners could be bent. (I had to find a pair of stronger hands to help with bending.) I ended up with two loose side wires and glued them in place to get the shape I wanted. When dry, the glued areas were touched up with a little brown paint.


I found some very simple hardware to hang the basket onto the frame. One is just a cut eye hook, but I’m not sure what the other pieces are. I found them among some of my stained glass hangers so they may have come from a glass supply source; I don’t know. If anyone has a clue what they are, please chime in and let readers know. I wouldn’t mind having a few more myself. 🙂

I attached the two brass hangers to the frame first, then hung the basket to mark where the small hook would go under the basket and before drilling a hole. I removed the basket, screwed in the hook, then painted the hardware to match the frame. When the paint was dry, I replaced the basket and hung the frame on the wall to fill.
A fiber planter liner was cut and fitted inside the basket, along with an old deflated ball for a pliable, leak-proof planter. The ball was turned wrong side out before placing it inside the liner and adding succulents.

I’m pretty happy with my new planter. It has kind of an Old World charm and looks right at home hanging above our tiled tub surround. It hangs almost directly across from a large East window, so I’m hoping with the benefit of the mirror it will get plenty of light.
I hope you found something interesting or picked up a few useful tips from my project. Thank You for visiting my blog. Please, let me know what you think. I love hearing from readers, fellow up-cyclers and re-purposers.
On to the next project —