Quirky Coconut Suet Feeders DIY Tutorial

I knew I’d be making suet feeders someday after buying our curious grand kids a coconut to sample over a year ago.

I’d never made a coconut feeder, but thought it would be a lot of fun to play around with some scraps from my salvage stash and make something quirky to hang in our front yard tree.

The shells were already dried and had holes, so once I gathered some old springs and wire pieces they went together pretty quick.

I had planned on shaping wire into hangers, but found two wire pieces that had been cut from the top of old lamp shades and popped them into the holes instead.  

Wanting to provide some sort of a perch, I cut the small end off a bed spring, and wired it in with the wire arms of the hanger. 

For suet, I melted a pound of lard (use lard/shortening or fat that will stay solid at room temp) in a saucepan over low heat.  After the lard was melted, I removed it from the heat and stirred in 2 C birdseed, a handful of raisins, ½ C breadcrumbs, and ½ C unsalted peanuts.  Let it cool.

To ready the shells for suet, the outside hole openings were covered with tape, and for a little added measure, the inside holes were plugged with peanut butter. 

Wadded newspaper was used to keep the shell halves level in a shallow pan. 

Fill the shells with cooled suet and let them sit until the suet solidifies.

A super easy hanger was made by attaching a 2” metal ring to a 5” spring, and some bling on a jump ring to catch a little bird’s eye.  

Bring on the birds!


Recycled Tin Can Wreath DIY Tutorial

This rusty, country style wreath may not be everyone’s cup of tea, but it looks right at home in my rural garden, so I’m sharing it just for fun!

While going through old garden magazines last year, I caught just a glimpse of the side of a tin can wreath hanging in the picture of a garden, so of course I felt the need to make one. I threw a bunch of dog food cans in a tub of water to soak outside for a few weeks and start the rusting process.

After dumping the cans to dry, I creased them in the center with the side of my foot, and drilled a ½” hole through them.

I used twenty eight, 22 oz. cans for my wreath, and a 5 ft. length of heavy fencing wire. Cans are heavy, my wreath still sagged a bit, but the fencing wire helped it hold a circular shape. 

A small loop was bent in one end of the wire to hold the cans as they were threaded on.  I did a pattern of three as I threaded .. two with the crease one way, them flipped the third, but they can be put on any way you want. 


After all the cans were threaded on, the wire was cut close to the end, a hook was shaped to go into the loop, and squeezed tight.

That’s it, easy peasy.  

My wreath has been hanging in the garage for the last year, out of sight, out of mind, until now.   An awesome find of a big bird nest, dislodged from one of our pines during a recent thunderstorm, prompted me to adorn my wreath with Mother Nature and hang it in the garden.  A step out to the gravel road provided a few stones for makeshift eggs; a little surprise for my four year old granddaughter when she sneaks a peek … she’ll be delighted!

can wreath 2


Rustic Garden Wreath DIY Tutorial

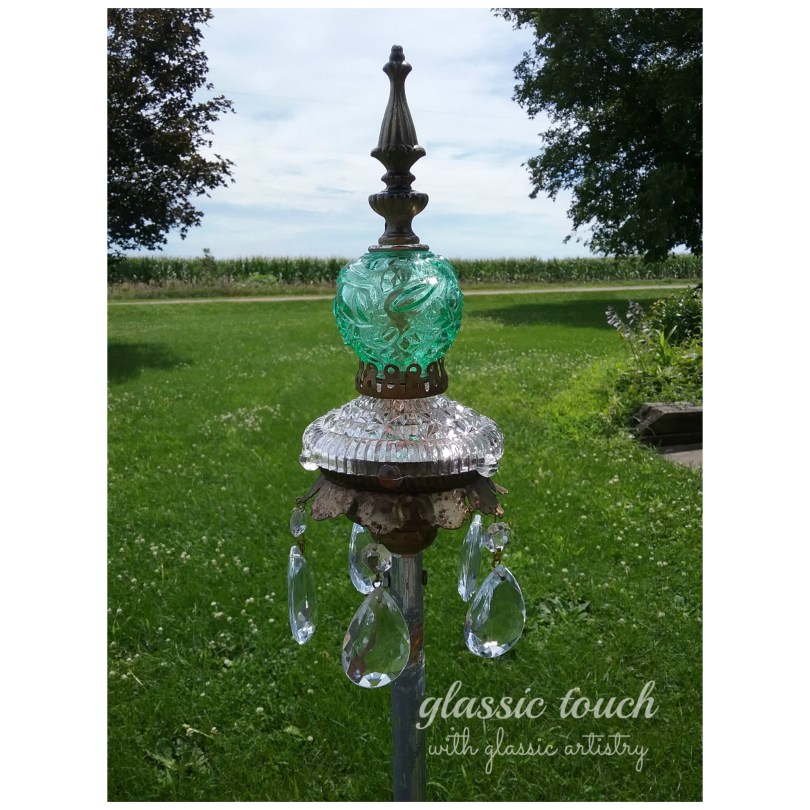
I love the look of rustic art in the garden, don’t you? Being a collector of lots of glass things, wire scraps, rusty junk, and all kinds of tidbits, I’m excited when I can gather some of my pieces that all work together, and make something eye pleasing for mine.

With salvaged art, there’s no rules, right or wrong, that’s the fun of it. Just do what works best for you.

Duplicating the items I used is not feasible, I know, but, I wanted to share some tips and tricks I used in hopes of spurring inspiration for fellow creatives. 

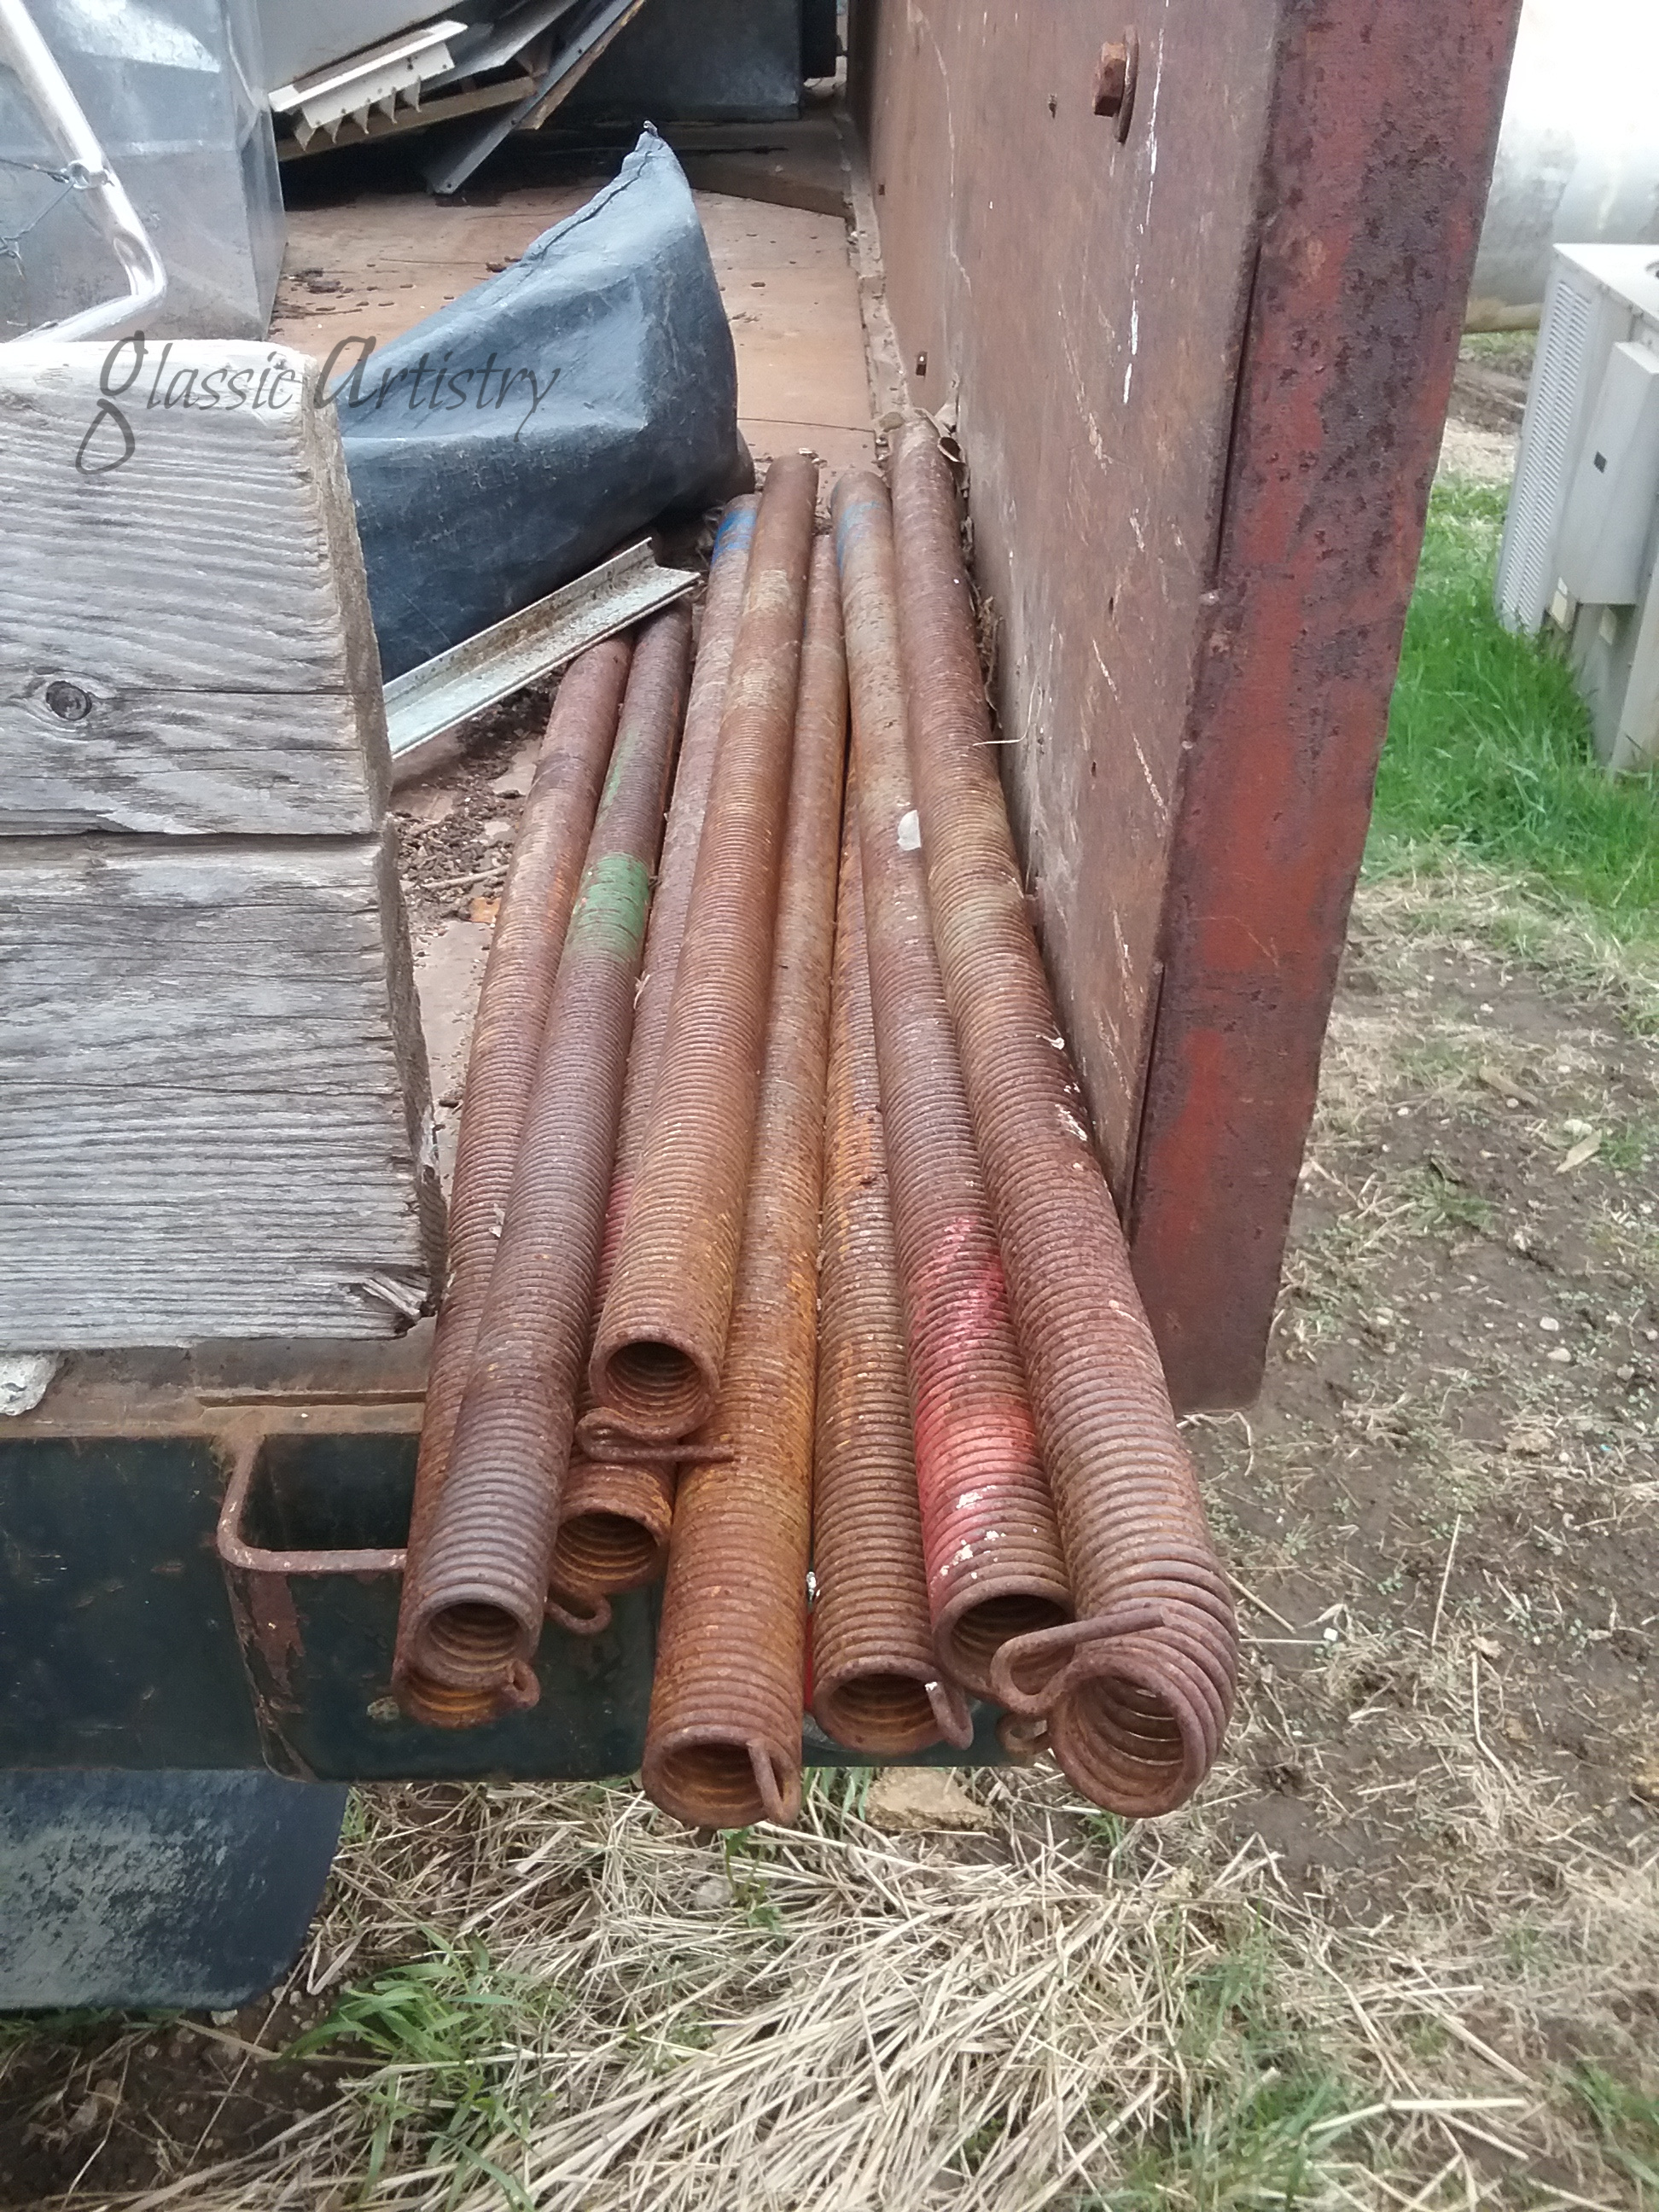
I asked my husband to save a pile of heavy springs when they showed up as salvage last fall.  I’ve walked past them 100’s of times and always had the same thought; I’m gonna make a wreath out of one of those someday.  I knew there was a metal flower collecting dust in the garage that would look great on one, I just never got going on it. 


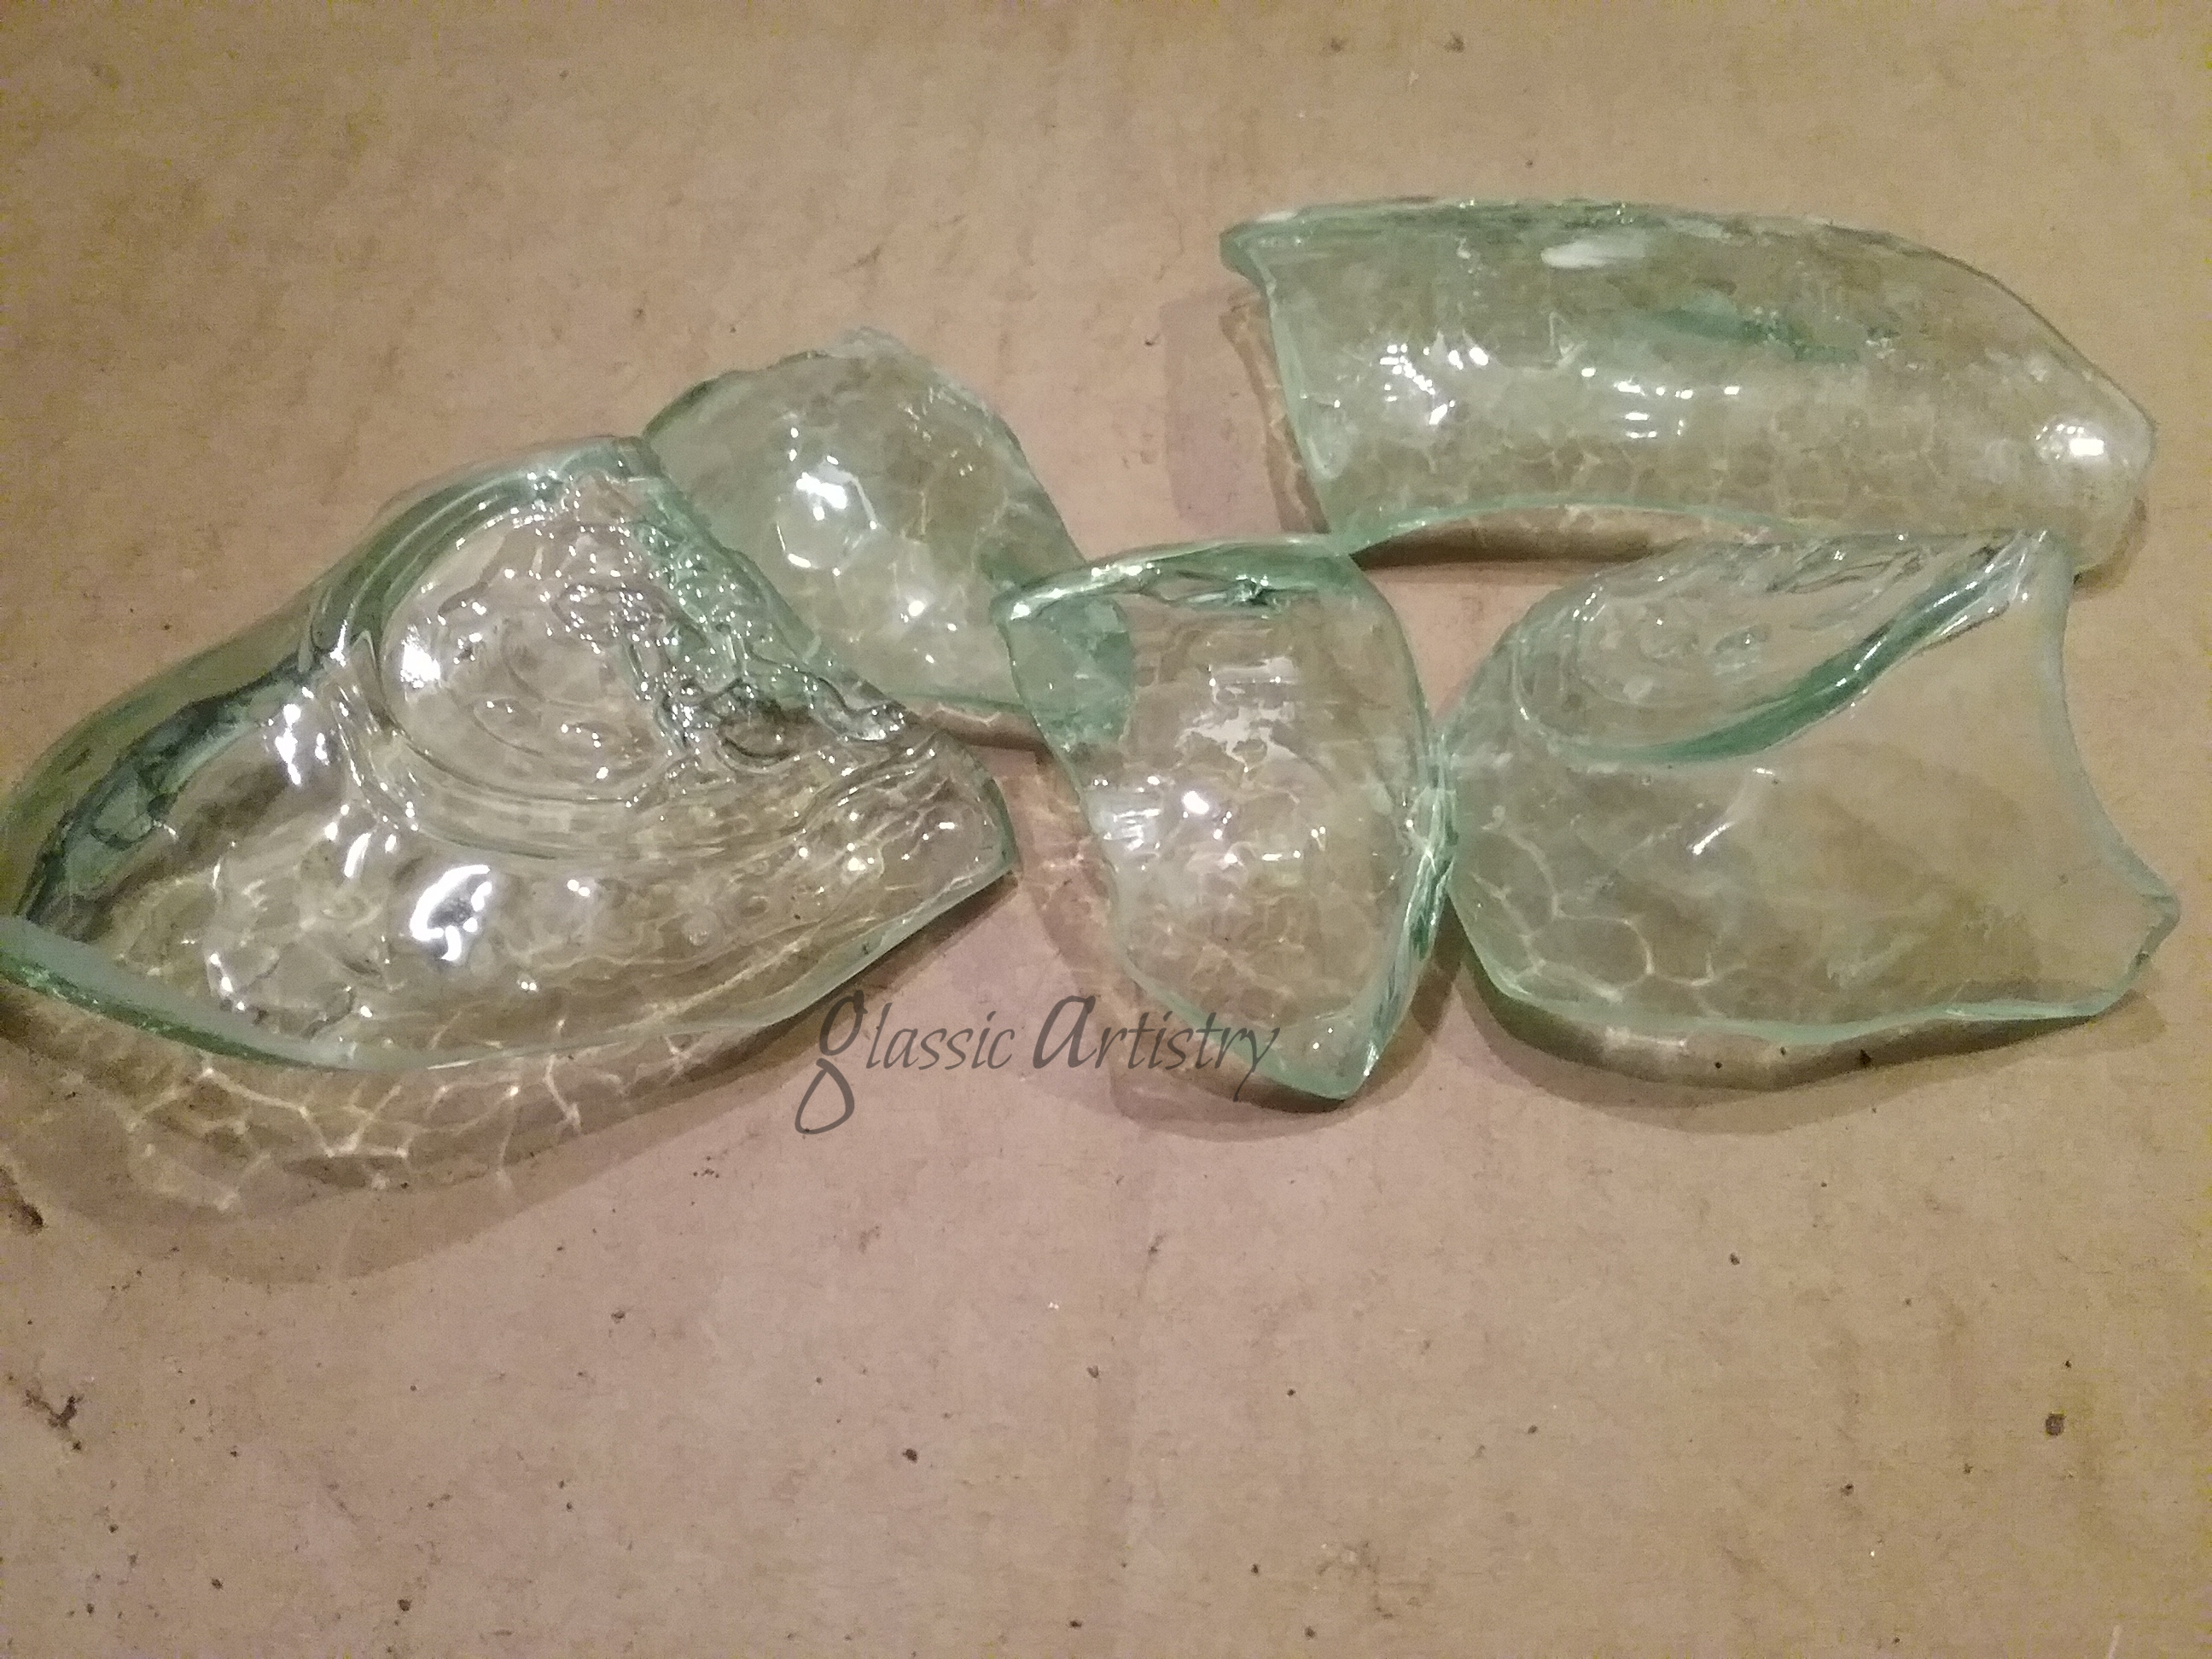
Recently, I was breaking down some bottles for other projects when the idea of glass leaves popped into my head… that was it, now it was time to make a wreath.

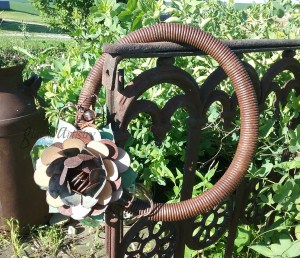
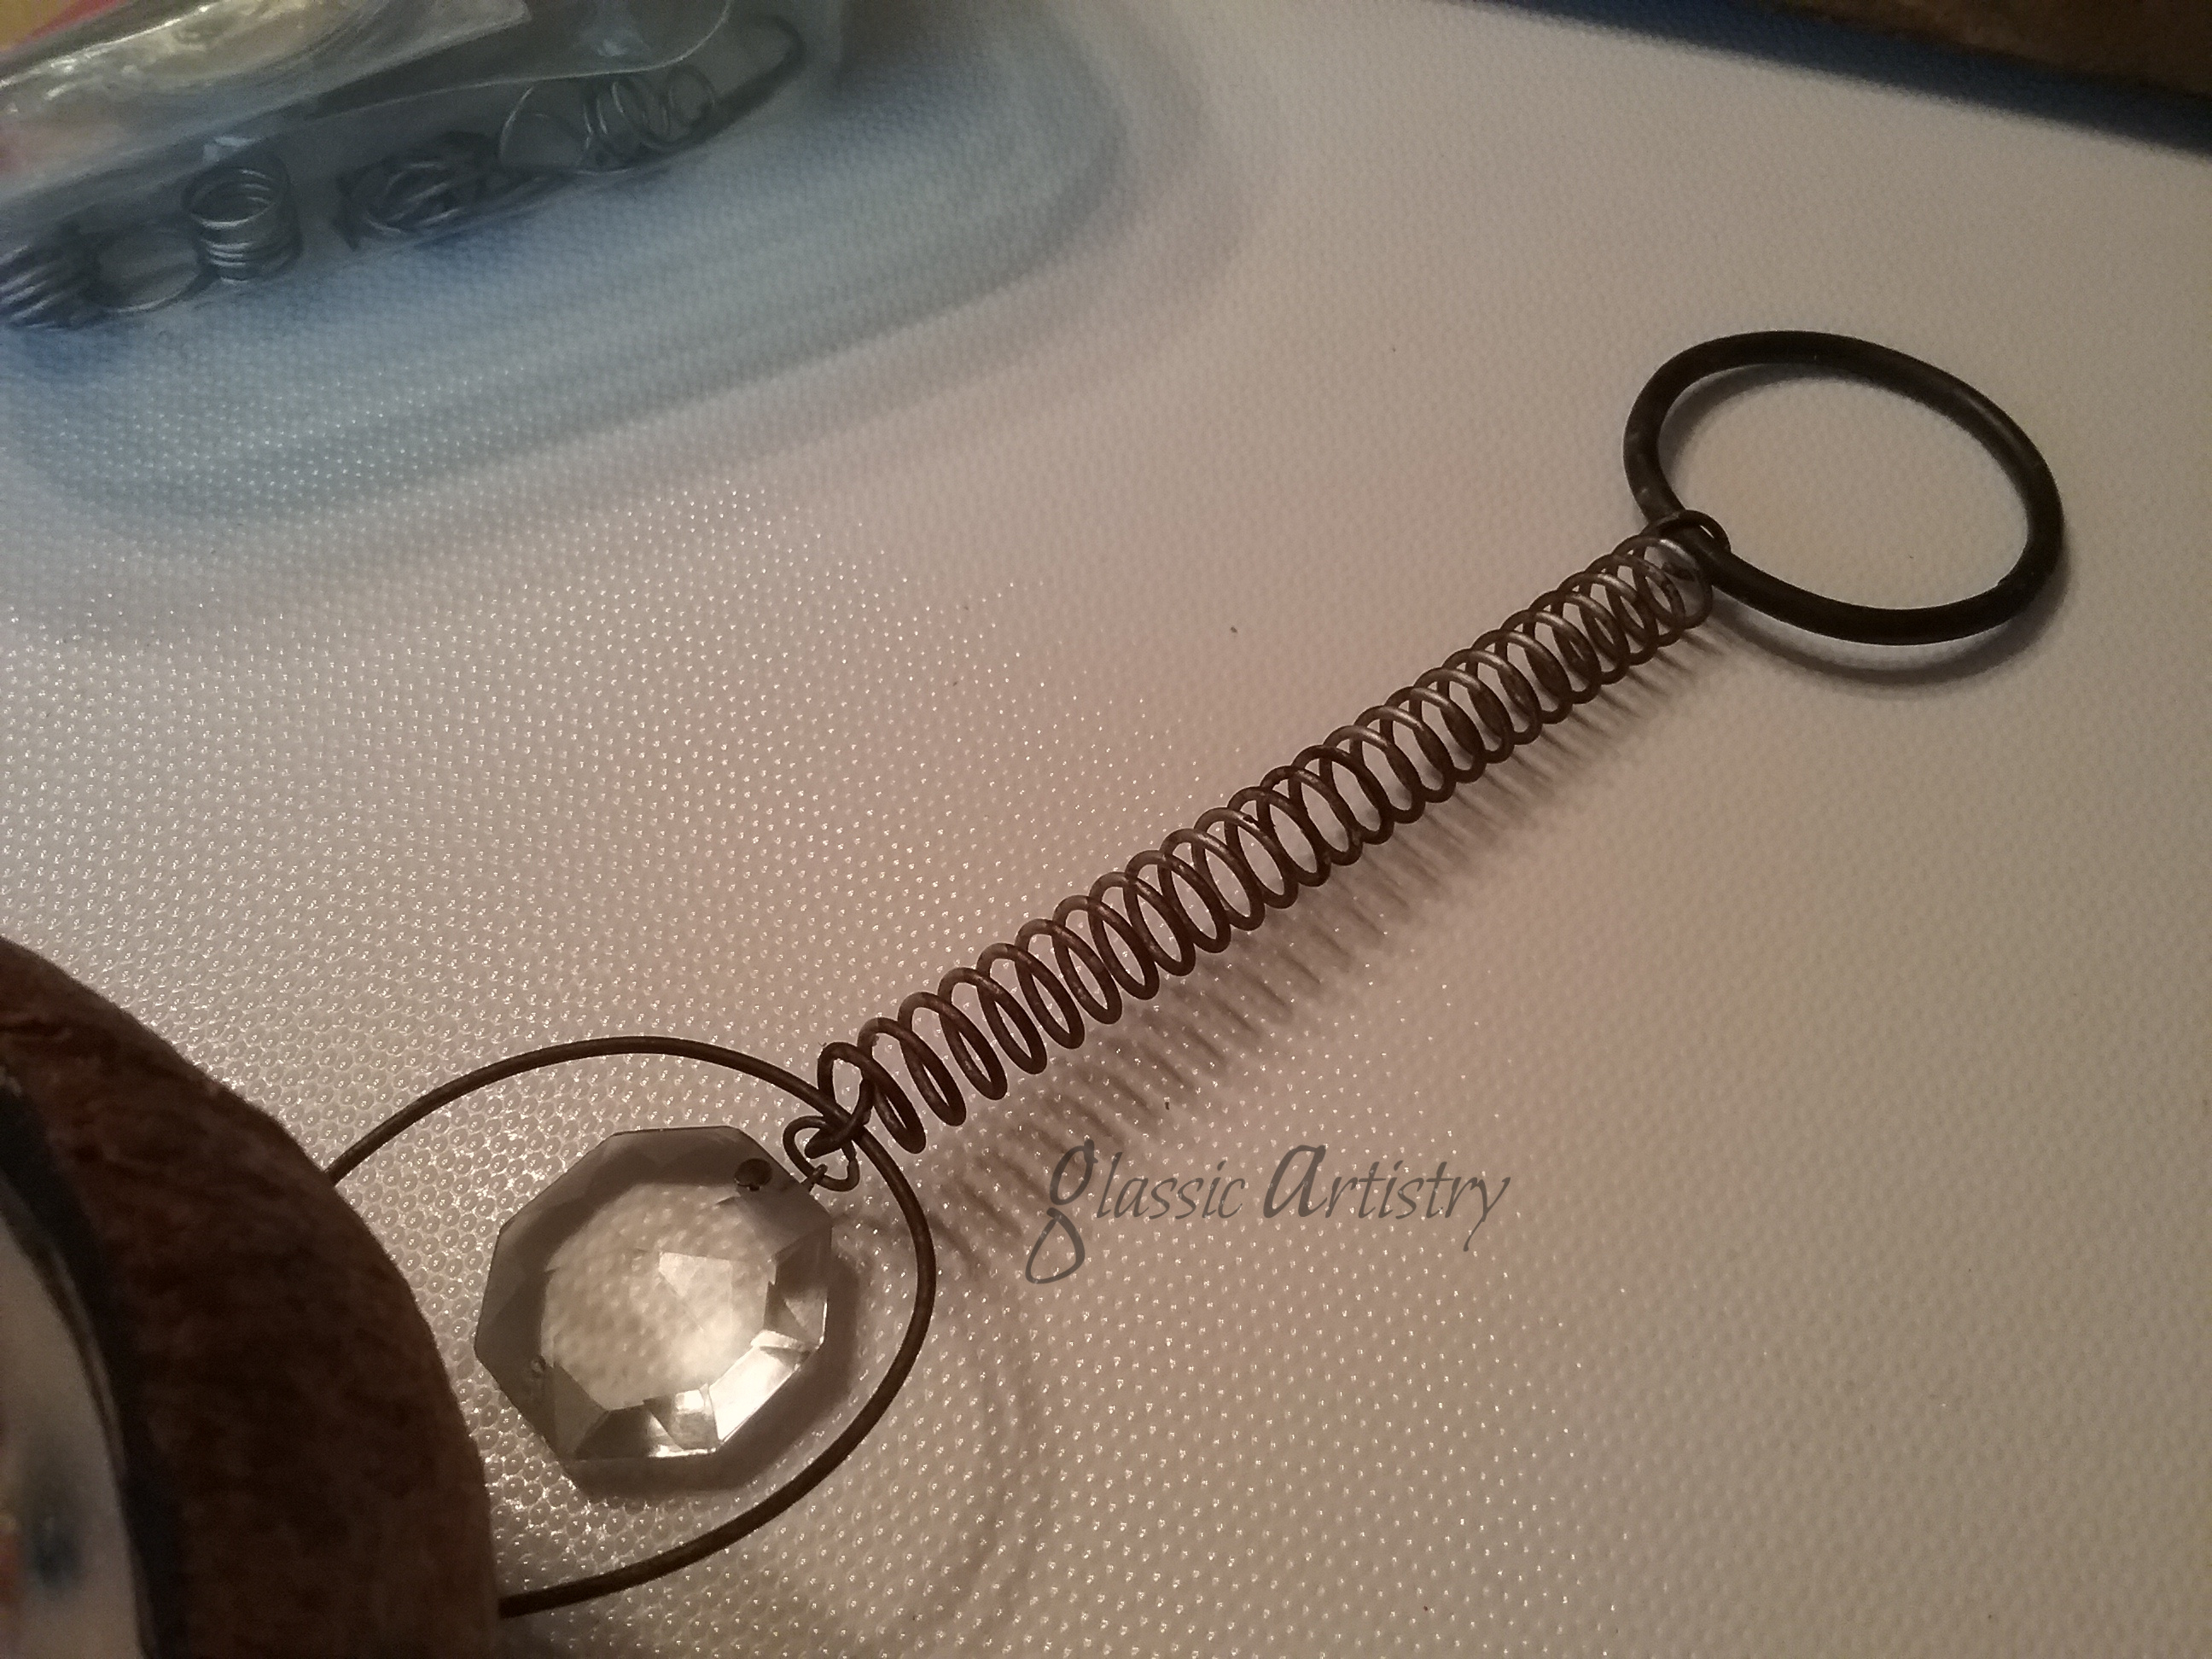
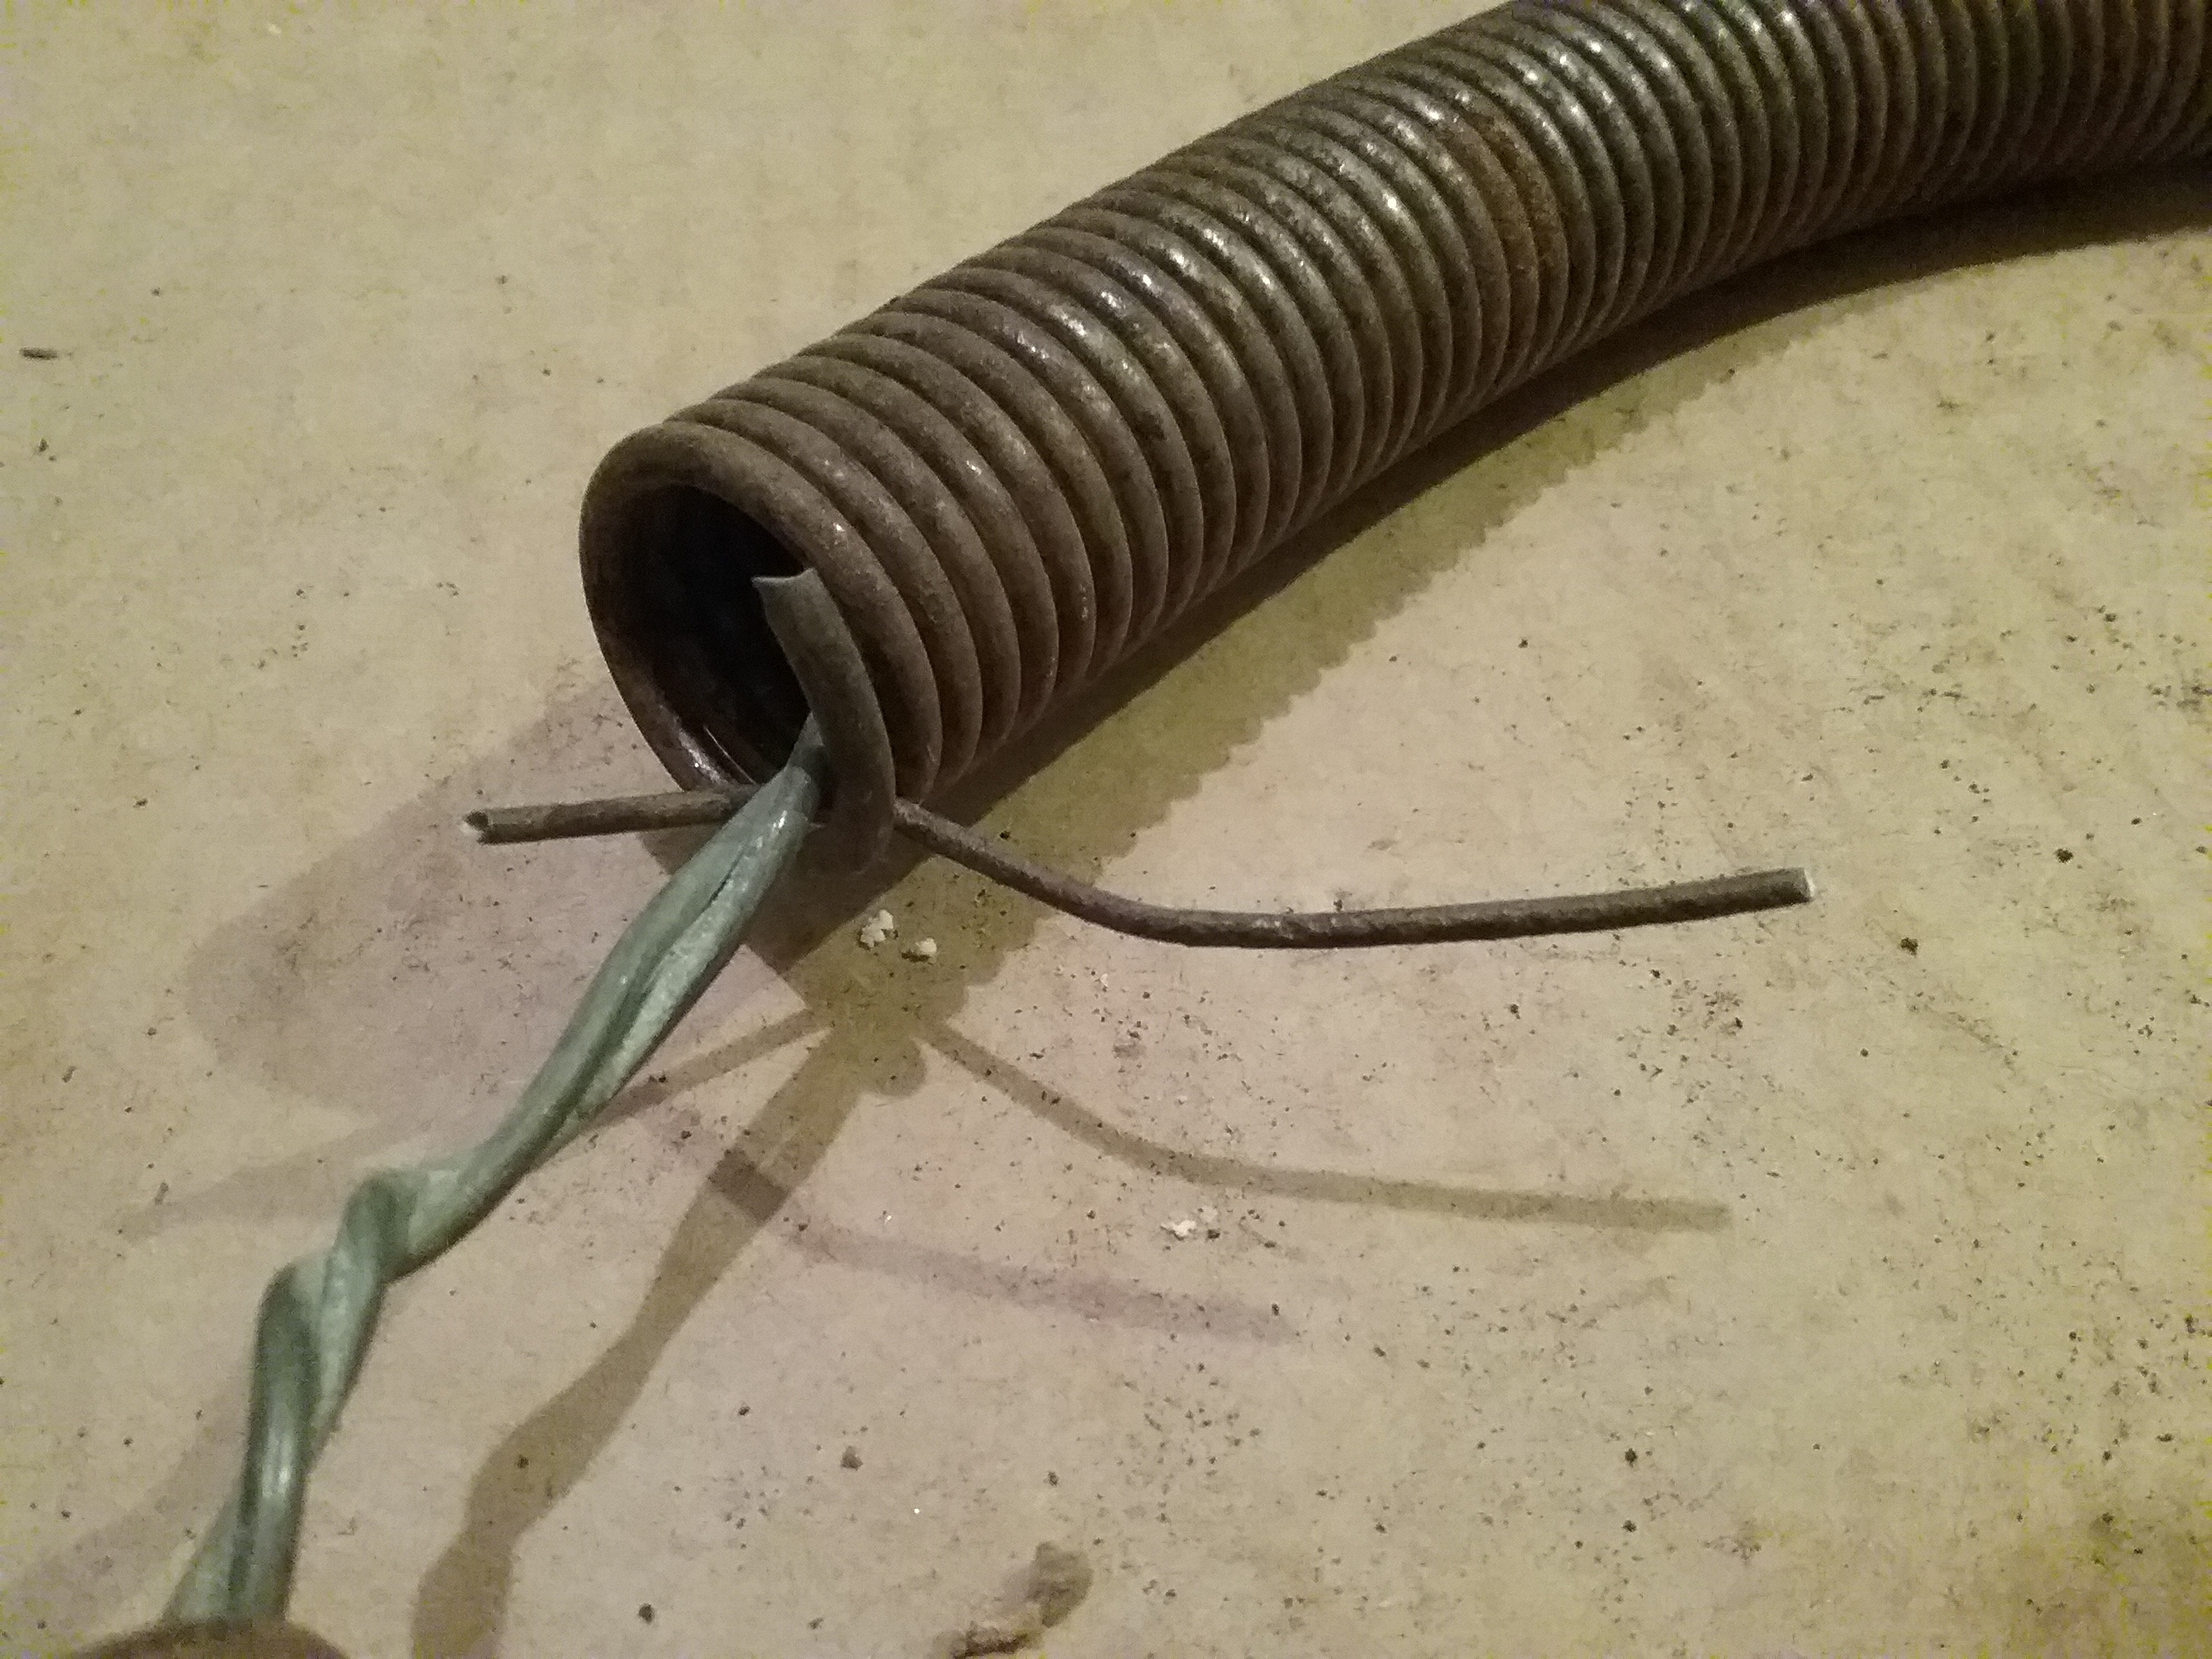
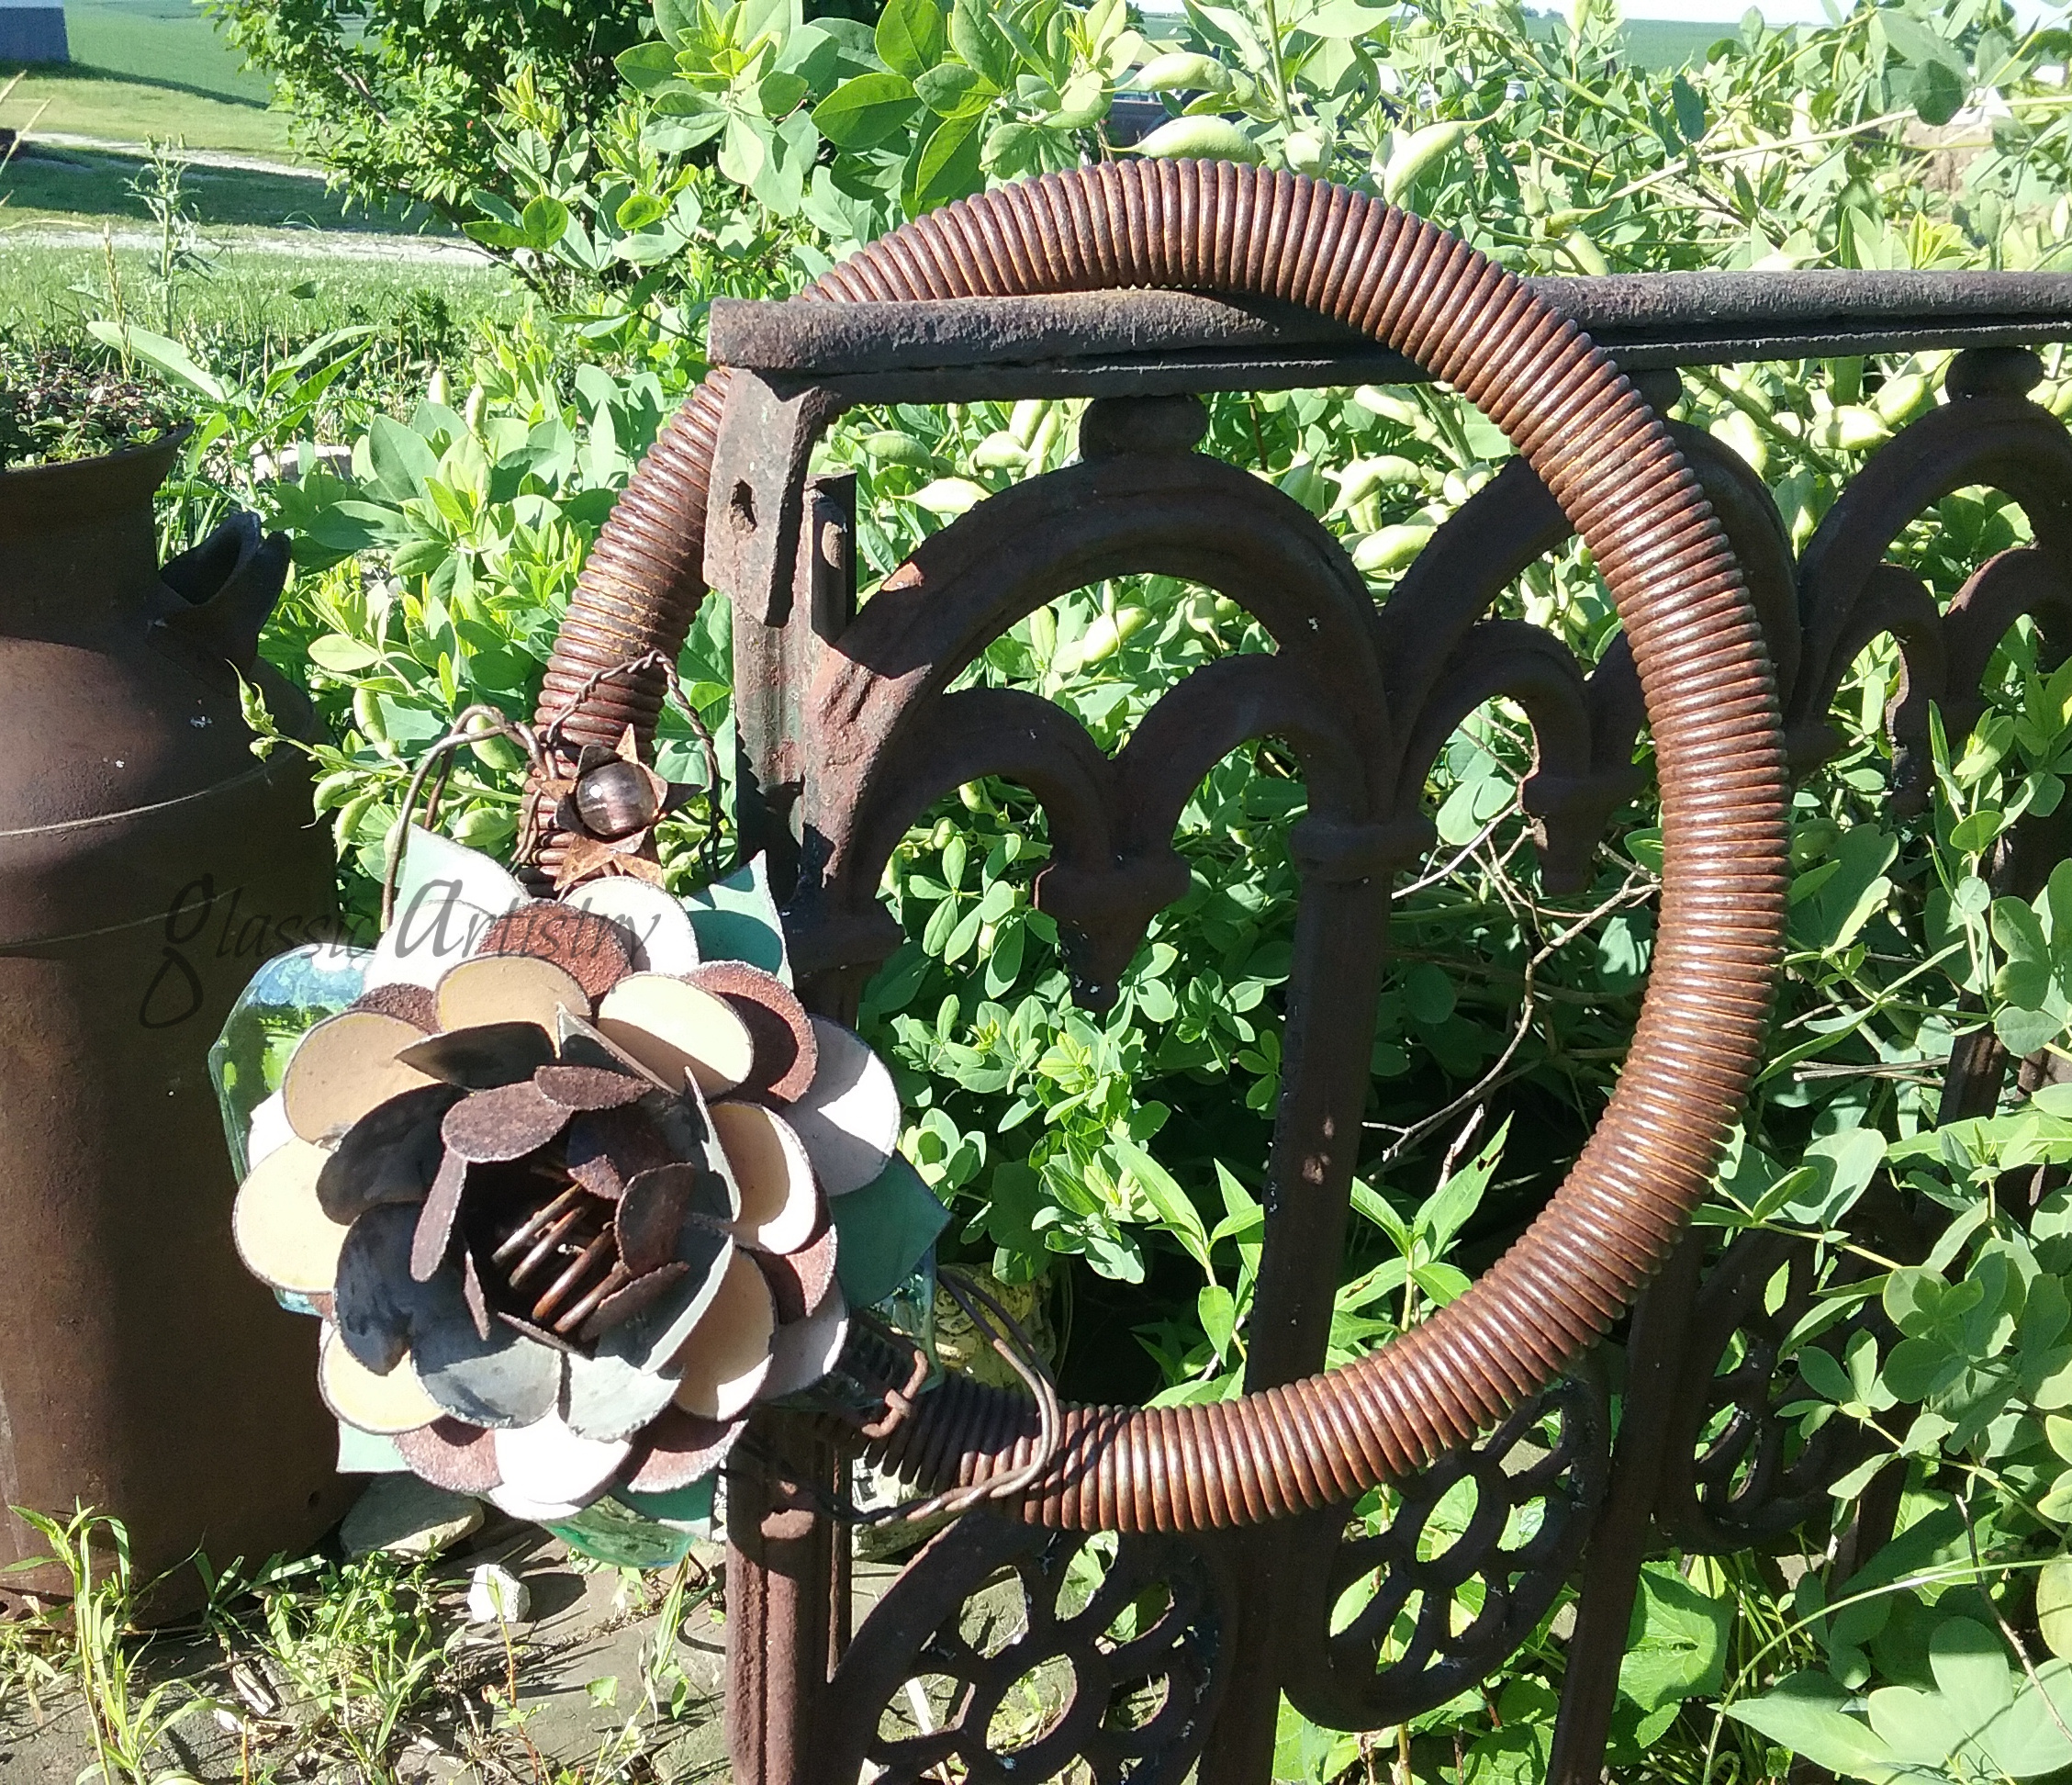
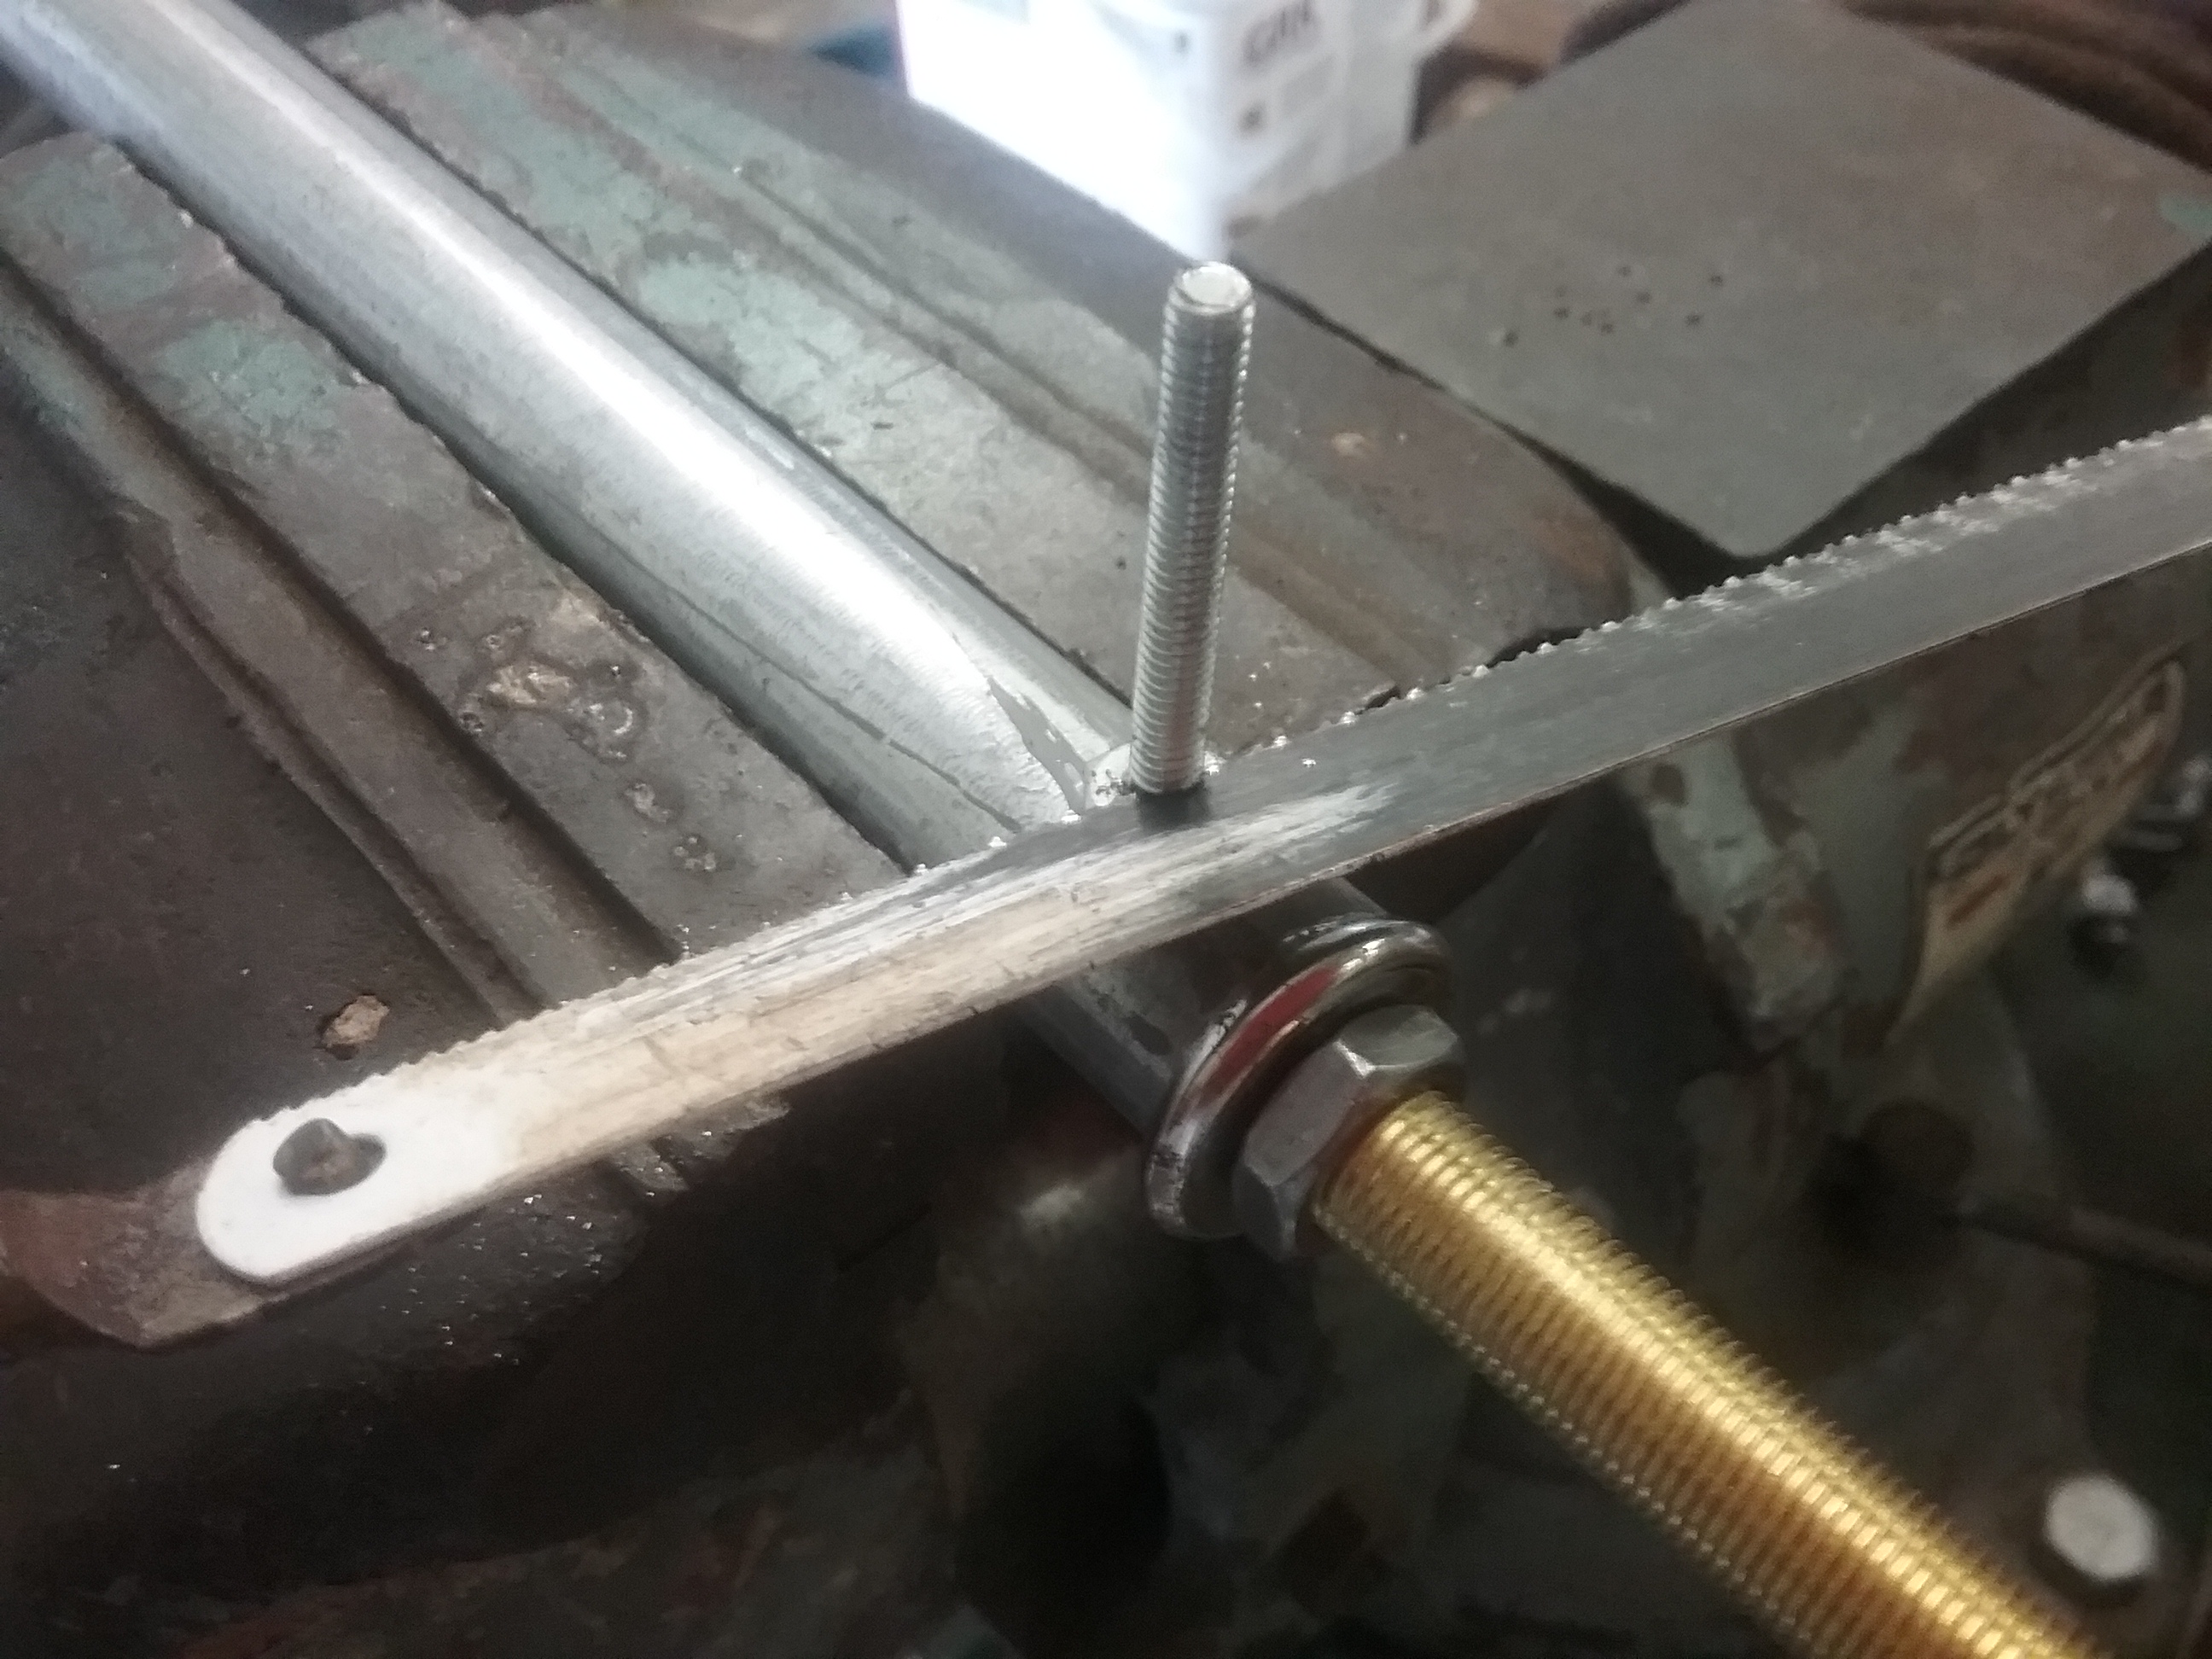
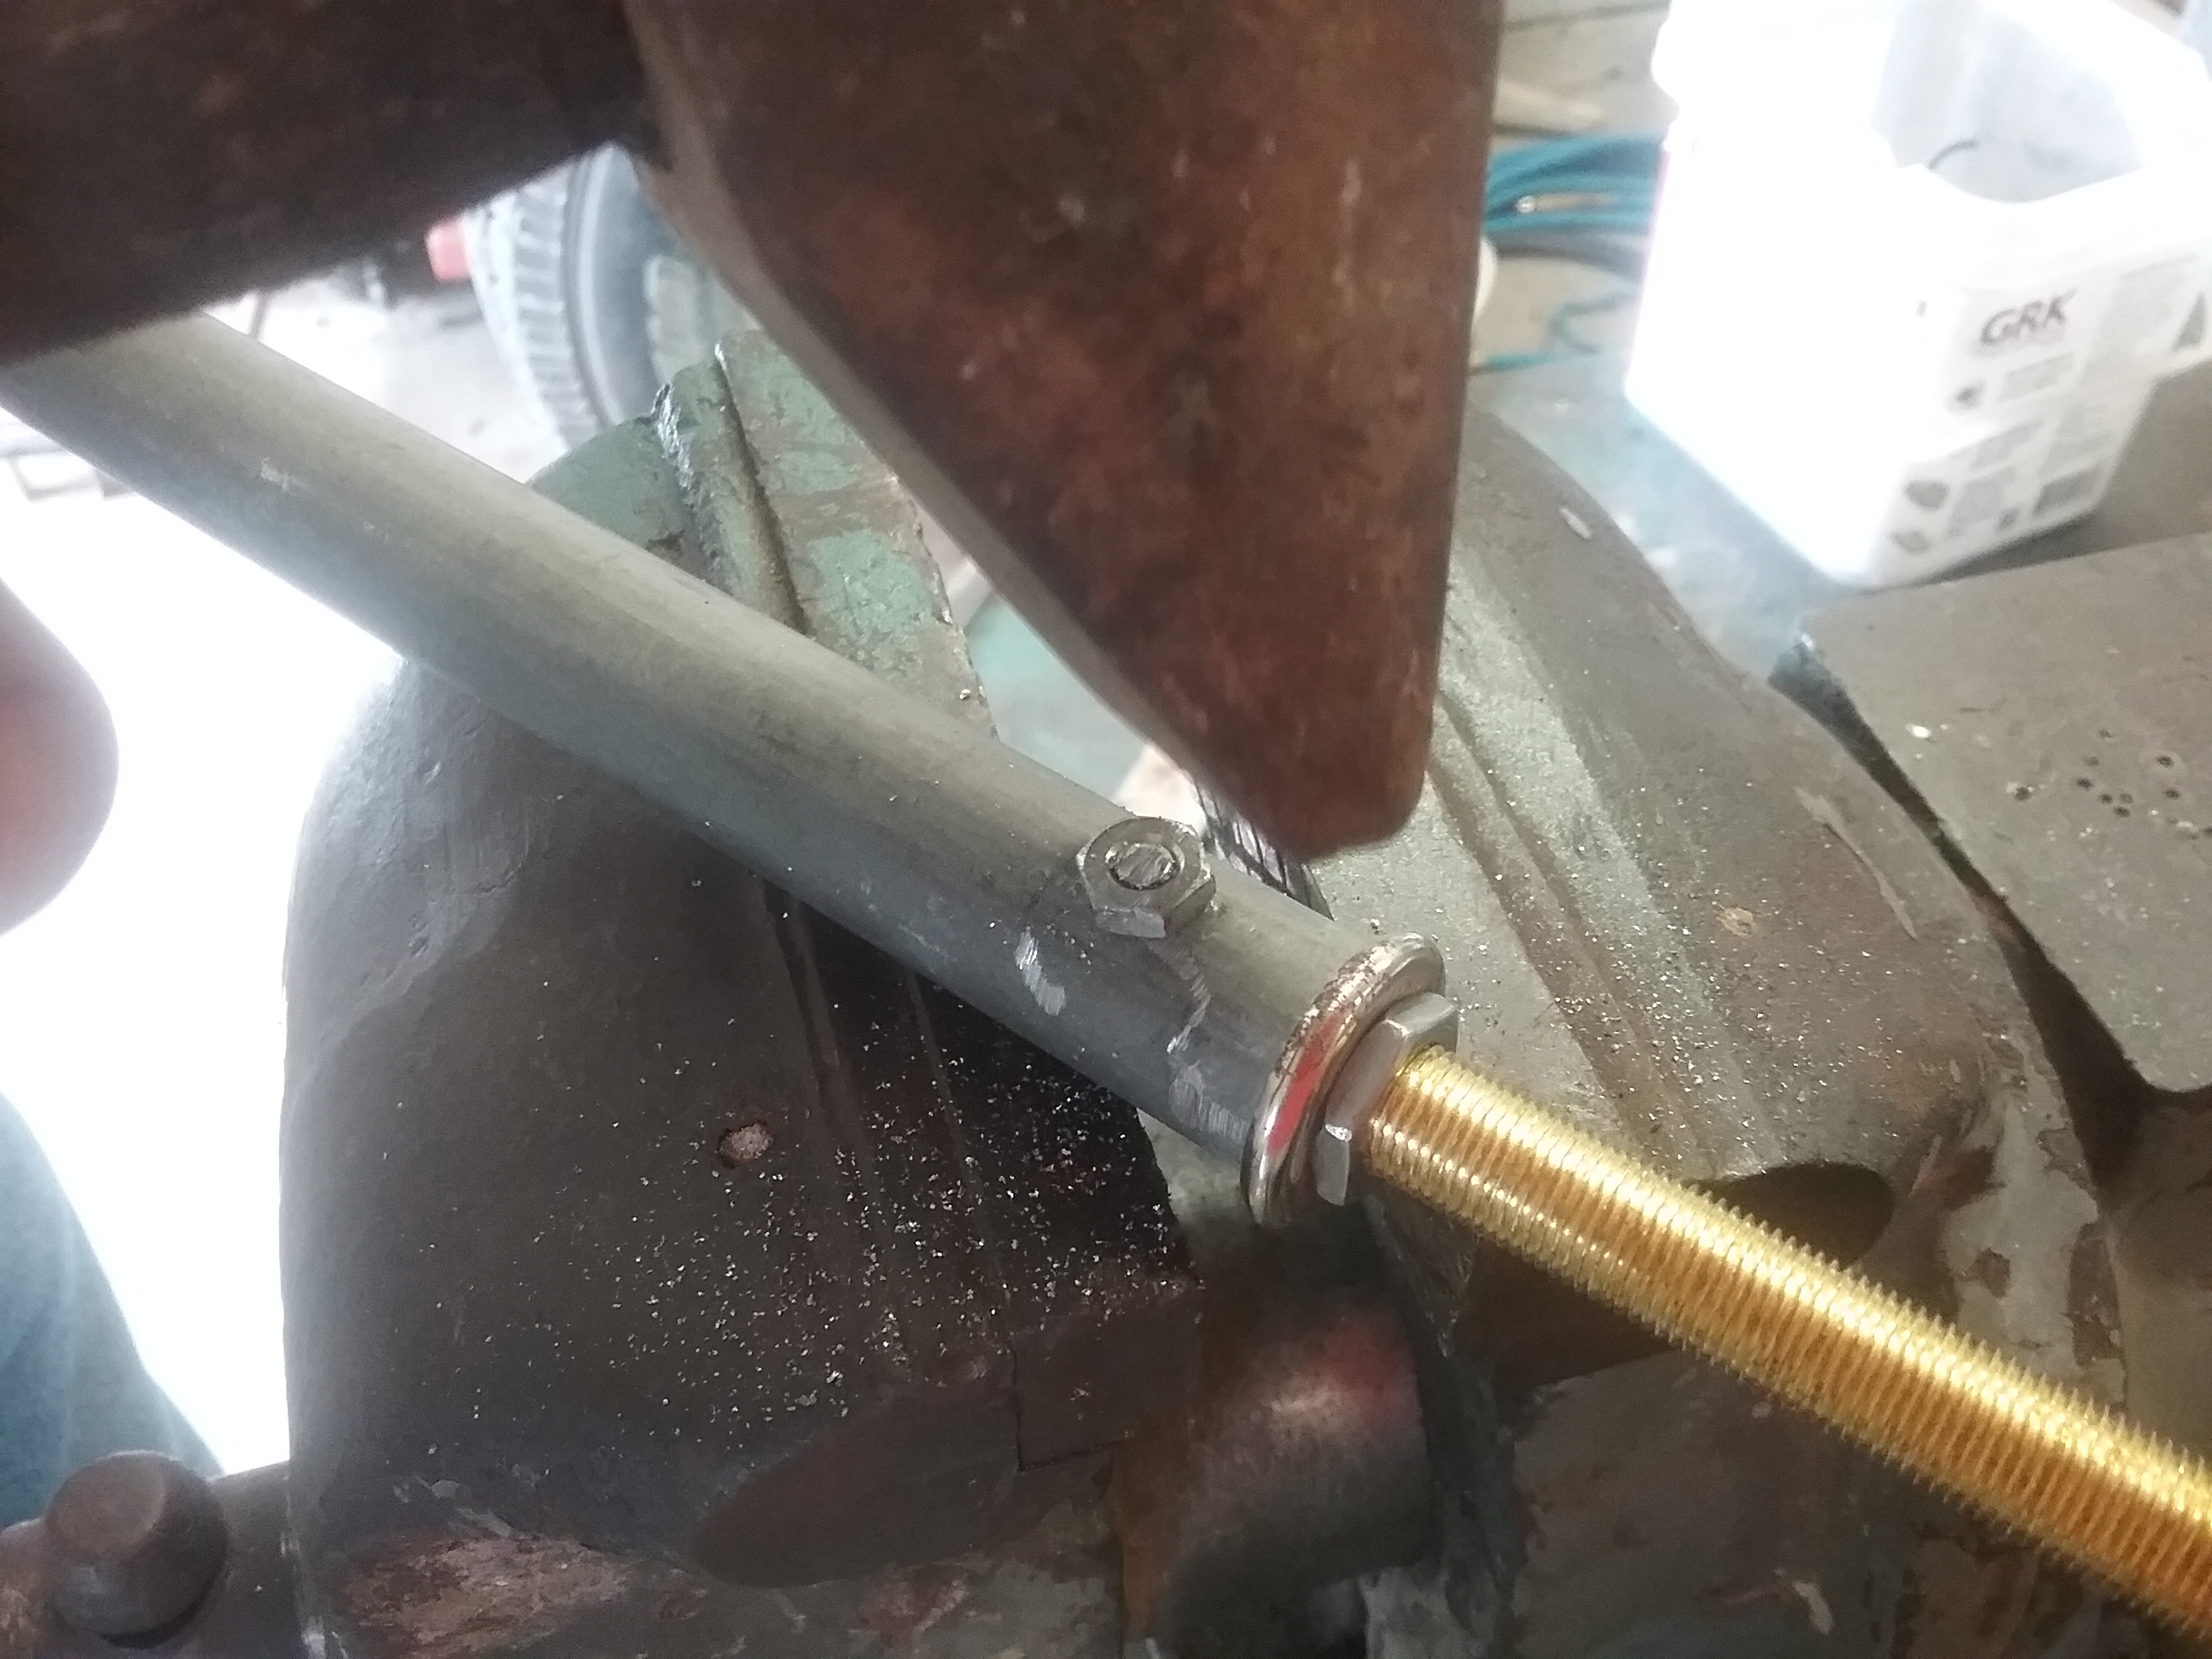
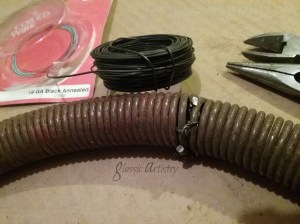
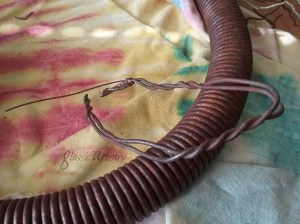
Tackling the heavy spring was the first step. It was about 30 inches long and wouldn’t hold a circular shape on it’s own.  A length of heavy fencing wire was shaped into a circle and inserted inside the spring for support. The ends of the fencing wire were hooked together and squeezed tight to secure.

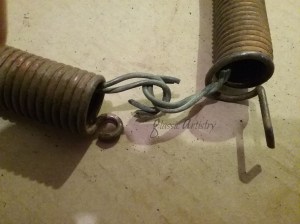
The funky ends were cut off of the spring.  With the help of a screwdriver, a scrap piece of wire was wedged into the first end rings of the spring so they could be held open for wiring the ends together flush.


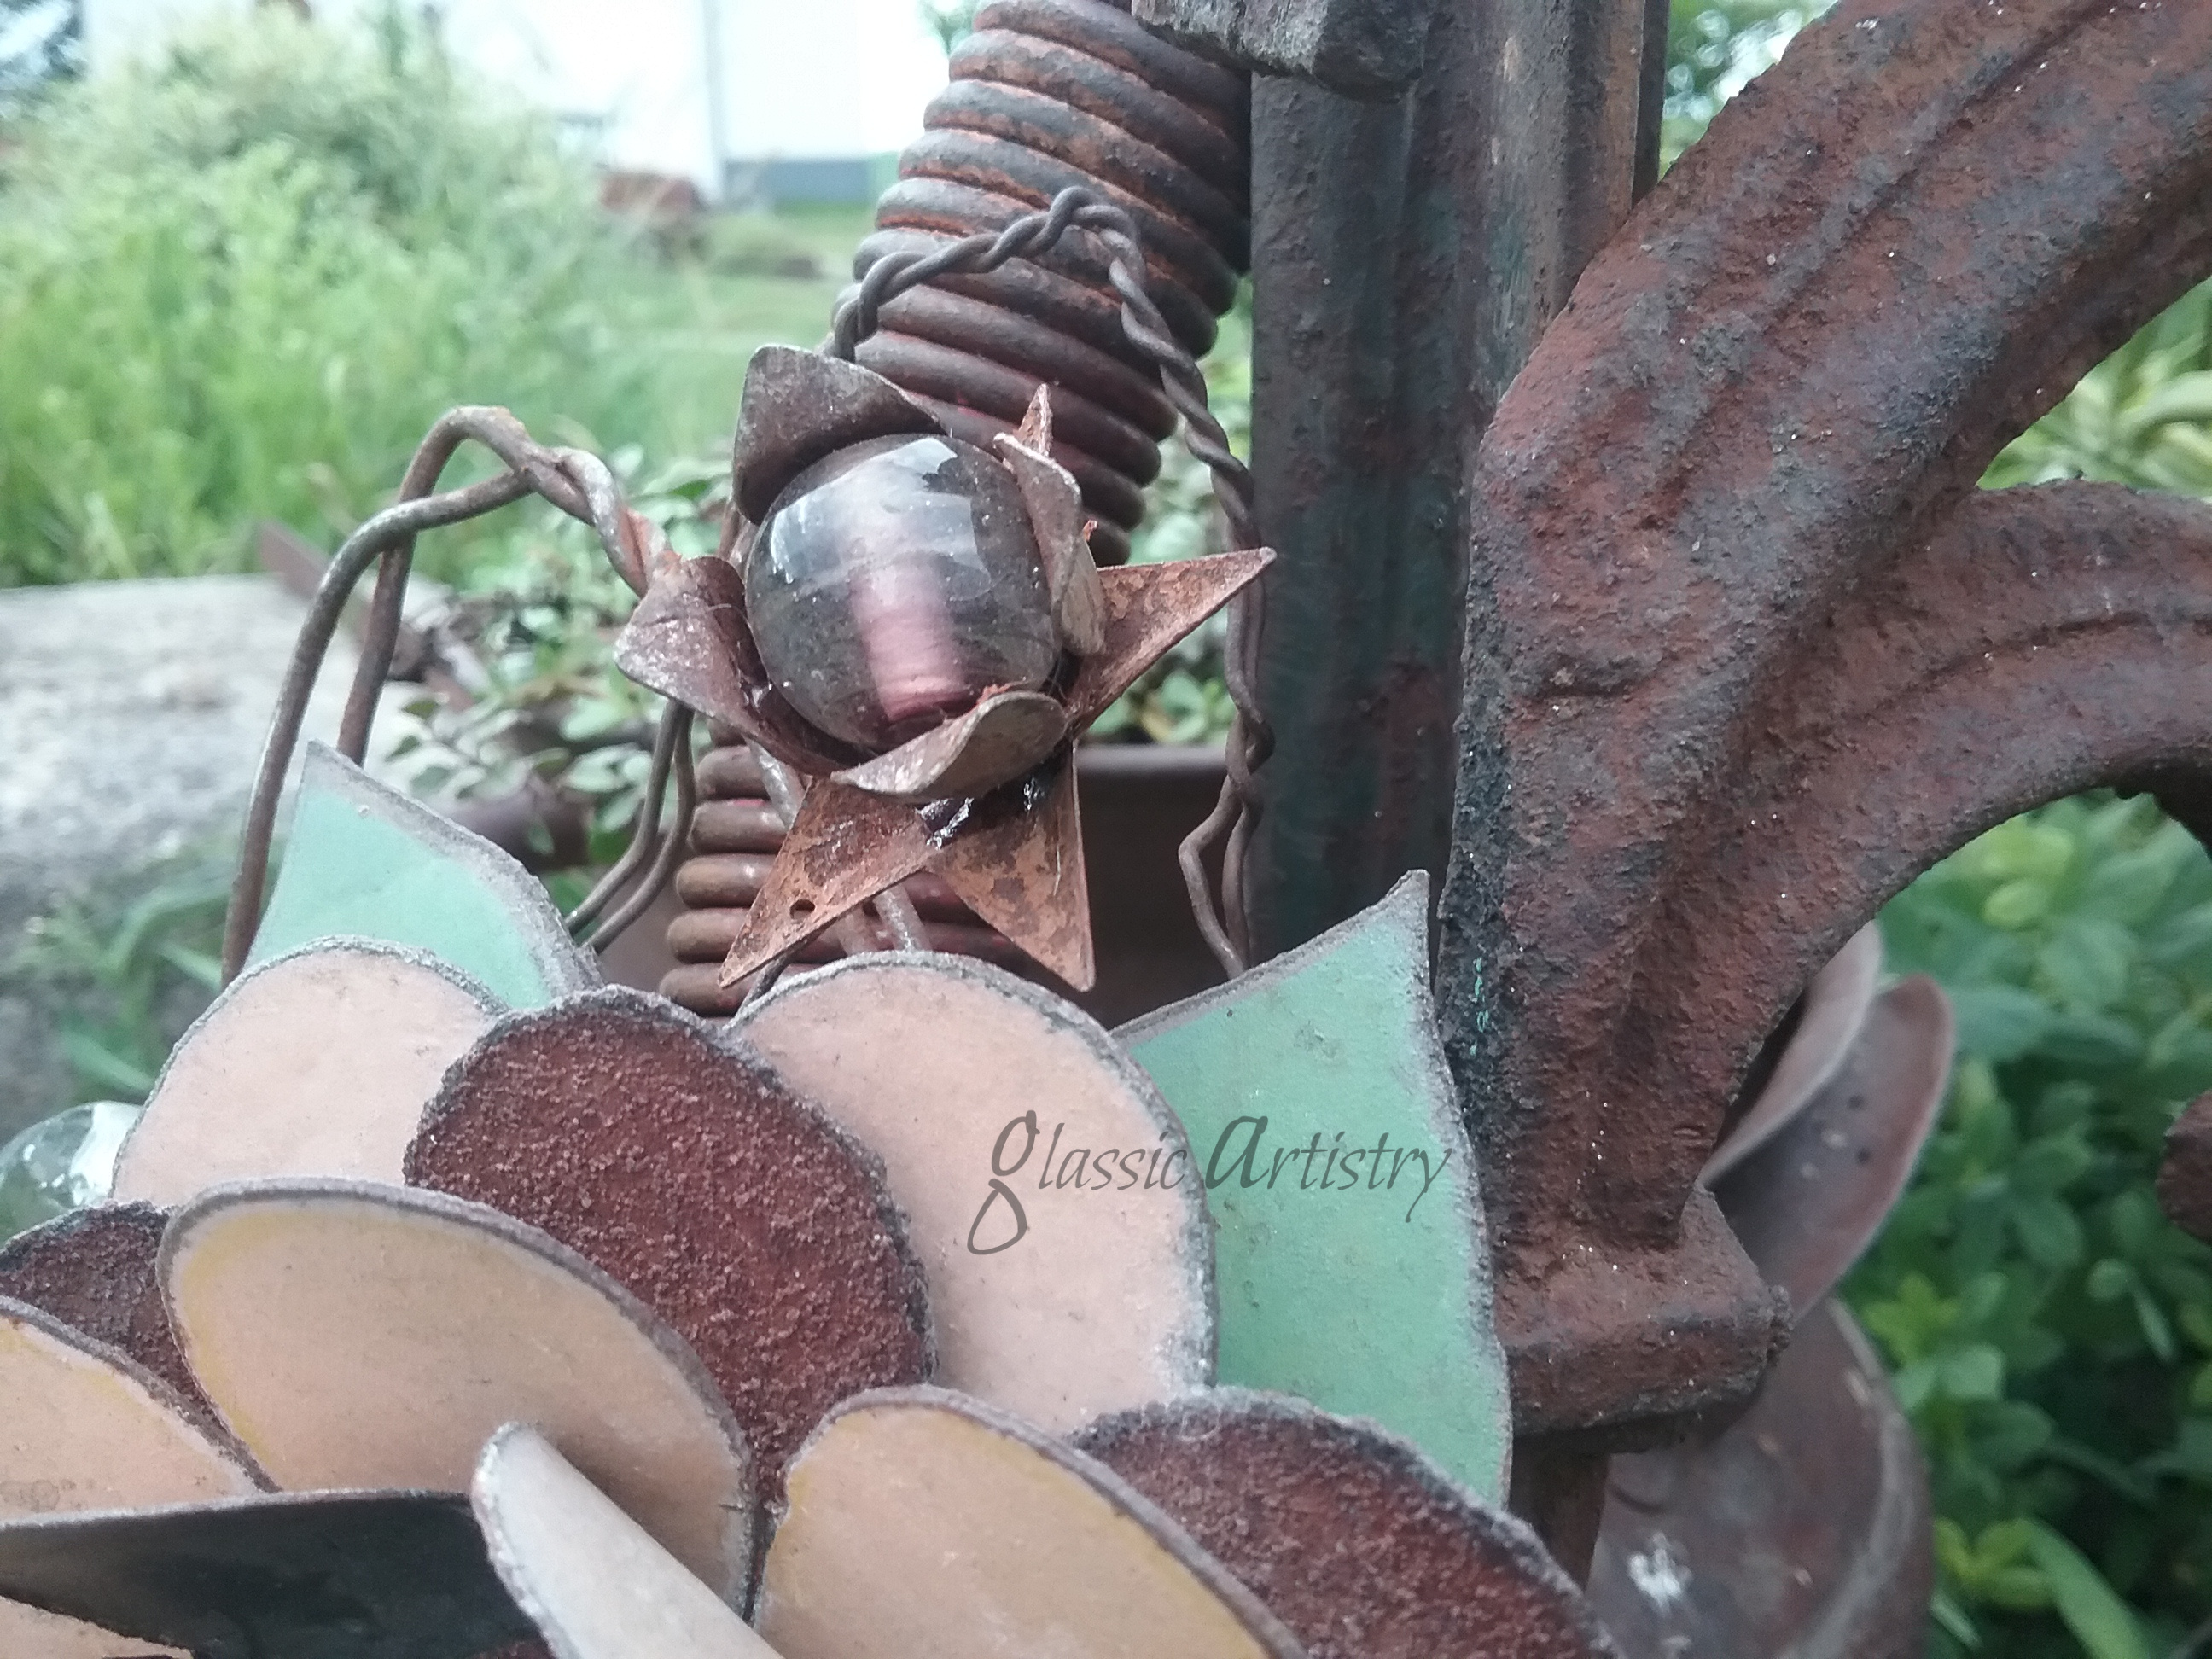
The barbed wire stem was cut from the flower,  For added interest, a short, chunky spring was wired into the center of the flower.  A long wire was used for this step so it could go through the flower and be used to wire the flower on later.


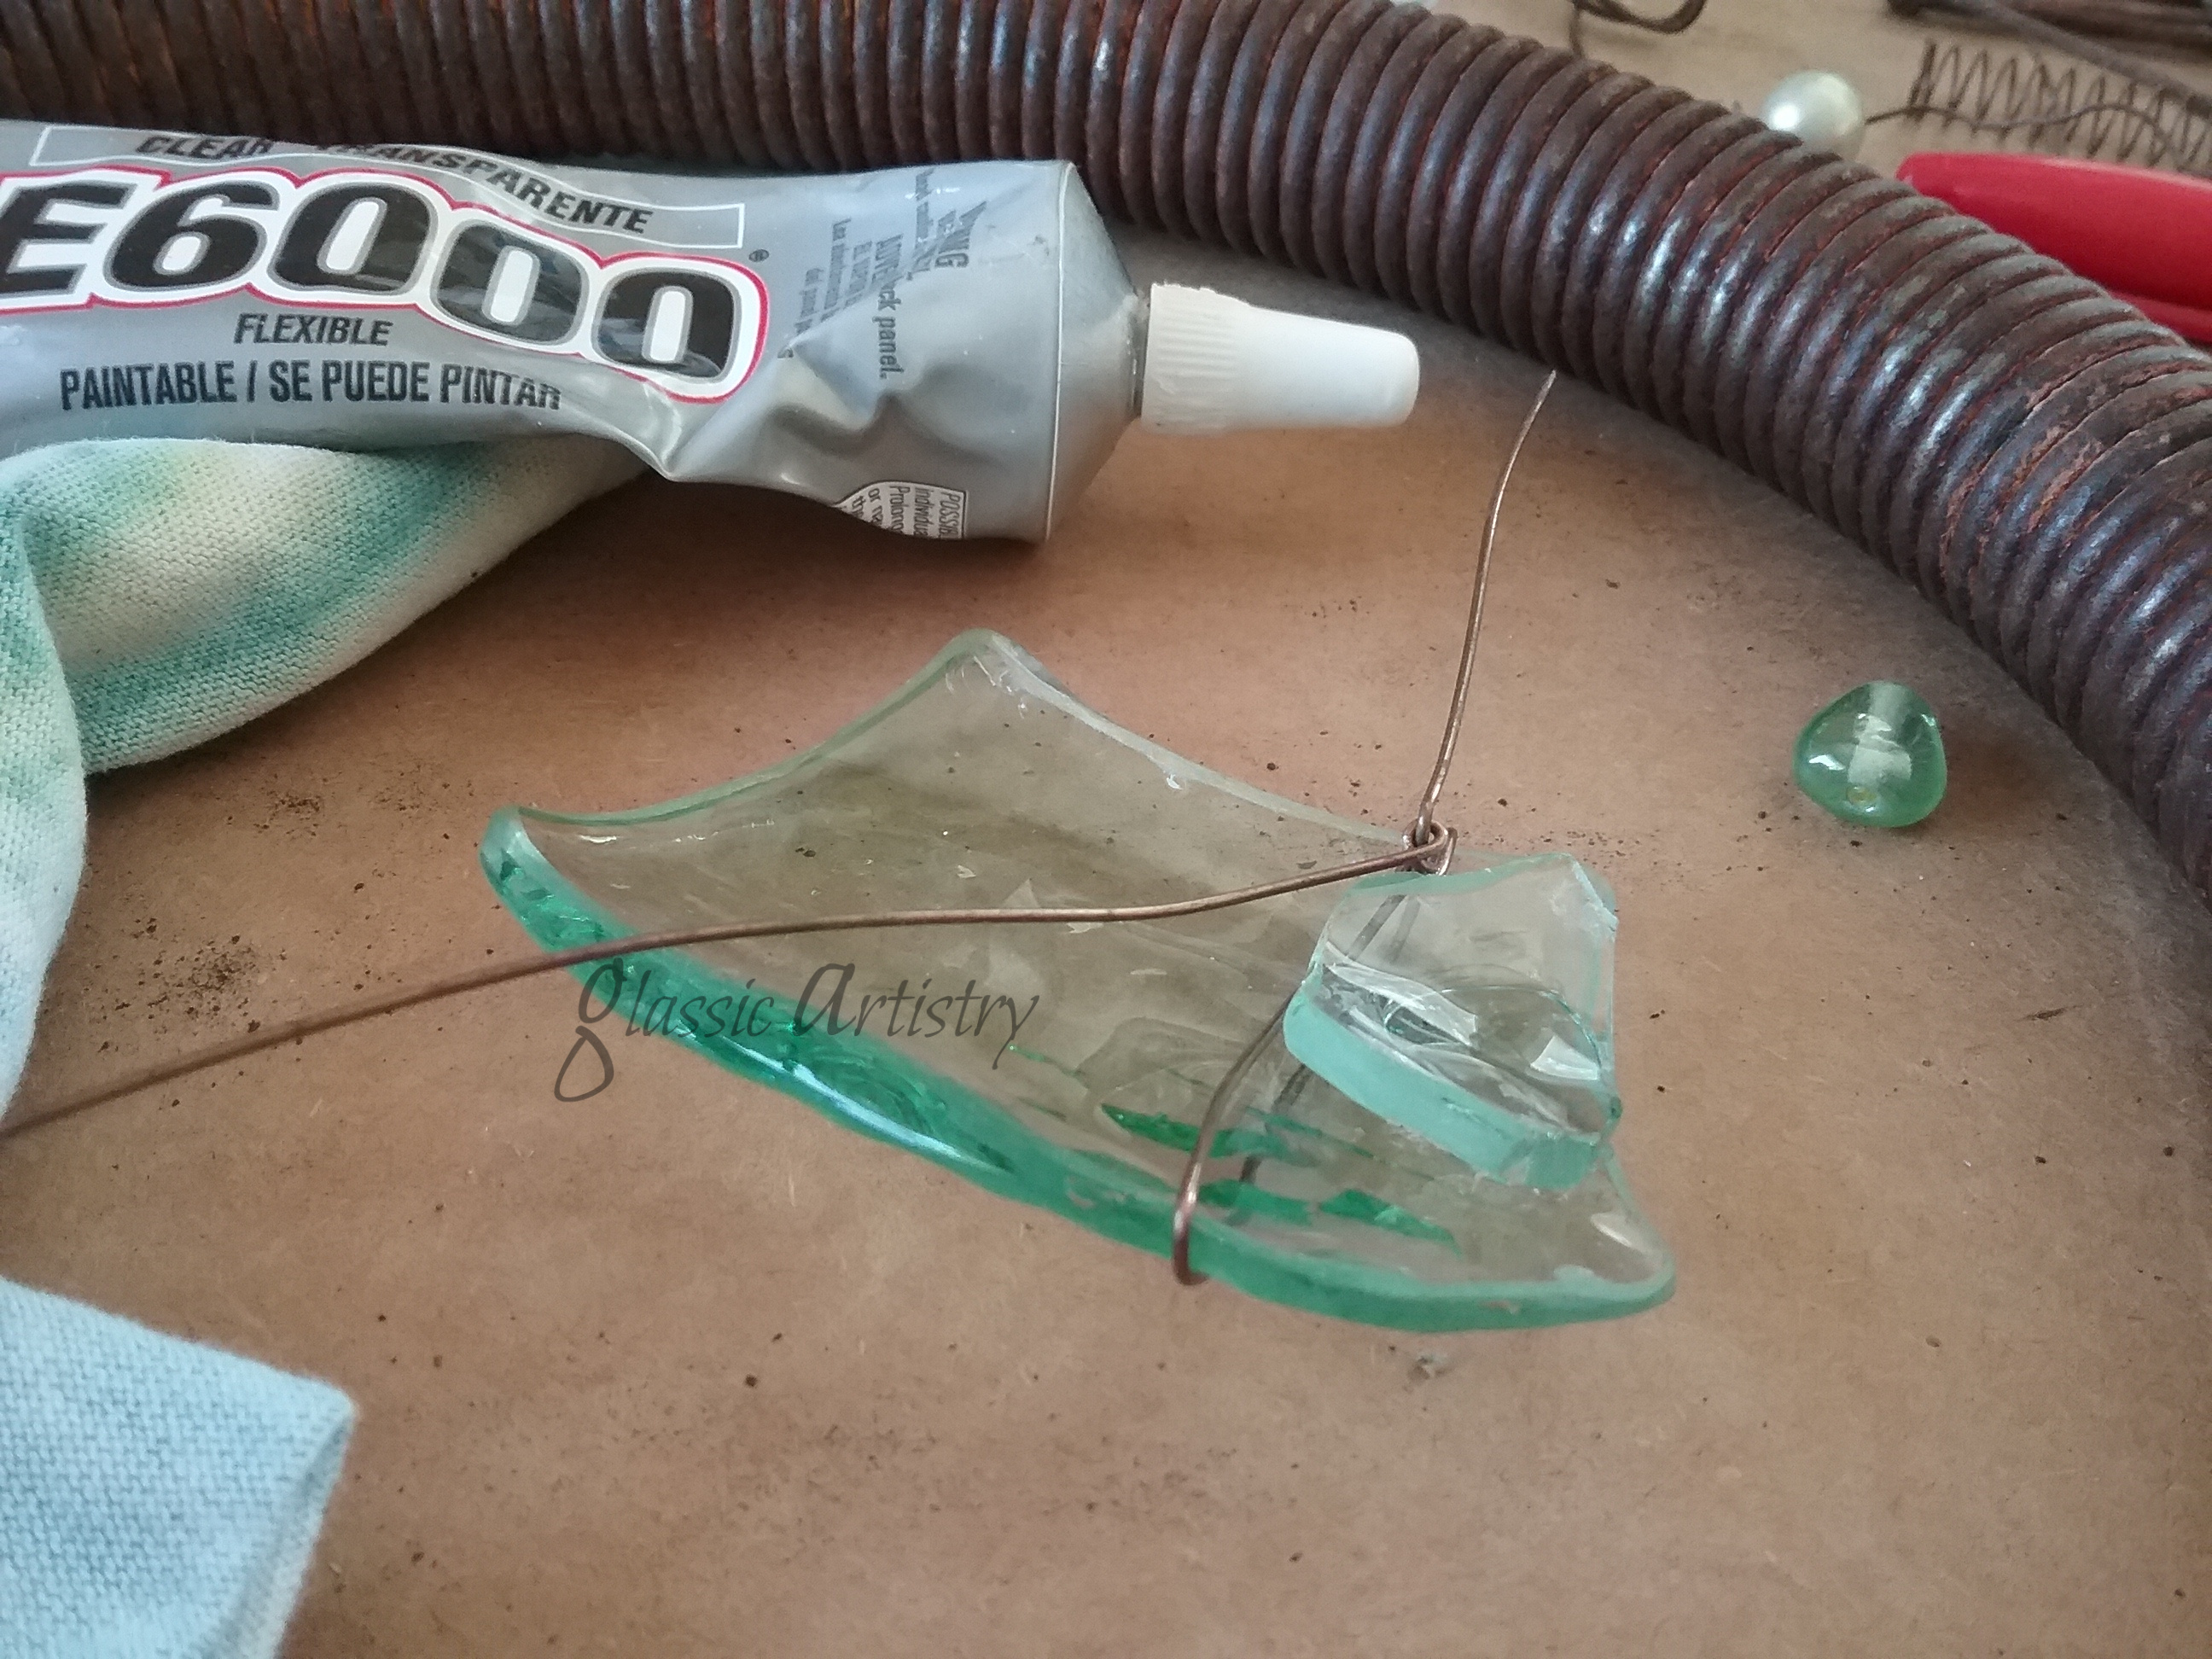
Pieces of a Captain Morgan bottle were used for leaves.  I smoothed the edges of the glass with a glass grinder, but a piece of emery cloth, or a Dremel tool with a diamond grinding bit will work too.

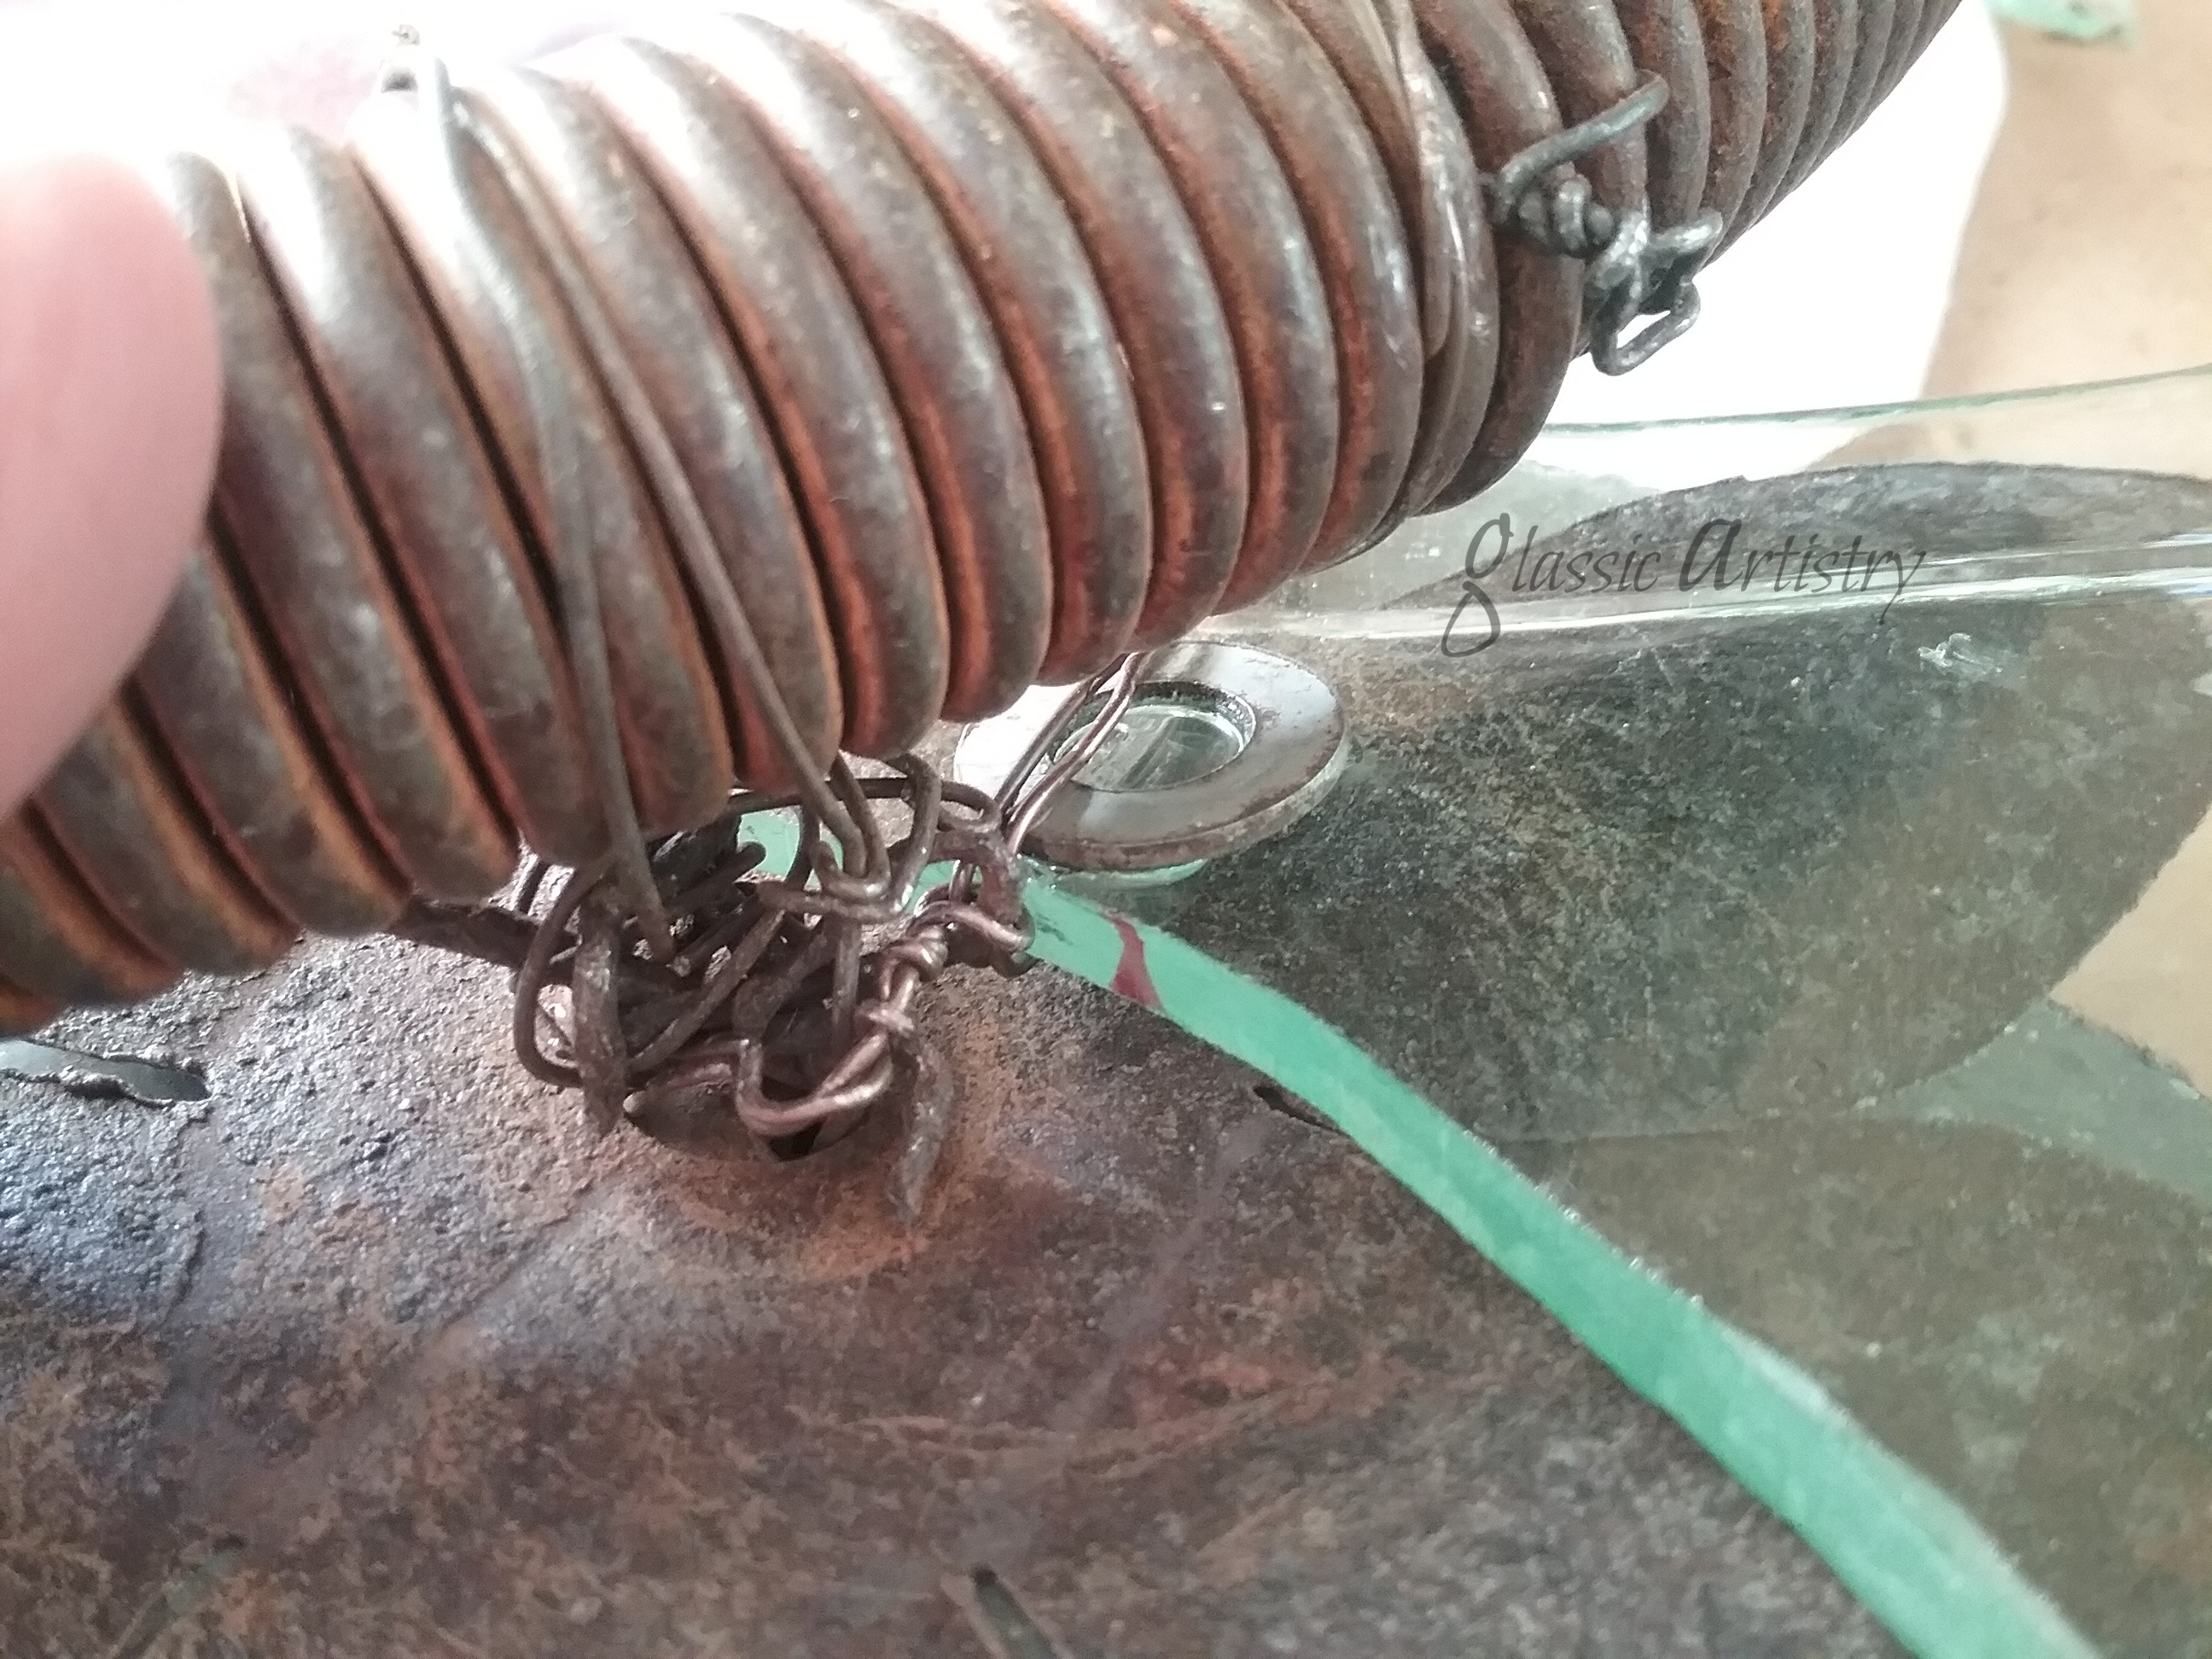
Arrange the leaves and flower on the wreath, covering the wired spring ends.  After deciding placement, wire the leaves on first with a thin pliable wire, then the flower, covering the wired ends of the leaves. 

Take advantage of any small curves in the glass leaves to help hold the wrapped wires tightly.  As an added precaution I glued chunks of glass, or washers, near my wires to prevent any slipping.  Washers can also be glued between the spring and flower/leaf arrangement to tighten or brace an area.

The ends of my heavy wire leaf shapes were difficult to bend.  I opted to attach a thin wire on one end of them, then thread it through under the flower and between other wires.  Secure the wire to the other end of the leaf shape. Arrange and tighten until snug.

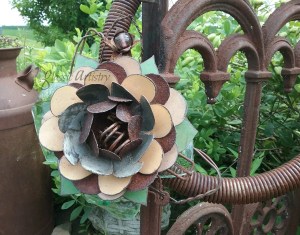
Before finishing up, I decided to add another glass leaf, used E6000 to add a couple interesting rusty bits, and tuck in one of my salvaged art blooms.


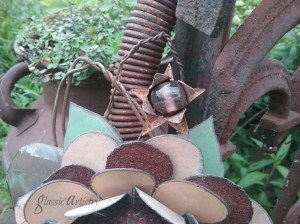
I do believe, this is just what that little corner of my garden needed!


Chandelier Garden Stake

There’s no doubt about it, the old world charm of the crystal garden chandeliers has me totally captivated! I’m not sure if its the beautiful results or the fun of making something so unique and striking with reclaimed and repurposed materials, but whatever it is, I’m hooked.

stk5 mrk

After last month’s post, I was anxious to try a chandelier garden stake. After laying out all of my glass and lamp pieces to see what there was to work with, I noticed several glass pieces were votive/candle holders, small saucers, and odd pieces without a hole. Playing around with stacking the pieces is the funniest part of this project, so I decided to grab the drill and 1/2″ diamond core bit to drill holes in pieces before getting started.
There’s a bunch of videos readily available on You Tube or Pinterest about drilling holes in glass. It is pretty simple really, just a little time consuming. Besides being very mindful of safety issues with water and electricity, the most important thing to remember is to keep the glass wet and cool so it doesn’t overheat and break.

20160712_202611

Although the pieces are different, the garden stake is stacked and made on a lamp pipe following the same steps as in last month’s post, with one exception. Instead of marking it with tape and cutting it off, mark it with tape, add 8 inches, then mark it with tape again for cutting. The added length will fit into a piece of conduit.

20160724_150314

Because of the crystals dangling, I wanted the stake to have some height, so I cut a piece of scrap 1/2″ conduit, four foot long.
Approximately 1 inch from the top of the conduit, mark a spot for drilling. With a center punch, make an indentation on the spot. Drill a hole through the conduit with a 5/32″ bit.
Insert the 8 inch added length of lamp pipe into the conduit until you meet the hex nut. With the lamp pipe and conduit held firmly, drill through the conduit holes again. This step works best with two people, one to hold the conduit and one to hold the lamp pipe, as you drill through the second time. Run a small bolt through the holes and tighten on a nut.

20160724_151310  20160724_151532

20160724_151811  20160724_152105

I noticed the hex nut didn’t cover the opening of the conduit pipe completely. I could have left it, but, didn’t like the look, so I added a flat, rounded edged lamp piece between the hex nut and conduit opening.
While holding the conduit in a vise, cut off the excess bolt length. Remove it from the vise, lay on a solid surface, and hit the cut bolt end with a hammer a few times to rivet it on.

20160724_155949  20160724_160427

20160724_160734

Replace your stacked pieces to the top of the lamp pipe, tightening when you screw on the finial. Once together, I found it helpful to stand the stake in a bucket of sand when adding the crystals. Pretty! Pretty!
No crystals? No problem! Garden Stakes can have a character and style all their own without the bling!

stk 1 watermrk  stk2 wtrmrk

If you like this post or found it helpful, please click on the “like” button below, or leave a comment.  I love hear what readers are thinking.

Thanks for visiting glassic touch!