Rustic Sunflower Fall Wreath DIY and A Bit More

Oh, how I love spending long, fun filled Fall days full of junk jaunts and tag sales with my daughters and sisters.  With all the virus concerns, we’ve not been out to any all summer, but are hoping to get masked up and maybe squeeze one in next month.  While poking around in my overloaded garage, sorting and tossing, I’m discovering a lot of treasures from our past outings, recalling the plans for them, and remembering some of the crazy times we had. 

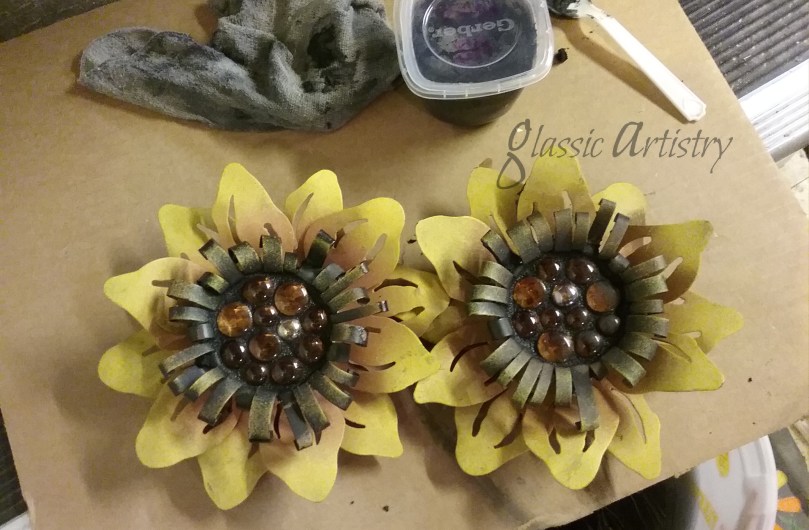
One such past find was a pair of metal sunflower candleholders; perfect for Fall decor.  It really makes my day when I find a treasure like this to bring home, repurpose, and play with. When I found them, I knew right away I’d be filling the center with something.

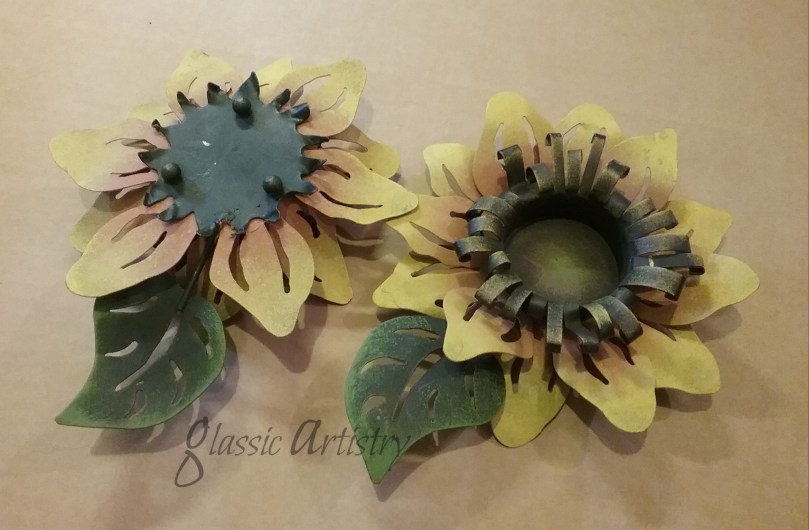
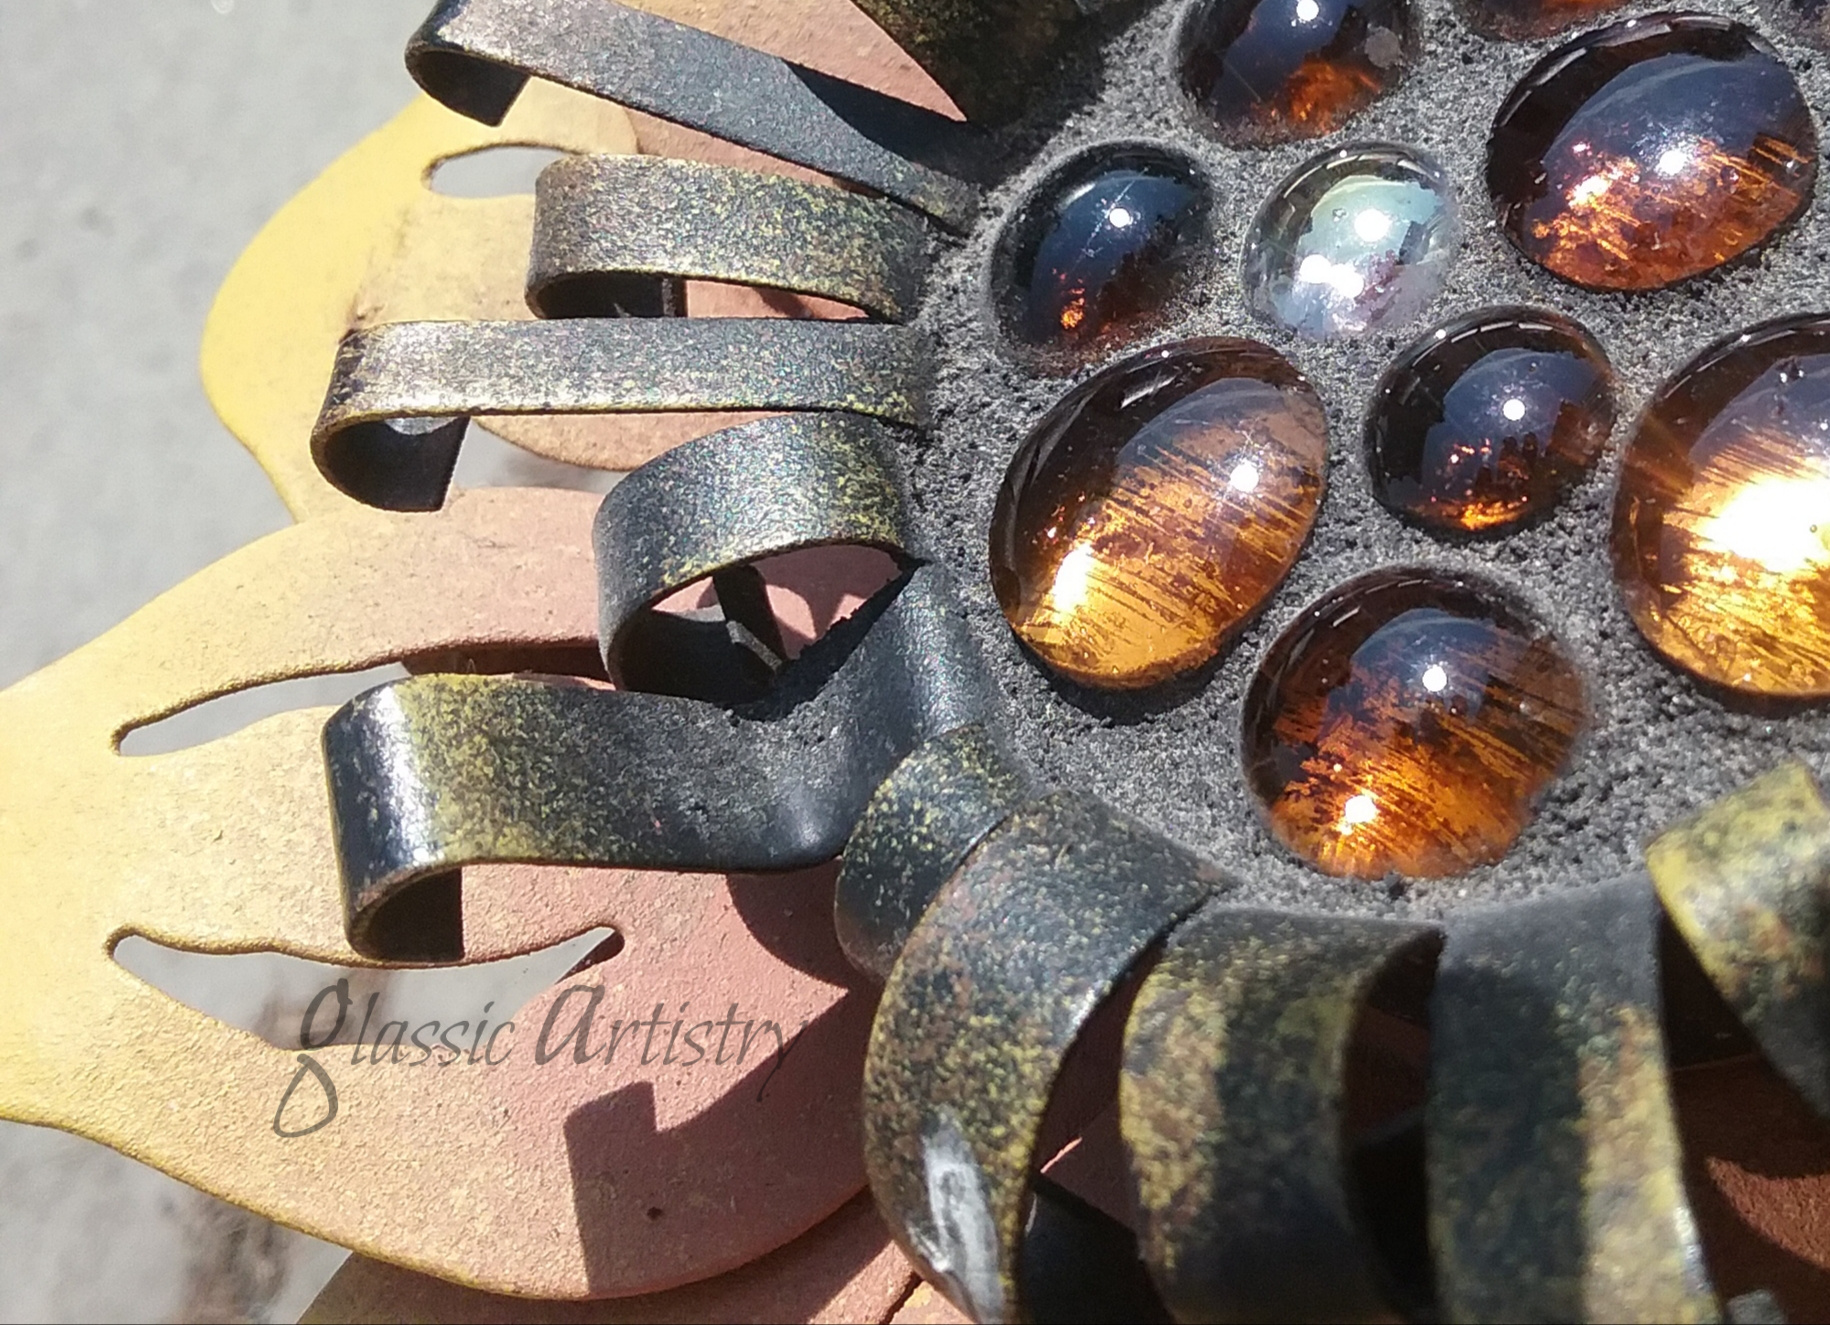
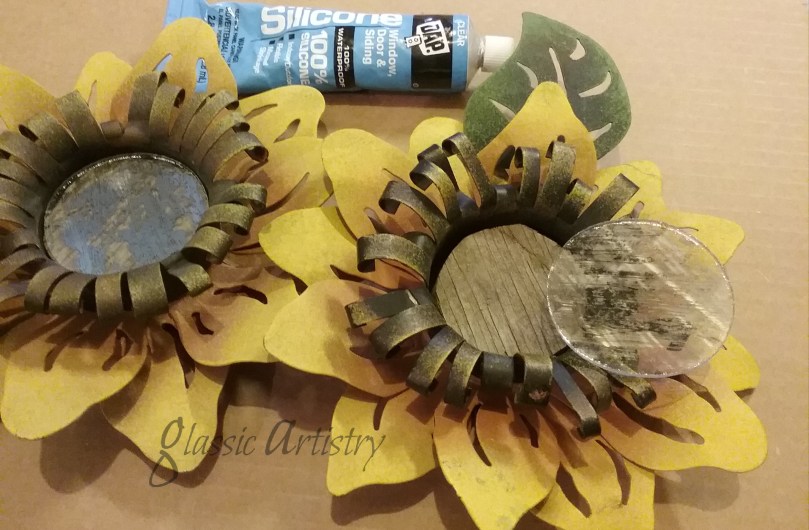
The small round legs popped off easily with pliers.  The leaves were removed with bolt cutters, and saved. To build up height in the centers, a small circle of ½” plywood was glued into each one.  I wanted some shine to show through the translucent glass nuggets I would be using, so I cut circles from a discarded piece of antiqued mirror to glue over the plywood. Small circles of thin metal could also be used in place of the mirror. Different sizes of amber, brown, and clear glass nuggets were glued to the mirror, leaving a small space around each one. After letting the glue dry 24 hours, the nuggets were grouted with sanded grout.  I mixed a small amount of brown paint with my black grout to get the color I wanted.  Let grout dry overnight before sealing.

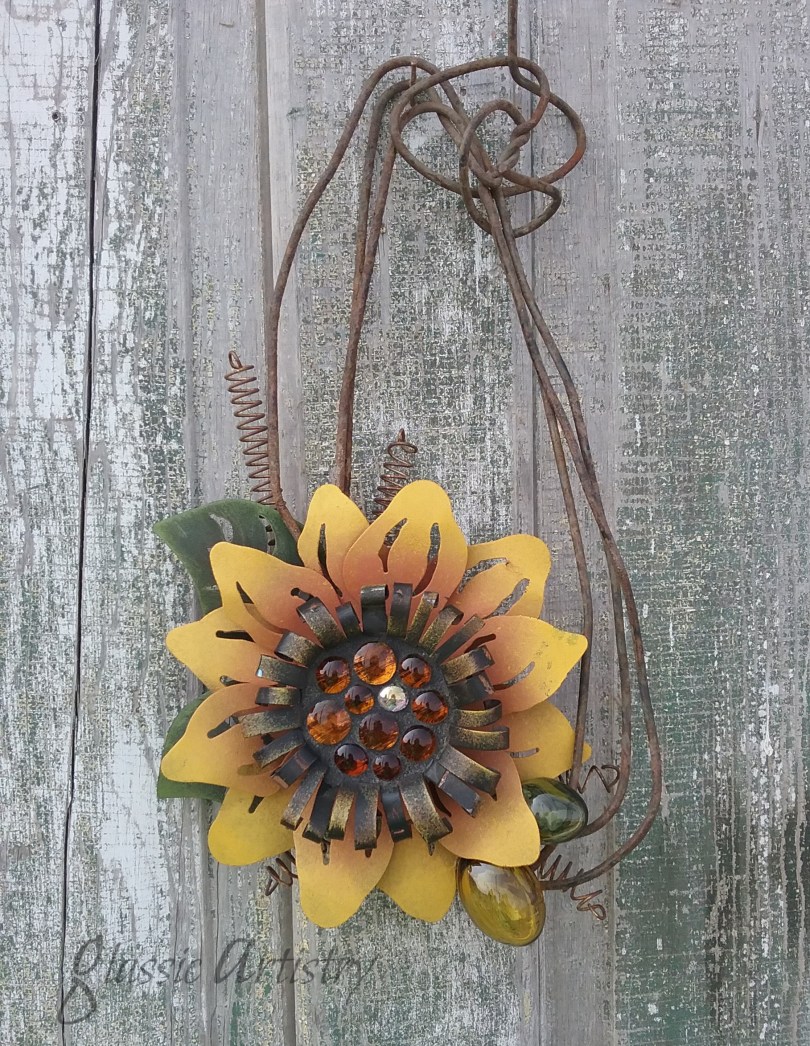
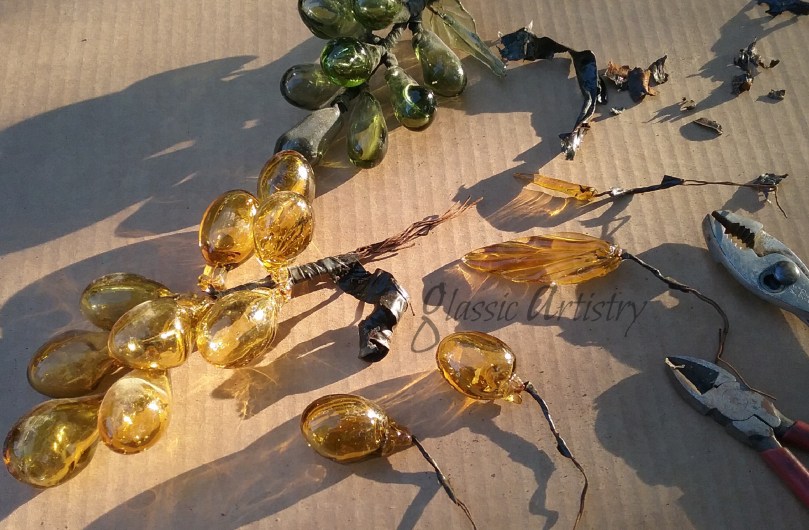
Searching through my stashes, I found an awesome piece of rusted steel wire and some beautiful green and gold blown glass grape bunches.  The wire,  I pulled from a salvage pile last year, and the grapes were found in an antique mall in Texas several years ago. They had broken leaves, and I paid a bit more than I would usually do, but they were so darned pretty.  And now, I’m really glad I did.

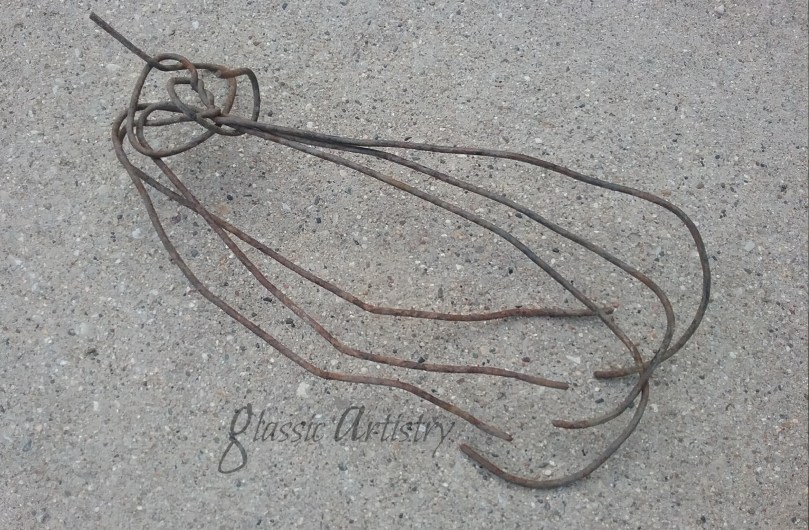
Not being one for flowery, frilly things, the wire piece worked perfectly for my taste; I could use the twisted wire knot to take the place of a bow.  

With 22ga, thin black wire, the flower was wired on first, then the leaves, and grapes.  I added some rusty springs to give it just a little bit more. 

I love the versatility of projects like this.  These sunflowers can be attached to just about anything, and used indoors, or out.  I did a little playing around with some other ideas too, and thought I’d share them just for fun.  You’ll have to let me know what you think ..

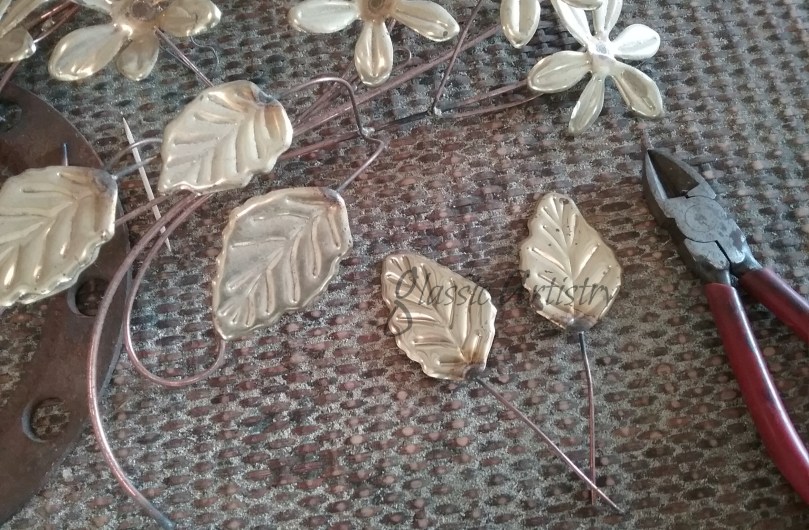
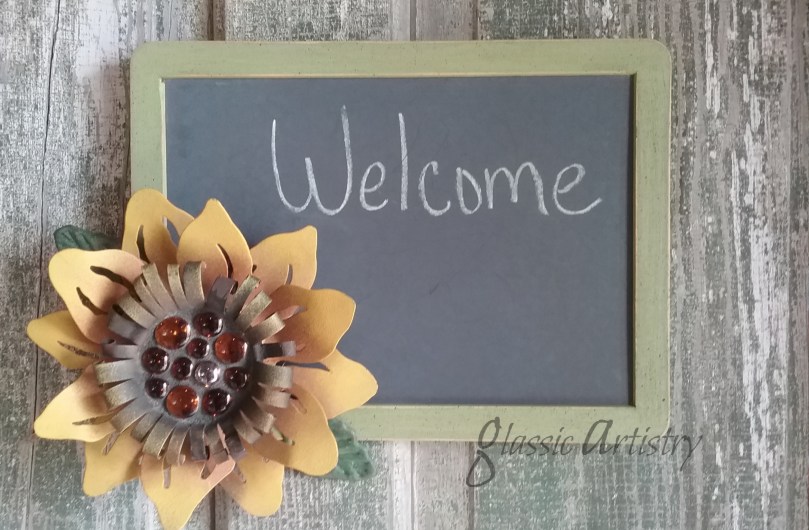
Keep it simple.  Paint a couple metal leaves to add around a flower; attach it to a chalkboard, or a welcome sign.

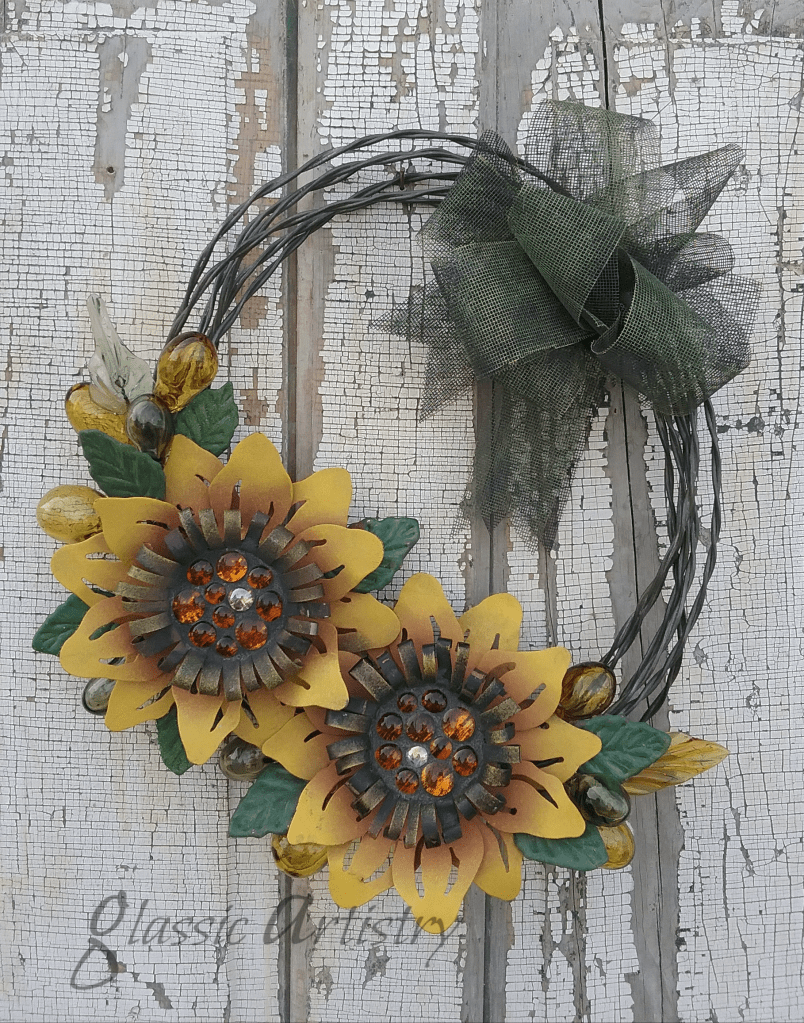
 A wire wreath is big enough for the pair. No ribbon for a wreath bow?  Cut strips of fiberglass window screening and loop one.  There’s easy bow instructions on YouTube.

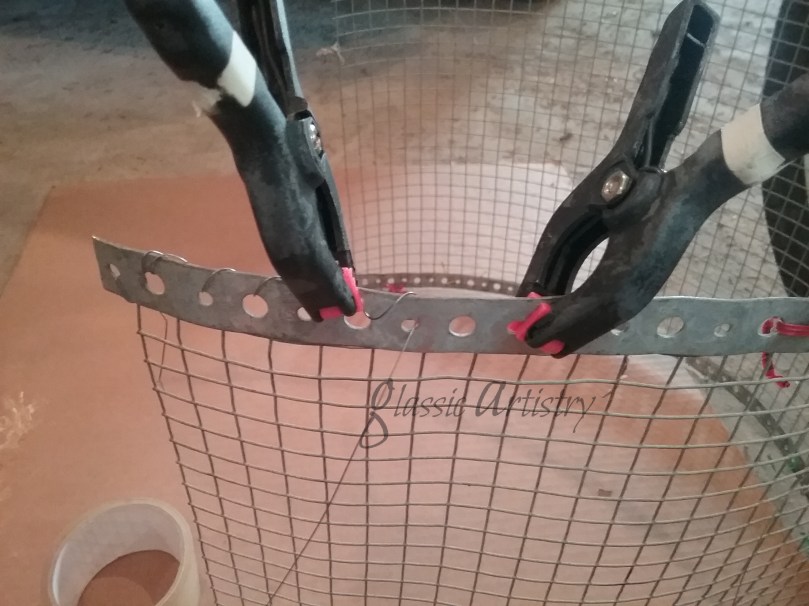
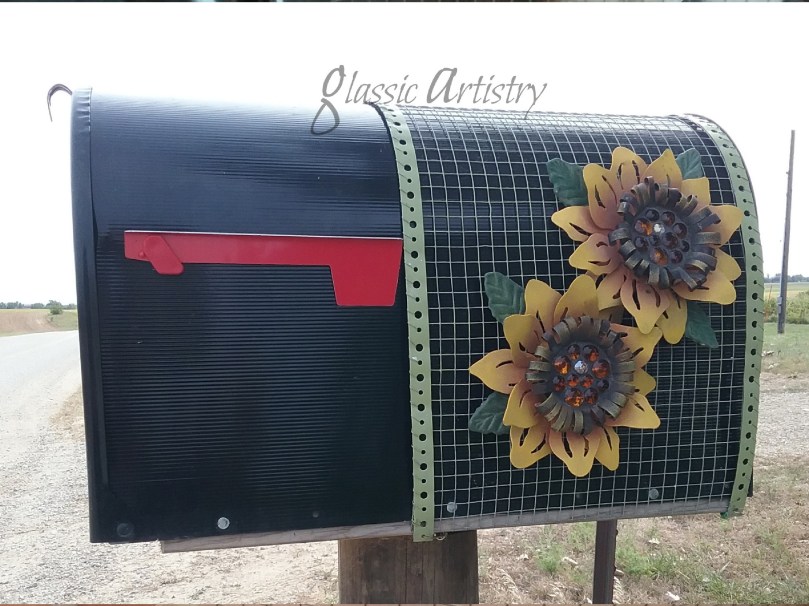
How about a mailbox cover?  A metal nail strip was stitched to wire hardware cloth and shaped in an arch.  Hold it in place underneath with mini bungee cords.  

For an open porch, I think a small arrangement with a sunflower and raffia would look great too, tied around the neck of a milk can filled with tall florals, or ornamental grasses; but I didn’t have time, a porch, or florals to get that put together. 🙂

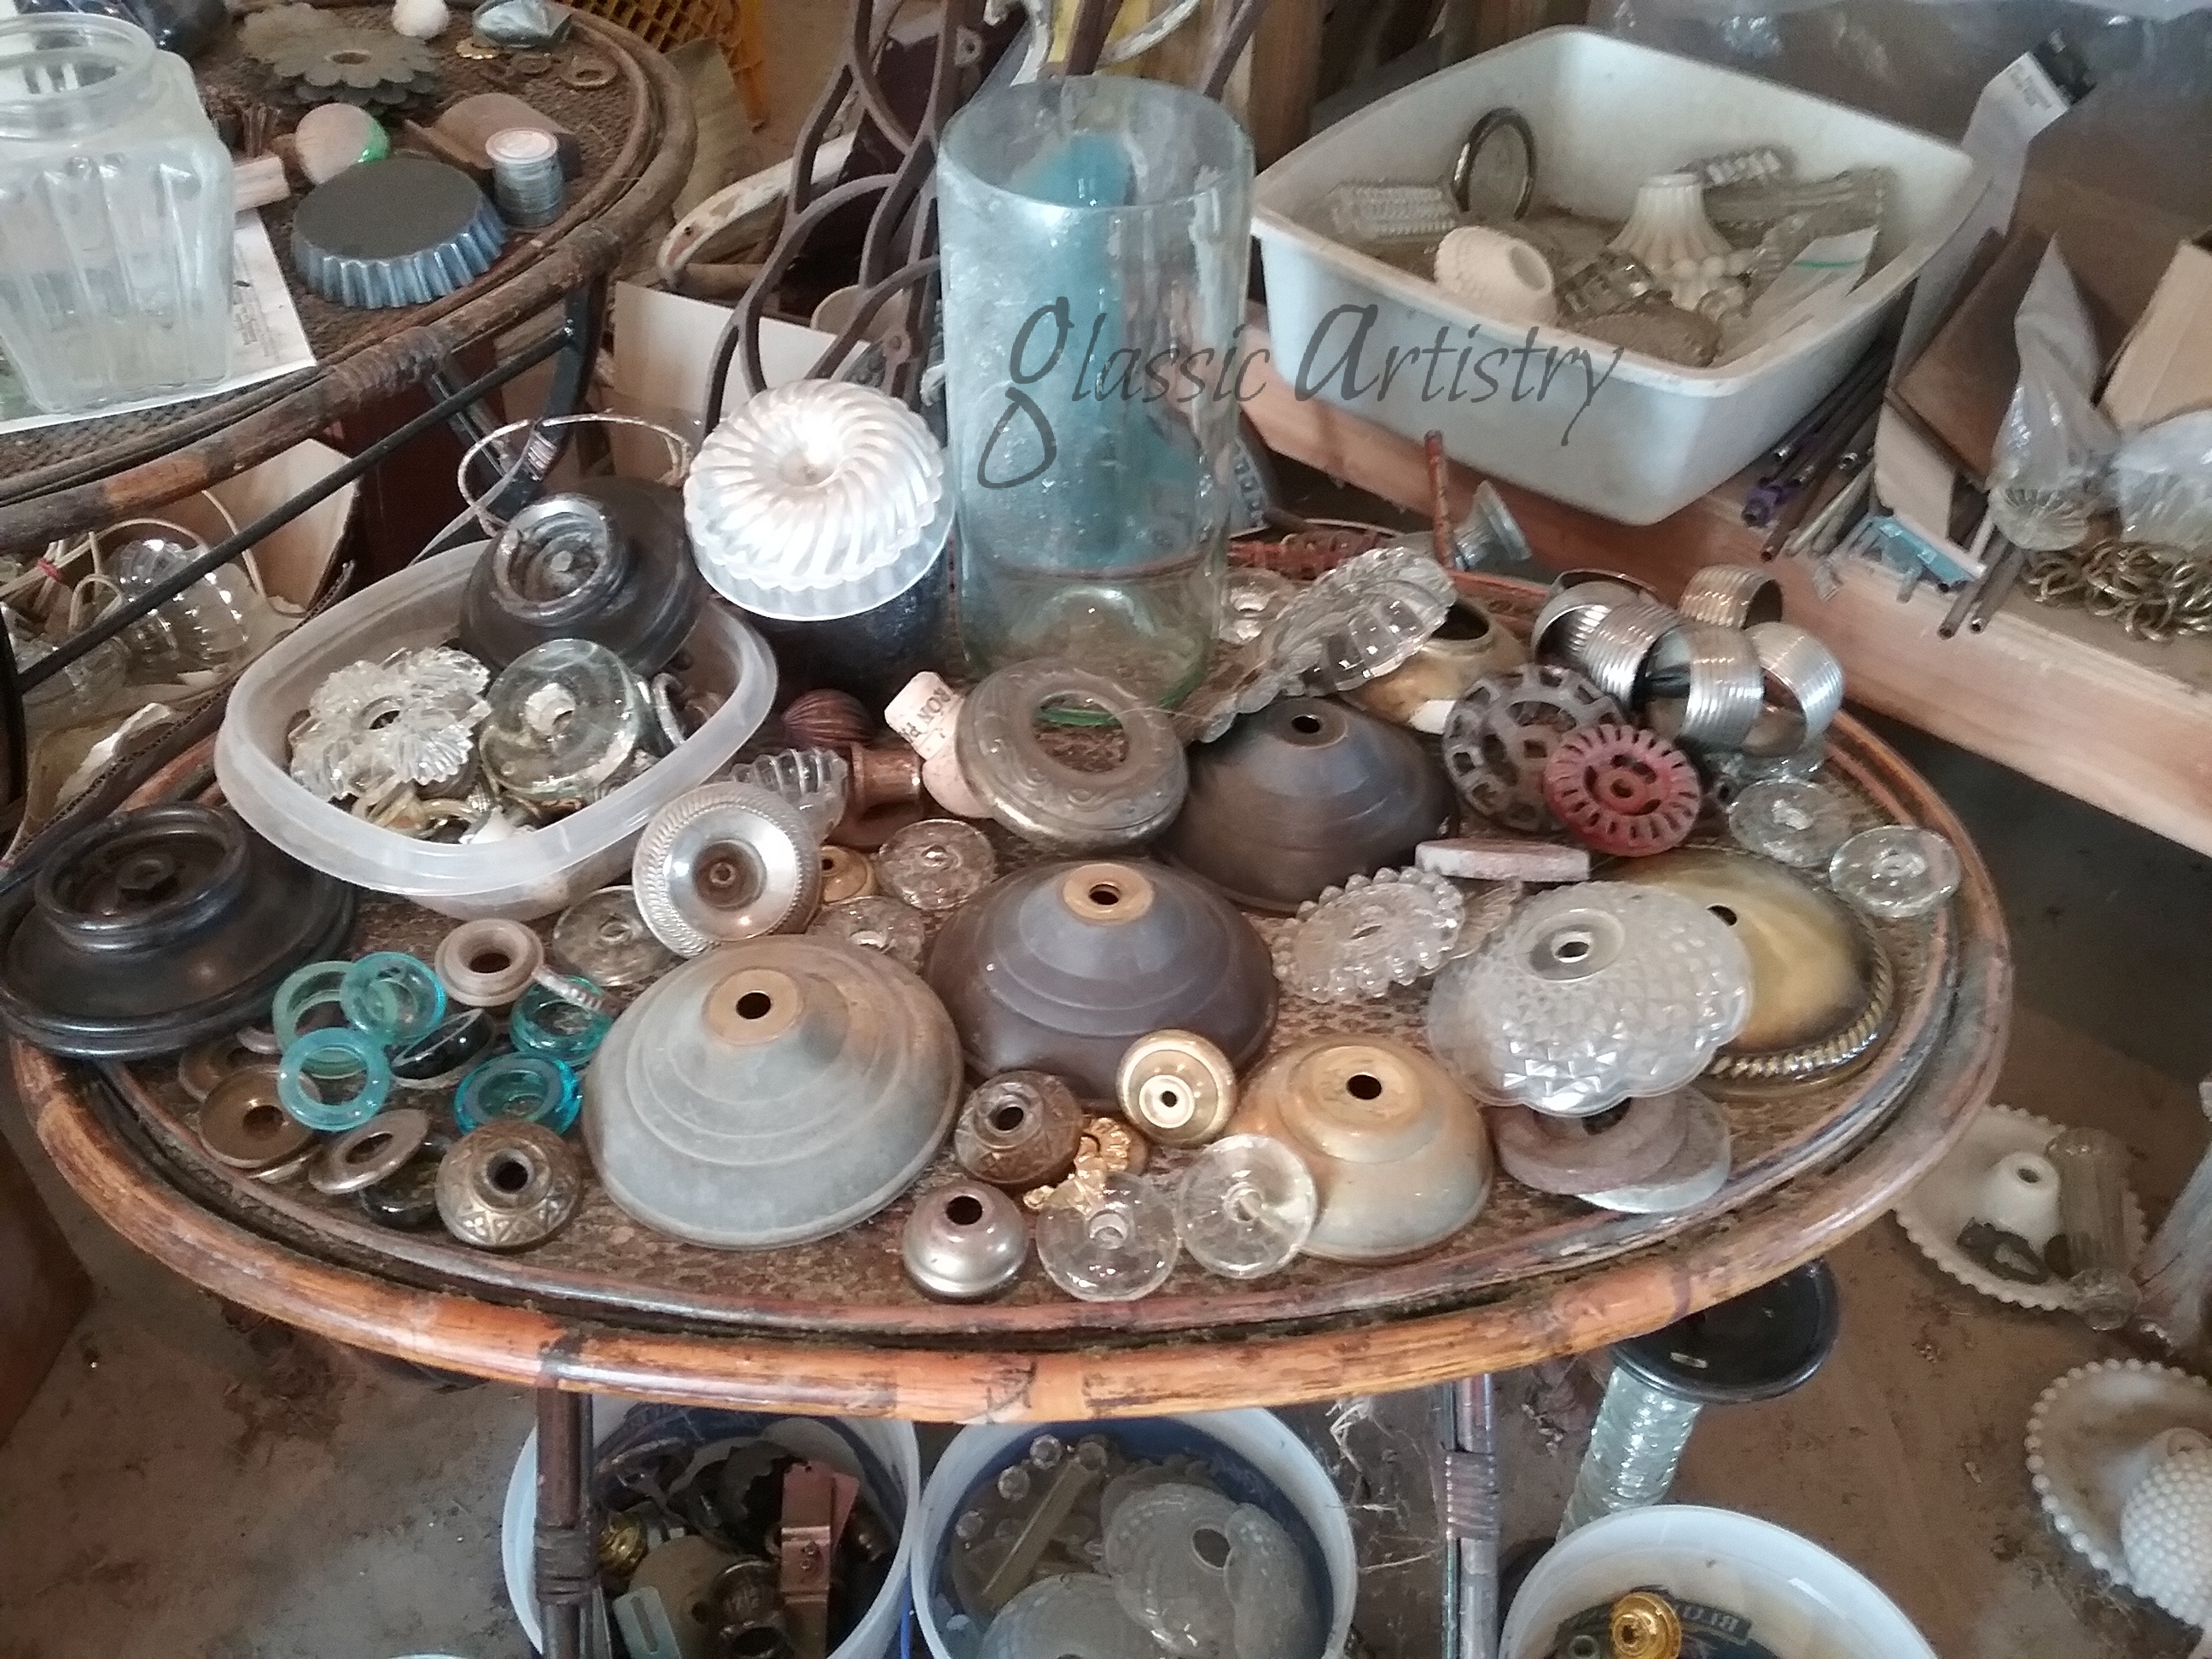
A wide variety of small, inexpensive metal and glass pieces can usually be found at garage sales, and tag sales, so keep an eye out if you like repurposing and working with salvaged materials.  It’s good to get in the practice of looking at a piece and taking it apart in your mind to see how it’s parts can be used in other ways before carting it home.

Please feel free to comment, or share my post if you like. Take Care and Stay Healthy. 

Wine Bottle Apothecary Jar DIY Tutorial

The amount of stuff in my garage is crazy!  Something’s got to give. I used three bottles in this current project and sent about 50 to the recycle bin. No more, I’m not keeping any more unless it’s something really unique.  After all, wine bottles are not that hard to come by.  A few boxes of wire and salvaged pieces were given the boot.  But, I couldn’t part with more than a baggie full when it came to sorting through my lamp parts, small bits and pieces, and odds and ends.  They make up the brainstorming center of one of my favorite creative spaces. I could spend many happy hours playing and creating with all those wonderful little pieces.  They’ve been used in so many of my projects, including this one.  

So, here we go.  A bottle cutter or wet saw will be needed. I used the Creator’s Bottle Cutter, but have had great success with the Ephrem’s Bottle Cutter too.  Both are easy to use and have instructions included. The Ephrem’s Bottle Cutter is less expensive and needs to be attached to a board before using.

Place the bottle in the cutter.  With even pressure while turning, score the cut line on the bottle.  Rotate the score line about ¼” over a candle flame for about a minute.  Holding the bottle at the top and bottom, plunge it into a bucket of ice water to easily snap apart.  Sand the cut edges with 150 grit emery cloth to smooth and remove the sharp edges.  

I don’t often share pictures of my messy places, but here’s that brainstorming center I mentioned a little earlier.  I know, it’s a little out of hand, huh?  But, it’s so much fun having a lot of options when in a creative mood. 

20200815_143948 (1)

I had parted out a pair of bent candlesticks my sister found for me at a garage sale.  They were a steal at fifty cents each and chock full of some beautiful heavy glass donuts. I was able to use the top and base also. The rod was cut out, and my husband used a die grinder to remove some excess solder. A die grinder isn’t hard to use, I just don’t like the noise or the flying sparks it makes.

I liked the idea of using a glass donut on each jar to make them look like they belonged together if they were displayed as a set. I stacked and played around with pieces to fit the donuts and the jar openings until I was happy with what I had.  When making pieces like this, I like to take pictures of them laid out in the order they were stacked so I can remember how they go back together after the painting process.

20200821_205205 (1)

20200821_204920 (1)

20200821_205311 (1)

Clean the metal pieces and buff them with #0000 steel wool before painting.  Prime and paint.  I used an Oil Rubbed Bronze finish.

I was able to use a short piece of threaded rod for the two larger lids and they screwed together really slick.  E6000 was used to glue the small lid together.  It was stacked and glued in small steps, letting the glue dry in between steps, so it would stay straight. When using glue, scratch away a small area of paint on both surfaces where glue will touch.

20200824_134056 (1)

I noticed a flat bottomed glass globe while I was working.  What the heck, why not put a lid on it too? 

20200821_205904 (1)

After priming I used a Silver Hammered Metal finish on this one.  When dry, I sprayed a light coat of Silver Looking Glass Paint, and then buffed it lightly with #0000 steel wool after the paint was thoroughly dry.  It was glued together. Don’t forget to scrape paint away where the glue will touch.  Sometimes glues can soften or eat through paint and not adhere properly. 

All I have for now.  Thank You so much for visiting my blog. Please feel free to share my posts with your friends, re-purposing helps keep things out of our landfills. 

I’ve started working on some Fall Sunflower decor to share soon; hope you come back to join me.

20200827_120241 (1)Take Care and Stay Healthy!