Getting Back Into the Swing of Things

Hi All!  I know, it’s been quite a while, hasn’t it?  No worries though, nothing major happened after my last post; I just got busy with glass work, wrapped up with the grand kids and their activities, and just got out of the swing of things, I guess.  You really have to give a lot of credit to those that do blog regularly, it’s a lot of work.  I don’t know how they manage it.  I love sharing on my blog, but think I may have to be content with only posting occasionally. I want it to stay fun and not something I feel I have to do. 

Anyway, with that out of the way, I’d like to know how everyone is doing? This virus business has sure created a strange and crazy time over the last three months. I hope everyone and your families have been staying safe and doing well.  

Like many, we are still staying home, social distancing, making essential trips only, and doing curbside pick-ups.  We’ve opted to stay put at home this summer, and not plan any weekend road trips or junk jaunts.  That plan is what prompted me back to my blog.  I was looking around my garage the other day, taking stock of what projects I might work on over the summer, when I realized I already had plans for many of the treasures I have gathered.  I took that as a sign to get refocused and get stuff done. Not sure what I’ll be starting with yet, but I’m anxious to get going.

With no tutorial to share today, I thought I’d just do a big pictorial of pieces made for the vintage market last year, and some of my glass work and what’s been keeping me busy since last fall.  Hope they arouse some inspiration …  

I’ll start with one of my market favorites.  Remember the painted window screen poppies

A piece of aged and painted mirror was glued into the bottom of a 25 cent garage sale find before wiring poppies to the front.  Isn’t it the cutest?  I love the colors.

My daughter had some beautiful pieces of scrap lumber from putting in new windows.  They were the perfect length to put together a big mudroom shelf with Chicken Wire Brackets

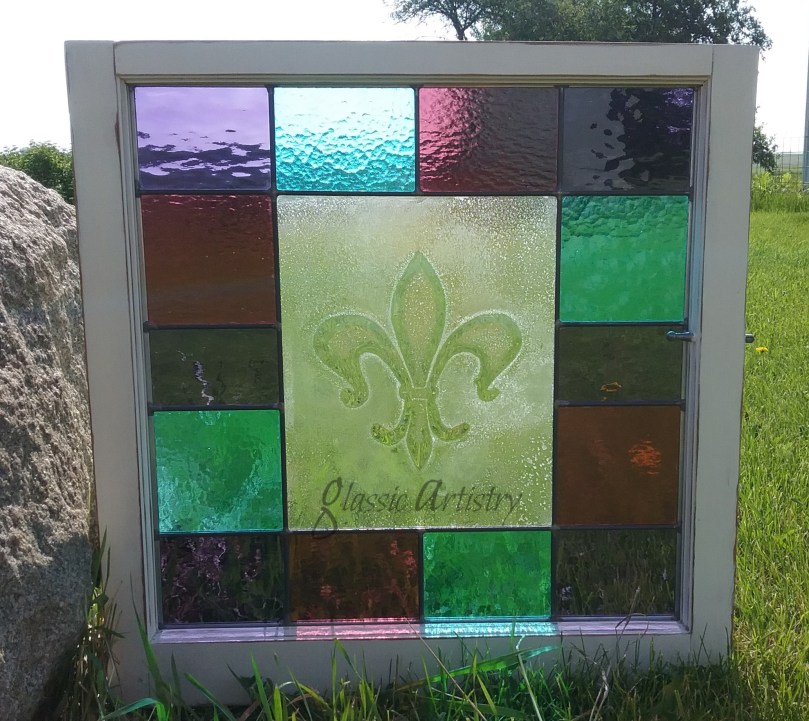
A large vintage, embossed Fluer de lis glass tile was rescued from an old medicine cabinet, surrounded with leaded glass and inserted in an empty window pane. 

lg fluer de lis 1

Wooden cabinet doors were up-cycled with glass inserts and hung on open backed, vintage style wall curios constructed with scrap and pallet lumber.

Pretty textured glass, an old cabinet door, and a piece of door molding came together nicely for a decorative shelf.
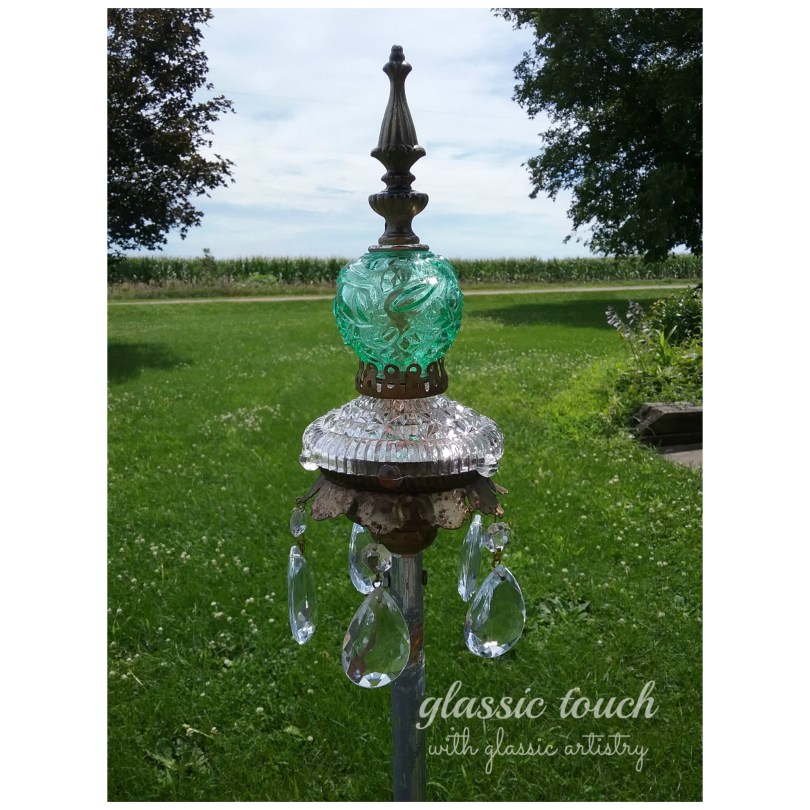
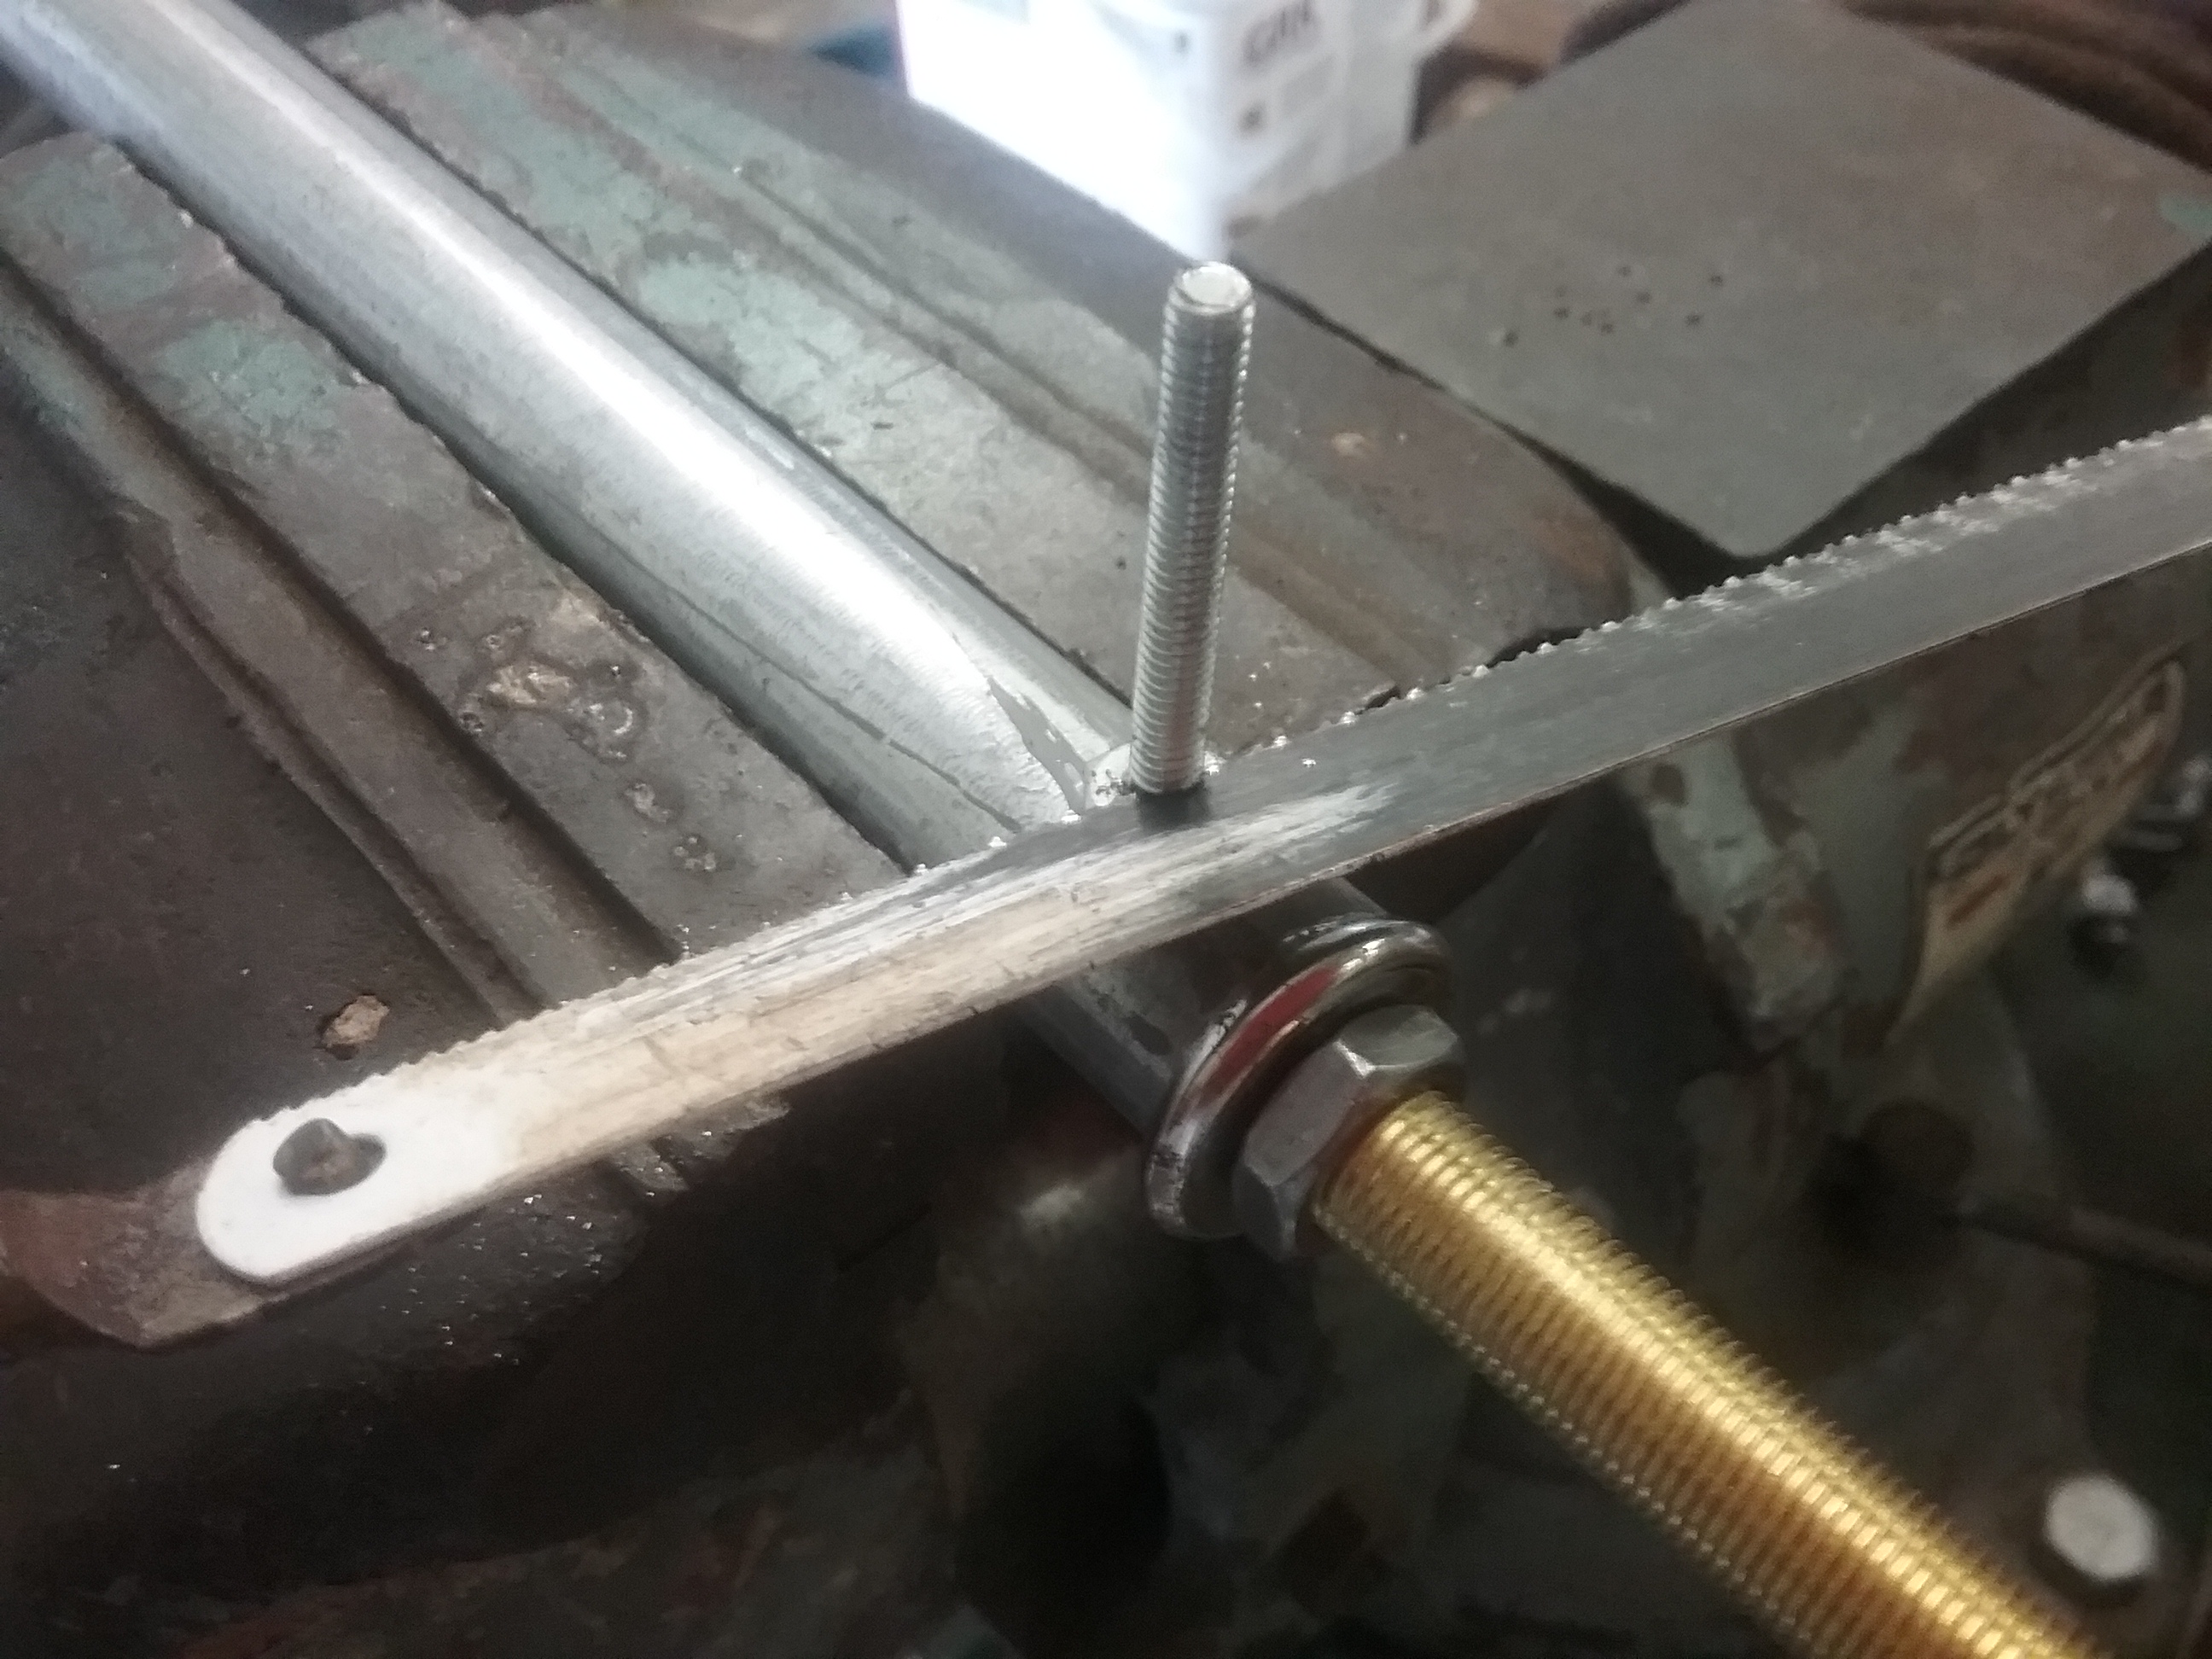
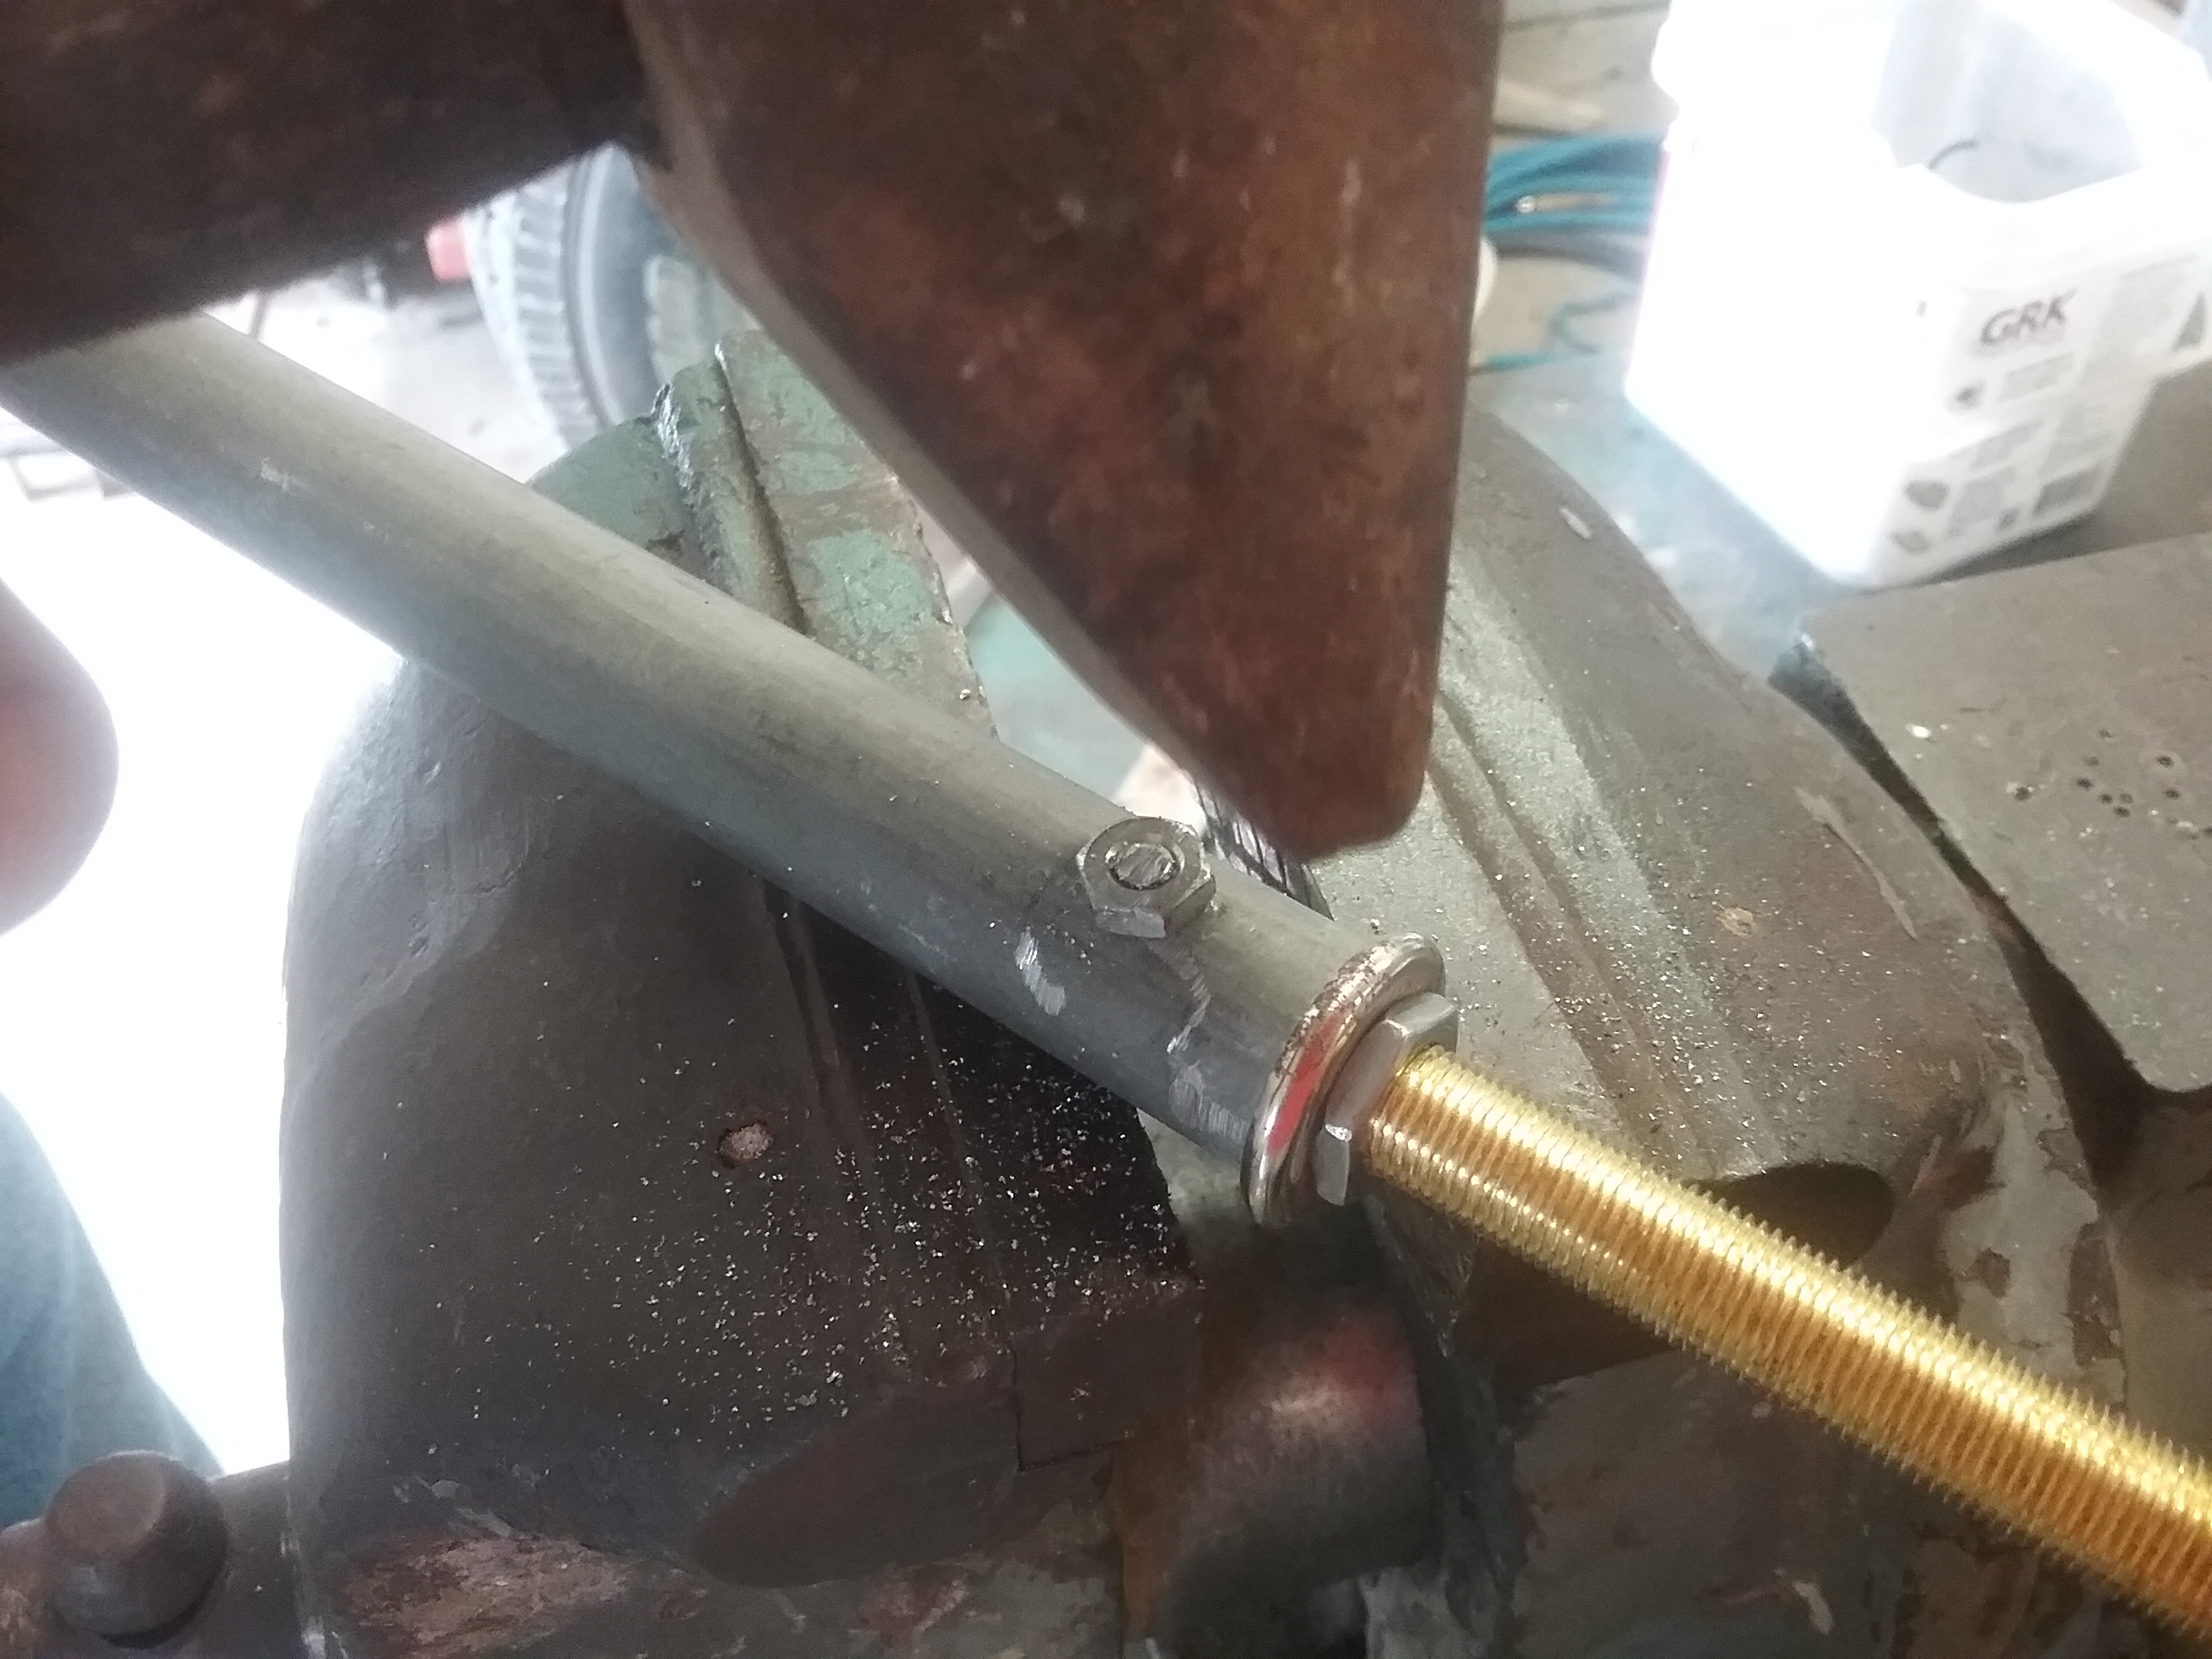
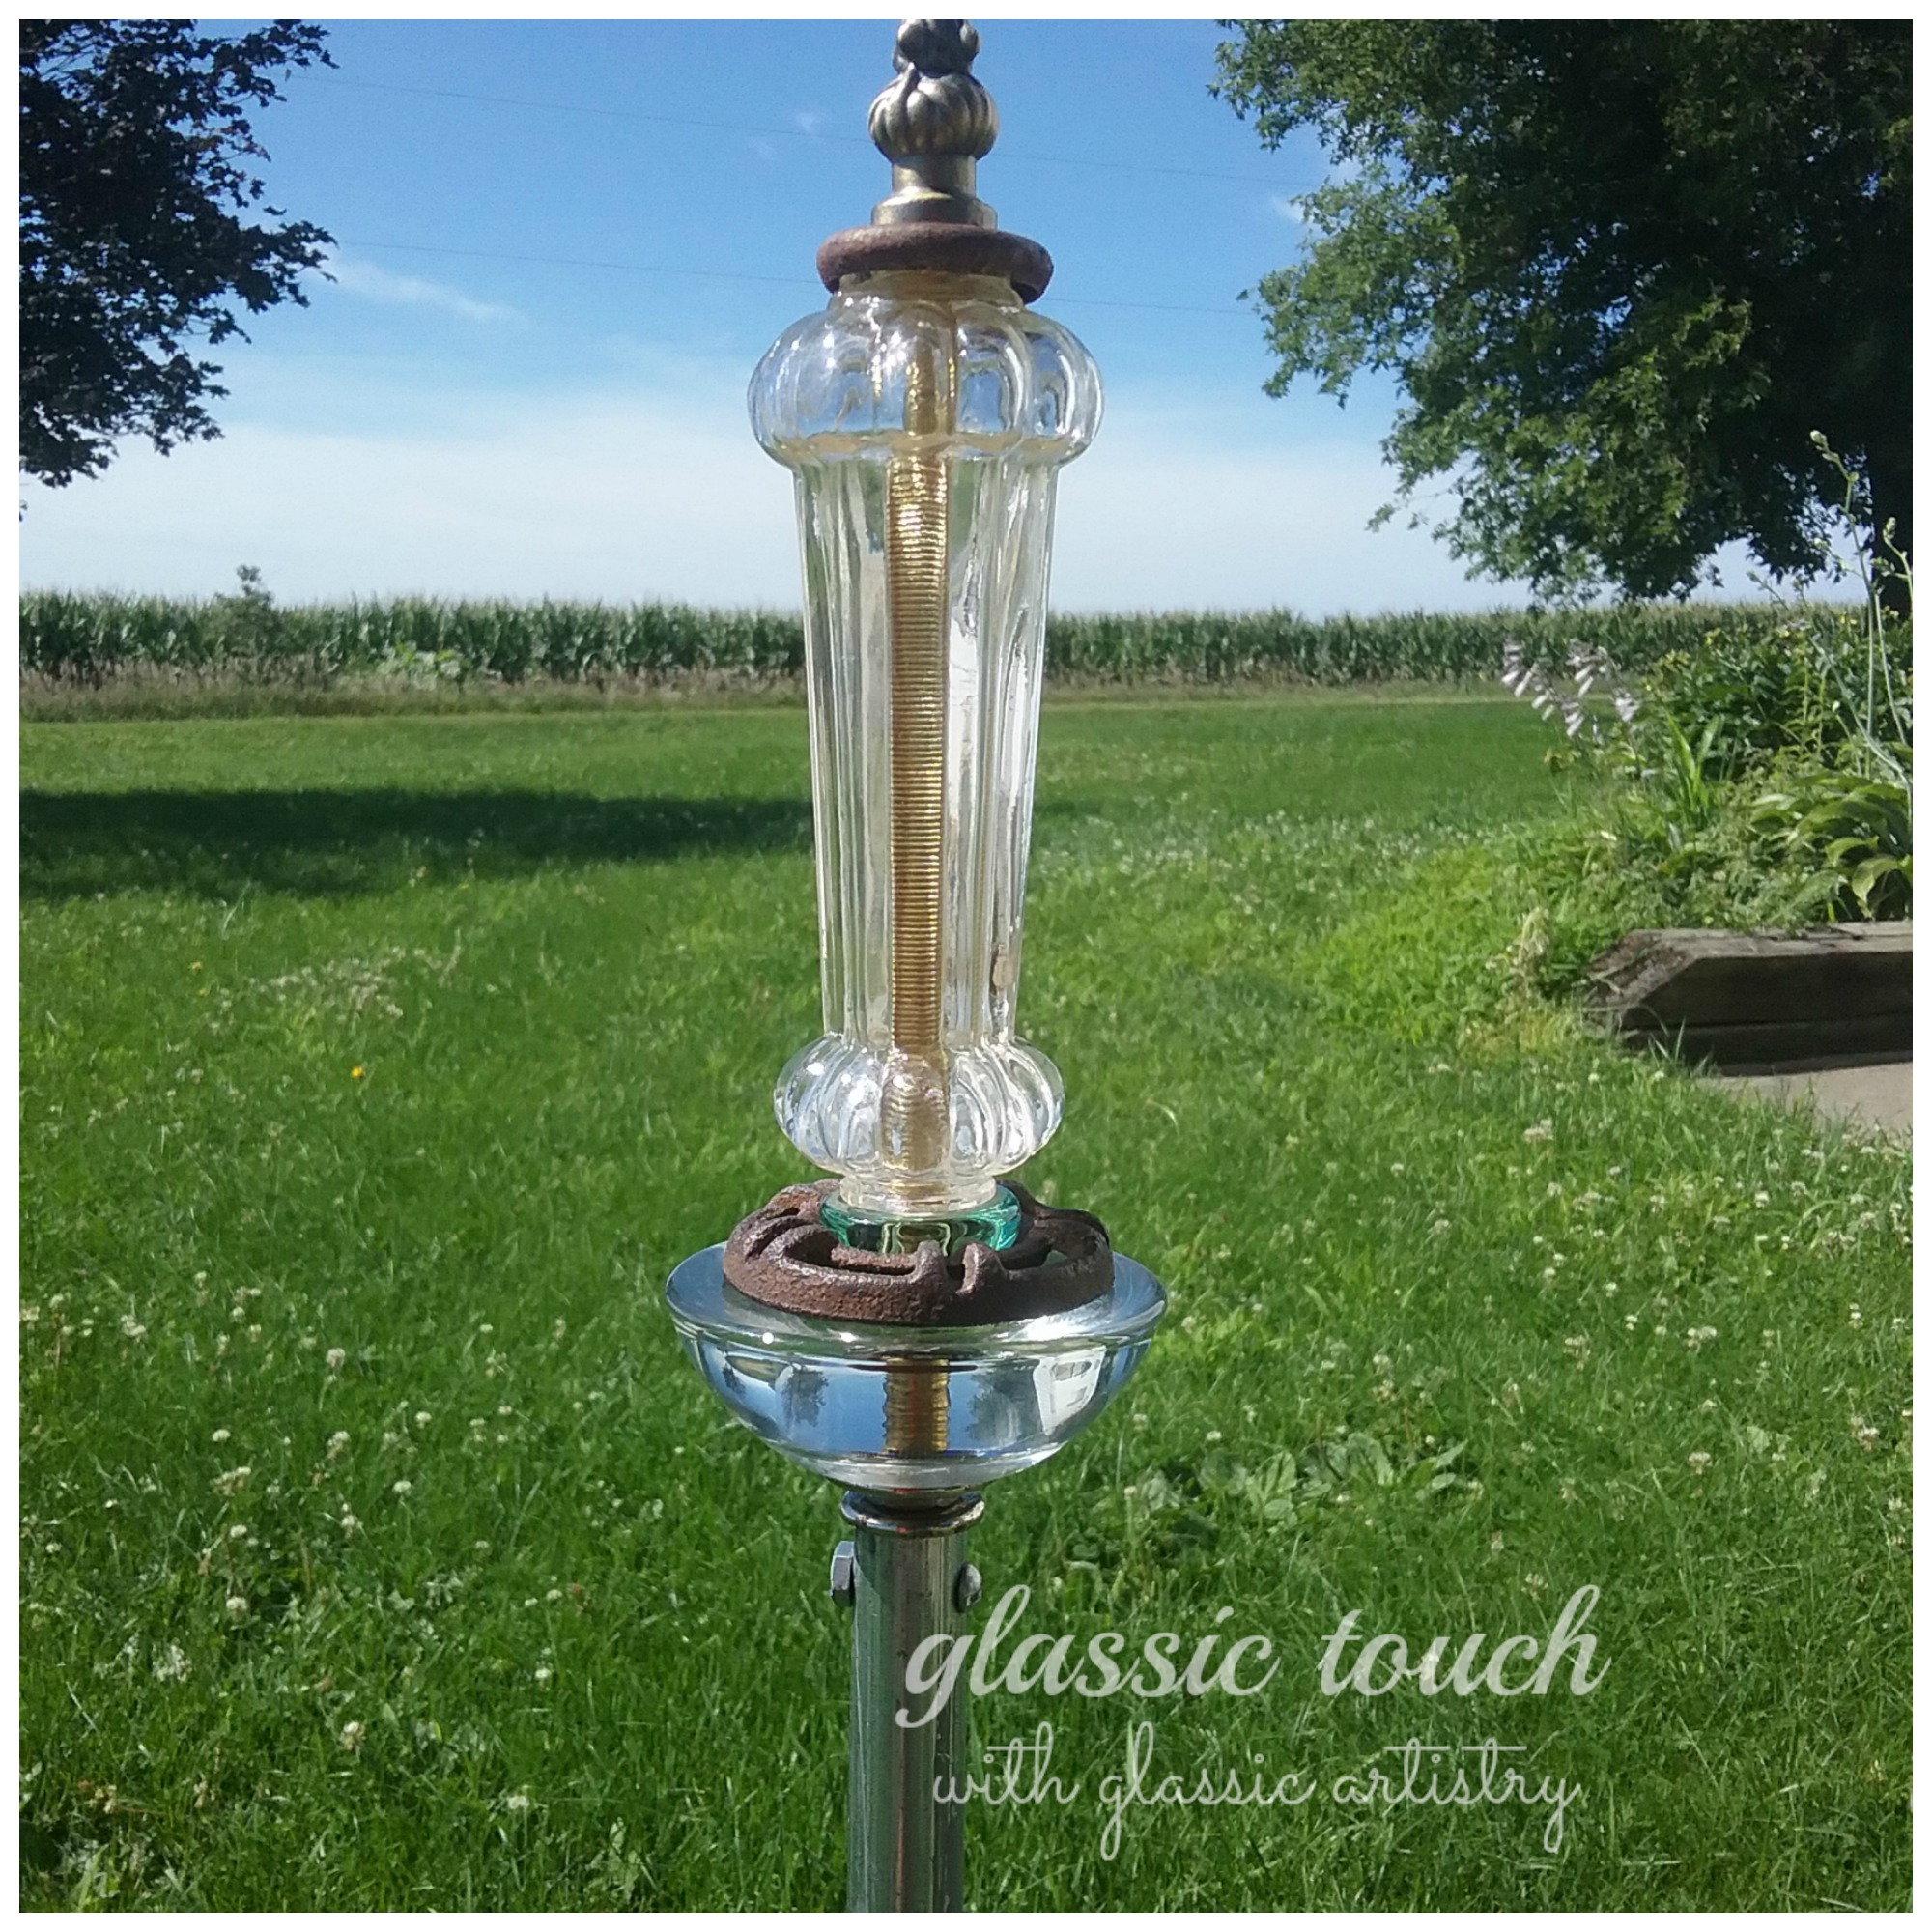
In my glass world –

Oh!  And last, but not least, are these two.  They own me heart and soul, brighten my days, but can really keep me hoppin’.

kids

That’s it, all I have for now.  Thank You for hanging in there with me and continuing to follow my blog.  Please stay happy and healthy.  I’ll be back …

Chandelier Garden Stake

There’s no doubt about it, the old world charm of the crystal garden chandeliers has me totally captivated! I’m not sure if its the beautiful results or the fun of making something so unique and striking with reclaimed and repurposed materials, but whatever it is, I’m hooked.

stk5 mrk

After last month’s post, I was anxious to try a chandelier garden stake. After laying out all of my glass and lamp pieces to see what there was to work with, I noticed several glass pieces were votive/candle holders, small saucers, and odd pieces without a hole. Playing around with stacking the pieces is the funniest part of this project, so I decided to grab the drill and 1/2″ diamond core bit to drill holes in pieces before getting started.
There’s a bunch of videos readily available on You Tube or Pinterest about drilling holes in glass. It is pretty simple really, just a little time consuming. Besides being very mindful of safety issues with water and electricity, the most important thing to remember is to keep the glass wet and cool so it doesn’t overheat and break.

20160712_202611

Although the pieces are different, the garden stake is stacked and made on a lamp pipe following the same steps as in last month’s post, with one exception. Instead of marking it with tape and cutting it off, mark it with tape, add 8 inches, then mark it with tape again for cutting. The added length will fit into a piece of conduit.

20160724_150314

Because of the crystals dangling, I wanted the stake to have some height, so I cut a piece of scrap 1/2″ conduit, four foot long.
Approximately 1 inch from the top of the conduit, mark a spot for drilling. With a center punch, make an indentation on the spot. Drill a hole through the conduit with a 5/32″ bit.
Insert the 8 inch added length of lamp pipe into the conduit until you meet the hex nut. With the lamp pipe and conduit held firmly, drill through the conduit holes again. This step works best with two people, one to hold the conduit and one to hold the lamp pipe, as you drill through the second time. Run a small bolt through the holes and tighten on a nut.

20160724_151310  20160724_151532

20160724_151811  20160724_152105

I noticed the hex nut didn’t cover the opening of the conduit pipe completely. I could have left it, but, didn’t like the look, so I added a flat, rounded edged lamp piece between the hex nut and conduit opening.
While holding the conduit in a vise, cut off the excess bolt length. Remove it from the vise, lay on a solid surface, and hit the cut bolt end with a hammer a few times to rivet it on.

20160724_155949  20160724_160427

20160724_160734

Replace your stacked pieces to the top of the lamp pipe, tightening when you screw on the finial. Once together, I found it helpful to stand the stake in a bucket of sand when adding the crystals. Pretty! Pretty!
No crystals? No problem! Garden Stakes can have a character and style all their own without the bling!

stk 1 watermrk  stk2 wtrmrk

If you like this post or found it helpful, please click on the “like” button below, or leave a comment.  I love hear what readers are thinking.

Thanks for visiting glassic touch!