Repurposed Garden Tote Garden Basket DIY

Look, I’ve found the way back to my blog.  There’s no doubt at all that if I had to rely on this to make a living, I would starve, lol.  

As most know, I store treasures in my garage.  It’s pretty cluttered, and, with no tables, I mostly work on the floor, or move out to the old picnic table when weather permits.

Late last fall one area of my garage got a big improvement when my husband was looking for a place to temporarily store a lift. He had no problem if it was covered and used as a work table.  Wow, what a difference it made and I can stand up to work! 

BEFORE

AFTER

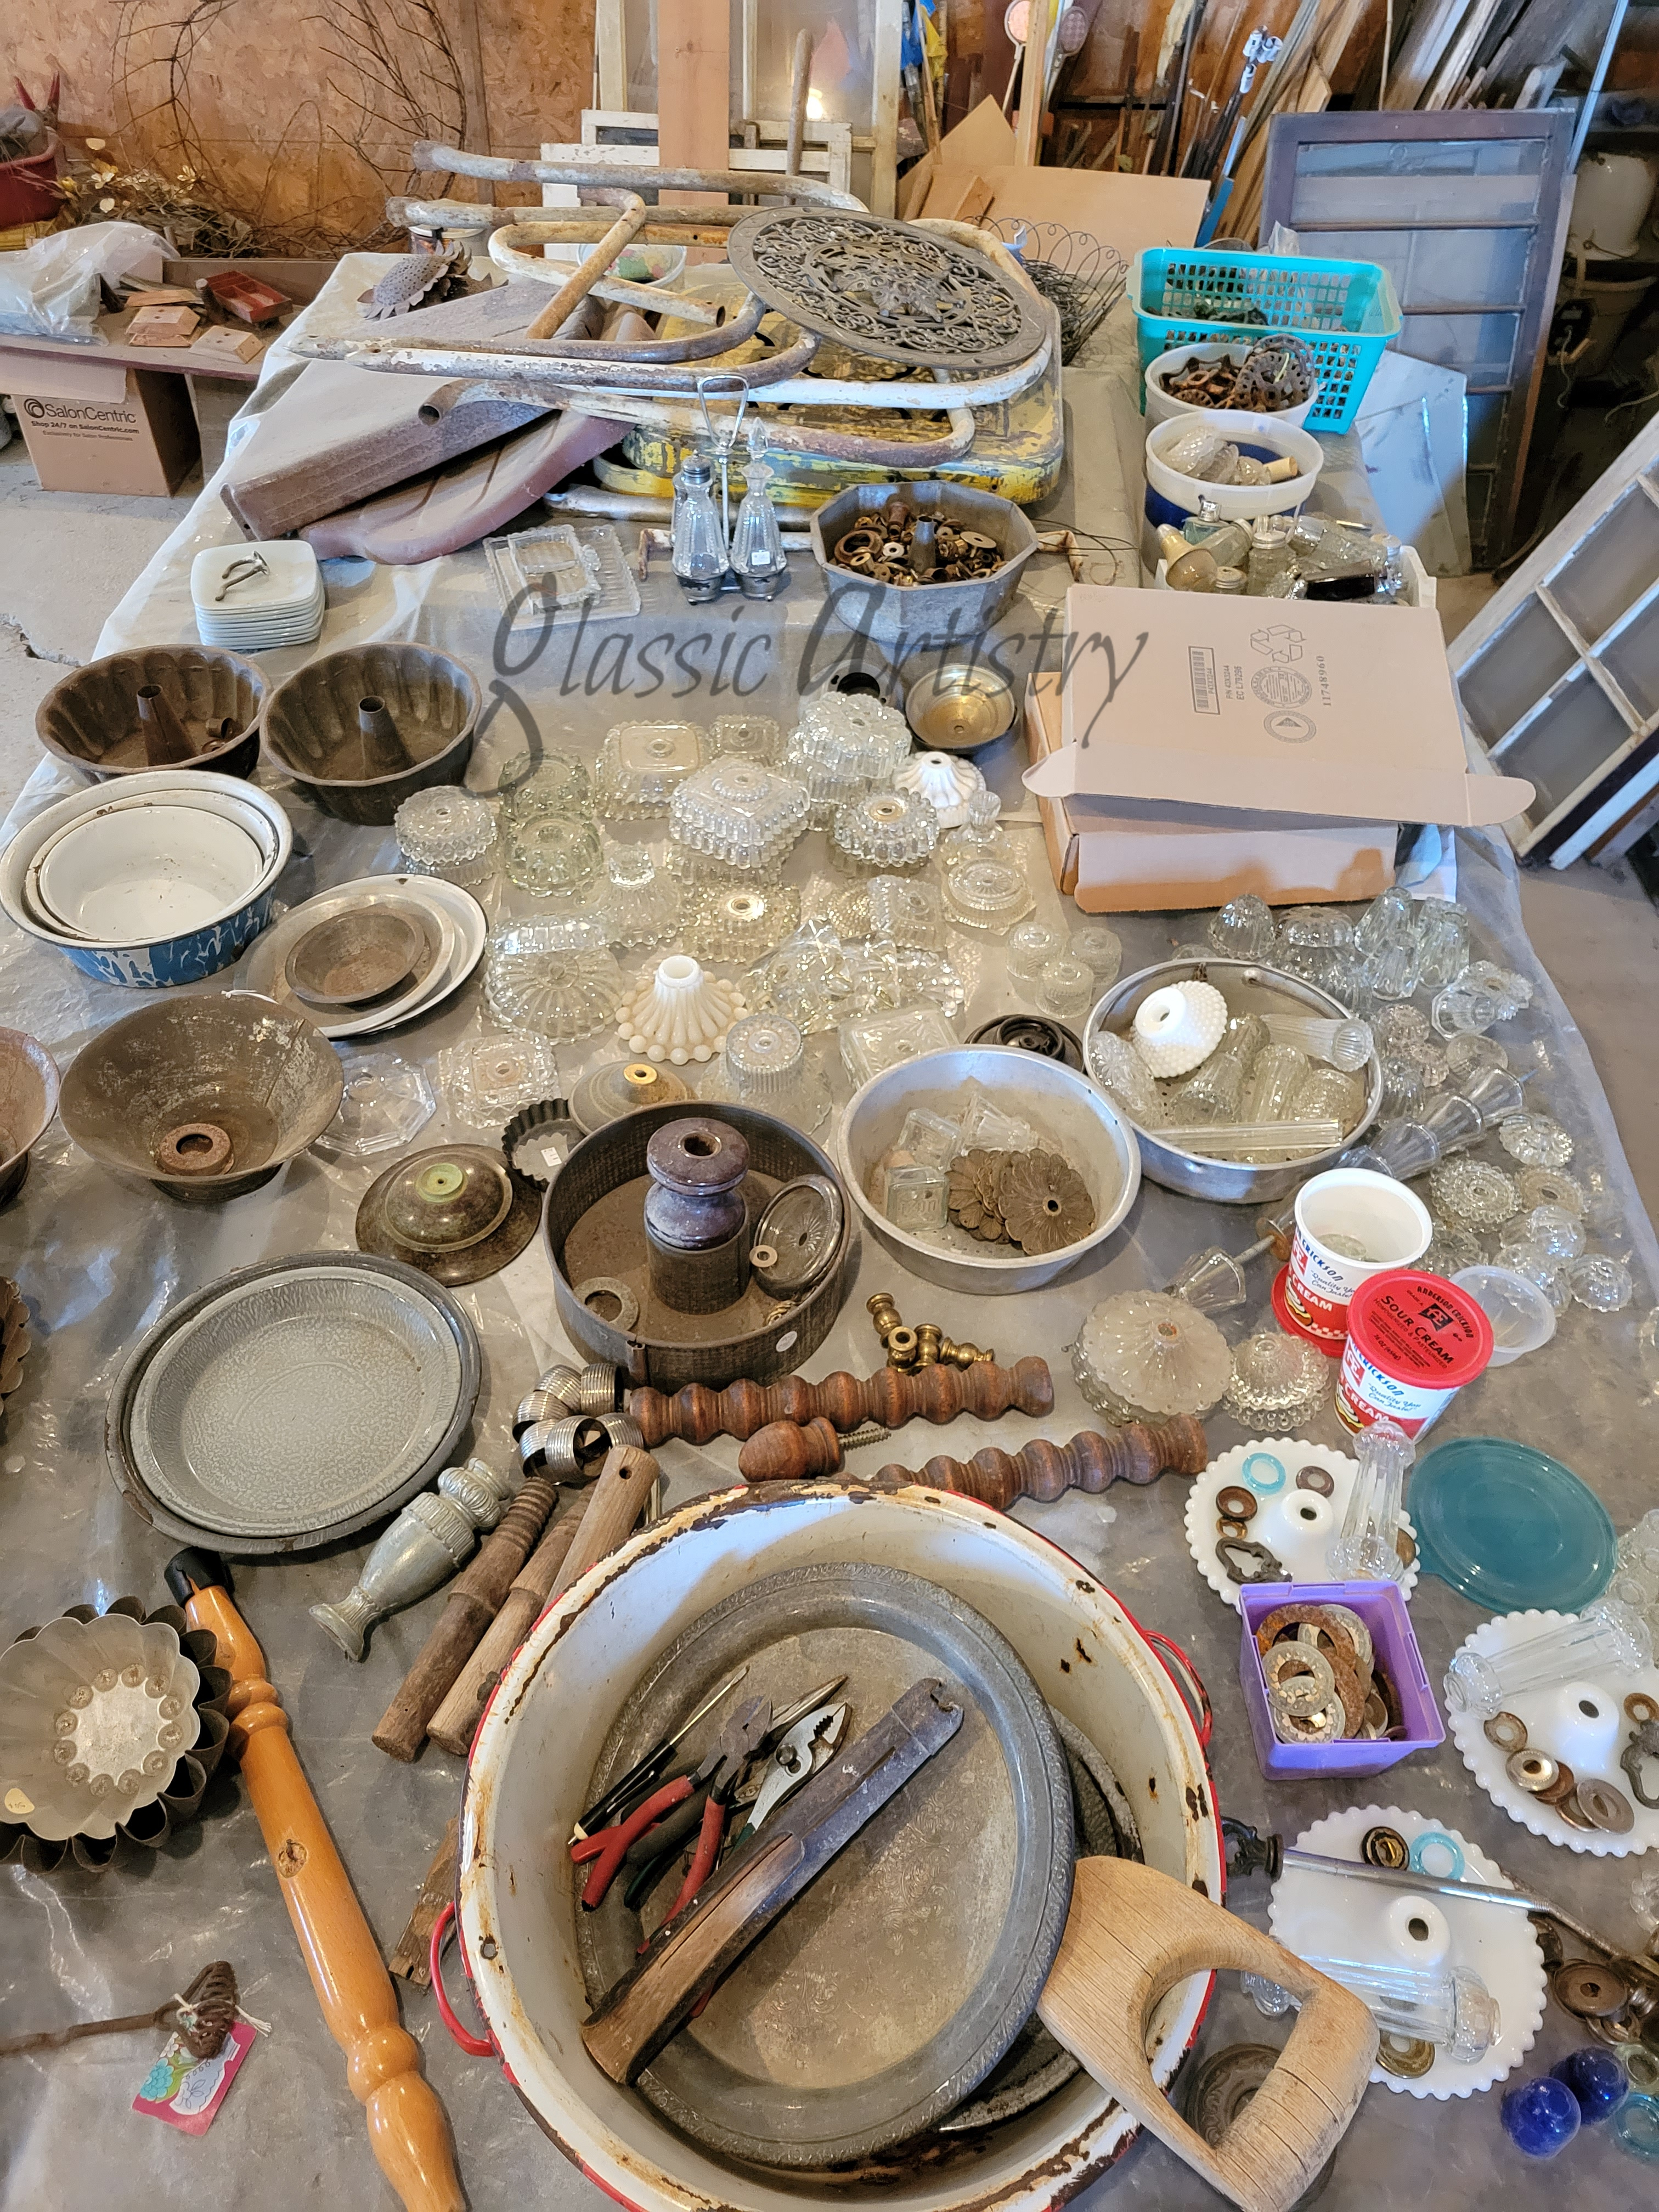
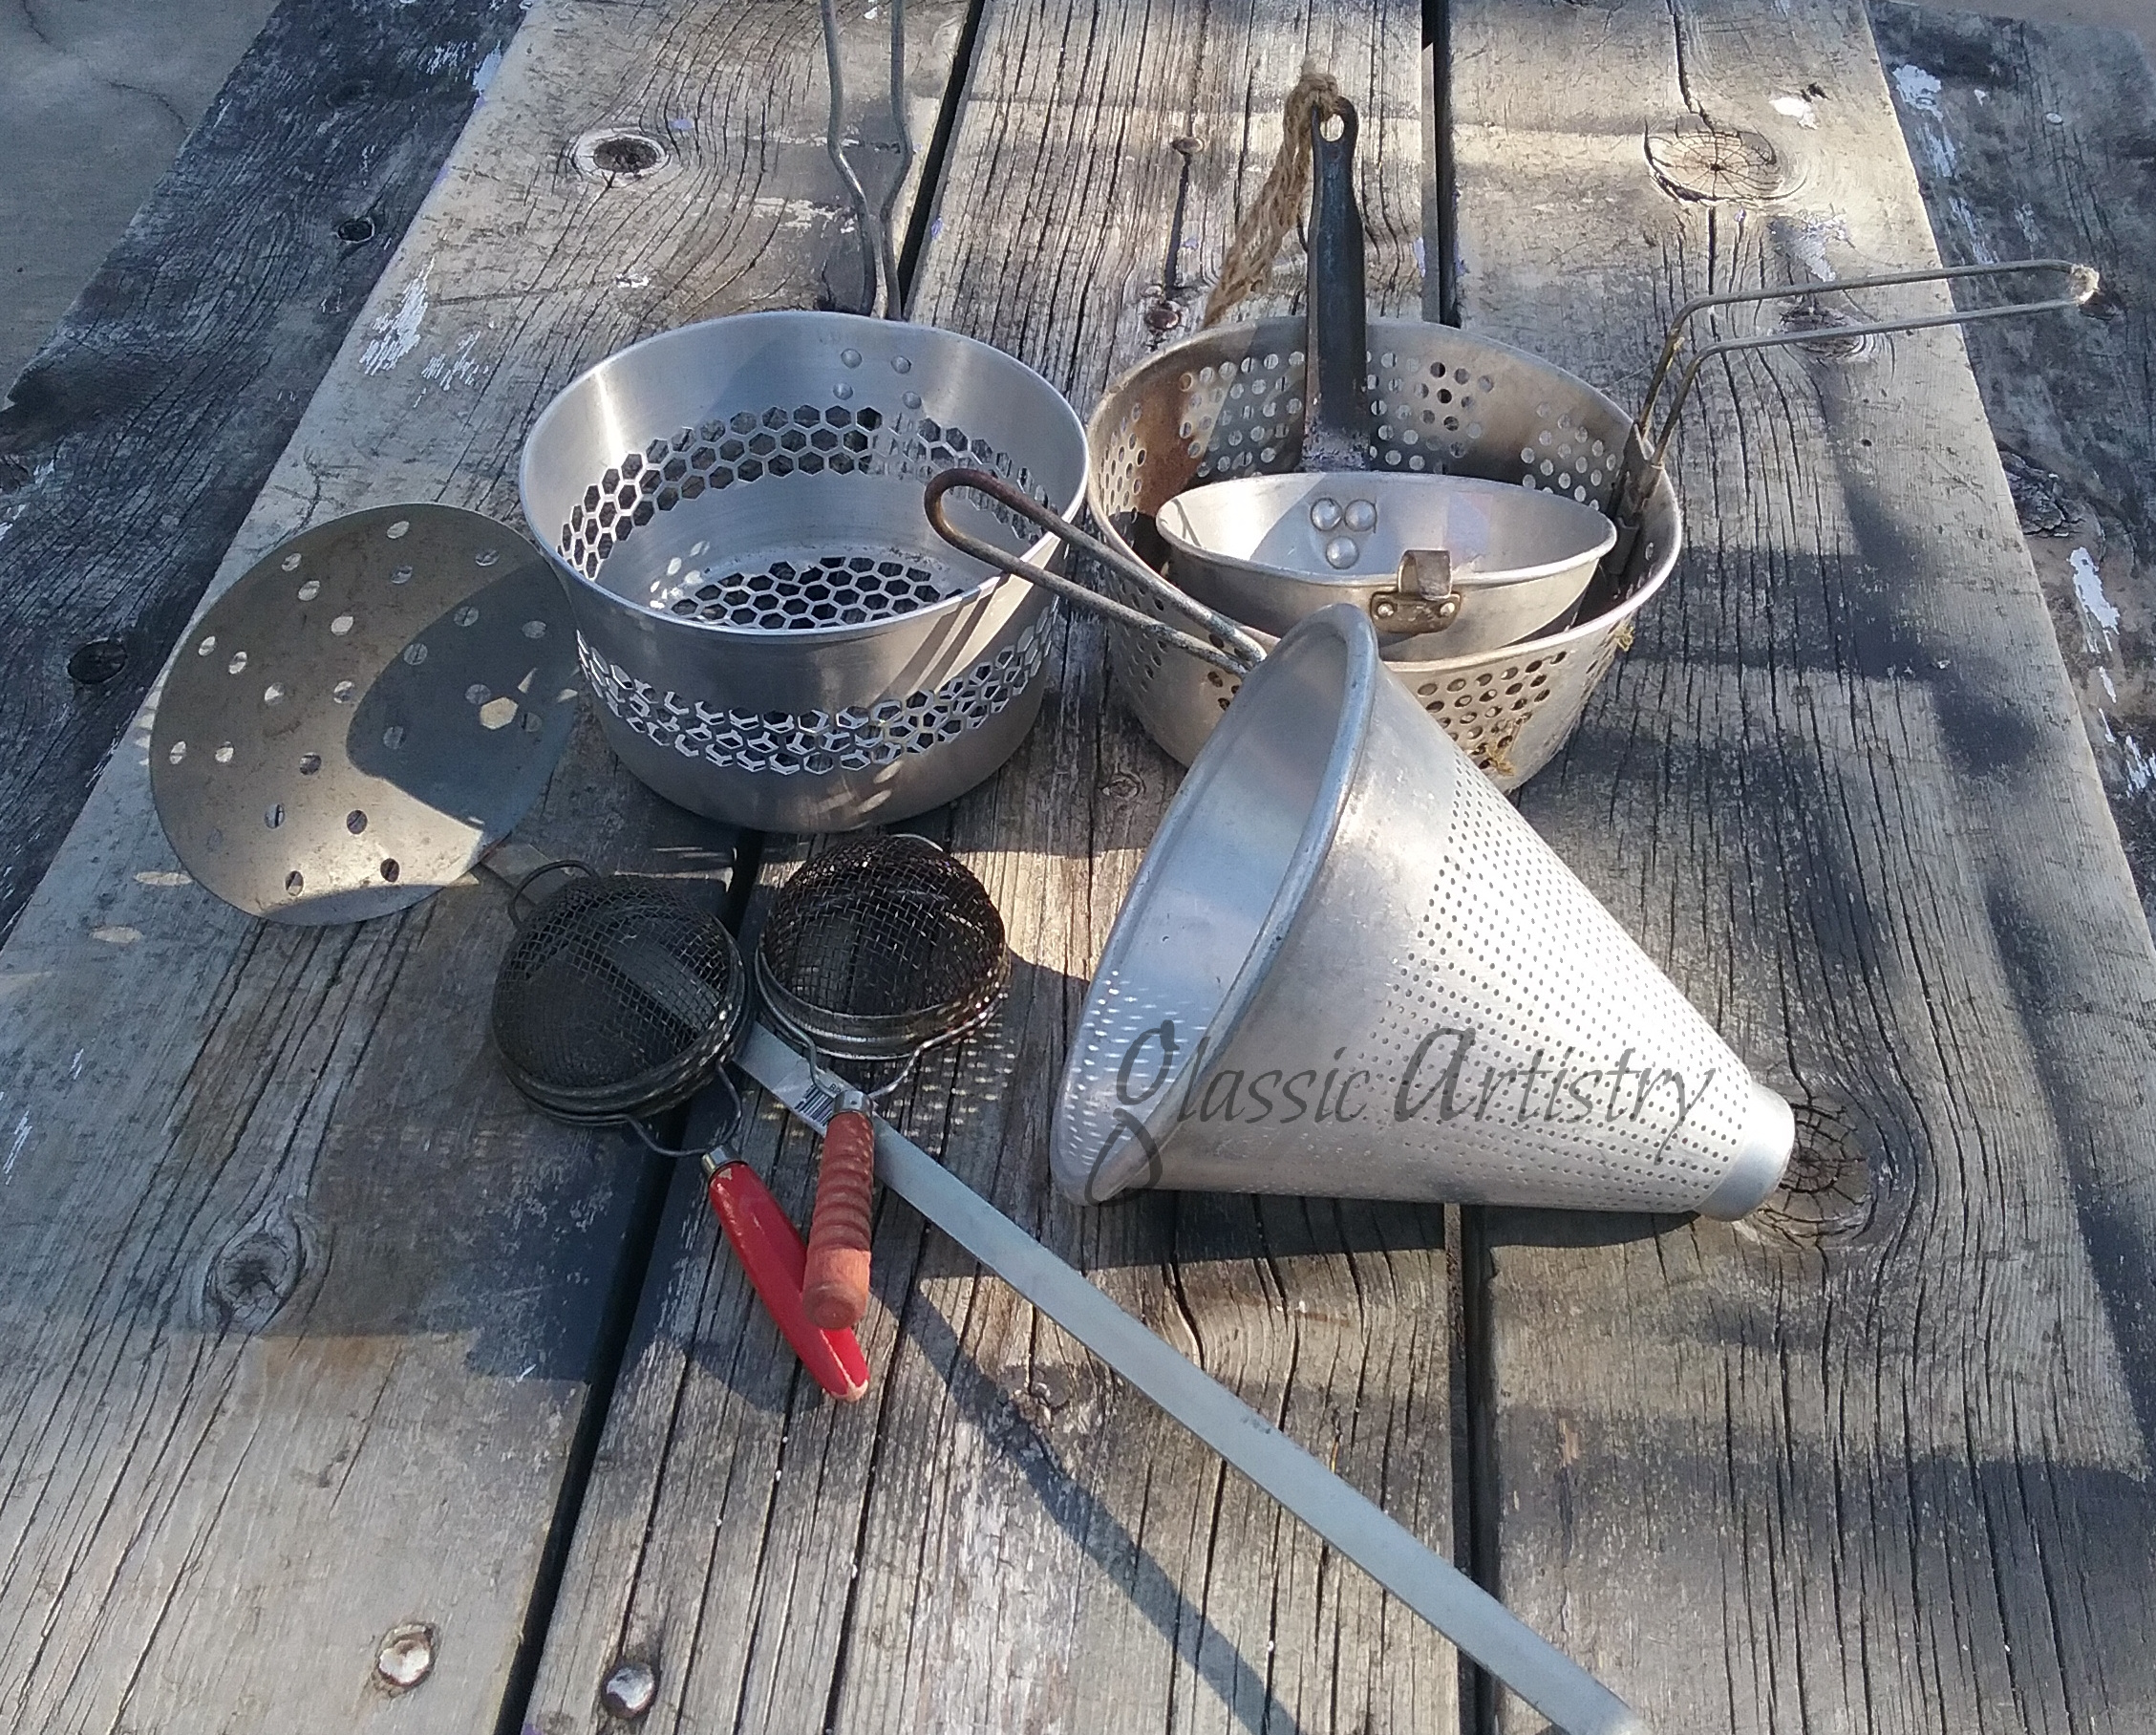
Most of my treasures were collected pre-covid and way before, when I was actively participating in more shows and events.  I’m excited to get out to this summer’s junk jaunts and tag sales to find some larger pieces for my home and discover some new ideas to play around with.  But, first, now that the weather is getting warmer, I need to get back to work on some of those projects in the pictures above; they’ve been waiting for me all winter.

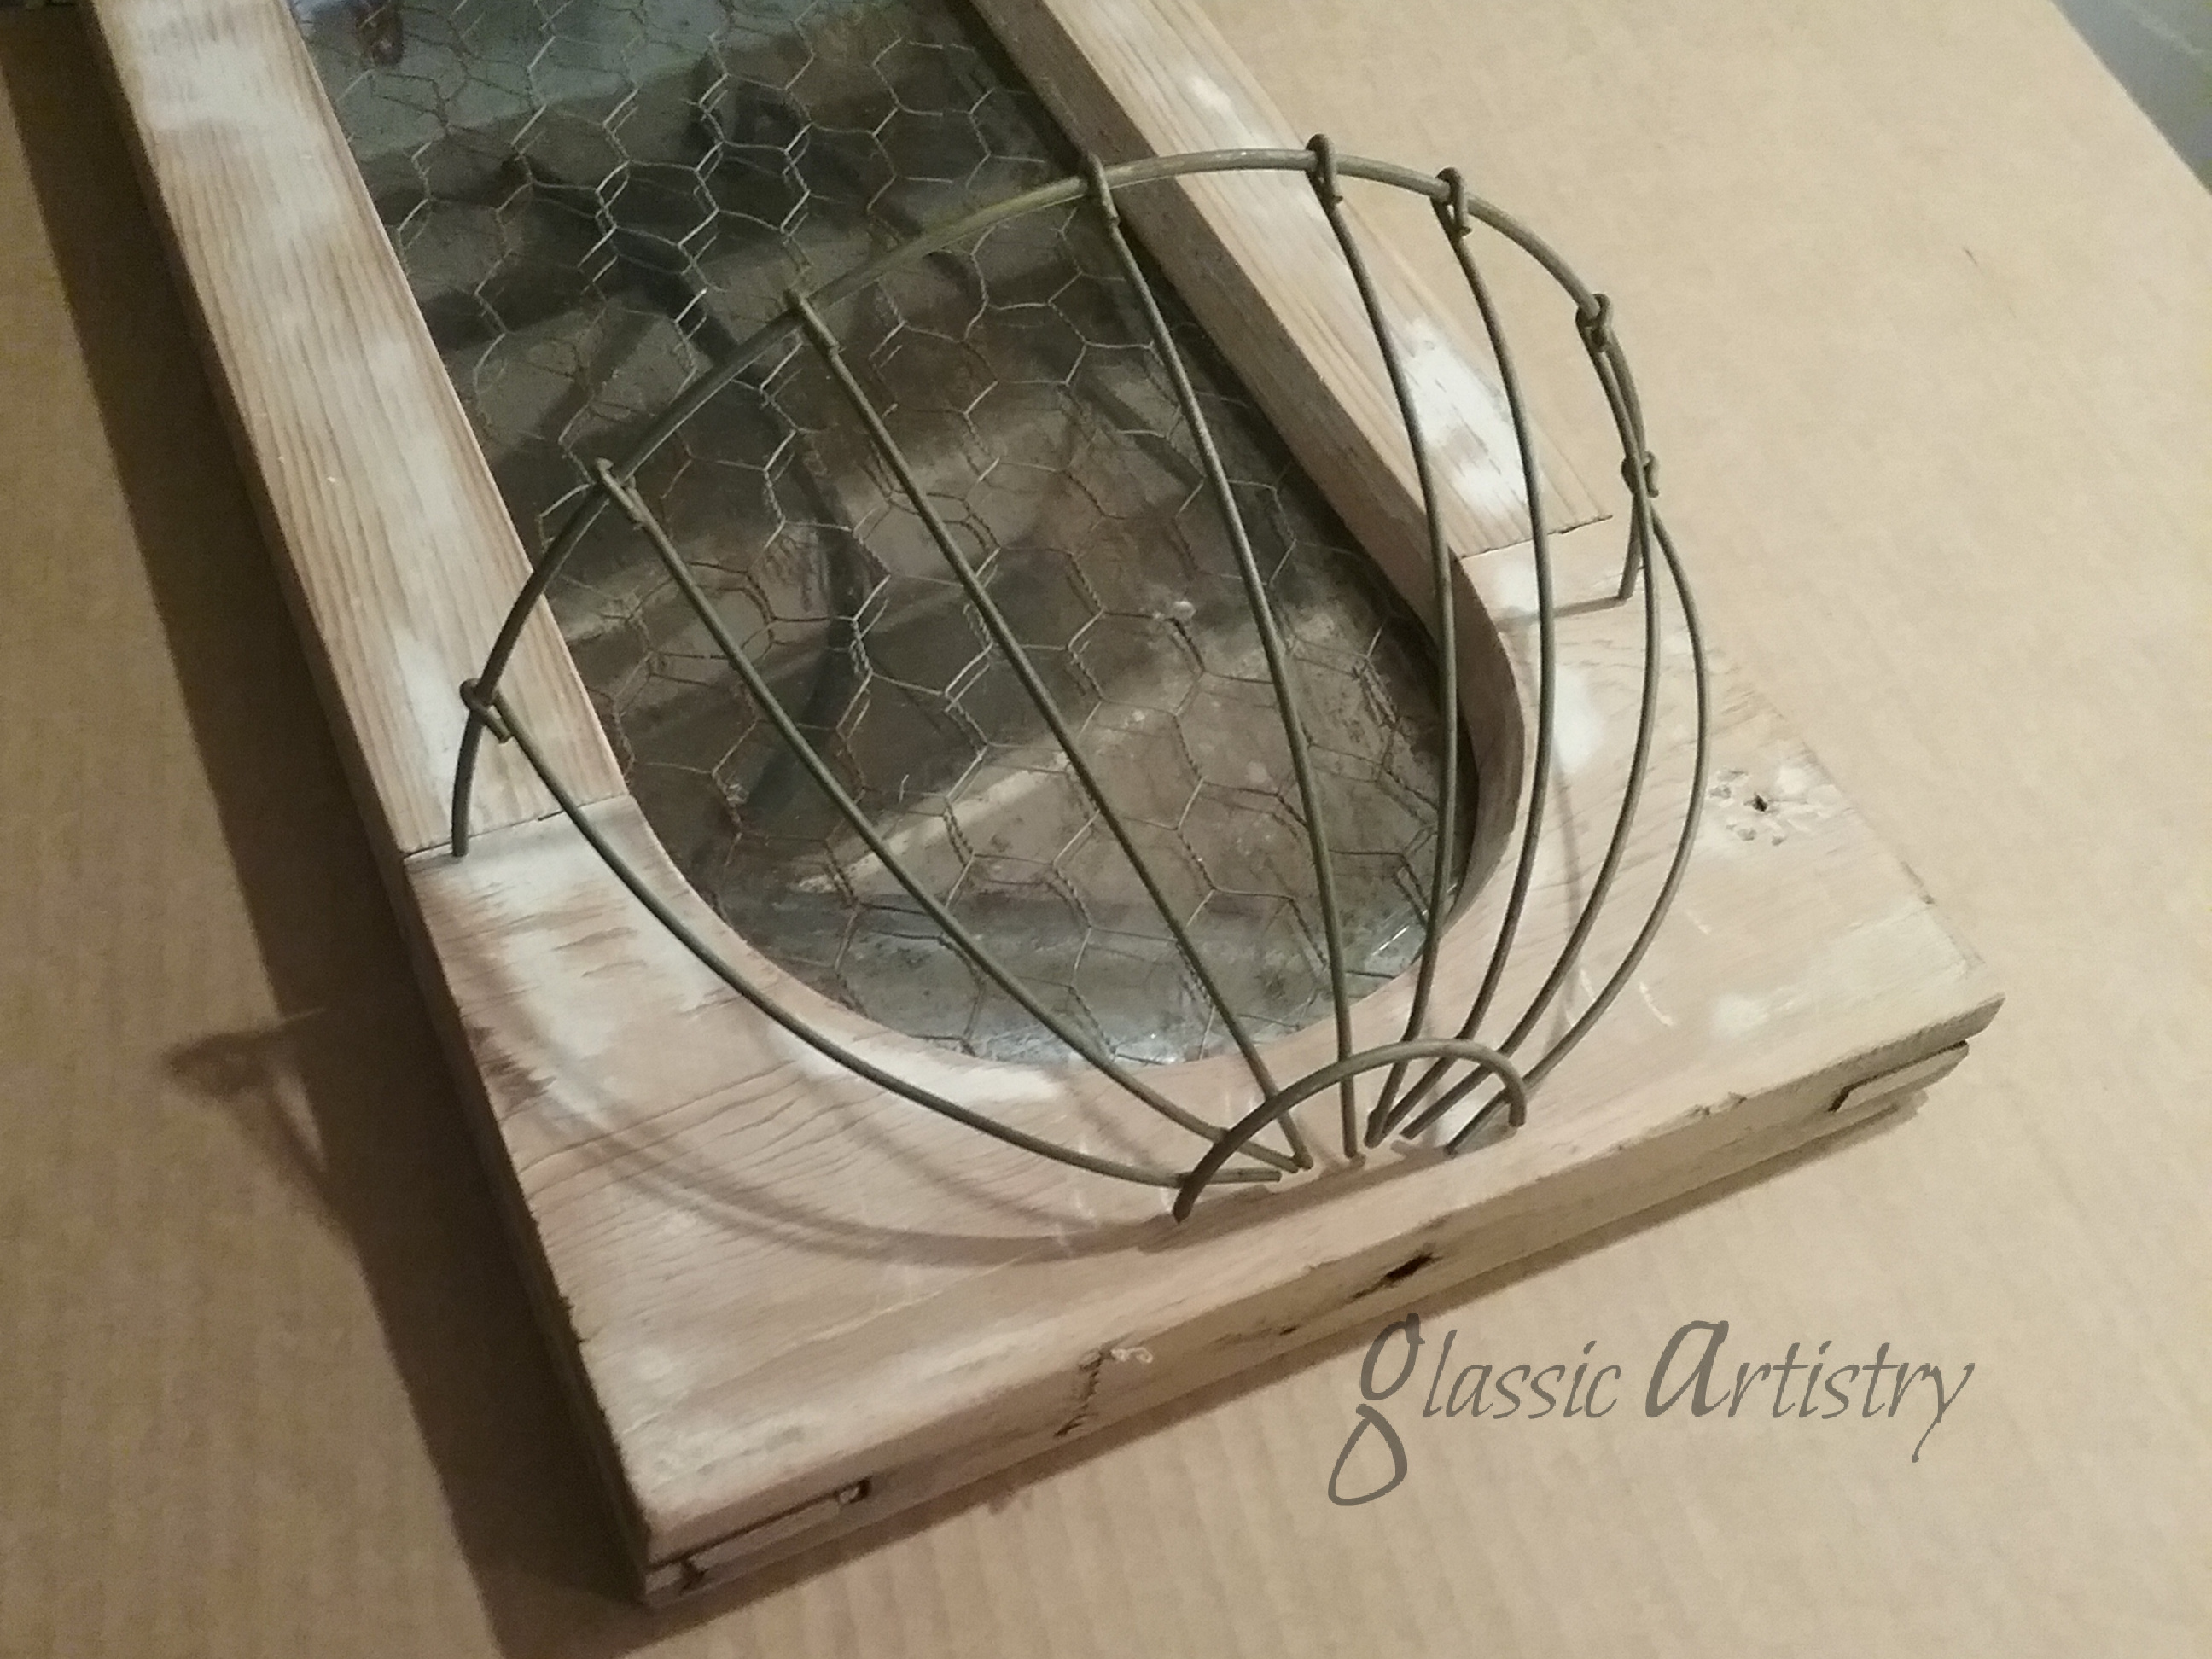
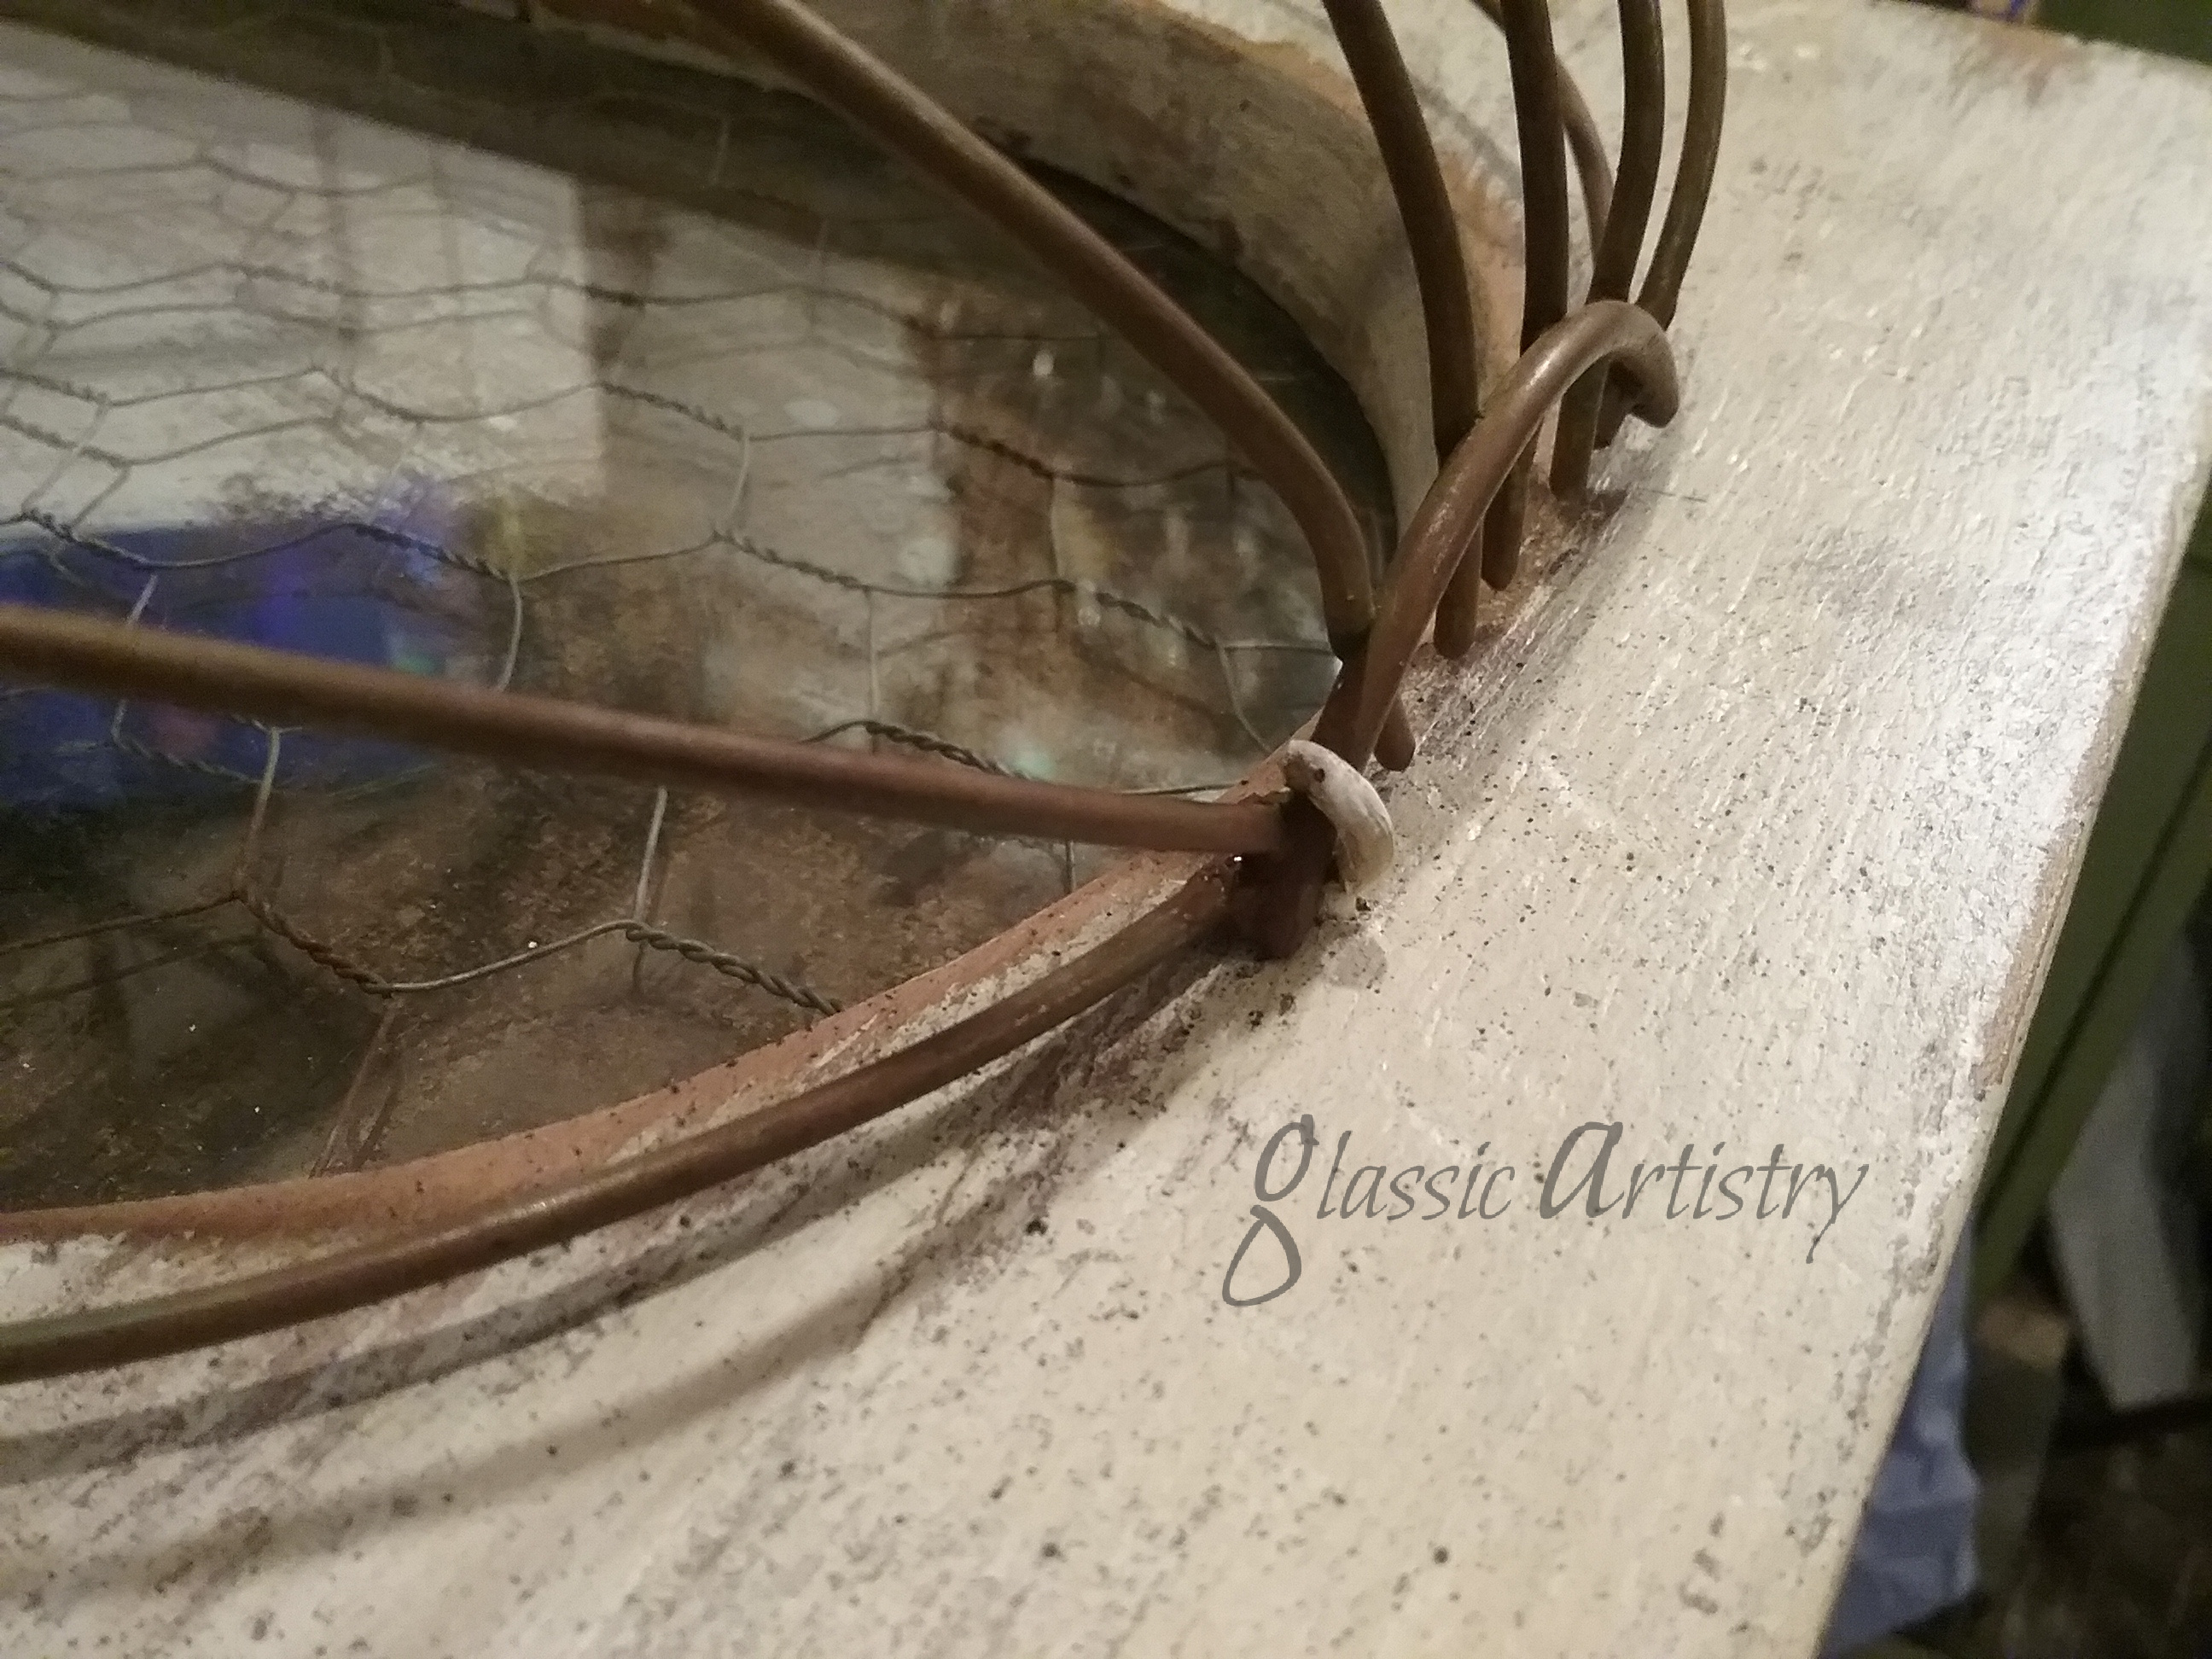
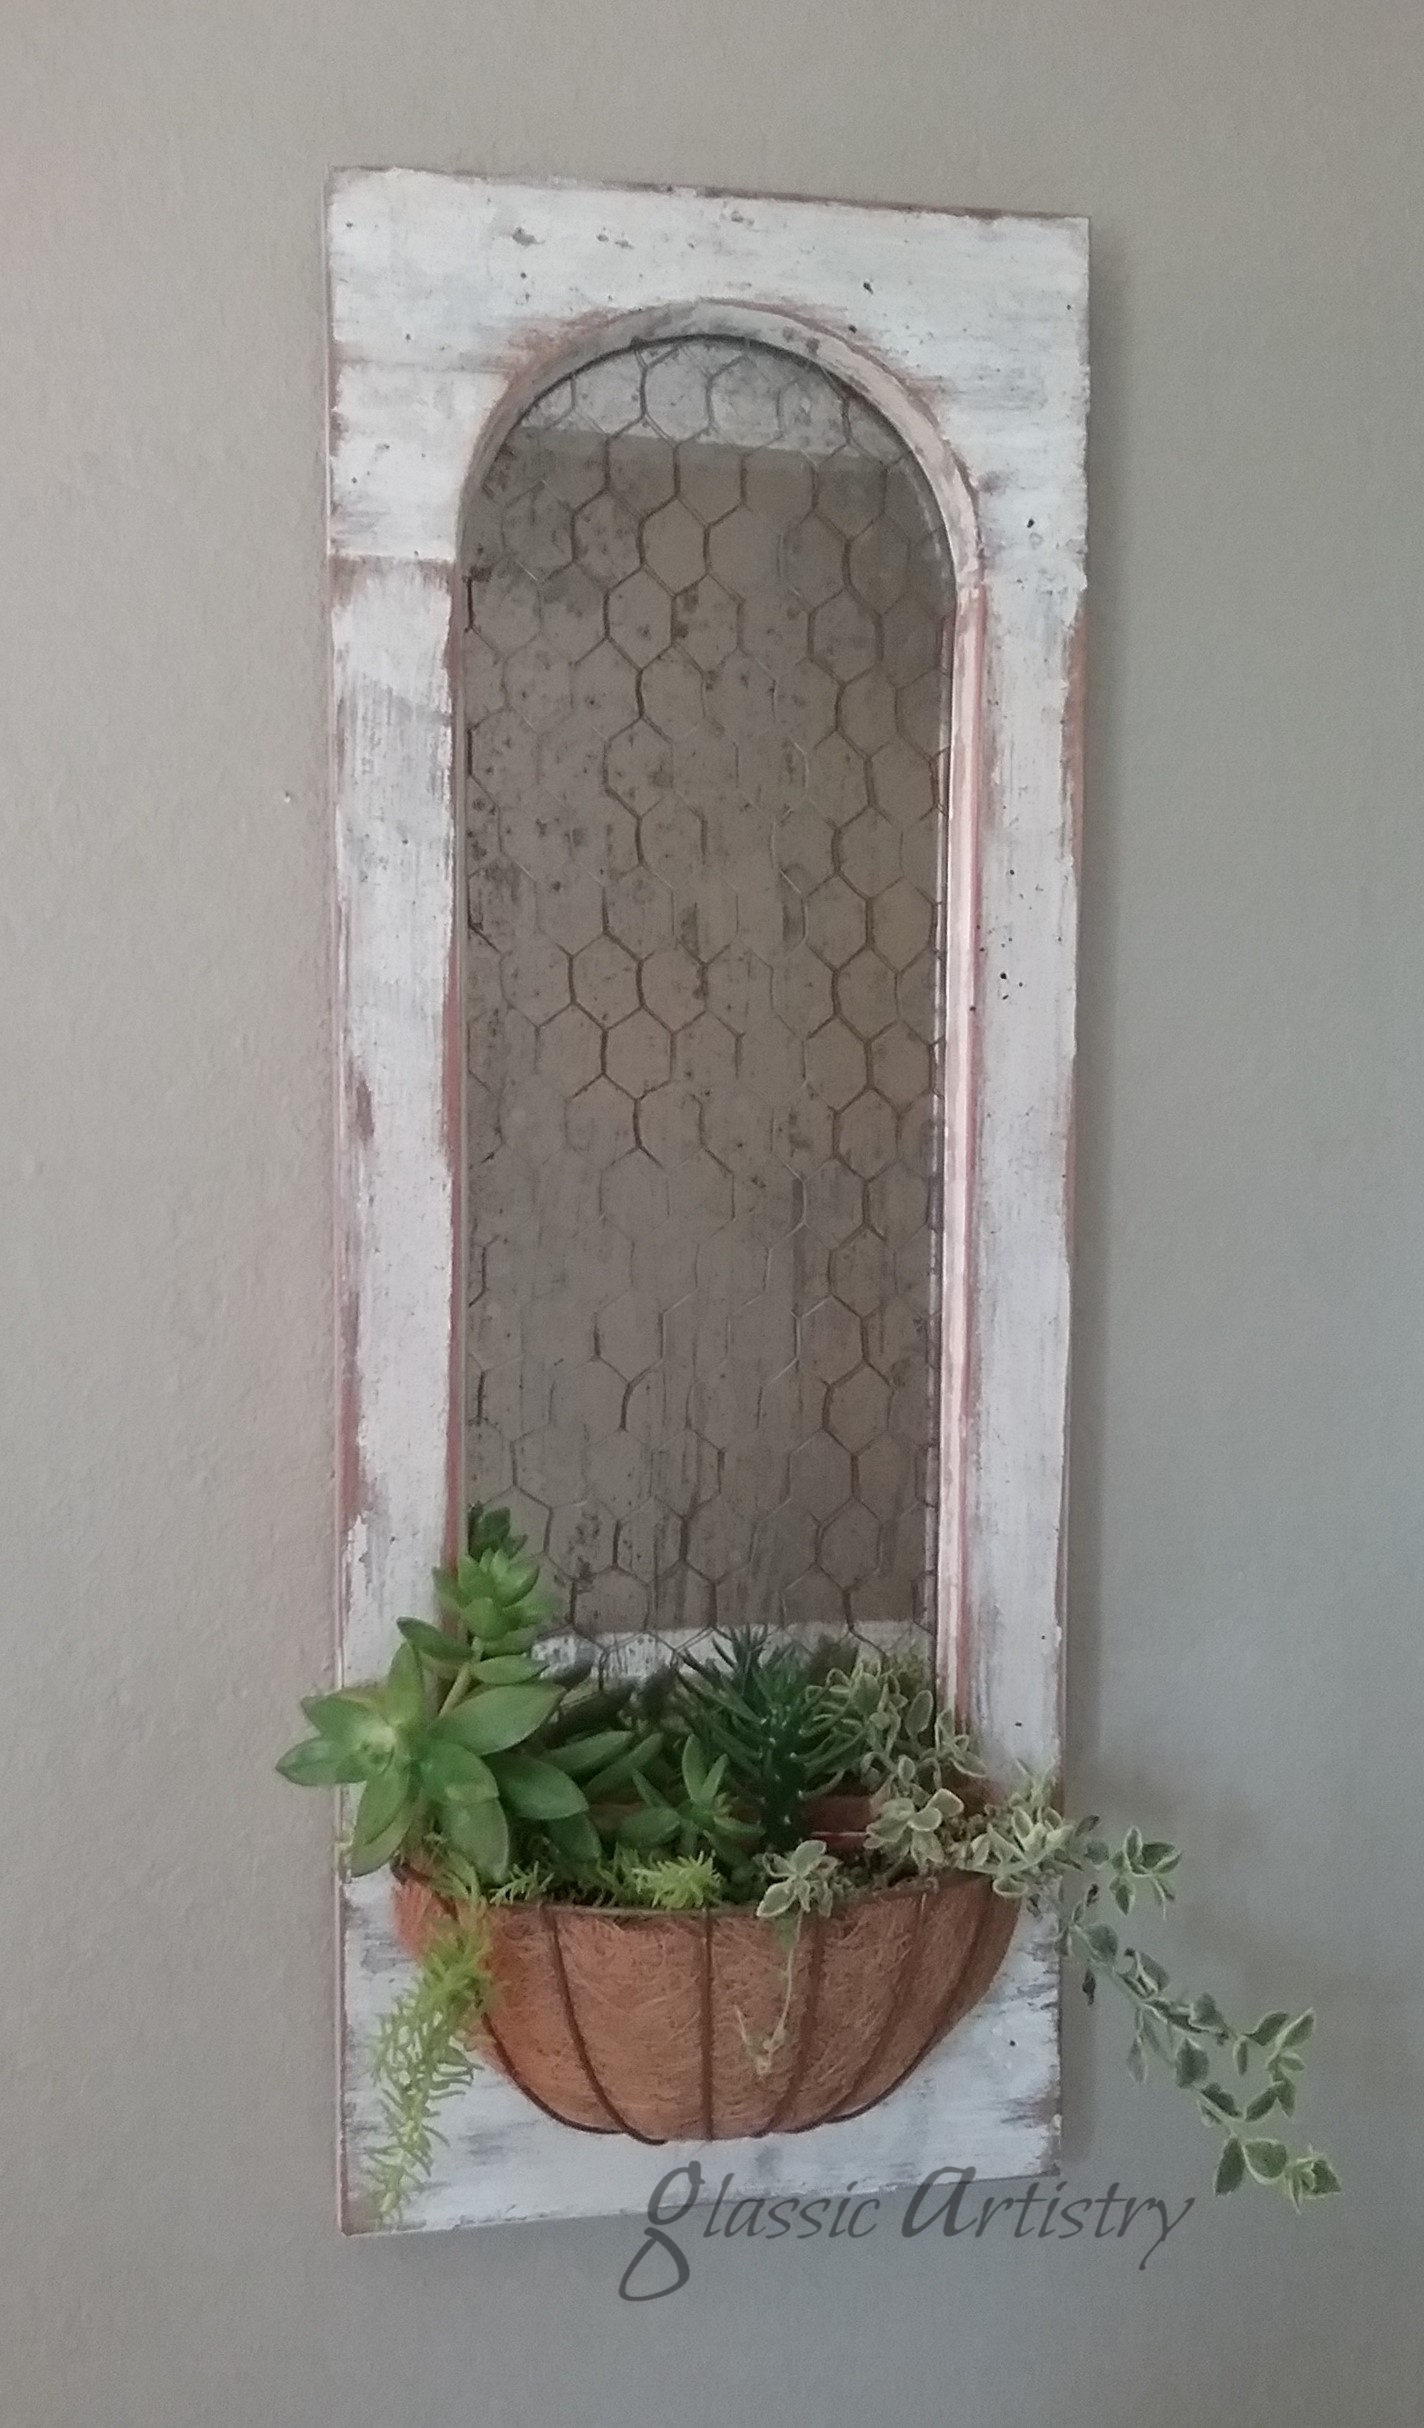
I was in the process of making myself a simple, rustic garden tote last year.  The pieces were gathered and laid out, but I got busy with stained glass work and didn’t follow through.  So, that seems like a great place to start now.

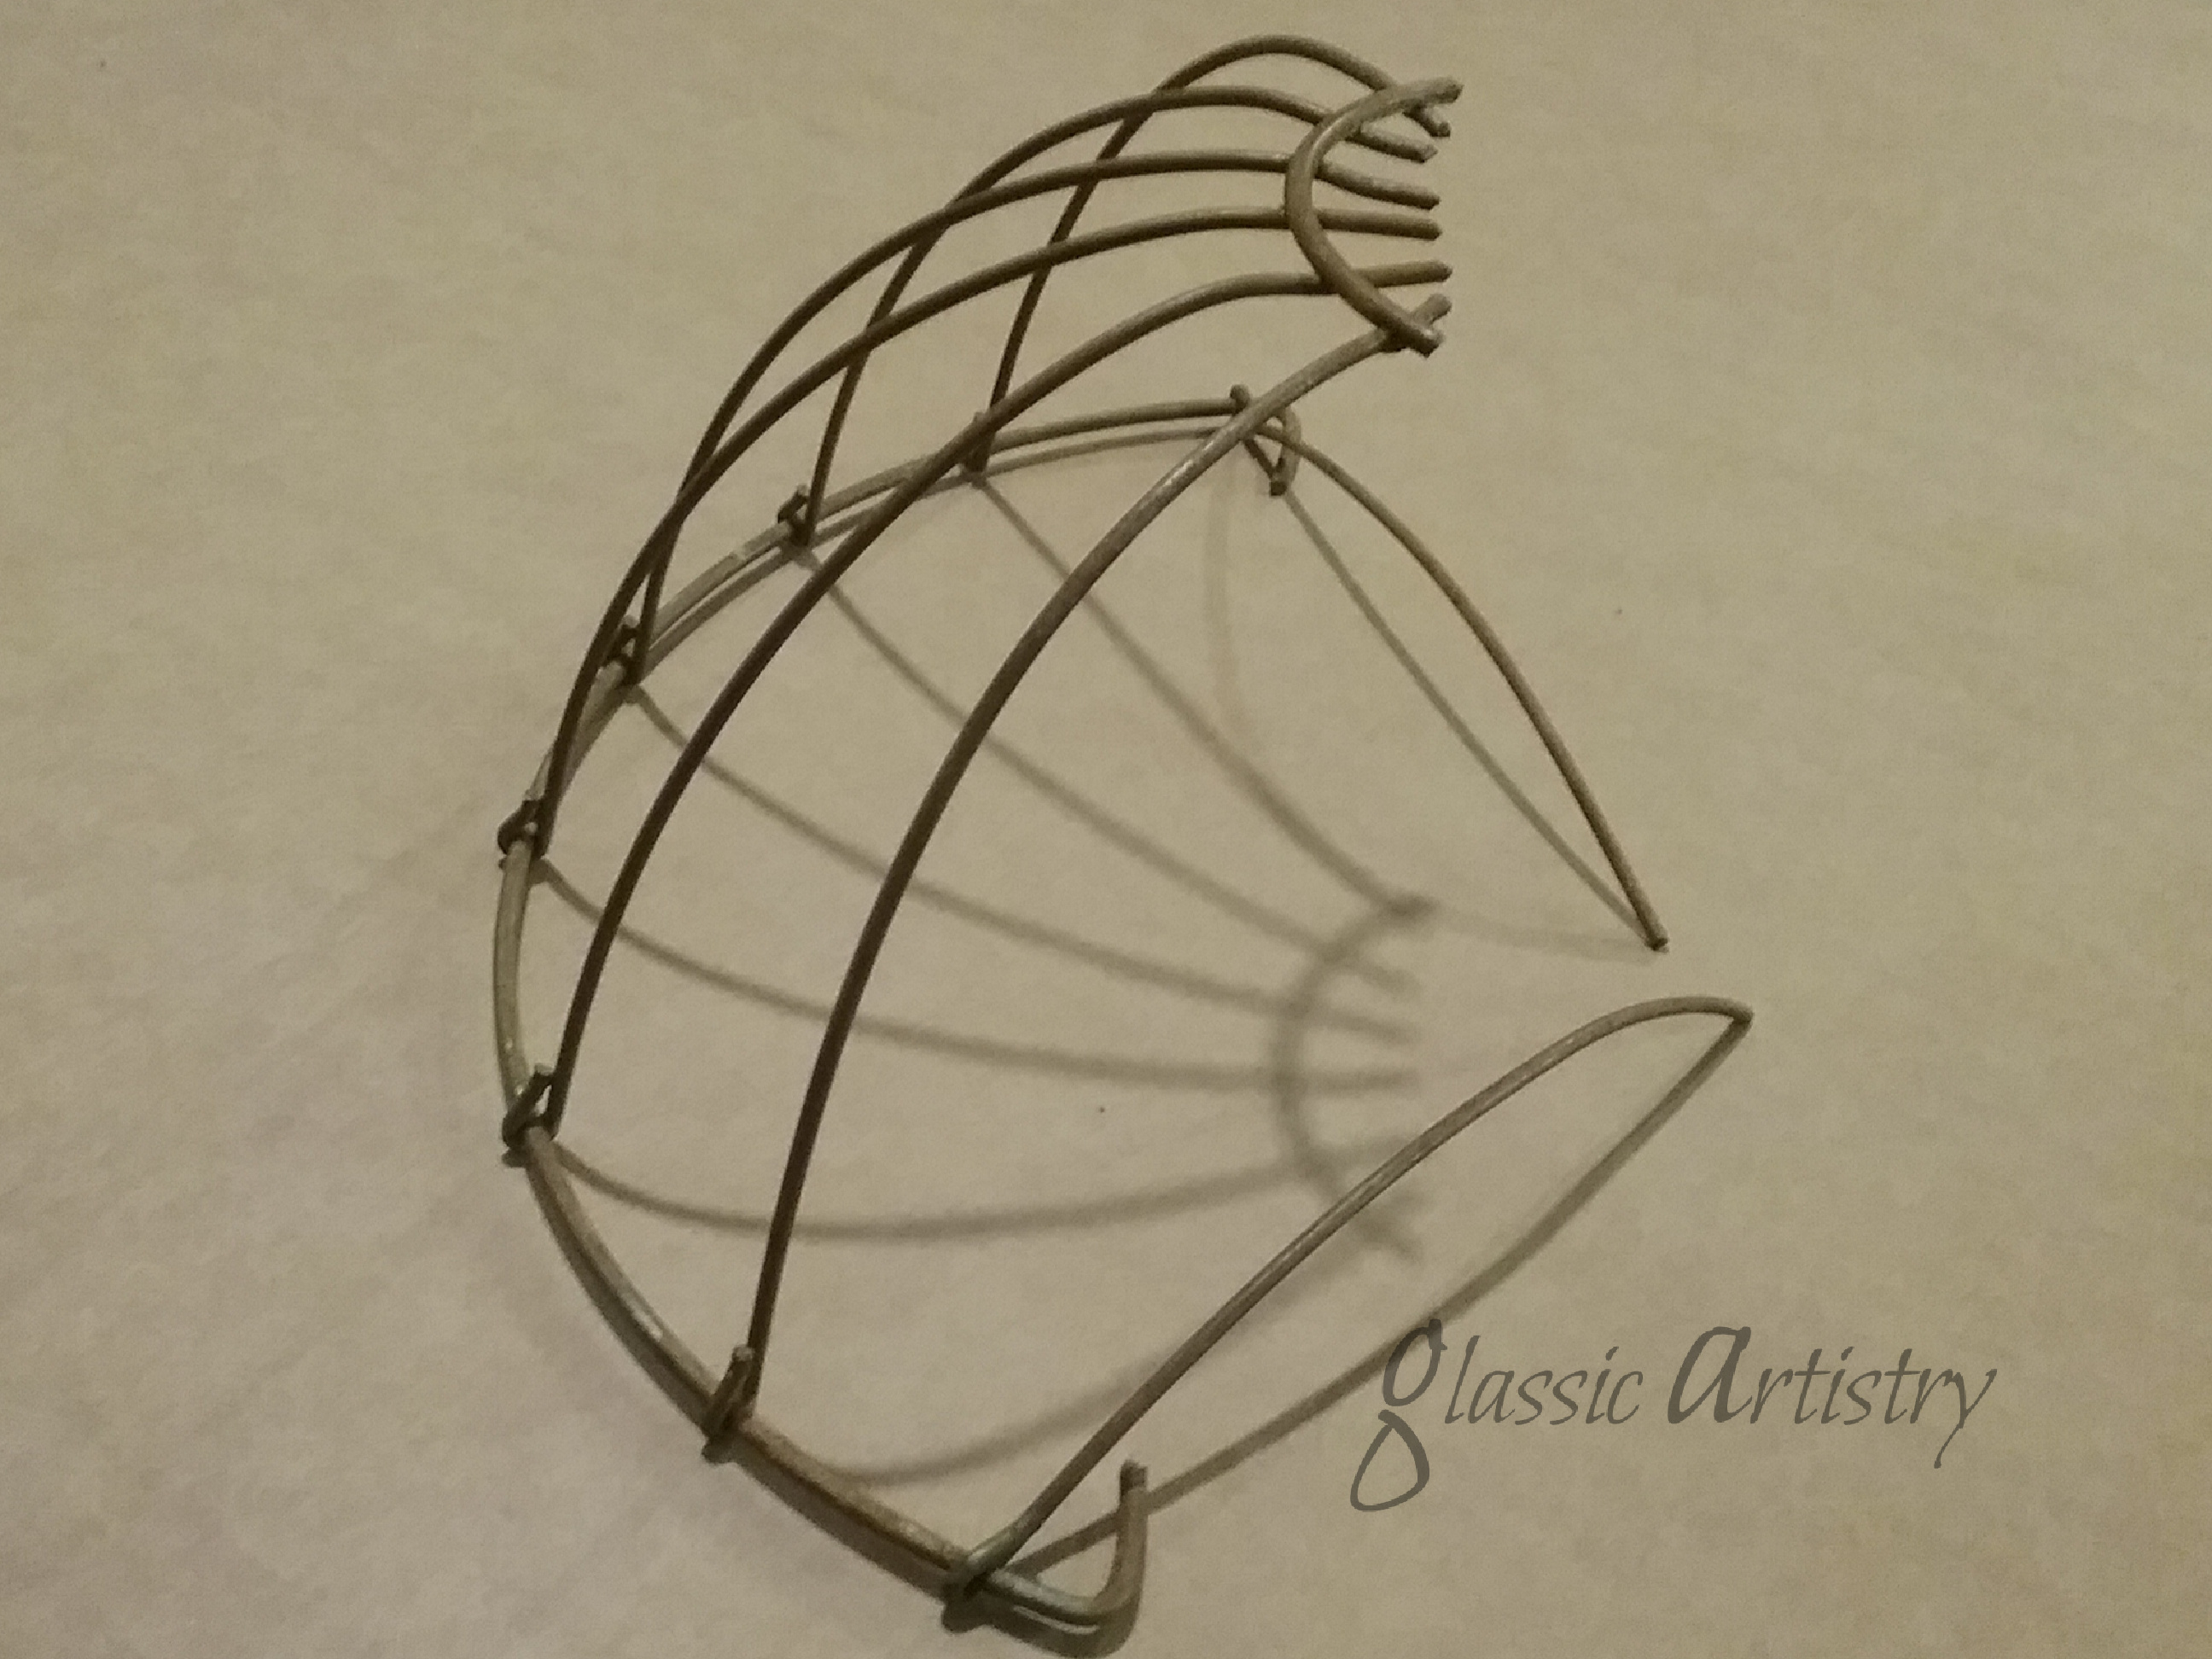
A large capacity bowl, and an easy grip handle was what I wanted and why I chose the pieces I did for this project. 

A drill press was used to drill a 5/16” hole in the center of the pans and an 18” length of an old shovel handle. The depth of the hole drilled in the shovel handle is approximately 3”.  A 2 ½”L lag screw and a flat washer was screwed into the shovel handle for safe keeping.

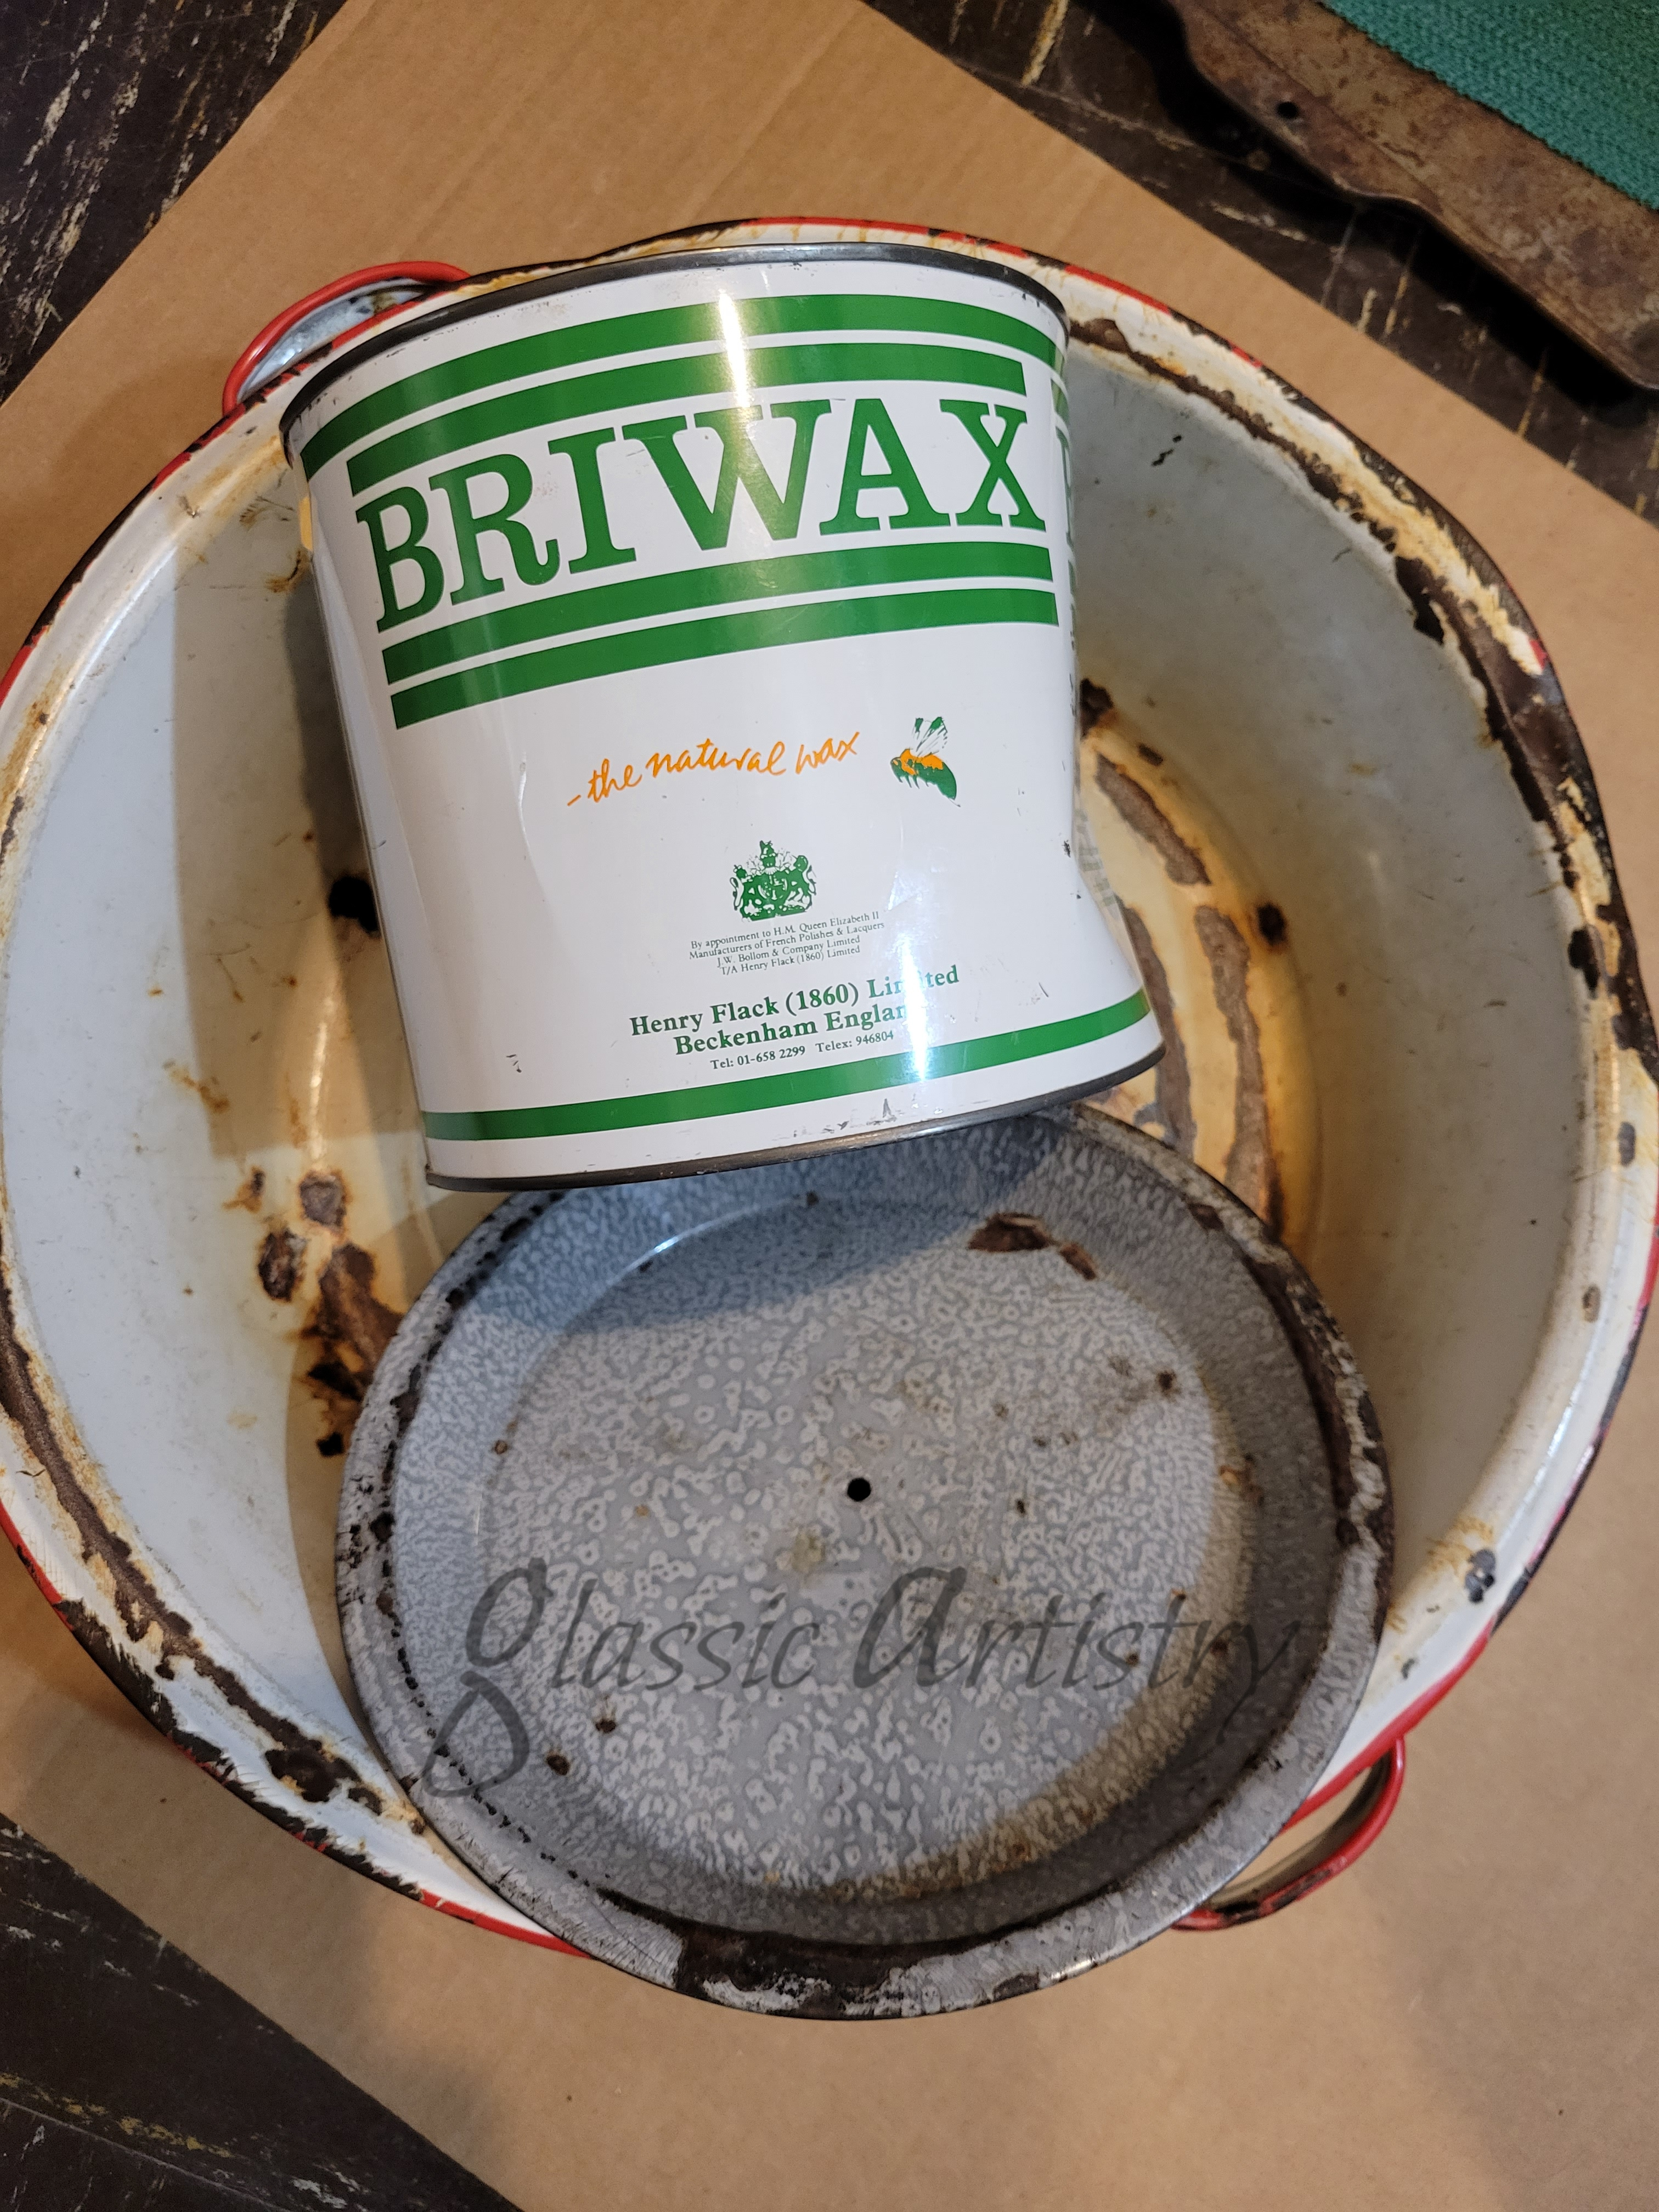
To keep further rusting at bay and for easy cleaning, a coat of Briwax was applied to the cleaned pans and buffed. A car wax or Shield spray could also be used.

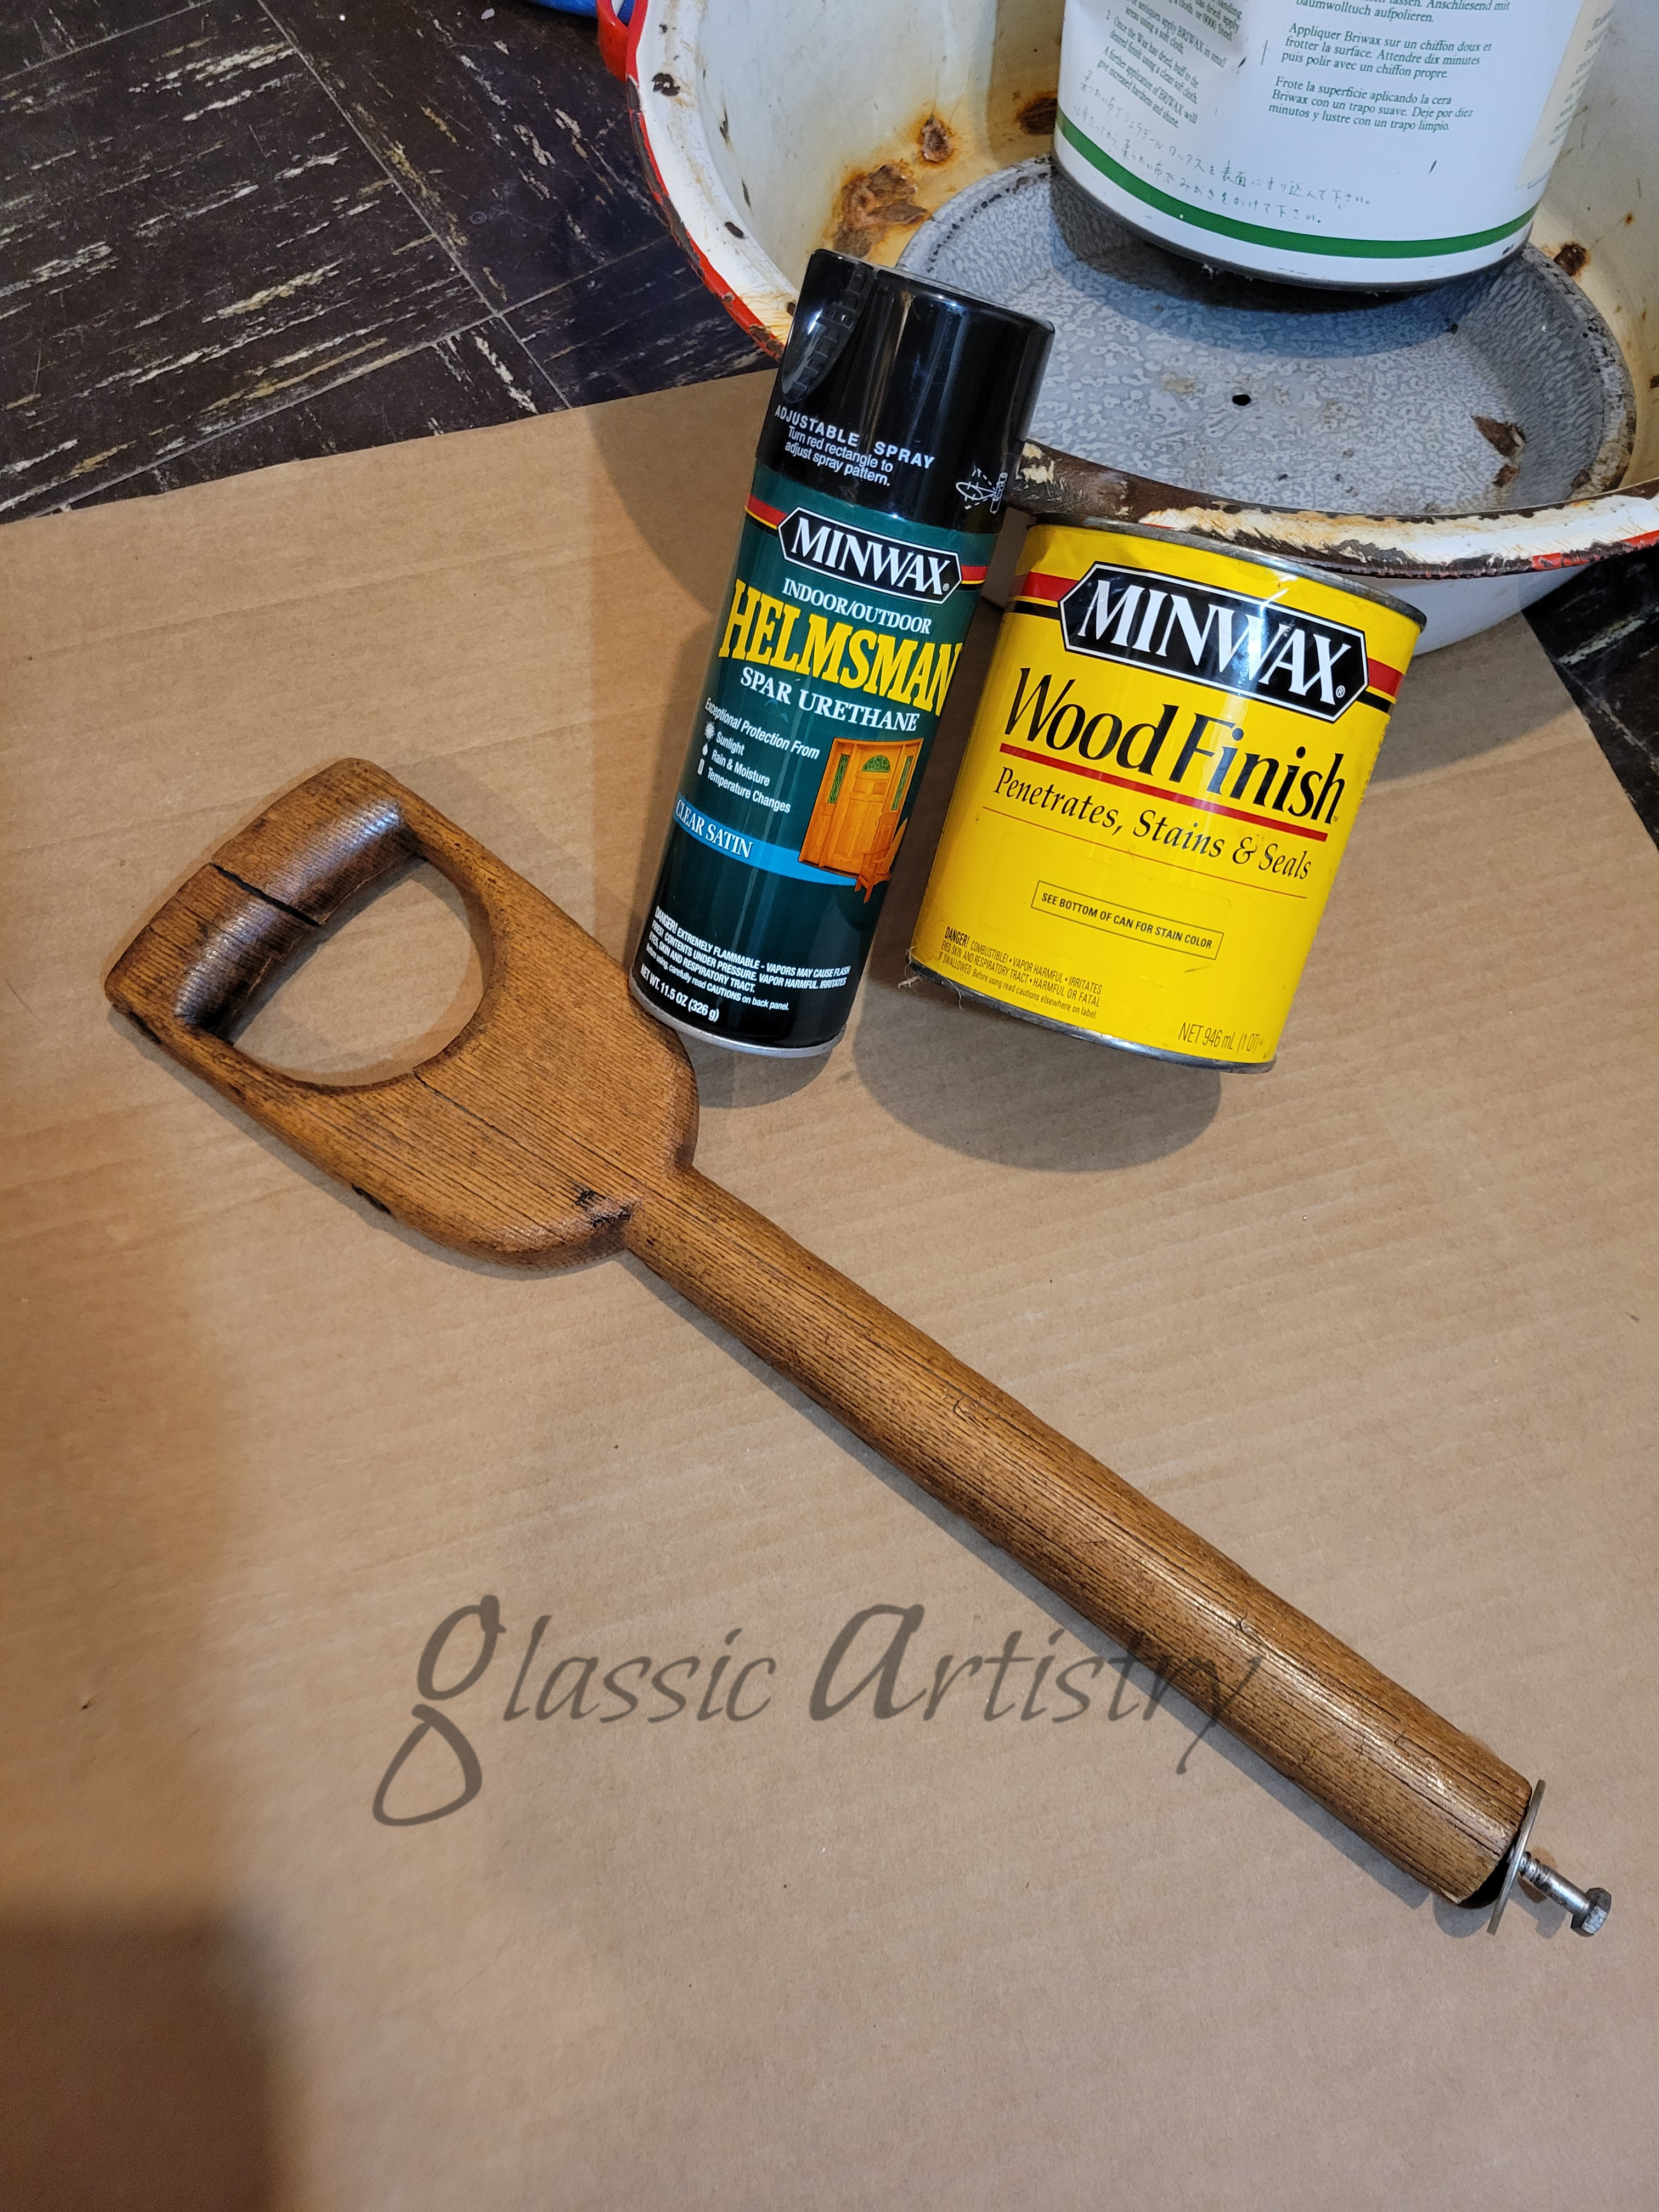
The shovel handle was stained and sealed.

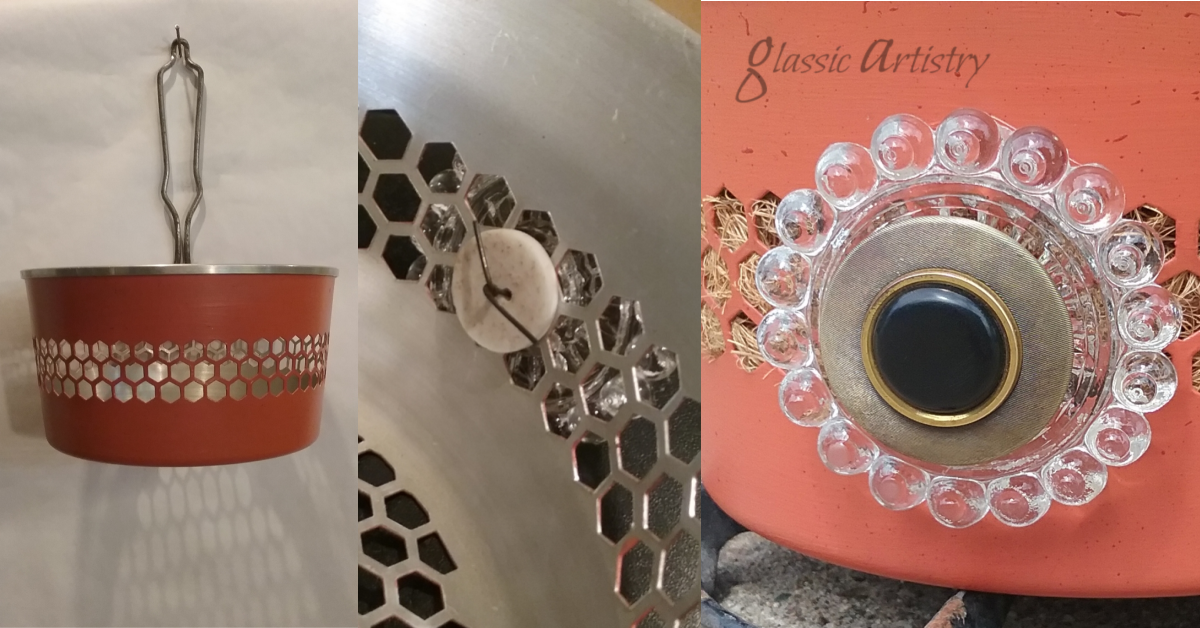
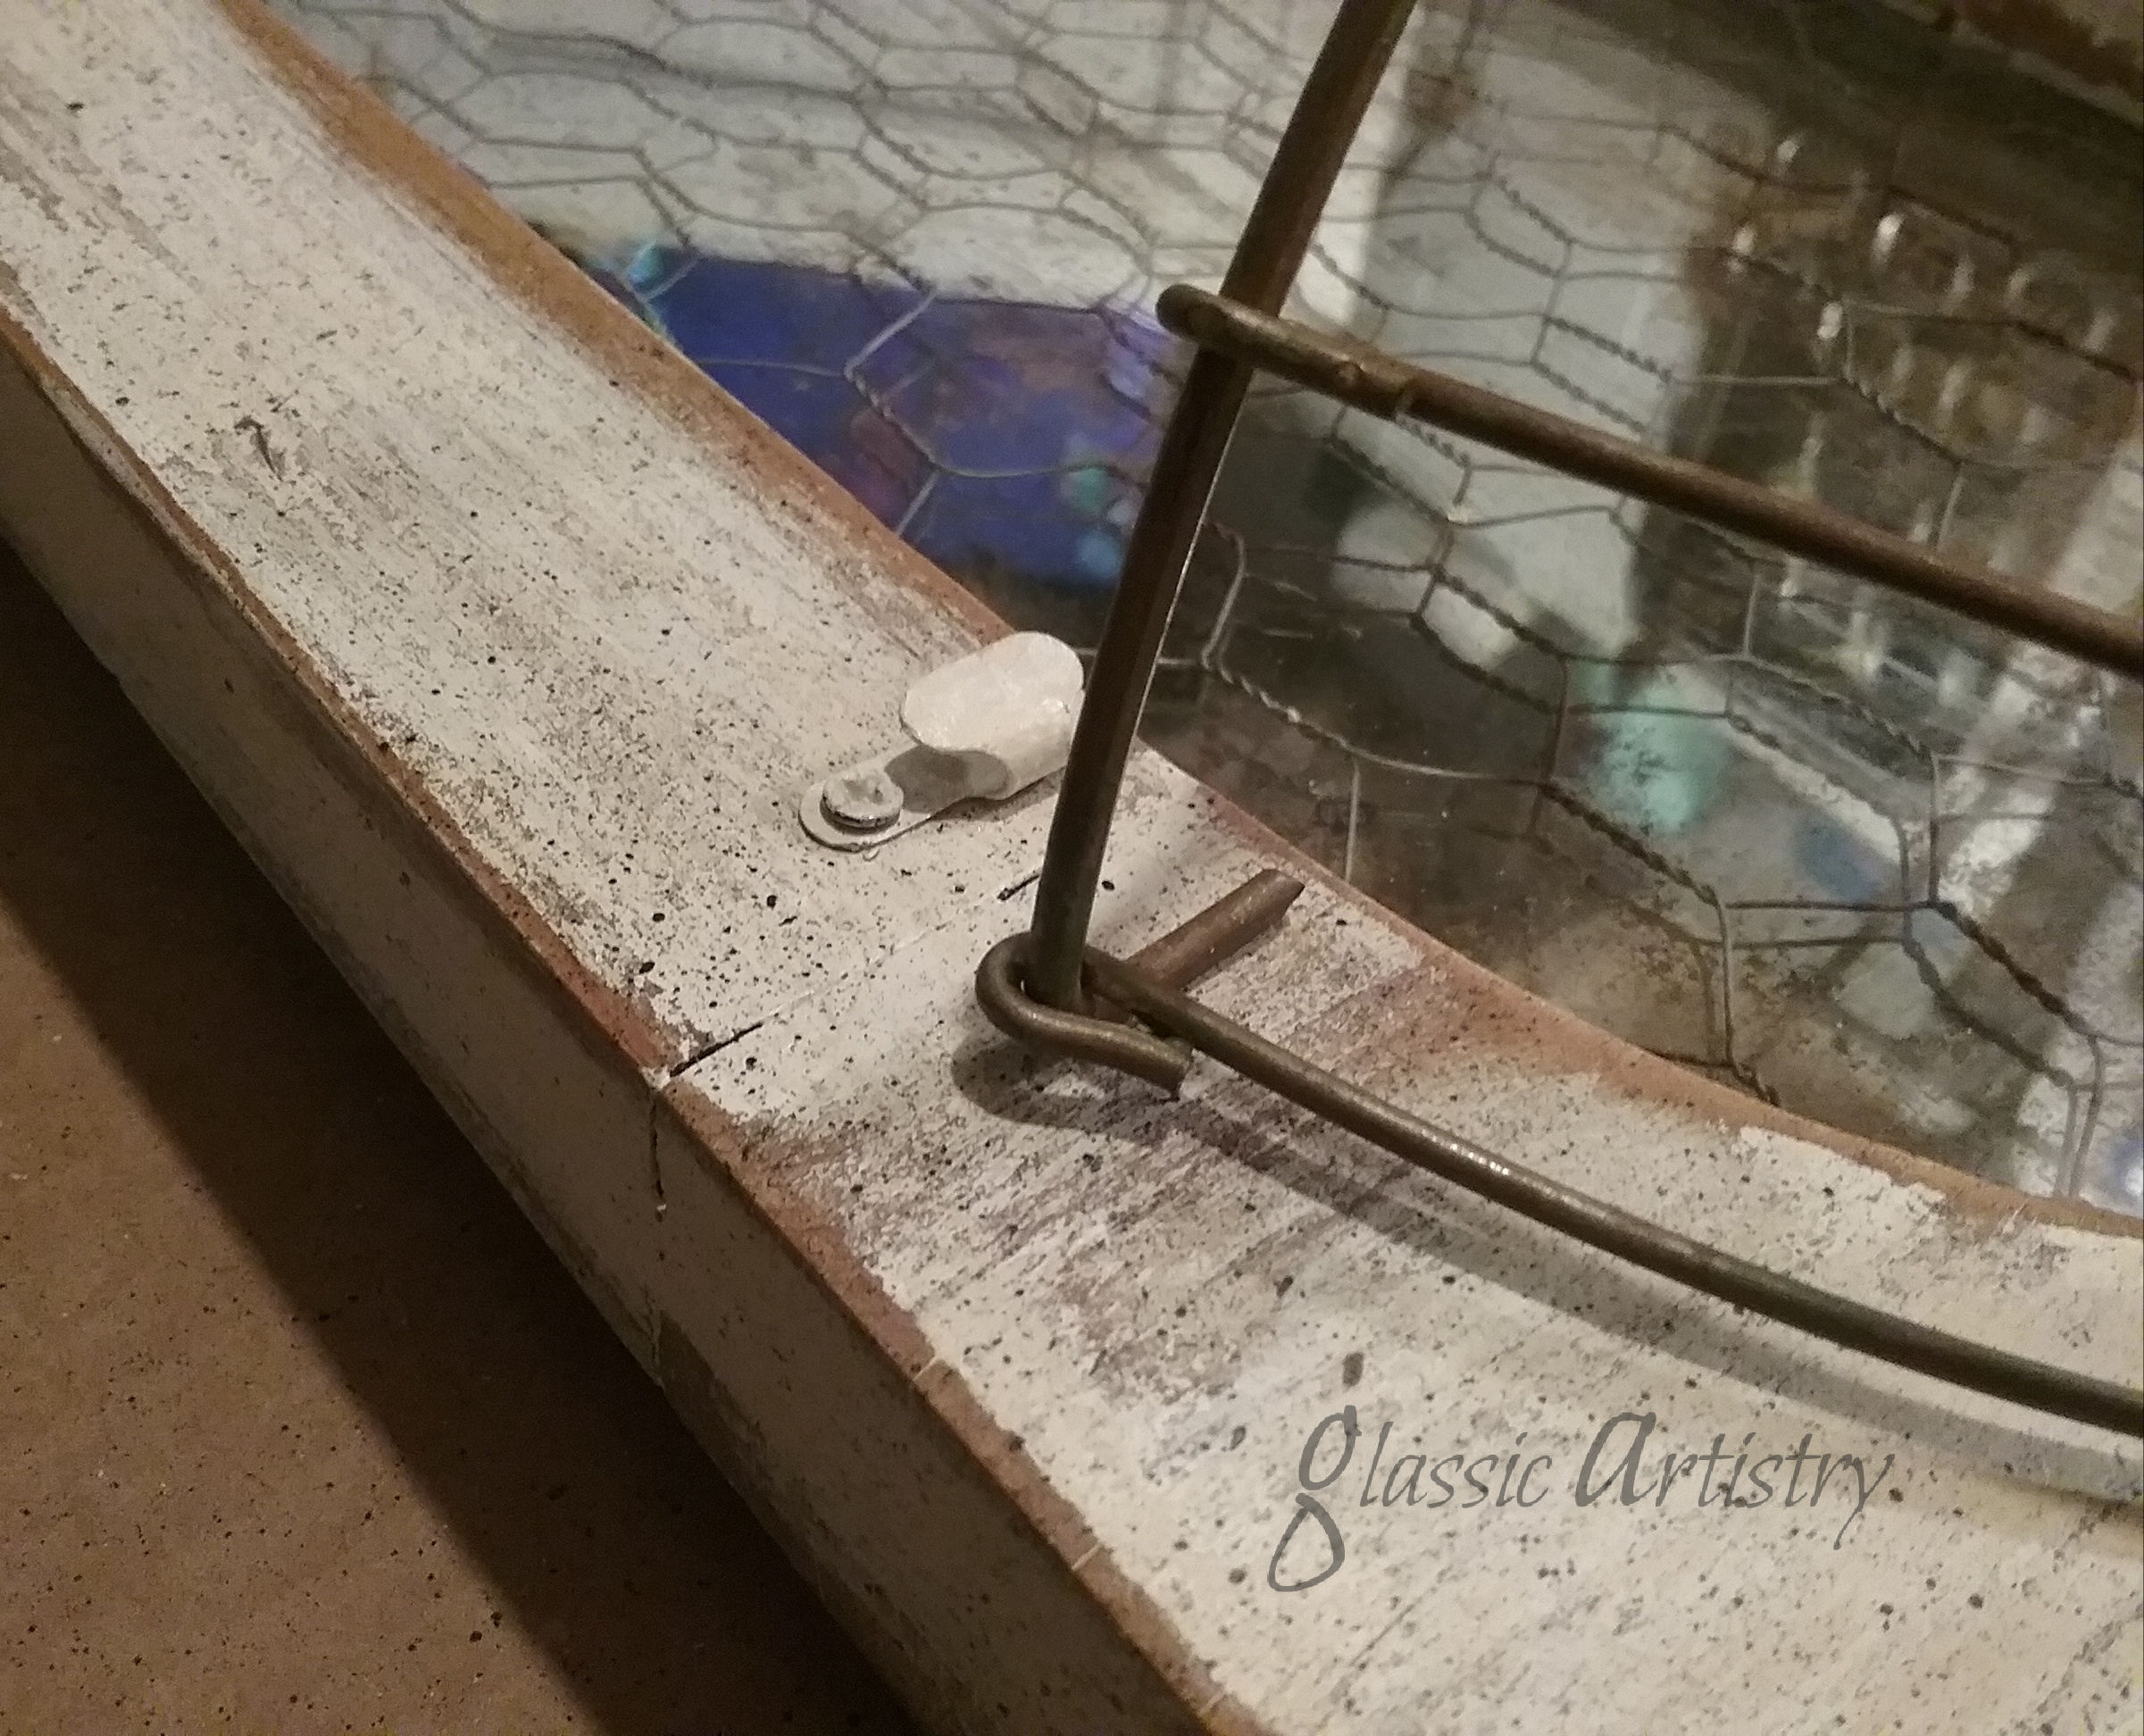
For added strength, and to give the shovel handle a more solid seat to rest on, a small area of Briwax coating was sanded off the bottom of the large pan, and a large scrap washer was adhered with JB Weld; weighted down to dry overnight. E6000 could also be used.

Both hands and a crescent wrench was needed to get the shovel handle screwed on securely.  I found the best way to do this was to work from the bottom up. After laying the inverted pie pan on the bottom of the large upturned pan, the lag screw was pushed through the flat washer and the pans.  

A large bead of E6000 was laid on the cut bottom of the shovel handle.

While holding the pans on their side, the shovel handle was lined up with the screw and started. I then held the shovel handle with my left hand, balancing the pans while I tightened the lag screw with my right; went together quickly, and done!  Clean away any excess glue.

The handle looked bare, so it got a scrap of wire wrapped around it, under the grip, just to break it up a little.

We’re a ways off from our gardening season yet, but, I’m ready for it. My new garden tote will be much handier than our big green Tupperware bowl. Hope you don’t mind, I grabbed a few props from the frig for pictures. 🙂

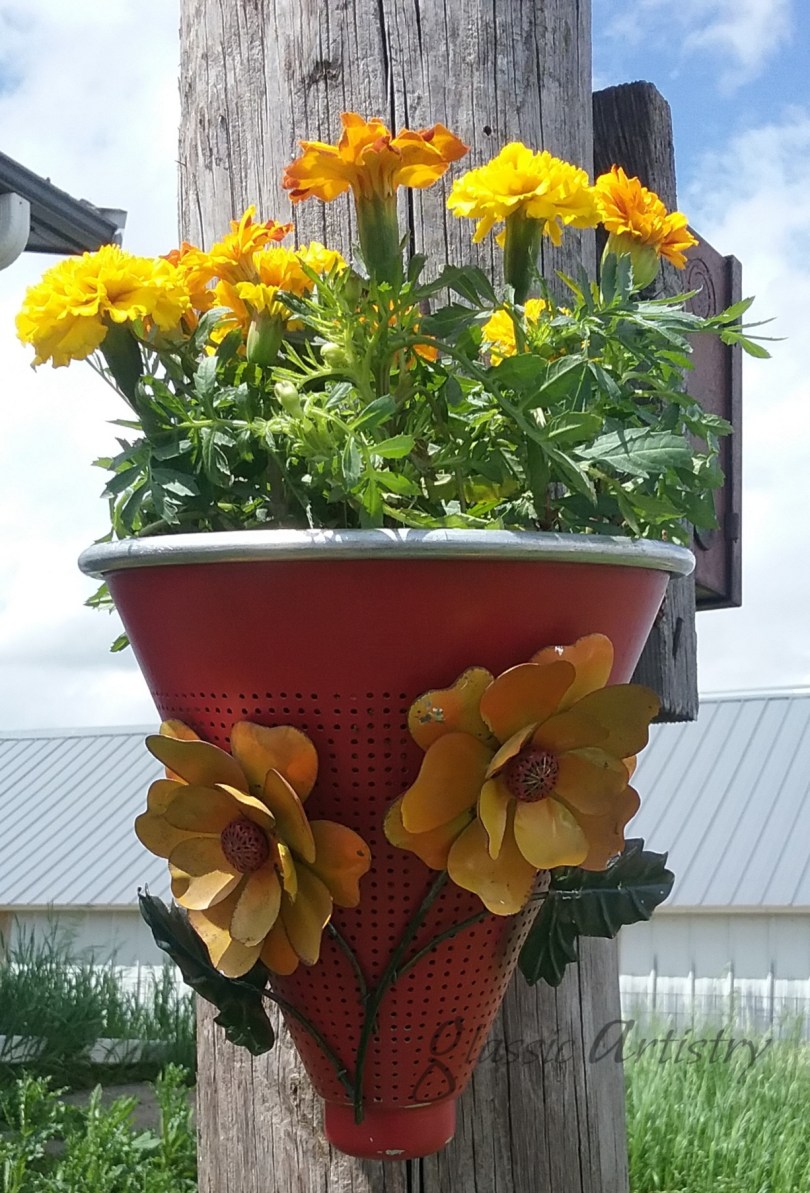
Although I’m planning on using this piece as a garden tote/basket, it could also lend farm house country charm filled with pots of flowers or herbs on a patio; just a thought.

We’ve got another week of nice weather in our forecast and I’ll be moving on to another project. Pondering over the pieces on my new work table, it looks like some tiered trays will be on the agenda next, and soon. I hope you’ve liked what you’ve seen today, please comment, like, and share. Repurposing and upcycling with salvaged materials can help lessen the load on our landfills and have a huge impact on our environment. Thanks for visiting my blog, stay well, stay safe, and have a great day!

Repurposed Strainers Planters Fun DIY

This time of year is the greatest … back out in the garden, doing yard work, and mowing. I get some of my best thinking done while on a mower. 

Best of all, our year of homeschooling was successfully completed last week!  I think the whole family let out a big sigh of relief over that, lol. You definitely have to give teachers and others who homeschool every year a standing ovation; it’s a lot of work, and patience.

Anyway, having a little free time on my hands now, I made something quick and fun to hang on a couple of ugly poles in my yard.

I have a small pile of metal strainers and such that I’ve found in the salvage dropped off for my husband.  Seems no one wants the poor things unless they’re a special vintage piece. 

I used to collect the most interesting ones and we would heat the handles a bit to bend them upright and be used as hangers.  I’d sell them at vintage markets for a couple bucks each. The large mesh ones were the most popular, but not as easy to come by anymore.

Many of you know I have a thing for metal flowers too.  If you’re lucky you can find some that are constructed with a screw and nut which makes them really easy to work with.  I usually find flowers at garage sales, thrift stores, and flea markets. My stash was getting pretty thin until I recently scored some beautiful ones from my sister and her husband who own Mc’Do-its Upcycled, Repurposed and Flea Markets. It’s awesome having them so close, they’ve had just what I was searching for on several occasions.

I’m ready to share what I came up with, but please remember there are no limits when it comes to projects like these.  Use whatever you have; paint, washers, glass donuts, wire, buttons, etc.  I played around with several ideas before settling on the ones I wanted.

Had to have a touch of blue –

I was going for a blue enamelware look with this little guy. Exterior blue paint, white speckles, and clear spray sealer.

An eye bolt was added to the back to help it hang evenly and provide a loop for a wire to be threaded through and secured to prevent rocking from side to side. Two glass donuts were wired to the handle.

This vintage look might be my favorite –

I love this combination. Red exterior paint, clear spray sealer. An eye bolt was added again, this time with an extra nut glued to the exterior before painting. I used JB Weld for gluing. After determining placement, holes were drilled for the screws on the back of the flowers and they were tightened into place. The stem was wired on. Decorative metal beads were painted and sanded lightly for the flower centers and glued on.

Here’s another useful tip – slide pieces of wax paper under the pieces you are wiring on to prevent your base paint from getting scratched.

Boho anyone? Just because it has a hanger doesn’t mean you have to hang it.

Exterior orange paint, red speckles, clear spray sealer. A medallion was made with a large decorative coat button on top of a glass lamp piece. The wire is threaded through the button and through a hole in the glass piece. The wires went through an old button on the inside of the basket to hold it securely.

And then there’s this one, just because I thought it would be cute in the kitchen.

So, what do you think? Don’t these look like fun? Please, feel free to comment if you like. I love hearing from readers.

Back soon!

Succulent Wall Planter DIY Tutorial

Spring break gave me the time needed to complete my latest project.

I’m pretty excited about this piece.  Not only do I get something for my bathroom wall, I discovered a nifty new way to make a basket that may come in handy in the future.

I started with a chunky, long, oval wooden frame purchased at a vintage fair a few years back.  It needed a little work to get squared up and made sturdy before a cardboard template could be drawn for the opening.  

Tracing the template, I cut and shaped a piece of mirror, a piece of clear glass, and a piece of old chicken wire.  The mirror was cut from an unwanted, inexpensive, thin, full length mirror I had in the garage, and luckily I found a large enough piece of clear glass in an old window pane. Another option for this planter would be to use chicken wire alone.

I removed the back of the mirror with a spray stripper, and used a wide plastic putty knife to gently remove it.  Spray stripper is pretty awesome; much better than using a brush for this step. Once it was stripped and washed clean, I used bleach to sponge the back lightly in a few places and speckle with a toothbrush splatter. Always protect your eyes and wear gloves when doing something like this. I let the bleach sit for about an hour. After washing off the bleach, you can add black speckling, metallic powders or paint, or vintage papers to show through the mirror, but I left mine plain.

After a few layers of stain, paint, and sanding, the frame was sealed with a coat of clear, satin,  water based sealer.  After the sealer dried, the cut pieces were inserted in the frame opening, sandwiching the chicken wire between the clear glass and the mirror.  Secured with glazier points.

I cut a 10” hanging wire basket in half and laid it on the front of the frame to see what it would look like and figure out where I would need to trim it to fit well.  I left extra length on each end of the top rim wire so L shaped corners could be bent. (I had to find a pair of stronger hands to help with bending.)  I ended up with two loose side wires and glued them in place to get the shape I wanted. When dry, the glued areas were touched up with a little brown paint.

I found some very simple hardware to hang the basket onto the frame.  One is just a cut eye hook, but I’m not sure what the other pieces are.  I found them among some of my stained glass hangers so they may have come from a glass supply source; I don’t know.  If anyone has a clue what they are, please chime in and let readers know.  I wouldn’t mind having a few more myself. 🙂

I attached the two brass hangers to the frame first, then hung the basket to mark where the small hook would go under the basket and before drilling a hole.  I removed the basket, screwed in the hook, then painted the hardware to match the frame. When the paint was dry, I replaced the basket and hung the frame on the wall to fill.

A fiber planter liner was cut and fitted inside the basket, along with an old deflated ball for a pliable, leak-proof planter.  The ball was turned wrong side out before placing it inside the liner and adding succulents.

I’m pretty happy with my new planter.  It has kind of an Old World charm and looks right at home hanging above our tiled tub surround.  It hangs almost directly across from a large East window, so I’m hoping with the benefit of the mirror it will get plenty of light.

I hope you found something interesting or picked up a few useful tips from my project. Thank You for visiting my blog.  Please, let me know what you think. I love hearing from readers, fellow up-cyclers and re-purposers.   

On to the next project —