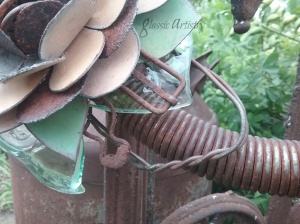
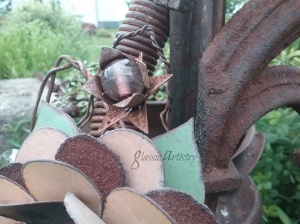
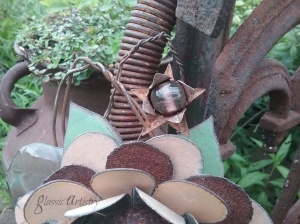
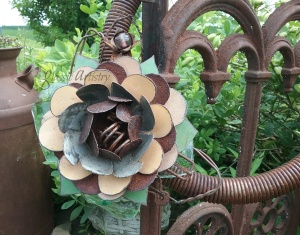
I love the look of rustic art in the garden, don’t you? Being a collector of lots of glass things, wire scraps, rusty junk, and all kinds of tidbits, I’m excited when I can gather some of my pieces that all work together, and make something eye pleasing for mine.
With salvaged art, there’s no rules, right or wrong, that’s the fun of it. Just do what works best for you.
Duplicating the items I used is not feasible, I know, but, I wanted to share some tips and tricks I used in hopes of spurring inspiration for fellow creatives.
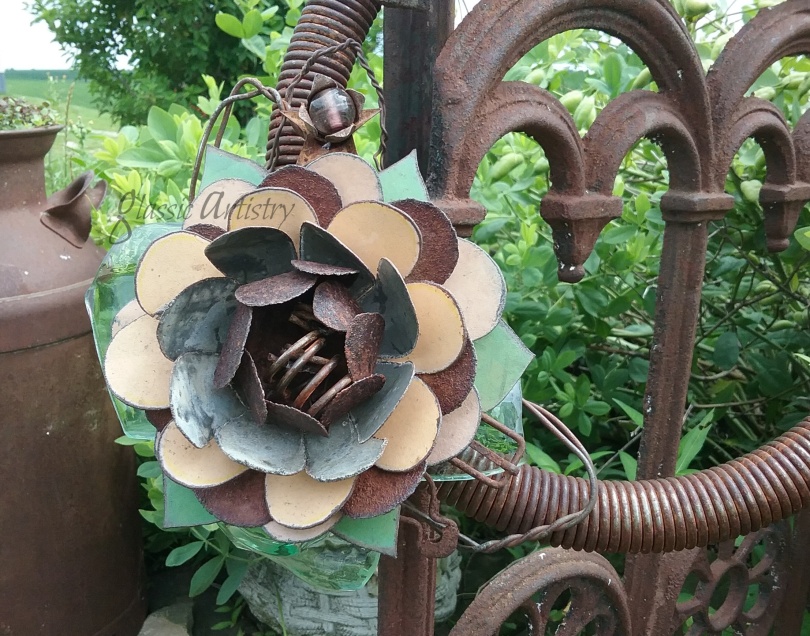
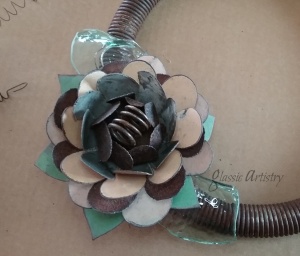
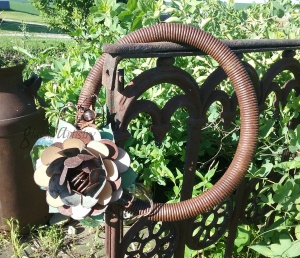
I asked my husband to save a pile of heavy springs when they showed up as salvage last fall. I’ve walked past them 100’s of times and always had the same thought; I’m gonna make a wreath out of one of those someday. I knew there was a metal flower collecting dust in the garage that would look great on one, I just never got going on it.
Recently, I was breaking down some bottles for other projects when the idea of glass leaves popped into my head… that was it, now it was time to make a wreath.
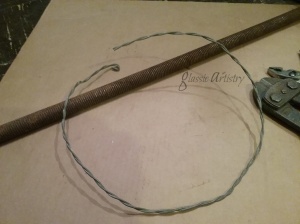
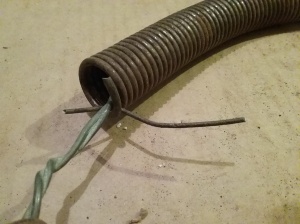
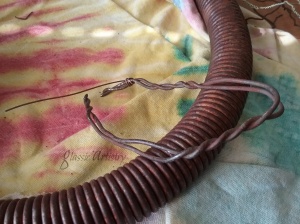
Tackling the heavy spring was the first step. It was about 30 inches long and wouldn’t hold a circular shape on it’s own. A length of heavy fencing wire was shaped into a circle and inserted inside the spring for support. The ends of the fencing wire were hooked together and squeezed tight to secure.
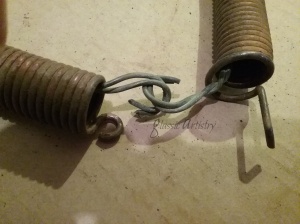
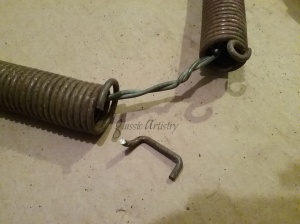
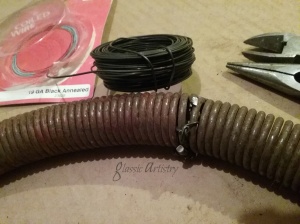
The funky ends were cut off of the spring. With the help of a screwdriver, a scrap piece of wire was wedged into the first end rings of the spring so they could be held open for wiring the ends together flush.
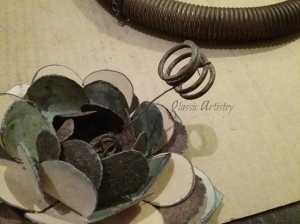
The barbed wire stem was cut from the flower, For added interest, a short, chunky spring was wired into the center of the flower. A long wire was used for this step so it could go through the flower and be used to wire the flower on later.
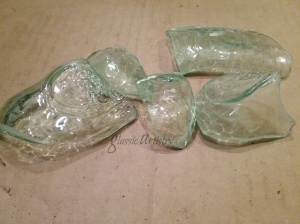
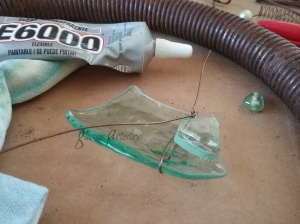
Pieces of a Captain Morgan bottle were used for leaves. I smoothed the edges of the glass with a glass grinder, but a piece of emery cloth, or a Dremel tool with a diamond grinding bit will work too.
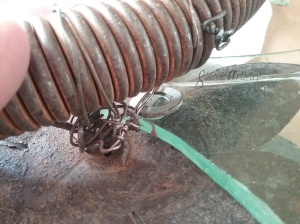
Arrange the leaves and flower on the wreath, covering the wired spring ends. After deciding placement, wire the leaves on first with a thin pliable wire, then the flower, covering the wired ends of the leaves.
Take advantage of any small curves in the glass leaves to help hold the wrapped wires tightly. As an added precaution I glued chunks of glass, or washers, near my wires to prevent any slipping. Washers can also be glued between the spring and flower/leaf arrangement to tighten or brace an area.
The ends of my heavy wire leaf shapes were difficult to bend. I opted to attach a thin wire on one end of them, then thread it through under the flower and between other wires. Secure the wire to the other end of the leaf shape. Arrange and tighten until snug.
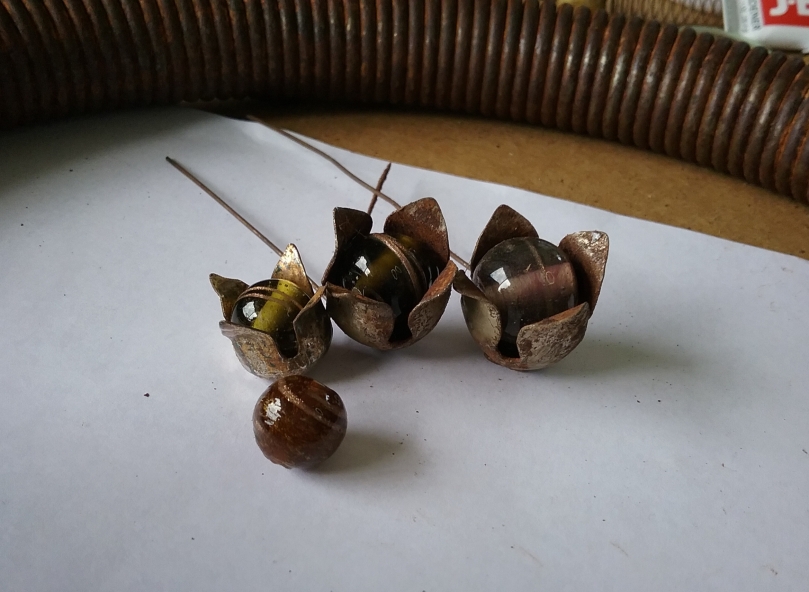
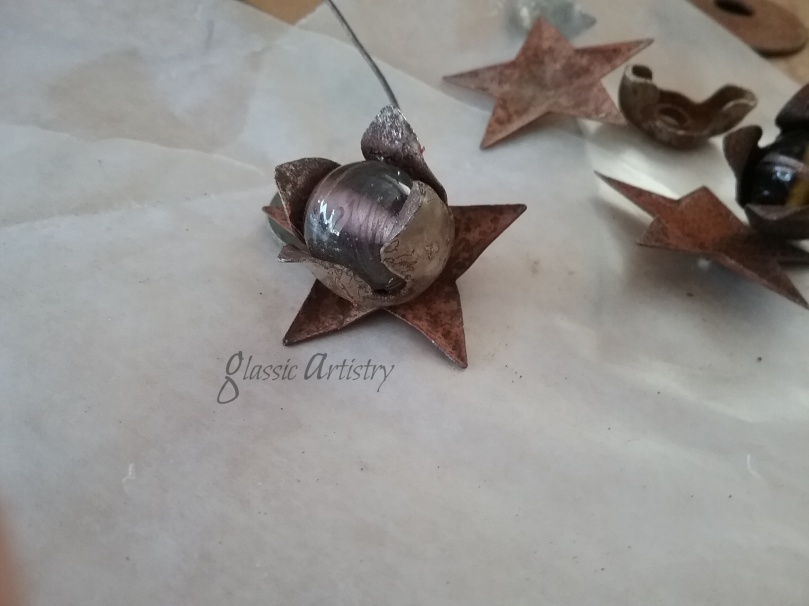
Before finishing up, I decided to add another glass leaf, used E6000 to add a couple interesting rusty bits, and tuck in one of my salvaged art blooms.
I do believe, this is just what that little corner of my garden needed!

