Our Elfun Christmas Tree

This is just for kicks, and, I think, a fitting ending to the year.  I love seeing all the beautiful Christmas trees others post on line, so I thought I’d share mine.


I wanted to really brighten up the Christmas tree this year and make it more fun for the kids.  I had a few elves and some red and green lights in mind when I made a trip to town a couple weeks ago.  That was before my daughter, grand-kids, and I went into Hobby Lobby!  A decoration wonderland!!

With my grandson’s encouragement, I loaded my cart with garland, mesh ribbon, lights, and bright, funky sprigs. Oh yes, and elves, one large one and 8 small ones. All of our new treasures, along with some red, green, and white decorations from a couple years ago, would do our tree up just dandy.

20161126_190155  20161202_140643

Our elves got a little added sparkle with glitter gel pens, shiny metallic pipe cleaners, and bells on all their toes.

20161202_135848

Mr. Big Elf is in front for all to see, and there’s a little one playing peek-a-boo on a low branch of the tree.

20161209_131007   20161209_132823

There’s smiling elves, peeking out all over, as sprite as can be …

20161202_130623  20161202_134955

20161202_135232  20161202_223130

20161209_130919  20161209_132648

And even a silly one hanging upside down, from his knees.

20161202_135044

I wish you a Very Merry Christmas and A Happy New Year, and many blessings for a joyous holiday season!


My Vintage Style Christmas Tree – Part Two

I thought it would be fun to make some colorful ornaments to brighten up my tree.  They are all pretty simple … System 96 glass with some noodles and stringers. I fired everything in my small tabletop kiln, on kiln paper. All of these were taken to about 1700 degrees. I like to watch the action through the little window so I don’t over fuse and get that muddled look.

There had to be a stocking, of course! I used two pieces of thin white for the stocking top.

DSC09644

Something circular would be nice, but not just solid and plain. I’ve found the easist way for me to save some grinding time, on something like this, is to drill the hole first. Then center the hole under your clear plastic pattern, trace and cut out.

How to combine glass and metal had me stumped for a little bit, until I noticed a pile of little bells I had laid aside to rust .. hmm? Wouldn’t it be neat if they could dangle in an ornament somehow? I started with 1/4″ wide strips of glass, and laid them out as shown below … it worked! I may have to make some of these on a larger scale for my big tree!

The little candy canes are time consuming, but so stinkin’ cute! These are 2 1/8″ long, and made the same way I make larger ones for patchwork candy canes. I’ve read many tips for keeping marks on glass while using a glass saw, but using my scribe and marker has never failed me.

After tracing your pattern, go over your line with a pencil scribe. You could probably use an electric engraver for this too, but I haven’t tried it yet. Fill in the scribe line with black marker and let it dry a little bit. Lightly wipe the marker off, leaving a noticeable line for saw work.

DSC09903 DSC09906 DSC09917

All of the cutting can be done on a ring saw, but I like to use a band saw to cut the inside line of the cane. Use a regular glass cutter to cut the outside line. On a ring saw, I shape and grind the inside arch and side of the cane first, then go to the glass grinder for the outside edge. Decorate and fire.

Joann Fabric had the perfect piece of fabric for my tree skirt. But, in all honesty, my sewing machine has not seen the light of day for probably two years. I don’t hate sewing, it’s just not in the list of my top 10 things I like to do. With that being said, I asked our close family friend Alison to make my tree skirt for me. Fantastic Job Alison!

My daughter graciously offered her collection of small glass vintage Christmas balls. They’re lovely, old and faded, and in all the right colors. I’m just guessing here, but I’ve seen her eyeing my garland .. She’ll probably want to borrow it next year to go with her Christmas balls. I know how these things work.

The bay window in my kitchen doesn’t offer much of beautiful view this time of year, just out buildings and empty fields. But it does offer a lot of light to shine through the beads and glass, and it will be safe from little curious hands.

I’ve never decorated one of these trees before. There’s a lot of empty spaces, and a little different with no lights, but I’m pleased with the way it turned out. It’s been raining here all day, really dreary. I’m looking forward to seeing it in a whole new light tomorrow.

It was not a good day to take pictures either, I’m afraid. I worked for hours trying to get a real clear shot of my tree. I added light from lamps, a snow blanket background over the window, nothing helped. I waited until dark and tried again. Sorry, they aren’t fantastic, but better than the earlier ones, and the best I have for now.

I invited some little elfish friends to play under the tree.

I hope you and yours enjoy a wondrous holiday season.

Merry Christmas & Happy New Year!


My Vintage Style Christmas Tree – Part One

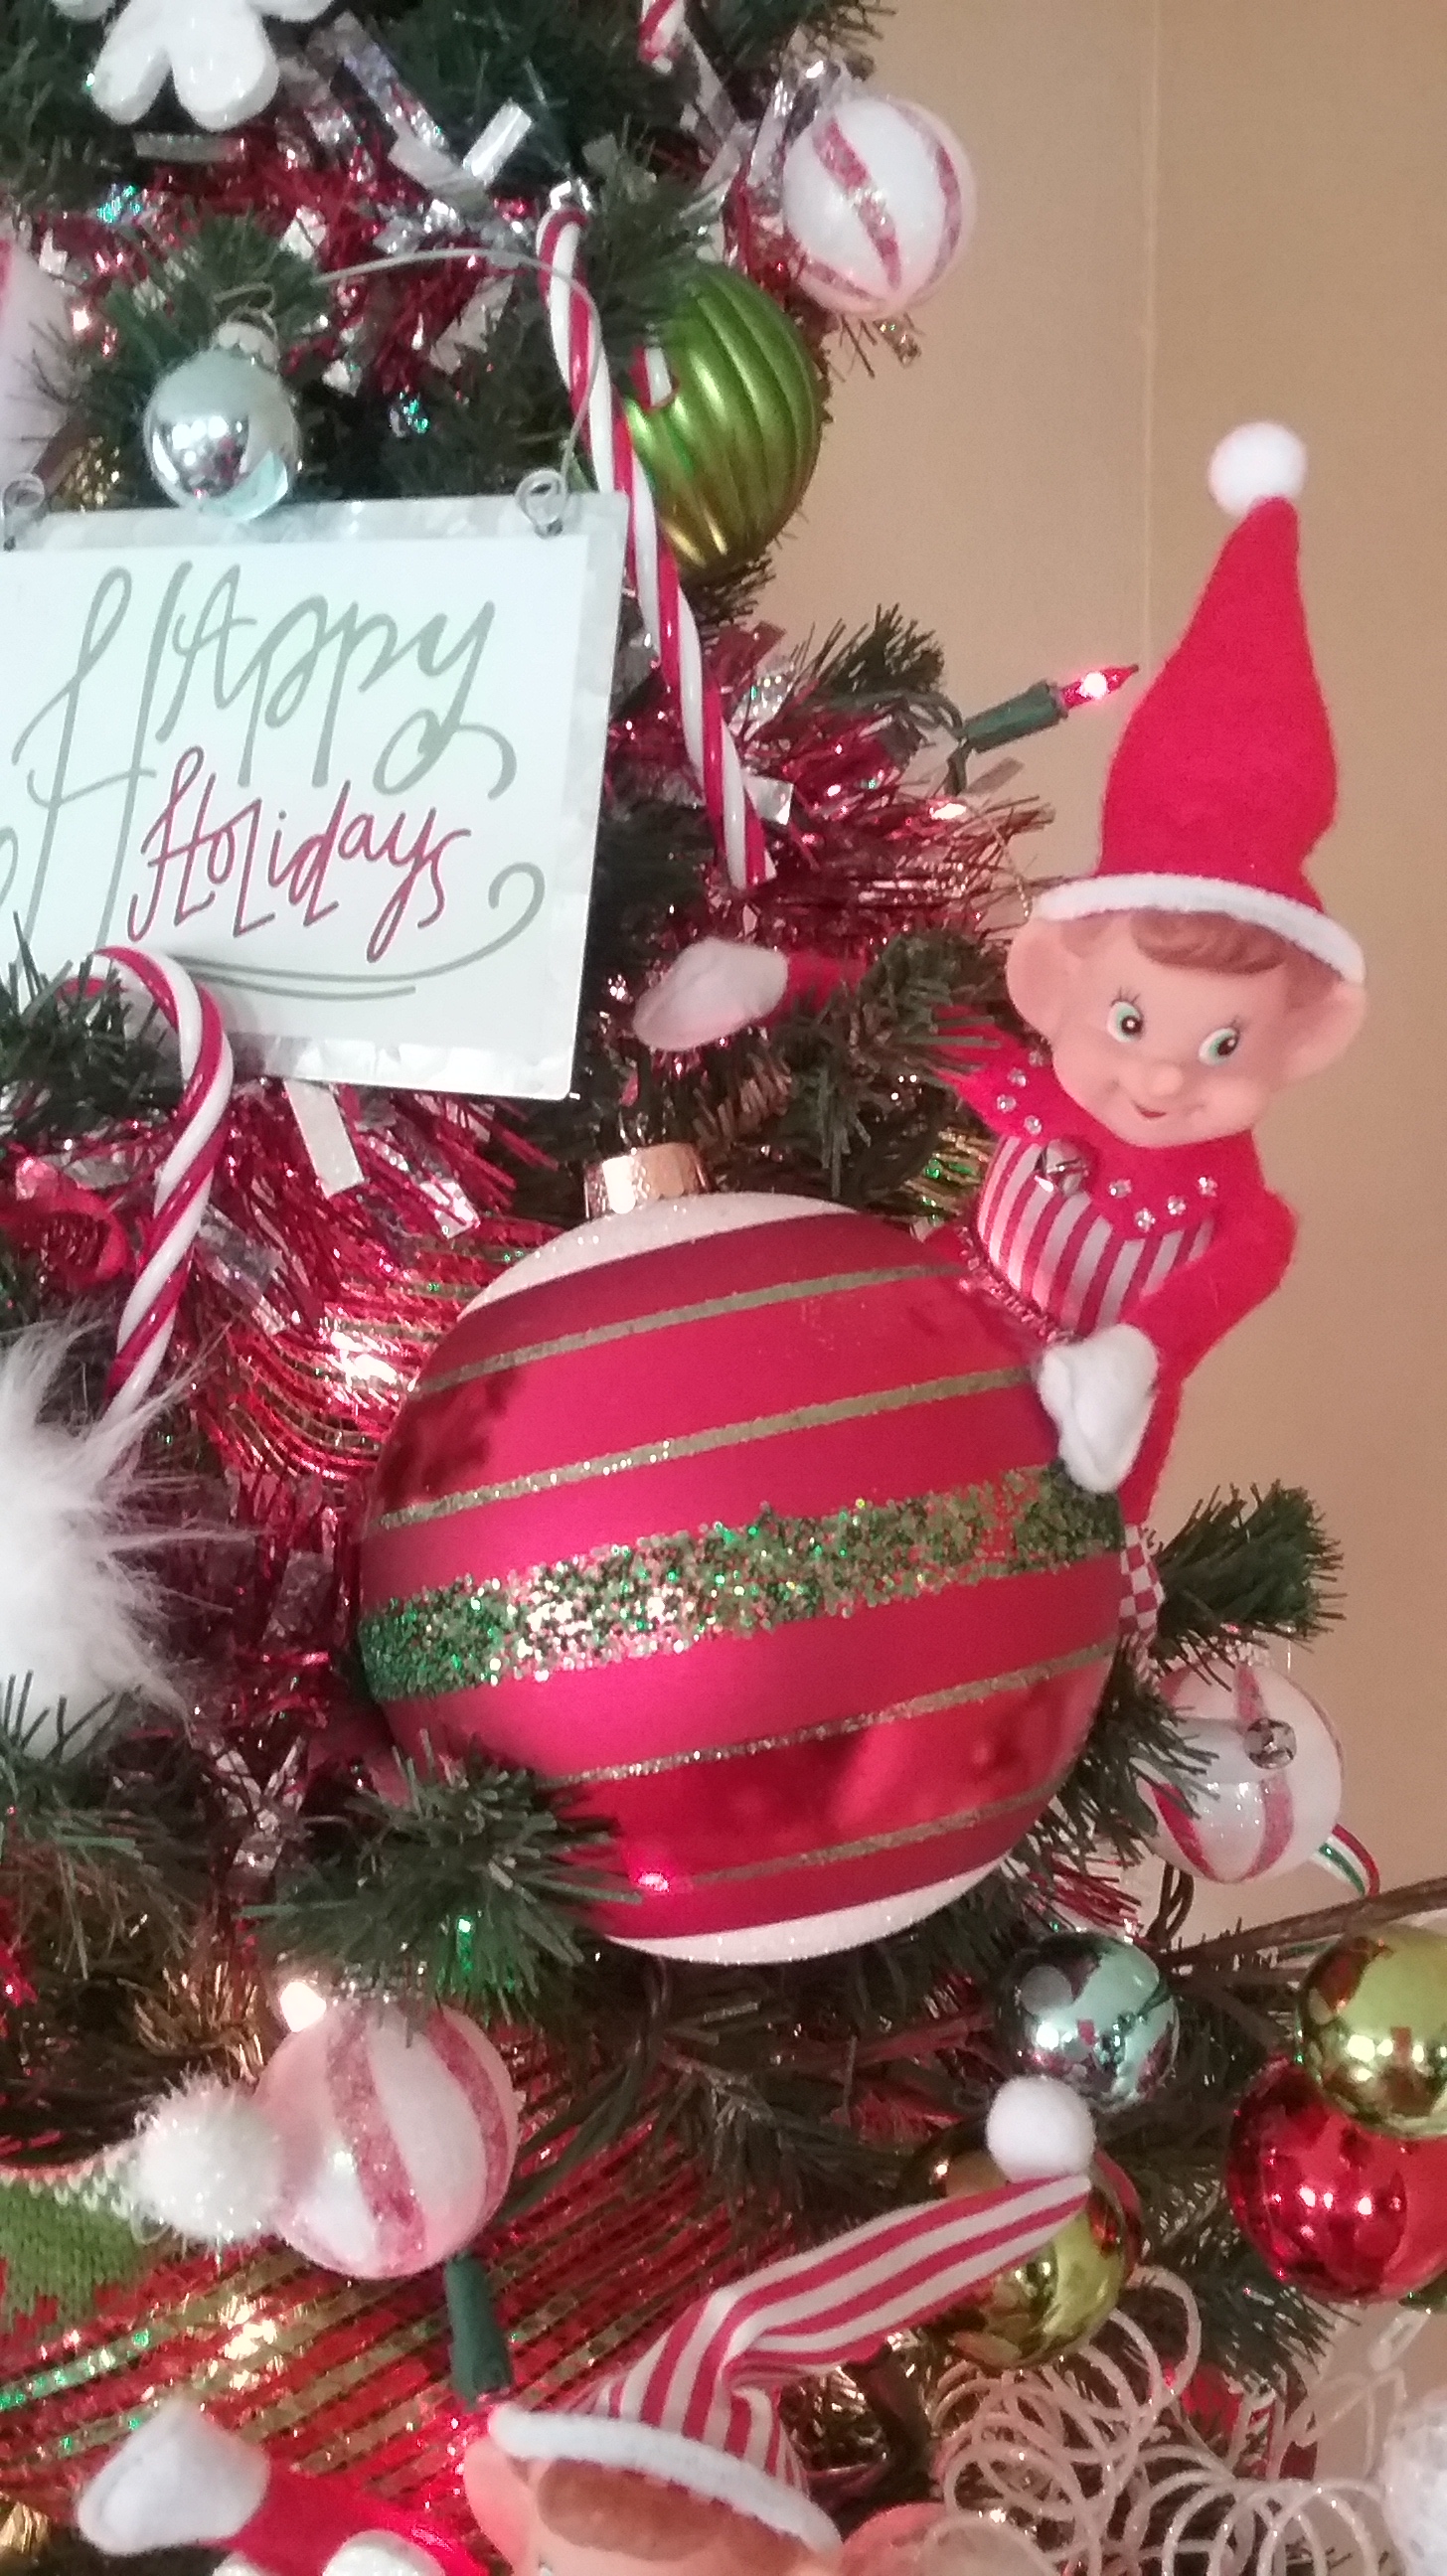
“Kitschy” – 1) A style of decorative art and design in which ordinary objects have vintage appeal, “old-fashioned” characteristics. 2) Art, decorative objects or design considered by many people to be ugly, lacking in style, or false but enjoyed by other people.

A lull in activity, last week, afforded me some much needed time to catch up on a few Christmas orders and start making a little something special for myself too!

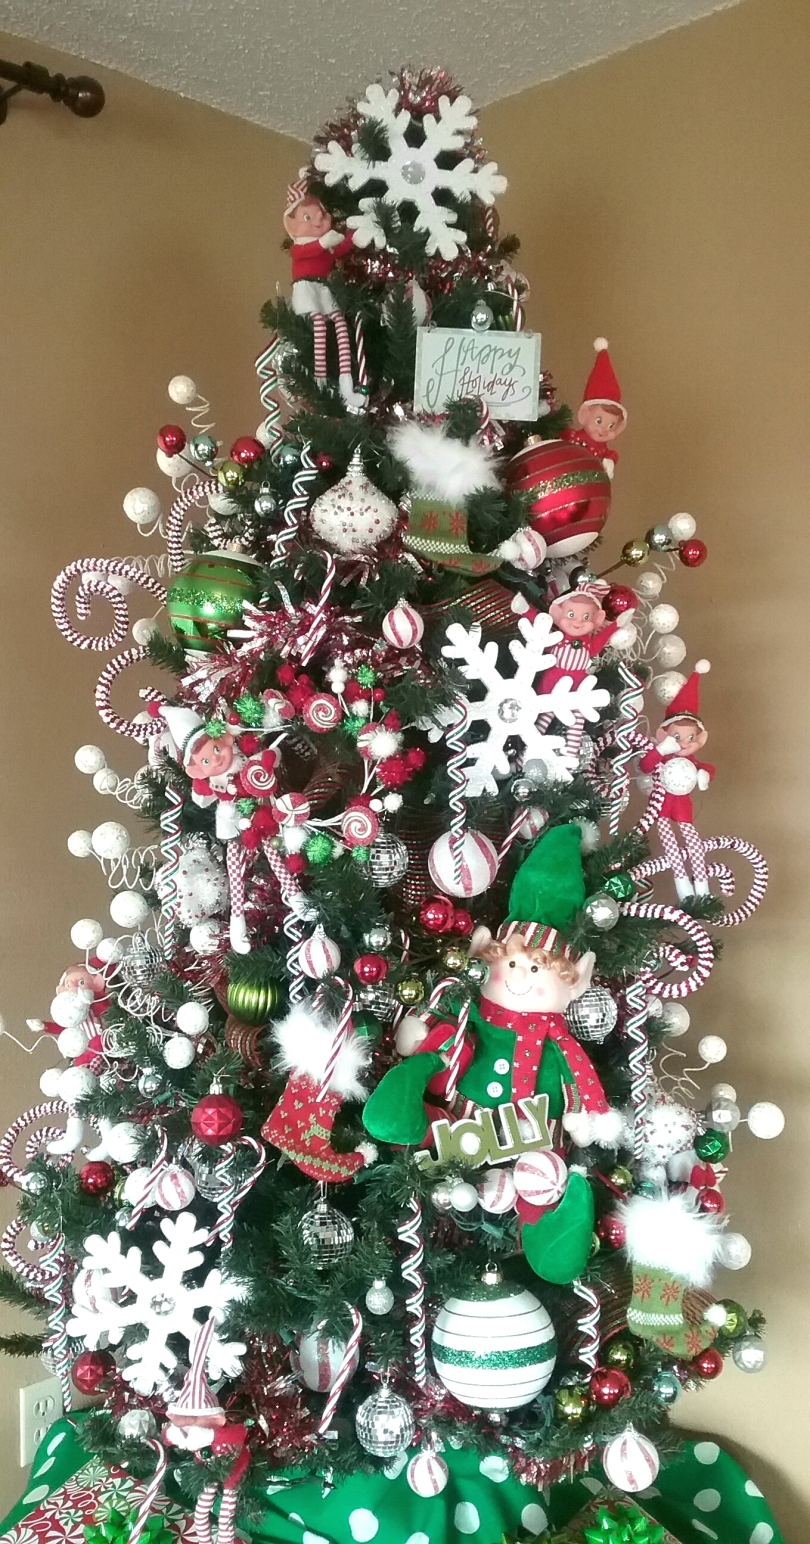
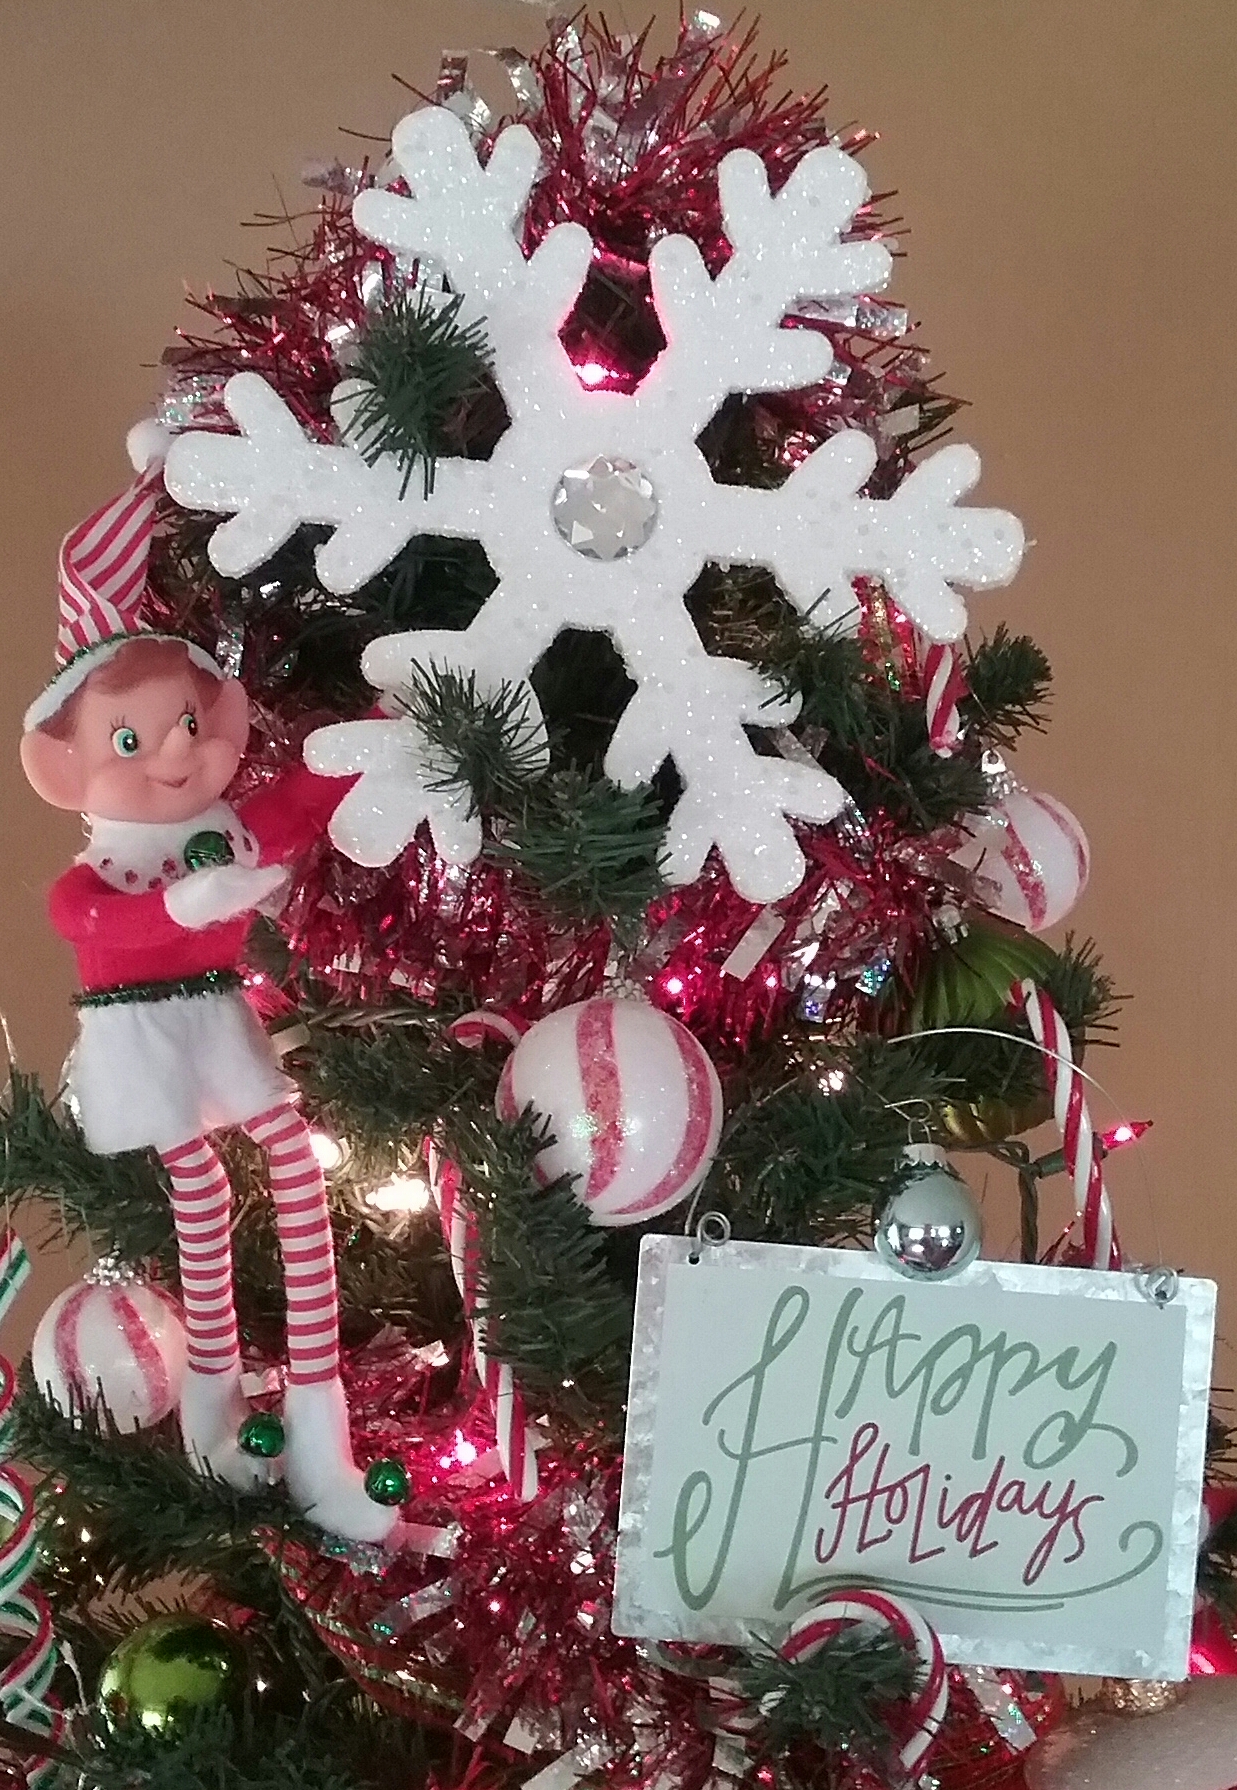
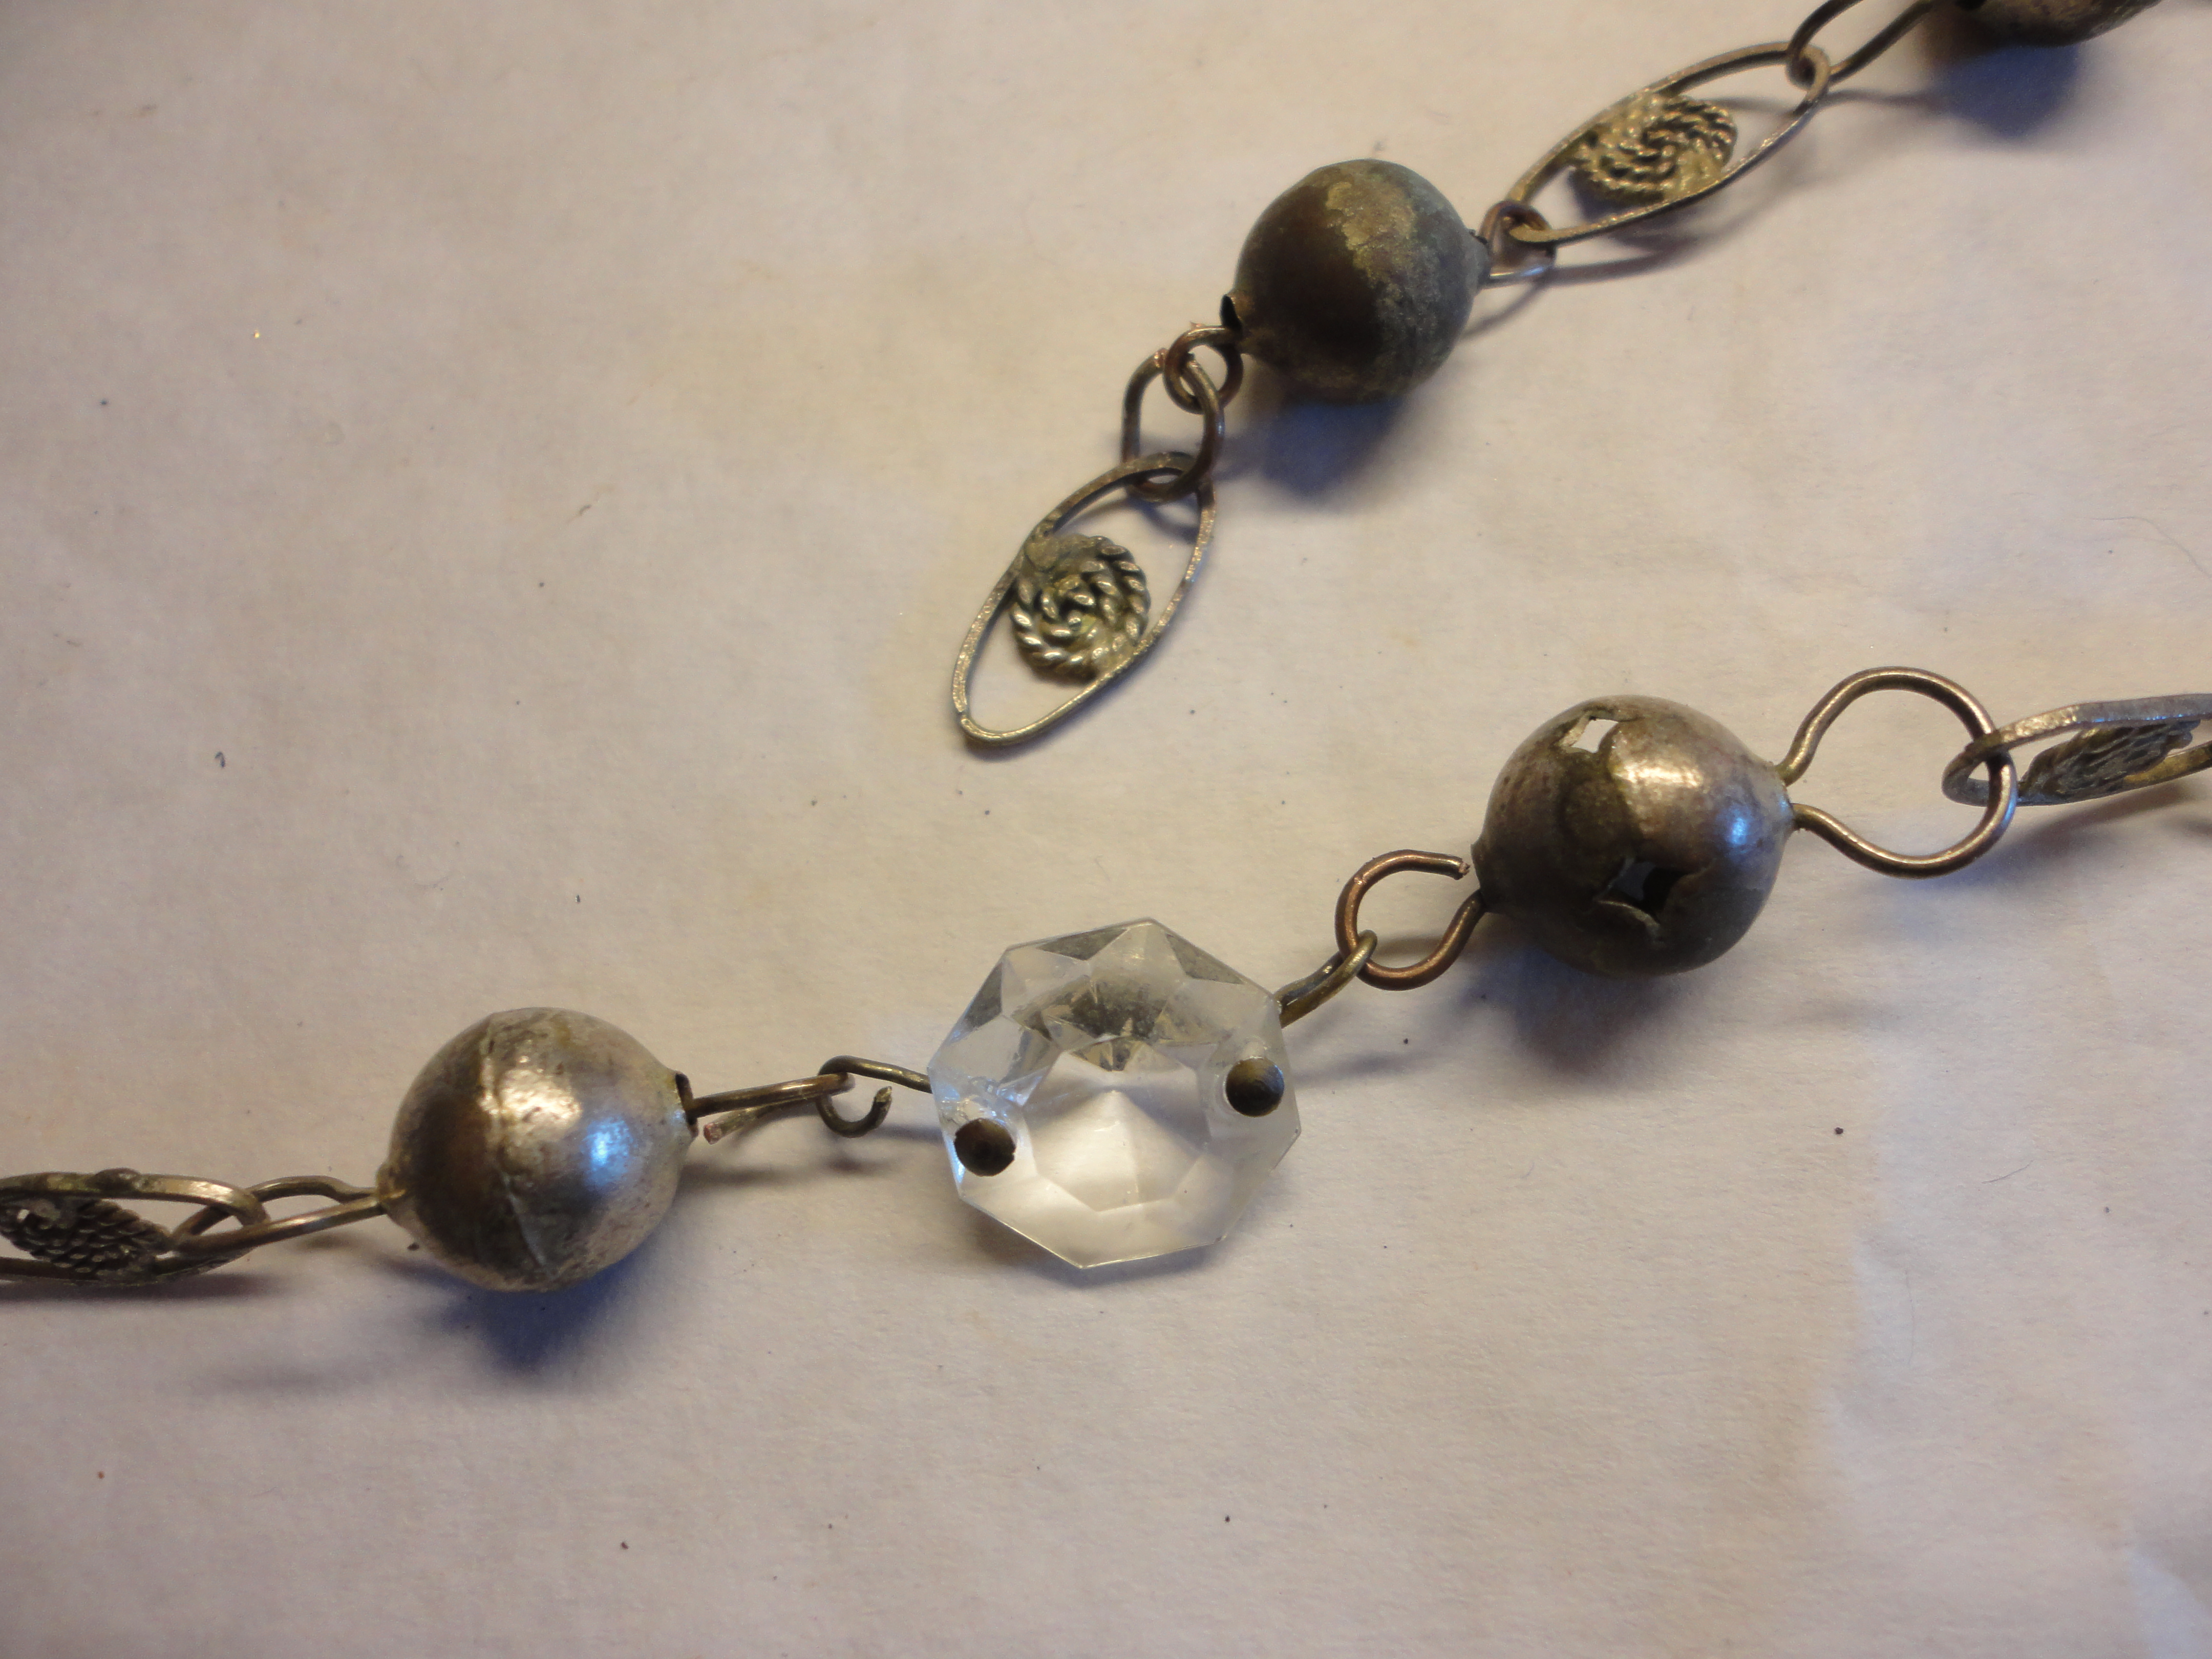
Over a year ago, while making garden garlands, the vision of a smaller, beaded, Christmas garland began forming in my mind.  I could just see it draped on one of those little foil trees; not the bright silver one, but the darker, tarnished looking one.  Ideally, it would be glass and metal, with a vintage, bohemian, kitschy look.  But, although I had plenty of beads, crystals, and such, I didn’t have an outstanding metal element.  That was, not until I set eyes on a lovely old, tarnished silver necklace in a popular local shop, Reclaimed Treasures on Main, in Haverhill Iowa. It could not have been more perfect!  Isn’t it sweet?

DSC08871

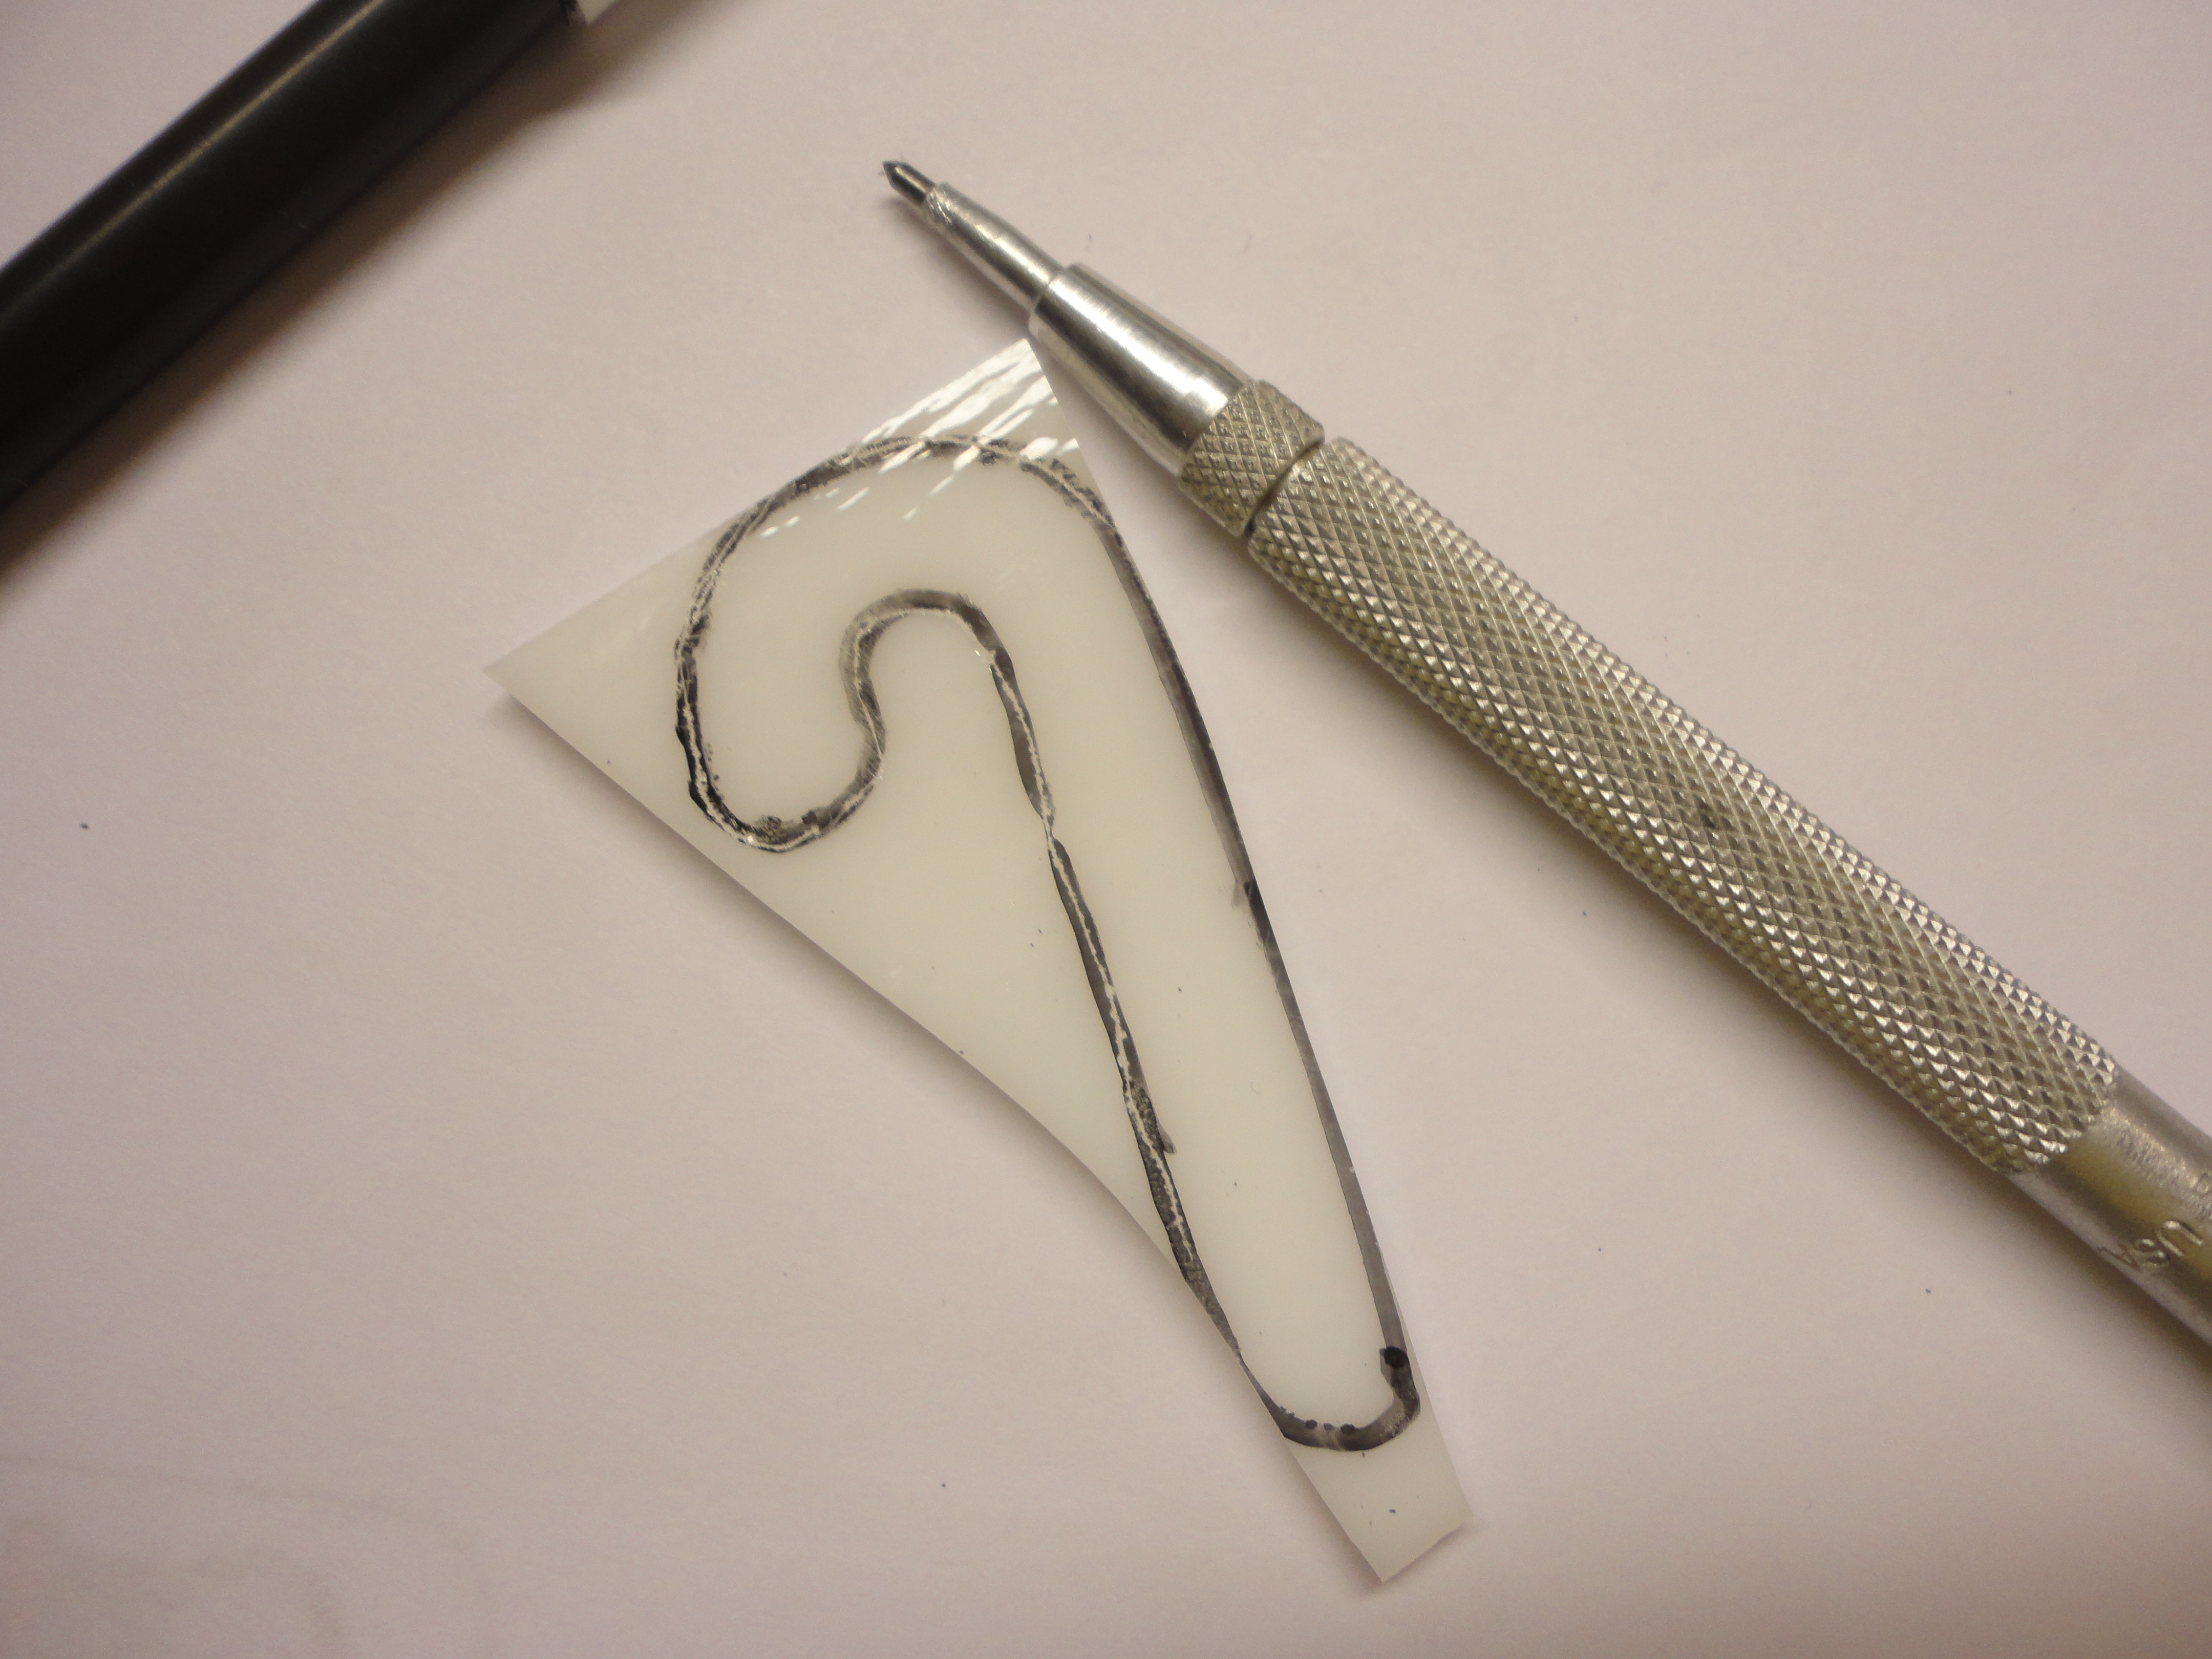
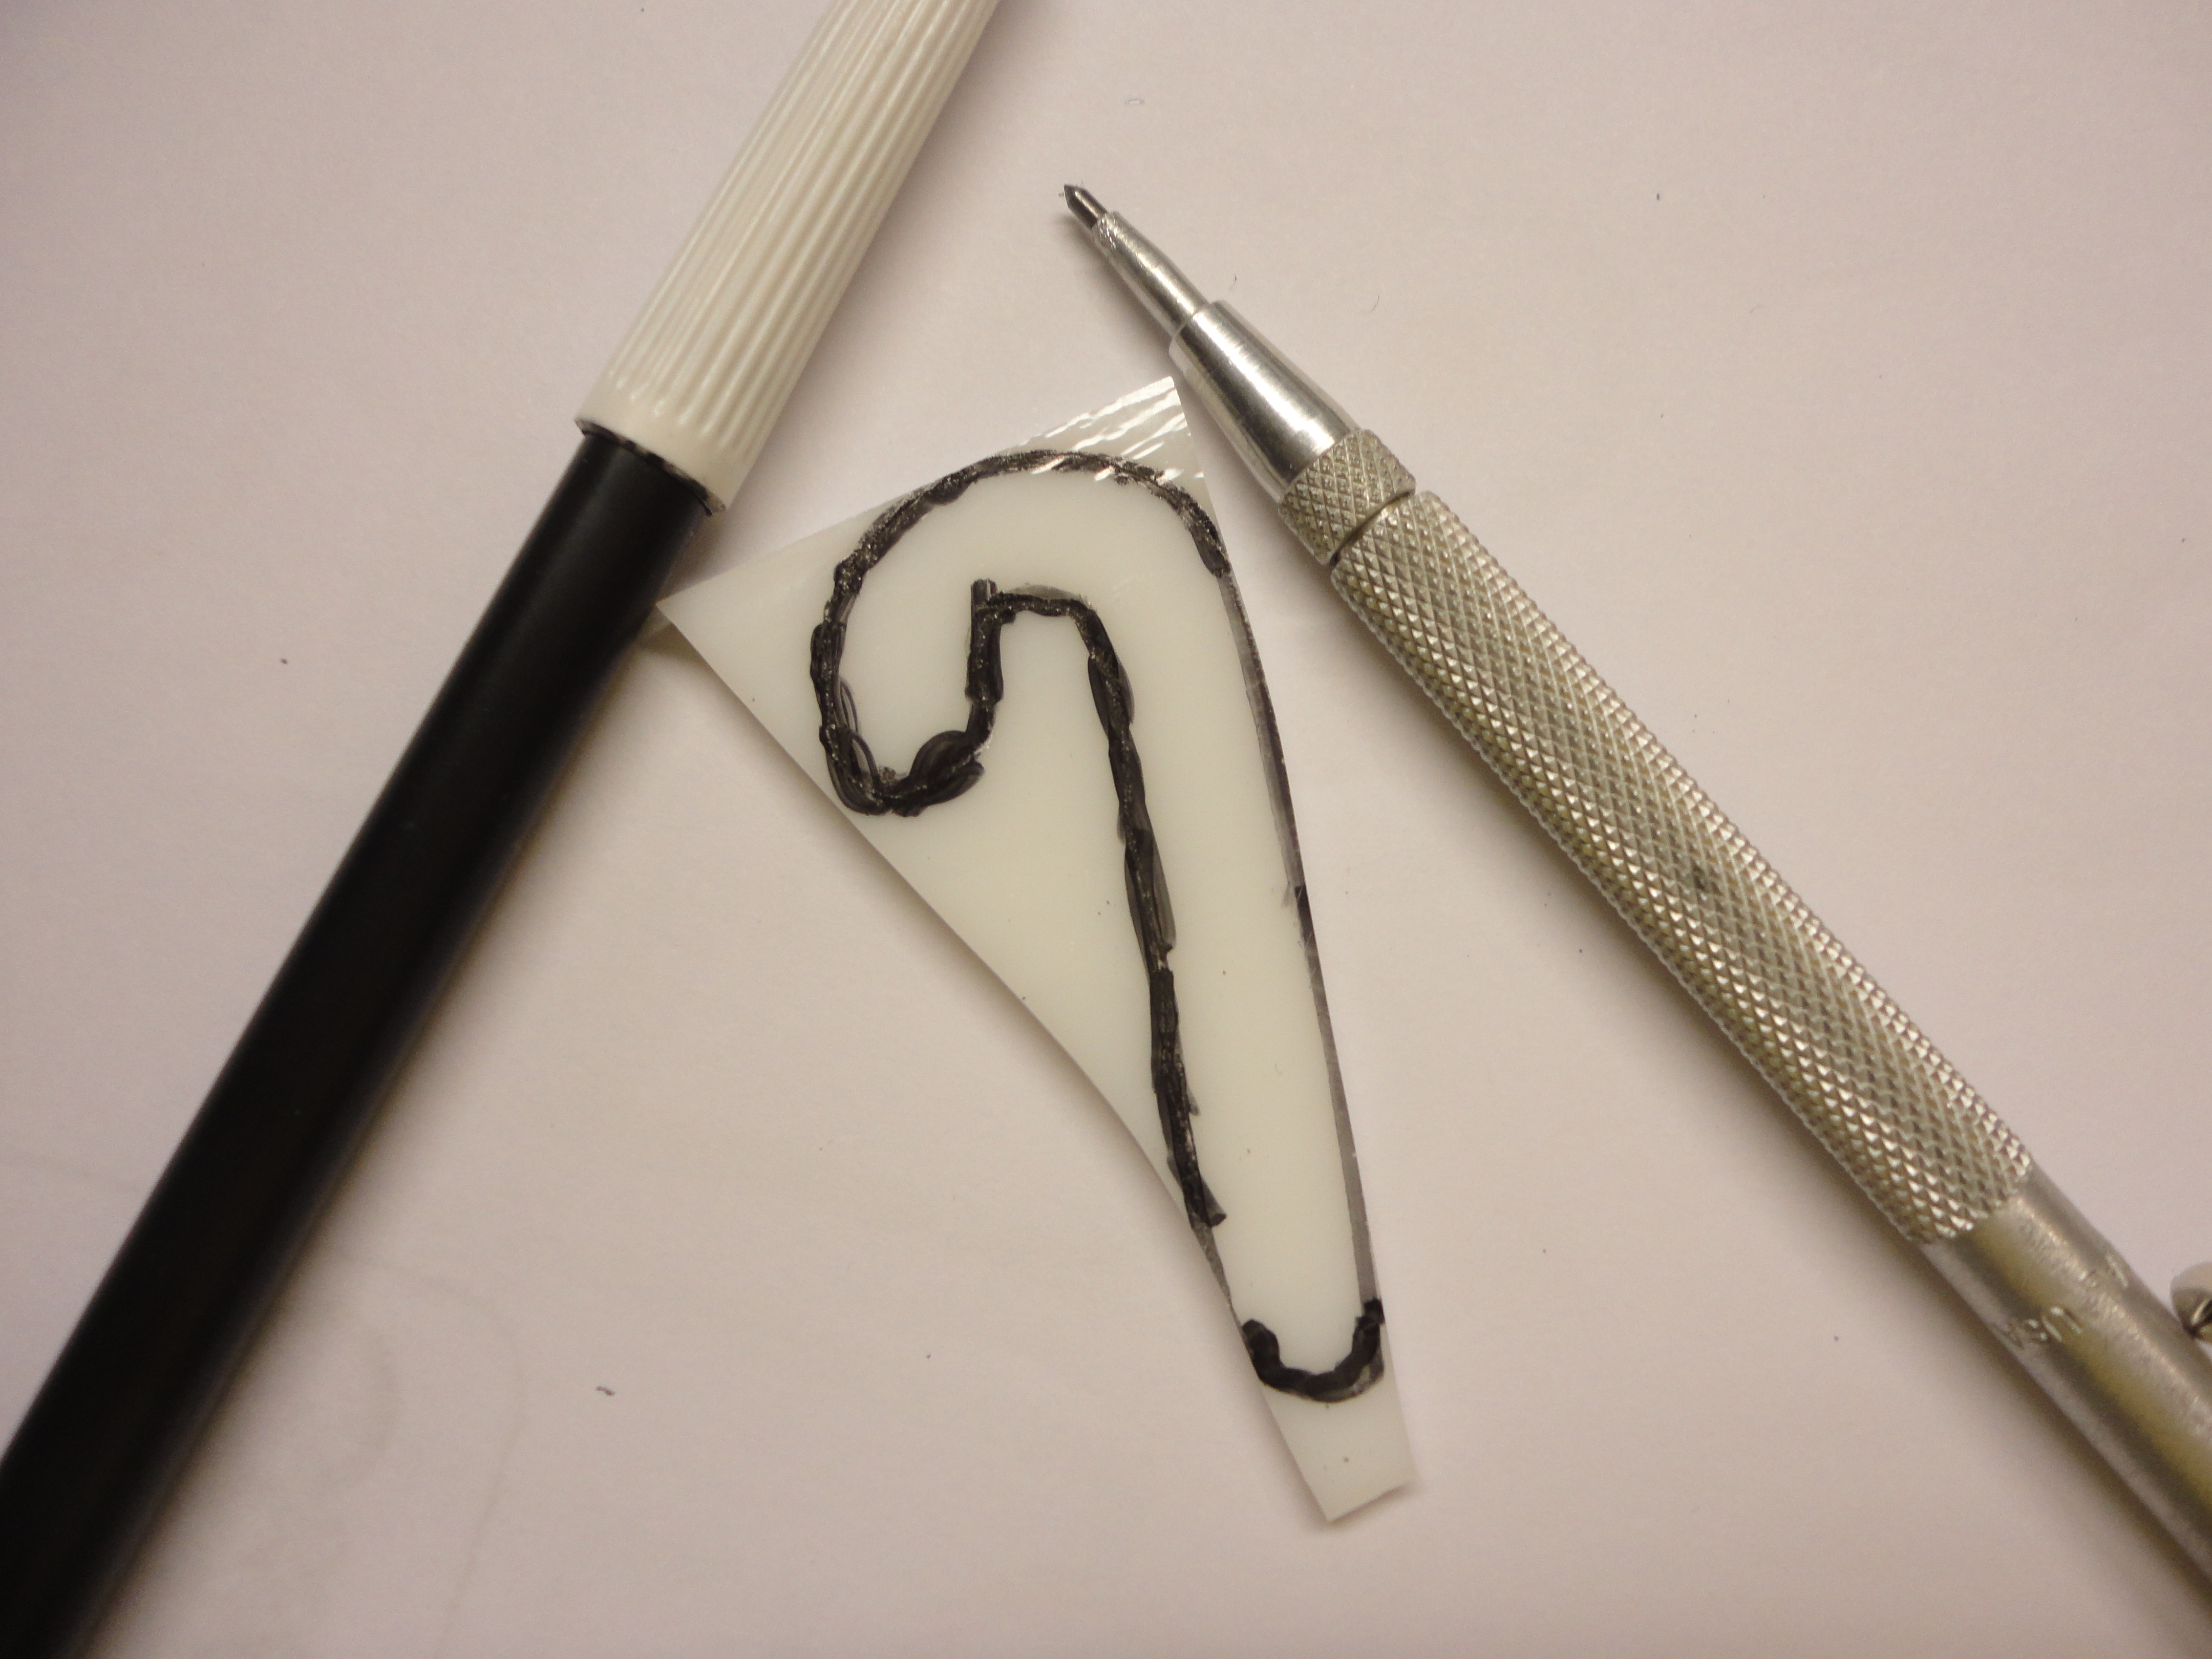
I loosely draped a string around my tree, and measured it, to determine that my garland needed to be about 90″ long to look it’s best.

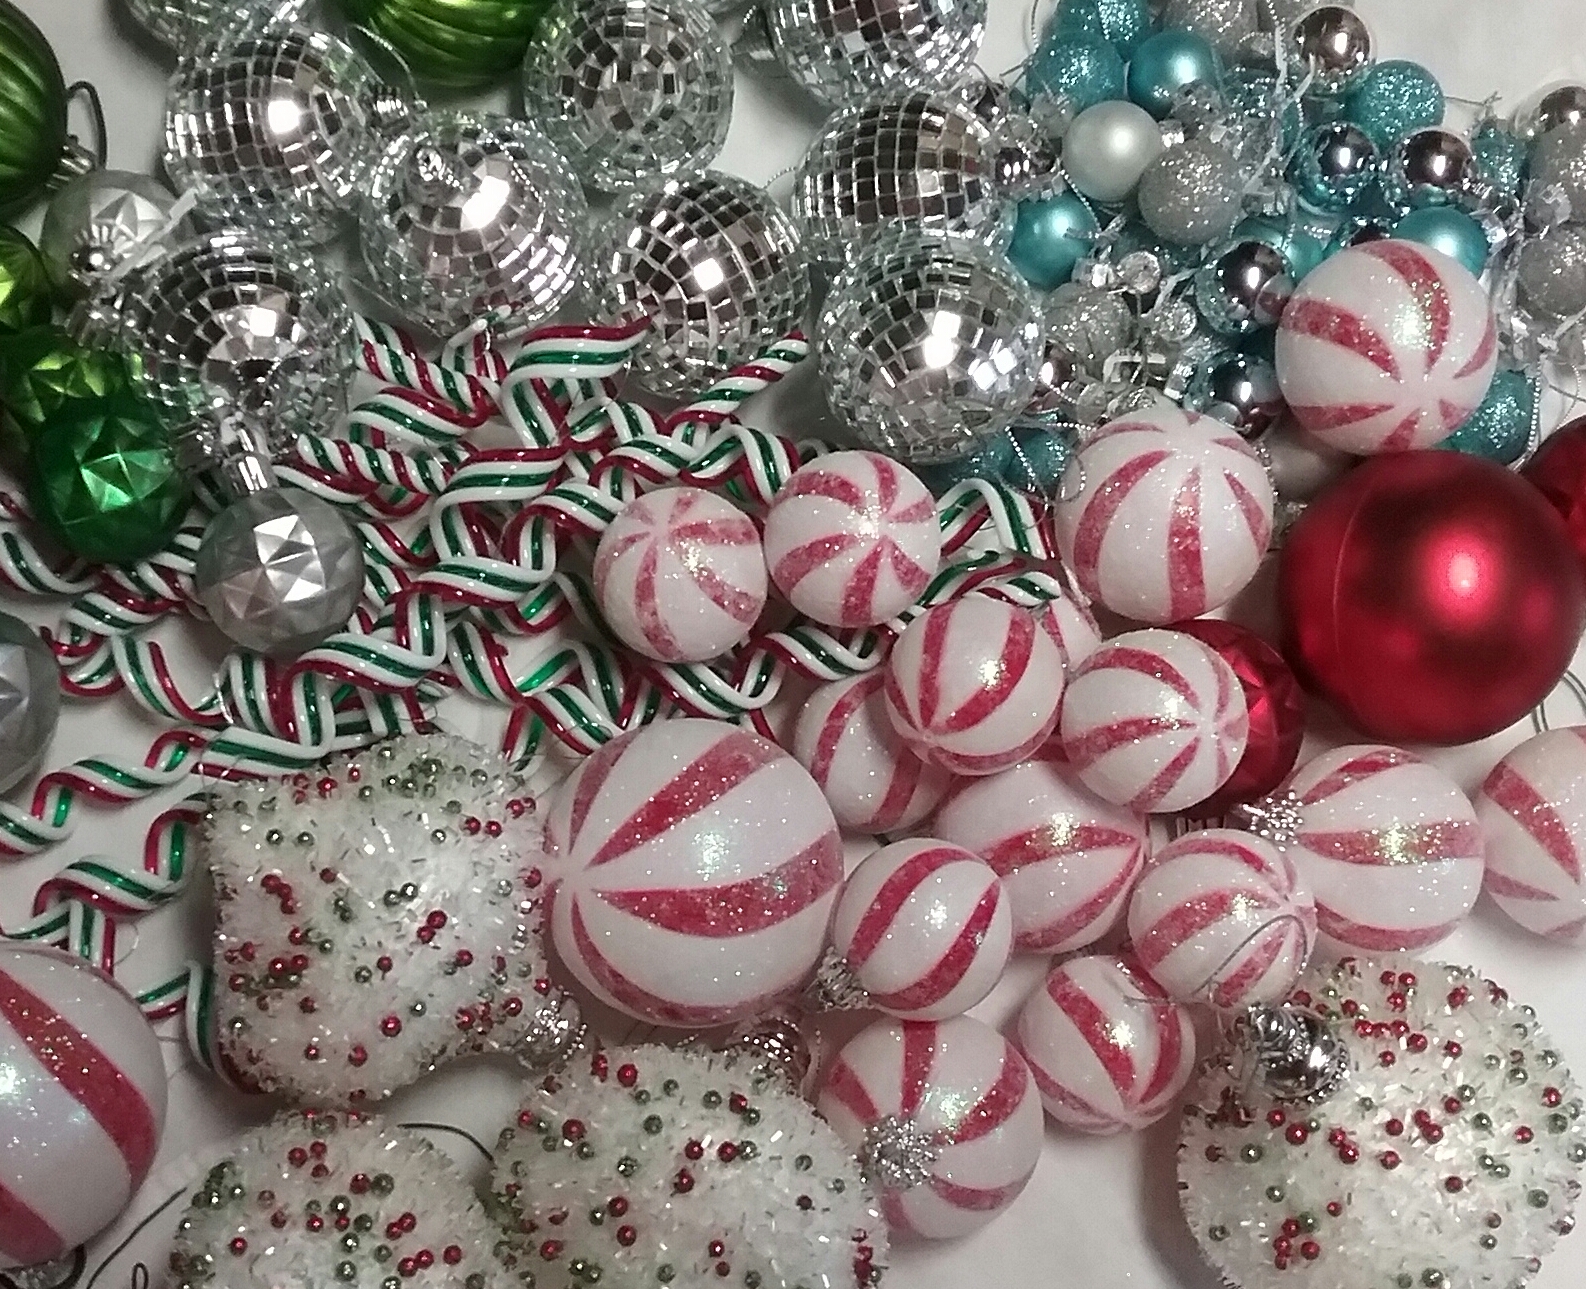
Not wanting to disassemble the necklace before having some sort of plan, I laid out a mess of beads and baubles, in the colors and sizes I thought I might use, and gave them a good look over.

DSC08893  DSC08909

I decided the best way, for me, to approach this project was to break it down into small steps, and watch my progress as I went along.

I removed the jump ring that connected the necklace ends together.

To add some length quickly, I linked together 9 beads that I liked.  There were enough beads to make six identical lengths, but I wasn’t really concerned about them matching exactly, I would have substituted some if needed.  I inserted one of these beaded lengths after every other solid orb in the necklace.

Most of my beads already had wires, which was a huge plus. If there wasn’t a wire, I robbed one from another bead or made one. Some reclaimed crystals were added between the other silver orbs, and two of the little floral ovals were moved to each end.

DSC08945  DSC08957

I loved the look of the grungy pearls, so I went back and added another one beside the small purple crystal beads.

Repeats of some of the beads I used were added to each end before going back and securing all the connections.

I thought I was done here, but as I was putting things away, I came across some awesome pale green pearls, and couldn’t resist tucking them in next to some of the red crystal beads.  Now, its finished, well … for this year anyway.  I have a sneaky feeling this piece will be a tempting one to keep adding to, don’t you agree?

DSC08963   DSC09403

garland with watermark    DSC09874

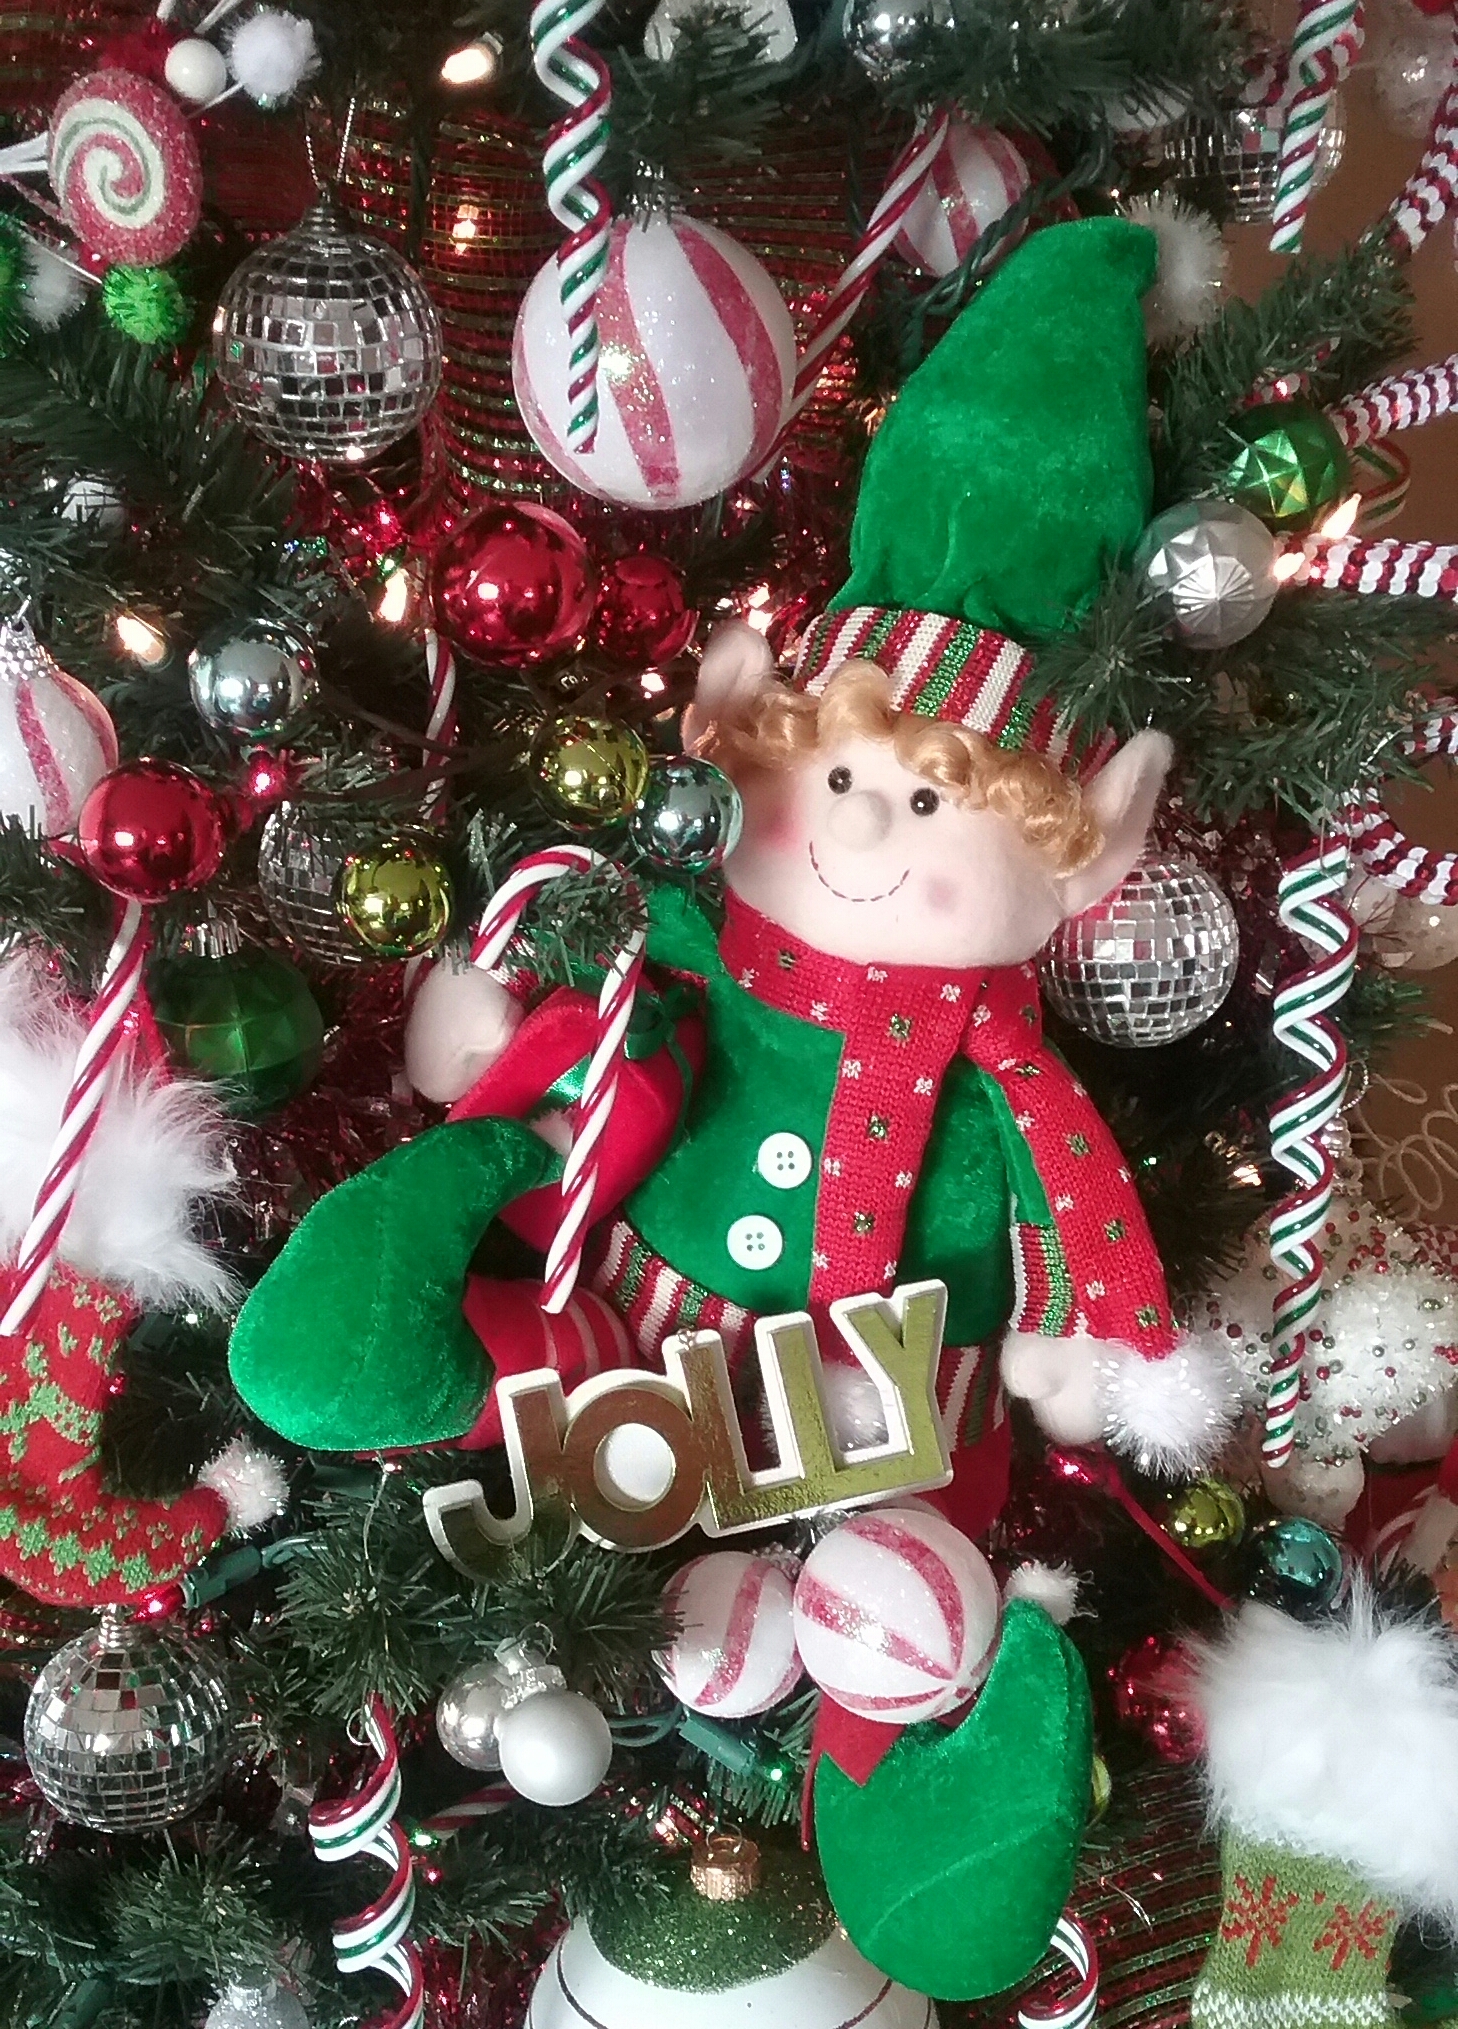
We’re not done yet, the real fun is just beginning!  There’s decorations to find, a tree skirt to make, and ornaments to get in the kiln.  I hope you’re able to join me as it all comes together this week-end for Part Two of My Vintage Style Christmas Tree….  Enjoy Your Week!