It isn’t hard to find large decorative clocks nowadays, they’re everywhere, but, 15 years ago the pickings were mighty thin.
I was wanting something of good size for a long open stairway wall in our kitchen/dining area, and I thought a huge clock would be perfect. After several unsuccessful months of shopping, I sit staring at the wall, pondering my dilemma, when one of my then teen daughters jokingly asked why I didn’t paint a mural, and be done with it. Yeah, like I could paint a mural?! The idea was enough to kick my mind into gear though, why couldn’t I try to paint my own clock? I had no idea that thought would start a whole new venture.
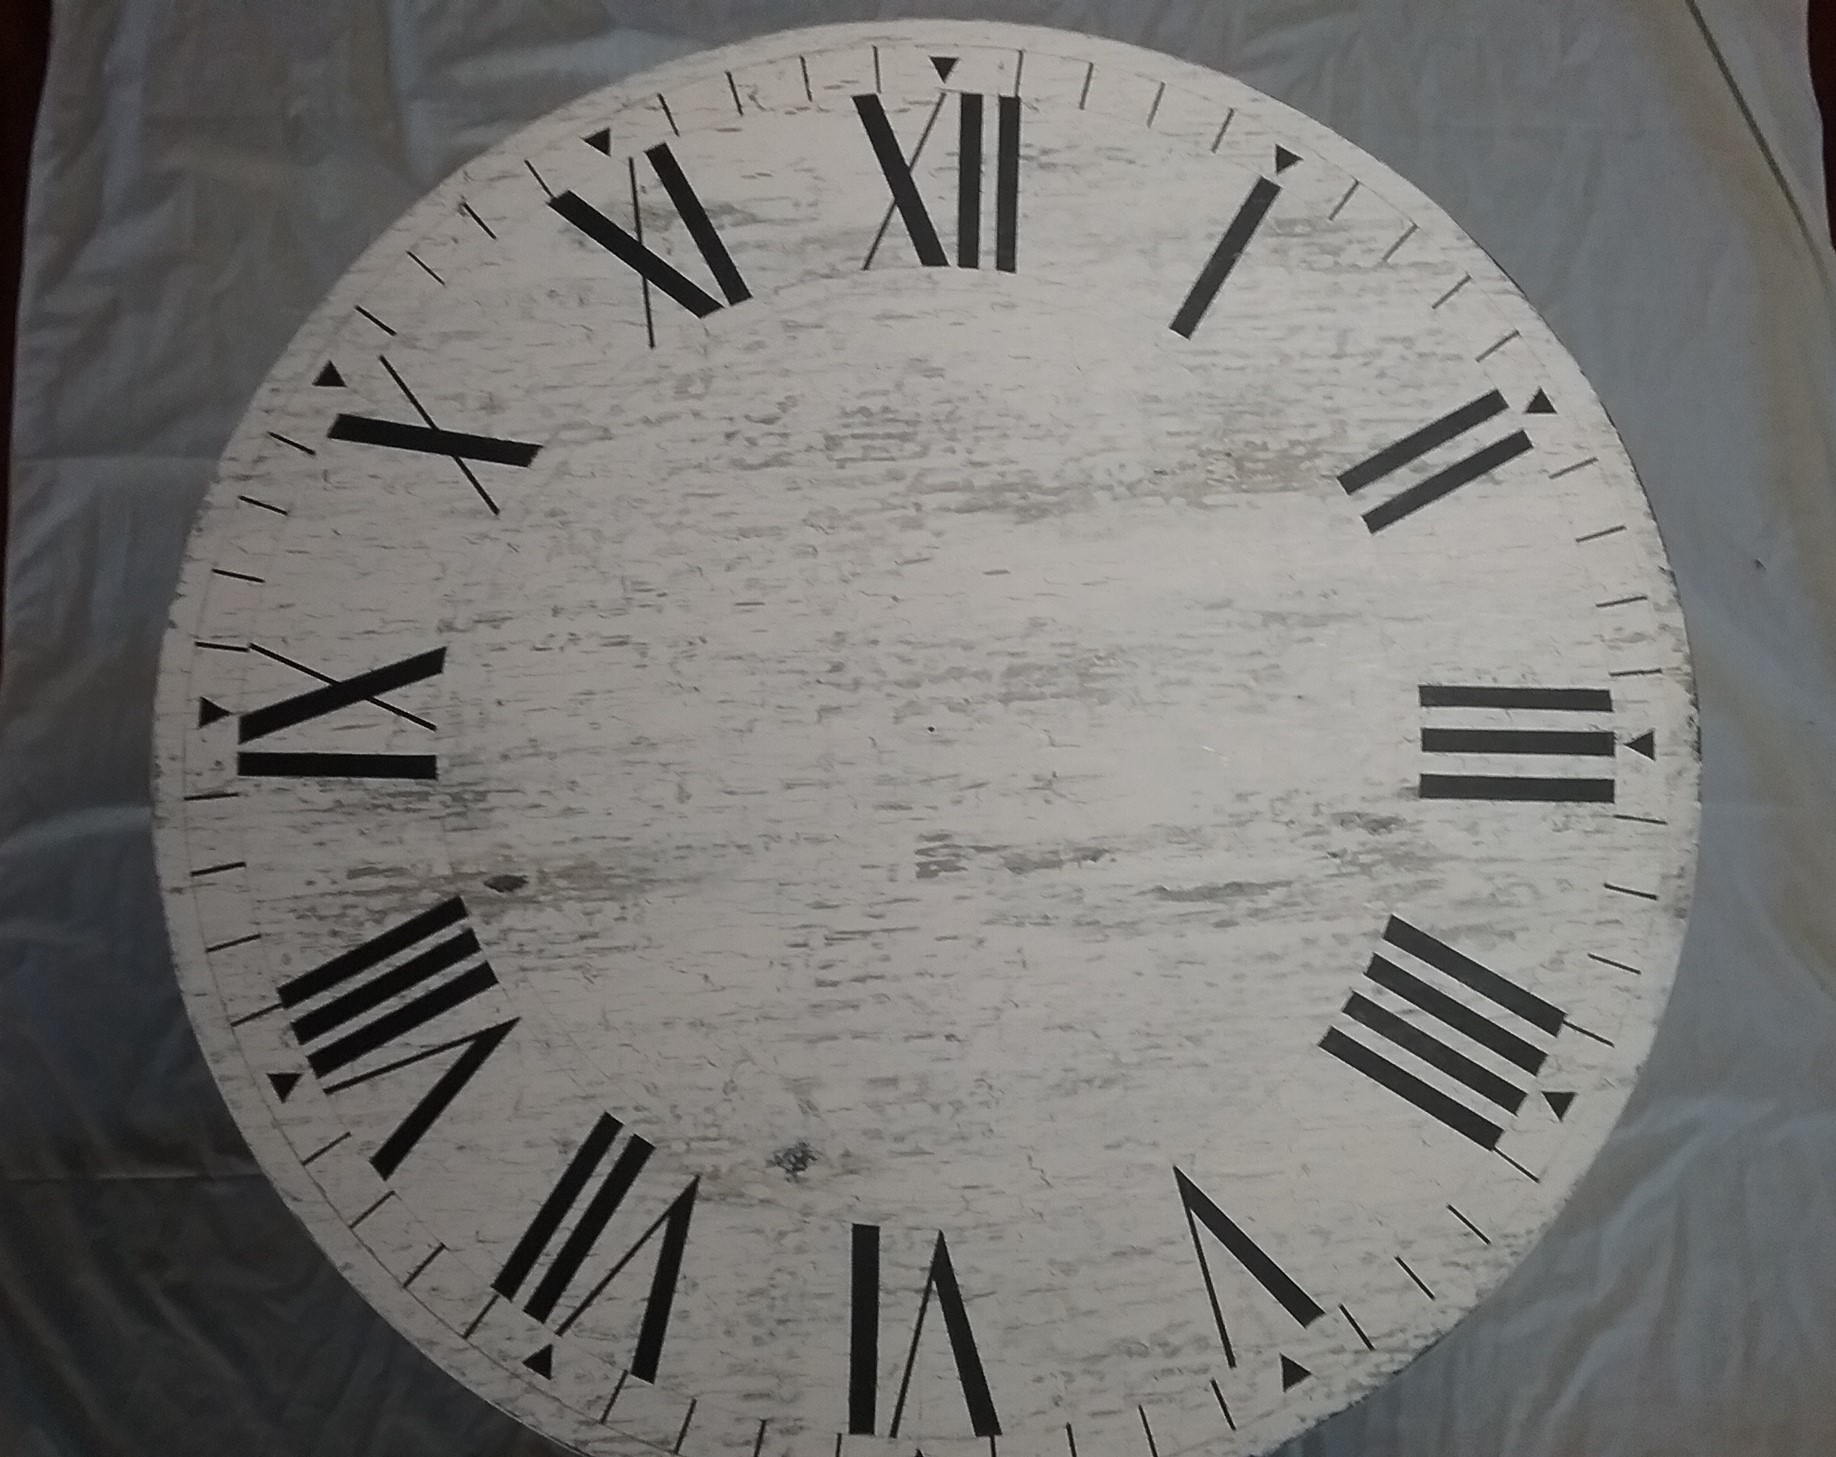
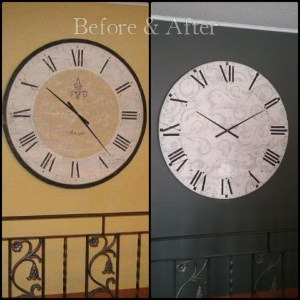
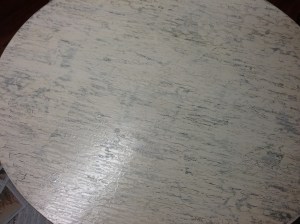
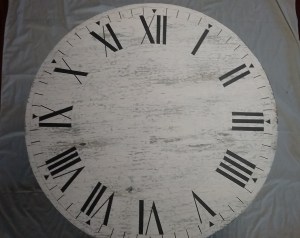
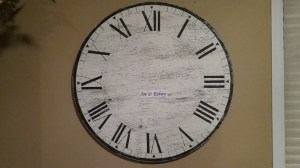
A number of clocks have been painted since then, ranging from 30″ to 4 foot in diameter, and even mine was given a much needed update. Please keep in mind, I’m not claiming to be a clock painting master with this post, just a craftsperson sharing what I’ve learned, and some tips and tricks that have worked well for me. Heck, I wasn’t even aware there were templates available until after I had my first one painted, which you can probably see by the numeral placement in my before & after picture.
I’d like to caution in advance that this is not a small project. It’s not hard, but time consuming. Unless you really have nothing else to do, I would allow at least two weeks to complete a clock. An overhead projector, and a place to hang the clock for the final steps will be needed. Handpainted, it is a bit of an undertaking, but I’ve always been happy with the results, and especially like that each one is unique. Although the drying process can be helped along with a fan, there is alot of steps, and drying time between the painted layers is crucial. Humidity is not your friend either. I work in the AC during the summer, only going outside to quickly do the sanding steps. That being said, let’s build a clock.
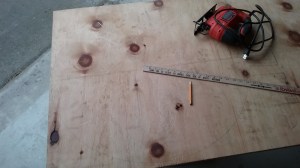
A 1/2″ BC grade plywood will be used for the circle. One side is nicer than the other, and will be the front of the clock.
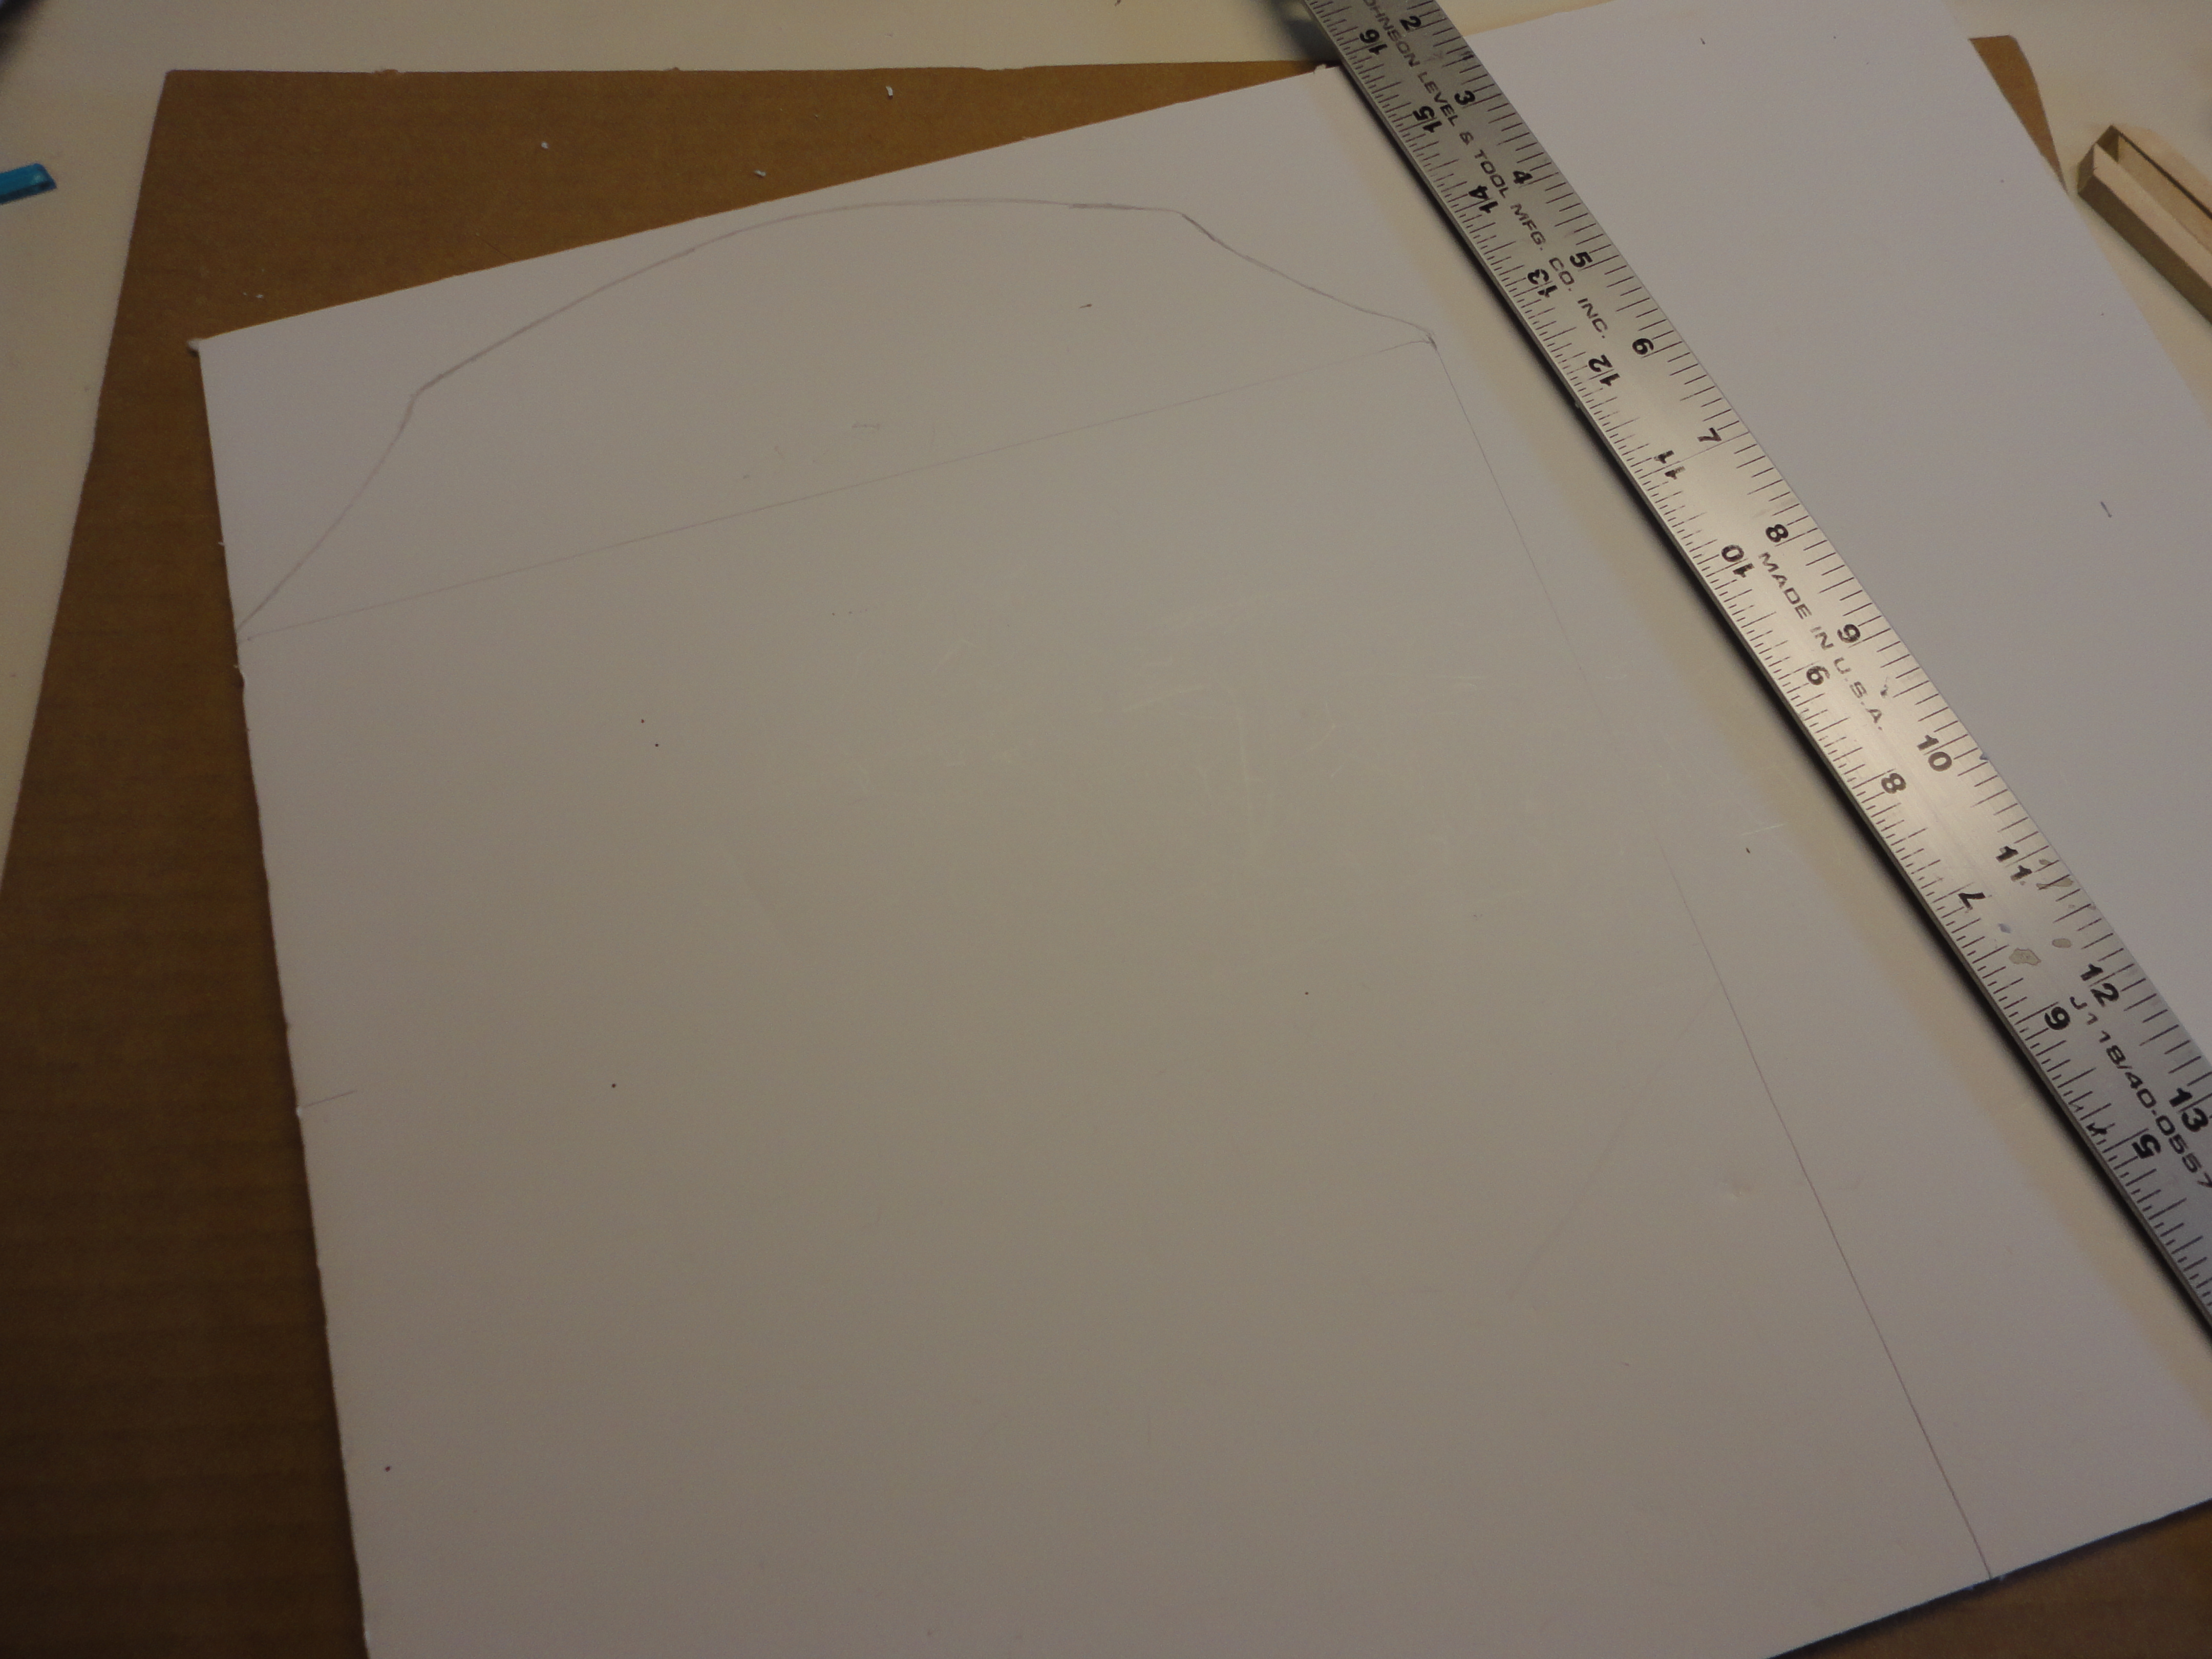
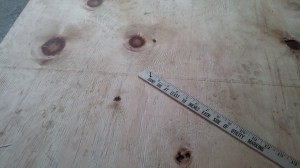
After being asked to paint a 30″ personalized clock last fall, I had my plywood cut and sanded before I thought of blogging it, so I used a piece of scrap plywood in the pictures below to show how it was drawn.
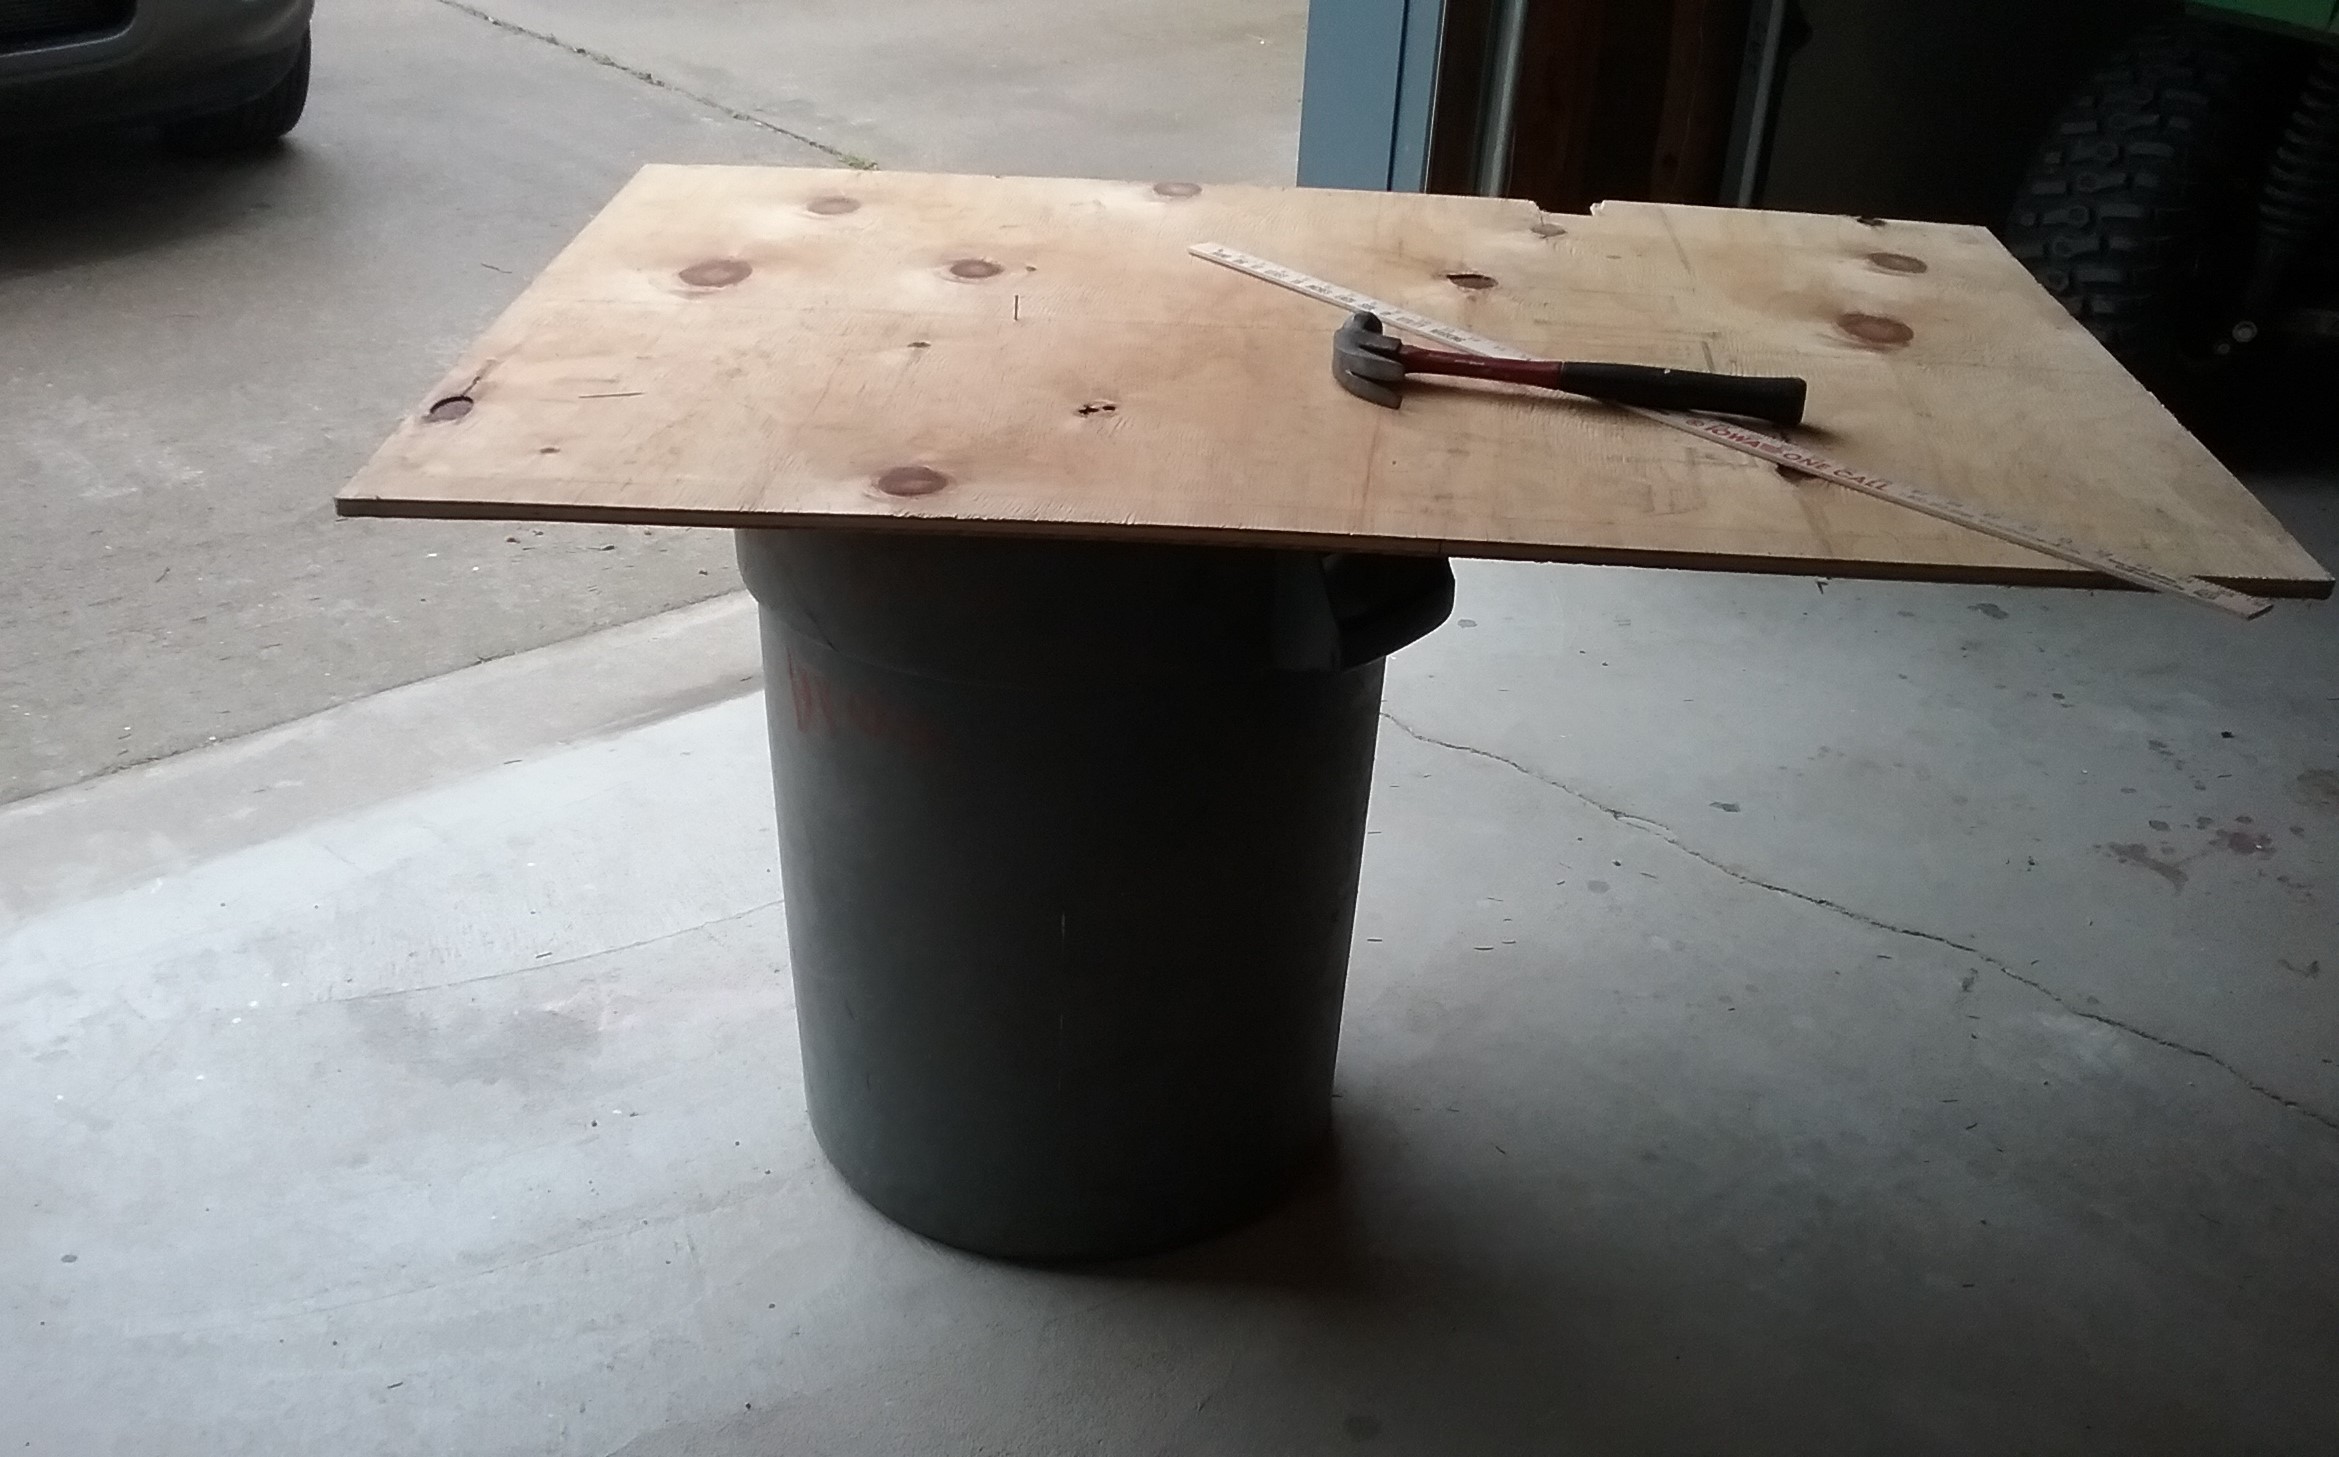
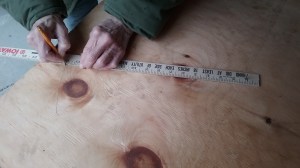
Lay the plywood face up on a work surface you can easily walk around. Determine the best place to draw the circle. Knot holes are not usually a problem, they can lend a lot of character, but you don’t want to cut through one on the rim of the clock. Hammer a 1 1/2″ finishing nail where the center of the clock will be.
Drill a small hole on the 1″ mark of a thin wooden yard stick, just large enough to fit over the head of the nail, no bigger. With the yardstick on the nail, hold a pencil firmly on the edge of the yardstick at the 16″ mark. Walk slowly backward around the work surface, marking the plywood, until you complete the circle.
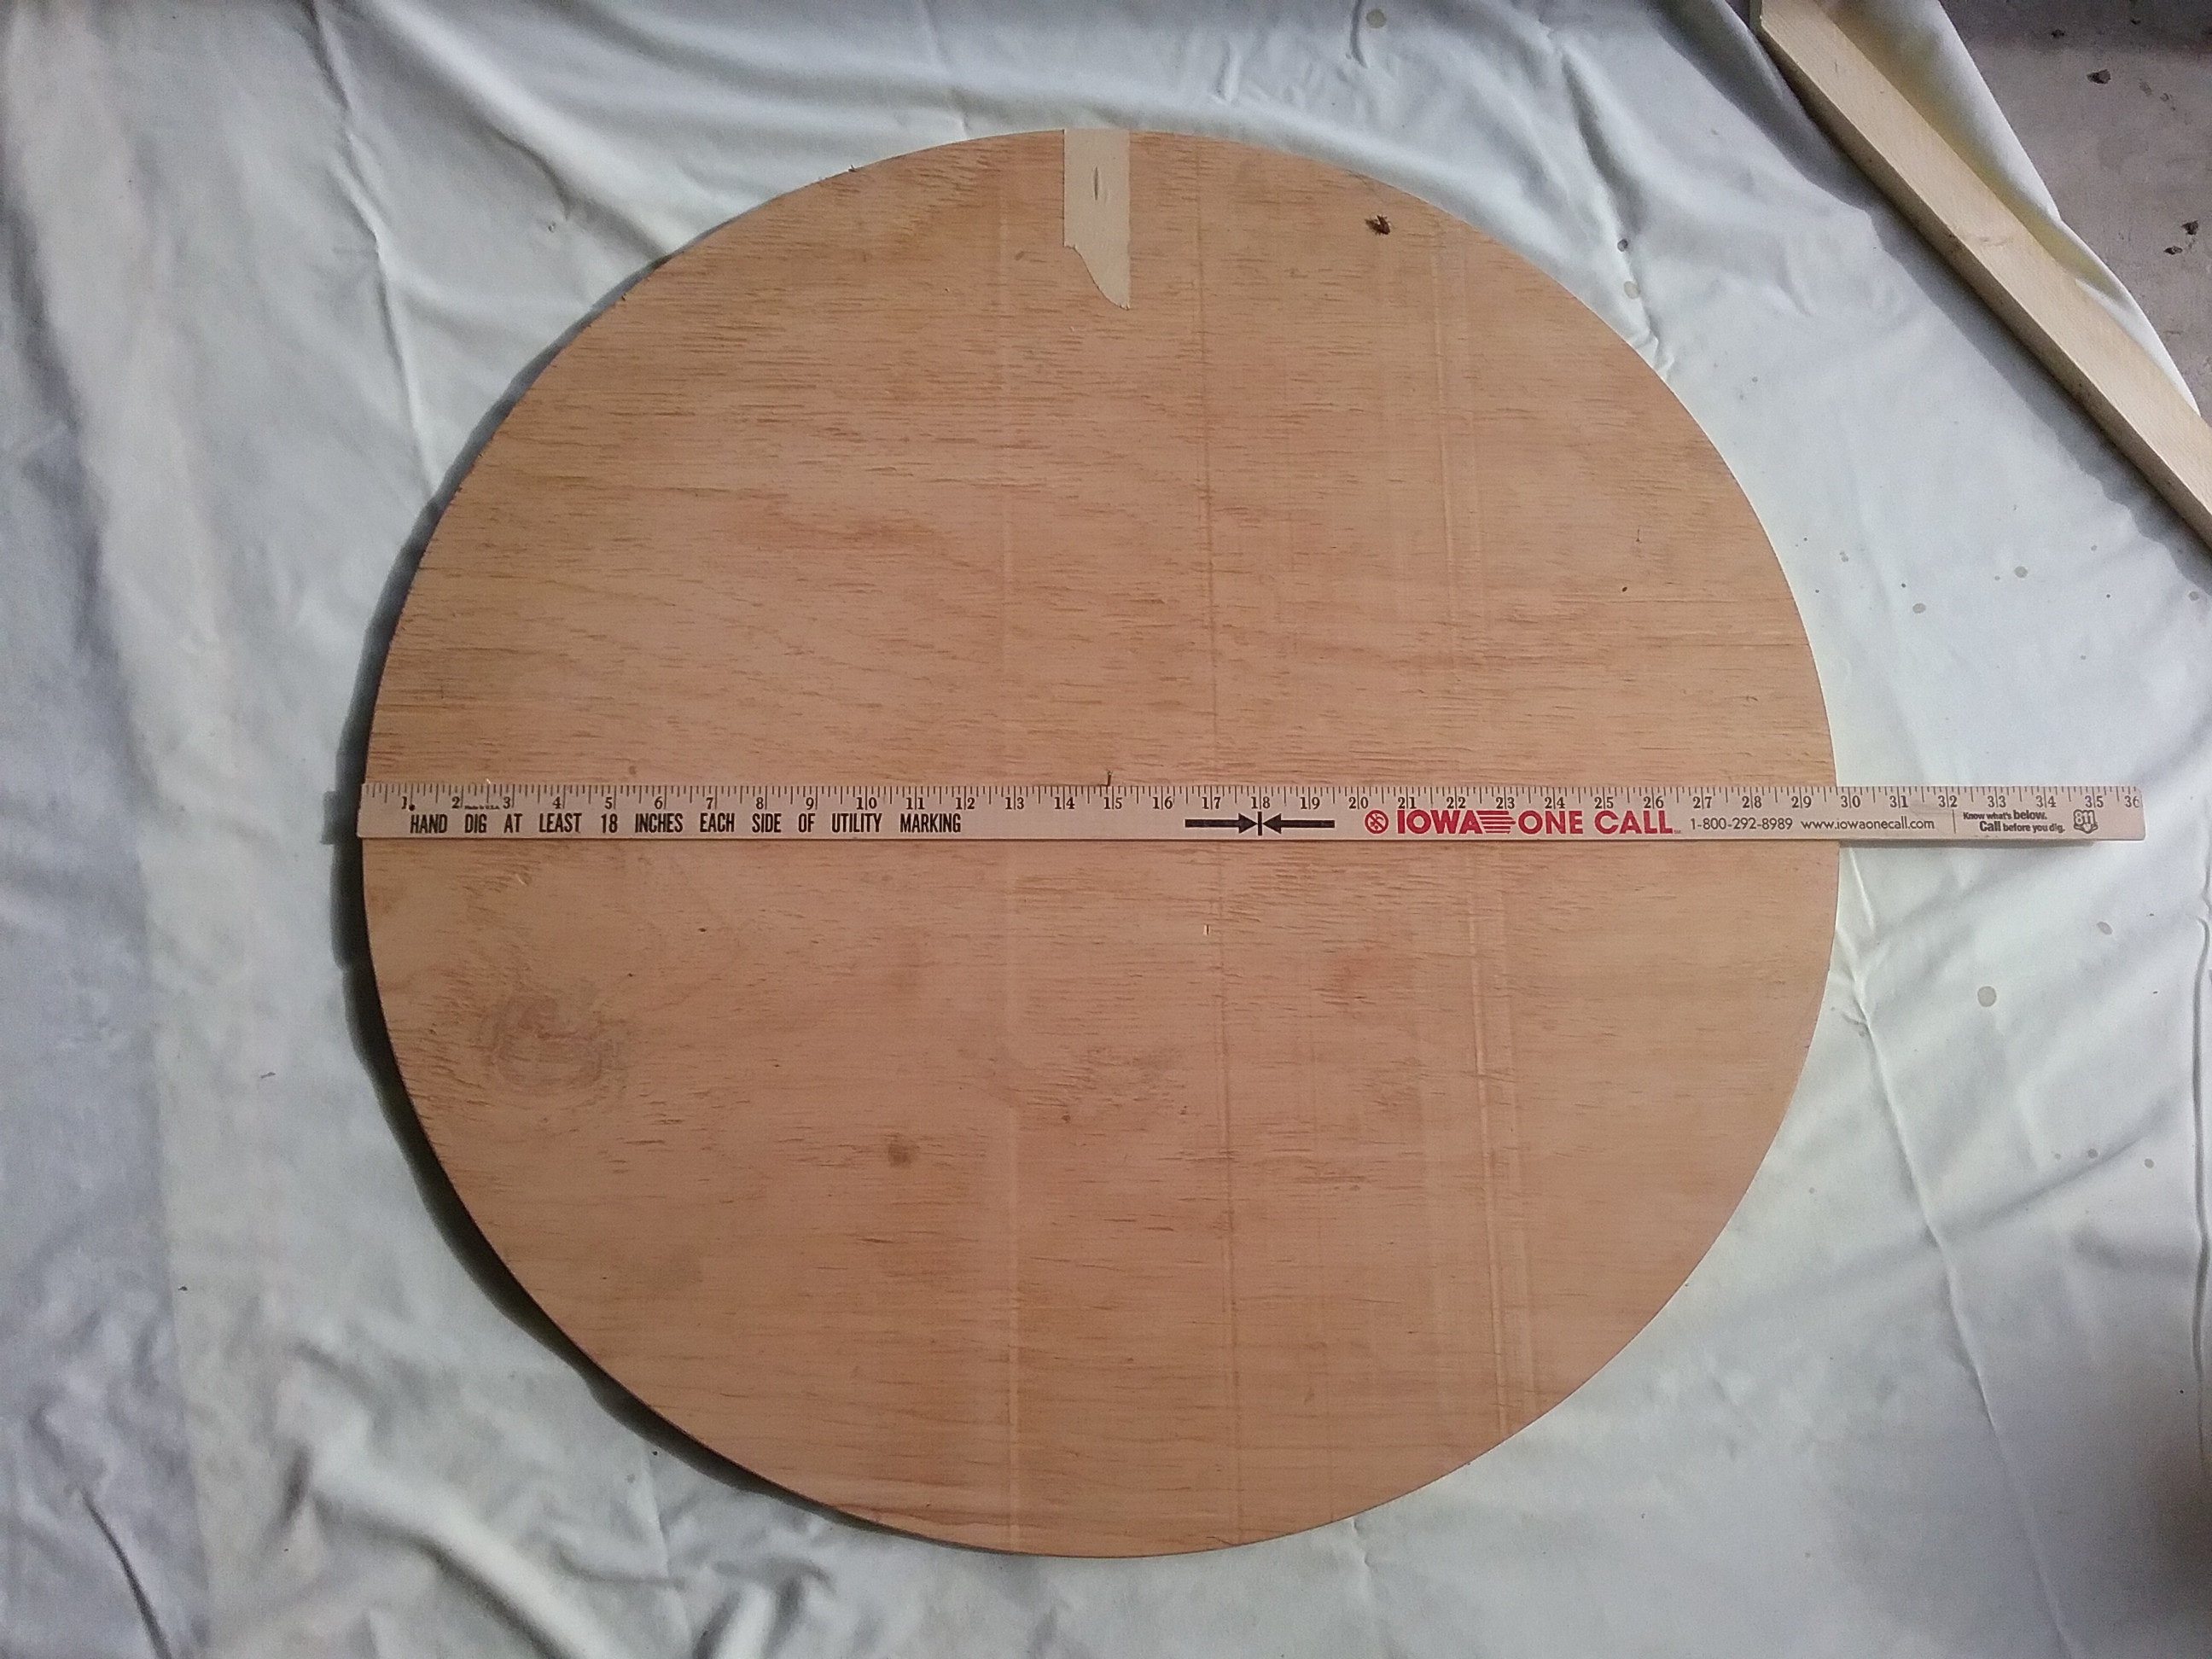
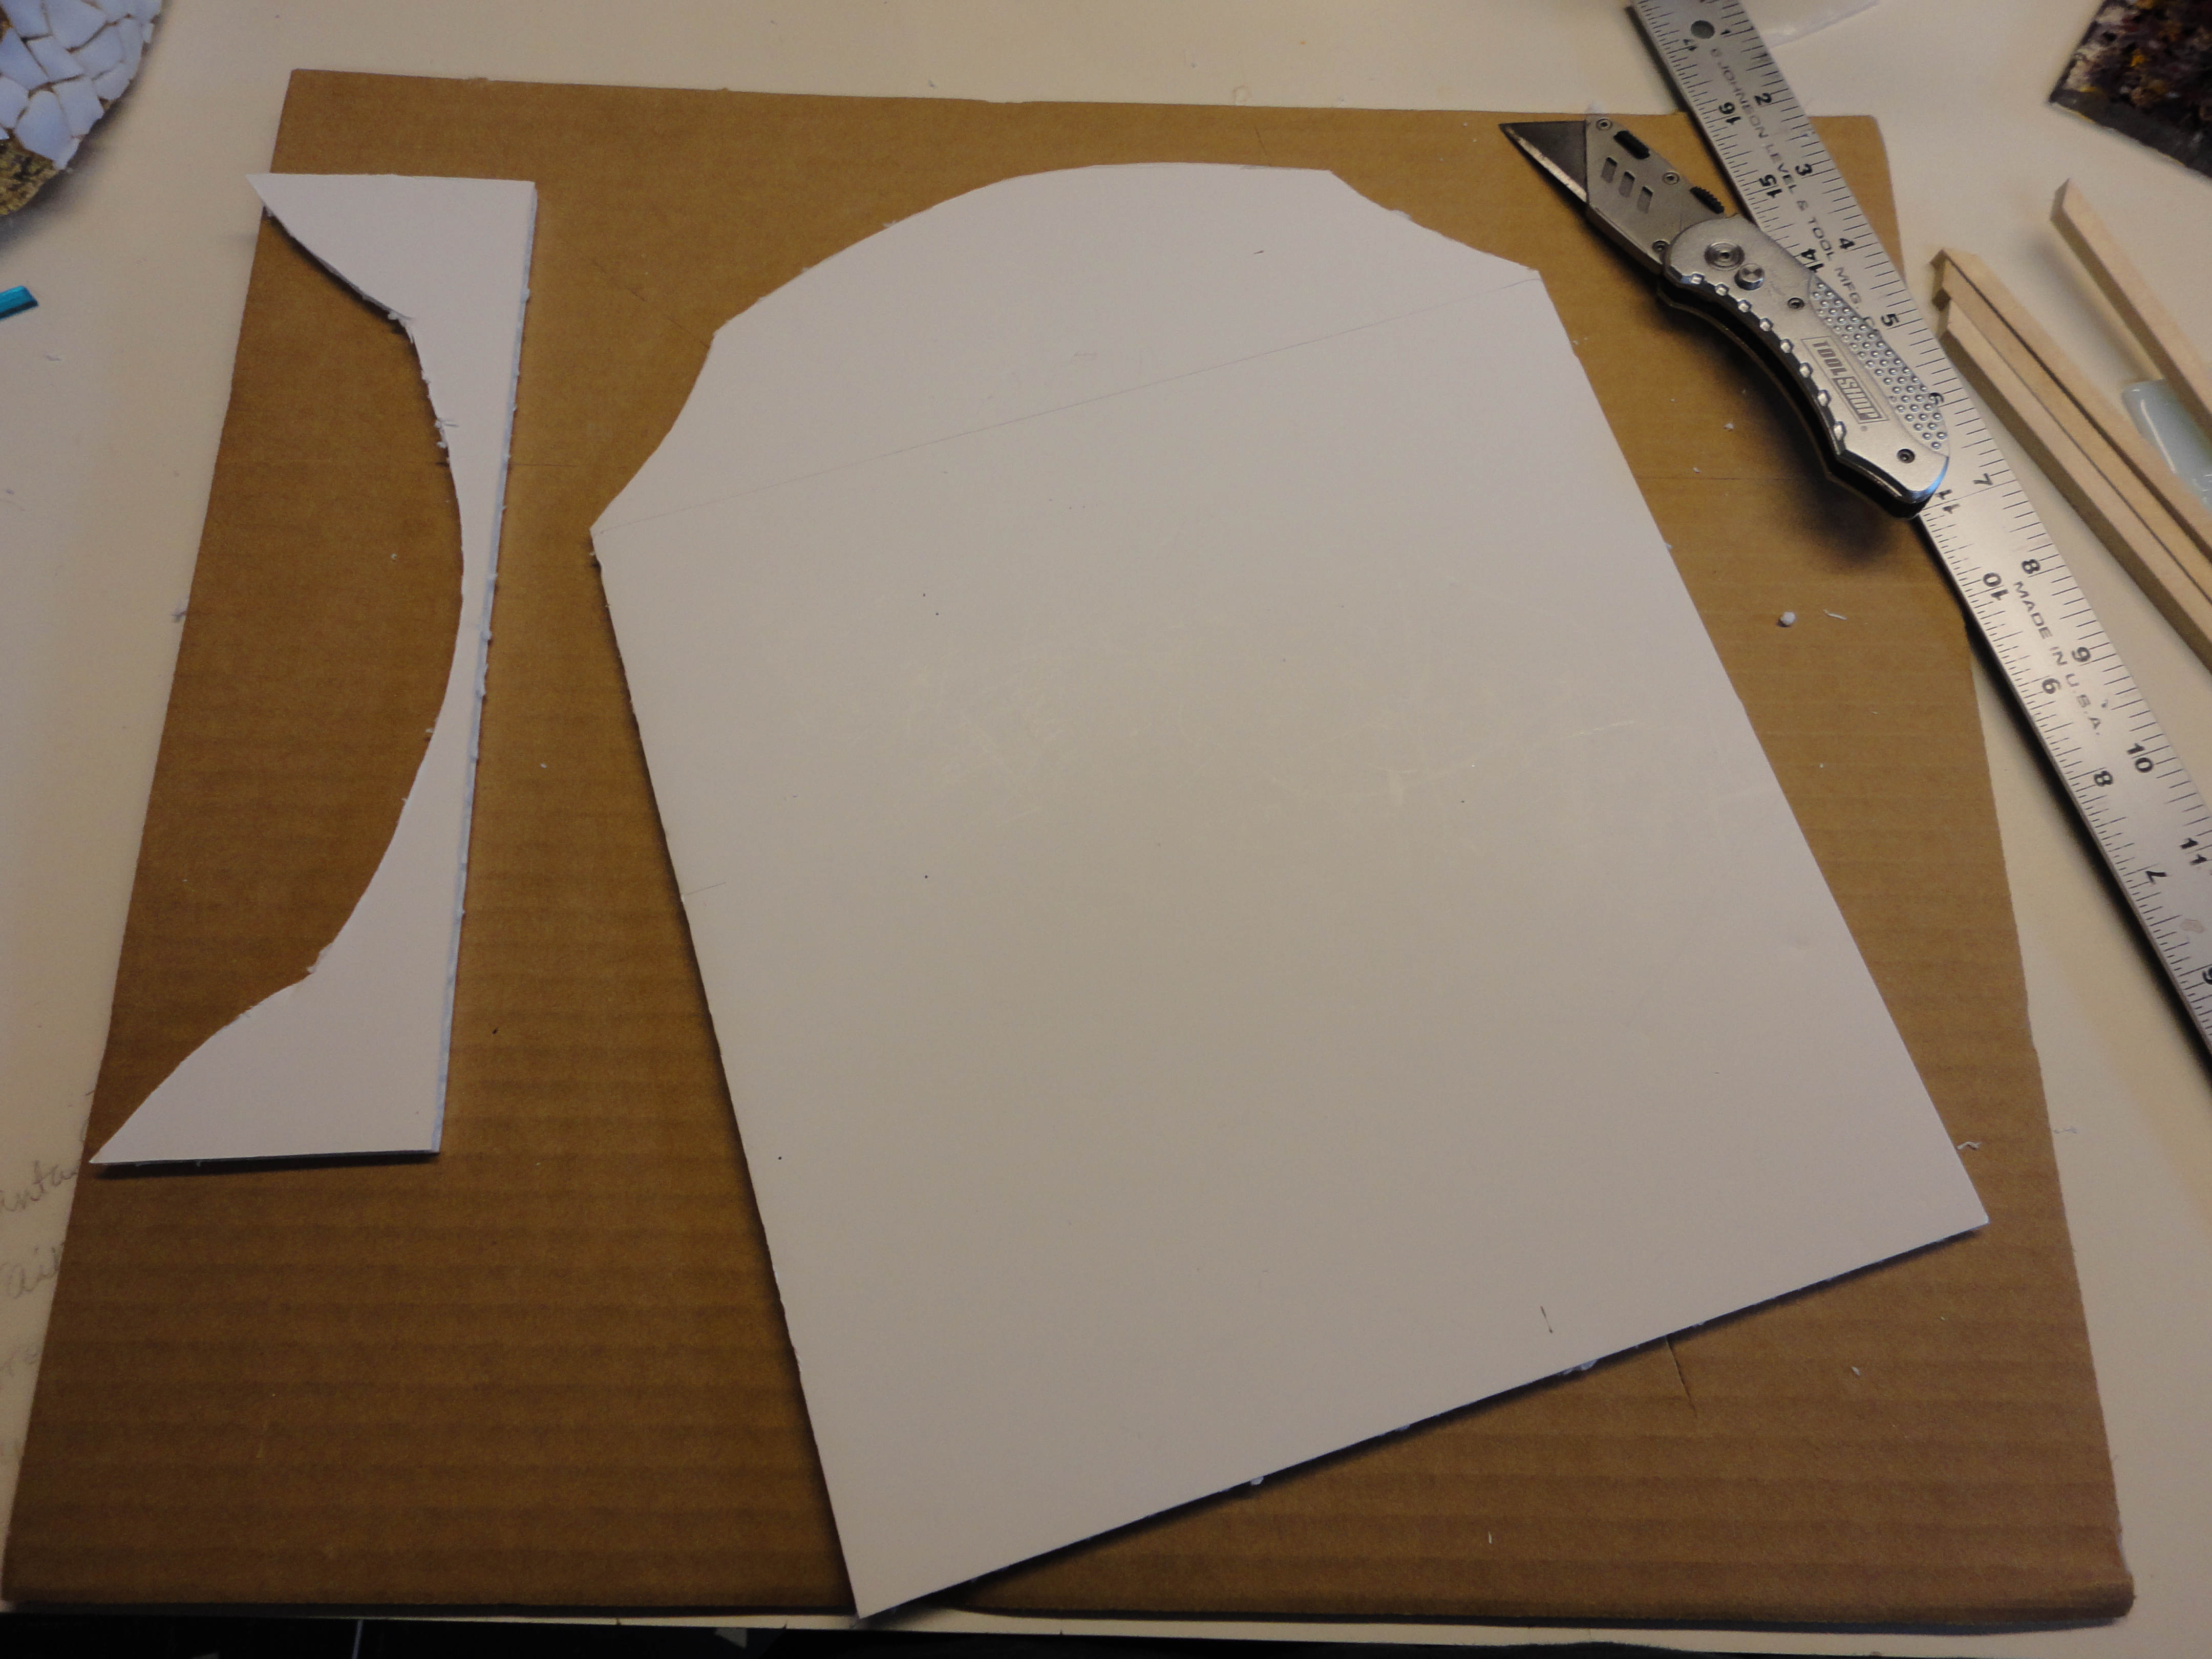
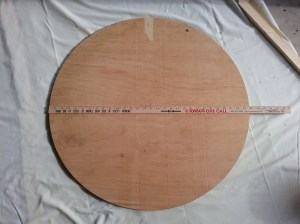
Remove the nail, but keep it, and the yardstick handy, they’ll be used again. Cut on the outside edge of the drawn line. Use a hand sander and medium grit sandpaper to sand the clock and edges smooth, using the drawn line as a guide. Do not round the edges.
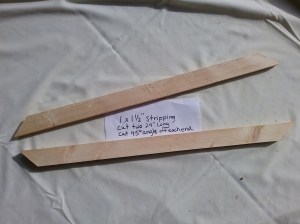
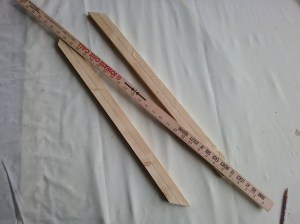
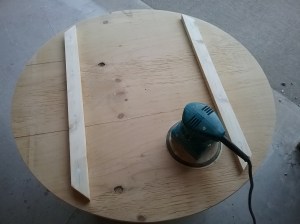
Cut two lenghts of pine stripping.
Lay the circle face up, making sure the wood grain is running level horizontally. Using the yardstick and the nail hole as a reference point, mark the top center of the clock with a line on a piece of tape. Extend the tape over the edge of the clock so you can mark the back too, in the same place.
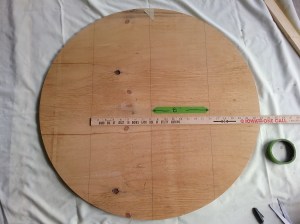
Stand the circle up as straight as possible against a wall, with the back side facing you. Use the yardstick and a level to draw a centered line down from the mark on the tape and over the nail hole. Lay the clock down. Go out 8″ on each side of this centered line and draw two more lines.
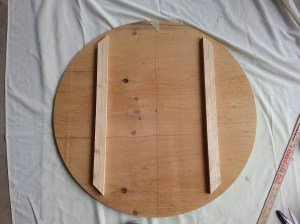
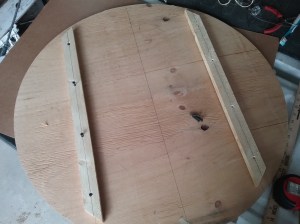
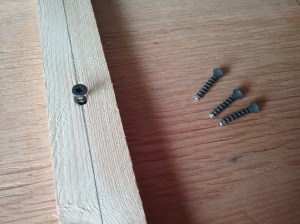
Draw centered lines down the length of each pine stripping piece. Match and center them up with the outside lines on the back of the circle, minding that the angles are facing toward the outside edges. Drill, and countersink, four evenly spaced pilot holes on each stripping piece. Cut, or grind, the tips from 1 1/4″ wood screws so they do not protrude through the front of the clock, and screw the stripping into place. Fill holes with lightweight spackling, let dry, and sand smooth. Except for two 1/2″ D-ring hangers, which we’ll get to later, the building is done.
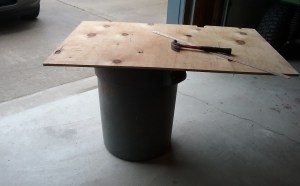
An old sewing machine cabinet, 30″ high, is my “go to” work table for this project. It’s a comfortable height and easily walked around for drawing and painting.
I find it helpful from this point on, to always lay the clock down in the same position, with the top away from me, and, except for the paper layer, always paint and sand layers horizontally across the front following the wood grain.
Other painting supplies needed are …..
water based black primer
black paint – eggshell or satin finish
small bottle of black craft paint
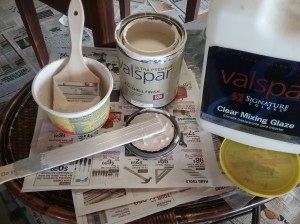
clear mixing glaze
3 colors of wall paint -eggshell or satin finish. The colors requested for this project were Linen, Colonial Beige, and Stowe White.
inexpensive 3″ or 4″ chip brushes – maybe about 6, so they’re handy when needed. The wider brushes work well for the crackle layers because you would have less brush strokes.
thin liner detail brush for painting the circle lines
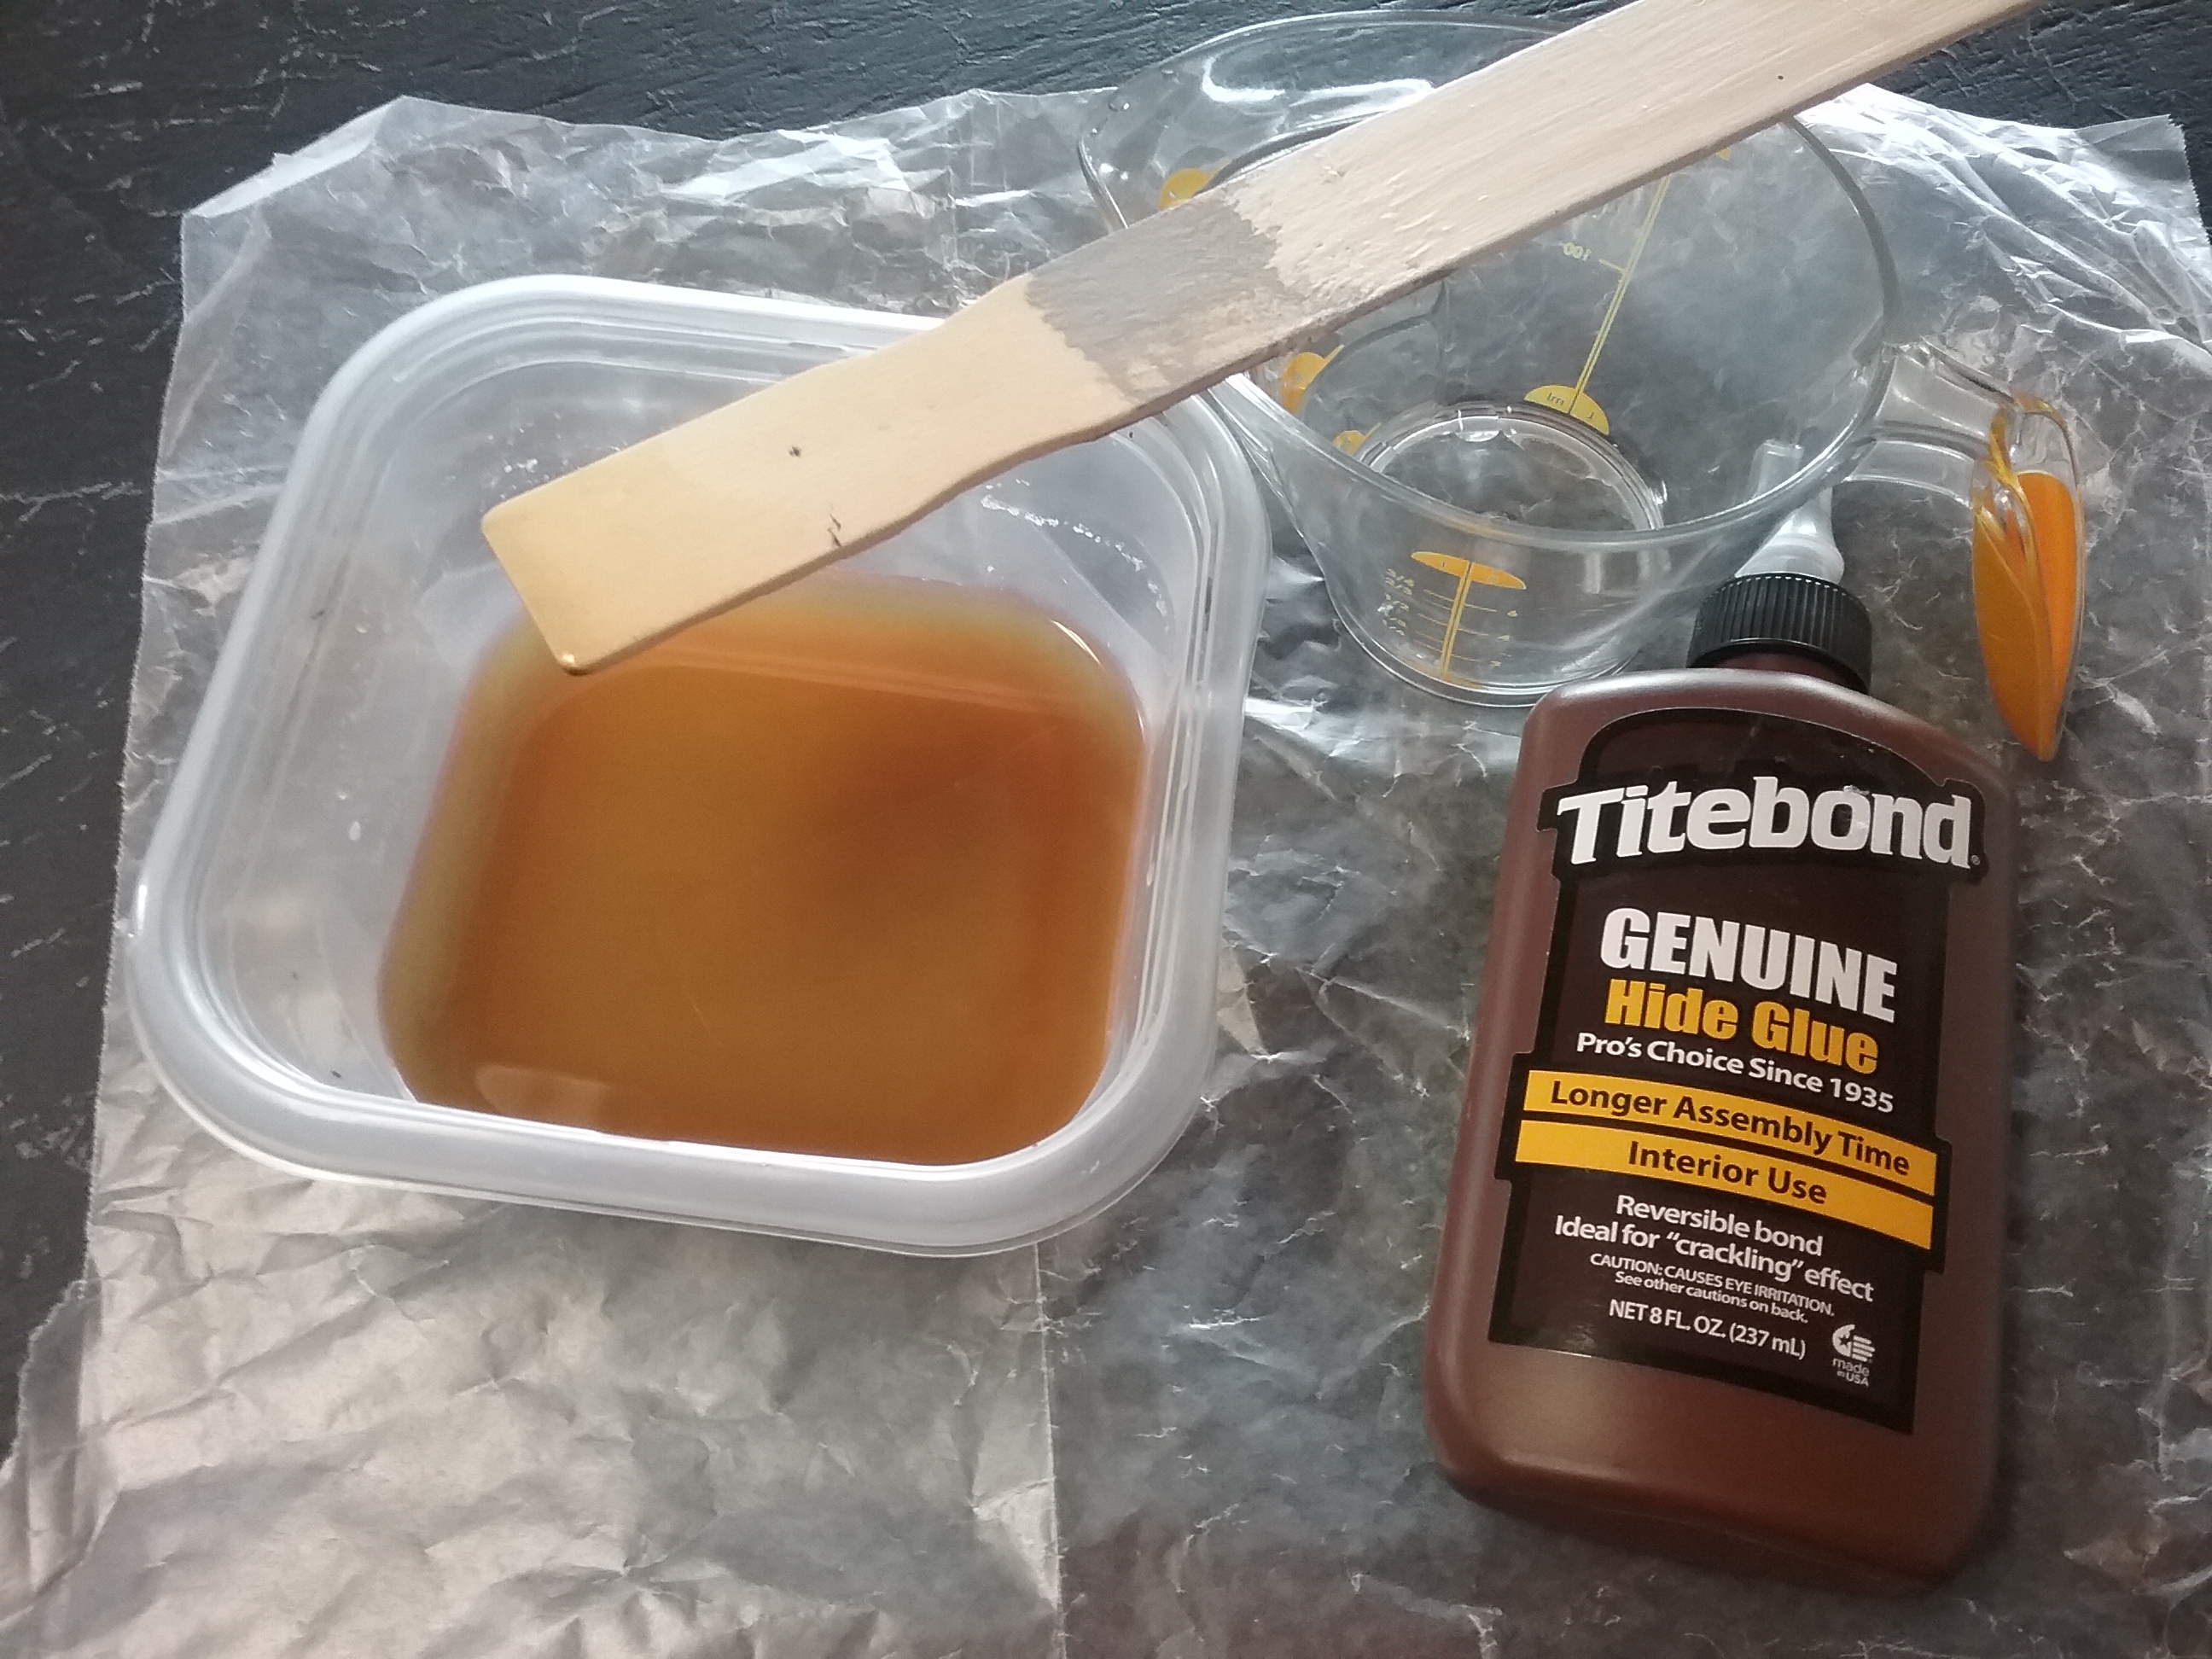
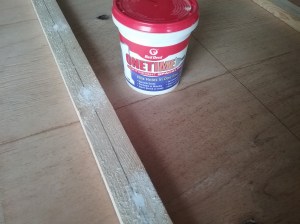
Titebond Hide Glue – I get mine at a True Value Hardware Store. $9 for an 8 oz. bottle.
very thin paper, or tissue paper – I bought my roll at a beauty supply store. Do not use printed paper
painter’s tape
a couple paint sticks and lidded bowls for mixing
overhead projector – you might check your local library if you don’t have excess to one, or check a rental place.
printable clock template – the place I found mine is no longer available, but there’s a bunch on line. A blank clock face template could be customized with more lines then scanned onto a transparency
gum eraser and #2 pencil
electric hand sander with fine and very fine grit sanding discs
clock supplies at http://www.klockit.com – high torque clock movement #10115 – $9.00, and 12″ clock hands #66796 – $8.00
Time to paint, we’ll start with the black base. Remove any tape from the clock. Paint the entire clock with black primer. Let dry. Cover the primer with a coat of black paint. Let dry. Replace a little piece of tape on the back to mark the top of the clock again, so you always know where it is.
While the black paint is open, make a black glaze for the next step by mixing 1 cup of black paint with 2 cups of clear glaze. Stir well. Store in an airtight container.
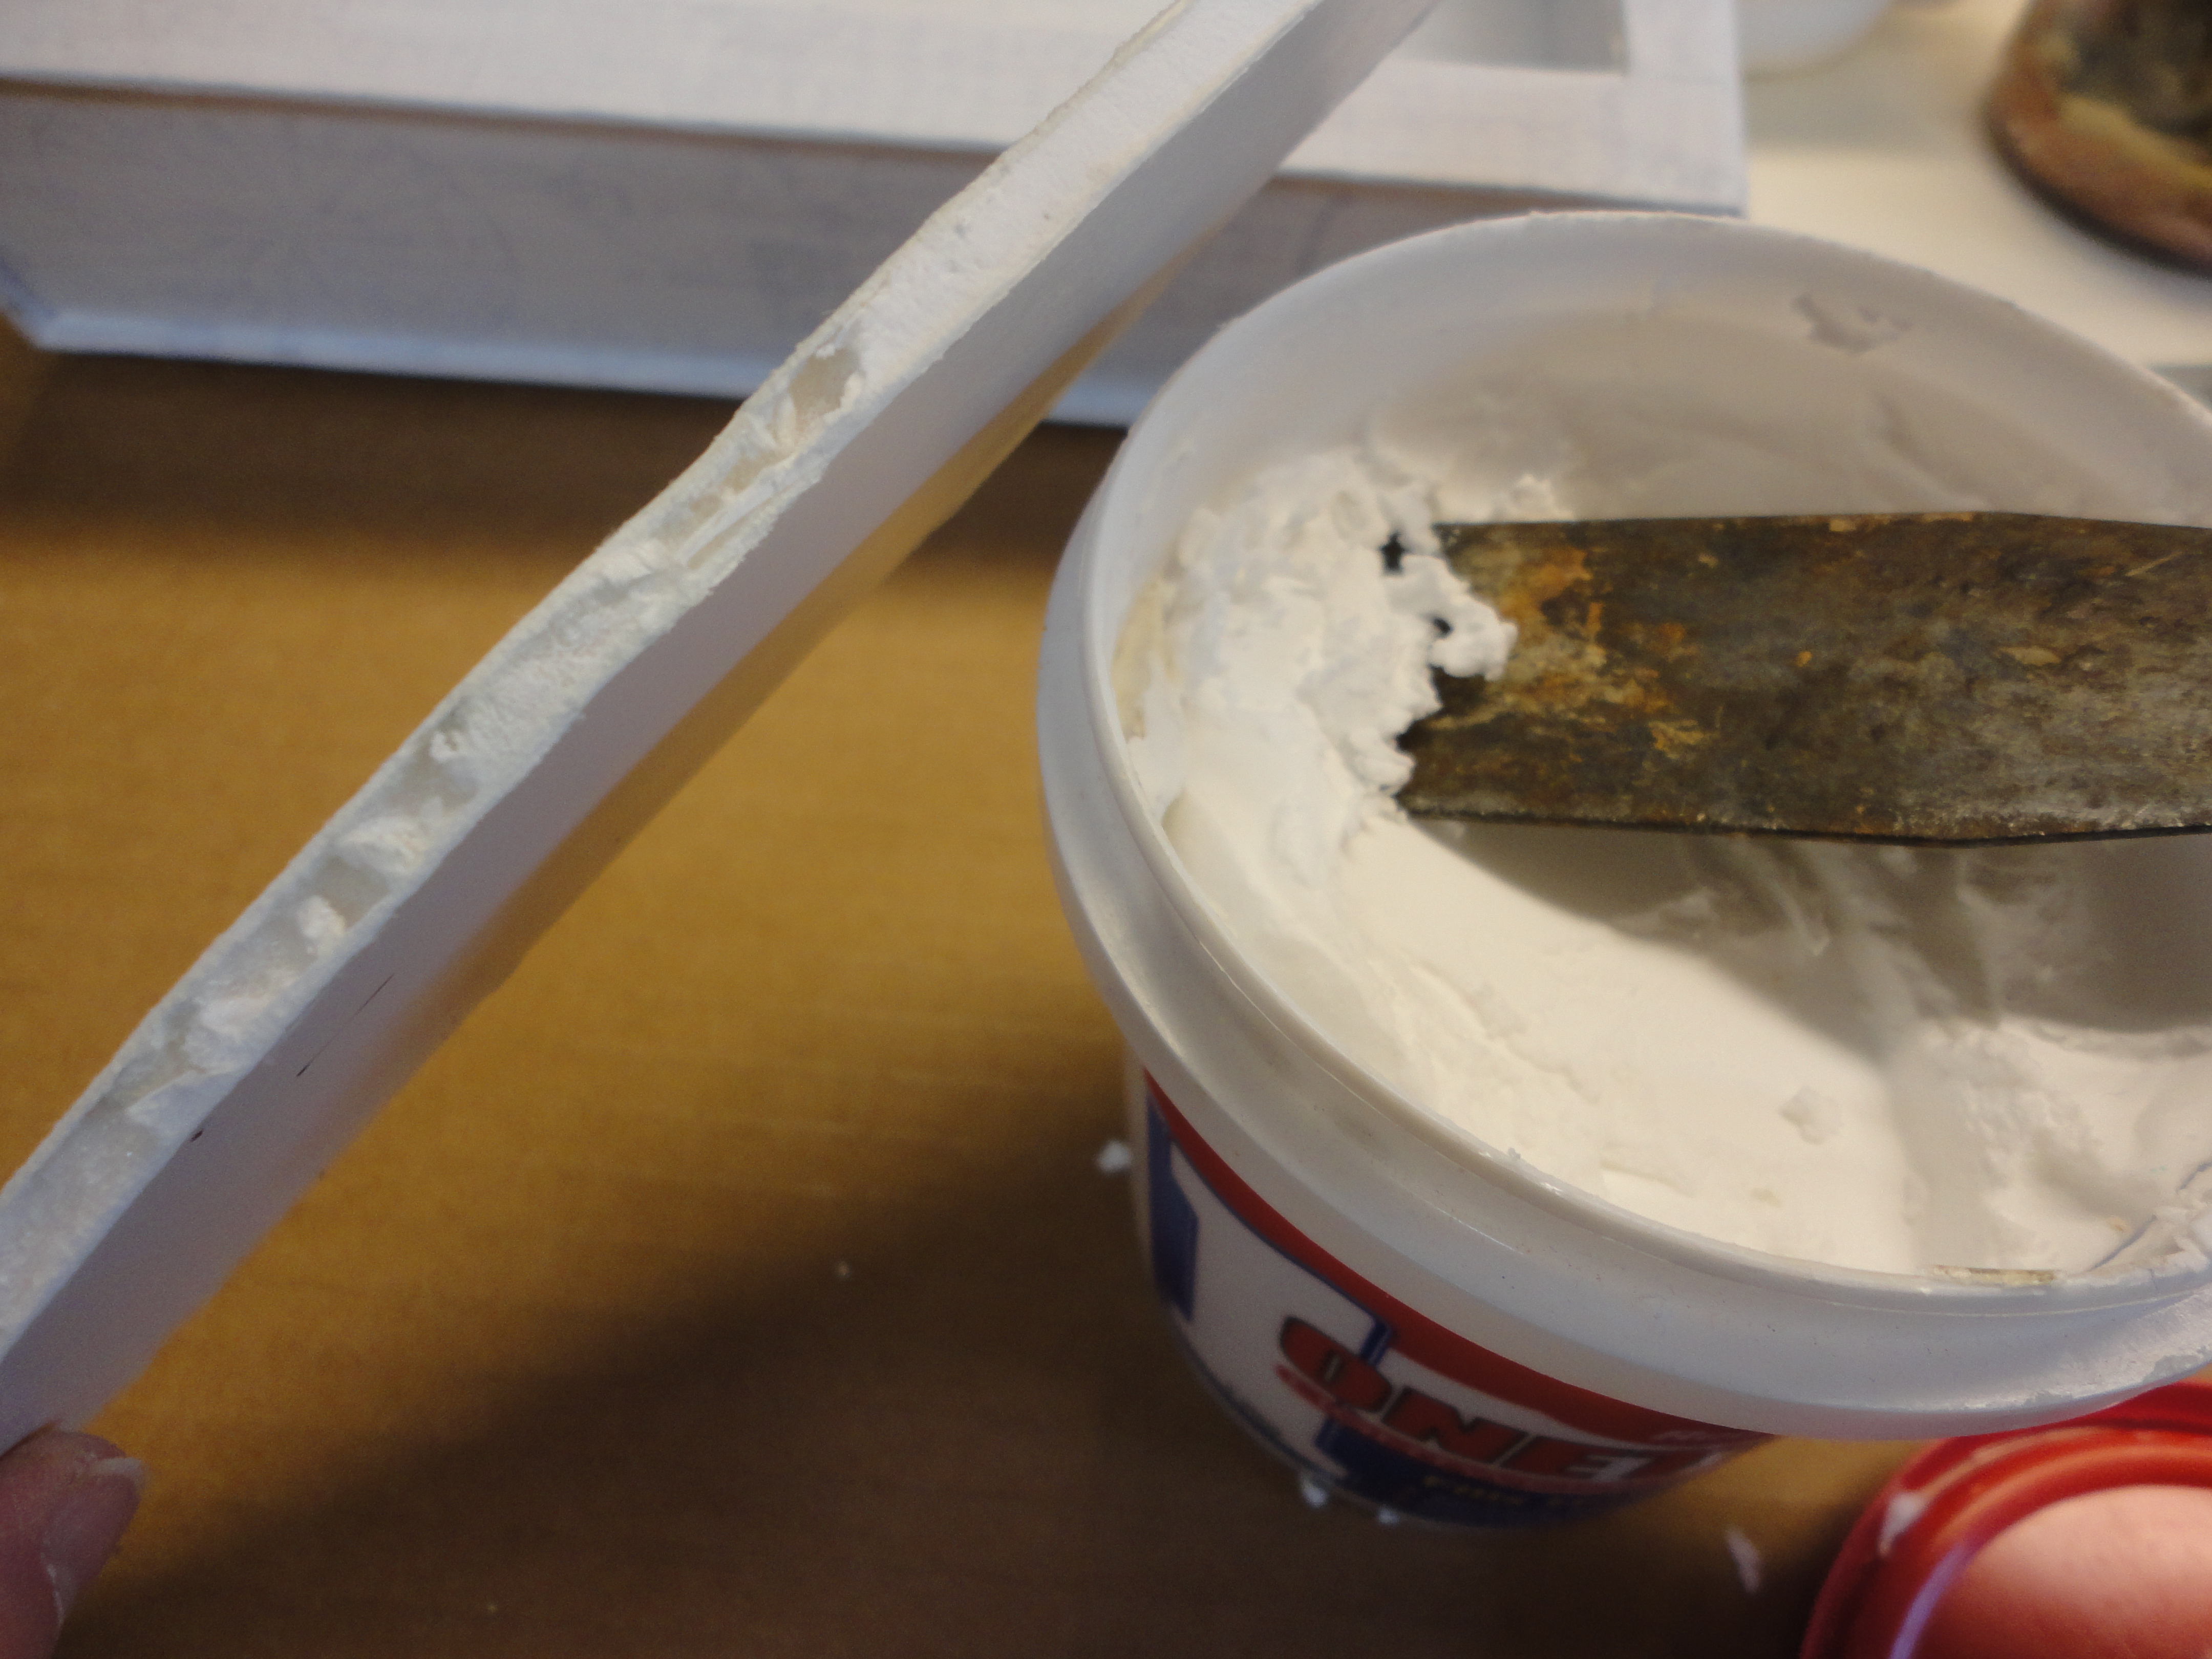
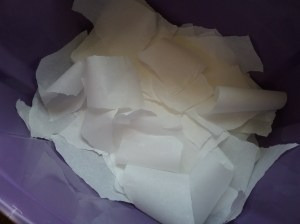
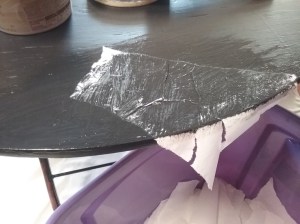
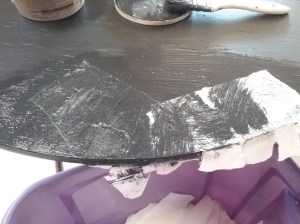
Tear up random pieces of the very thin paper, enough to cover the front and sides of the clock. Tear off any finished side edges of the paper too, they will be noticeable if you don’t.
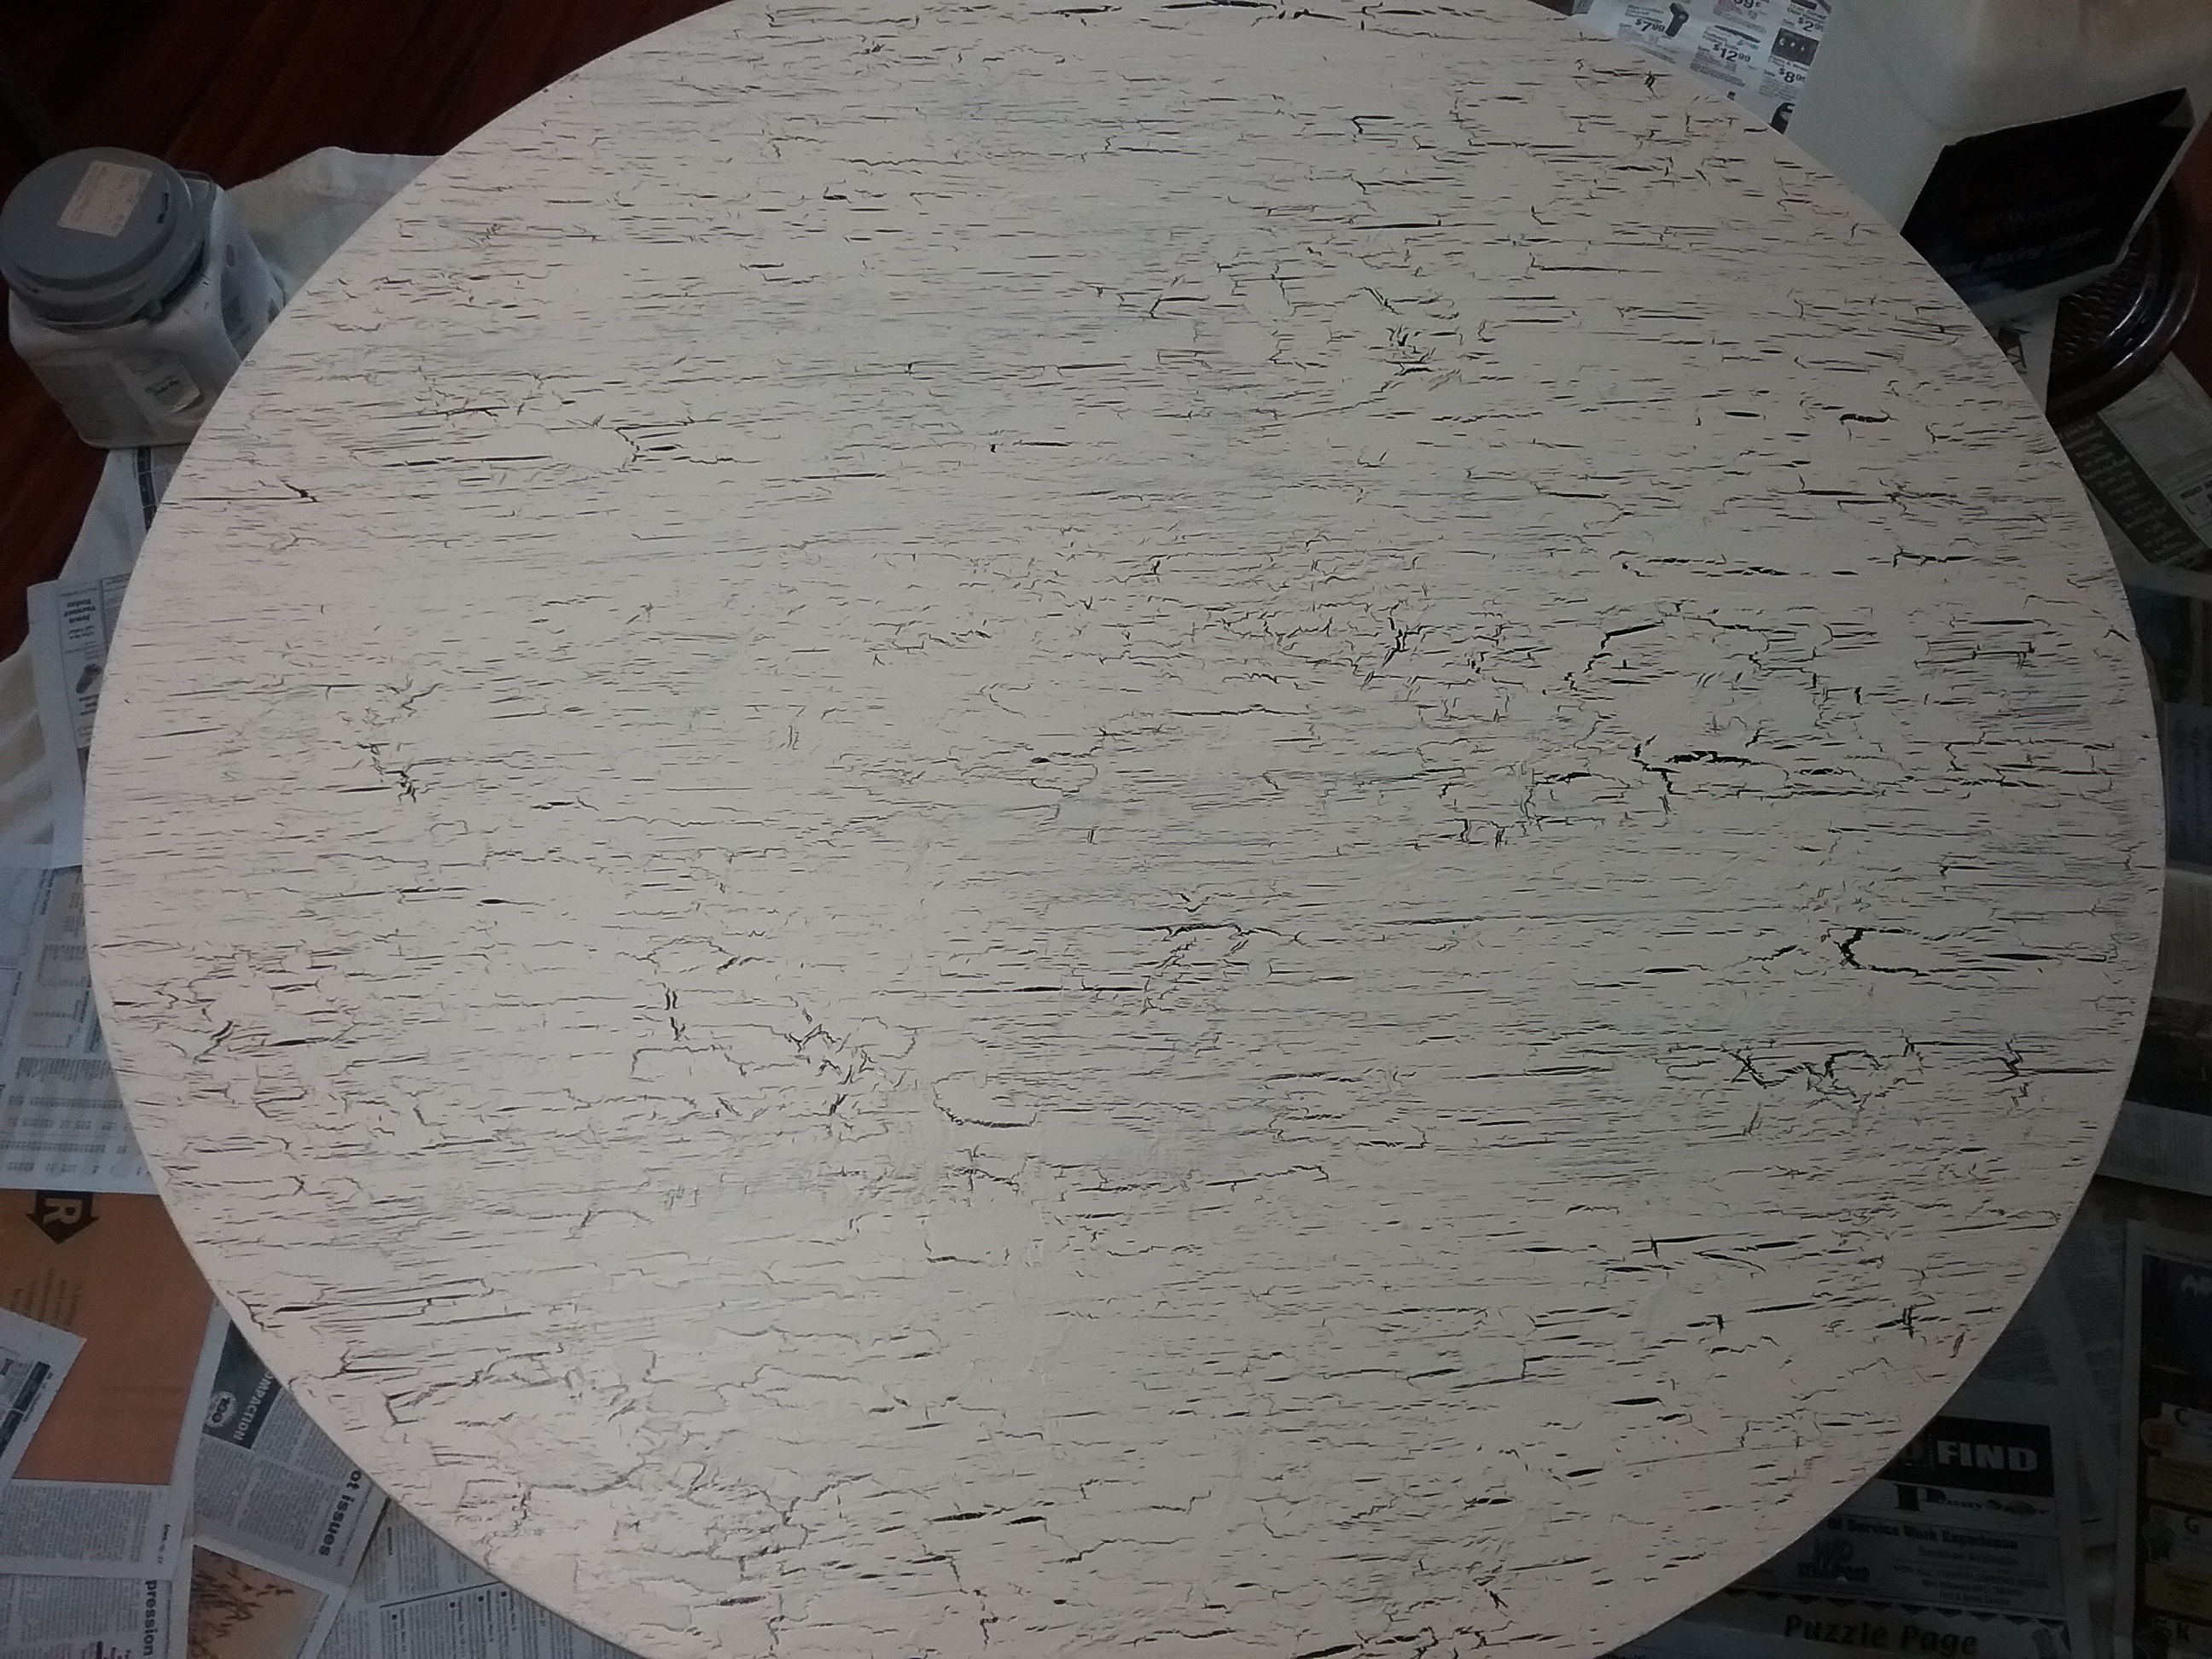
Brush a layer of black glaze on a small area of the clock front. Lay pieces of paper on top of the wet glaze, overlapping their edges. Immediately, brushing quickly in different directions, brush a thin layer of black glaze over the paper, creating some creases and wrinkles. Glaze and paper the side edges too by tearing the paper ends into strips so they lay down better. Do not over brush, or the paper will get too wet and start to tear and roll. Work in small areas until the clock front is covered. Let it dry to a dull look. Brush on another thin coat of black glaze, and let it dry thoroughly overnight. Sand with a fine grit sandpaper, horizontally, following the wood grain underneath, until smoothed, but not through the paper.
For a crackle medium, mix 1 cup of hide glue with about 3/4 cup of very hot water, stirring well. Store in an airtight container. As a rule, the thinner the crackle medium, the thinner your cracks, so there is a lot of room for change in this step. If bigger cracks are wanted, use less hot water. Regardless, the mixture will be very thin, and splatter easily. Make sure your floor and work area are protected well. Crackling is a lot of fun, but can be a little touchy, it doesn’t like to be re-brushed as you put it on, single strokes are needed. If you’ve never tried it before, you may want to play around with it on some scrap wood first to get the feel of it, or catch a video on YouTube.
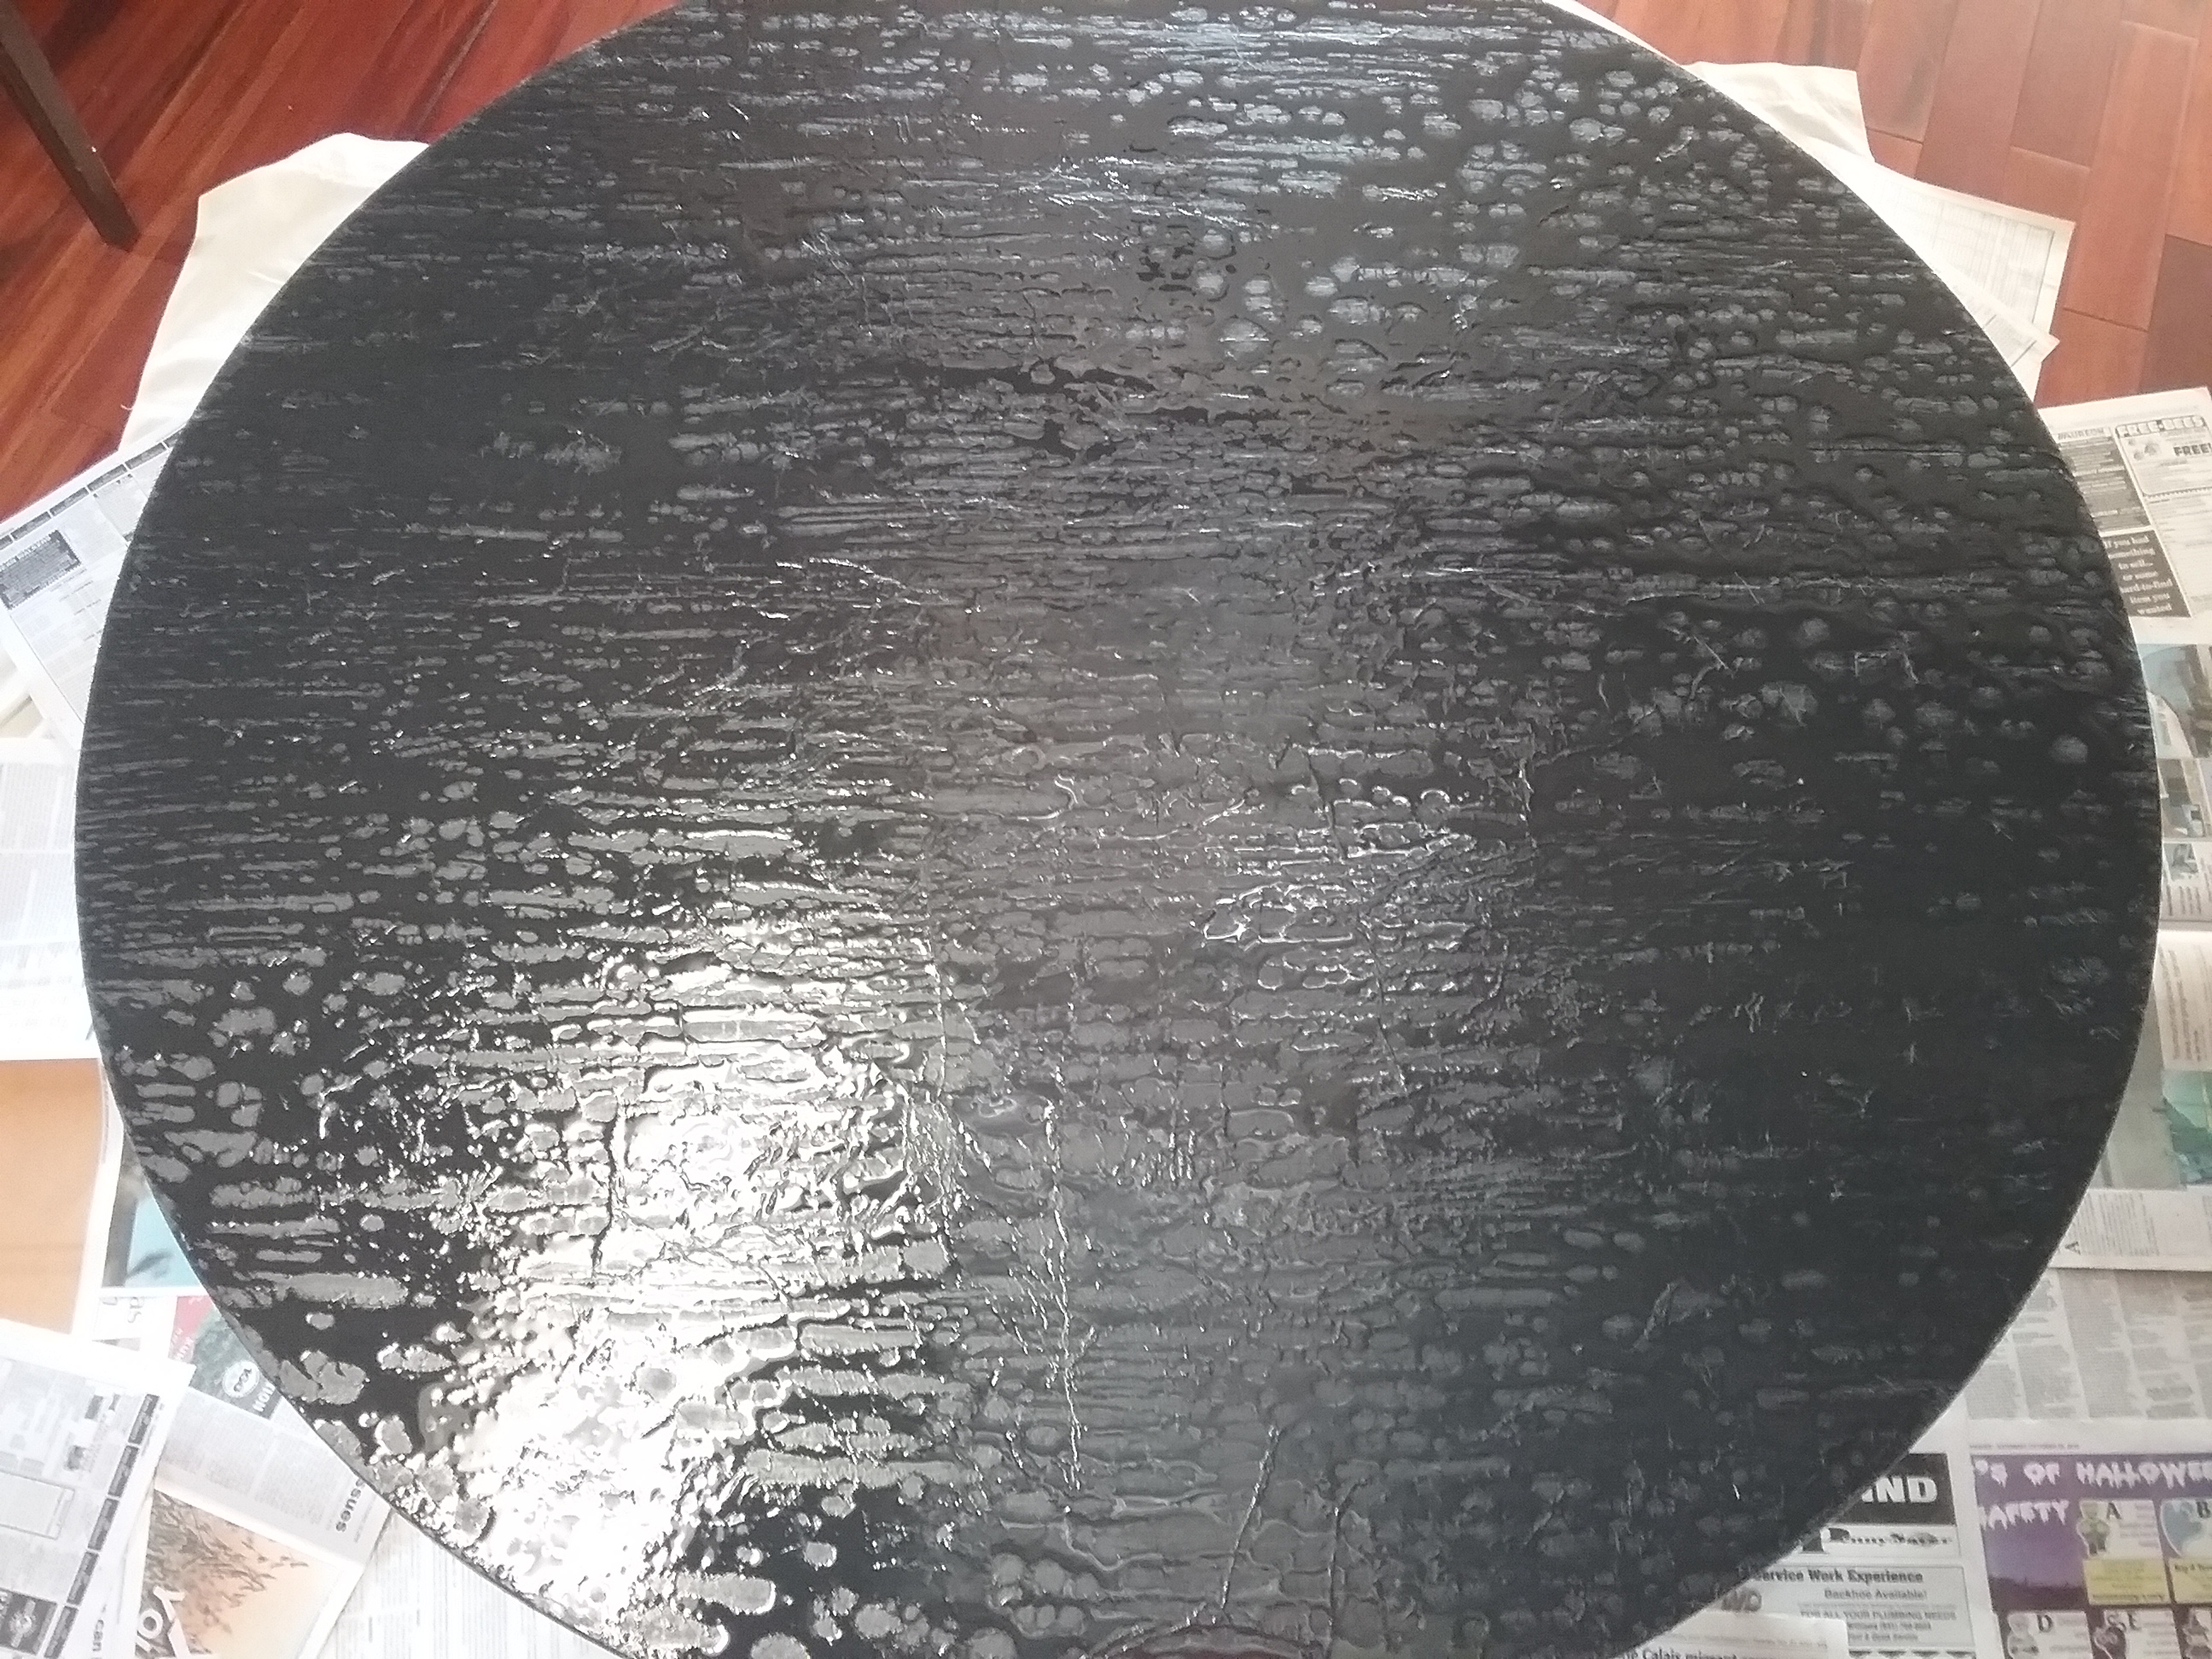
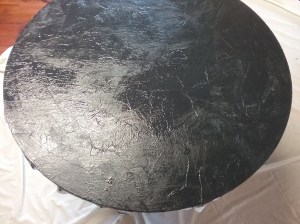
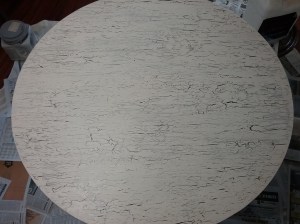
With a clean brush apply a coat of crackle, in broad, even strokes, horizontally over the sanded black glaze layer. Do not over brush. The crackle glue will separate and remain shiny. Let crackle dry approximately 45 min to an 1 hour, until it is still a tiny bit tacky. Test it with your finger.
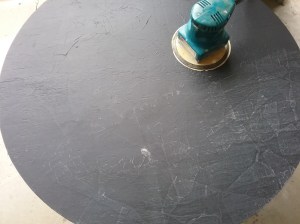
Mix 2 cup of glaze medium with 2 cups of your first color choice, mine was Linen. Mix it well, and have it ready to brush on as soon as the crackle is ready. It too goes on in quick, wide, one time, even strokes, horizontally. Do not re-brush or try to touch up the paint, the brush will pick up any paint that is wet. The cracks will widen as it dries. Let this layer dry completely. Sand again, always horizontally, as before, until some of the black layer shows through.


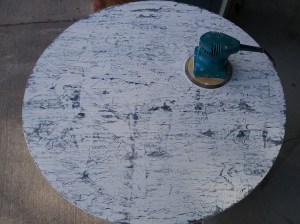
Basically, this is all about brushing on colors of paint over layers of crackle, and sanding in between. At the end, some of all the colors will show through somewhere.
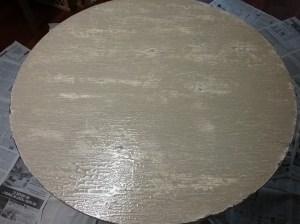
For a little added dimension, I dry brushed a little un-thinned Linen paint on in hopes it would peek through a little too when I’m done, and another coat of crackle was applied.
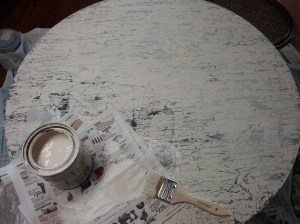
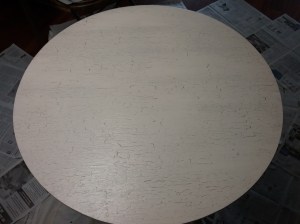
Colonial Beige paint was put on over the crackle, and sanded after it dried. Another layer of crackle was put on before the final layer of Stowe White paint. Sand again when dry.
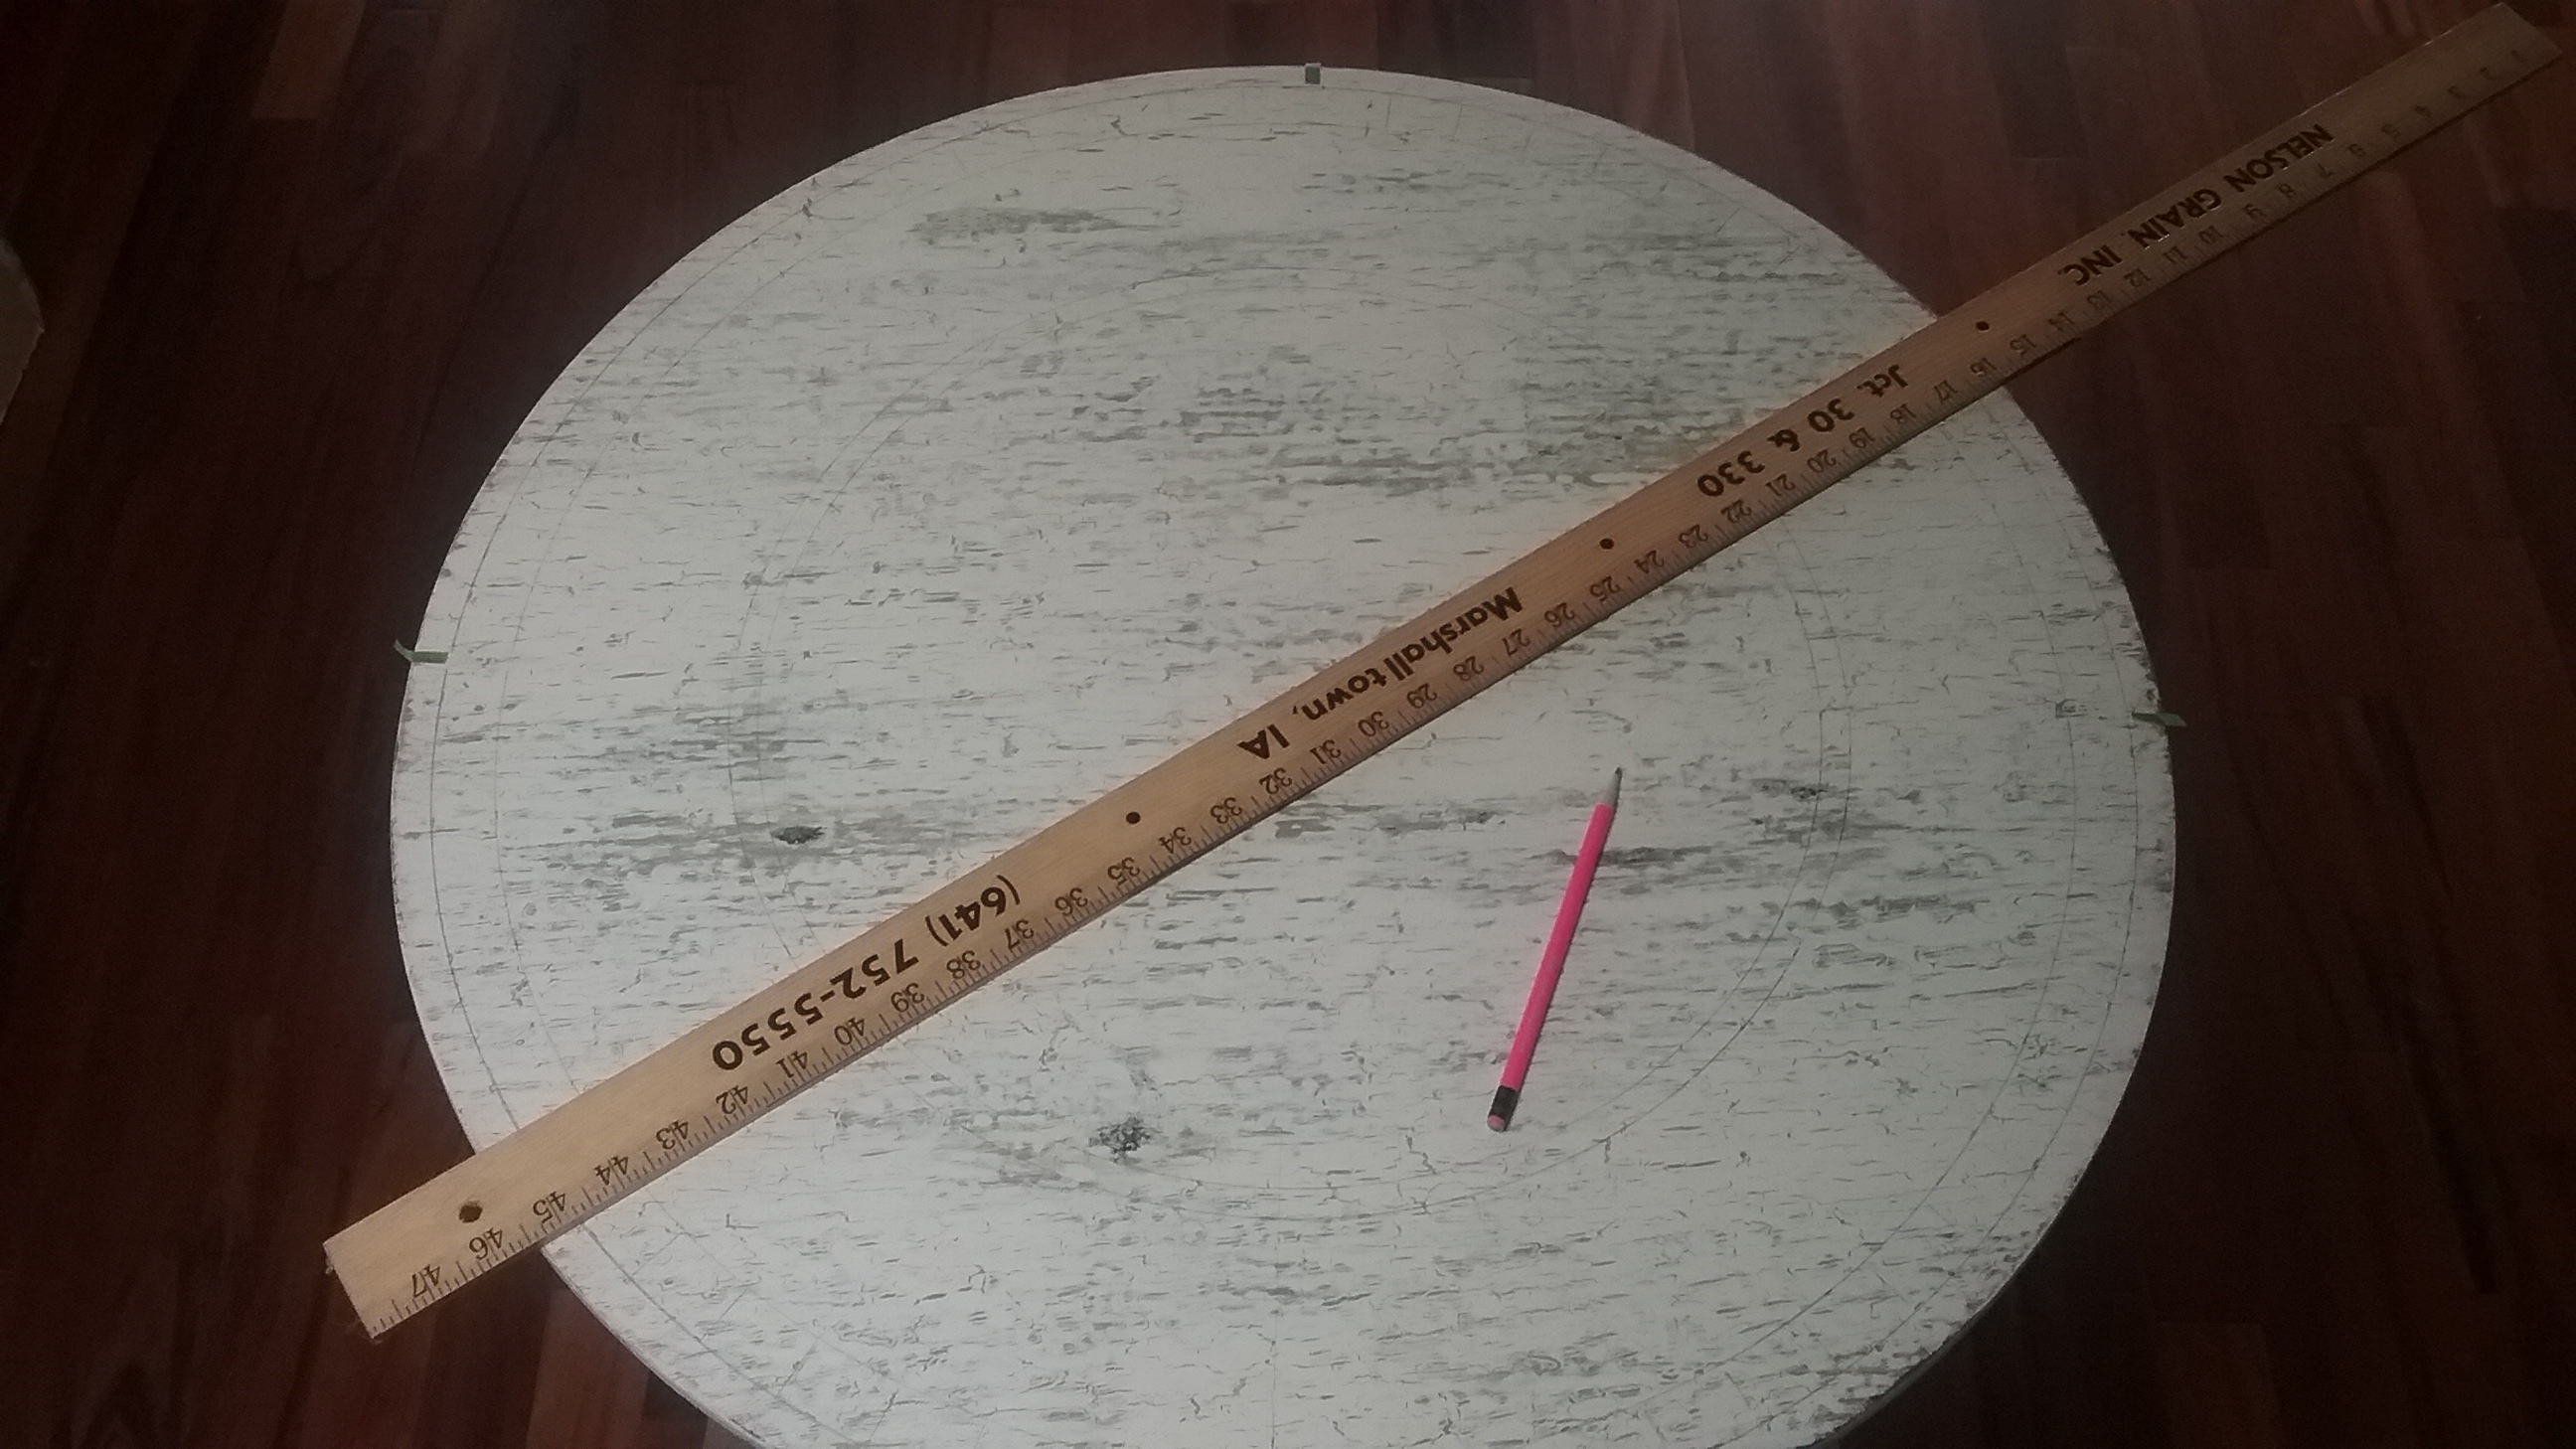
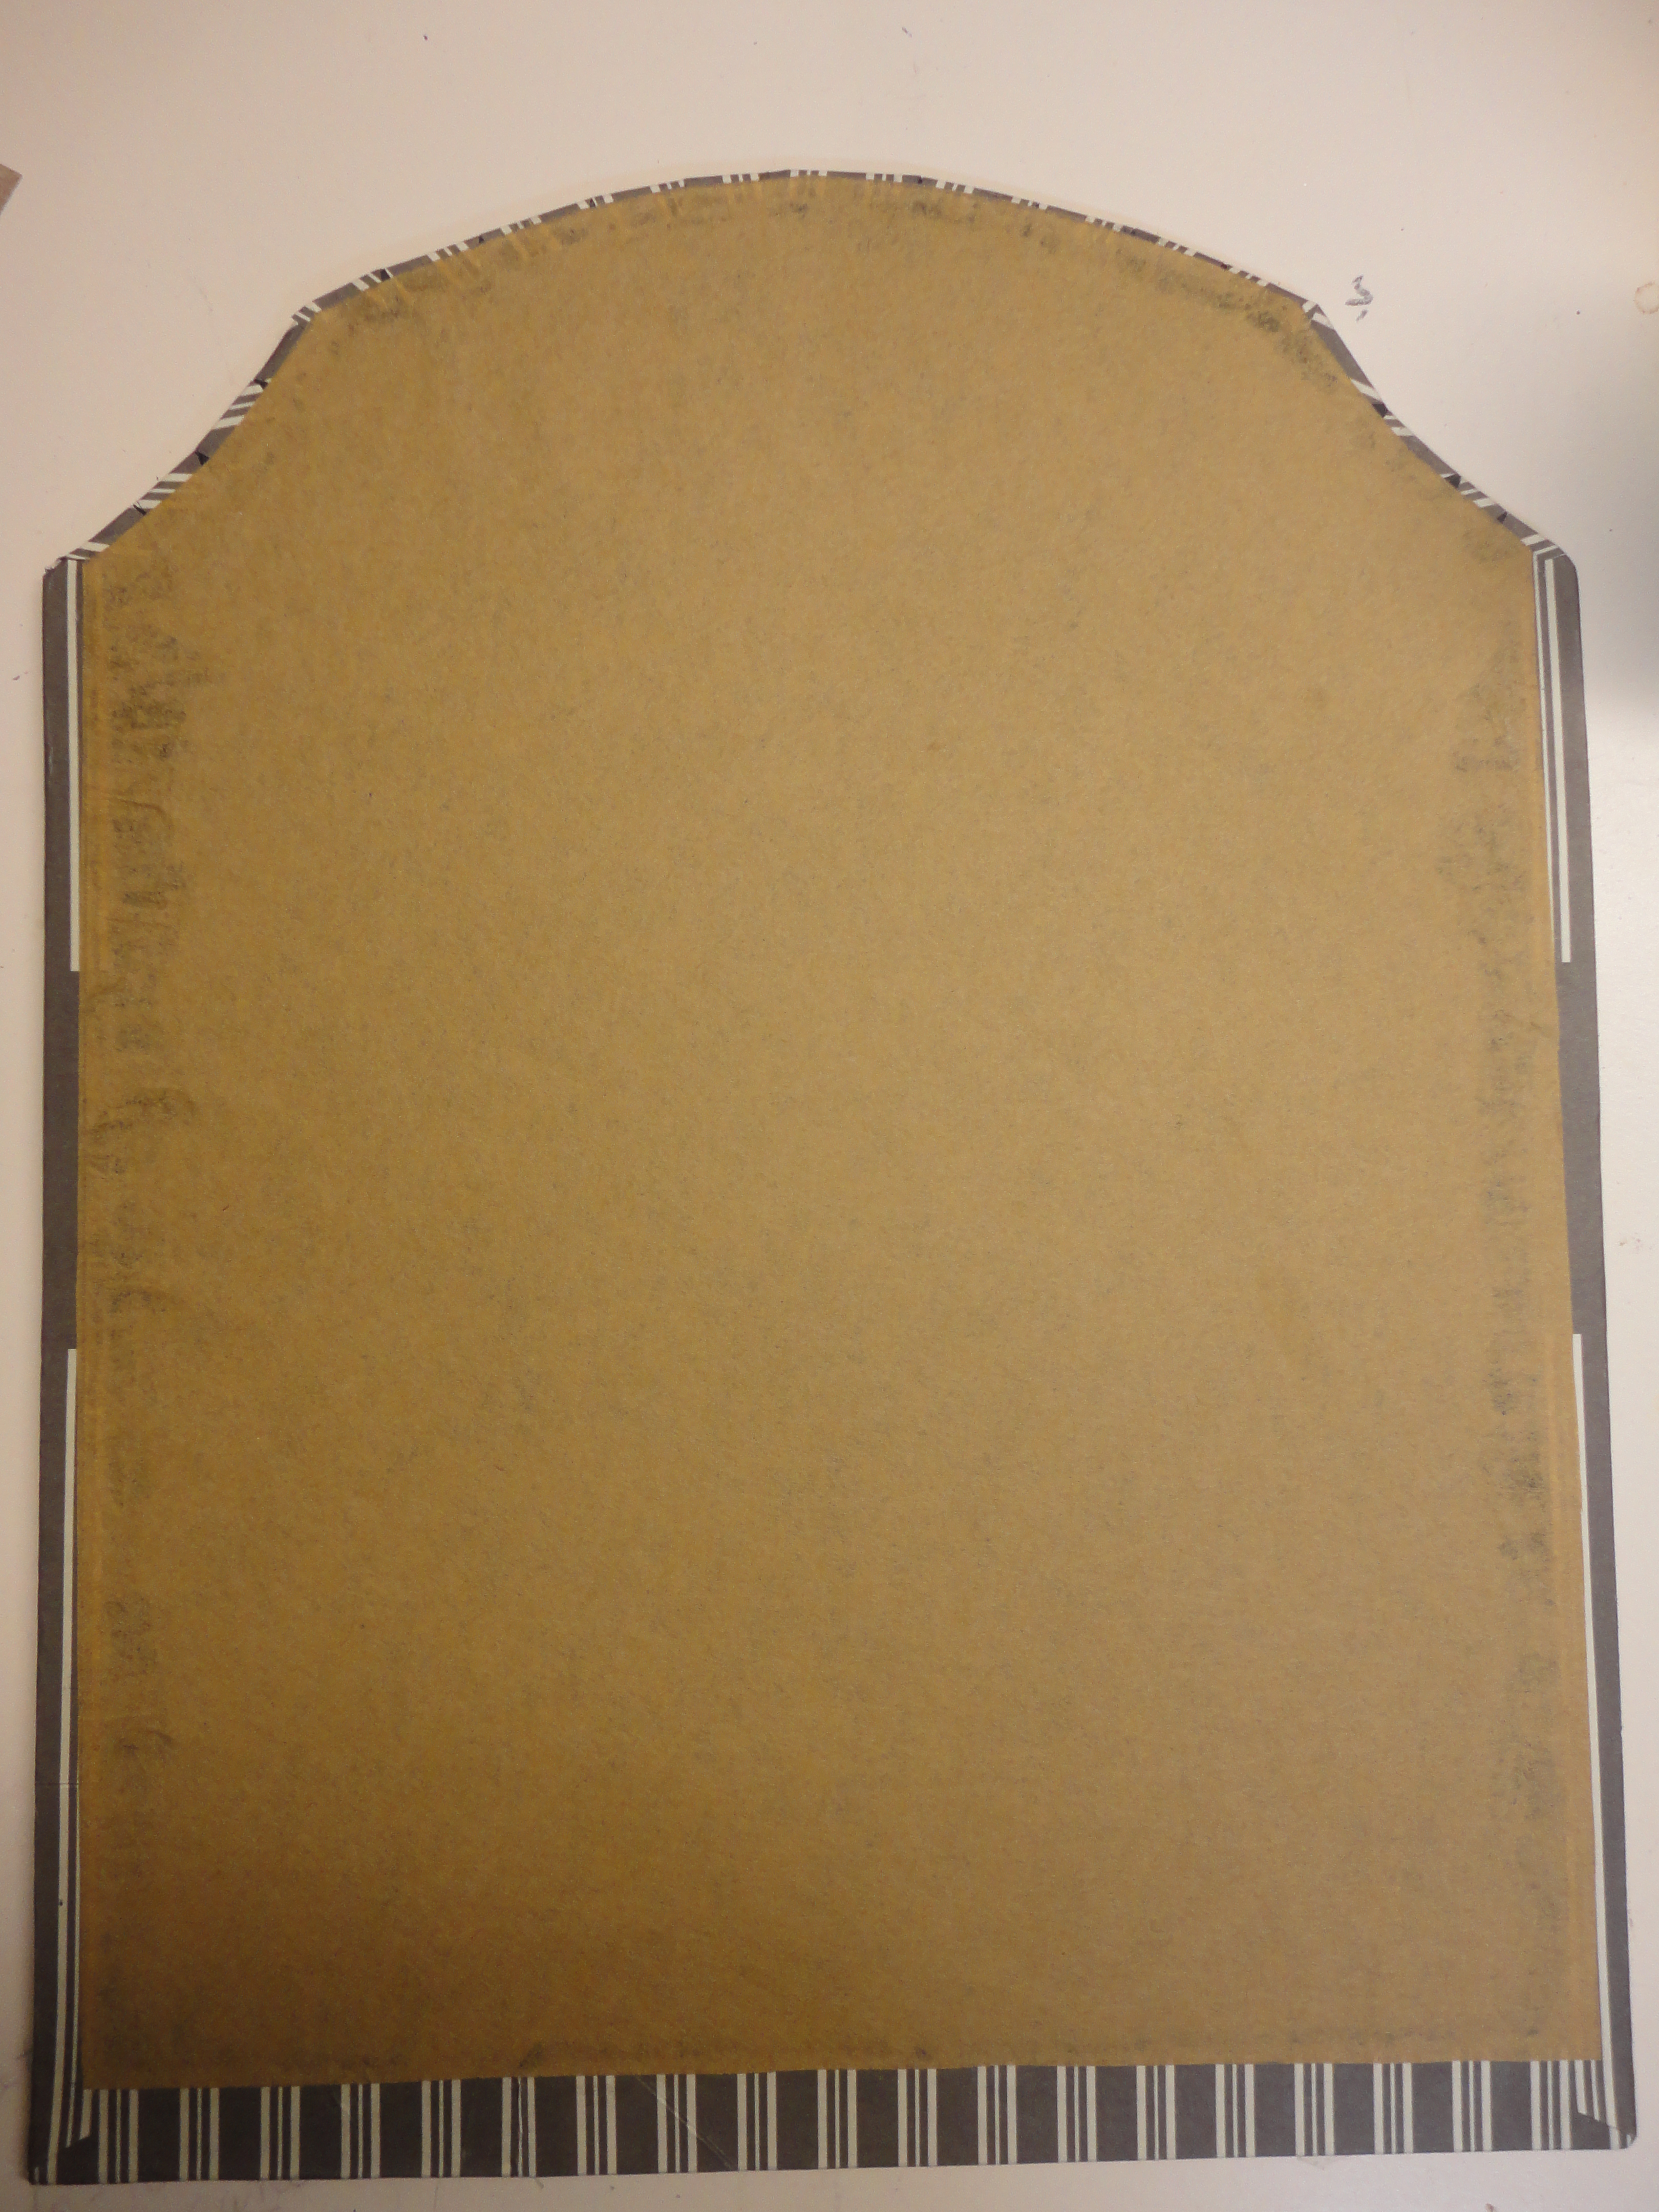
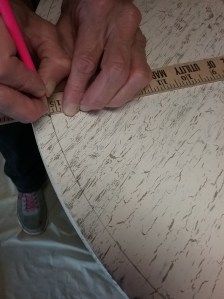
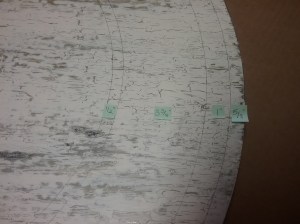
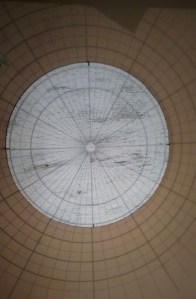
Circles need to be drawn before the numbers are added. Push, or tap, your nail through the center hole from the backside of the clock, through the paint. Lay the clock face up. Tap the nail into the hole, leaving enough protruding to put the yardstick on, to draw circles. My nail usually goes right into my old table top and holds the clock firm.
Using the same technique as in the beginning, I drew the circles I wanted.

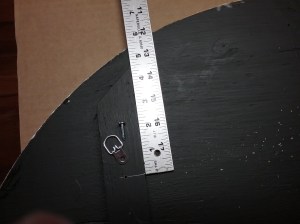
Carefully remove the nail. Use a small piece of cardboard under the claw of your hammer so you don’t leave a pressure mark on the clock. Flip the clock over. Measure 4 1/2″ down from the top inside tip of the pine strips, center and attach D-rings. Find a place to hang the clock, level, so you can use the overhead and template for marking. The clock must be level before doing any marking or drawing. I removed my clock from the wall and hung this one in its place until I was finished.
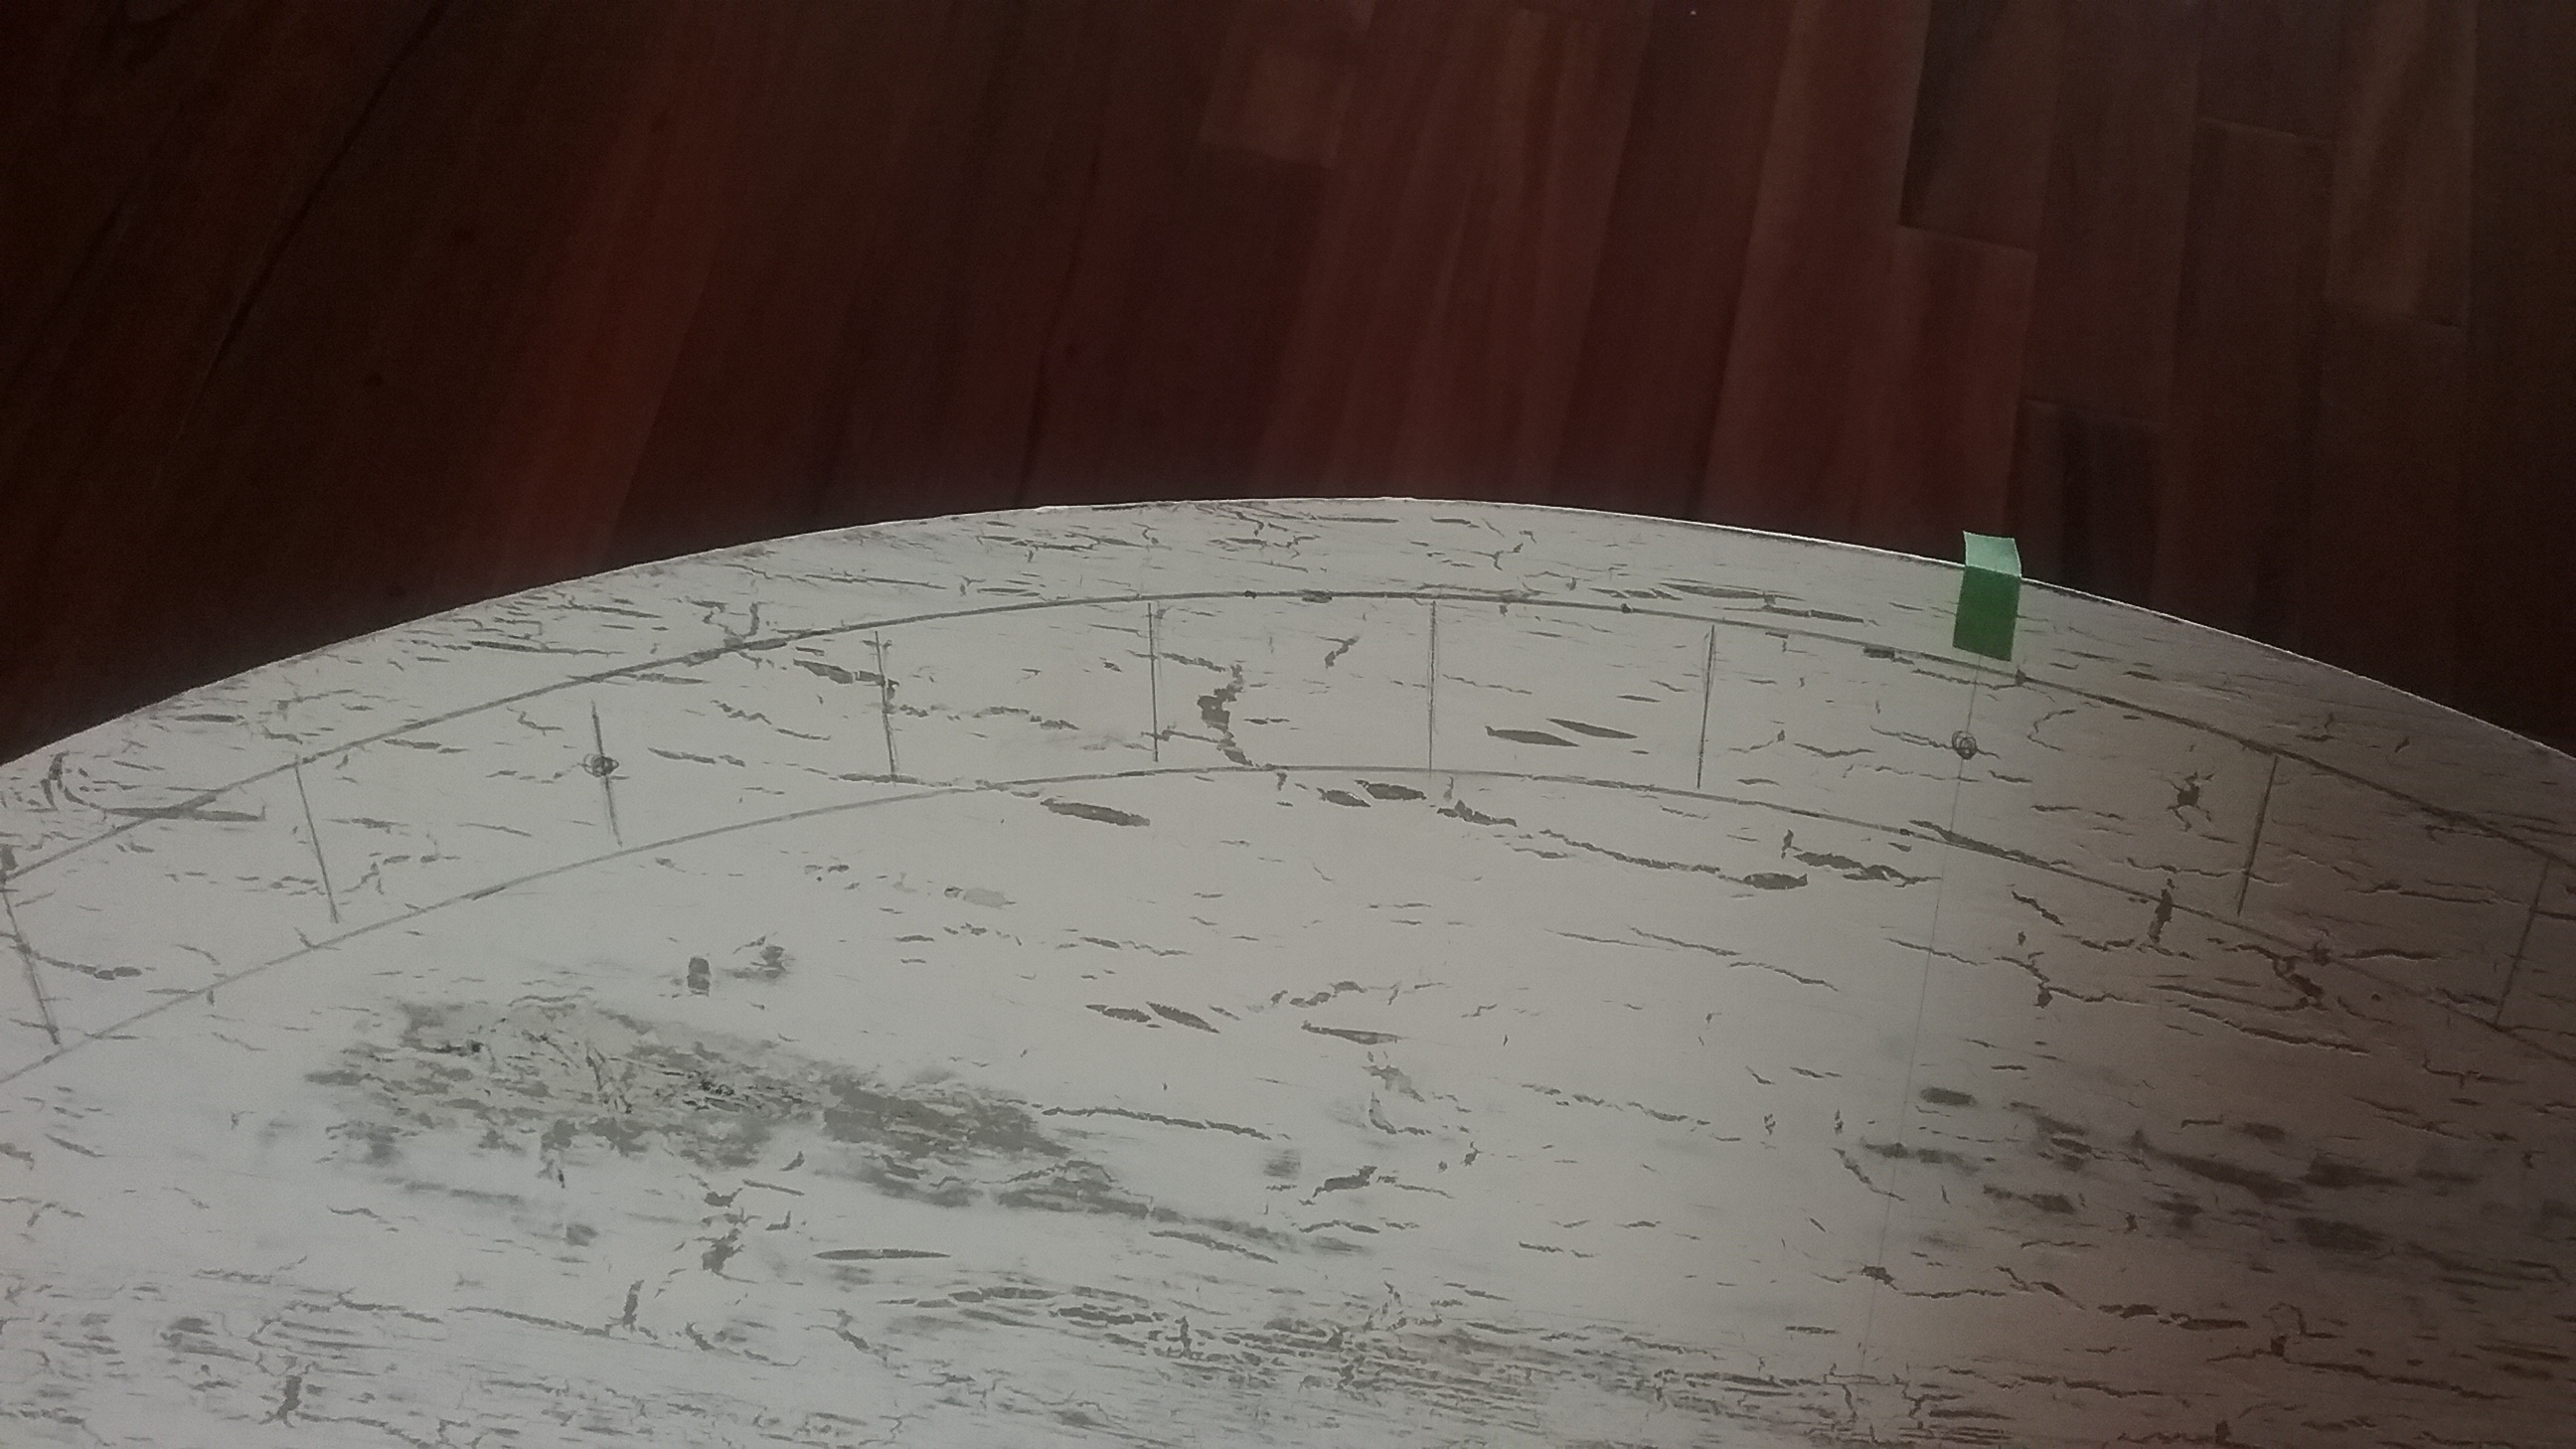
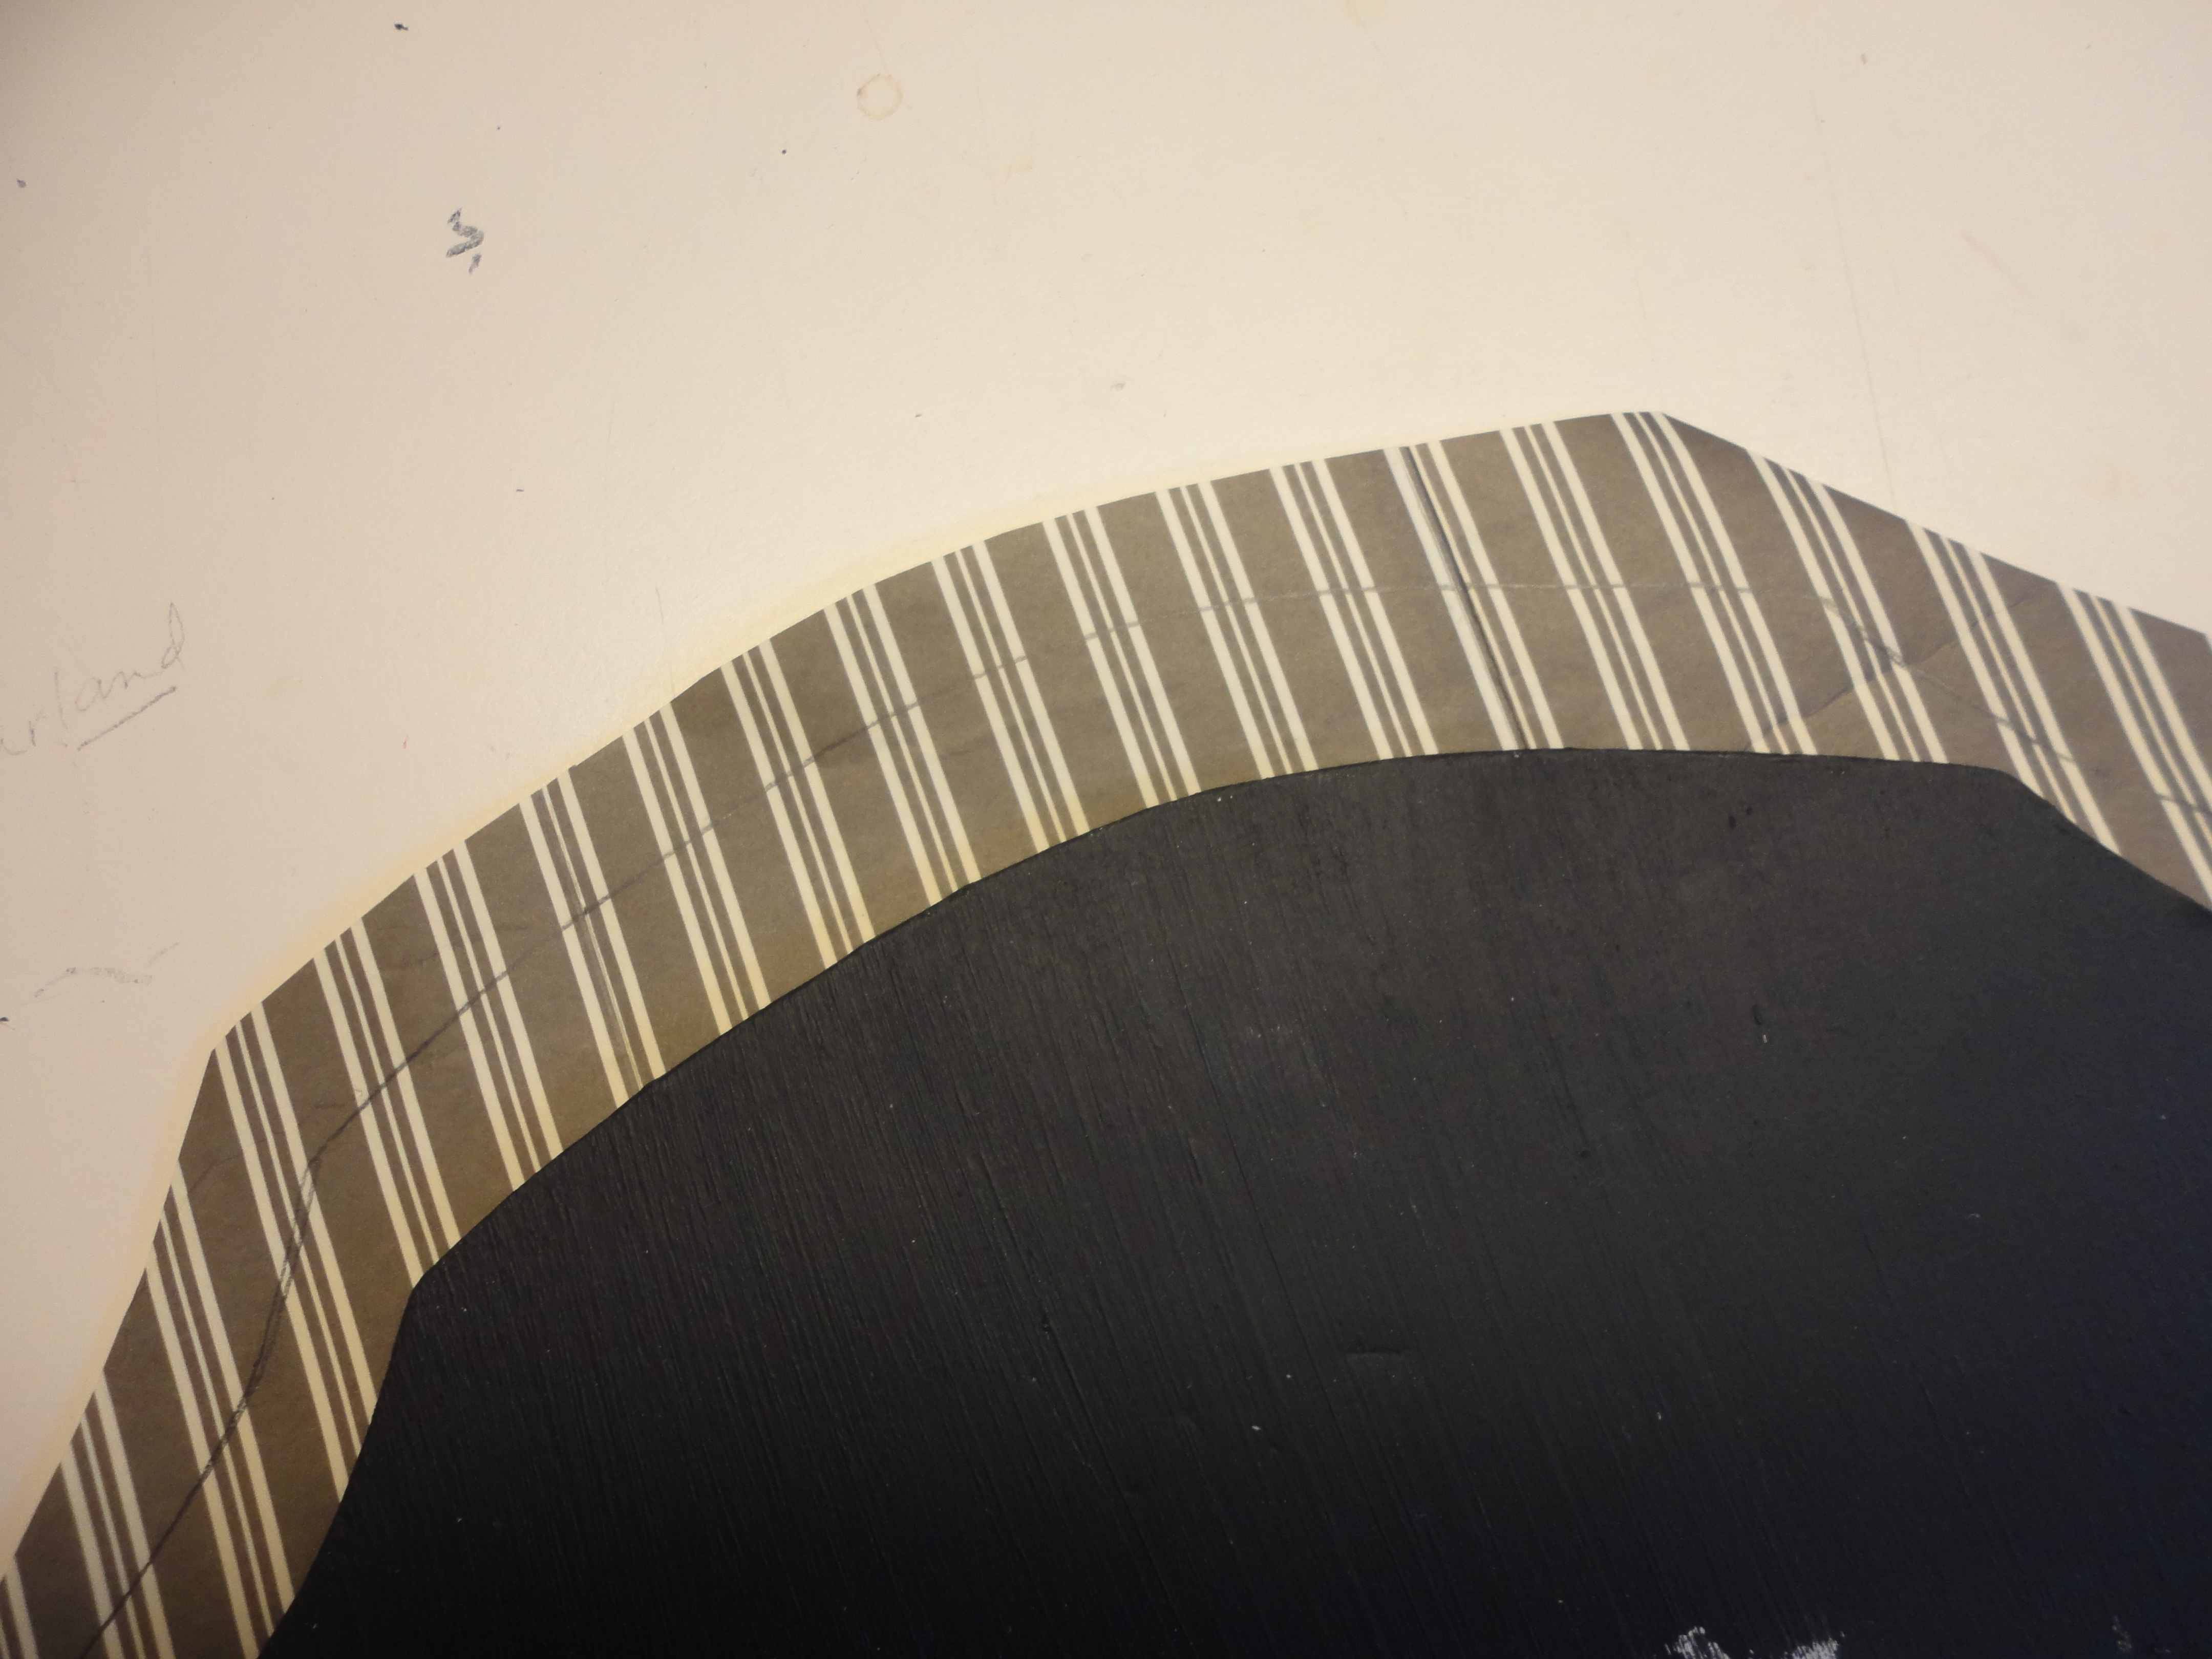
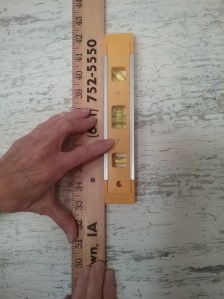
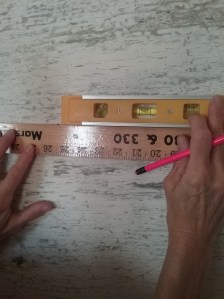
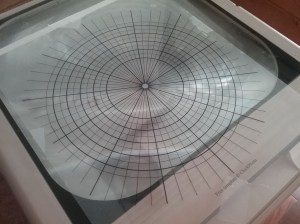
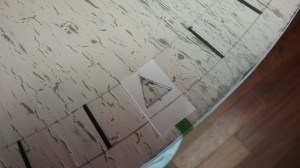
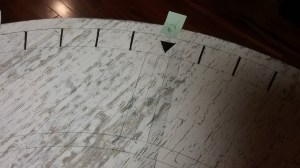
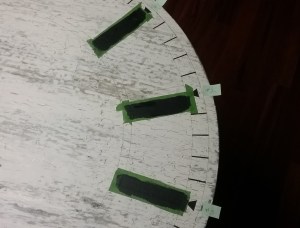
Firmly hold the edge of a sturdy, straight yardstick, vertically over the center of the nail hole. Use a level to draw a straight faint line through the circles at the top and bottom of the clock, where the six and twelve will be. Do the same horizontally, over the center of the hole, to mark where the three and nine will go. Cut four very thin strips of painter’s tape to highlight these lines on the outer edge of the clock. Put the template on the overhead. Use the tape marking the quarter hours, and the center nail hole to line up the template. Tape the template in place so it doesn’t move. Lightly trace the minute marks where you want them on the clock. I traced mine in the second outside circle.
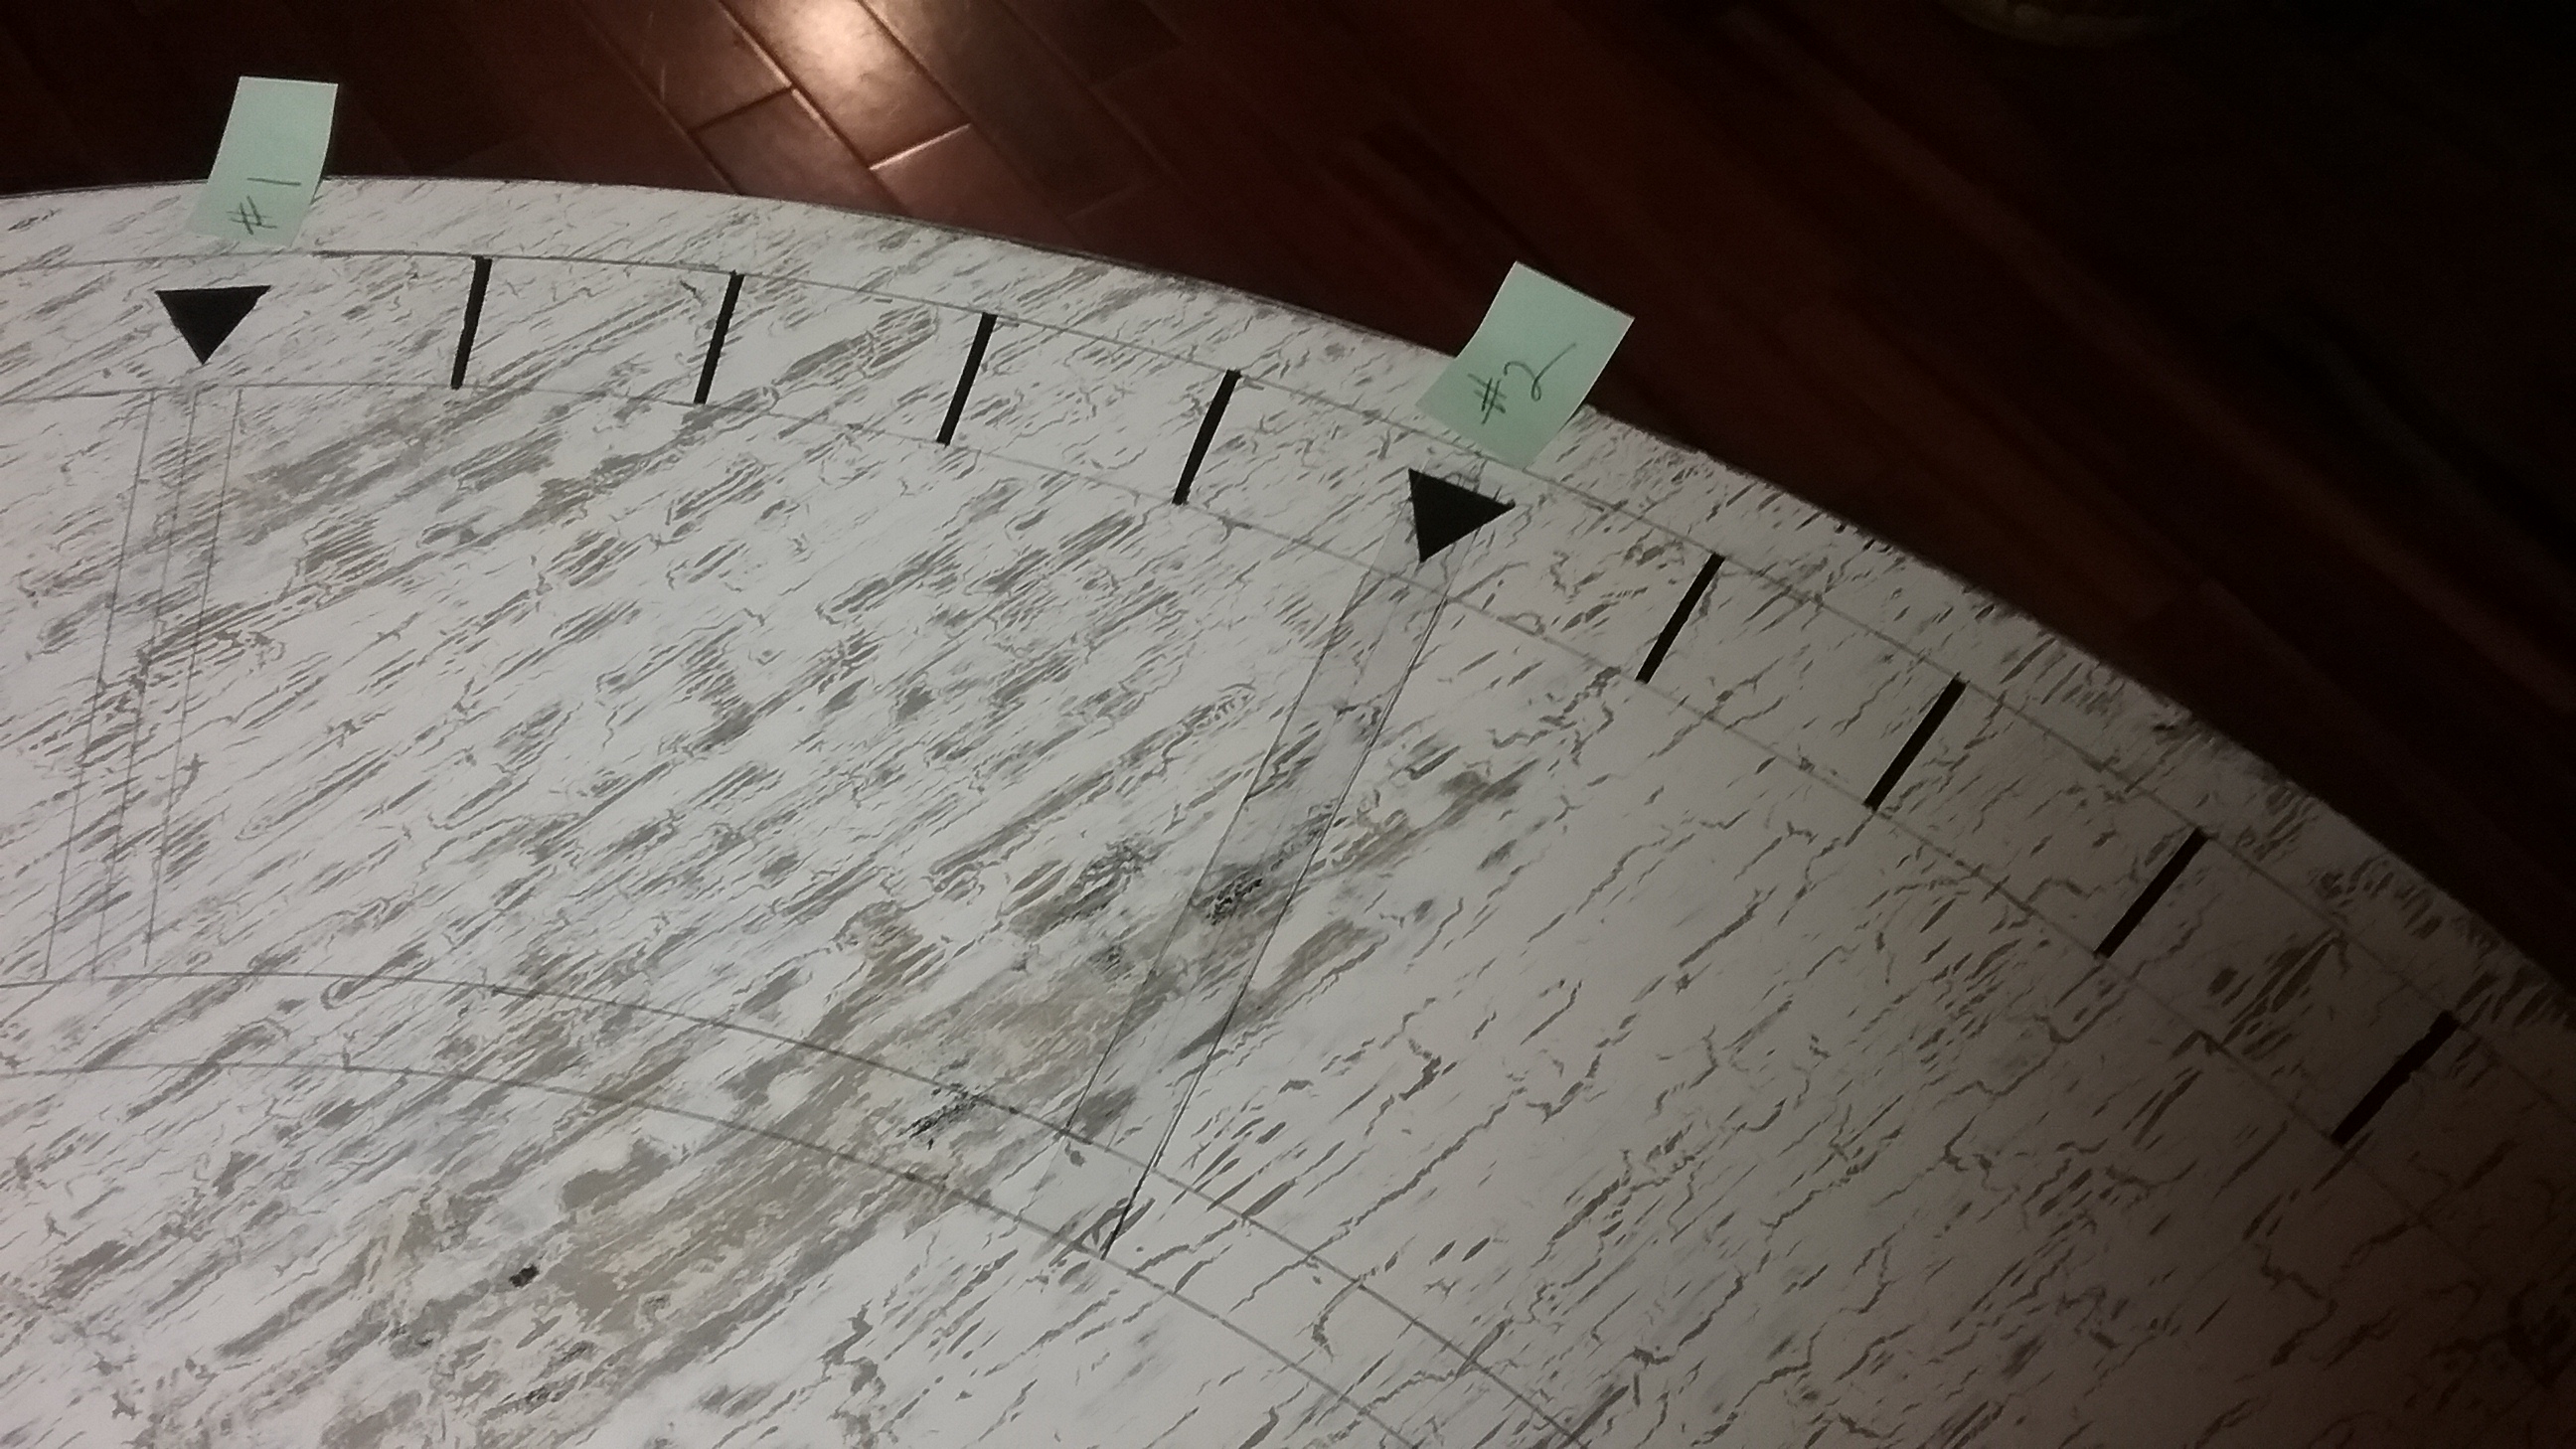
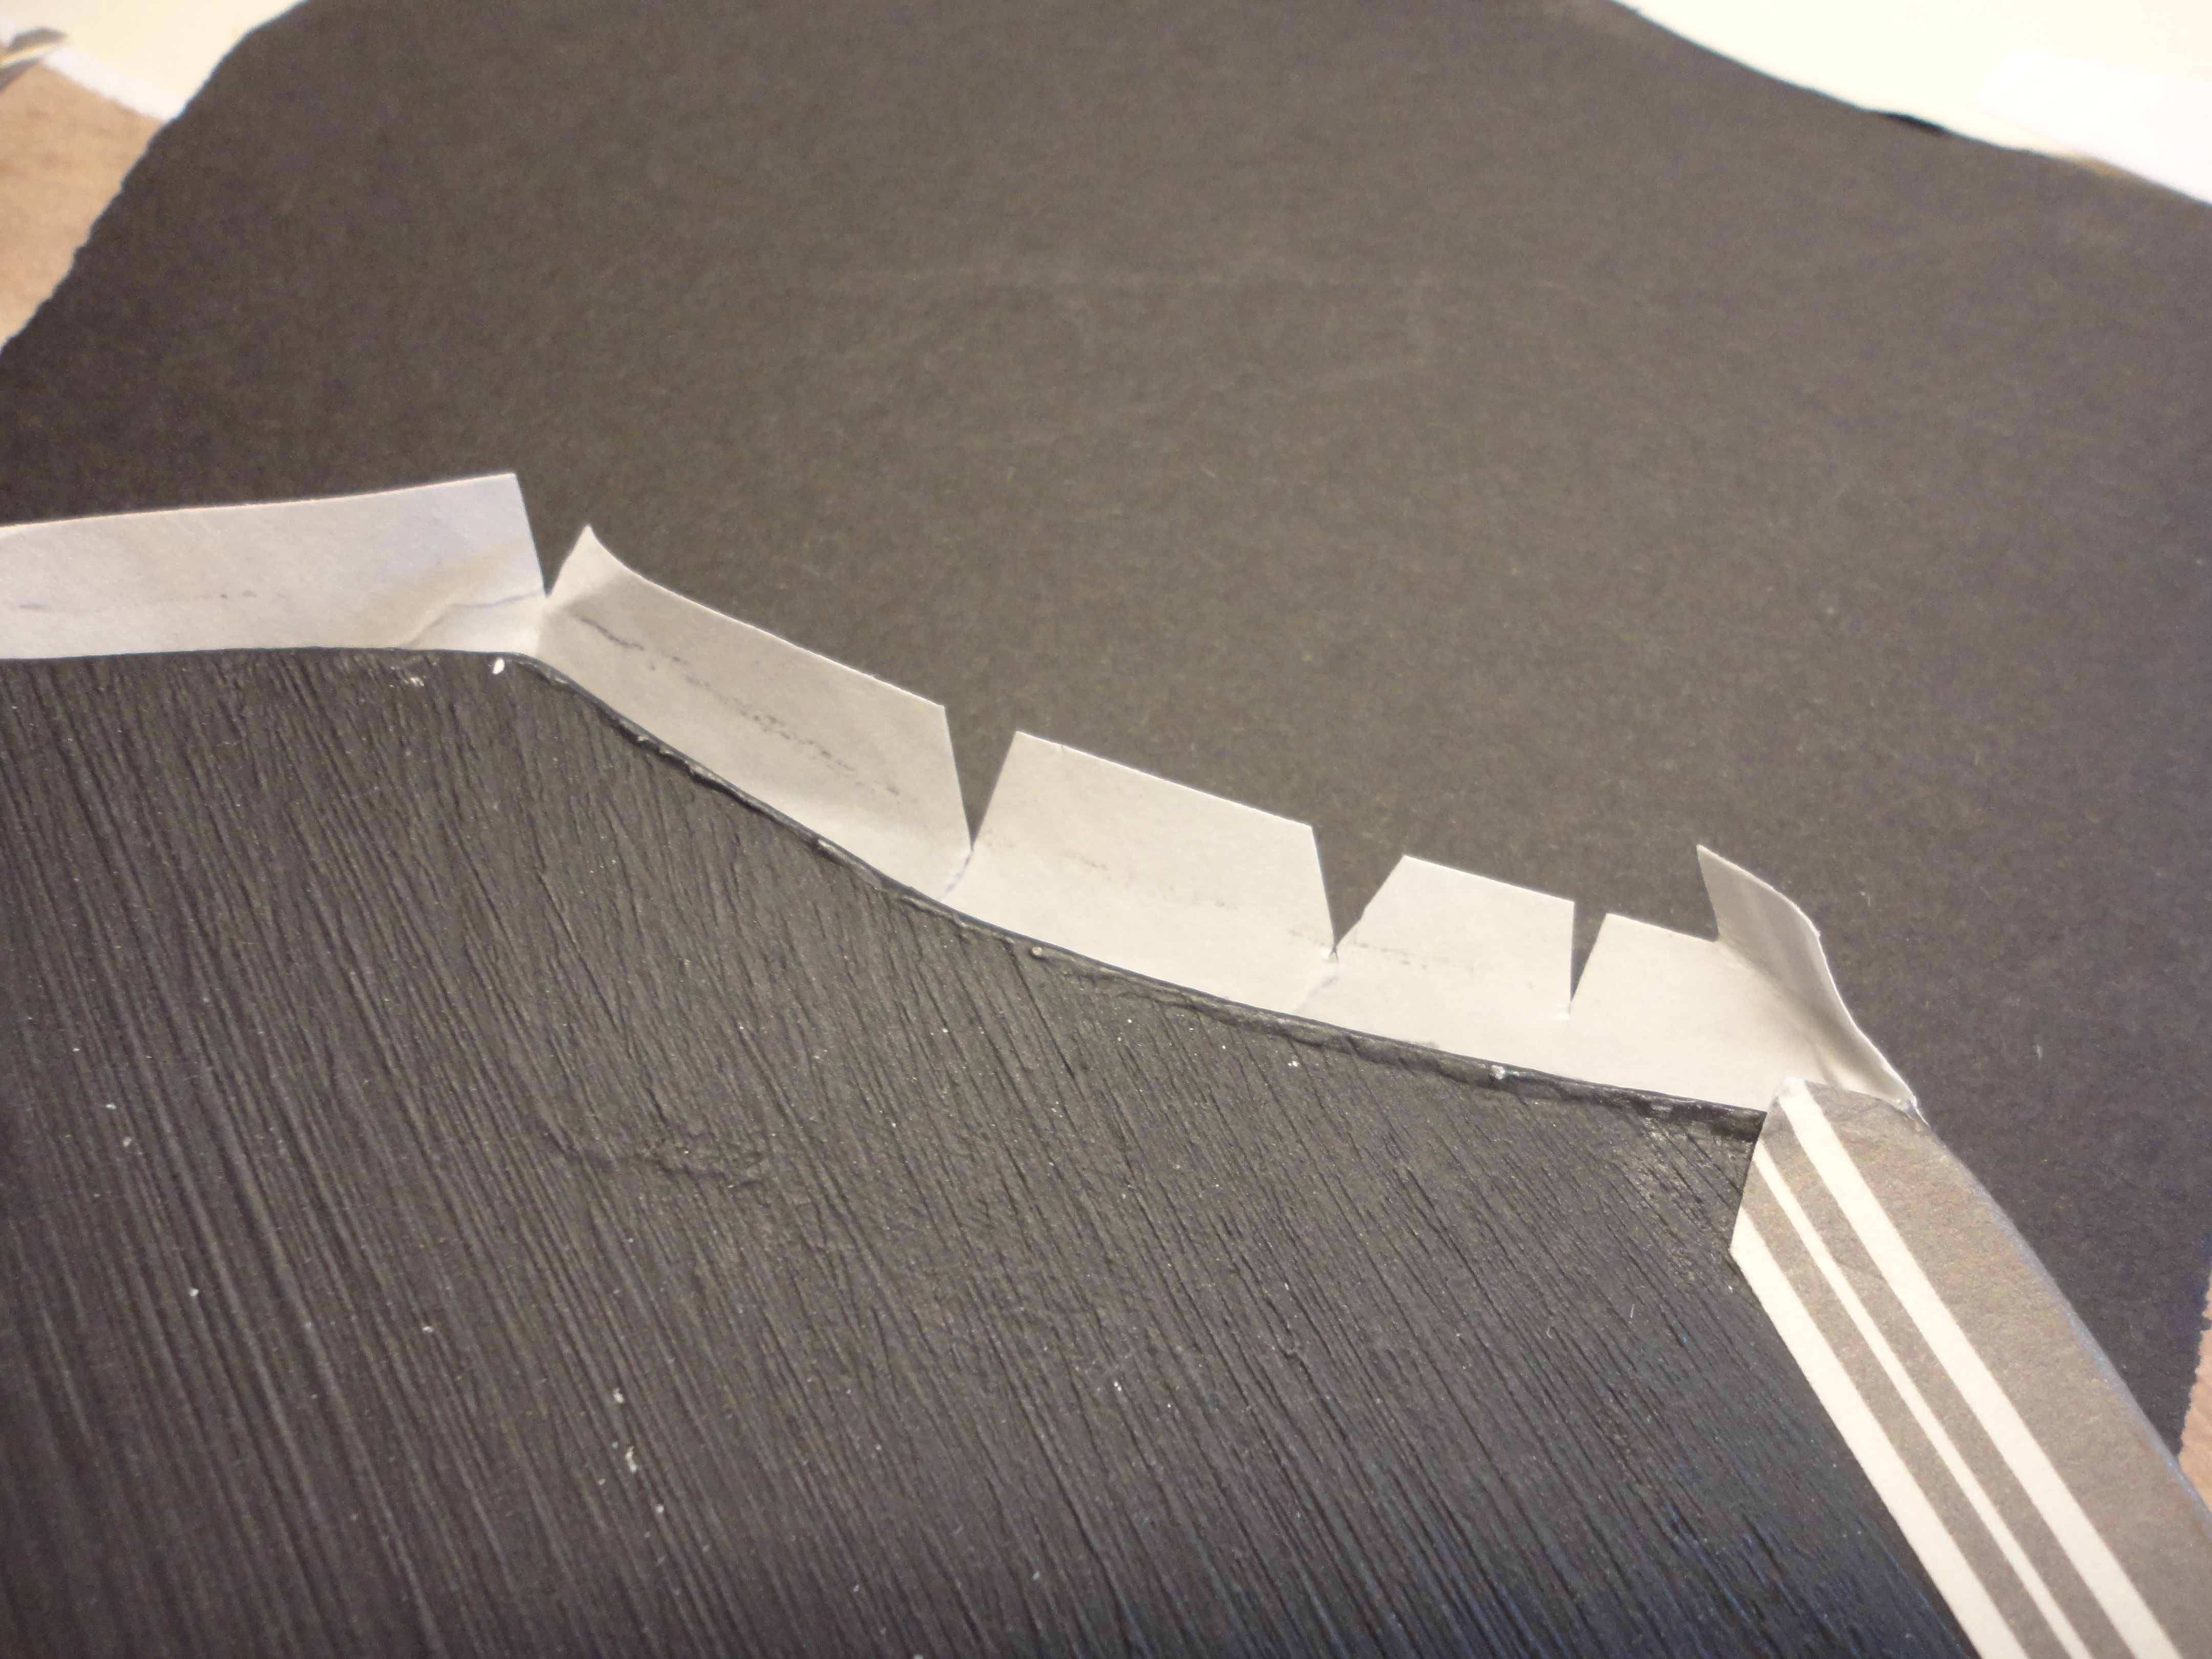
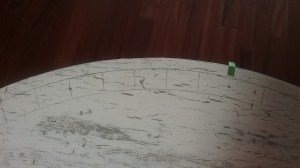
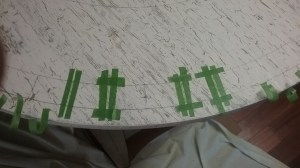
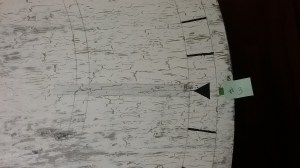
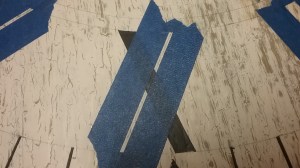
Replace the clock face up on the work surface. Use a yardstick to line up the minute lines that are opposite each other, remark them with short straight lines, and longer faint lines through the circle in the numeral spaces, to help get a perfect angle on them. I also put a small dot on the numeral spaces, so I don’t accidentally tape them off and paint them with the minute marks. Cutting a bunch of tiny strips and taping off minute lines can get very boring, so I usually turn on a little Netflix while I do it. You don’t want the minute lines very wide, about an 1/8″. Just by eye-balling it, add a little space on each side of the line and tape them off, keeping your line in the center, and rubbing the tape down well to prevent leakage. Re-stir your crackle glaze, and give each of your taped lines a light coat. Wait about 30 minutes and paint the lines twice with black paint, drying well between coats. To insure nice, crisp, clean lines, wait until the second coat is completely dry before removing the tape. When you remove the tape, carefully pull up and towards your painted line.


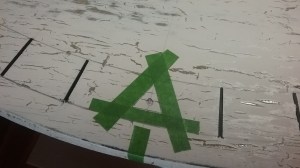
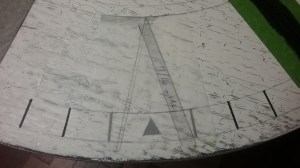
Draw a triangular stencil for your numeral marks. Mark the center on the outer side of your triangle. Line up that mark and the point of the triangle on the faint line drawn with the yardstick. Trace inside the triangle. Repeat at each numeral. Tape them off and paint them like the minute marks, one coat crackle, two coats black.

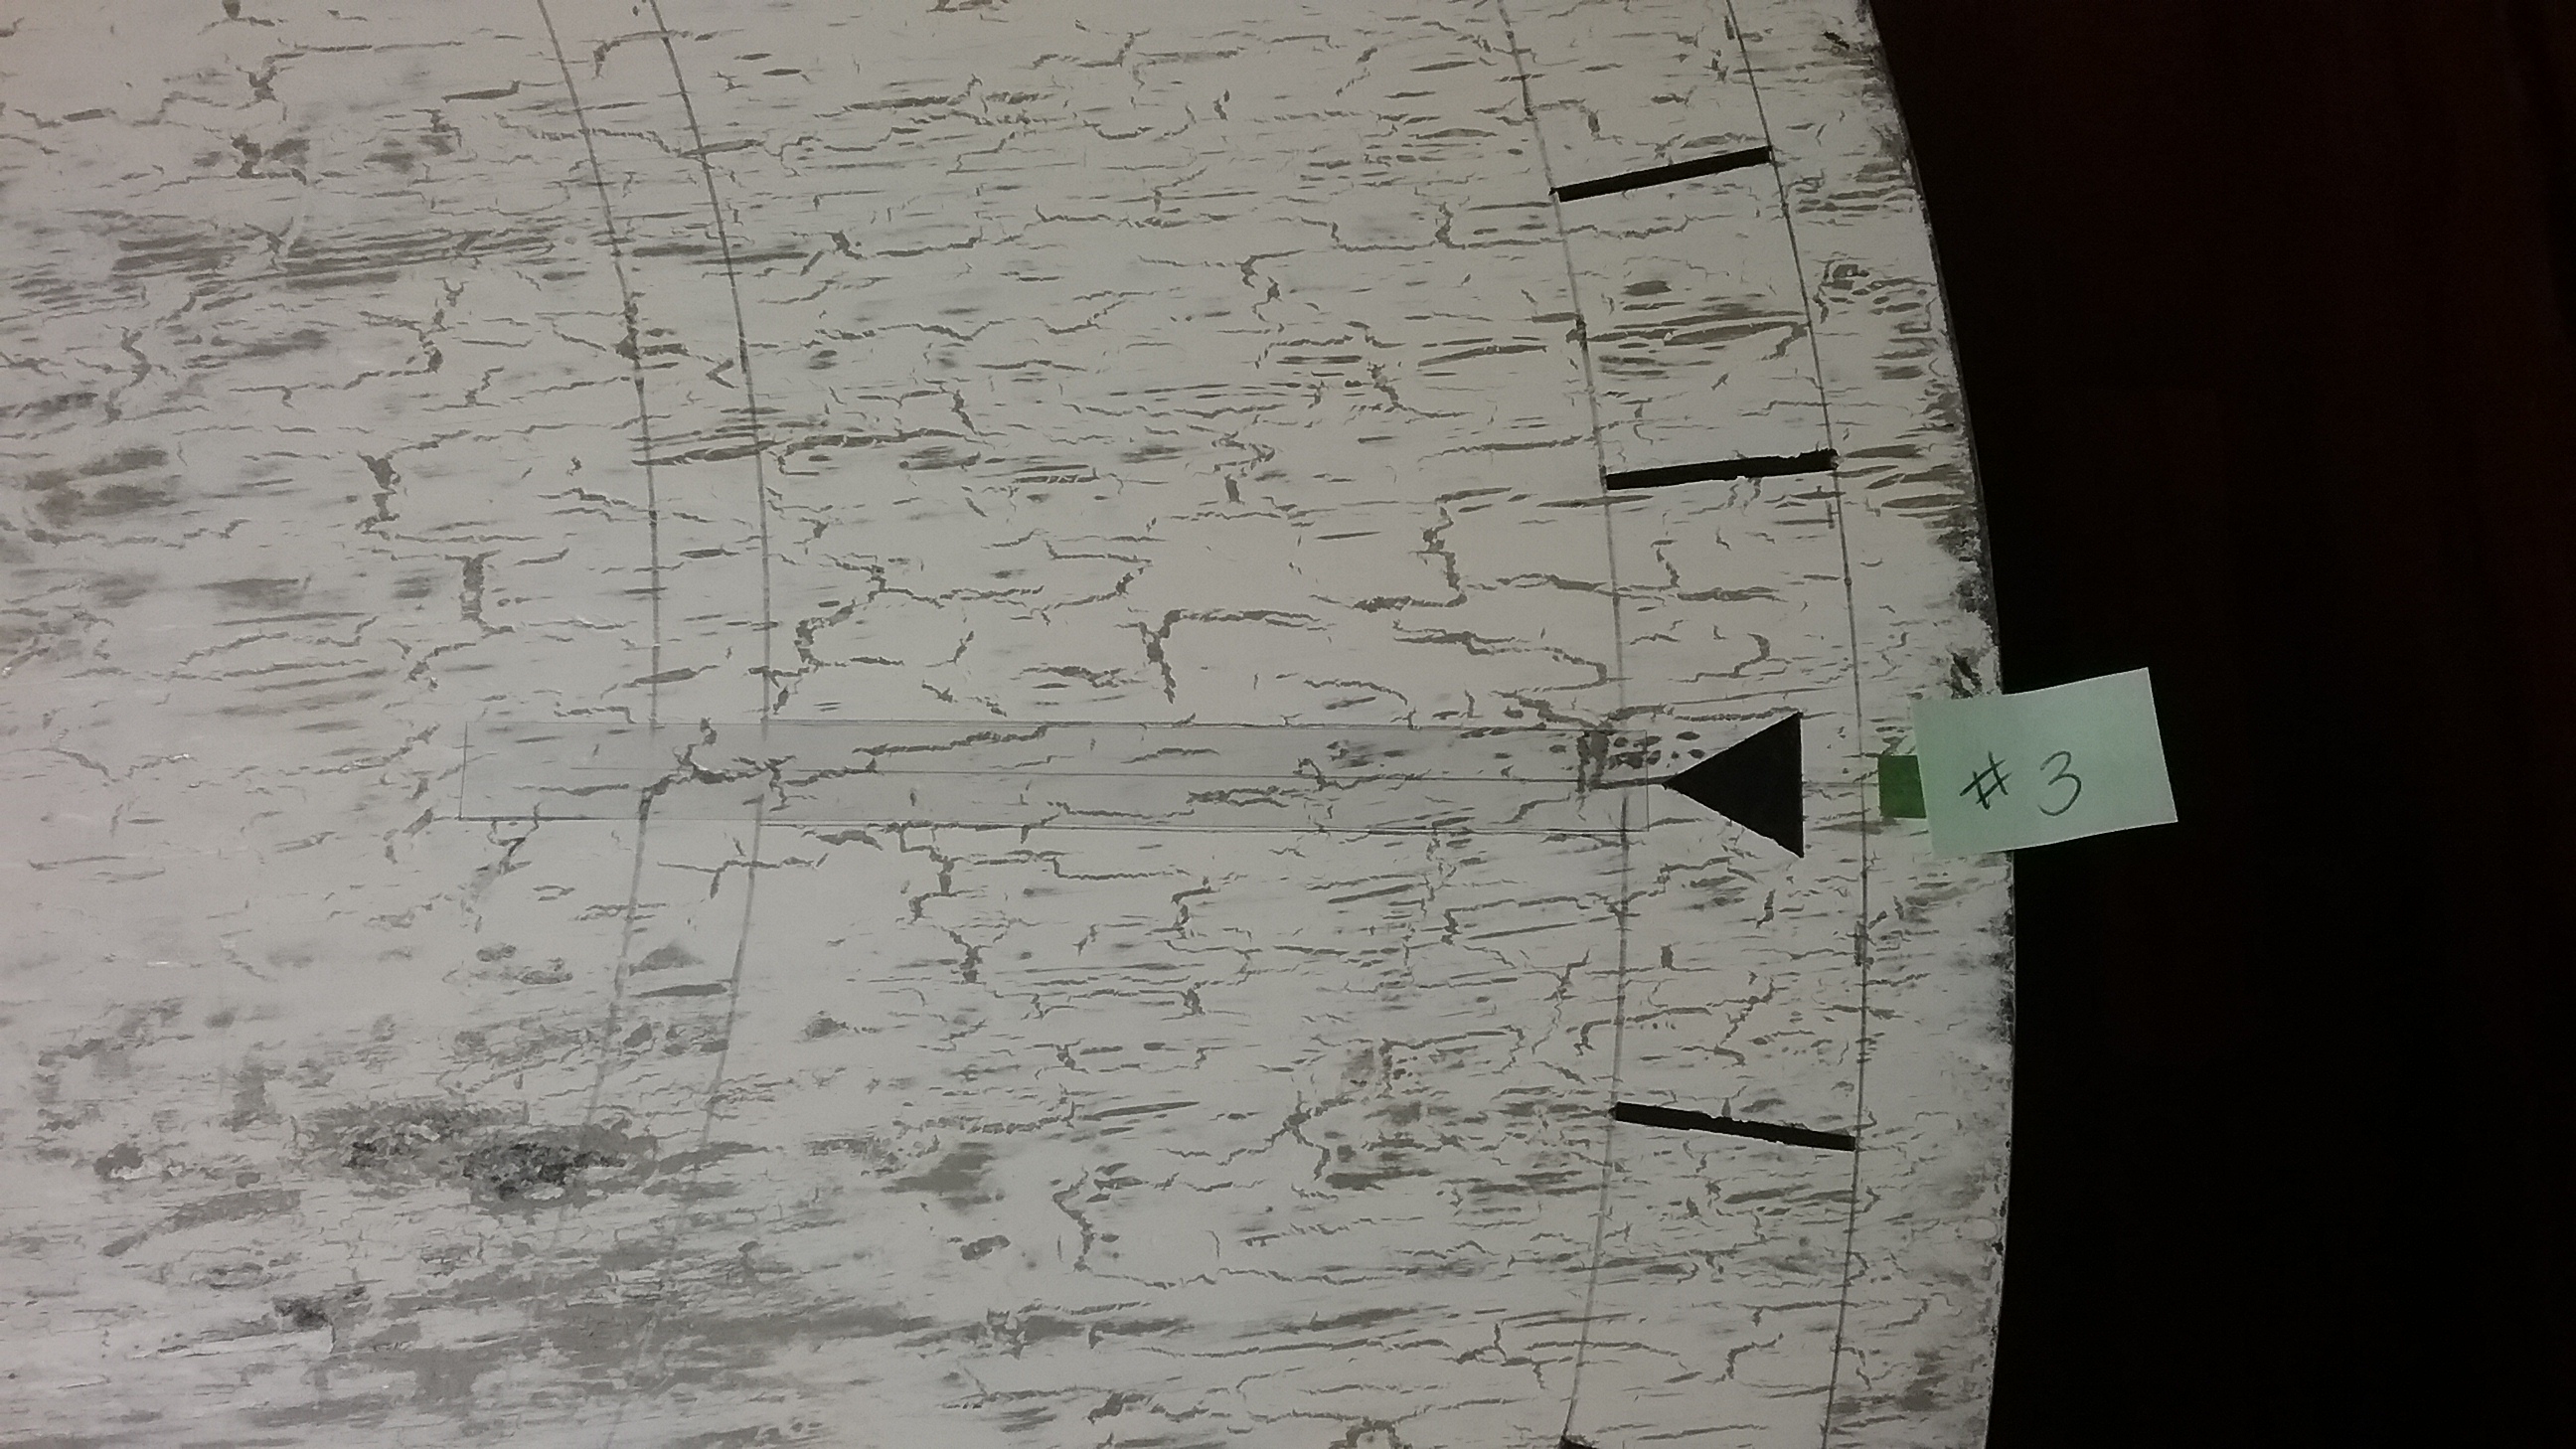
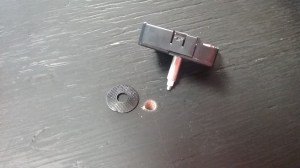
Cut two 5″ lengths of clear plastic. One, 7/16″W, and one, 5/16″W.
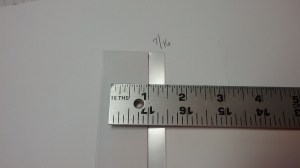
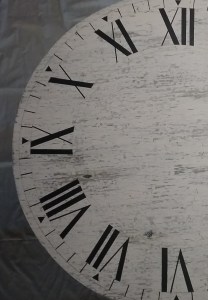
For the first Roman Numeral, center the widest plastic strip over the drawn line. Trace.
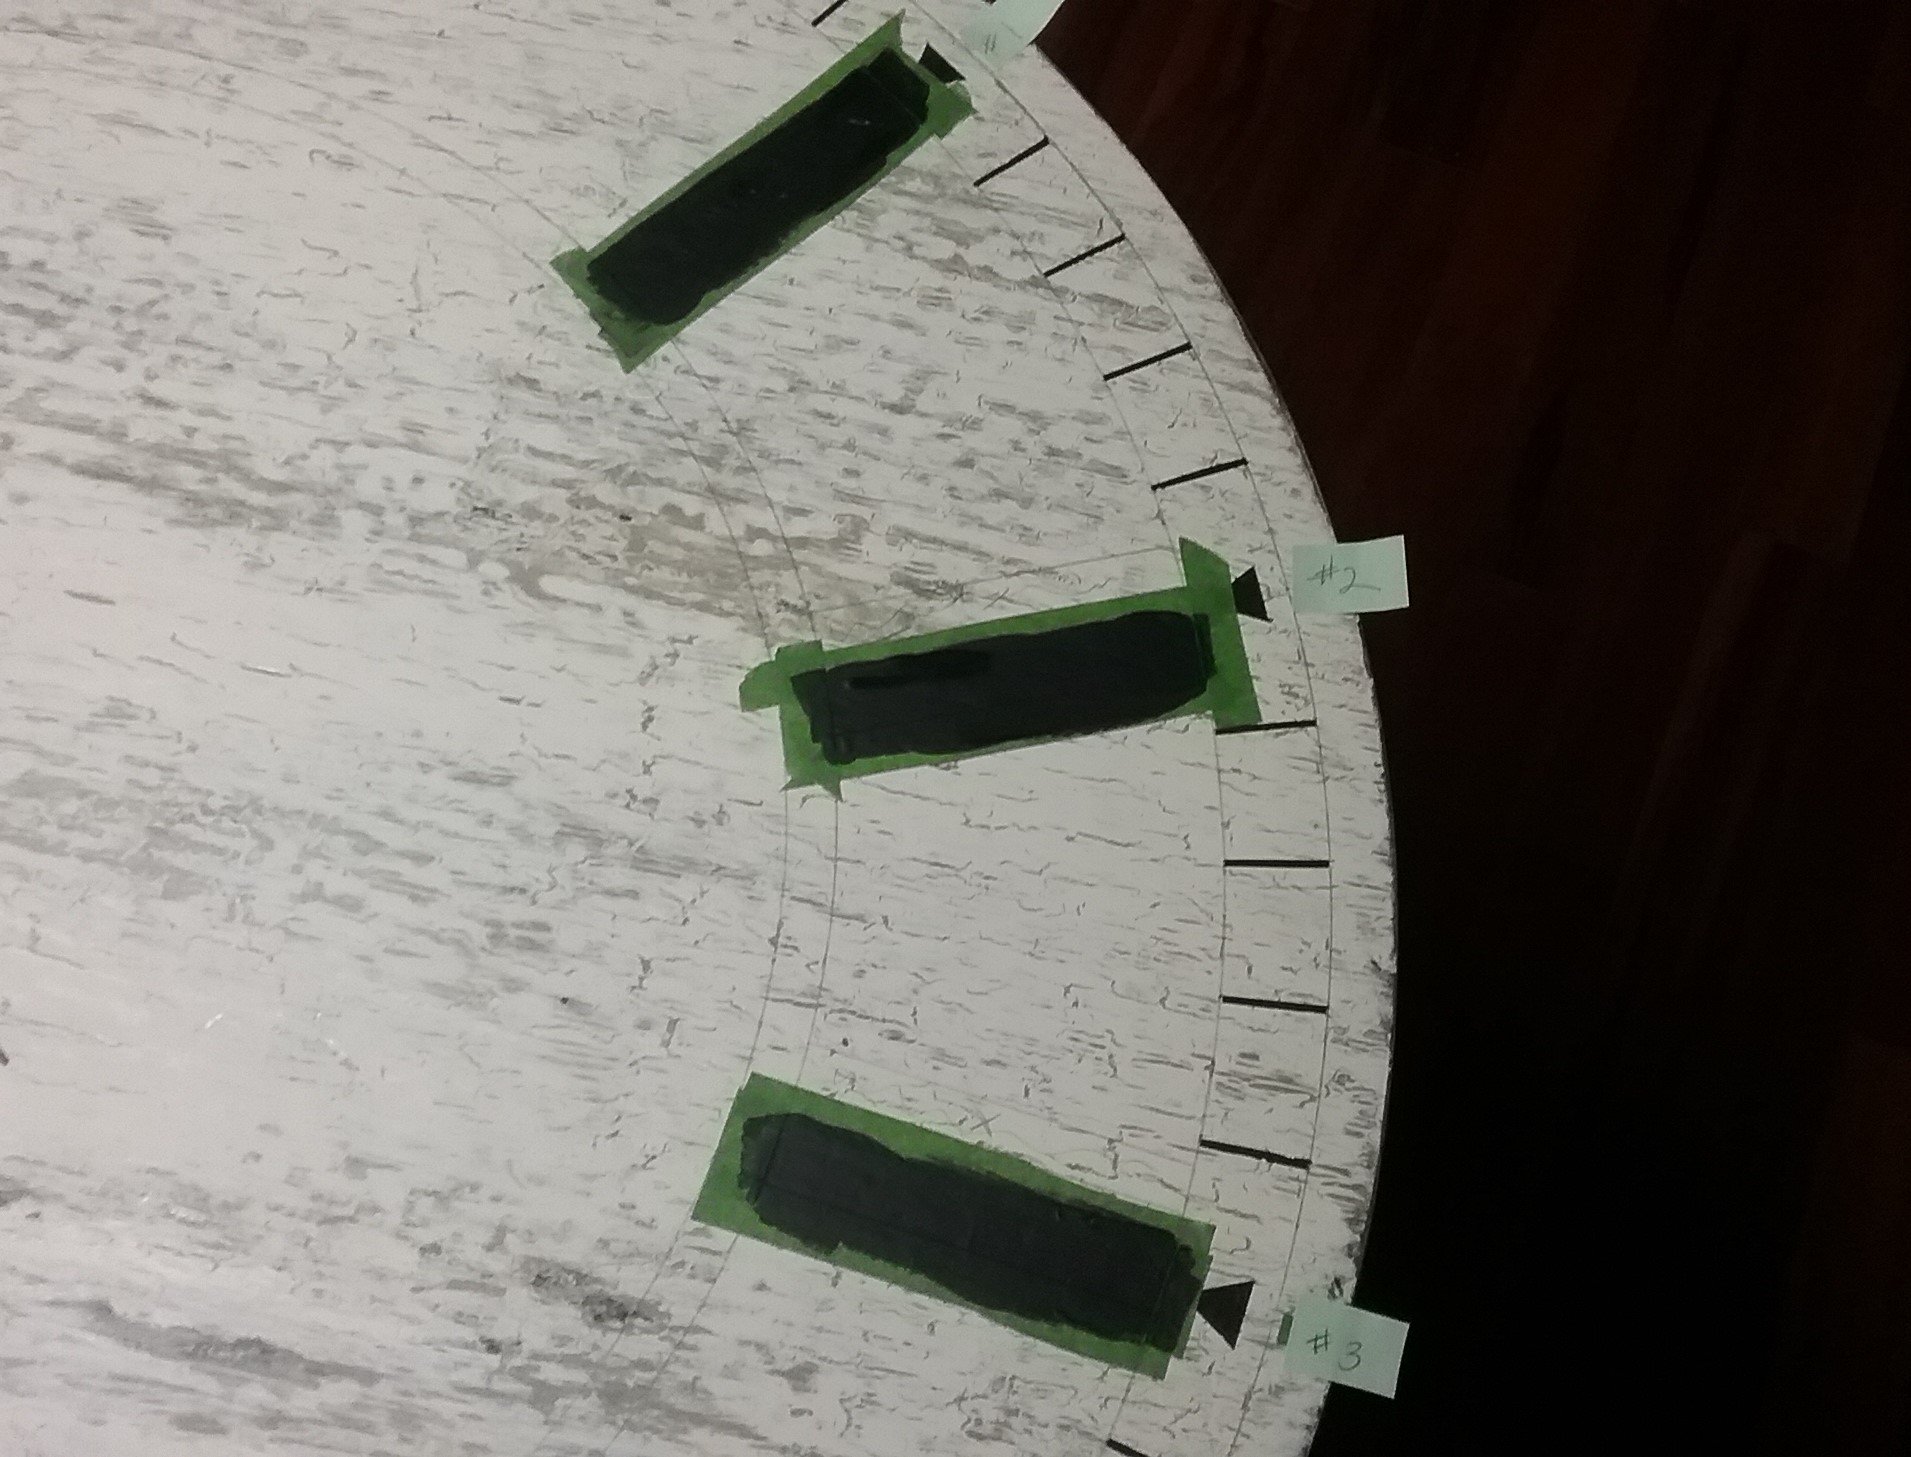
Use the same strip to trace the spacer between the numerals on the #2 first, then, re-position it, and trace again on the outside of the spacer for the numerals.

Center the strip over the drawn line on #3, trace for the middle of the numeral. Trace again on each side for spacing and numerals.
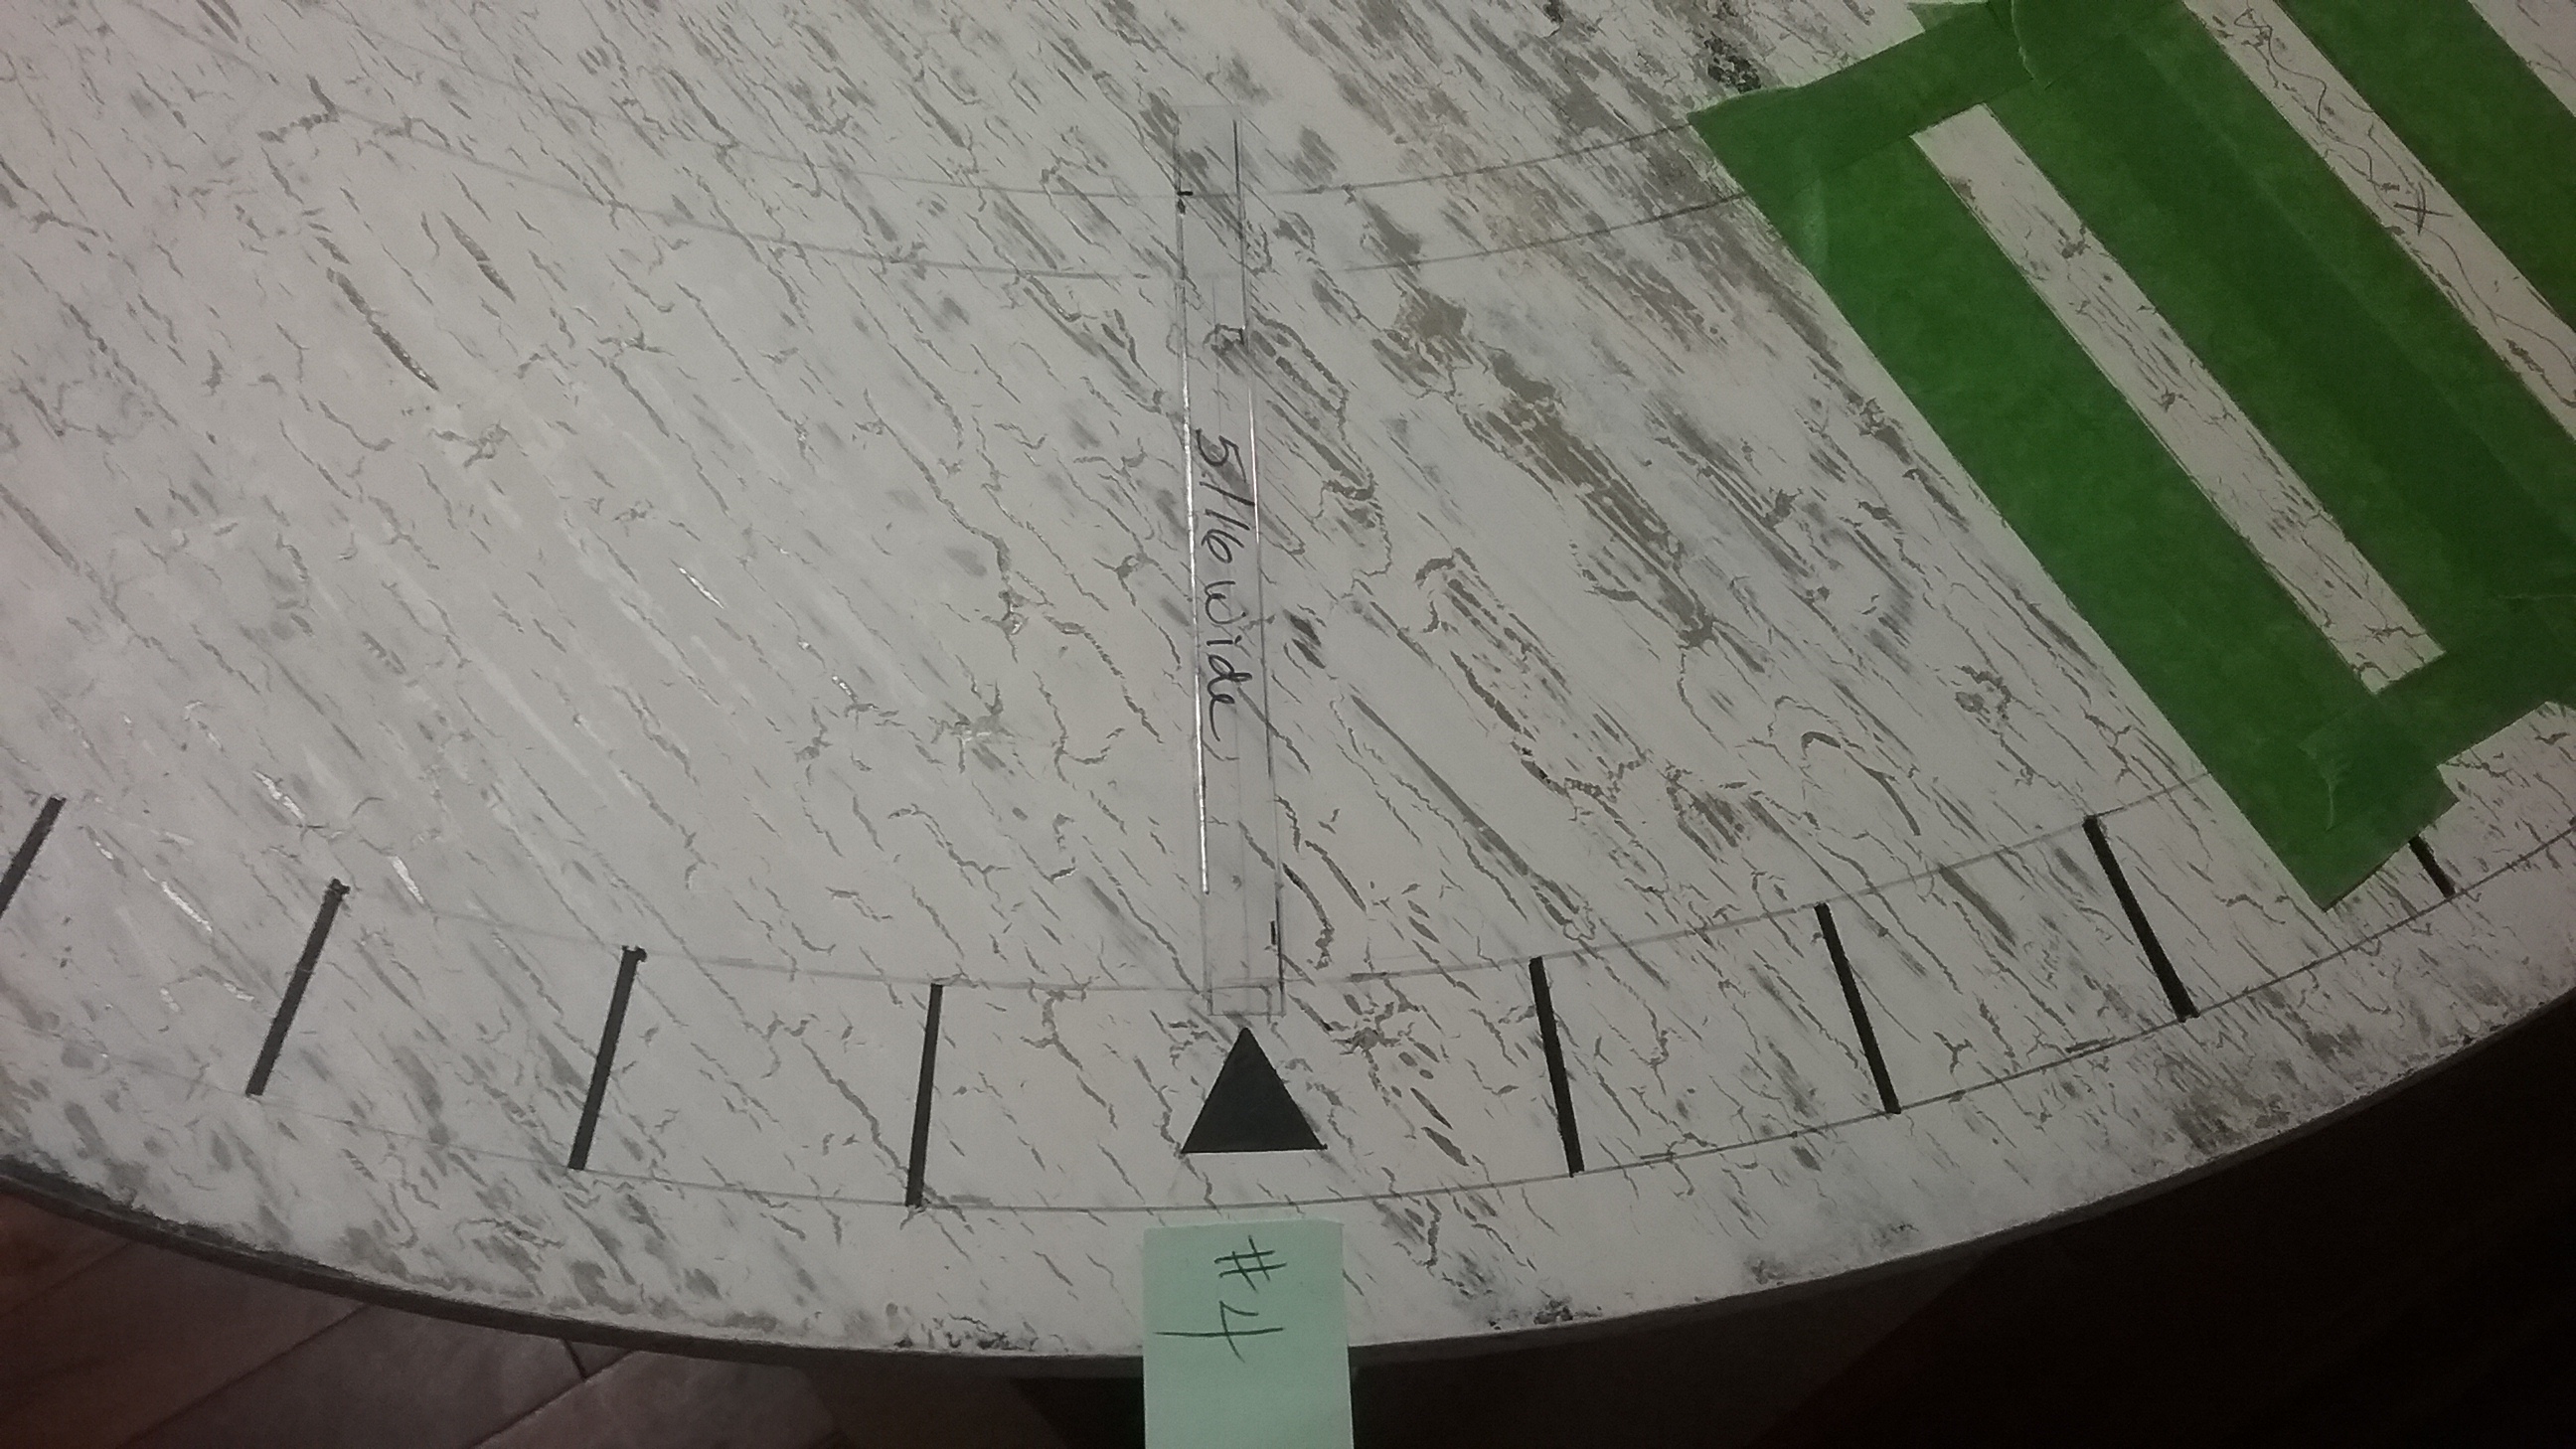
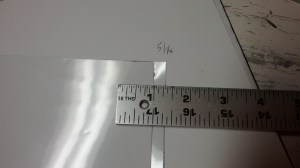
For the #4, begin with the 5/16″ strip laid over the drawn line, as spacing. All spaces will be 5/16″. The numerals will be 7/16″.

Use tracing paper to trace a small section of the curved lines where the numeral V will go. Draw separate patterns for the V and the X, within the traced curved lines. The 7/16″ strip is used to draw the wide part of the numerals. The skinny line will be 1/8″ wide. Make sure to include the curved lines and a faint center line on your pattern. Match up the curved lines on your pattern with those on the clock, and use graphite paper to trace the patterns where they are needed.

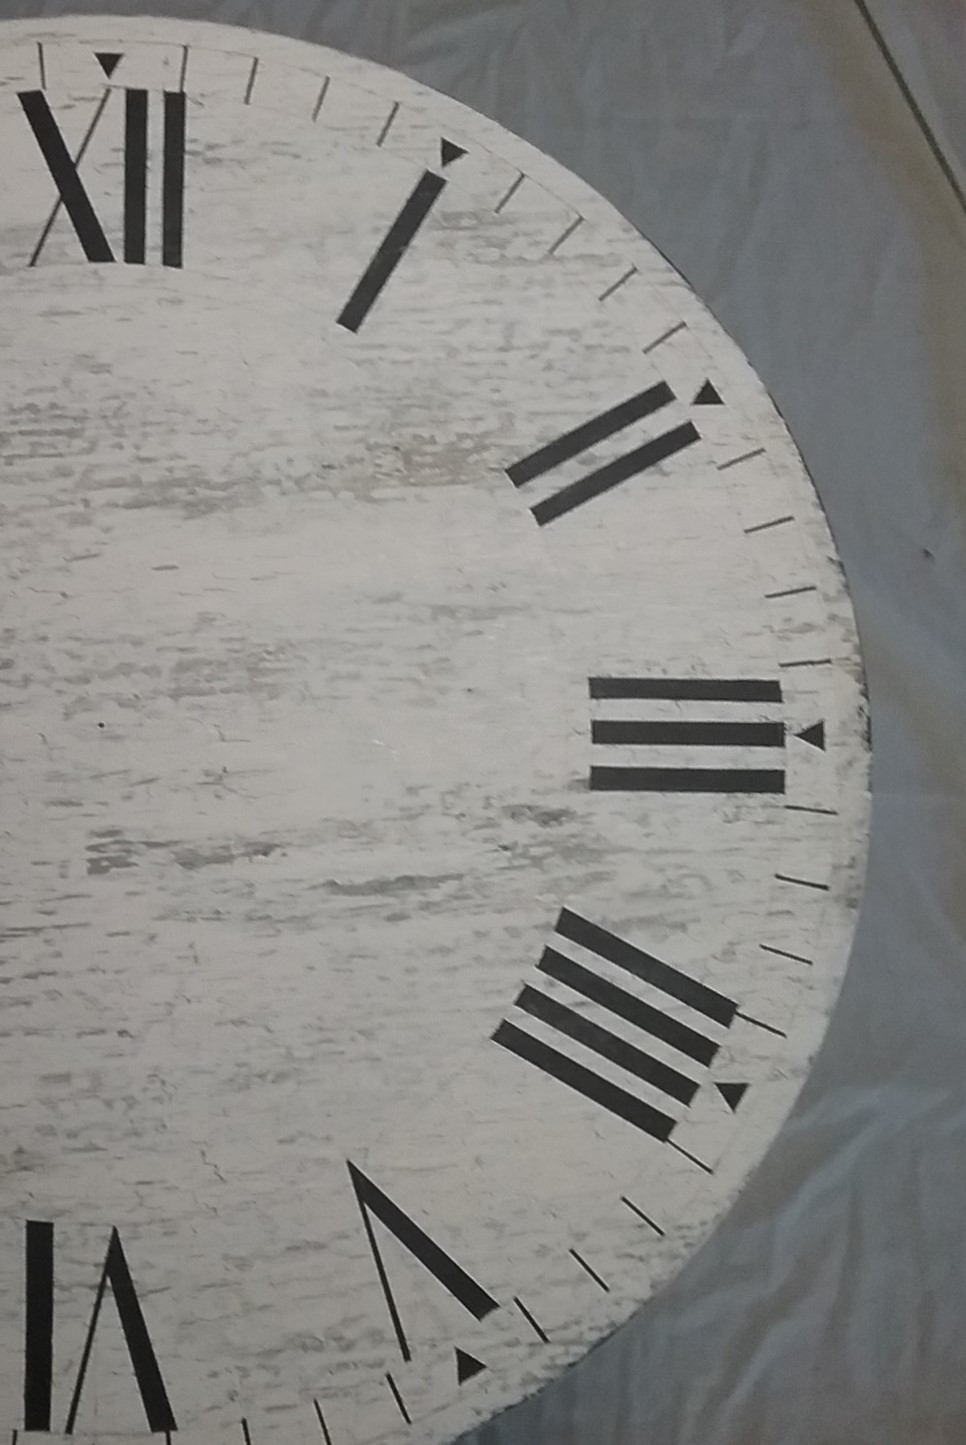
Continue drawing the numerals around the clock. All of the wide numeral strips remain 7/16″. The spacing between the strips decreased to around 1/4″ on the #6 thru #12. There’s really no set rules. I just do a lot of looking and maybe a little adjusting to get things right. A gum eraser will easily take care of any mistakes. Its most important that the numerals are straight and lining up well with the numeral opposite of it, so they have the same angle. Hope that makes sense. Sometimes it helps to glance at another clock, or pictures, for reference.
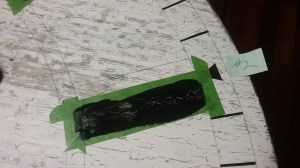
The numerals will have to be taped off and painted in steps. You can’t tape on damp paint, so wait for things to dry well before moving forward. Again, a crackle layer first, then two coats of black. Do not remove the tape until the paint is completely dry.
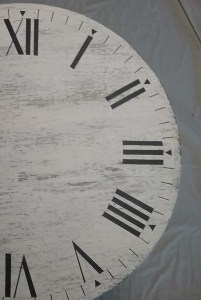
With the numerals done, rehang the clock and give it a good look. Everything look good? Count all the way around the clock and make sure the numerals are correct. For the life of me I couldn’t see what was wrong with one of my clocks one day. Maybe I was tired, don’t know. My daughter walked in, glanced at it and asked why I had two tens? Yep, there it was! I’ve also washed a numeral completely off after painting a V backwards, and fixed it. It’s all just paint, most everything is fix-able if need be.
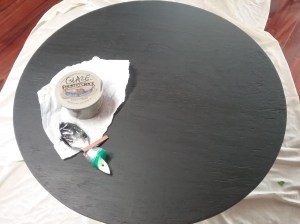
Back at the work table, squirt a little black craft paint on a piece of waxed paper and thin it with a few drops of water to paint the circle lines with a very fine liner brush.
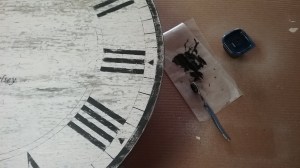
Paint the outside ring. One coat of crackle, two coats of black. Let dry. Clean up any tape bleeds, erase any pencil lines and do any last minute touches, then, sand to your liking with a very fine grit sandpaper. Give the back a quick sand too. Make sure to sand smooth any glue or paint drippings around the back edge. Wipe it off with a dry, clean, soft, lint free cloth. Now is the time to personalize if you wish. If not, give it some speckling with black craft paint and a toothbrush, and it’s done.
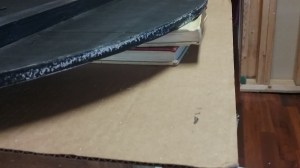
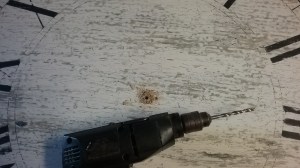
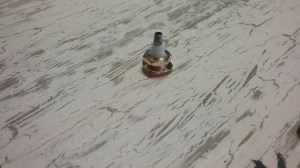
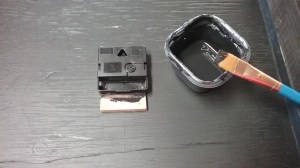
After the speckles have dried completely, use some books or something to raise your clock up off of the work surface. Drill through the nail hole with a 5/16″ bit. Push the stem of the clock movement, with the rubber pad on it, through the hole from the back, and tighten it on with the nut and washer provided. Hot glue a small piece of wood under the clock movement to hold it solid, and paint it black.
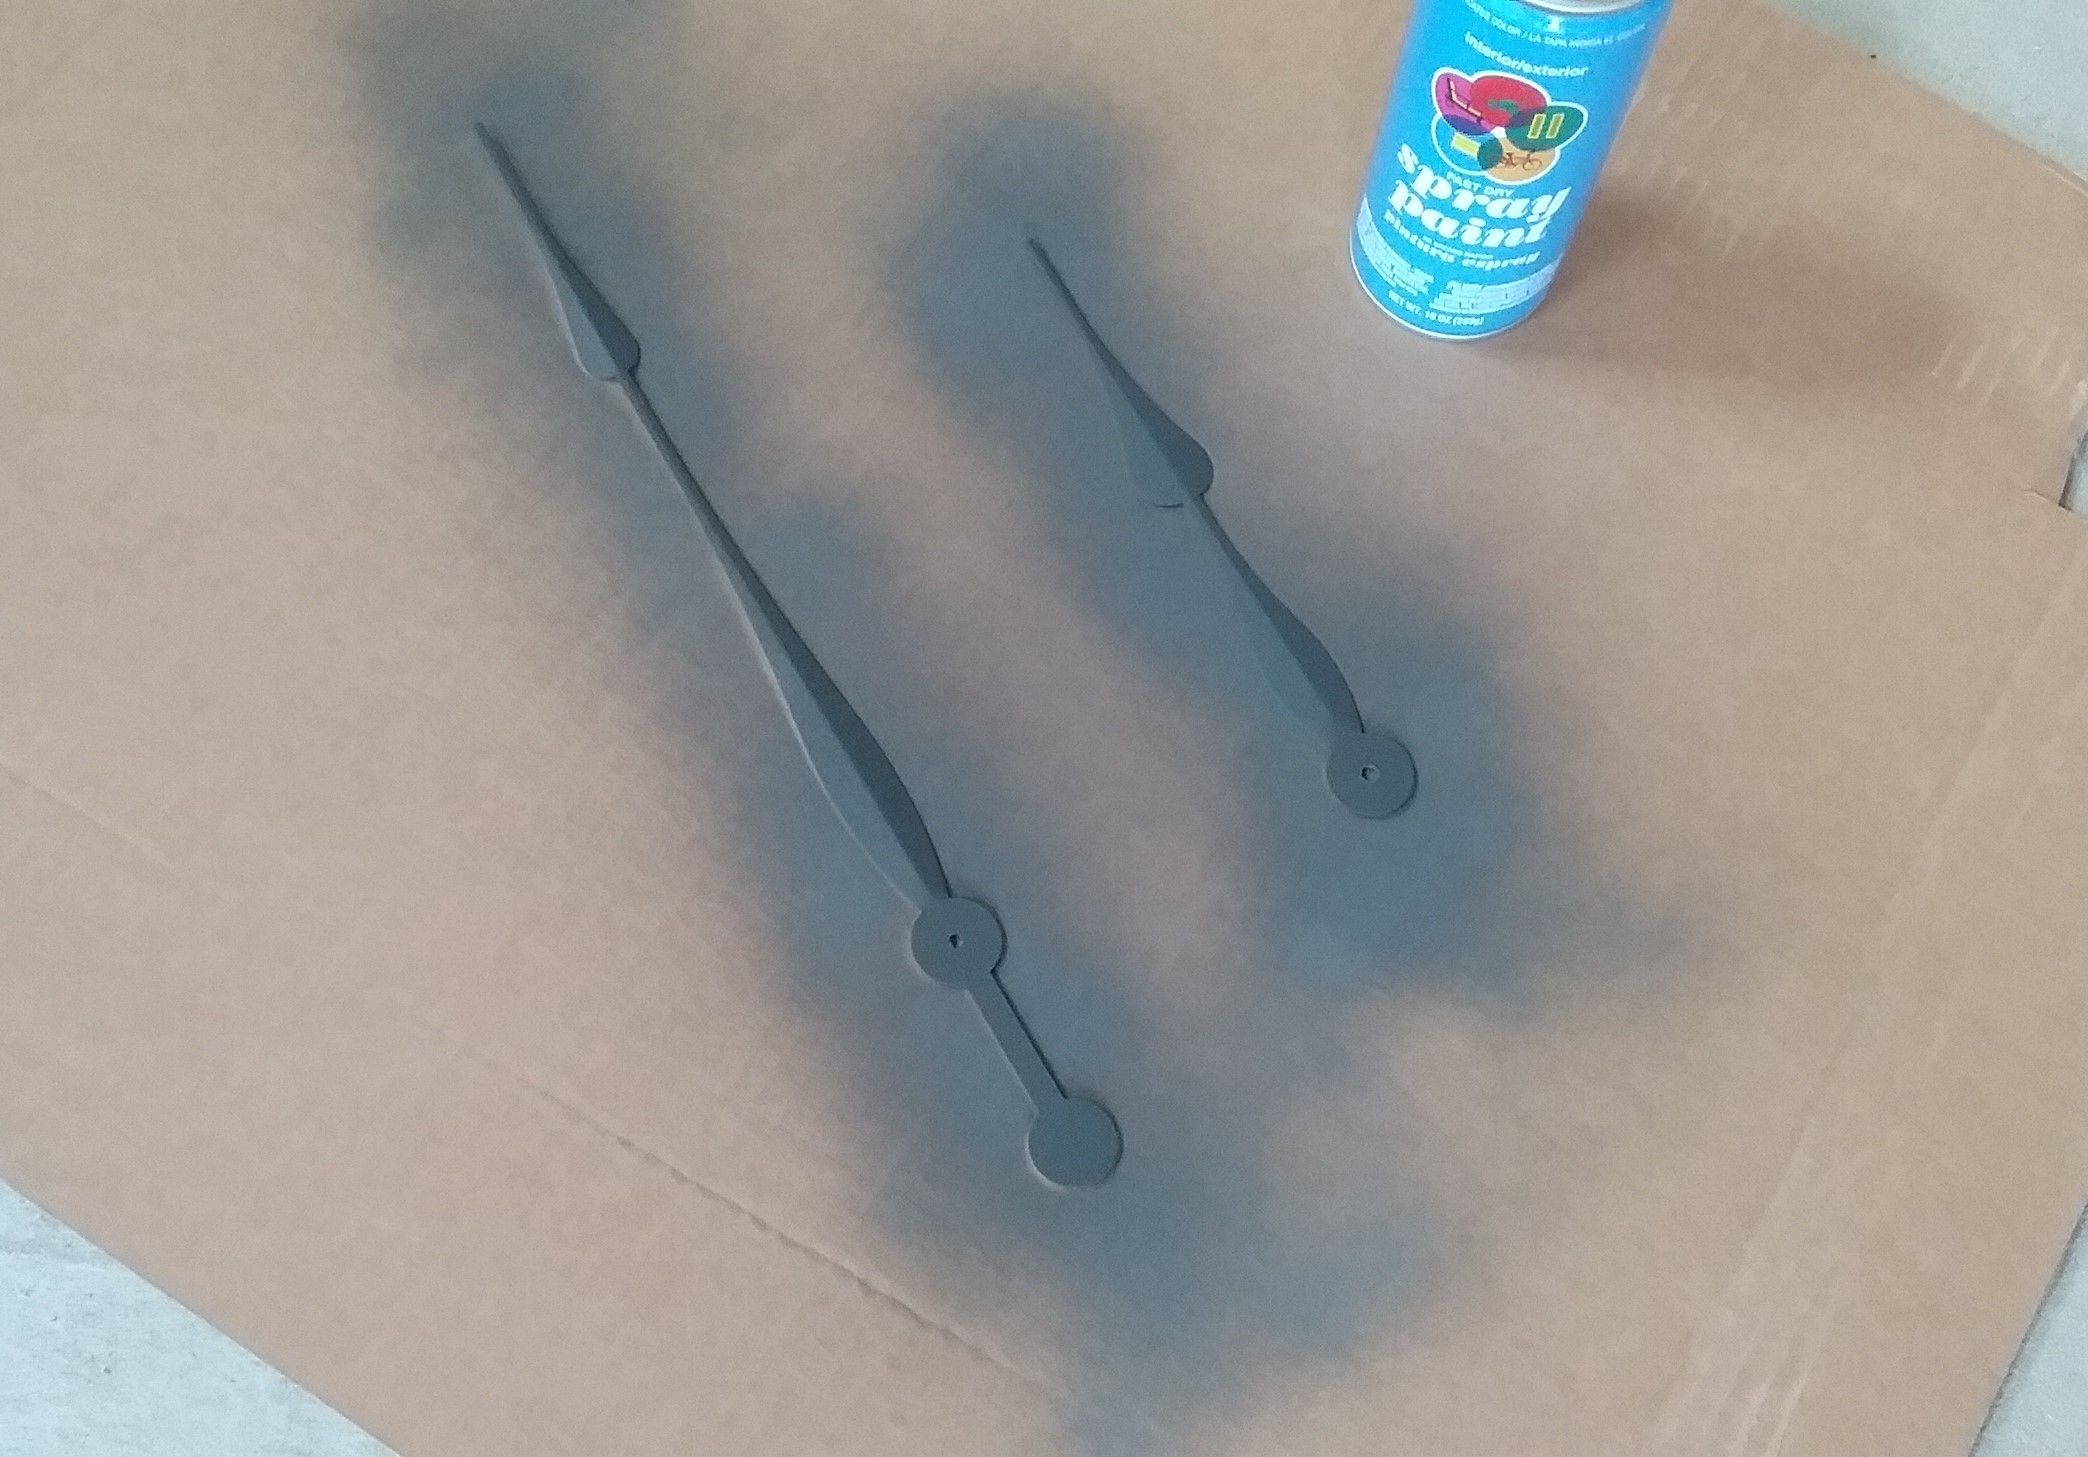
Carefully remove the plastic protective covering from the clock hands. Spray them with a black matte finish. Let dry.

Put the hands on your clock ..
1- Match up the small rectangle hole on the long hand with the clock movement. It will fit loosely. Turn long hand clockwise a full circle, and stop on 12. Remove the hand.
2- Lay the short hand on the clock movement, pointing at 9. Press it down gently and evenly until it fits snugly.
3- Lay the long hand on the movement, pointing at 12. Gently hold the bottom of the long hand to keep it level as you screw on the cap. Turn the long hand clockwise all the way around to make sure it clears the short hand. If you need to do adjusting, don’t try to bend the hands on the clock. Remove them to adjust and repeat the steps again.
Always set the time by turning the long hand clockwise.
Remove battery when transporting the clock.
So, what do you think? Anyone inspired to start painting yet? Are you painting anything similar and have some tips to share?