
It was a few wet days, last month, that spurred an unexpected project. After admiring many creative and inspiring concrete/hypertufa boards on Pinterest, I was so dreaming of designing garden pathways and stones, as my first concrete endeavors, but instead… it was a boot scraper.
Our old boot scraper was already settled comfortably by the back door when we moved to the family farm over 25 years ago.
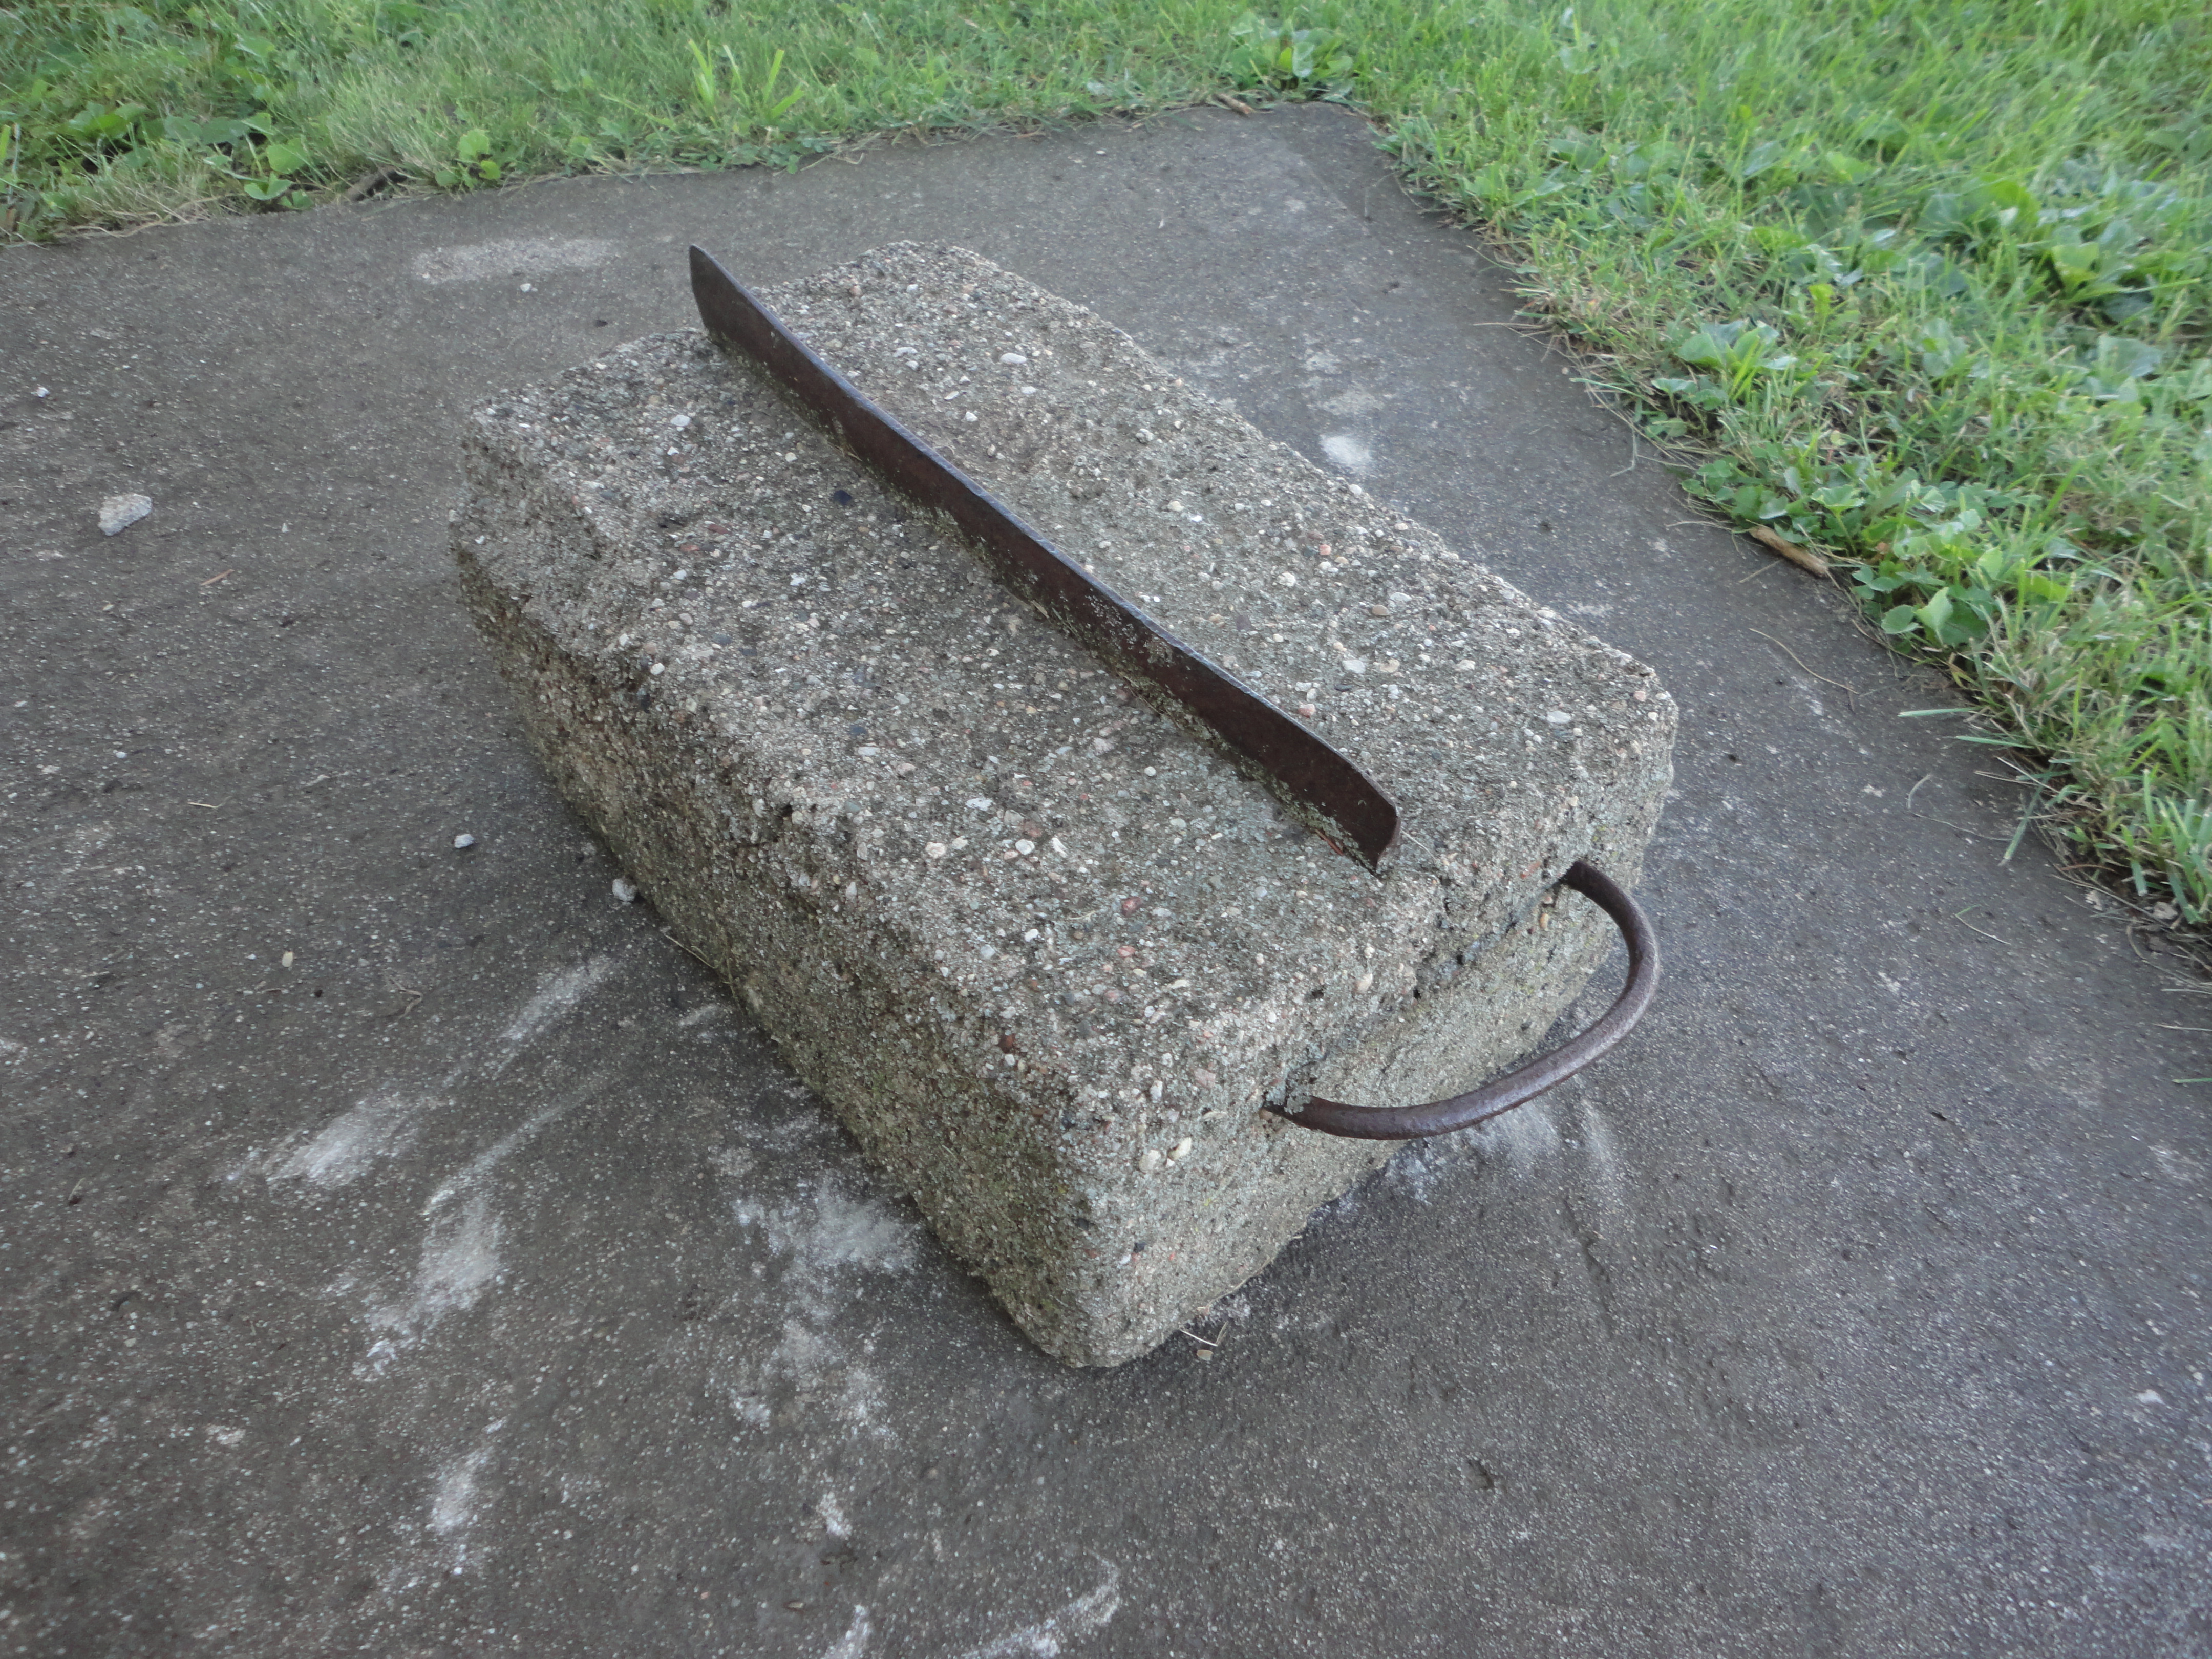
It found it’s way here in a load of salvage long before our arrival. It has scraped many boots and shoes, propped boards to be painted, secured papers, and dog leashes. No one ever gave it much thought until we were trying to wipe mud from our shoes, in wet grass, before entering on the other side of the house. That’s when I said, “We should make one of those mud scrapers for over here.” My husband replied, “Wouldn’t take much, just a box of concrete and a piece of steel.” It took me a minute to absorb…. “Hey! I think I got something we can use!”
I’ve always had a tendency to save pieces and scraps when remodeling or updating, like the wainscoting used to build our bird feeder, in my previous post. I find it fun to integrate the old with the new. It’s like letting something catch it’s breath to start a whole new story.
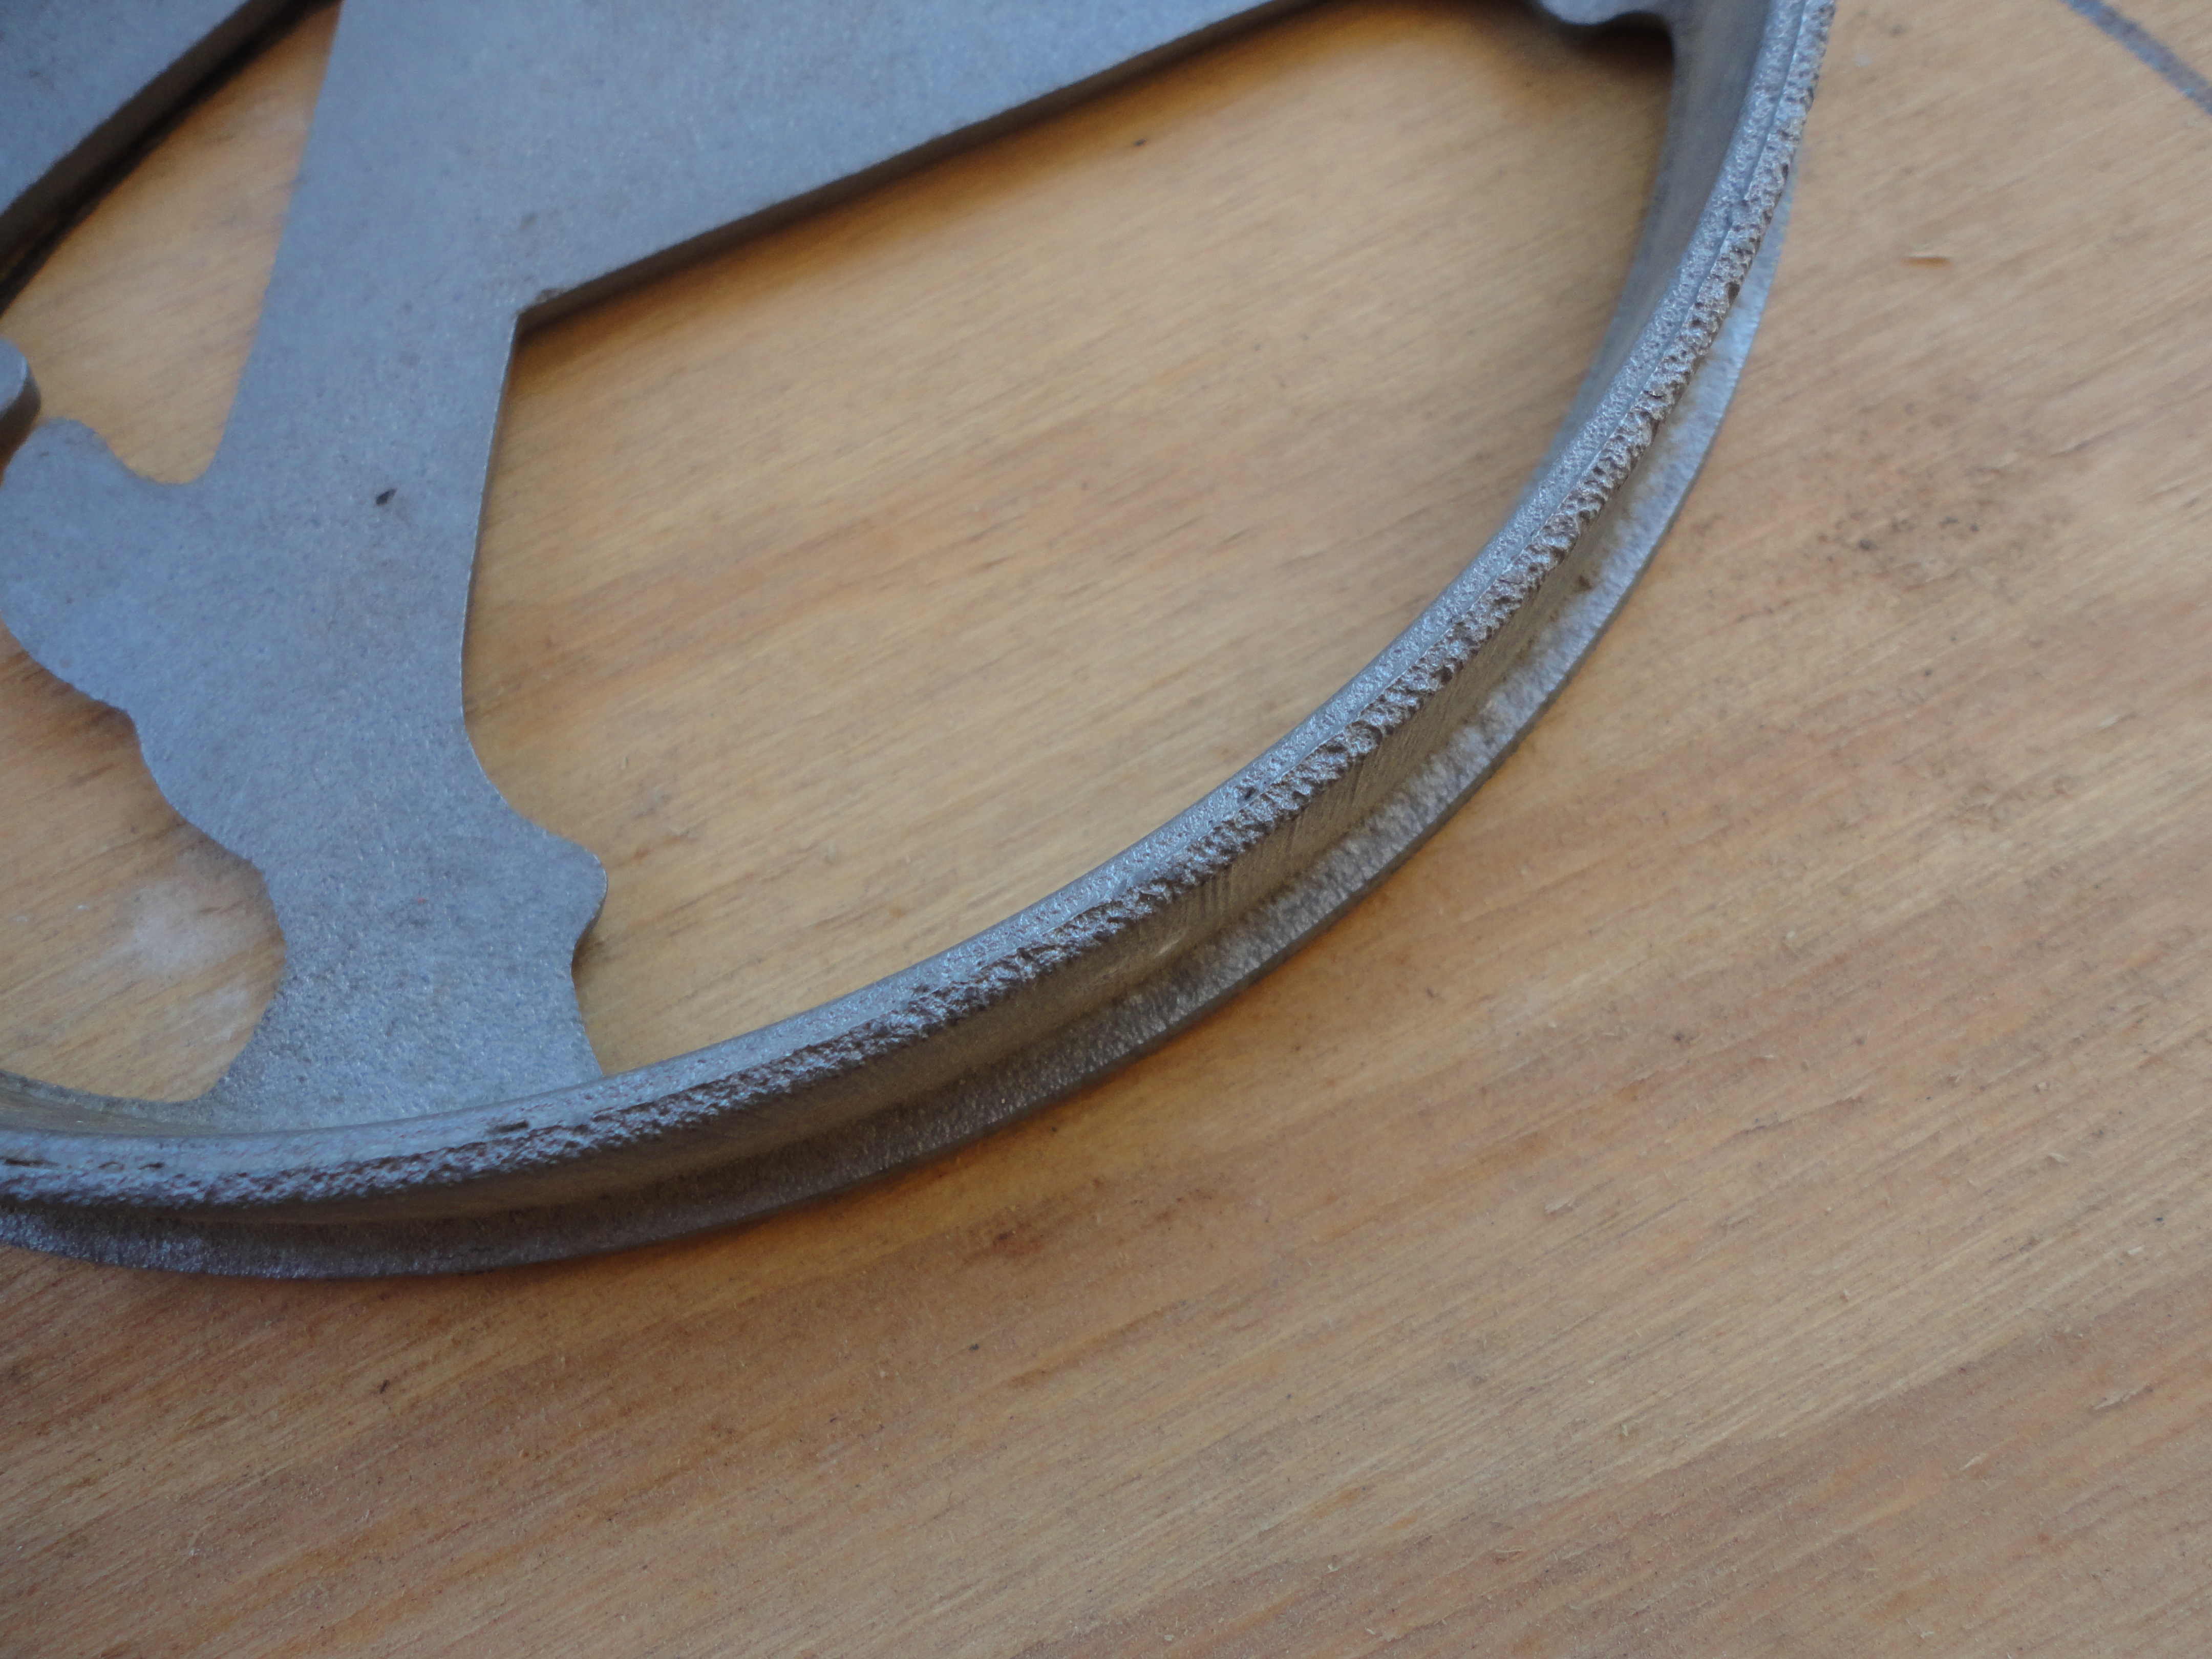
A cast aluminum “K”, from one of the first doors we replaced, has rested on a nail in my garage for a very long time. I’ve often looked at it as I pulled in, and thought, “I’m gonna find a good place for you someday.” That day finally came … it was the perfect “glassic touch”.
We began by tracing the inside rim of the aluminum piece on 1/2″ plywood, and cut it out with a band saw.
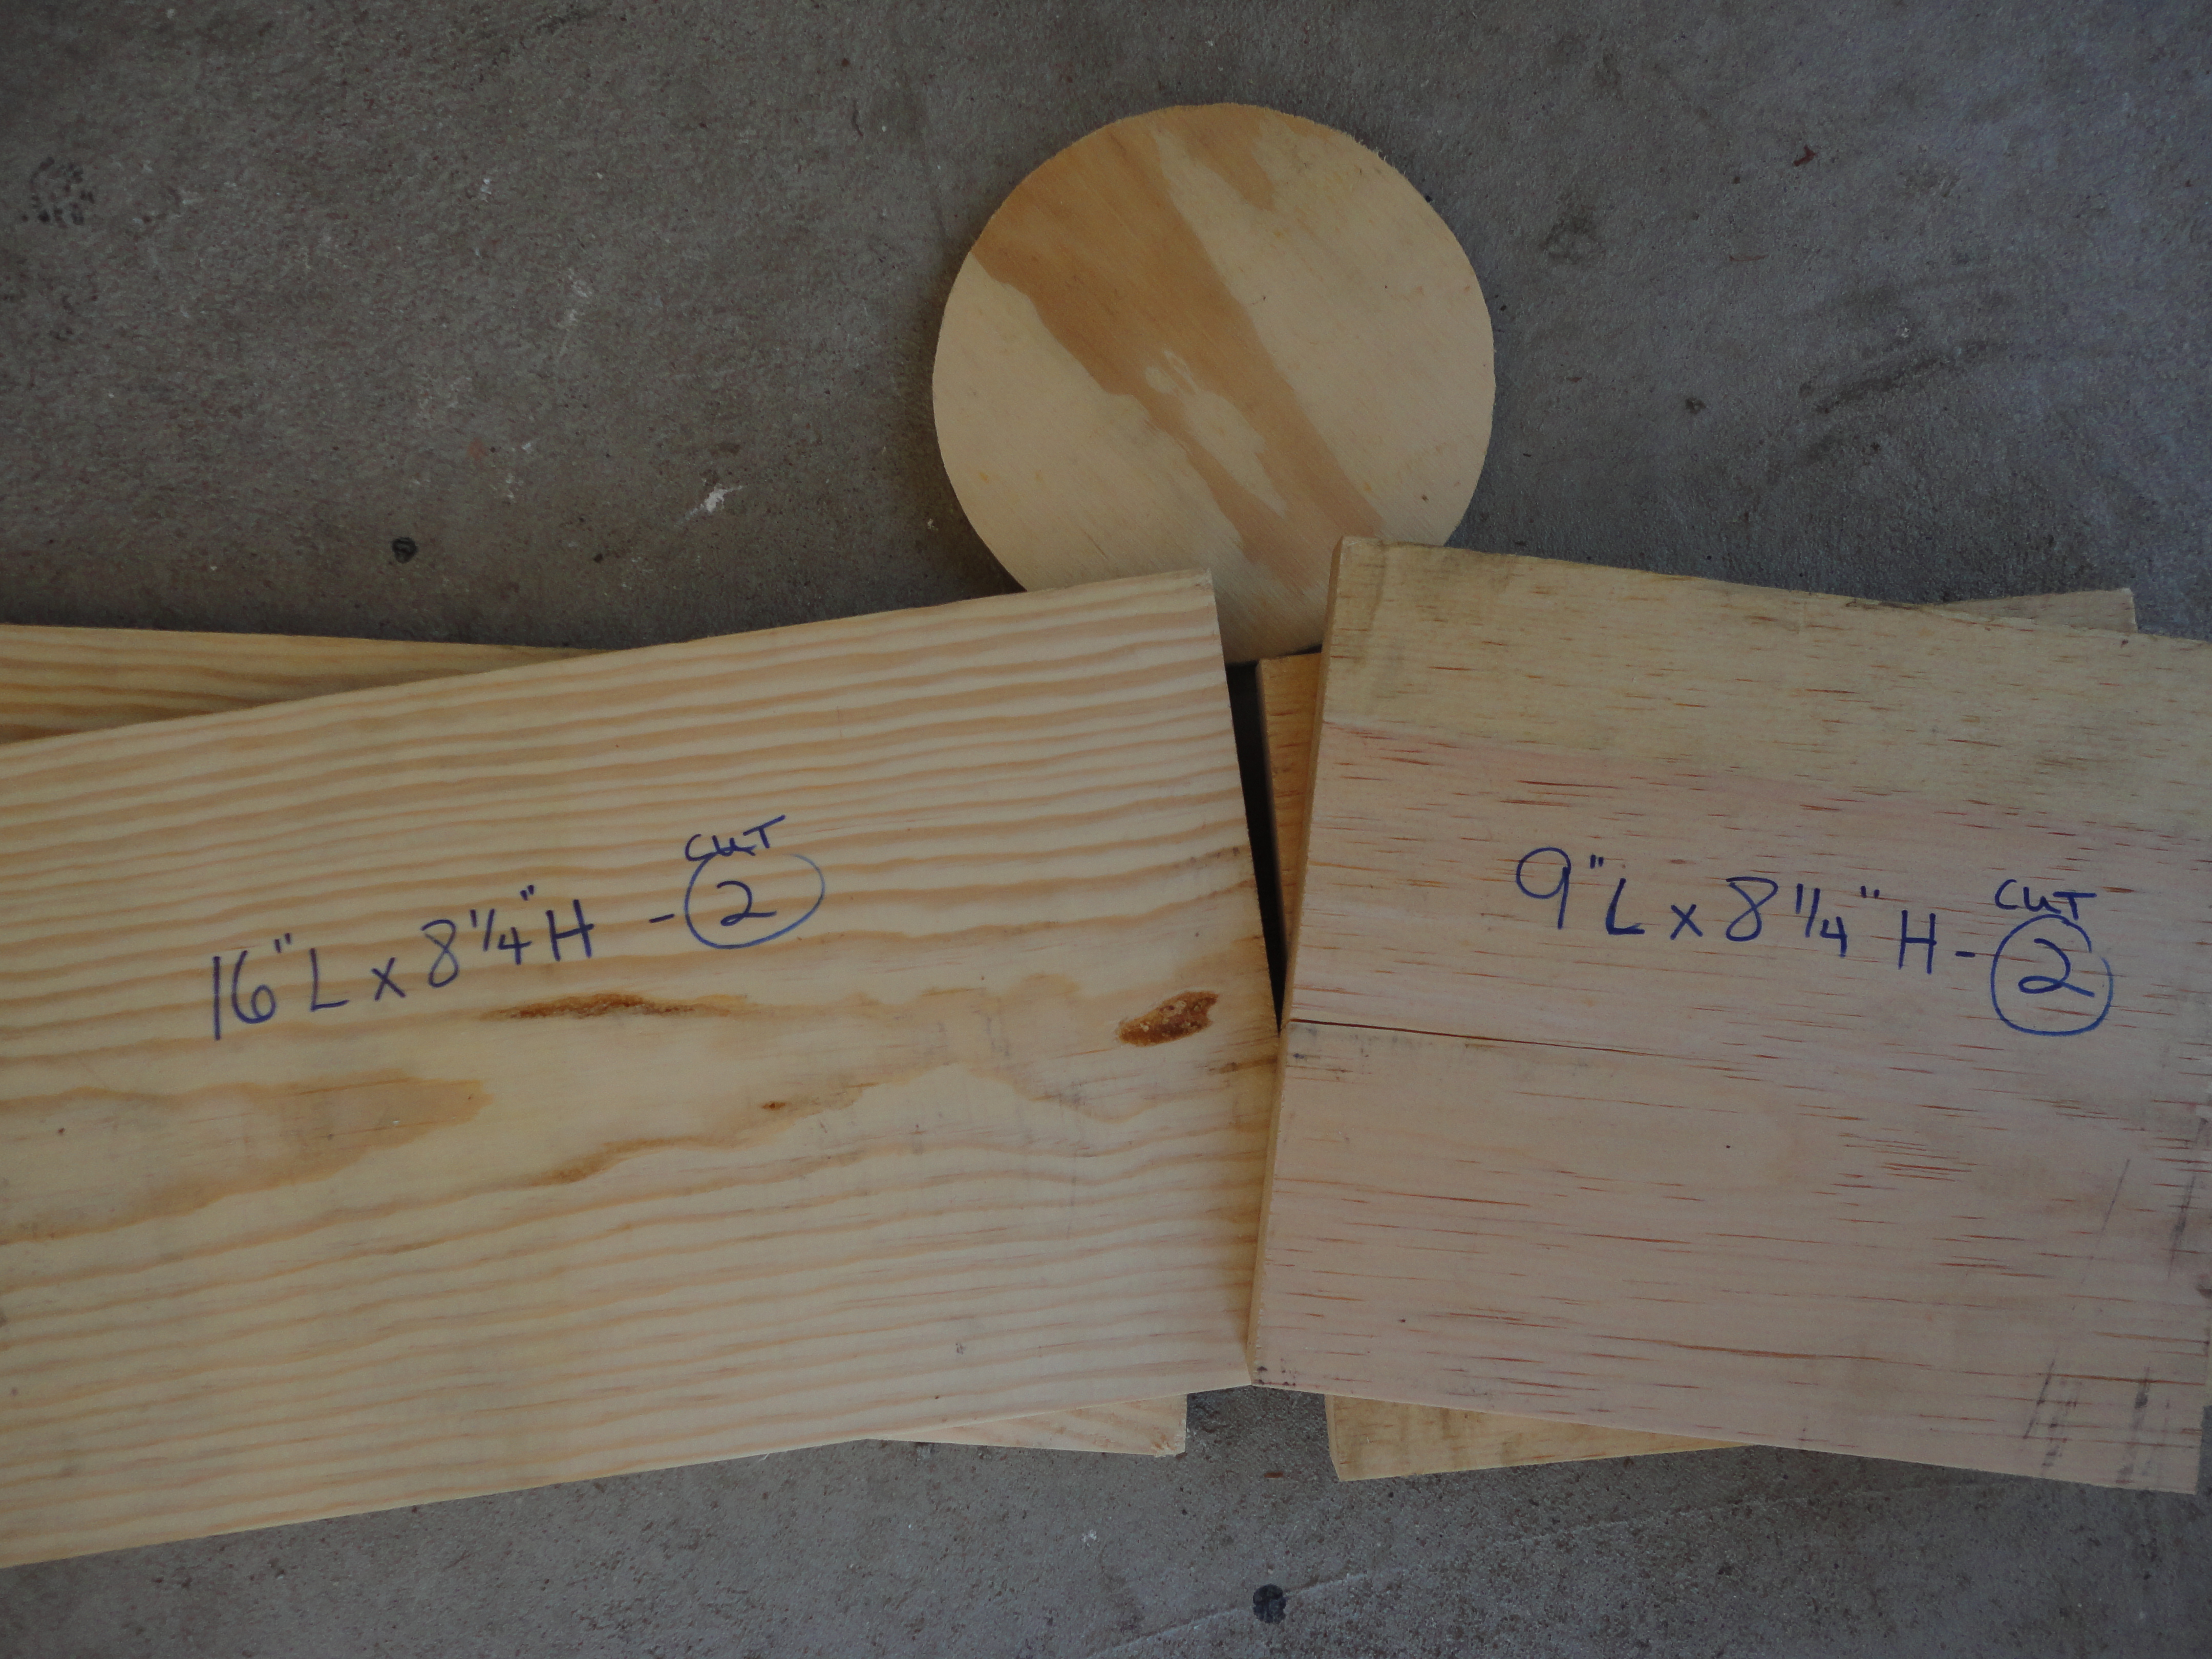
Box sides were cut from 1″x10″ pine boards, mindful that the wood grain ran horizontally on the end that the handle would be inserted in, so it can easily be split off later.
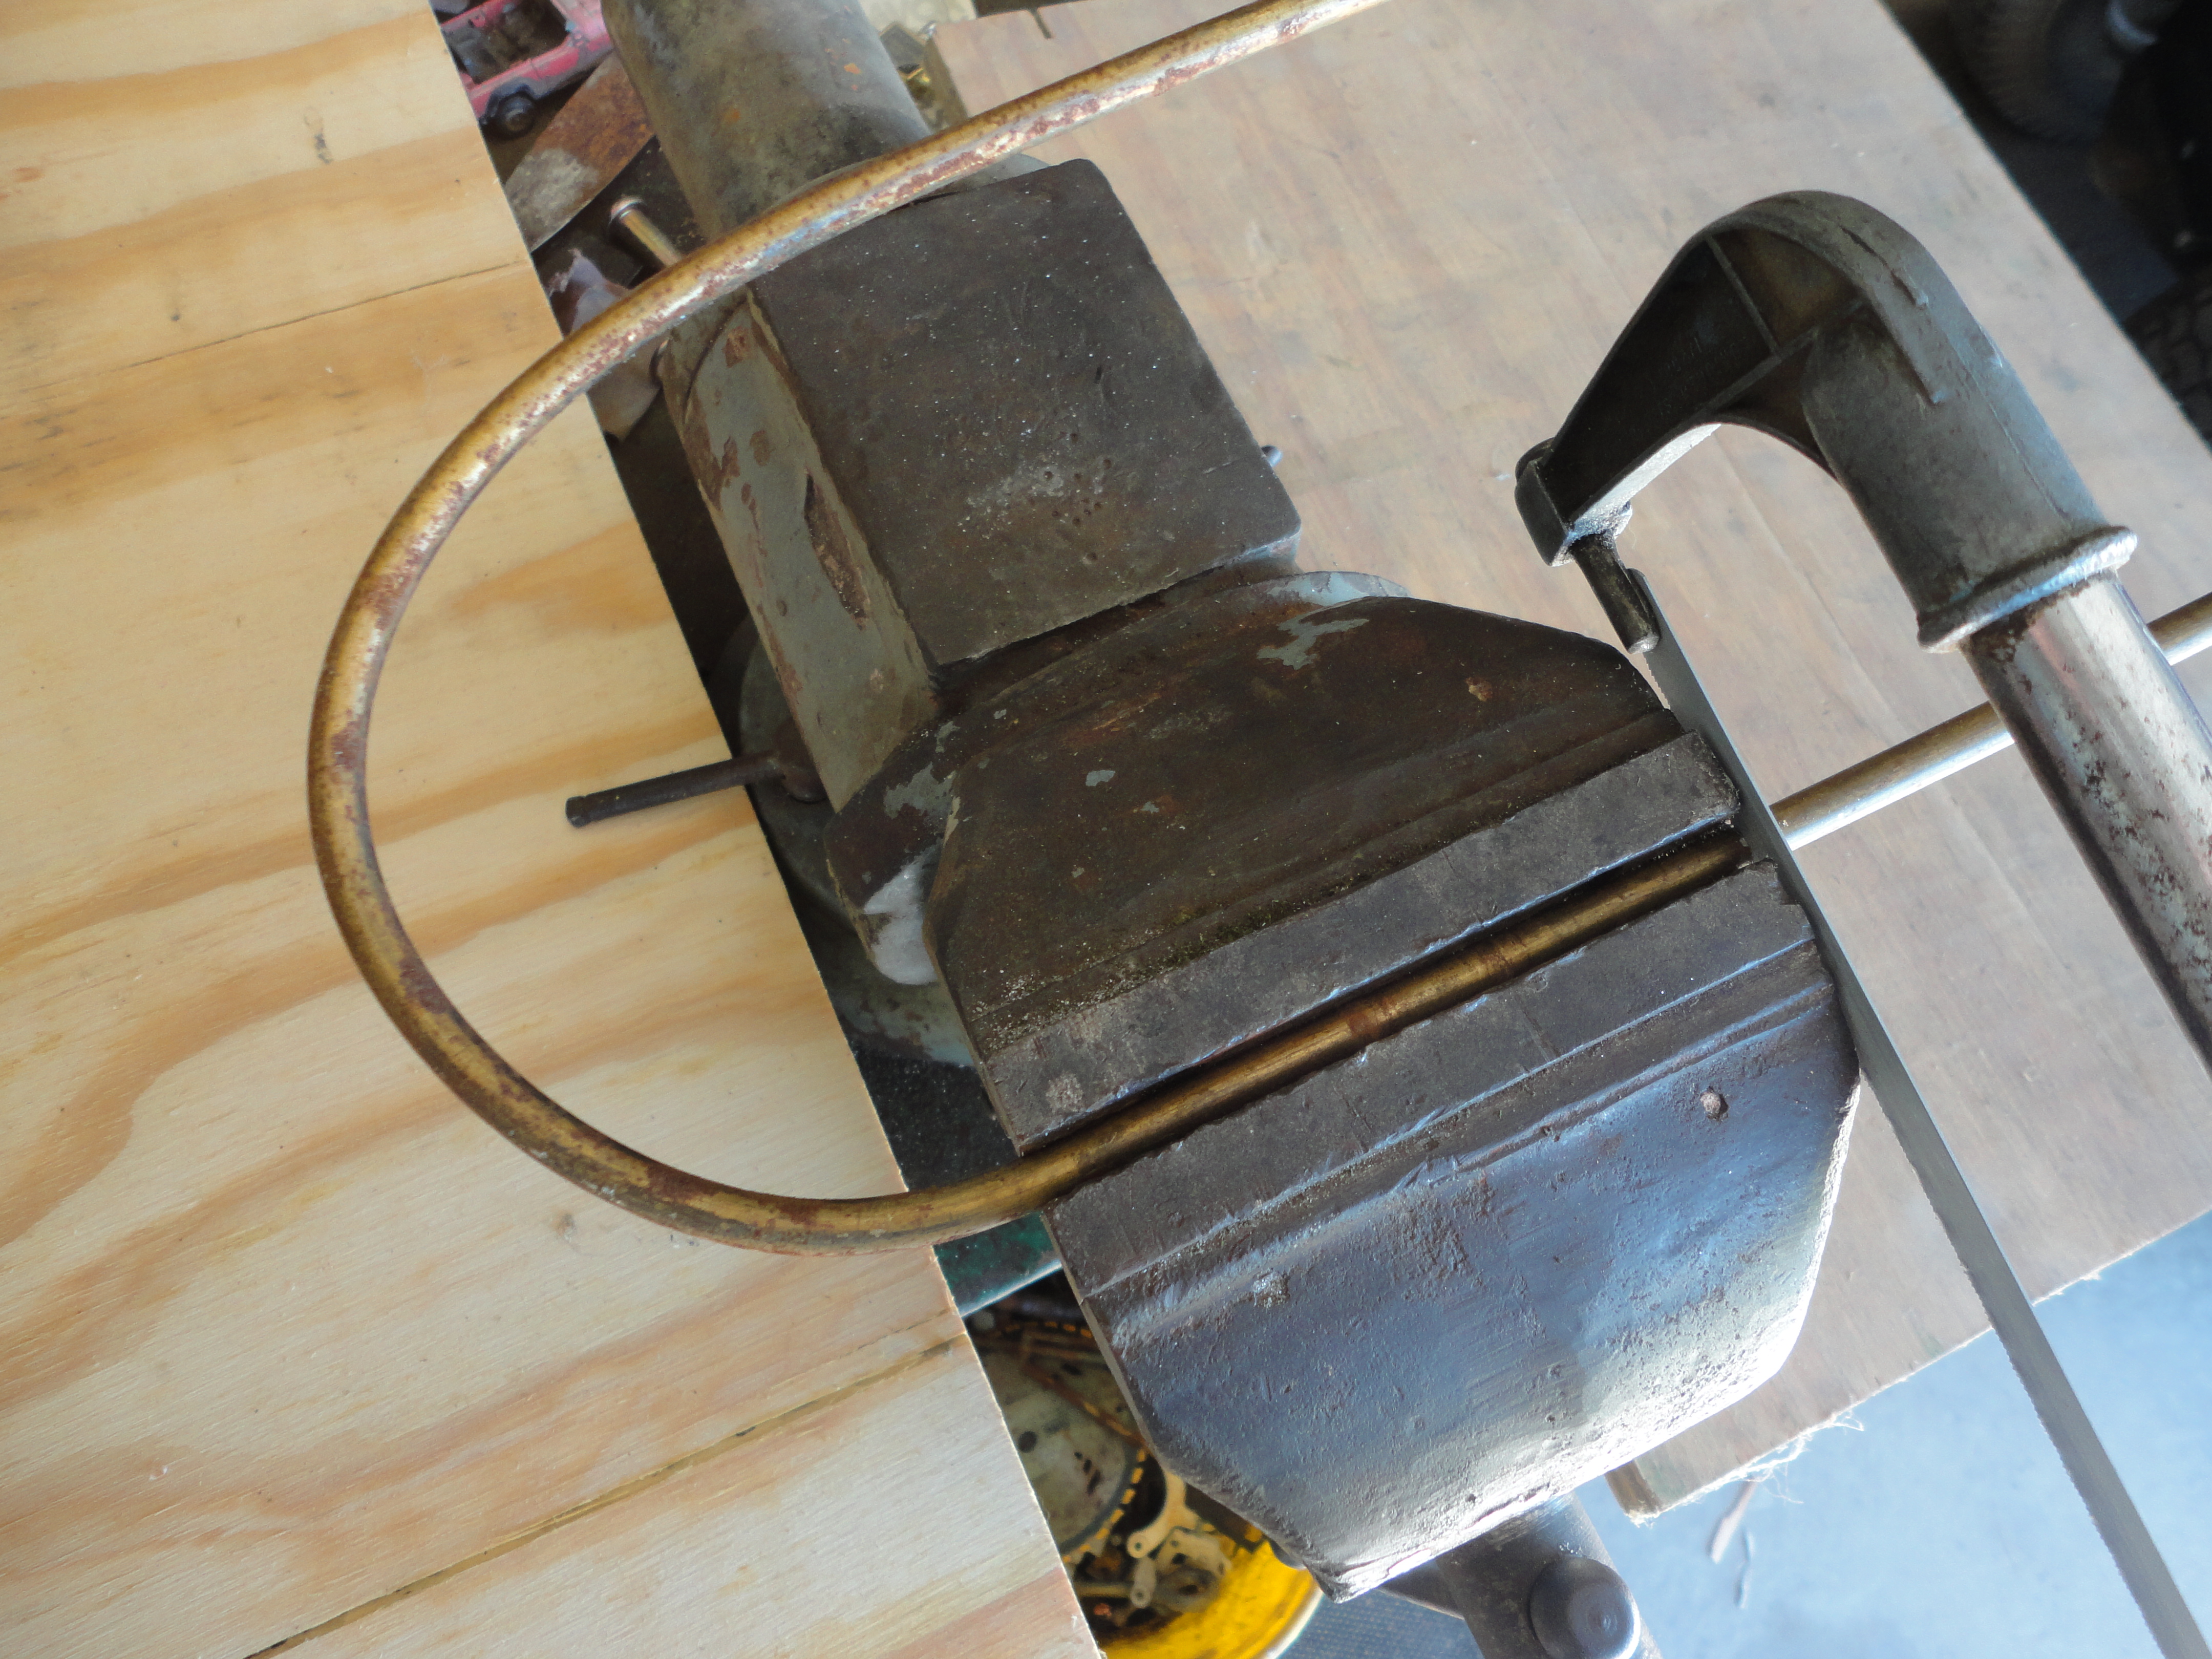
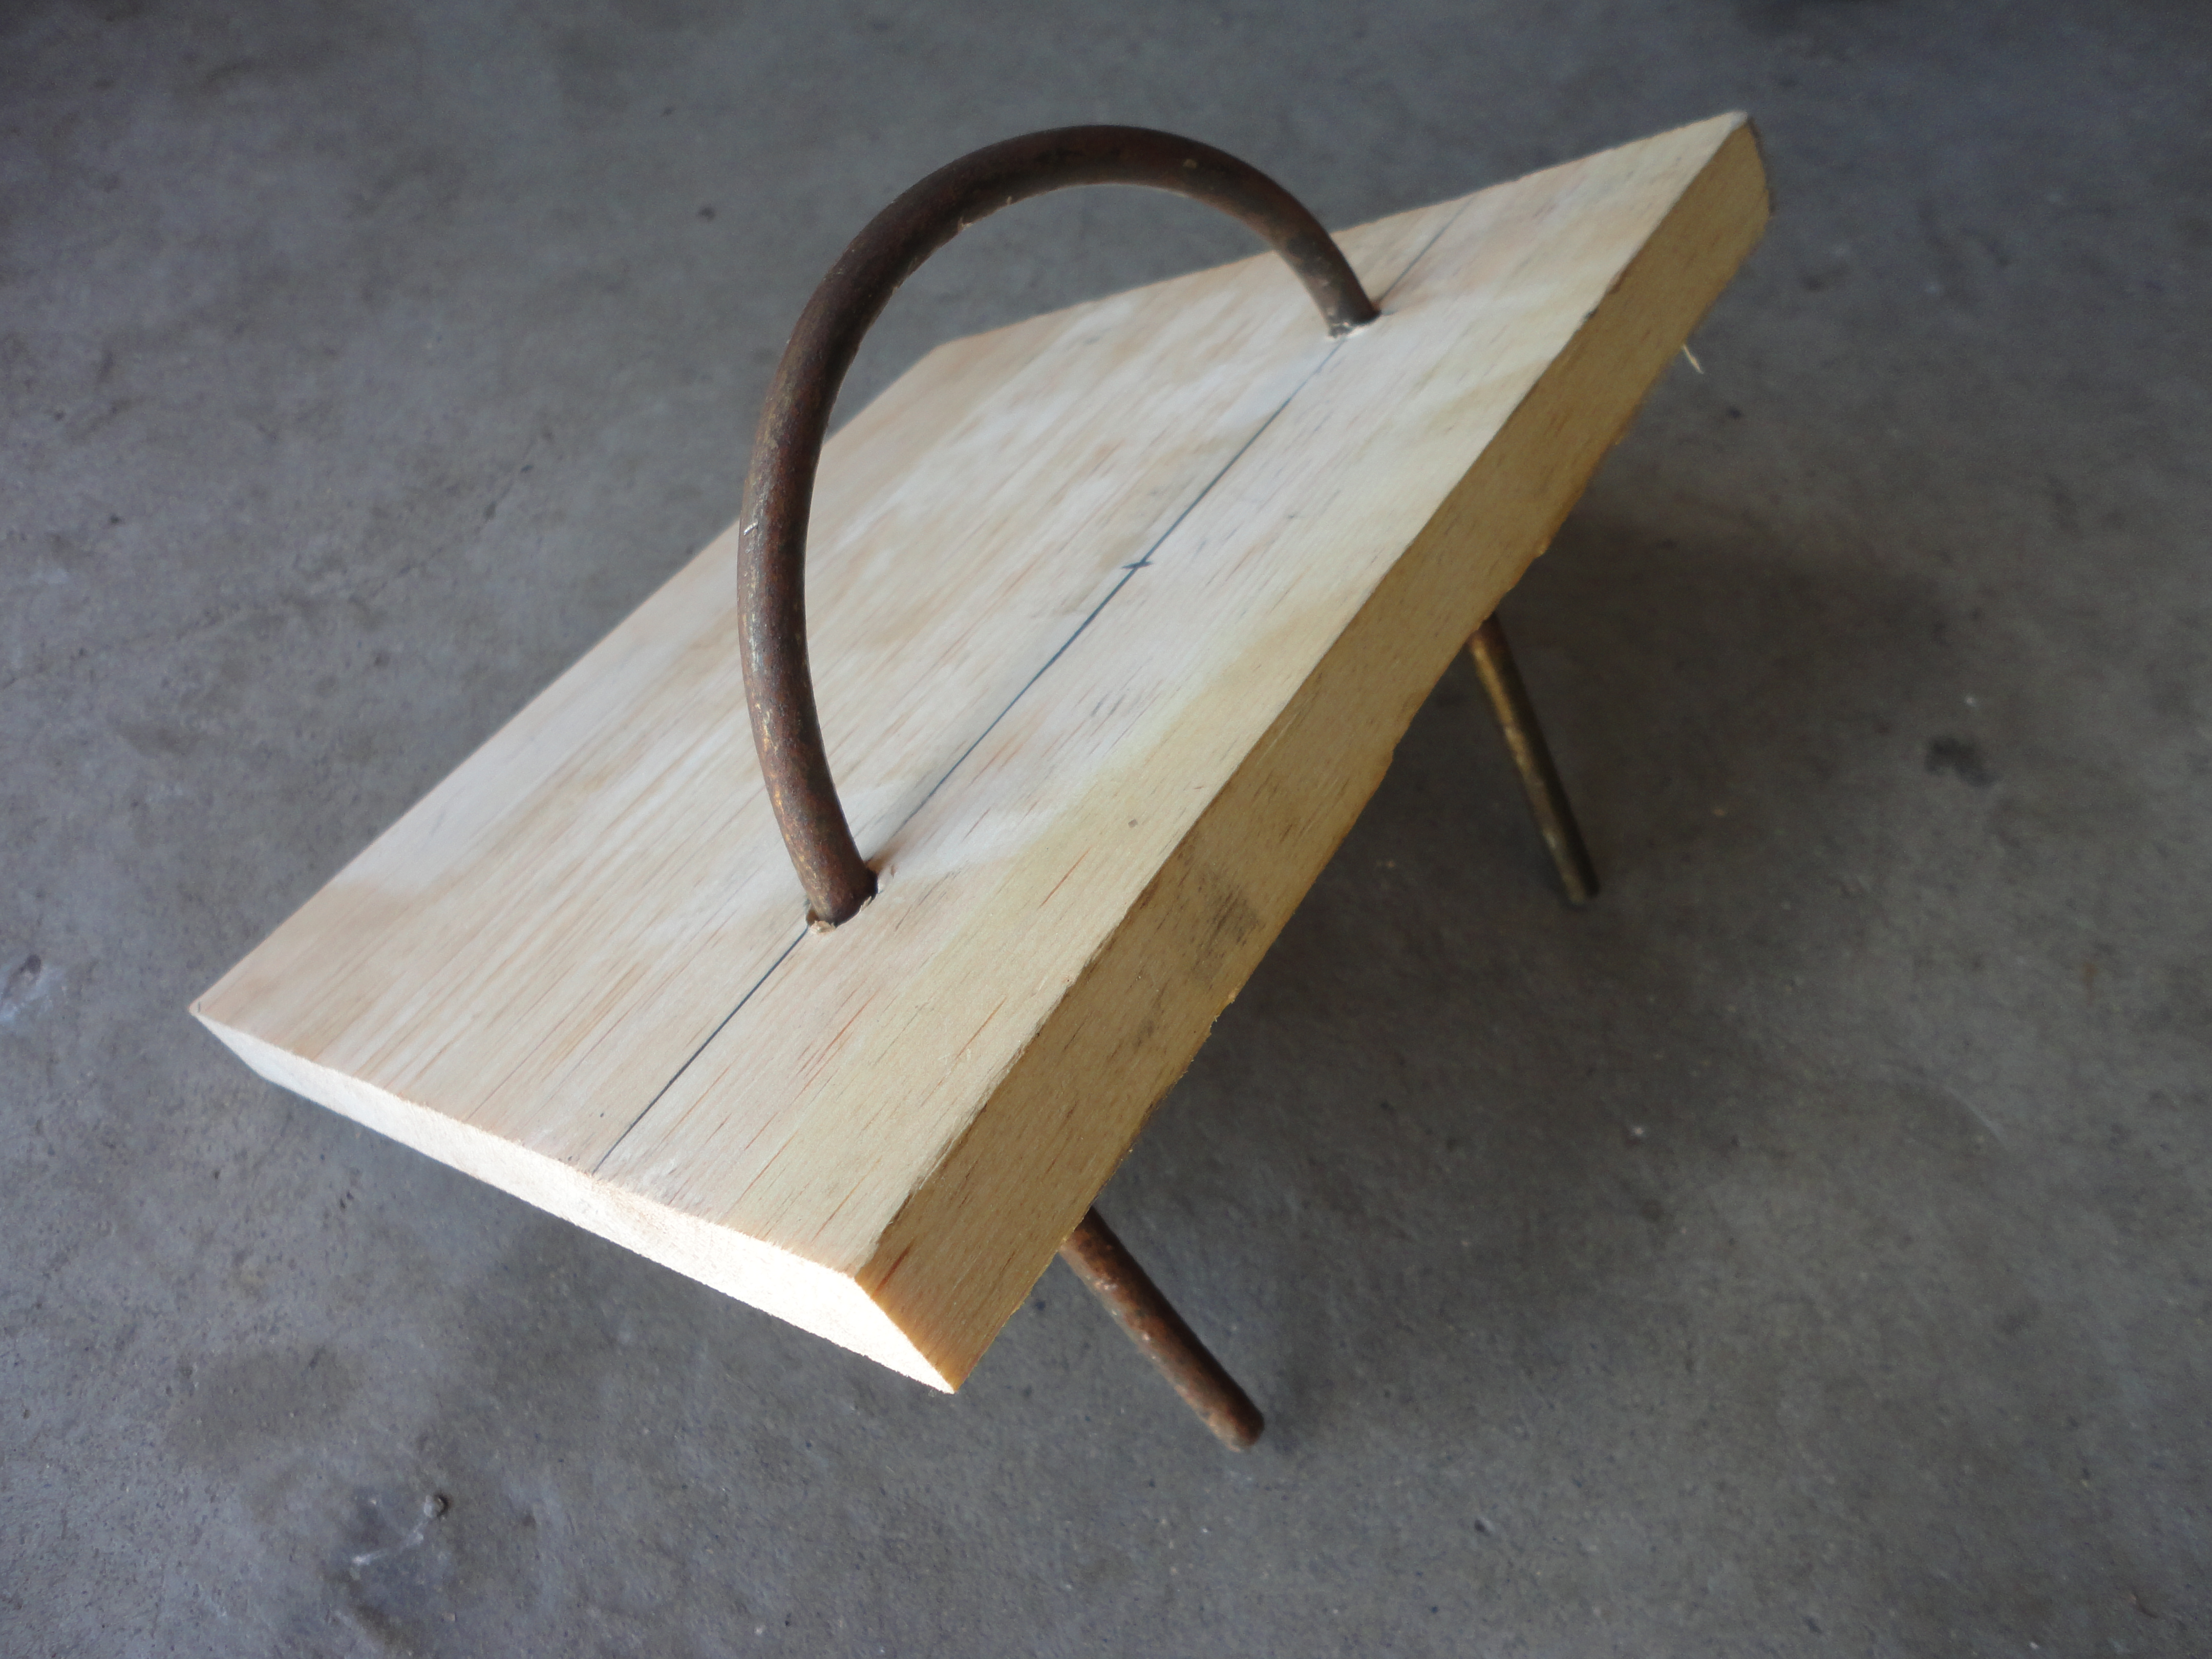
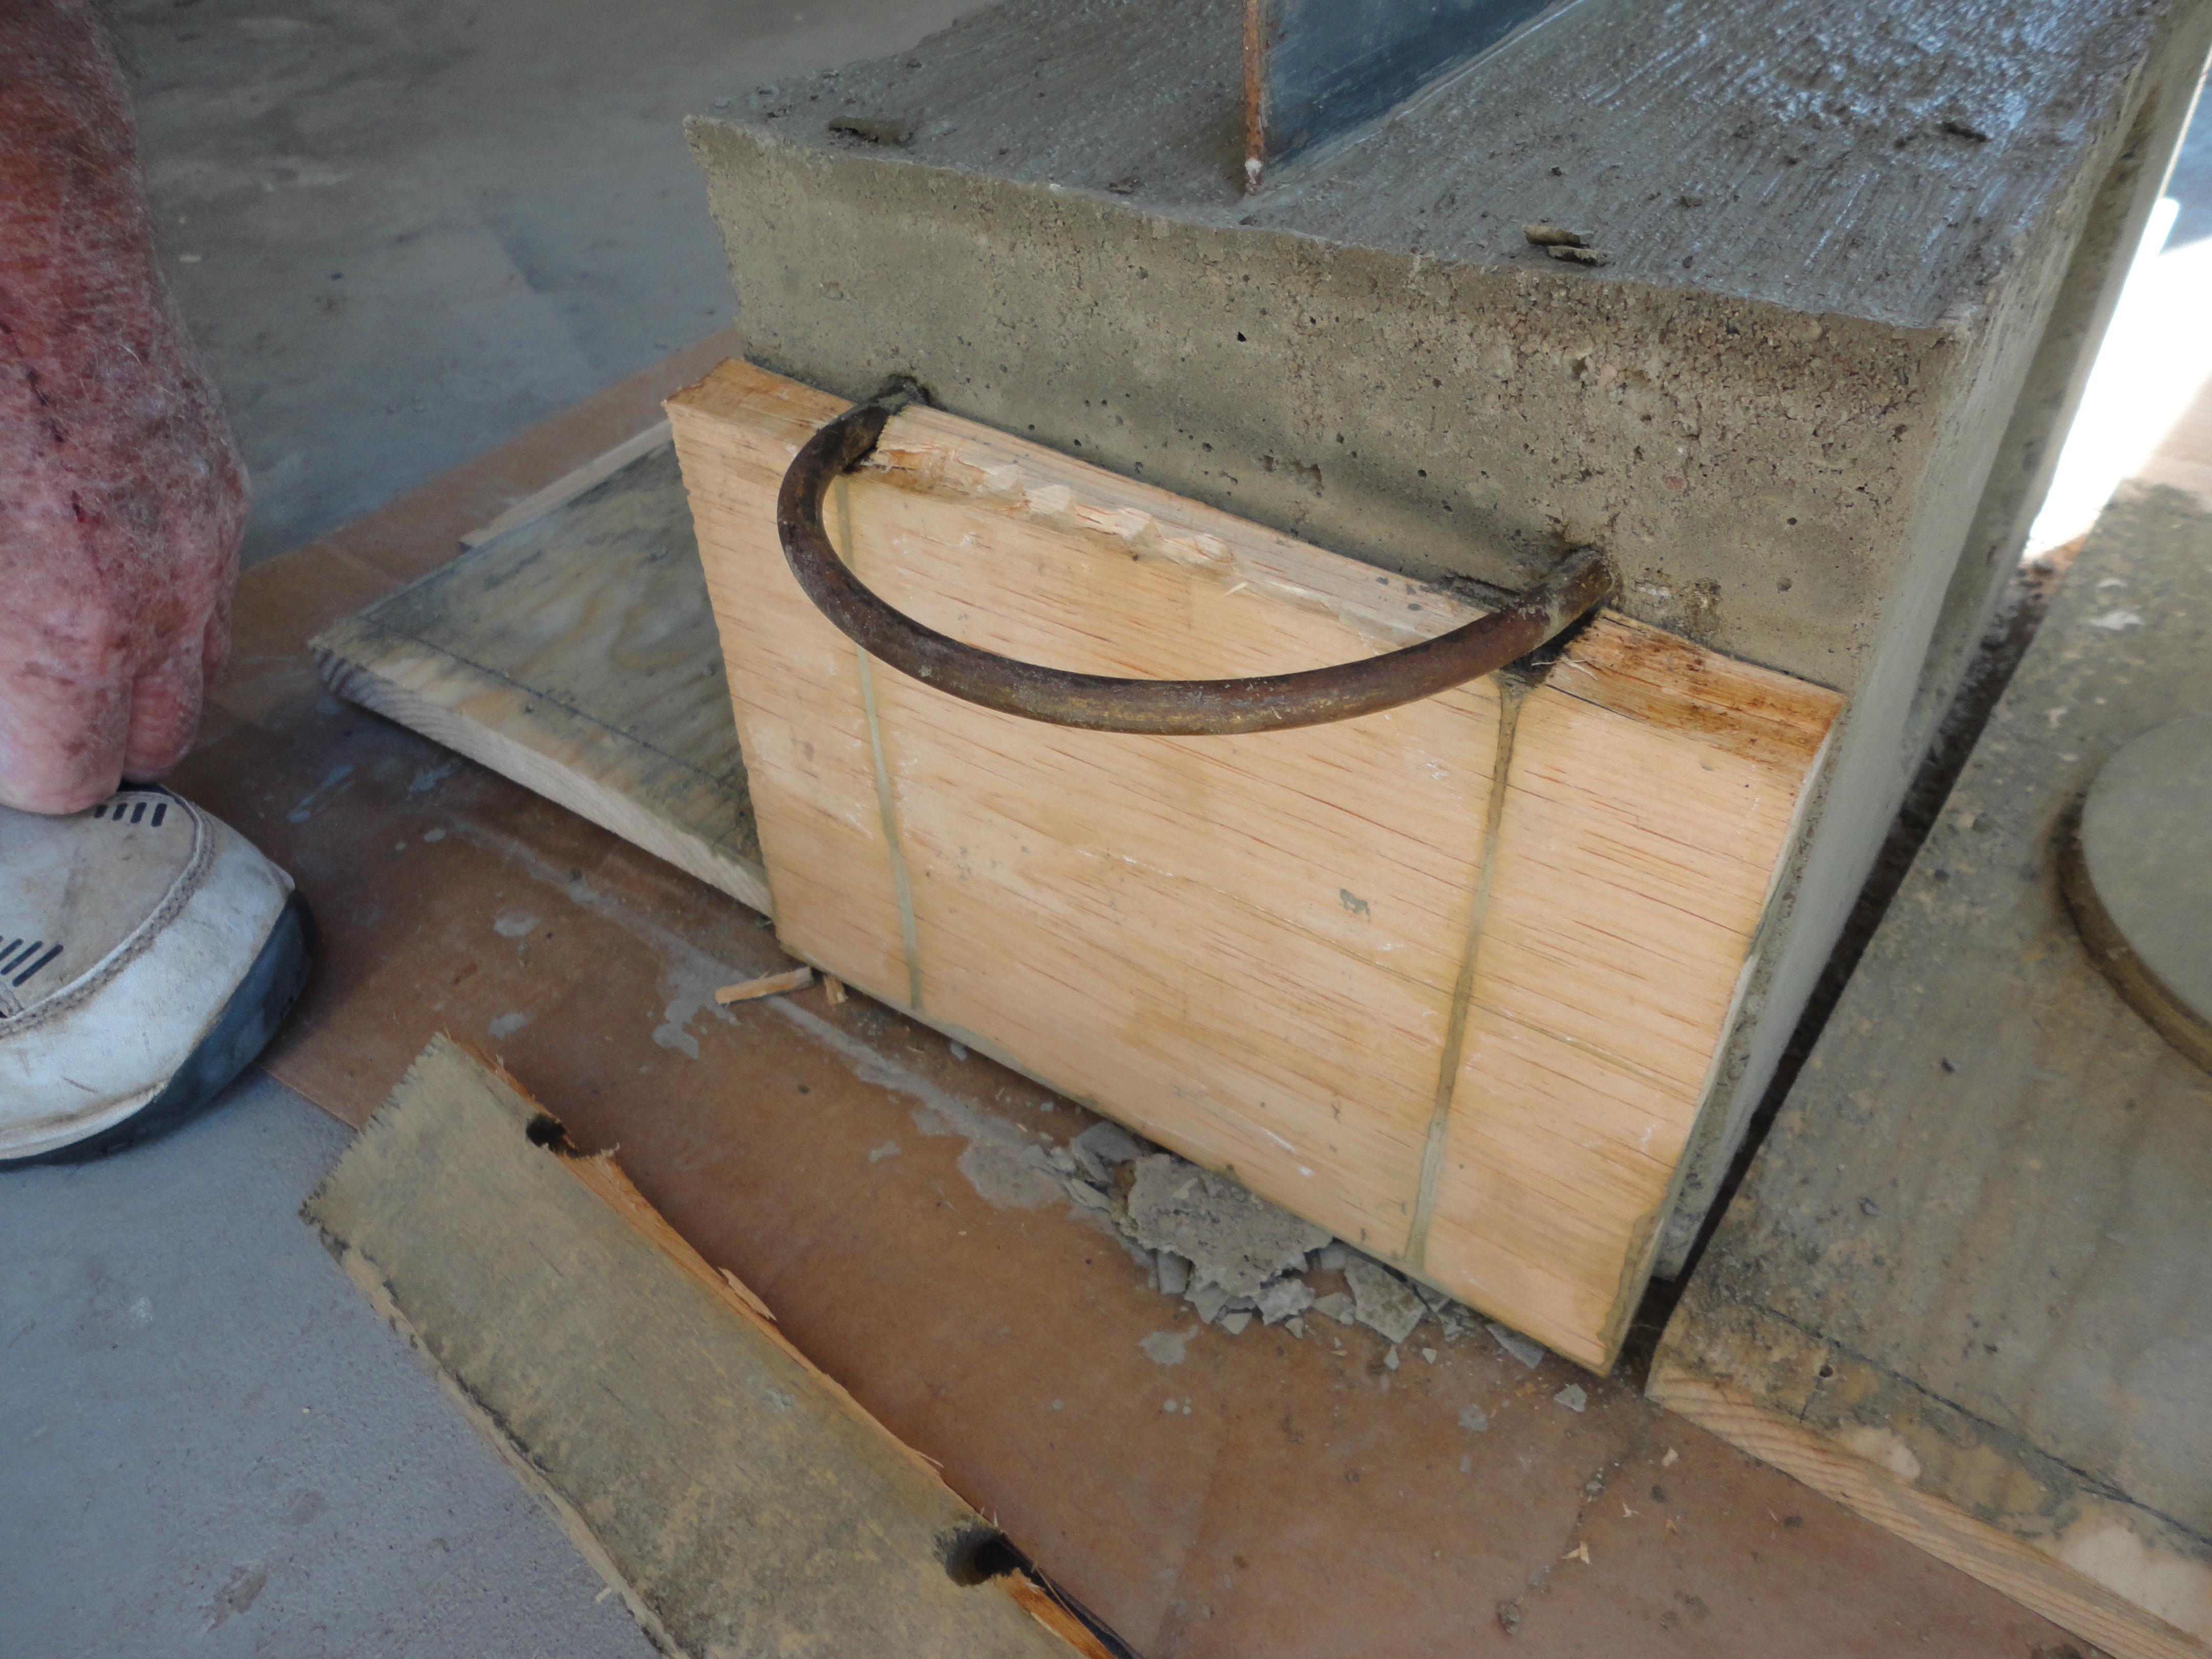
A length of 1/4″ steel rod was bent around a 5″ dia. pole, then put in a vice to trim off the ends with a hack saw. Once handle is shaped, mark the wood for placement and predrill holes. Make sure it slides in easily and fits snugly.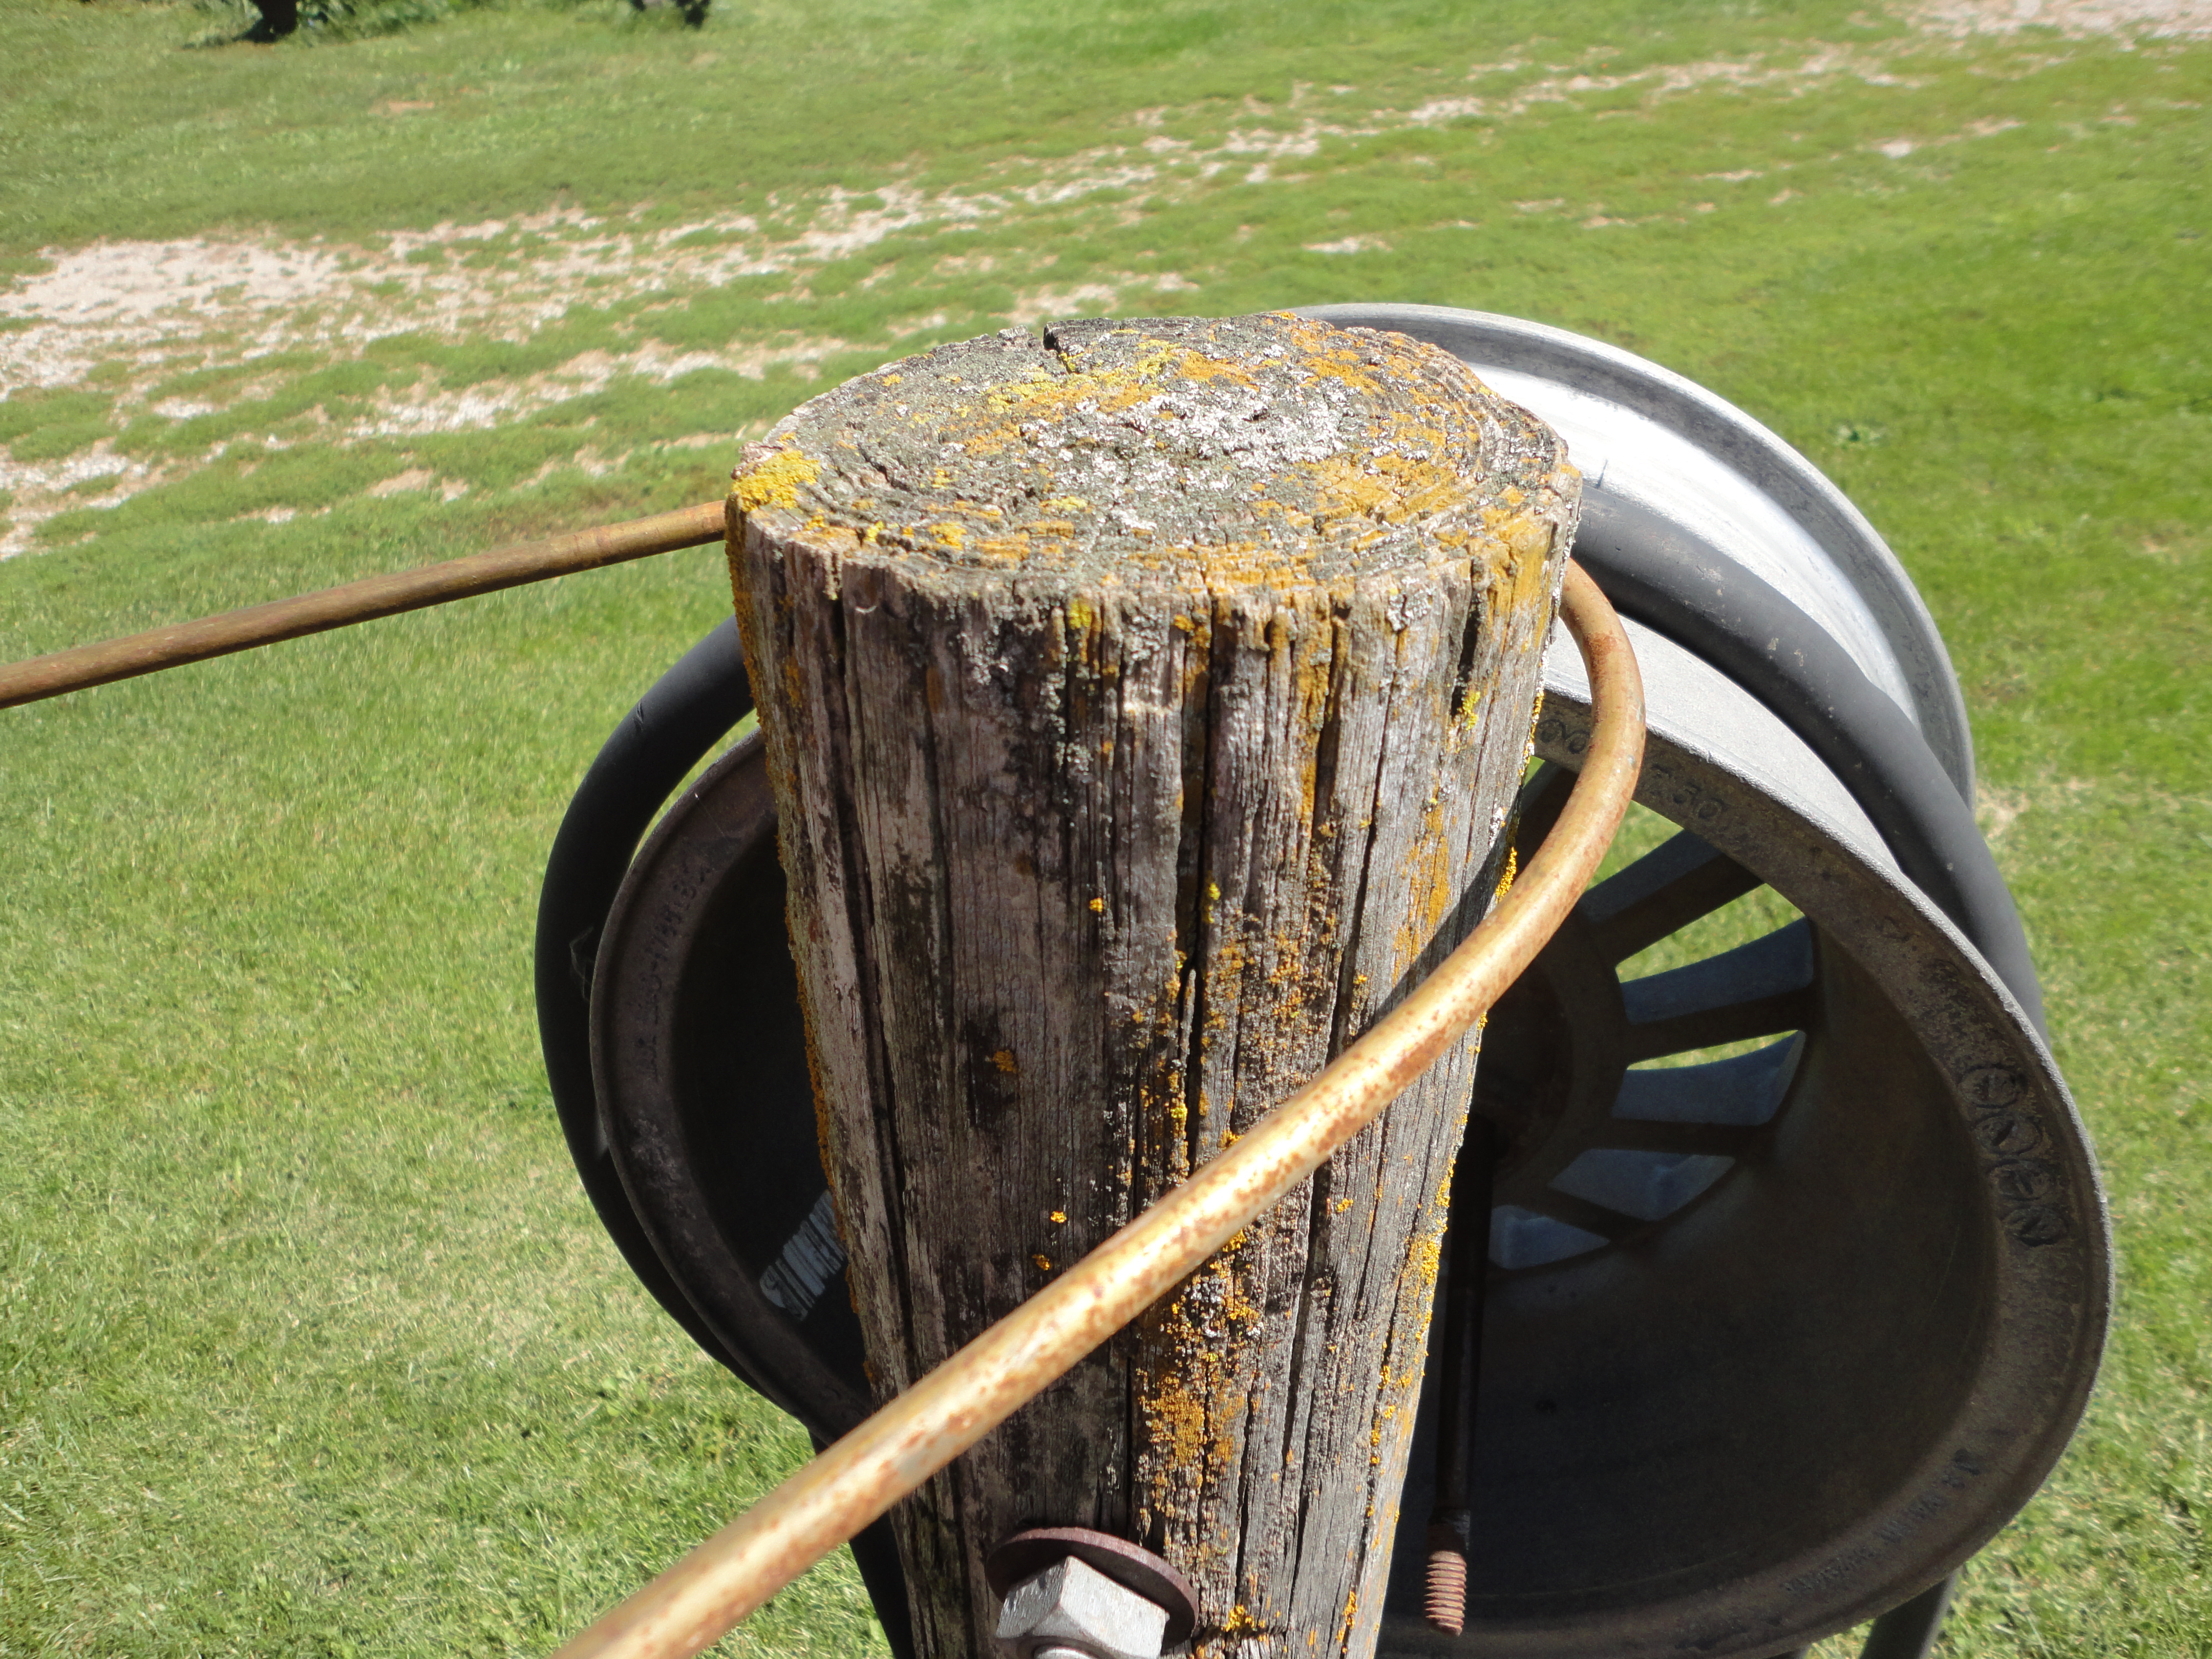
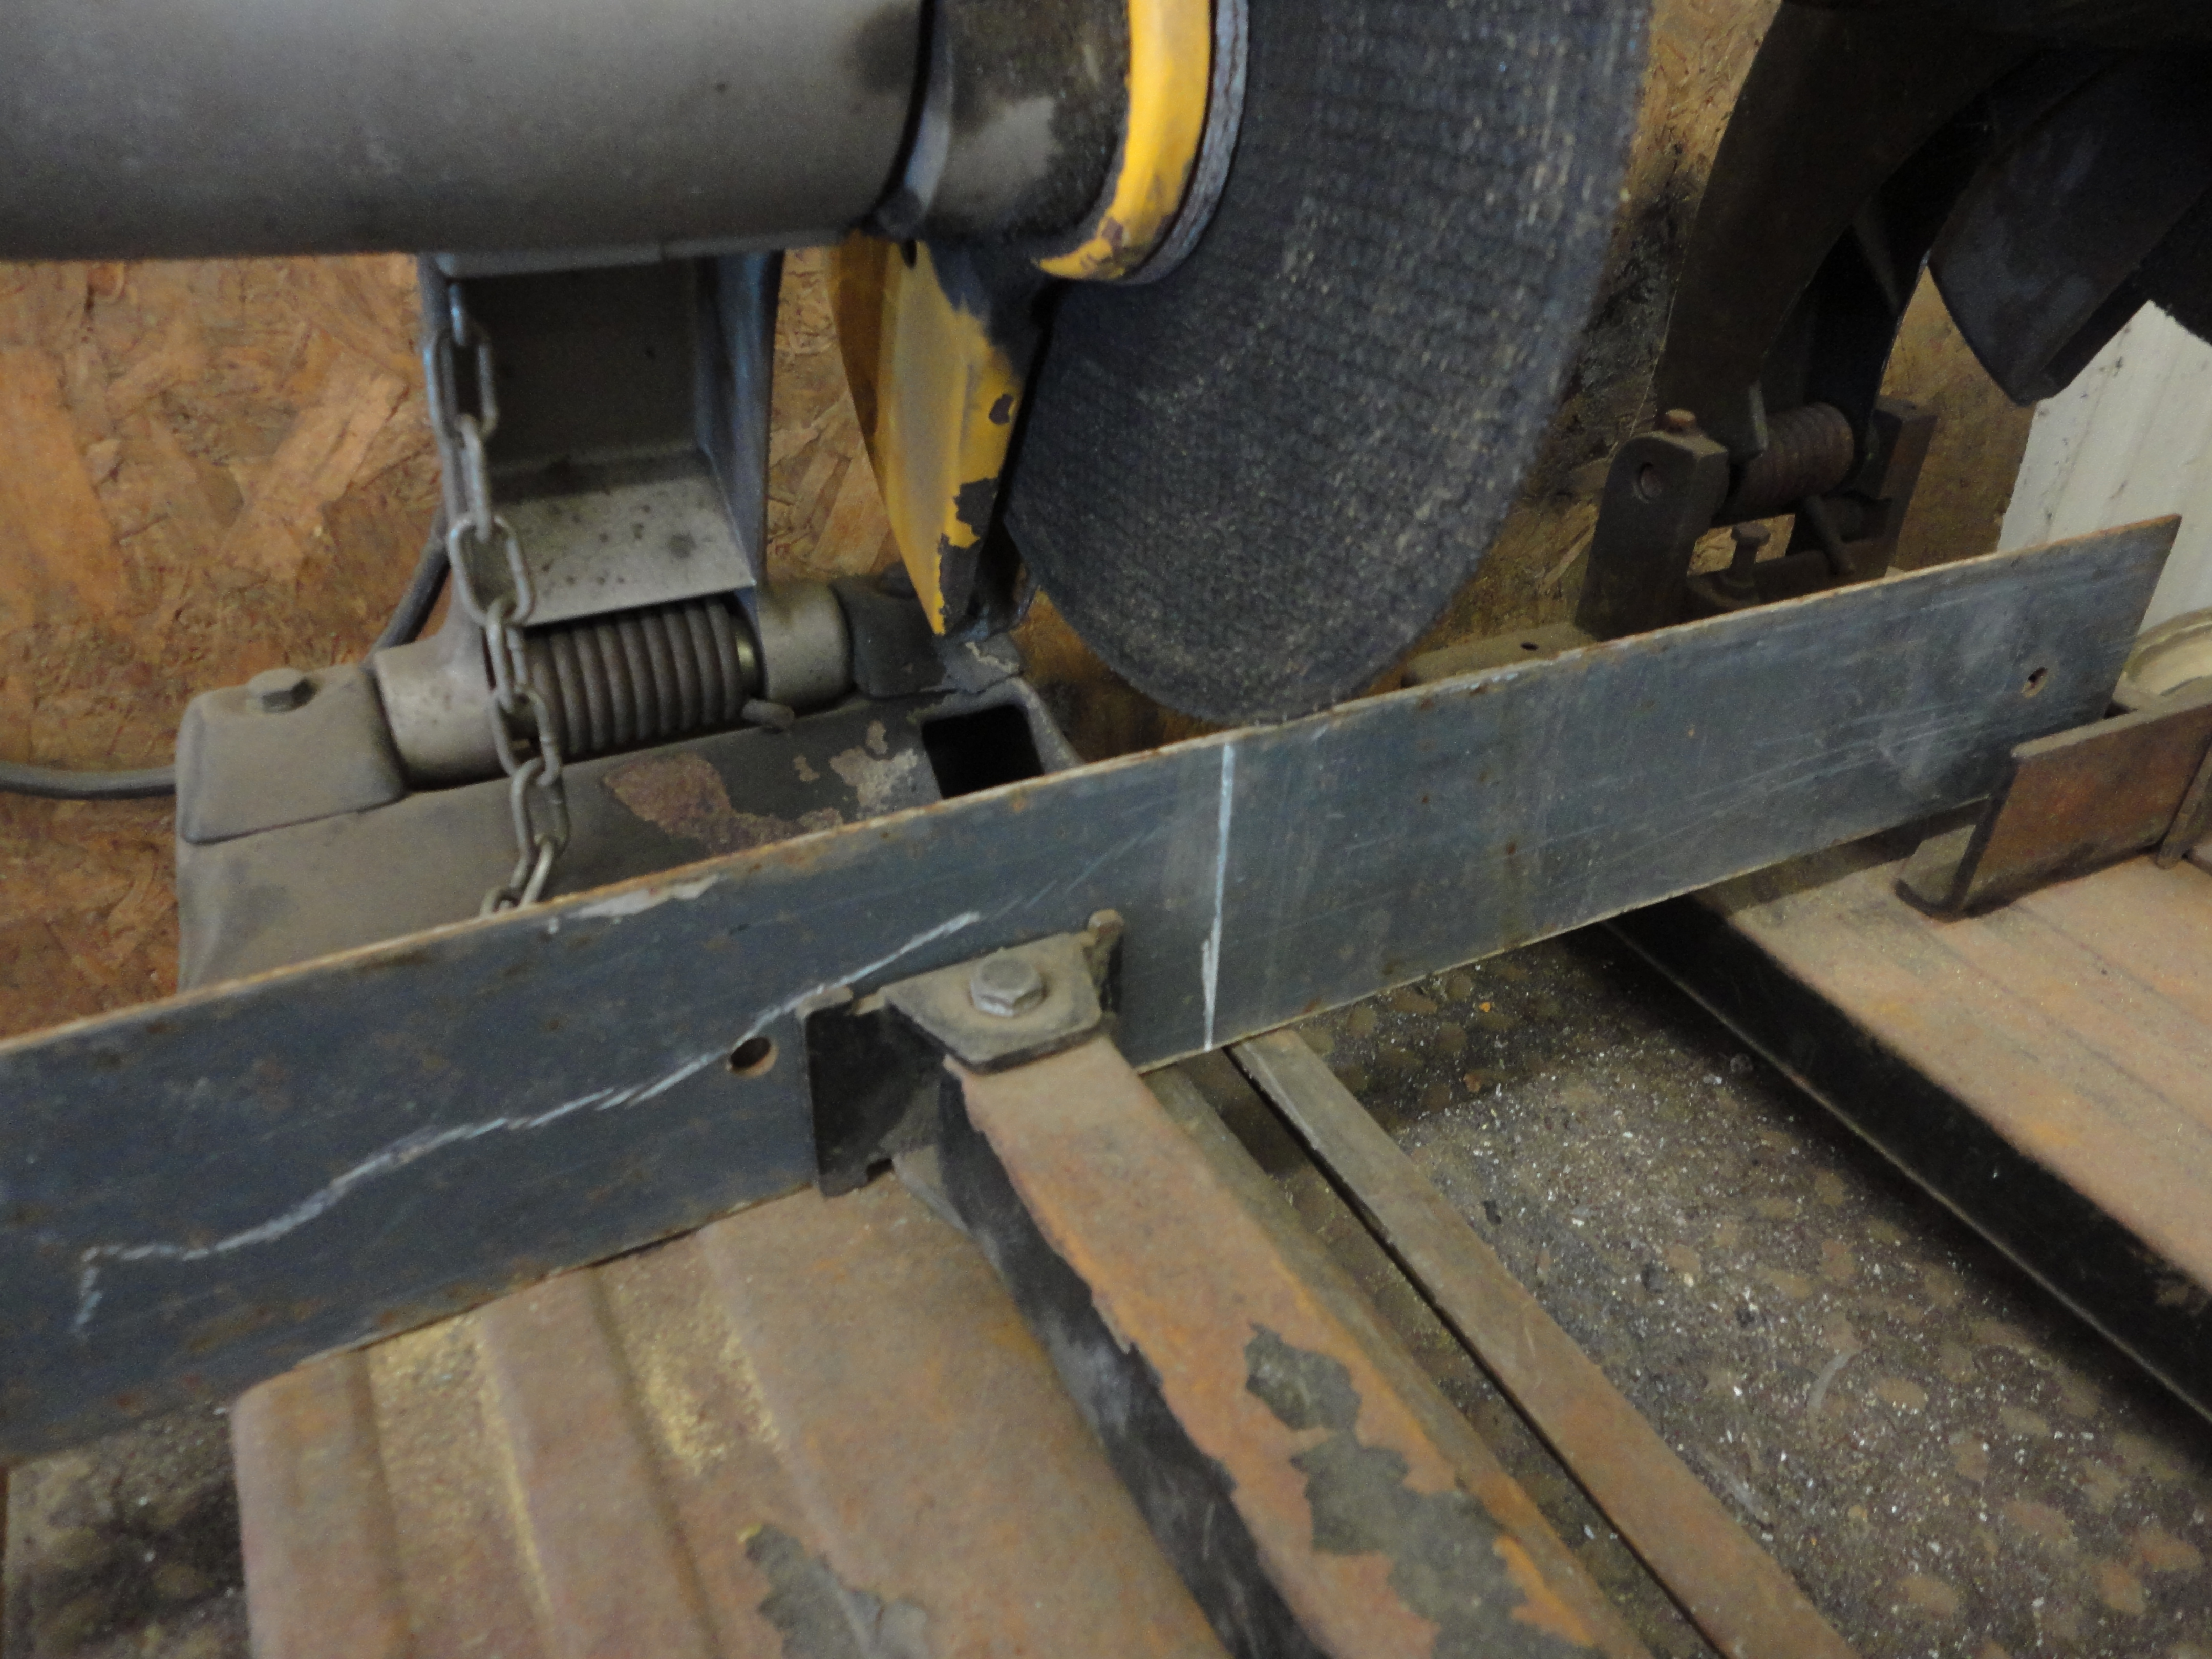
With a chop saw, or hack saw, cut a scrap piece of 1/8″ thick steel. Ours was 3″ wide and approximately 13″ long.
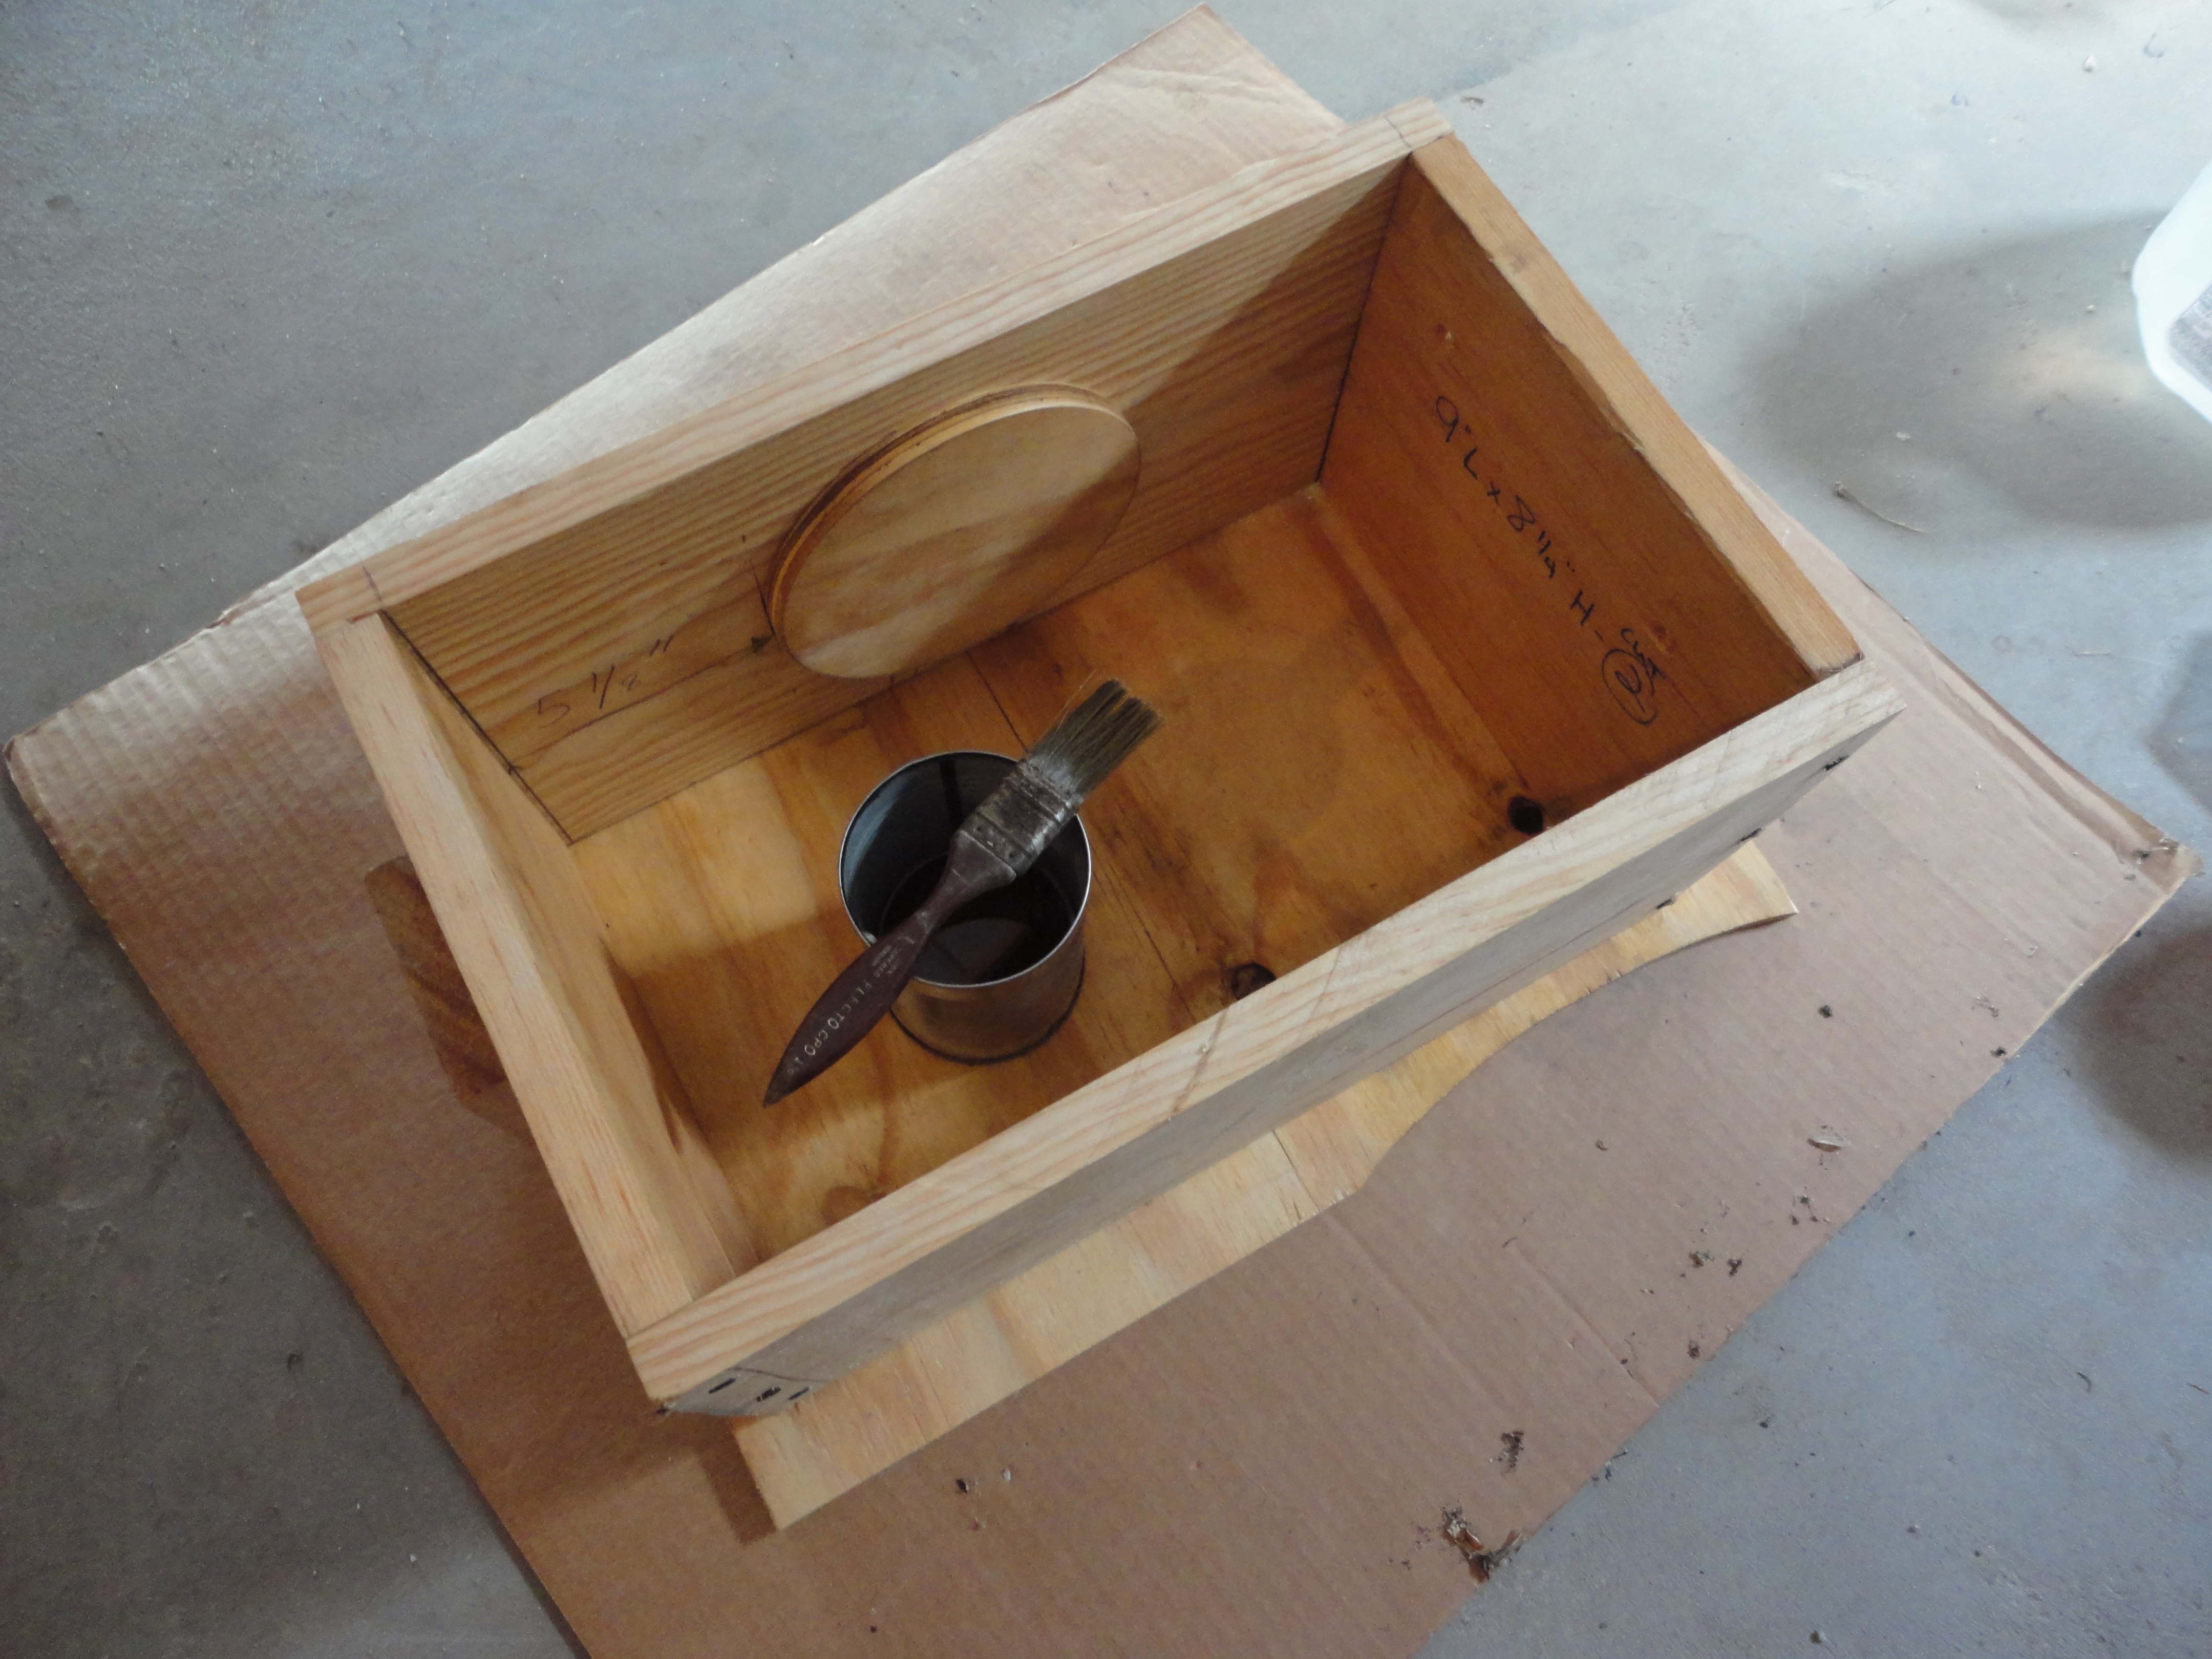
Center and attach the circle of plywood to the inside front piece of wood, then screw the box together. Its important to keep the top edges of the box even, so the concrete can be leveled off after its poured. Attach a piece of scrap plywood to the bottom of the assembled box, and give the inside a coat of diesel fuel to prevent the concrete from sticking. Putting a large piece of cardboard under the box will catch any leaking concrete, and make it easier to move around, if needed.

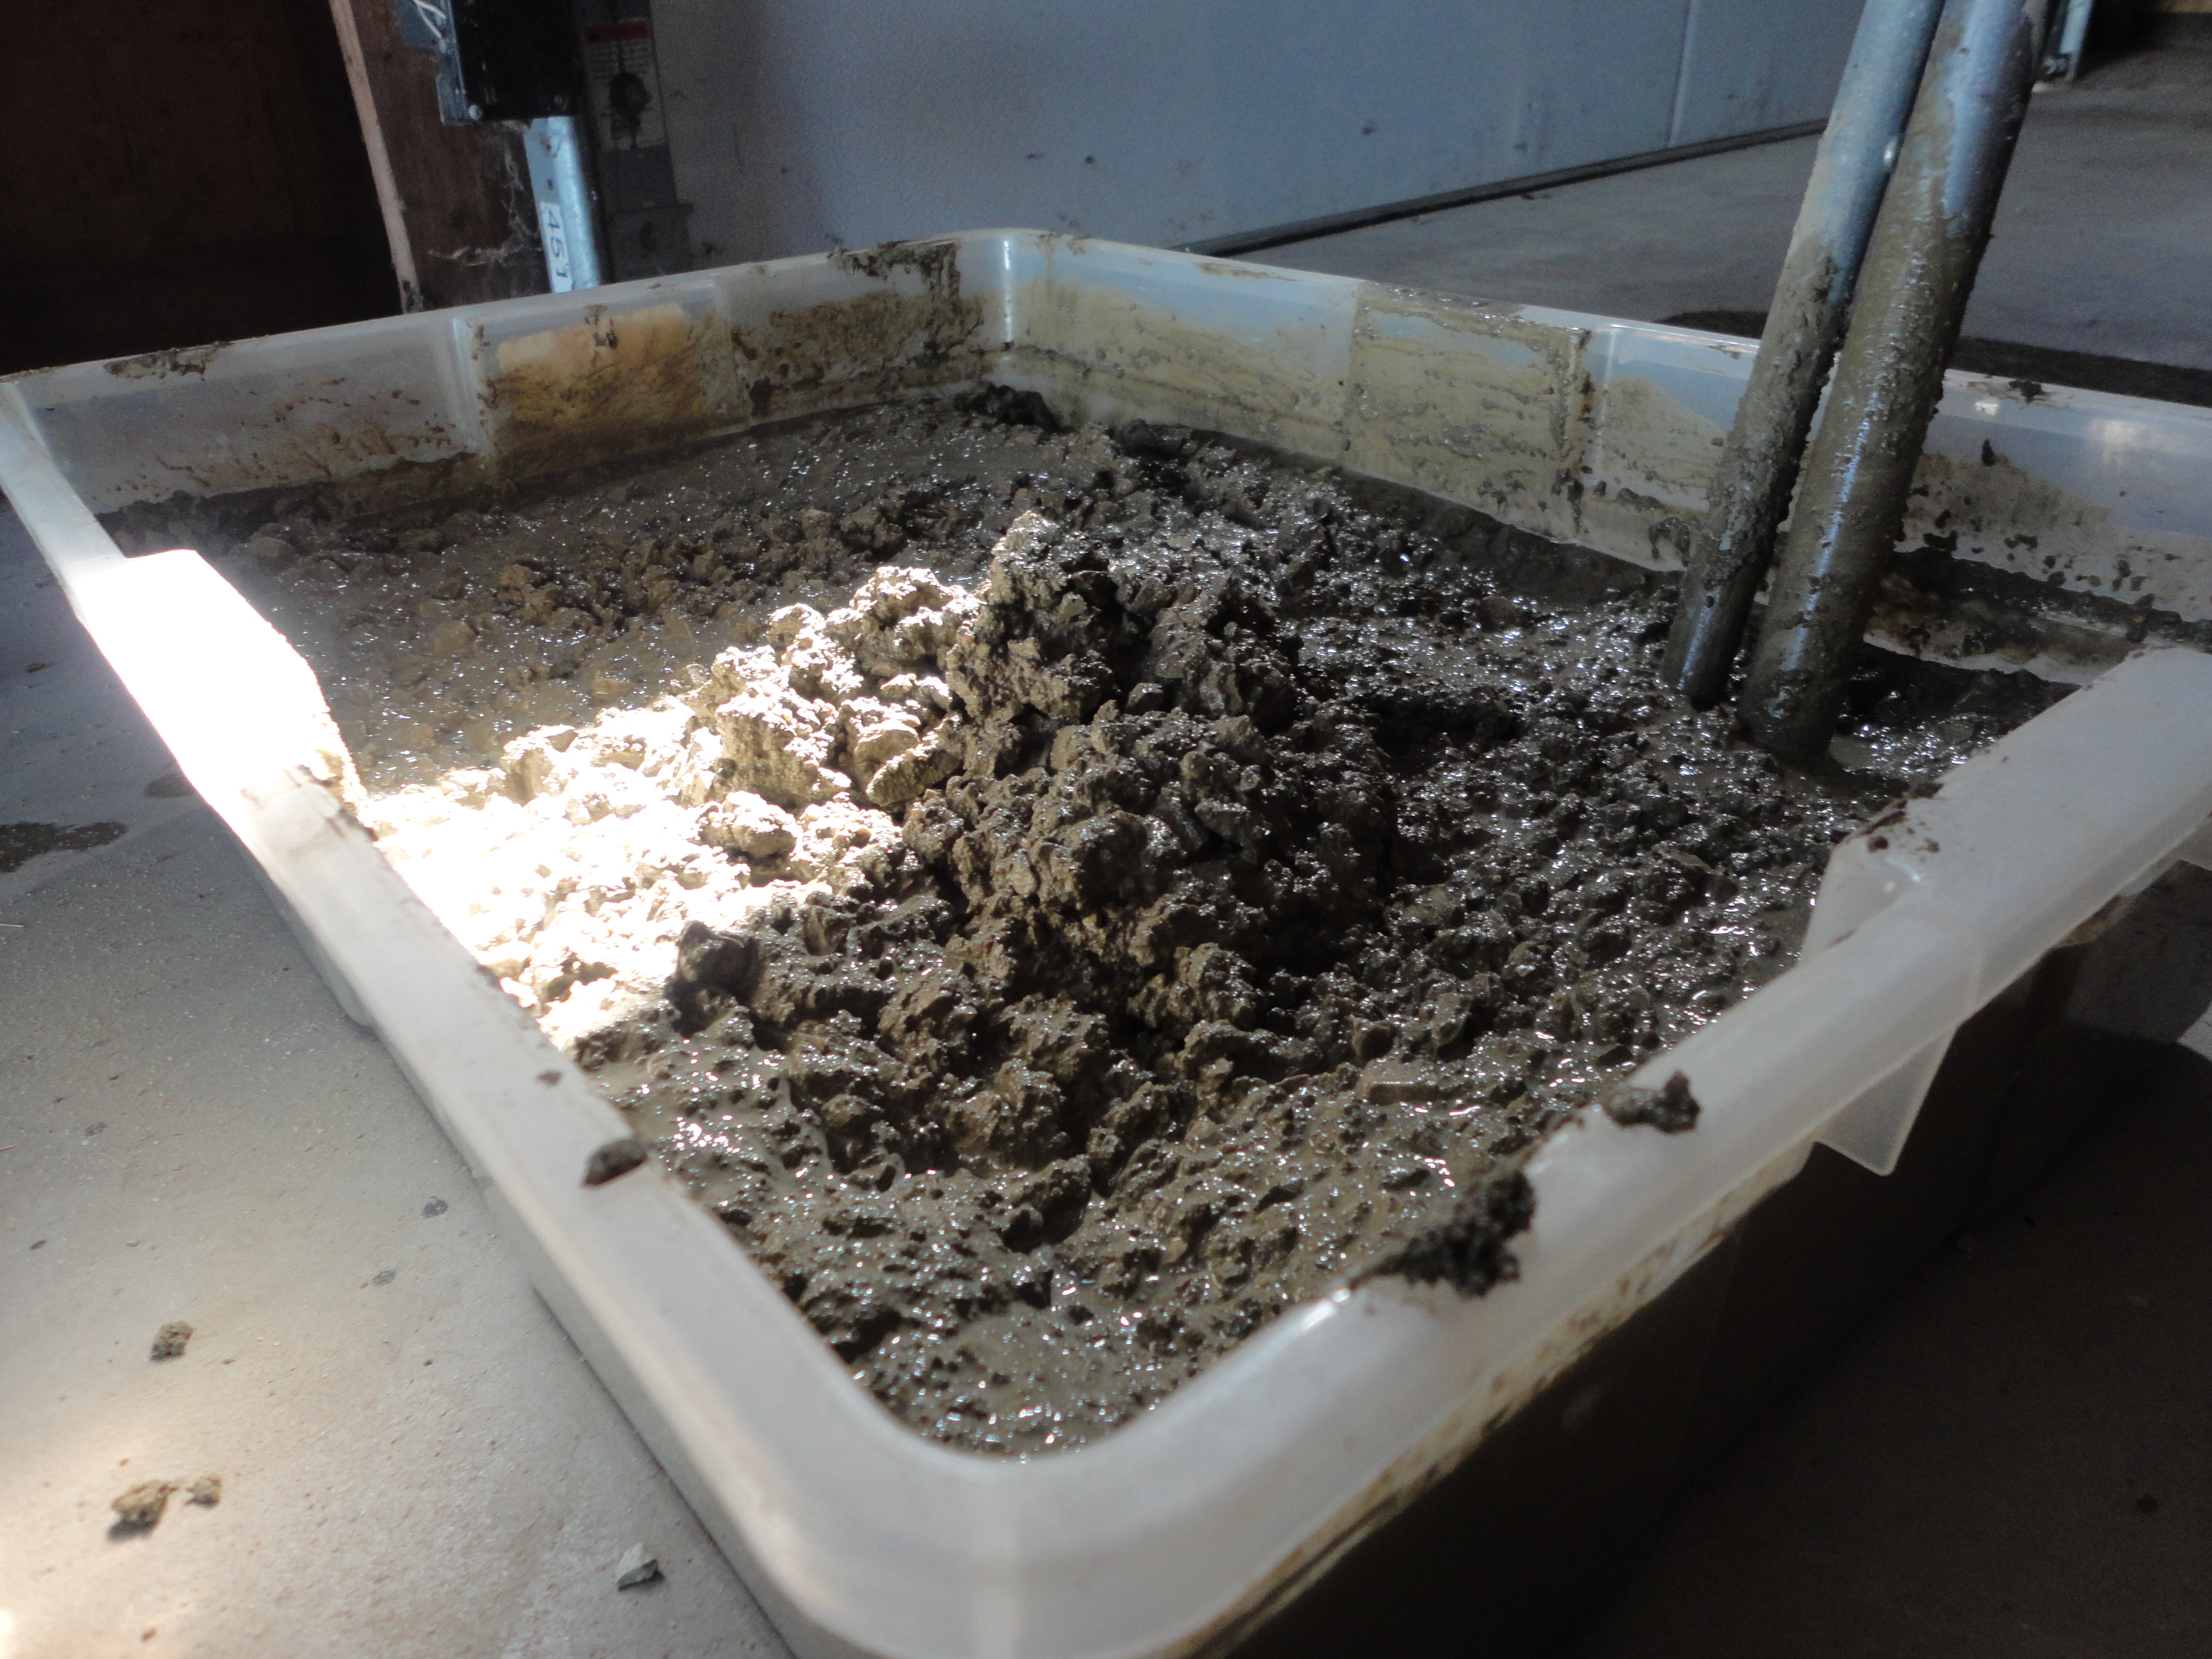
You’ll appreciate an extra pair of hands, and something sturdy to stir with, when mixing up an 80 lb. bag of Quikrete. We used about 1 1/4 gal. of water and mixed it well.
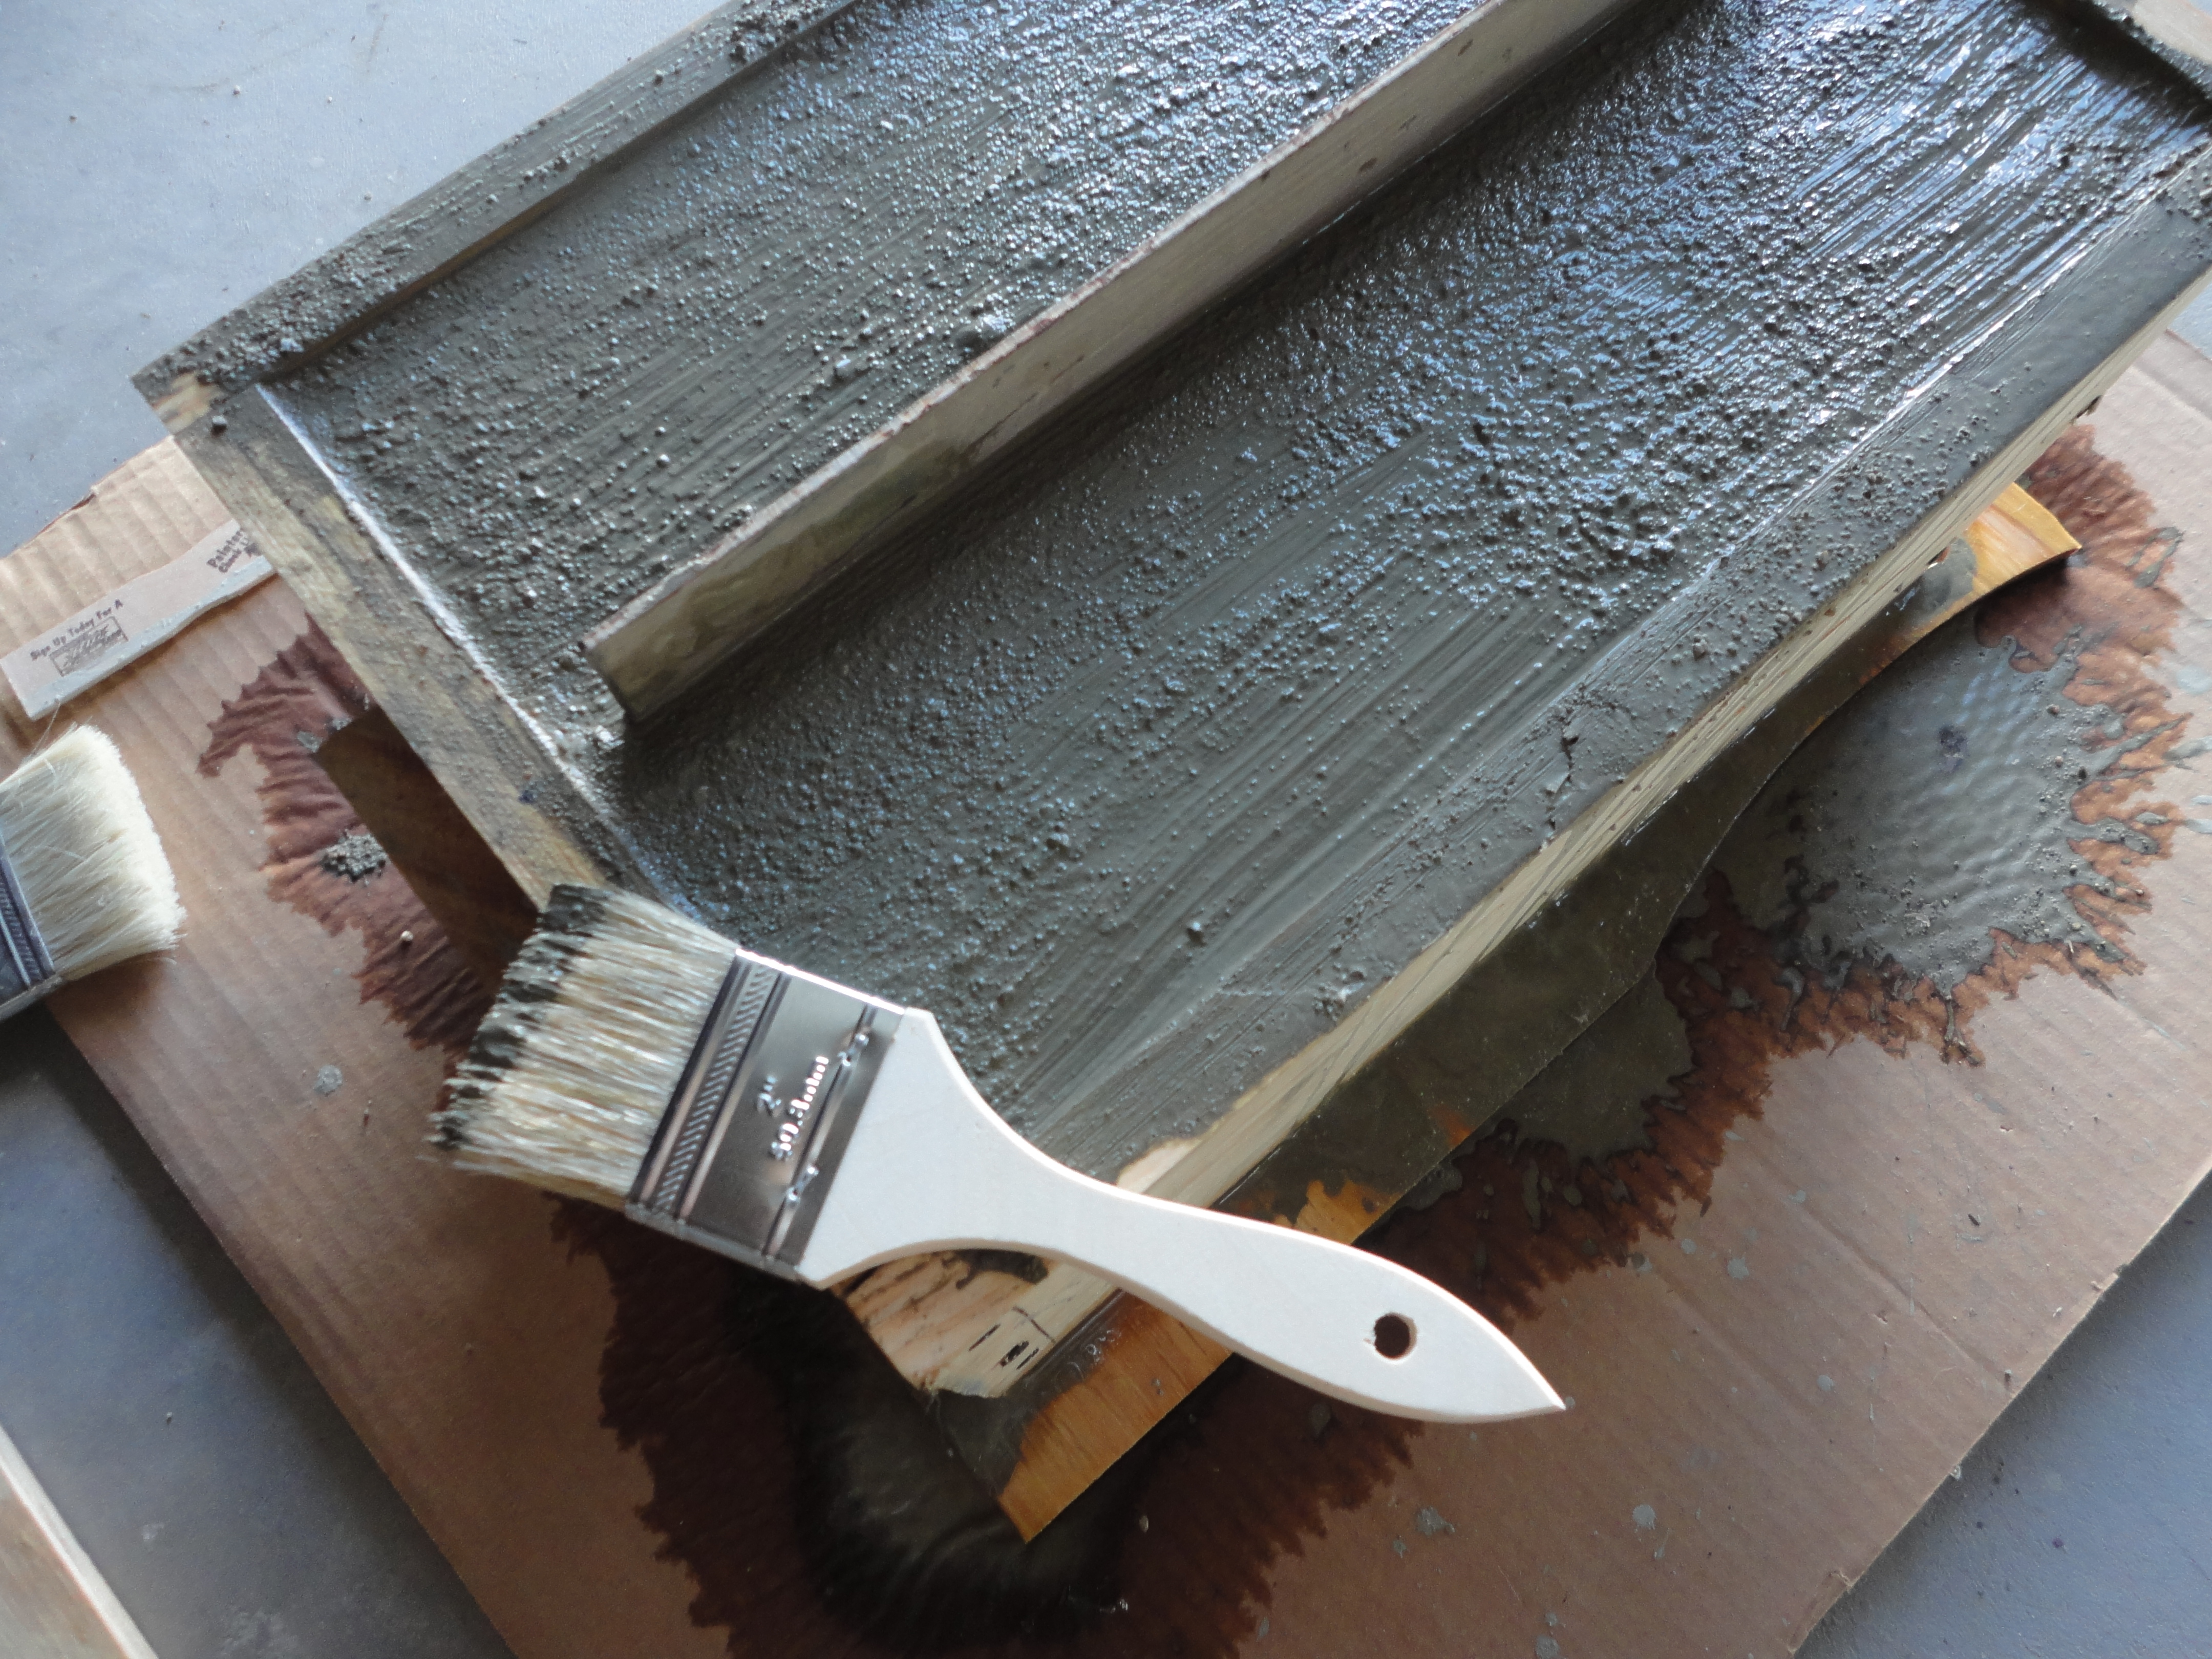
Scoop the concrete in the box. Use whatever you stirred with, or a paint stick, to tamp and work it down as you fill, especially around the outside edges, to help obtain a smooth finish on the sides when it has dried.
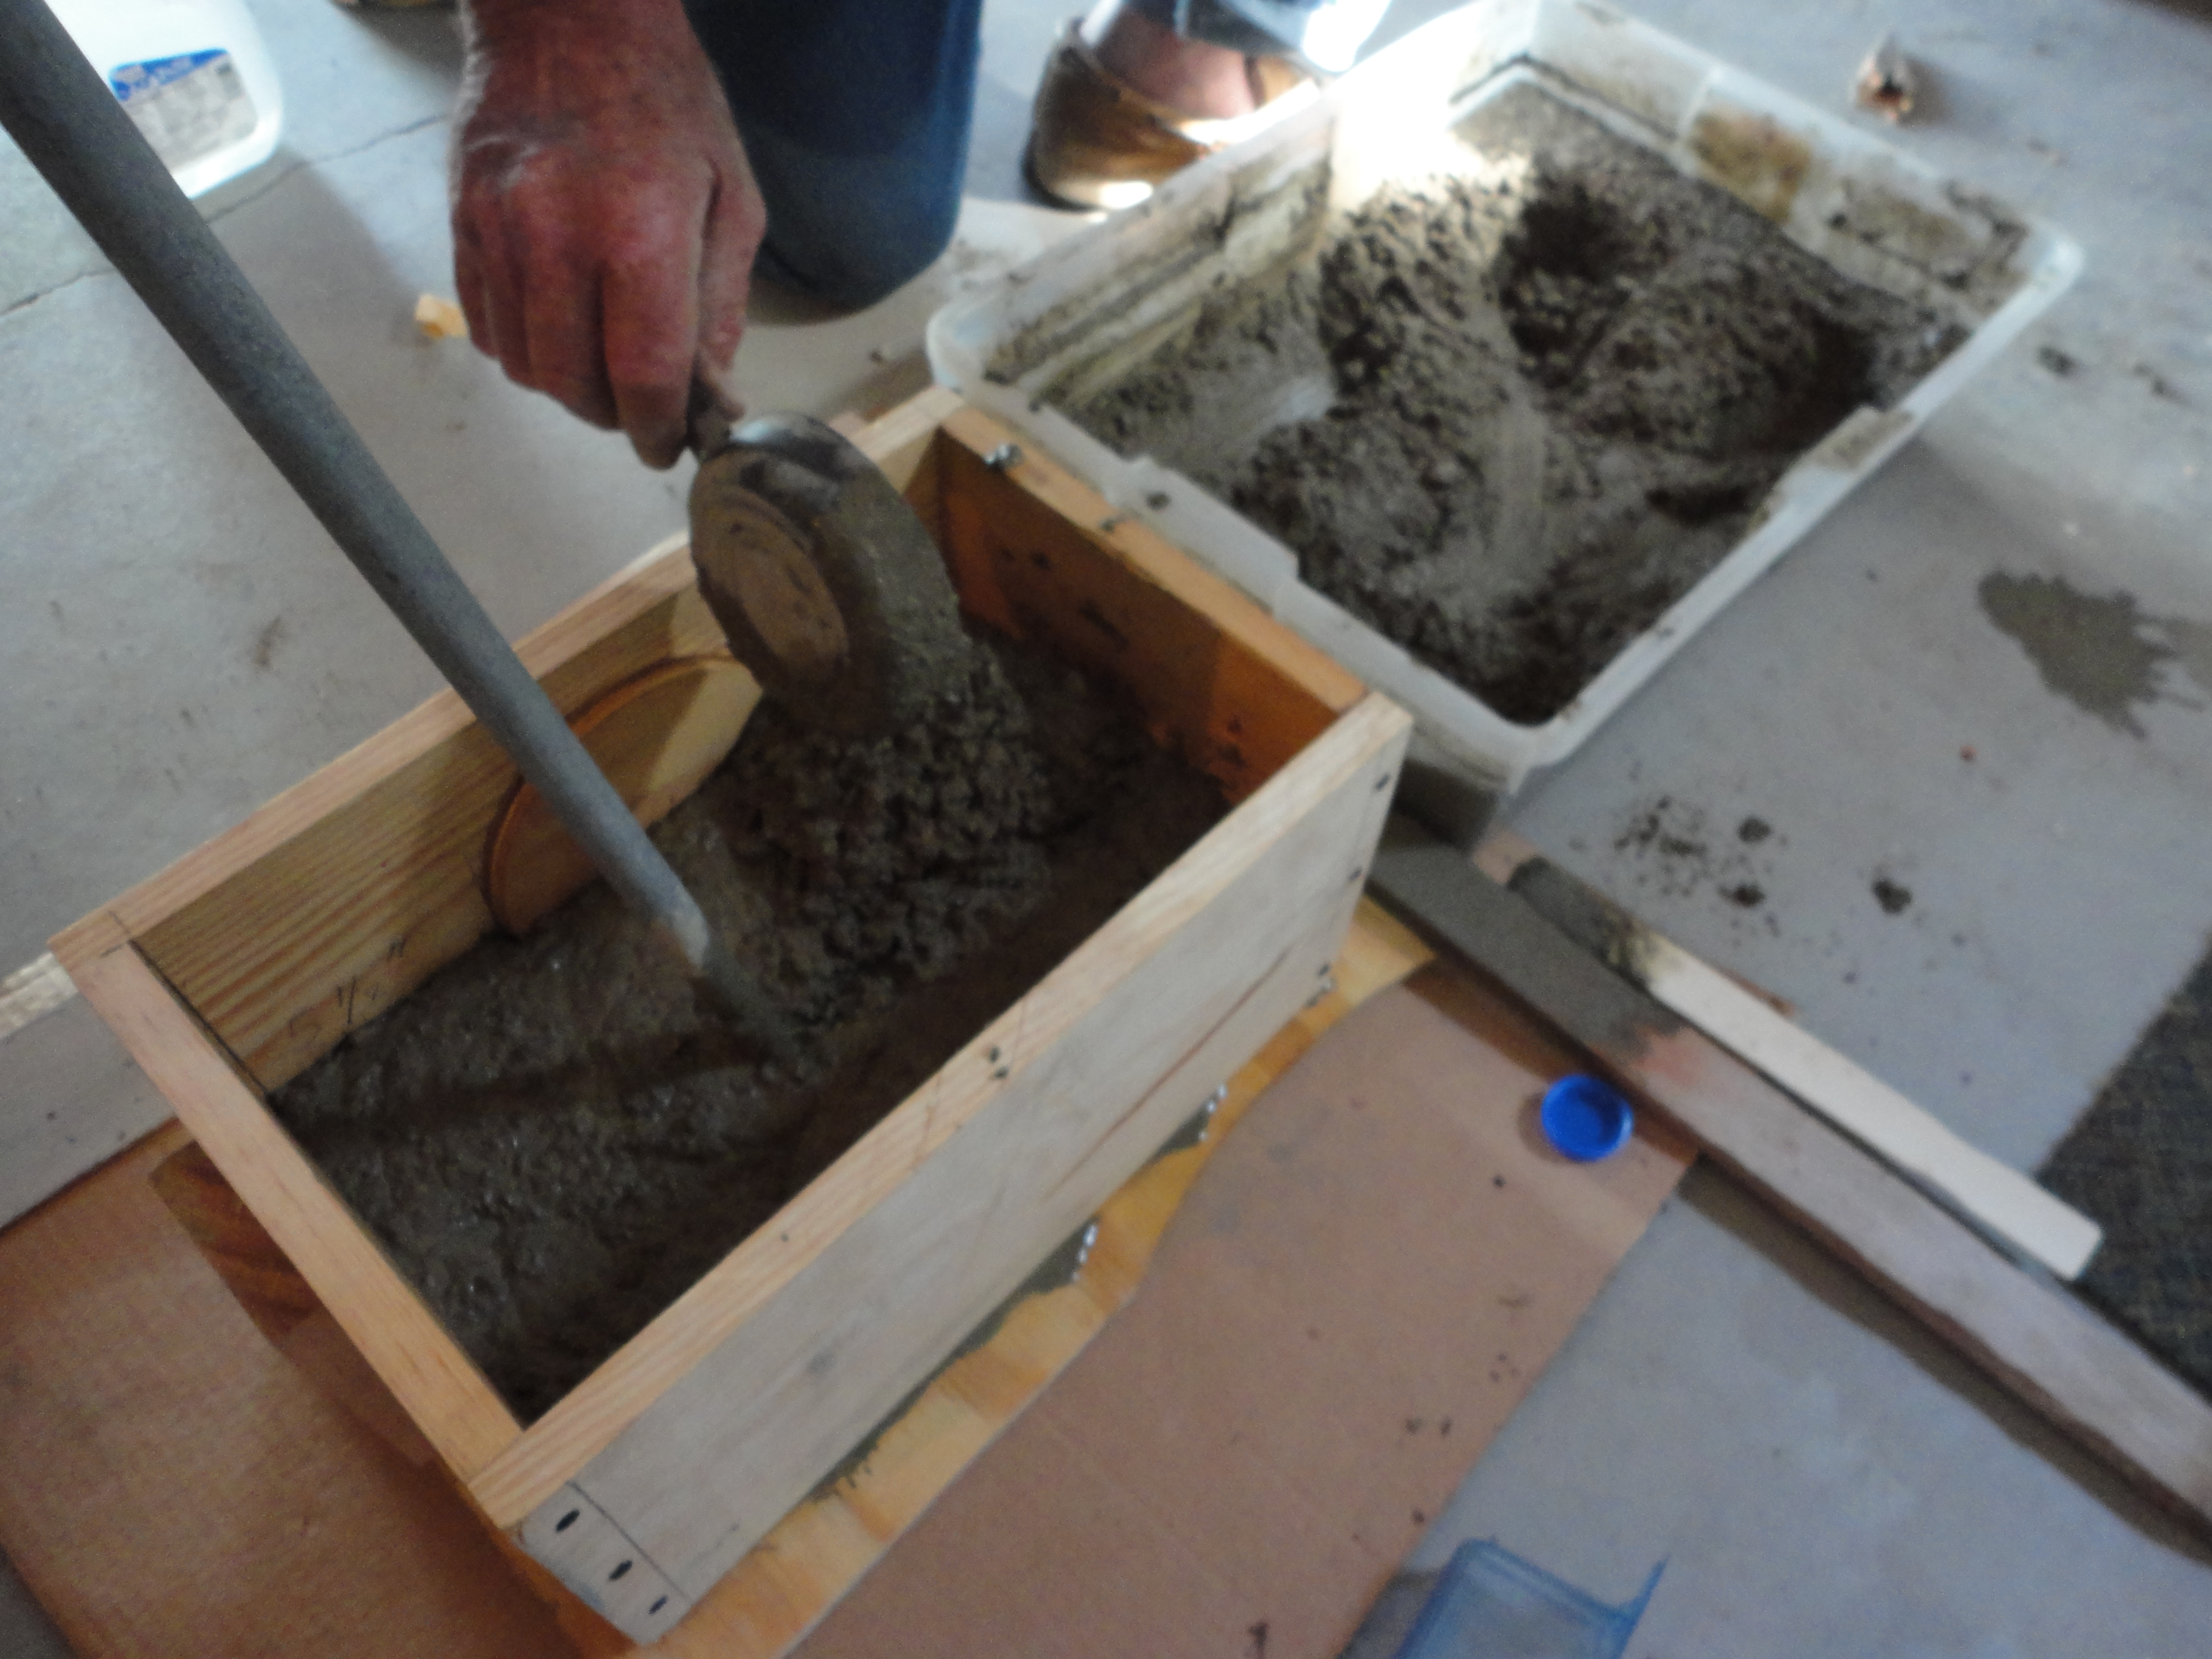
After filling and tamping, slide the edge of a paint stick across the top to level. Insert the handle into the predrilled holes.
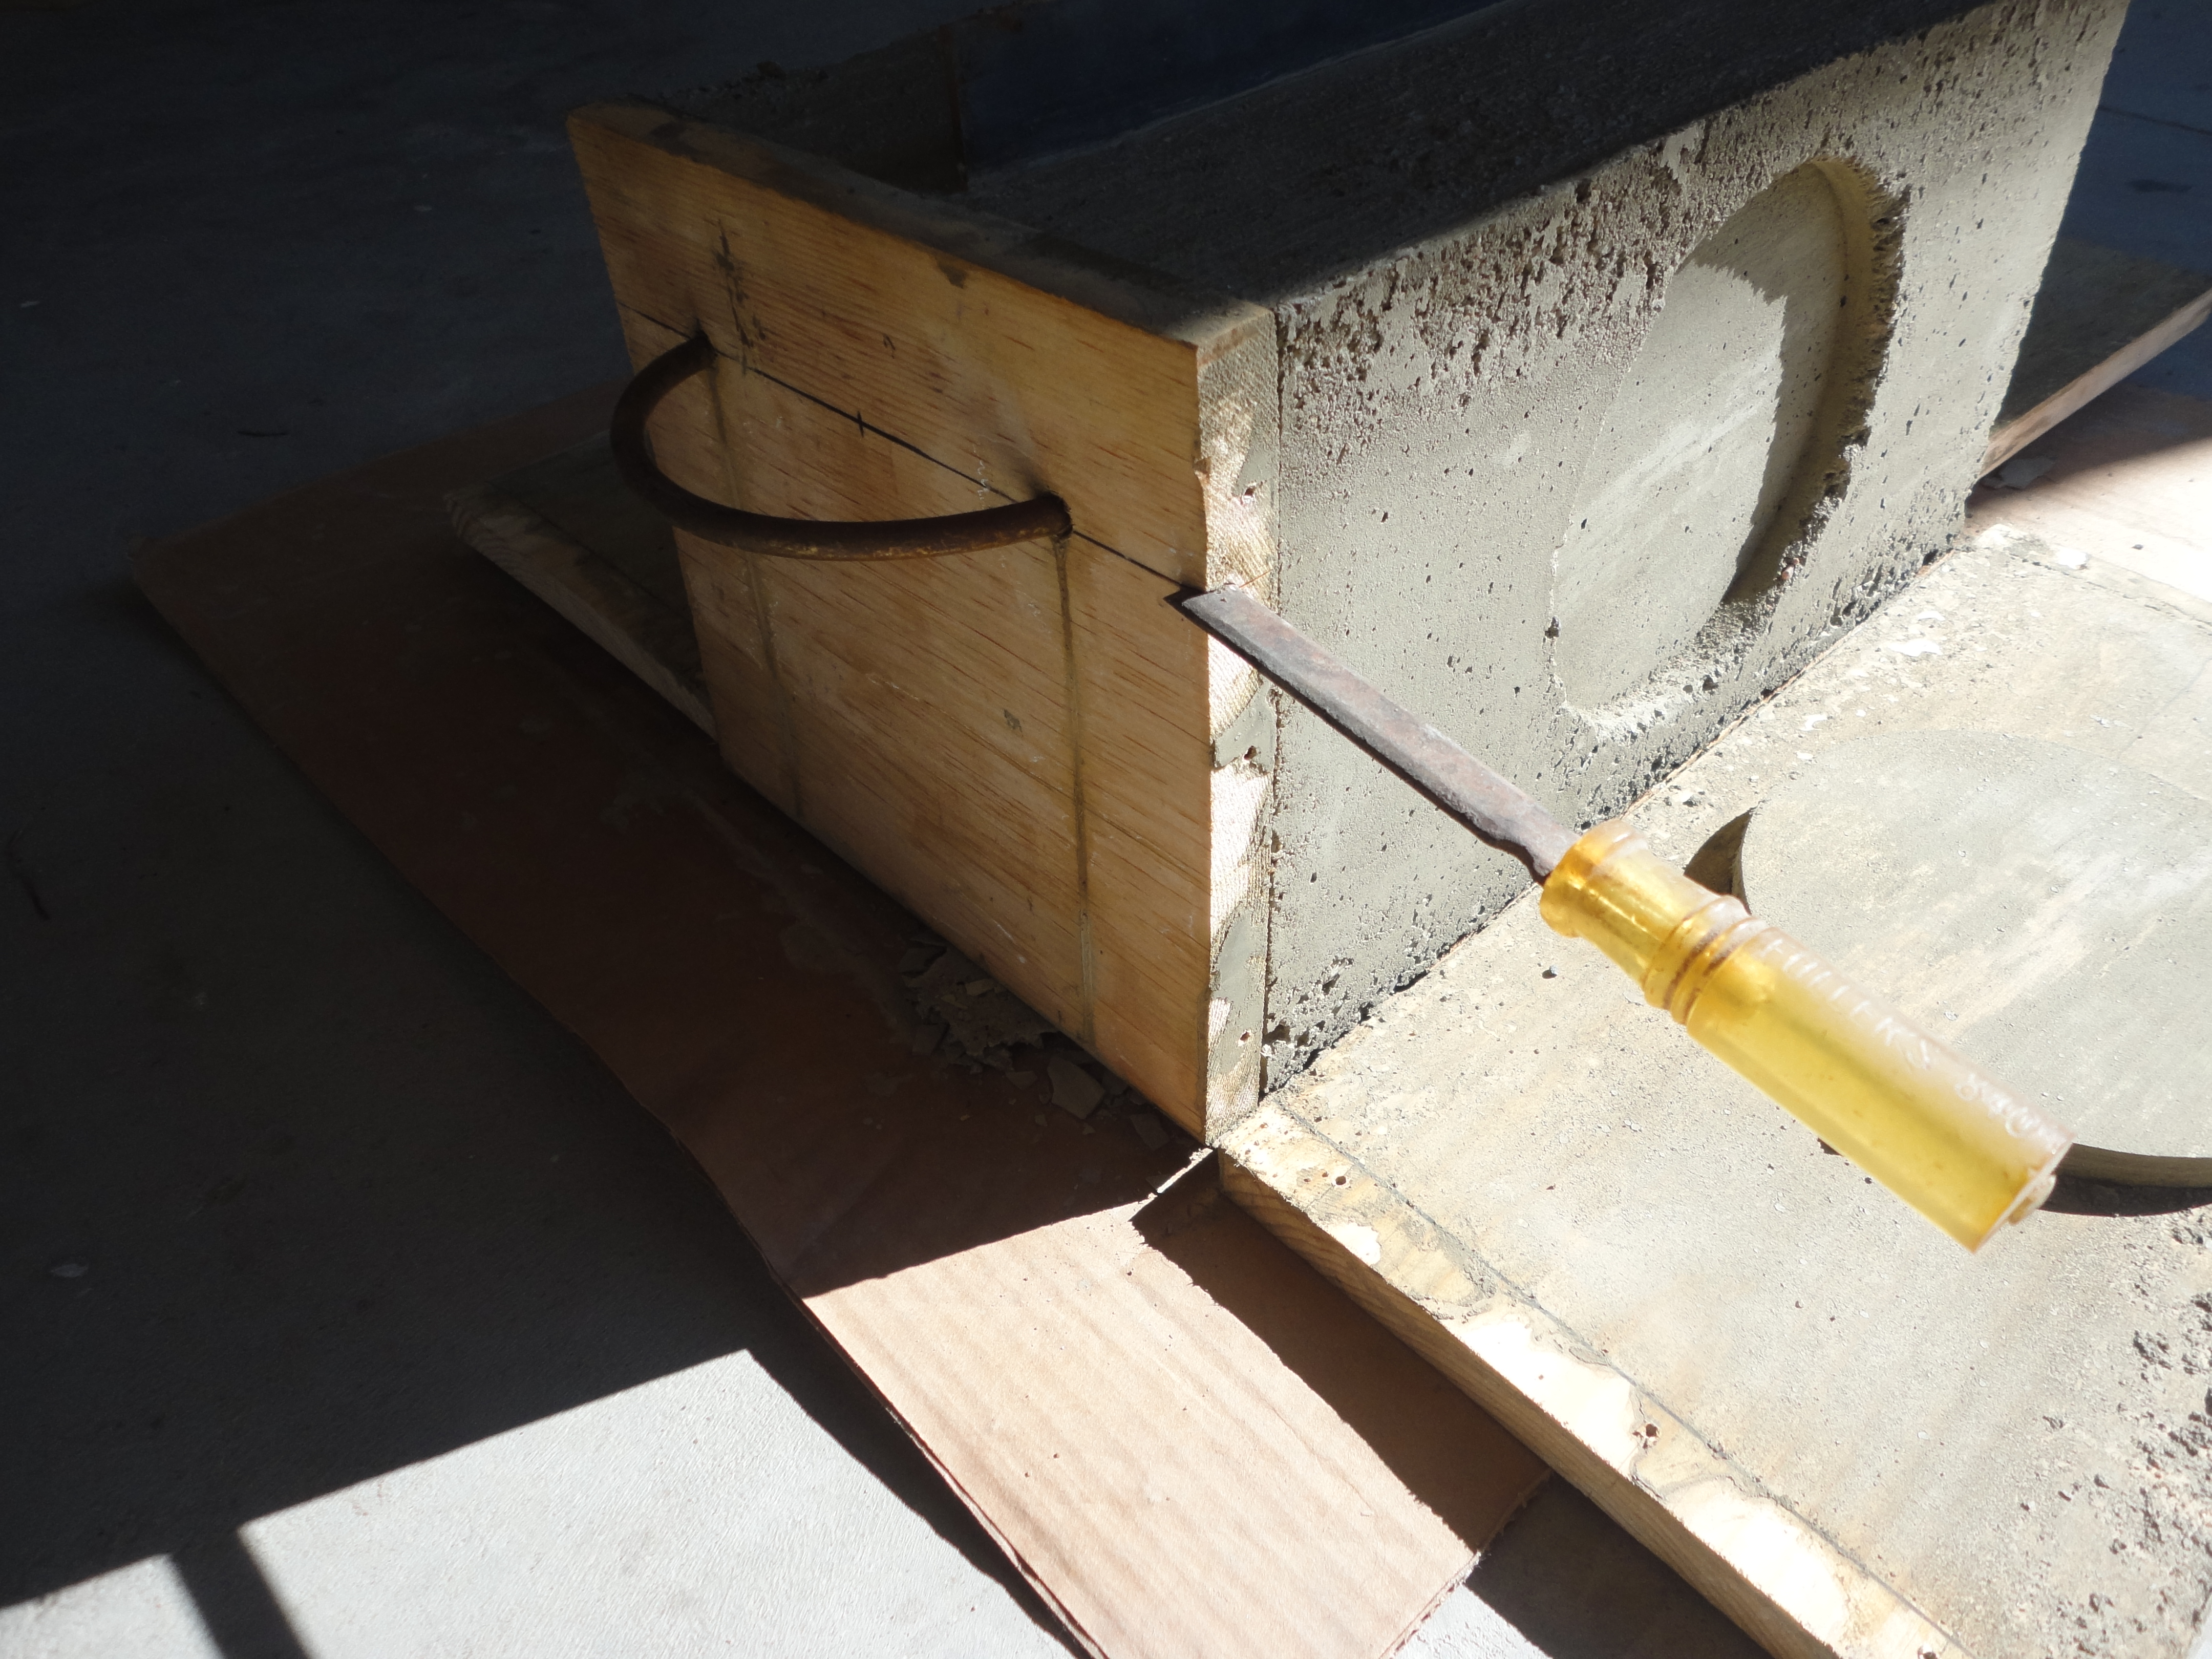
Wait about 20 minutes, level top again with paint stick, and slowly push in the piece of steel, upright. Let it sit approximately another 30 minutes, then brush the top lightly with a 2″ chip brush. Times will vary depending on how wet the concrete is.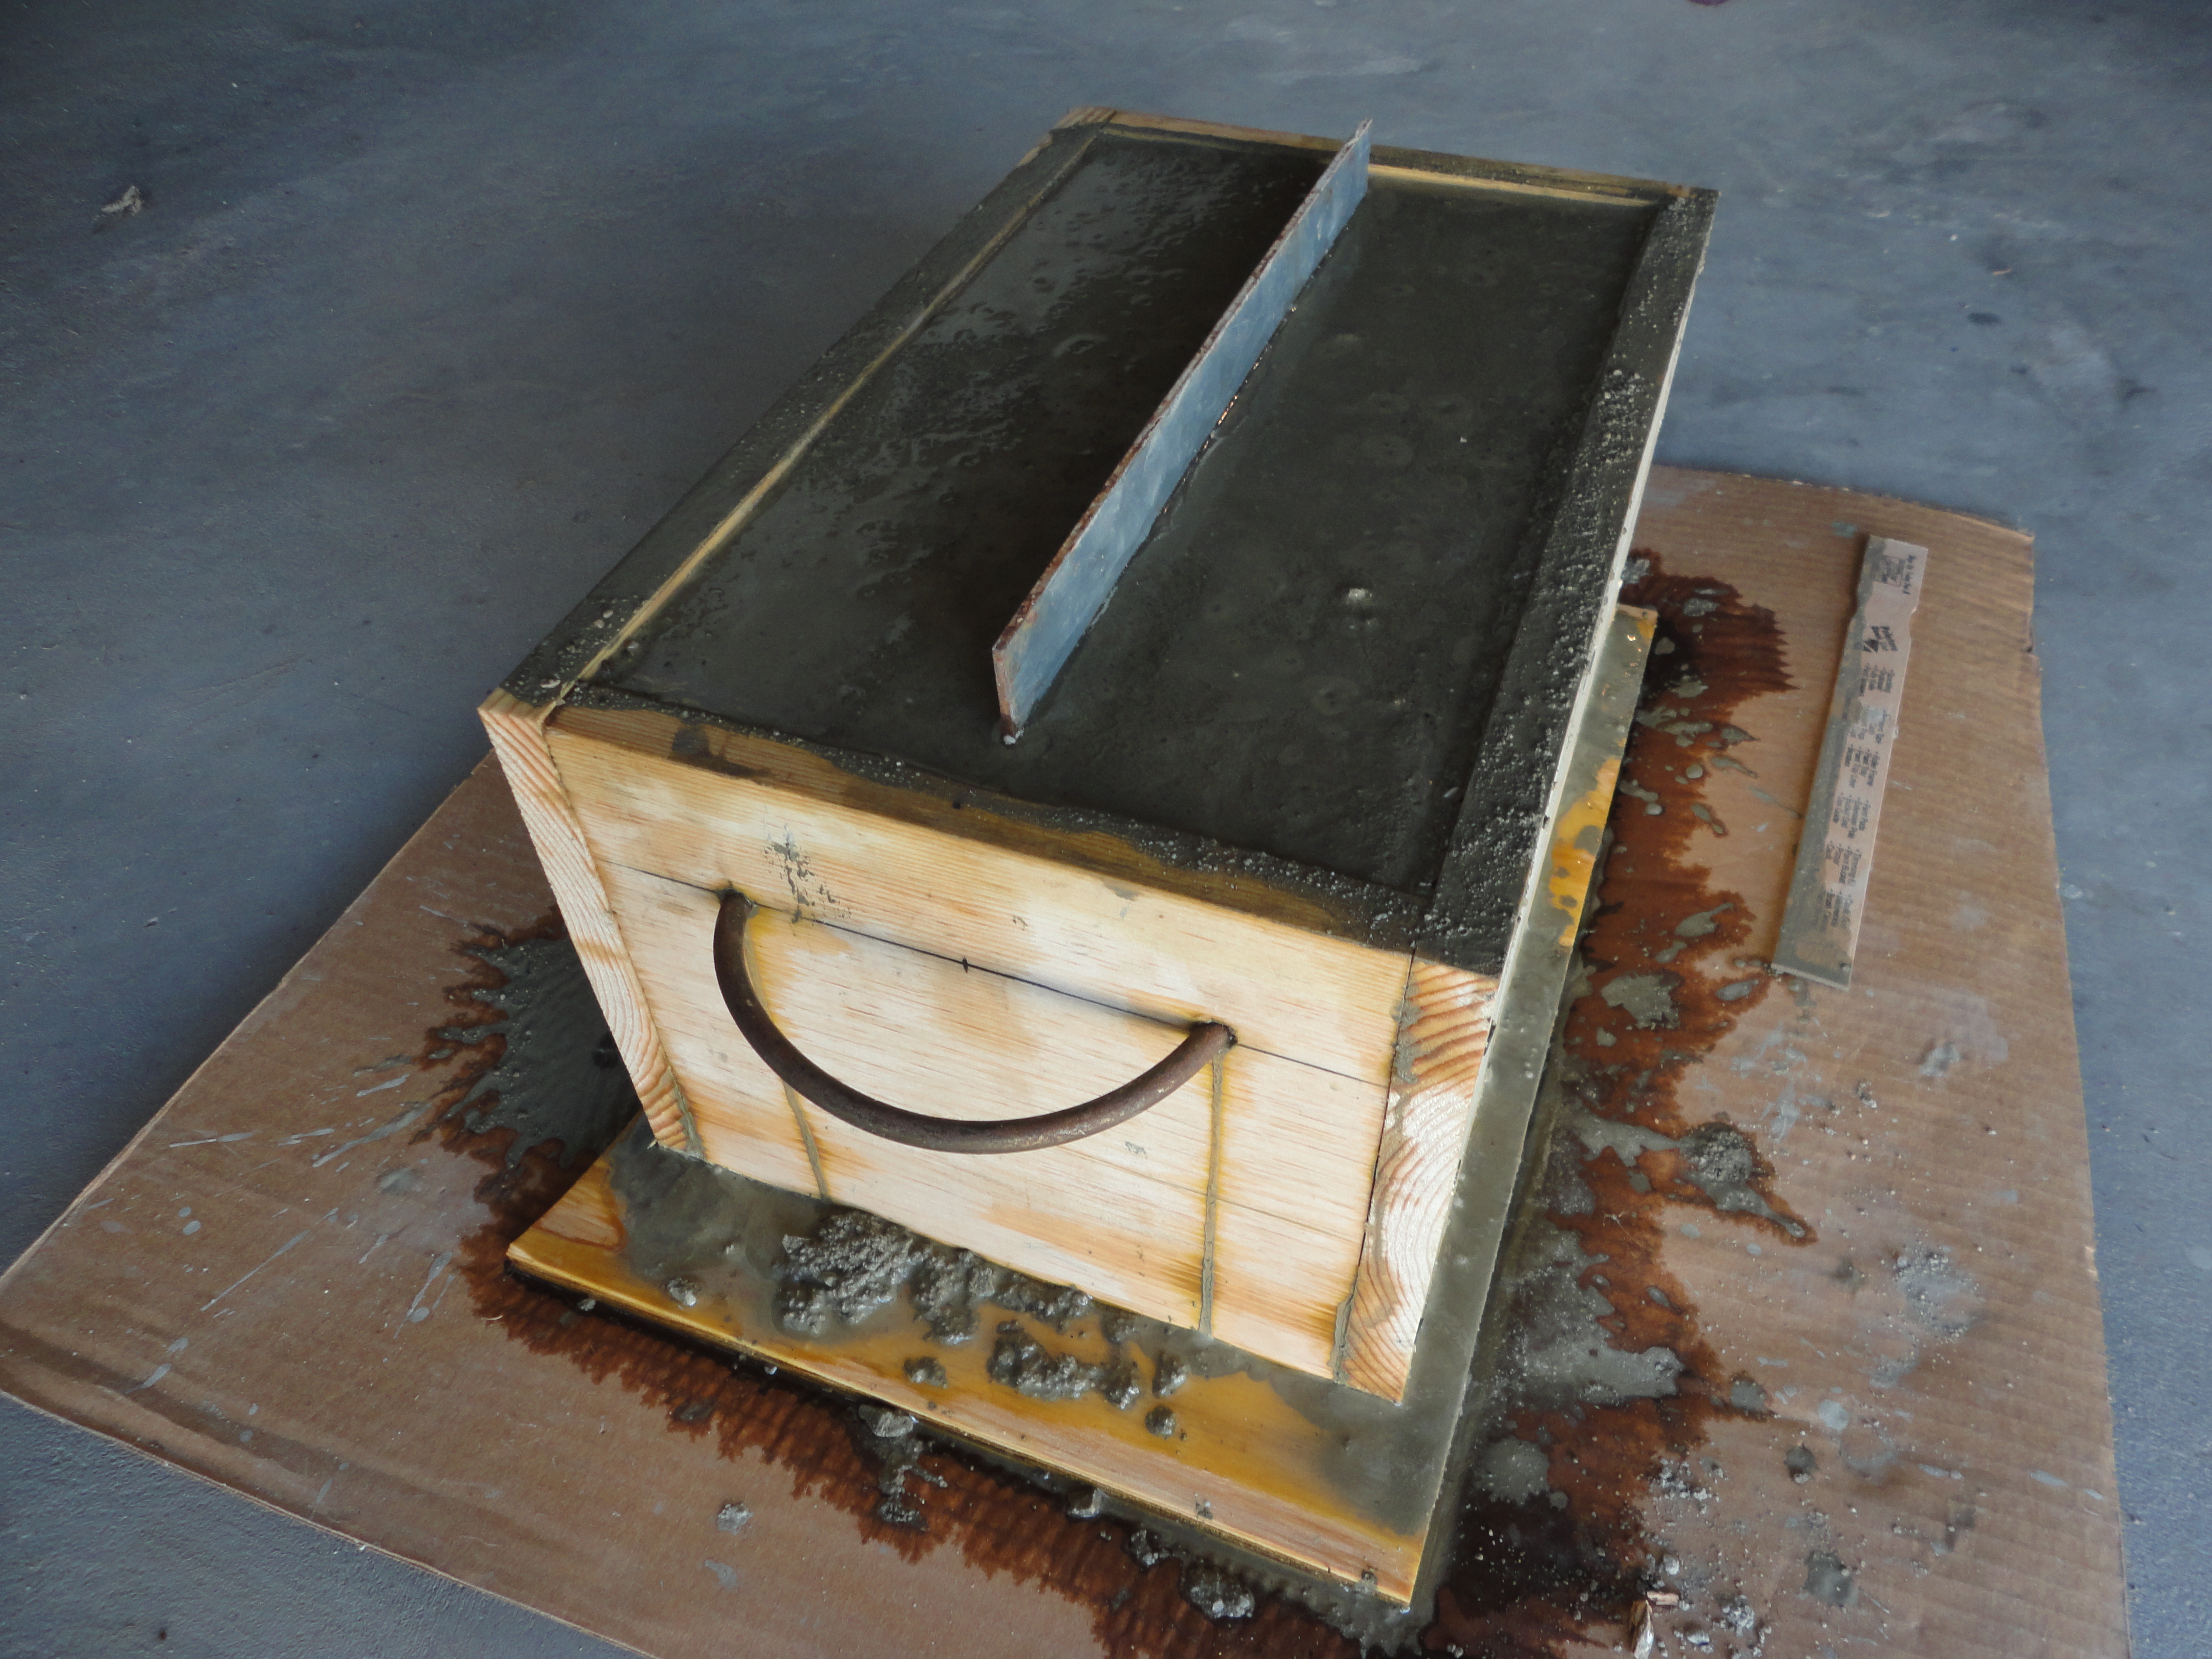
NOTE: Before mixing concrete, you may want to spray and prepare a few small containers or molds to quickly use up any excess. Waste Not, Want Not.

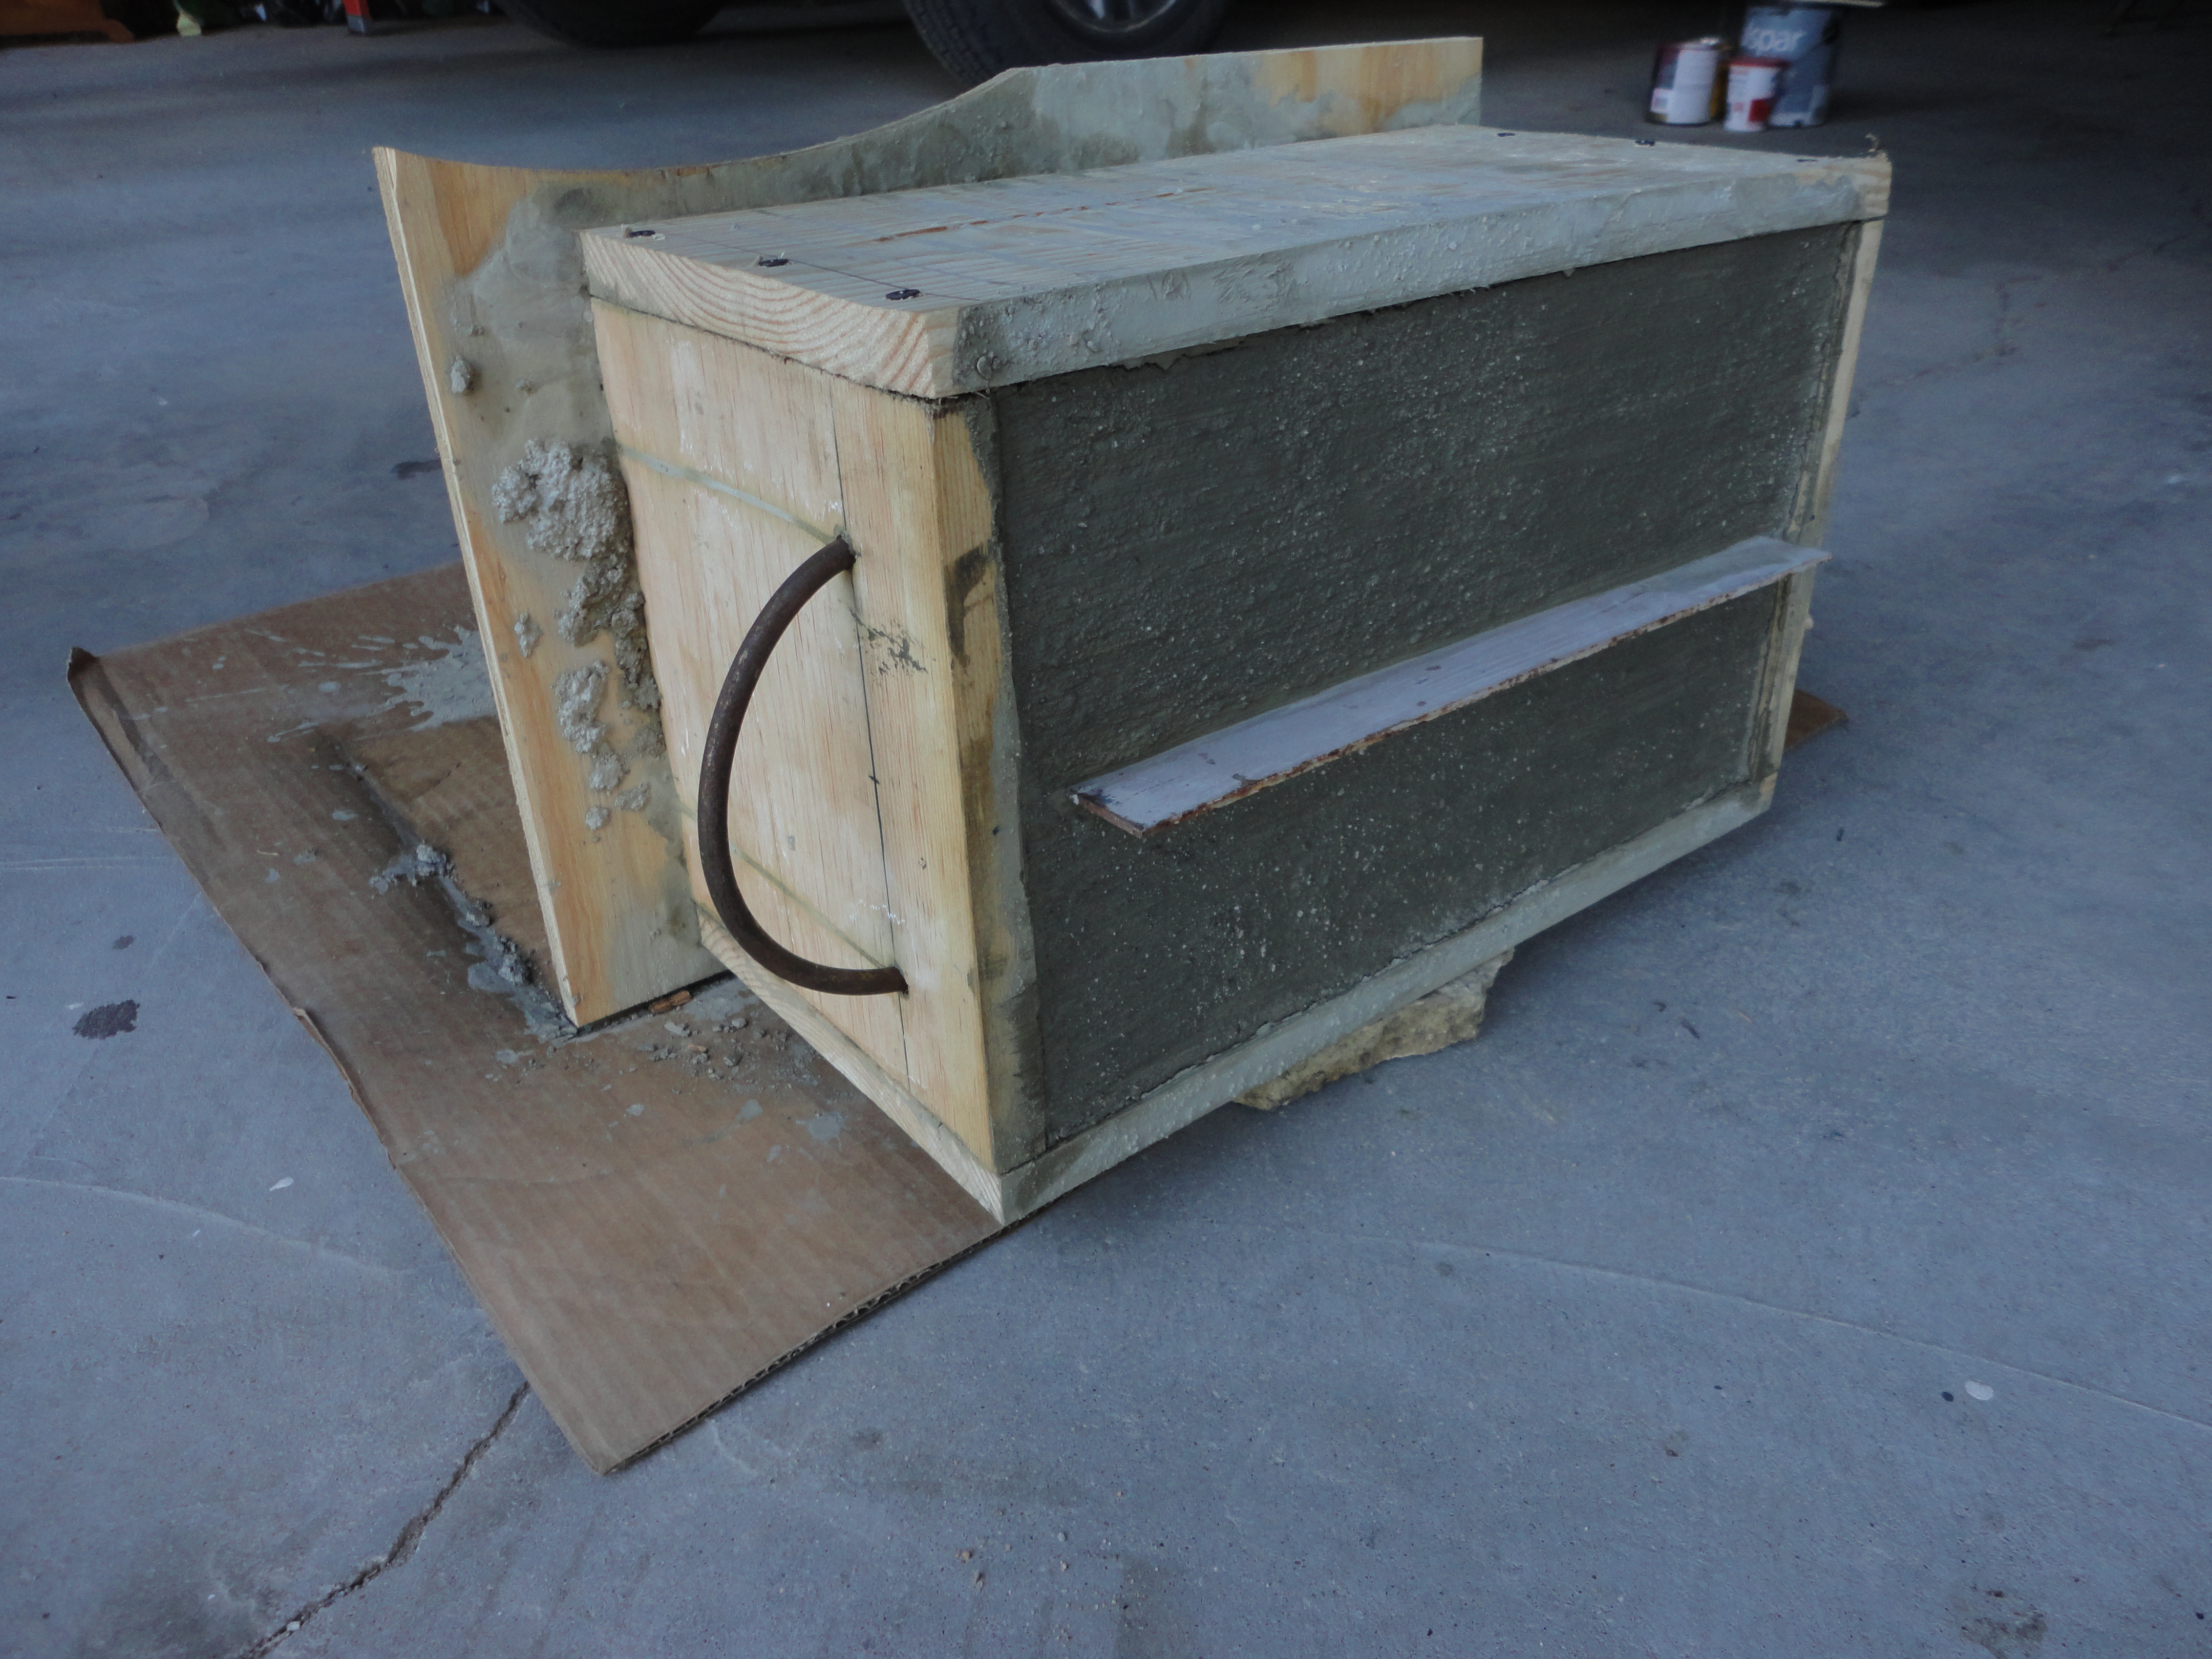
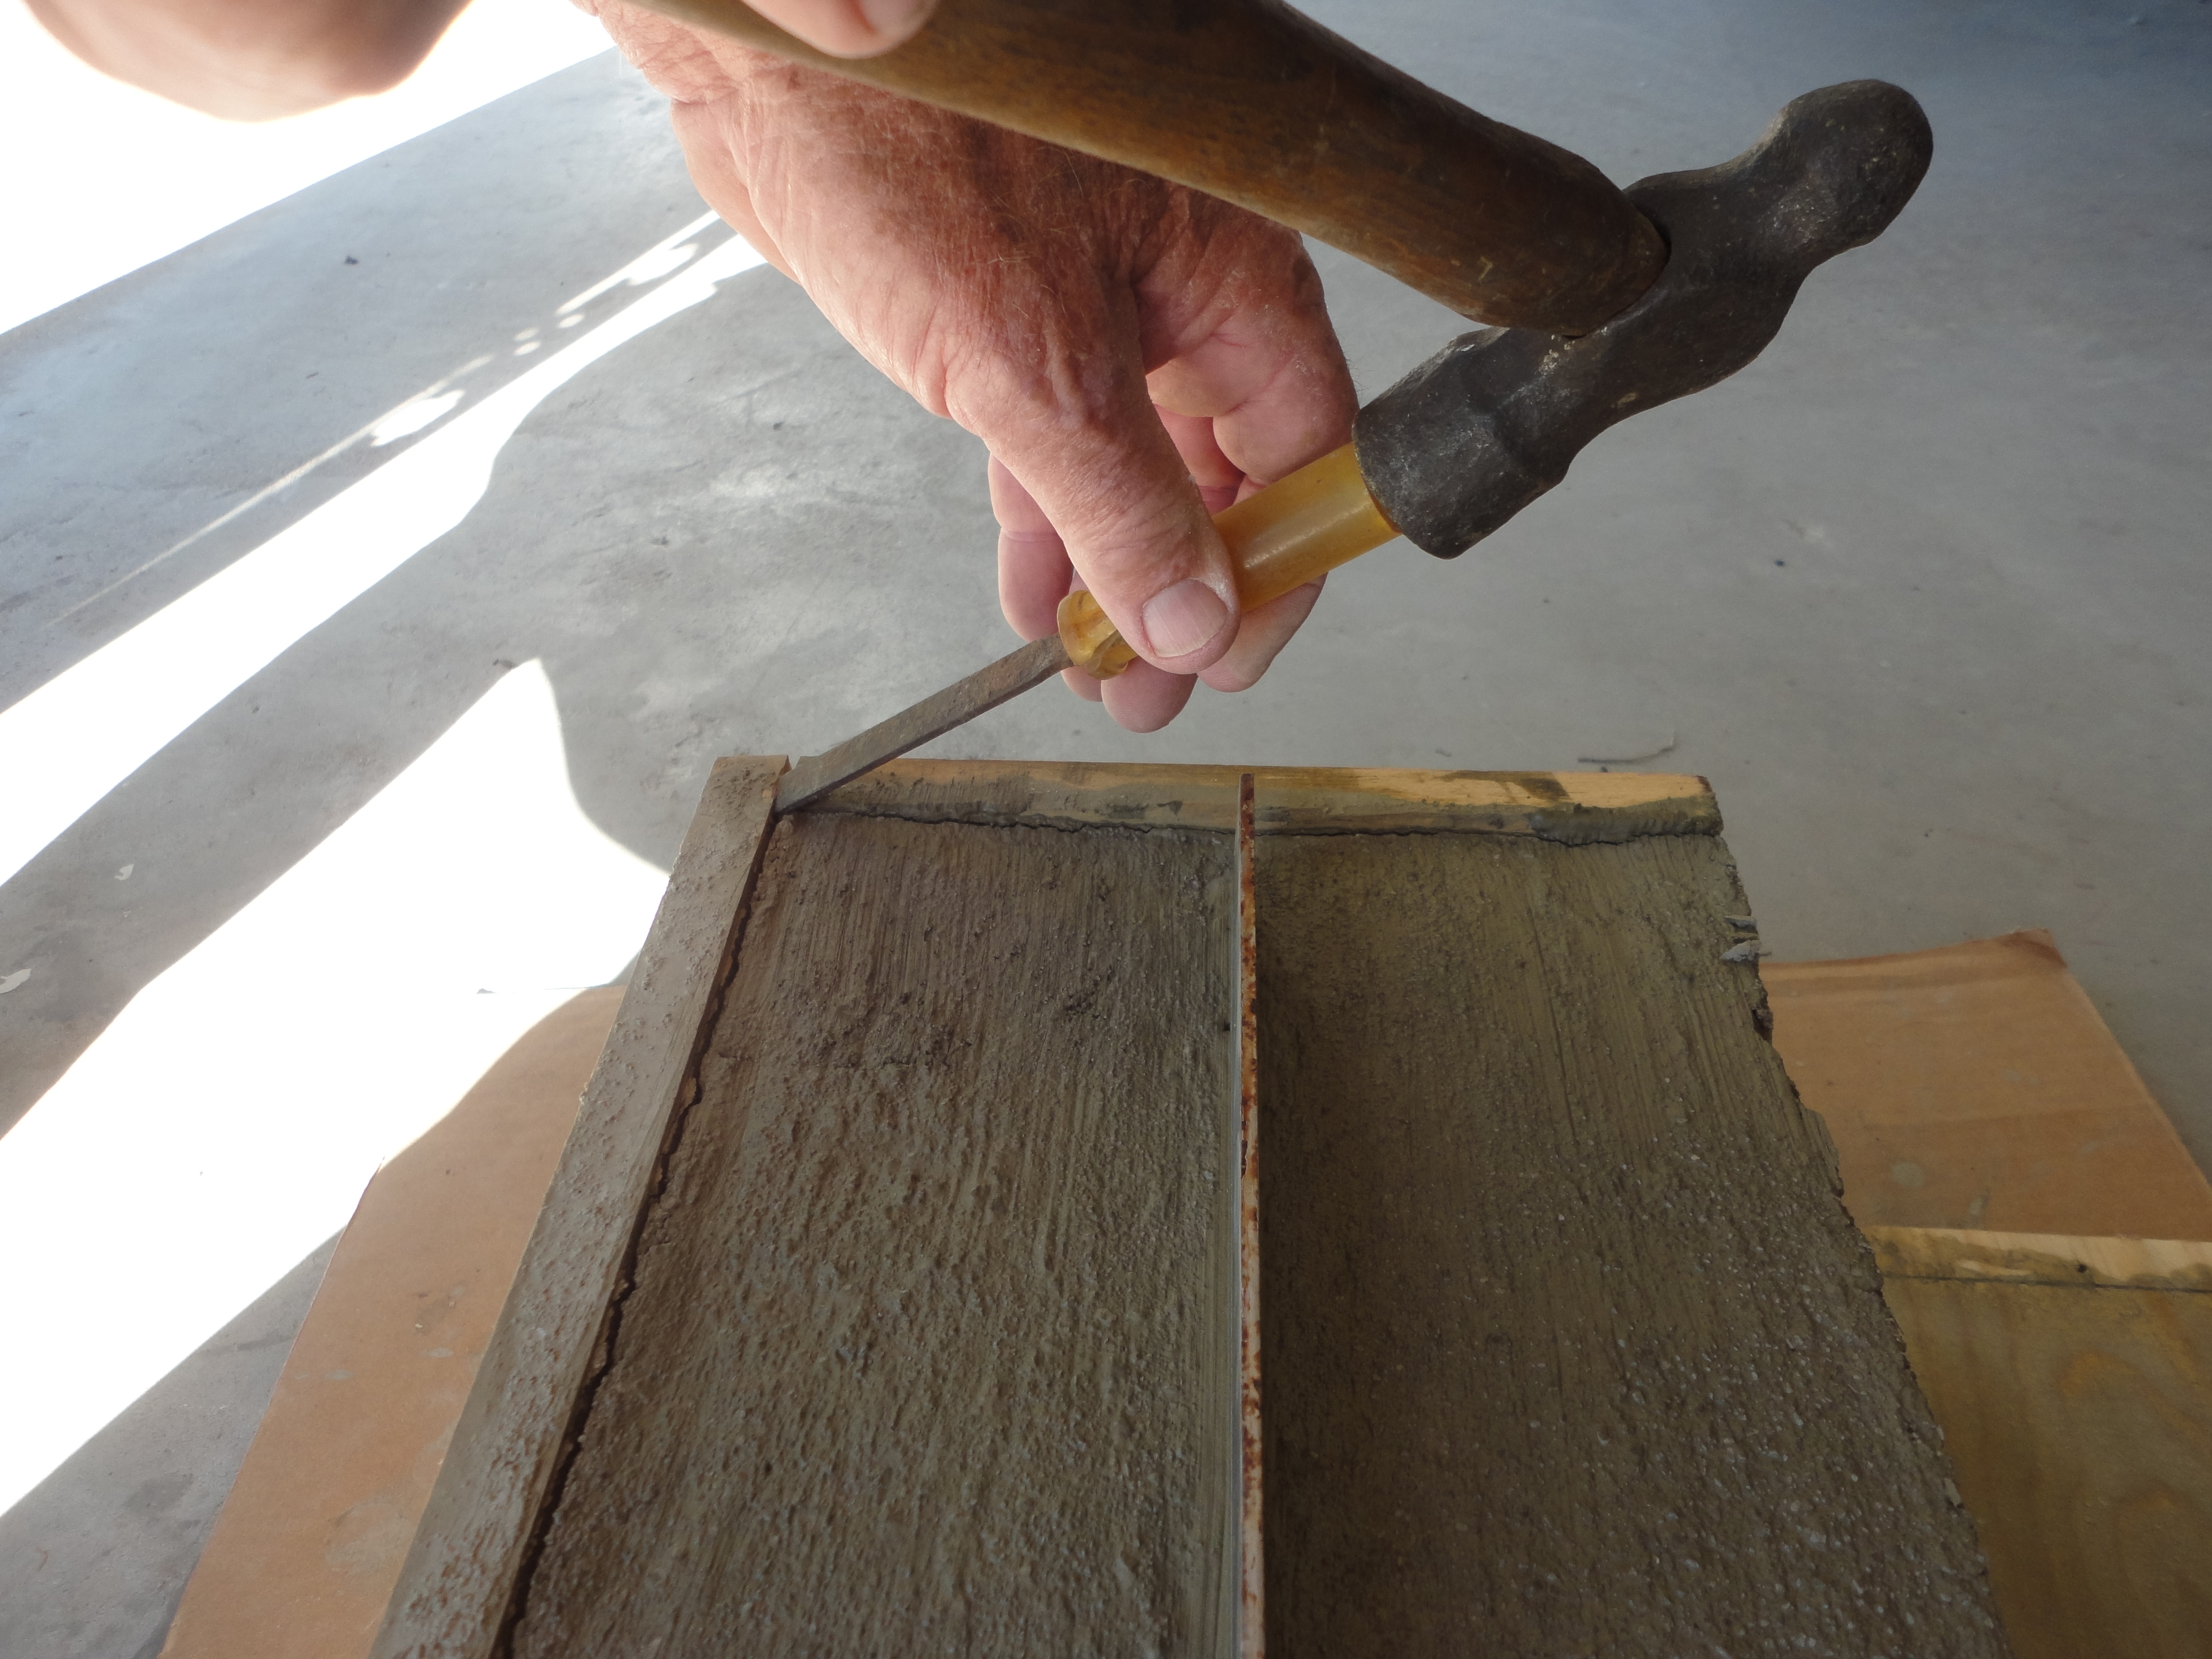
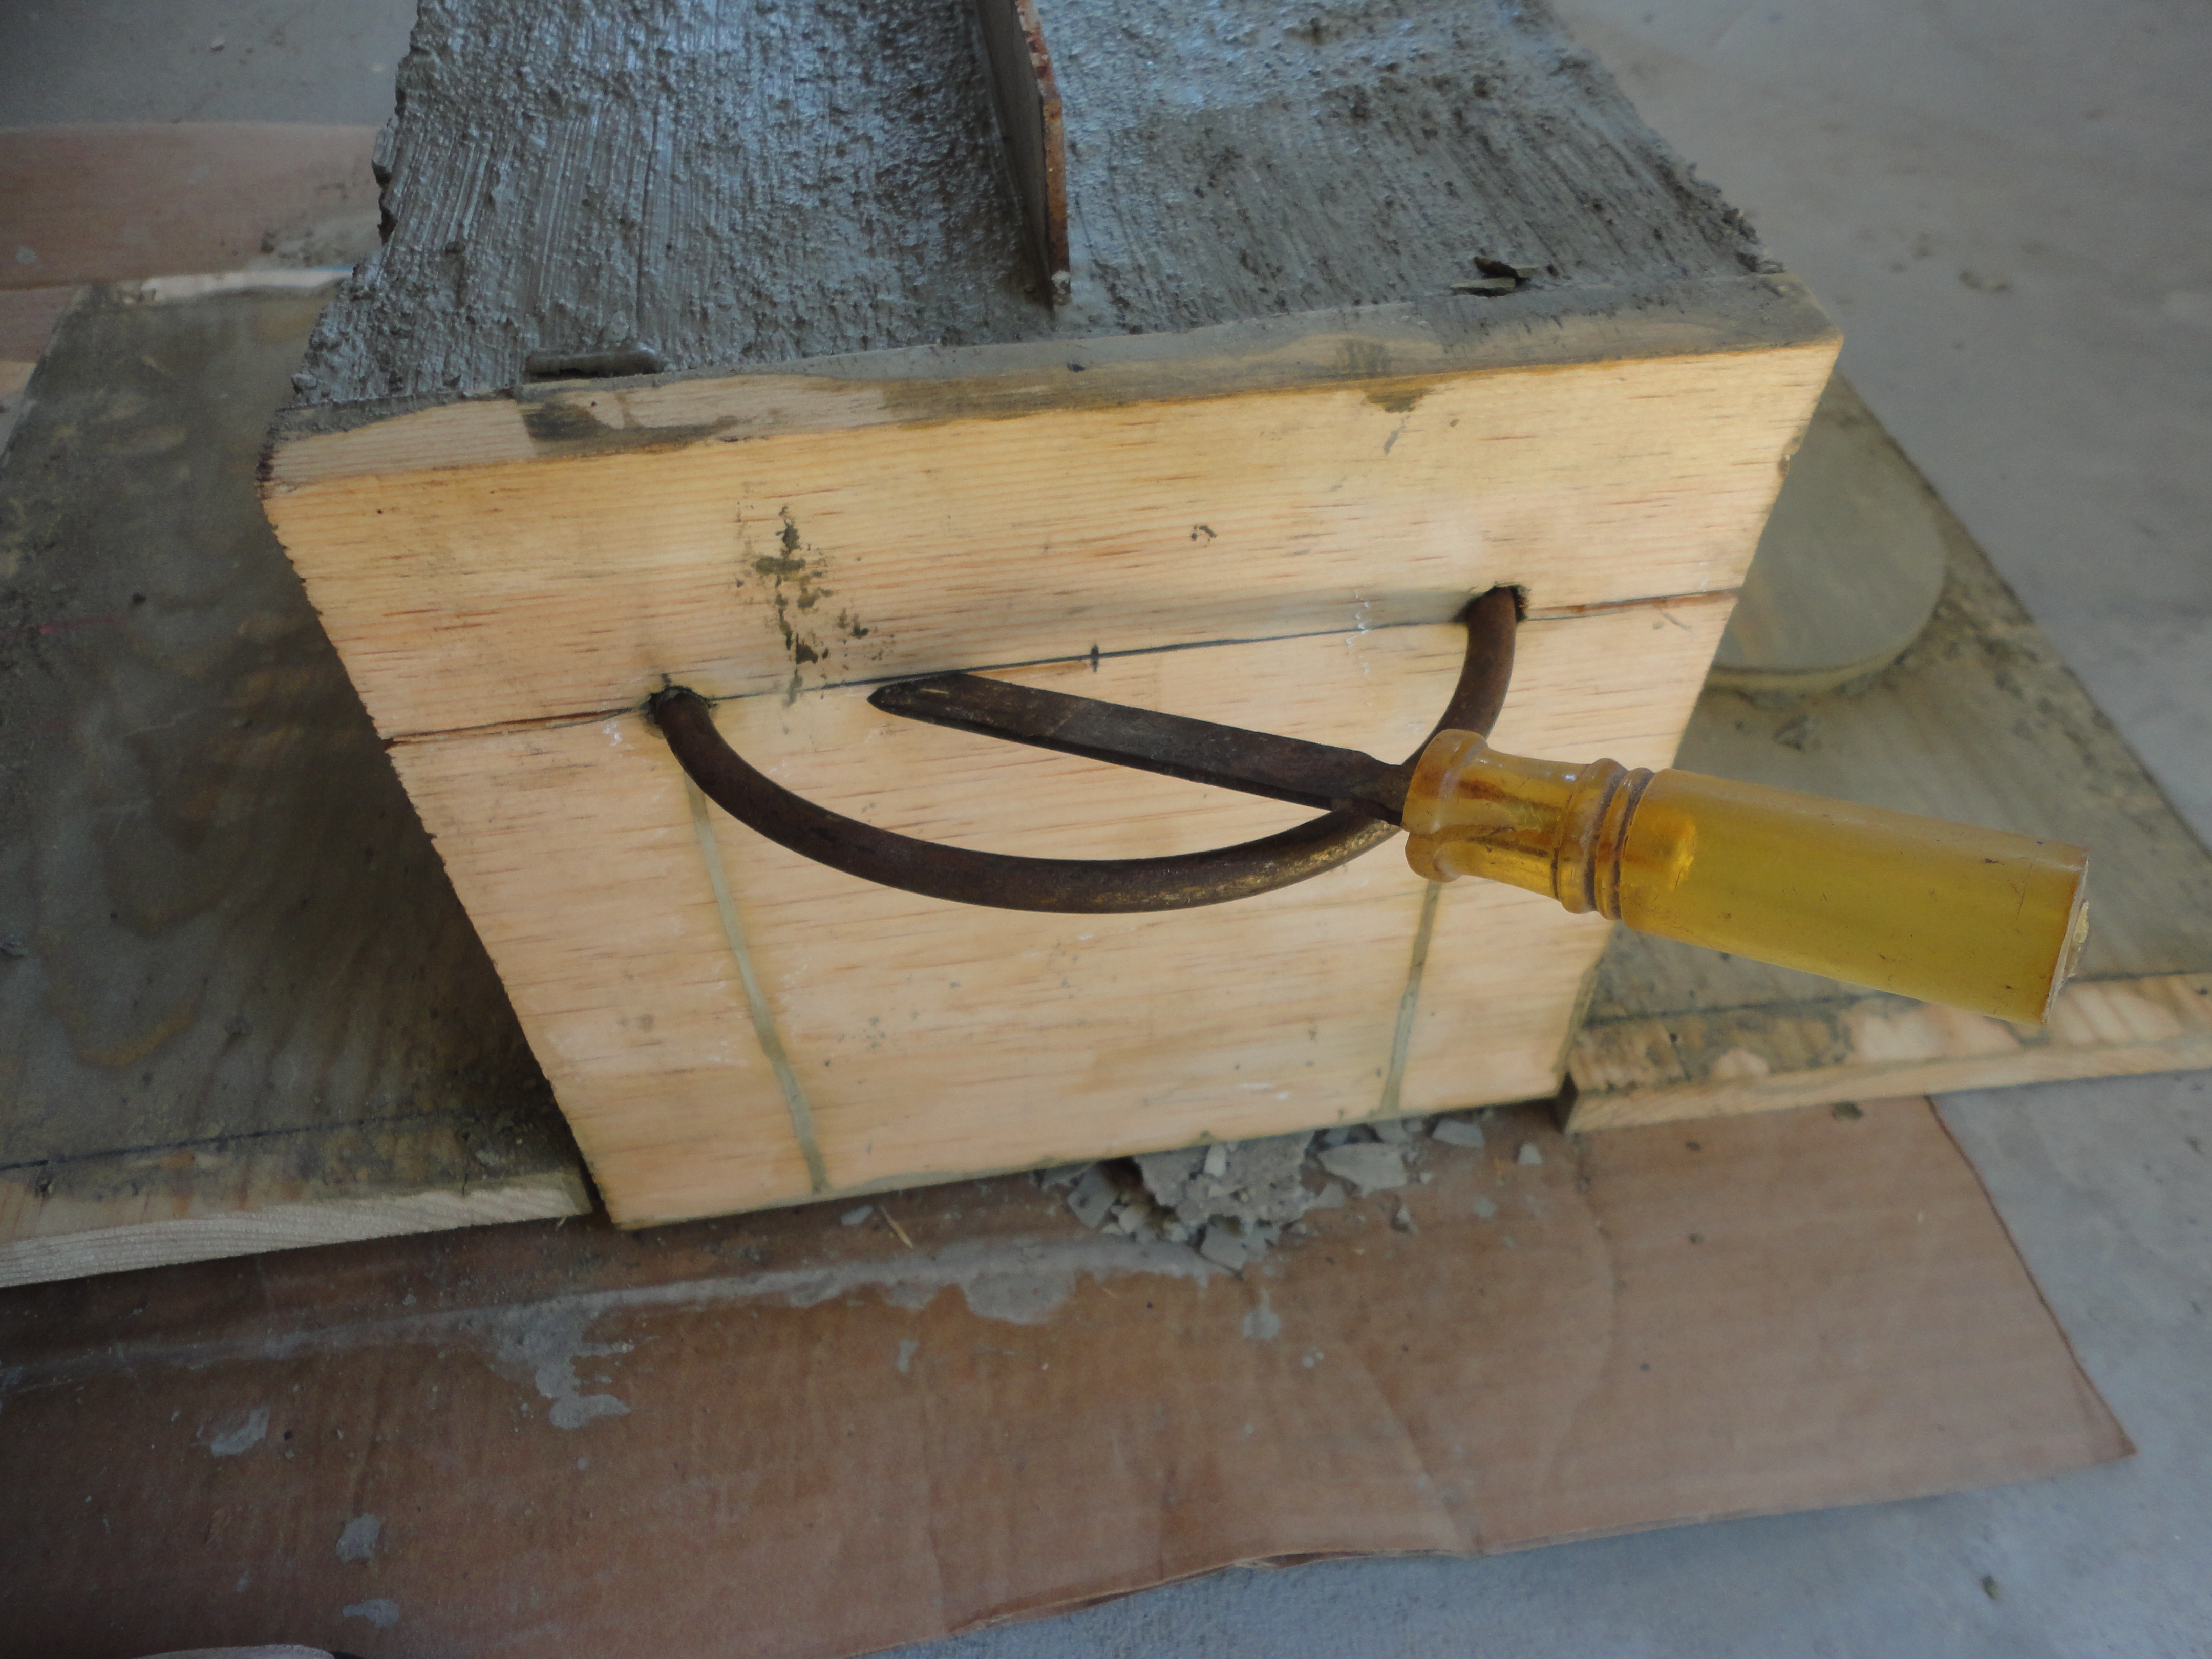
After 24 hours, tip the box and brace it while removing the bottom. Sit it back up on the plywood, sideways, to dry another 12 hours. Remove all the screws and tap sides off gently. On the handle end, tap a wood chisel gently into the wood, first from the sides, then across the middle. Repeat until it splits easily; remove. Lightly sand top outside edge of concrete.


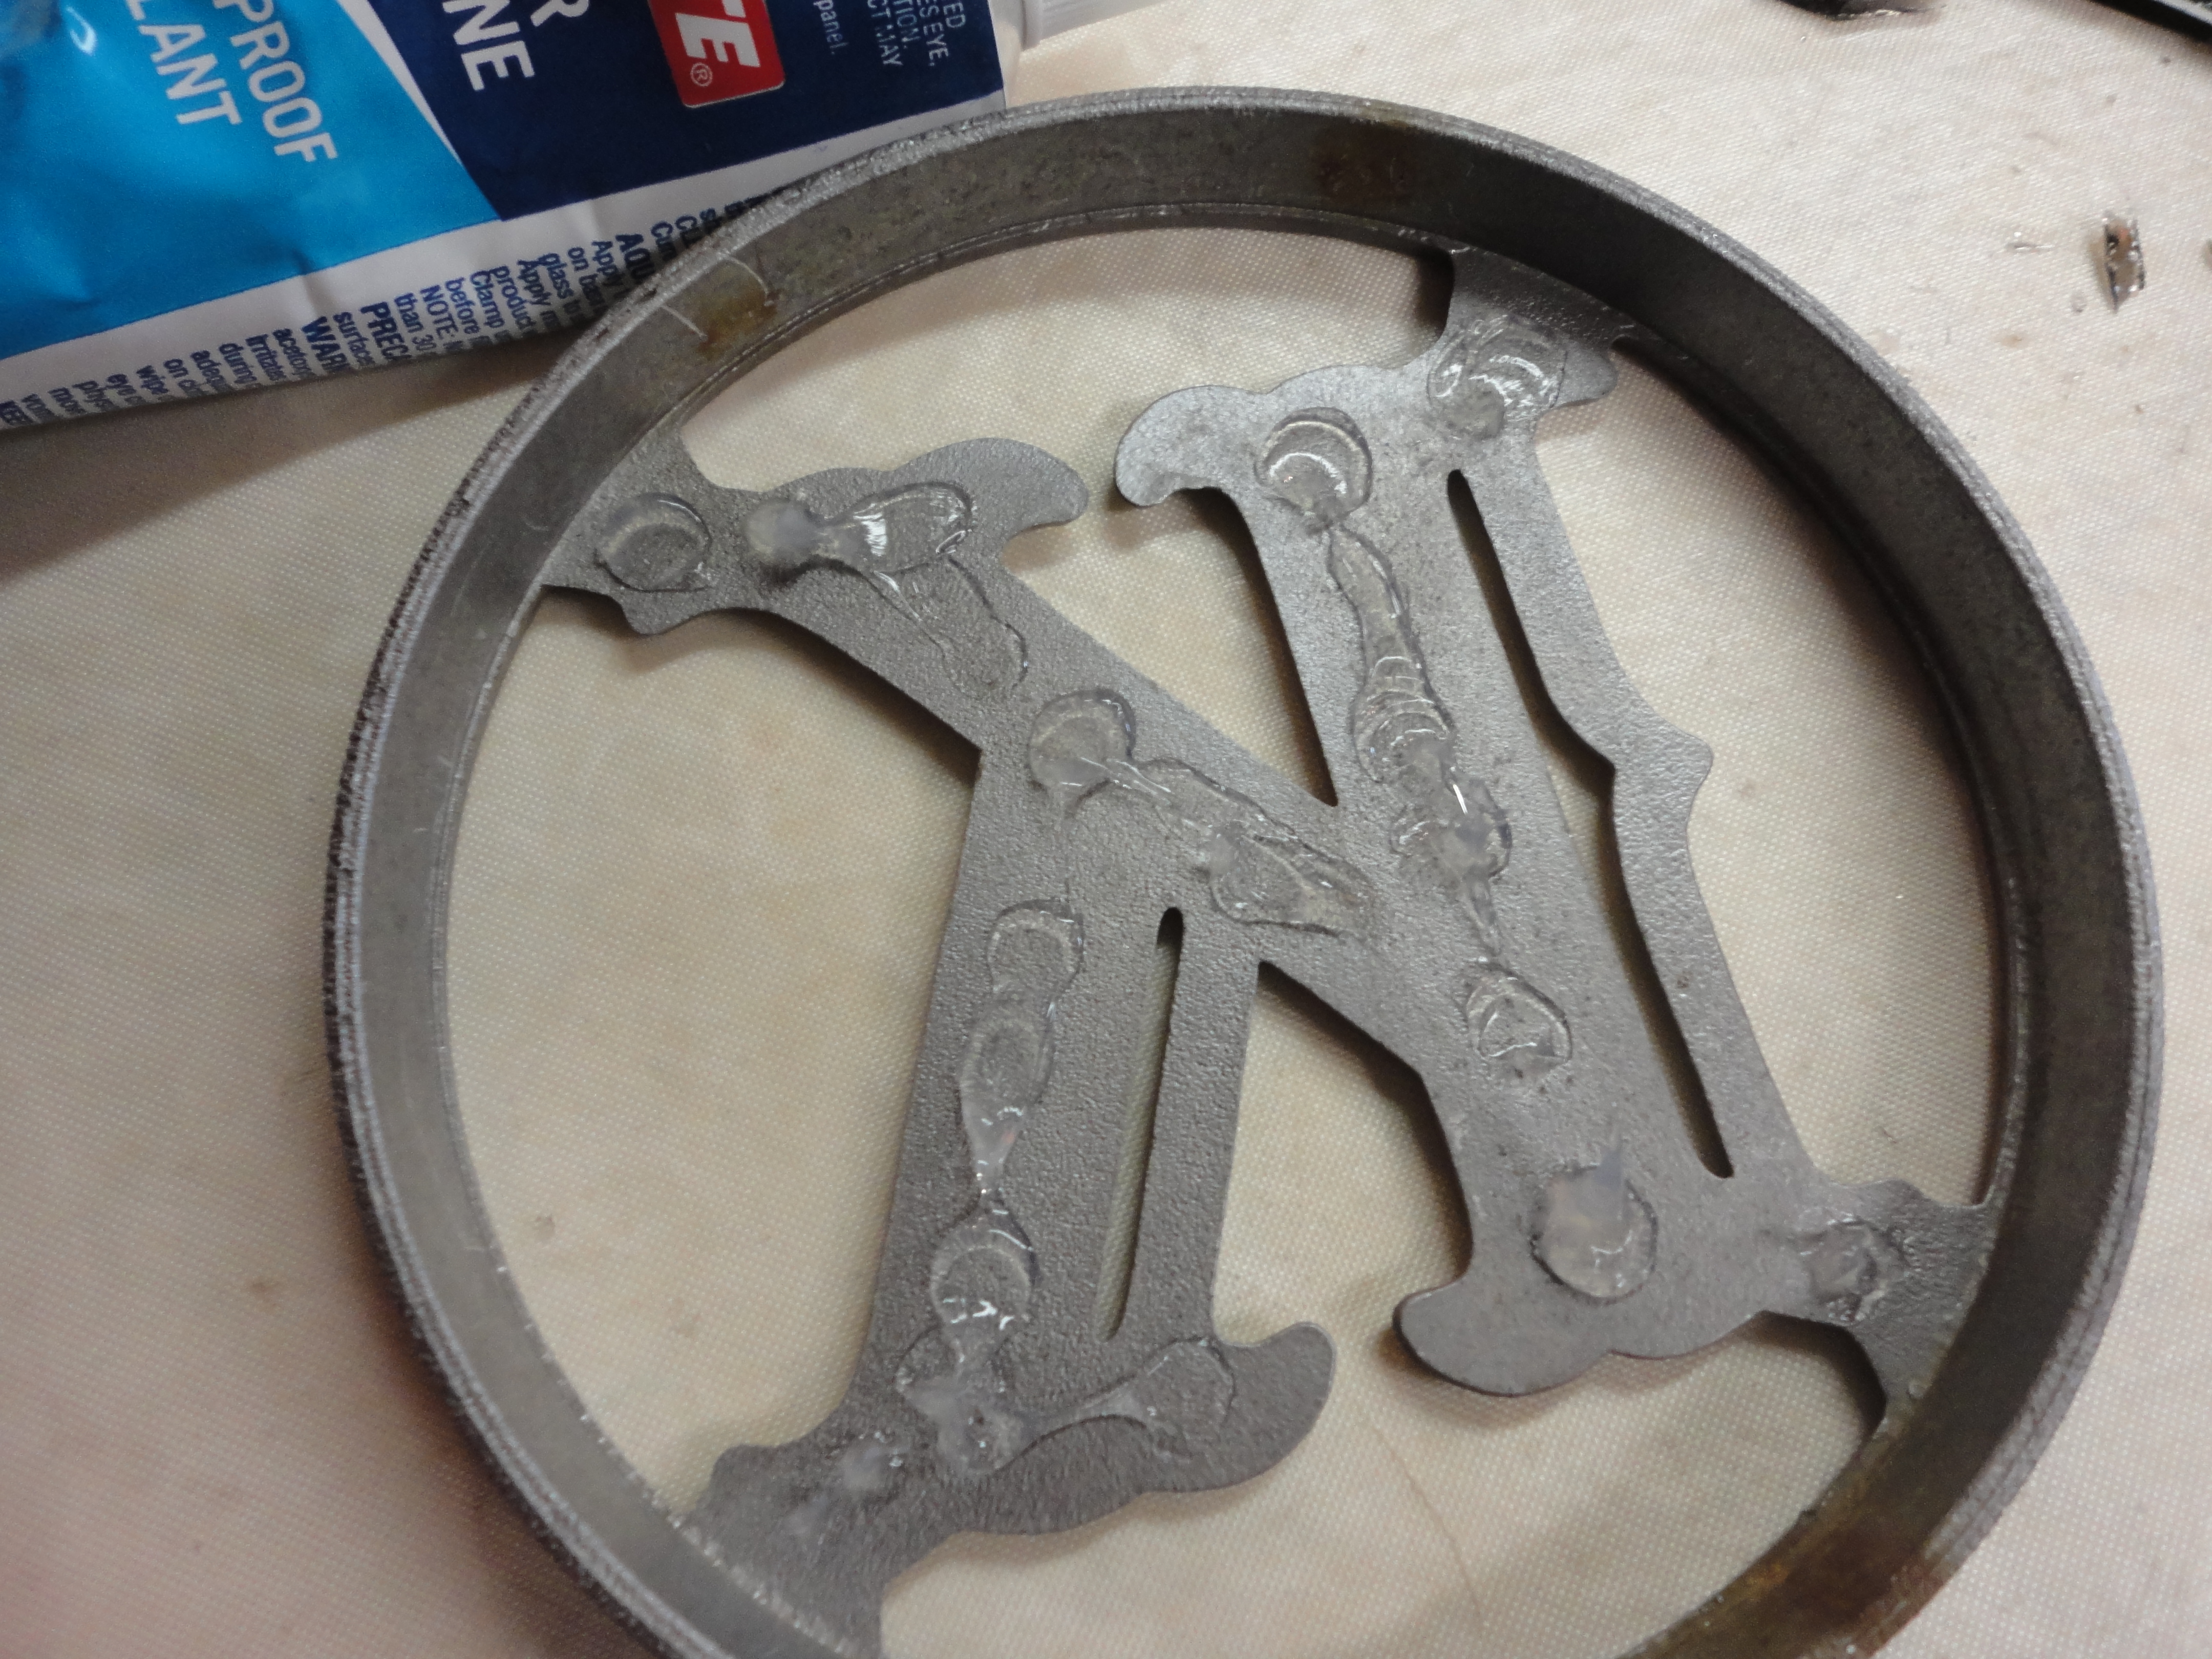
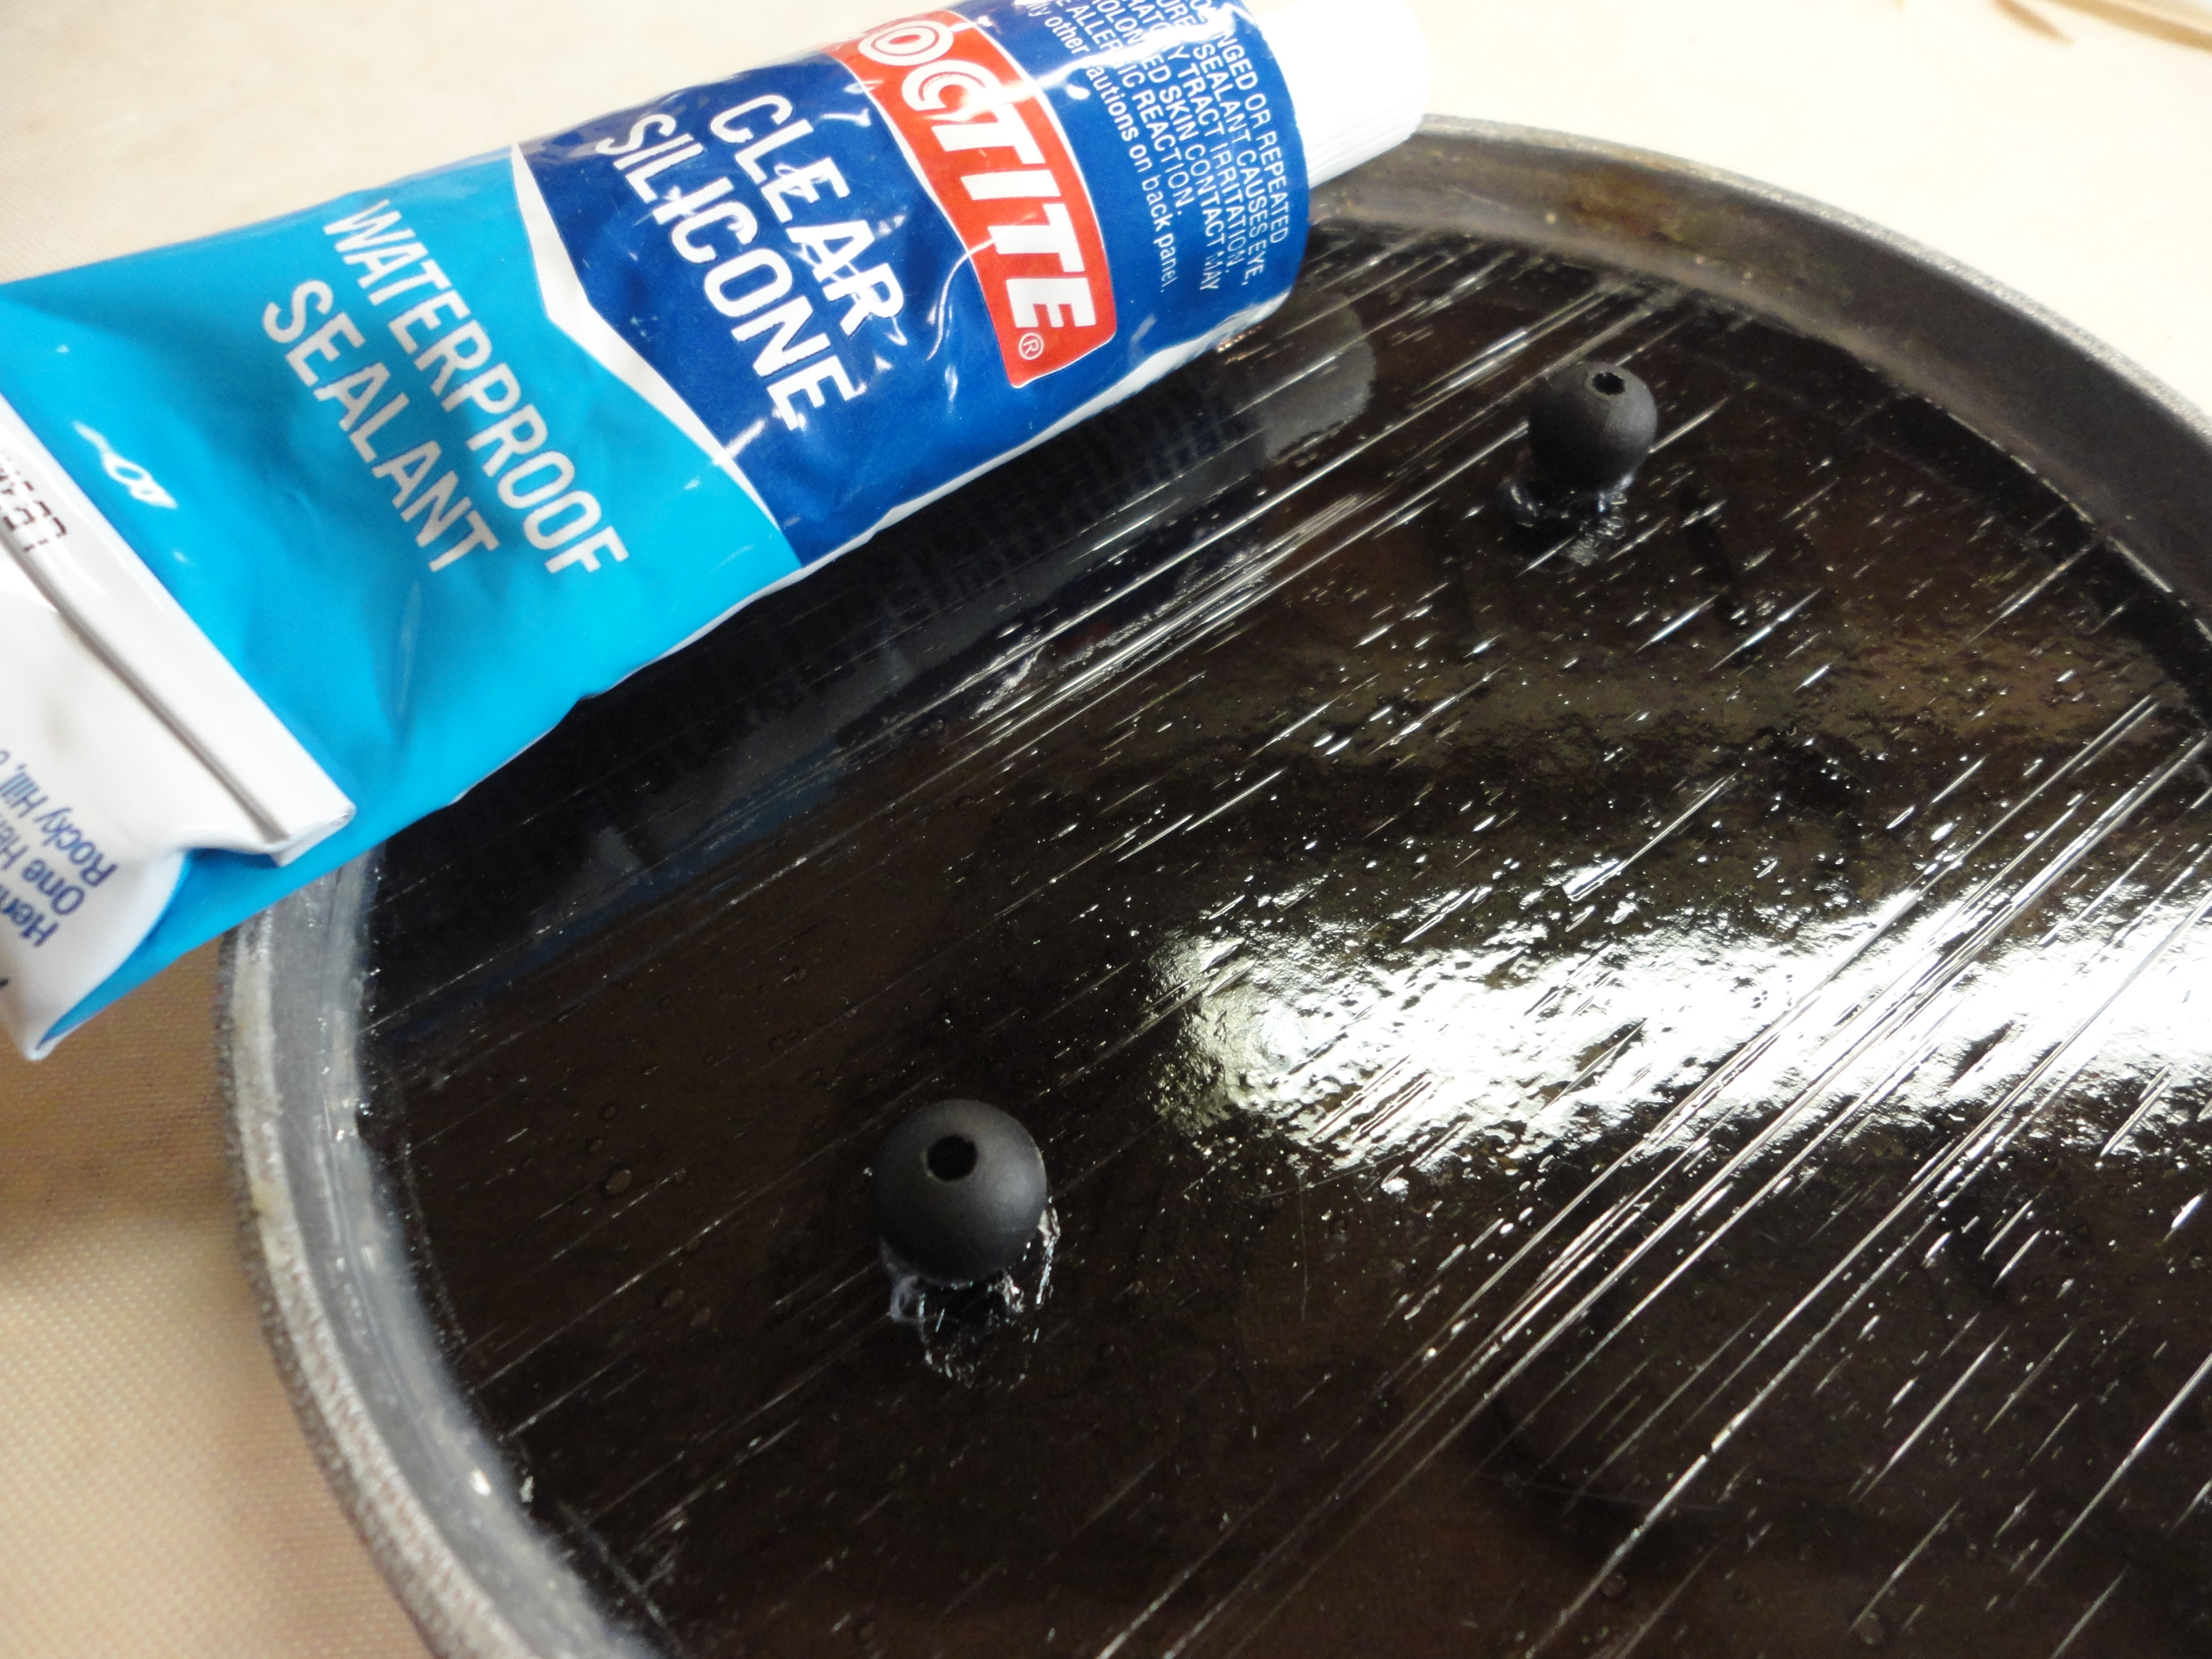
Trace your circle pattern on your choice of glass. Cut and grind to fit inside the aluminum circle. Dab silicone glue on the backside of the “K”, insert glass, and weigh down to dry. Run a thin bead of silicone around the backside edge of the glass. I also glued on two 3/8″ resin beads to help brace the glass against the concrete. Let dry.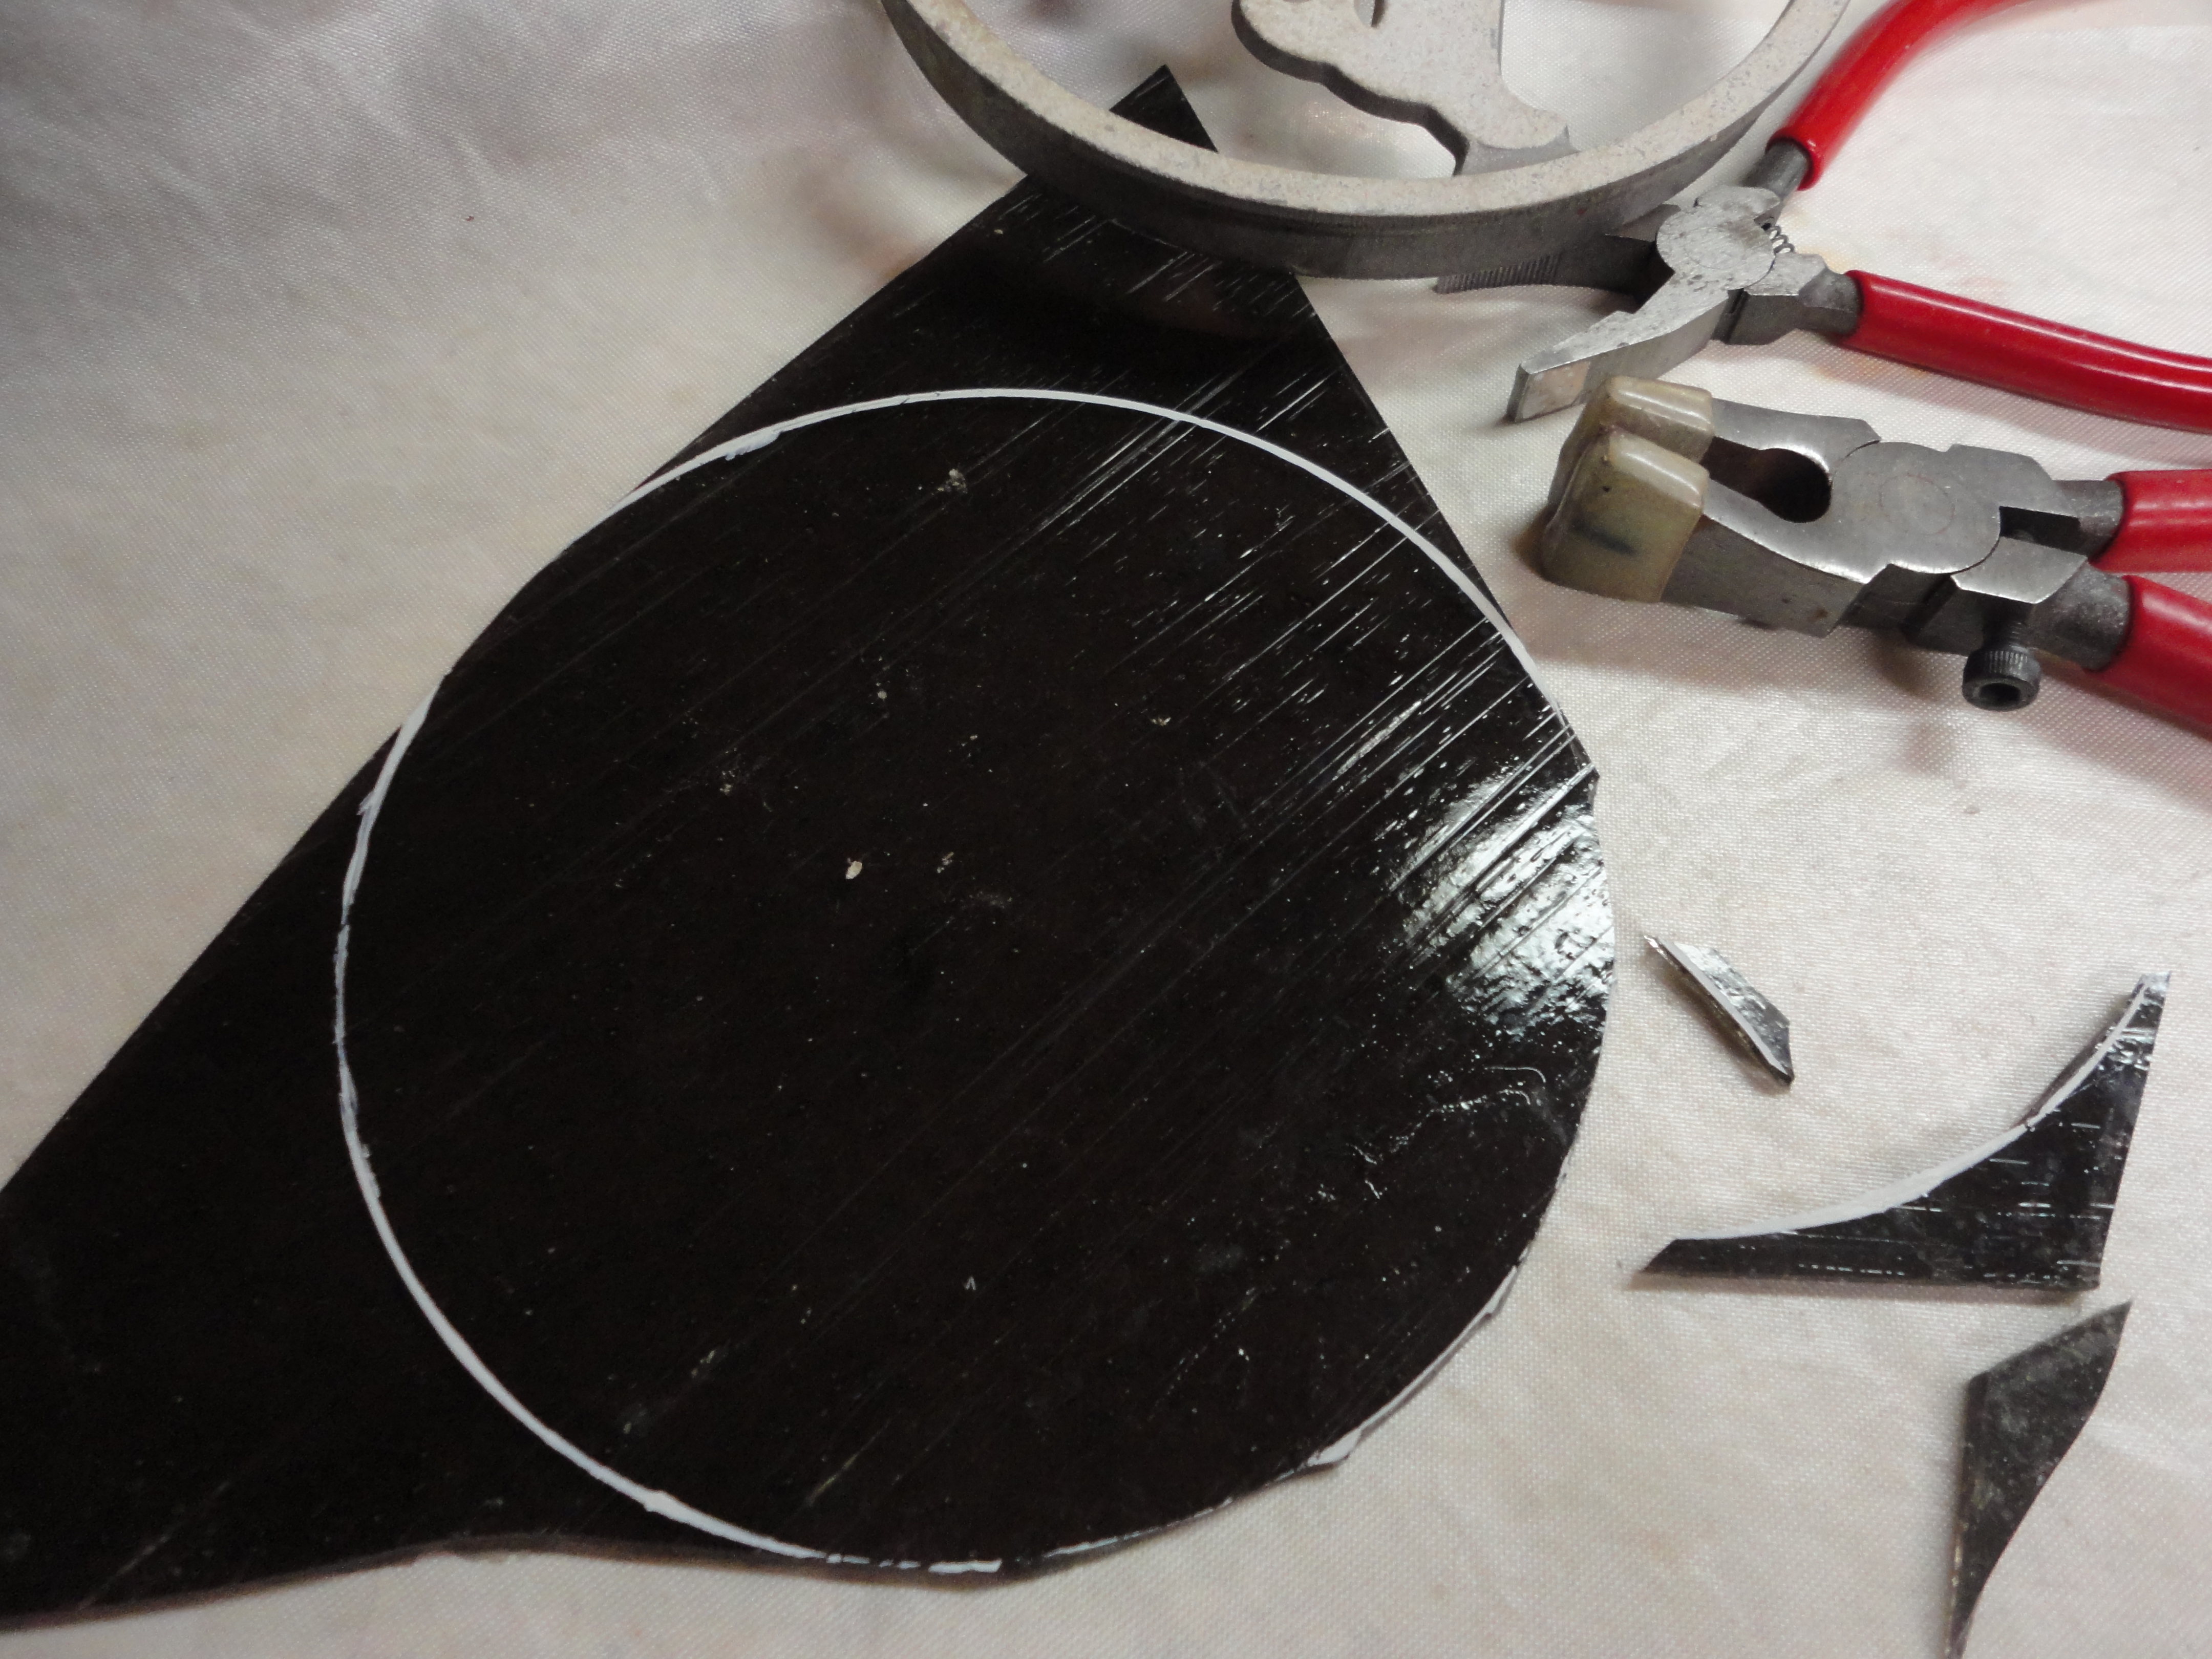


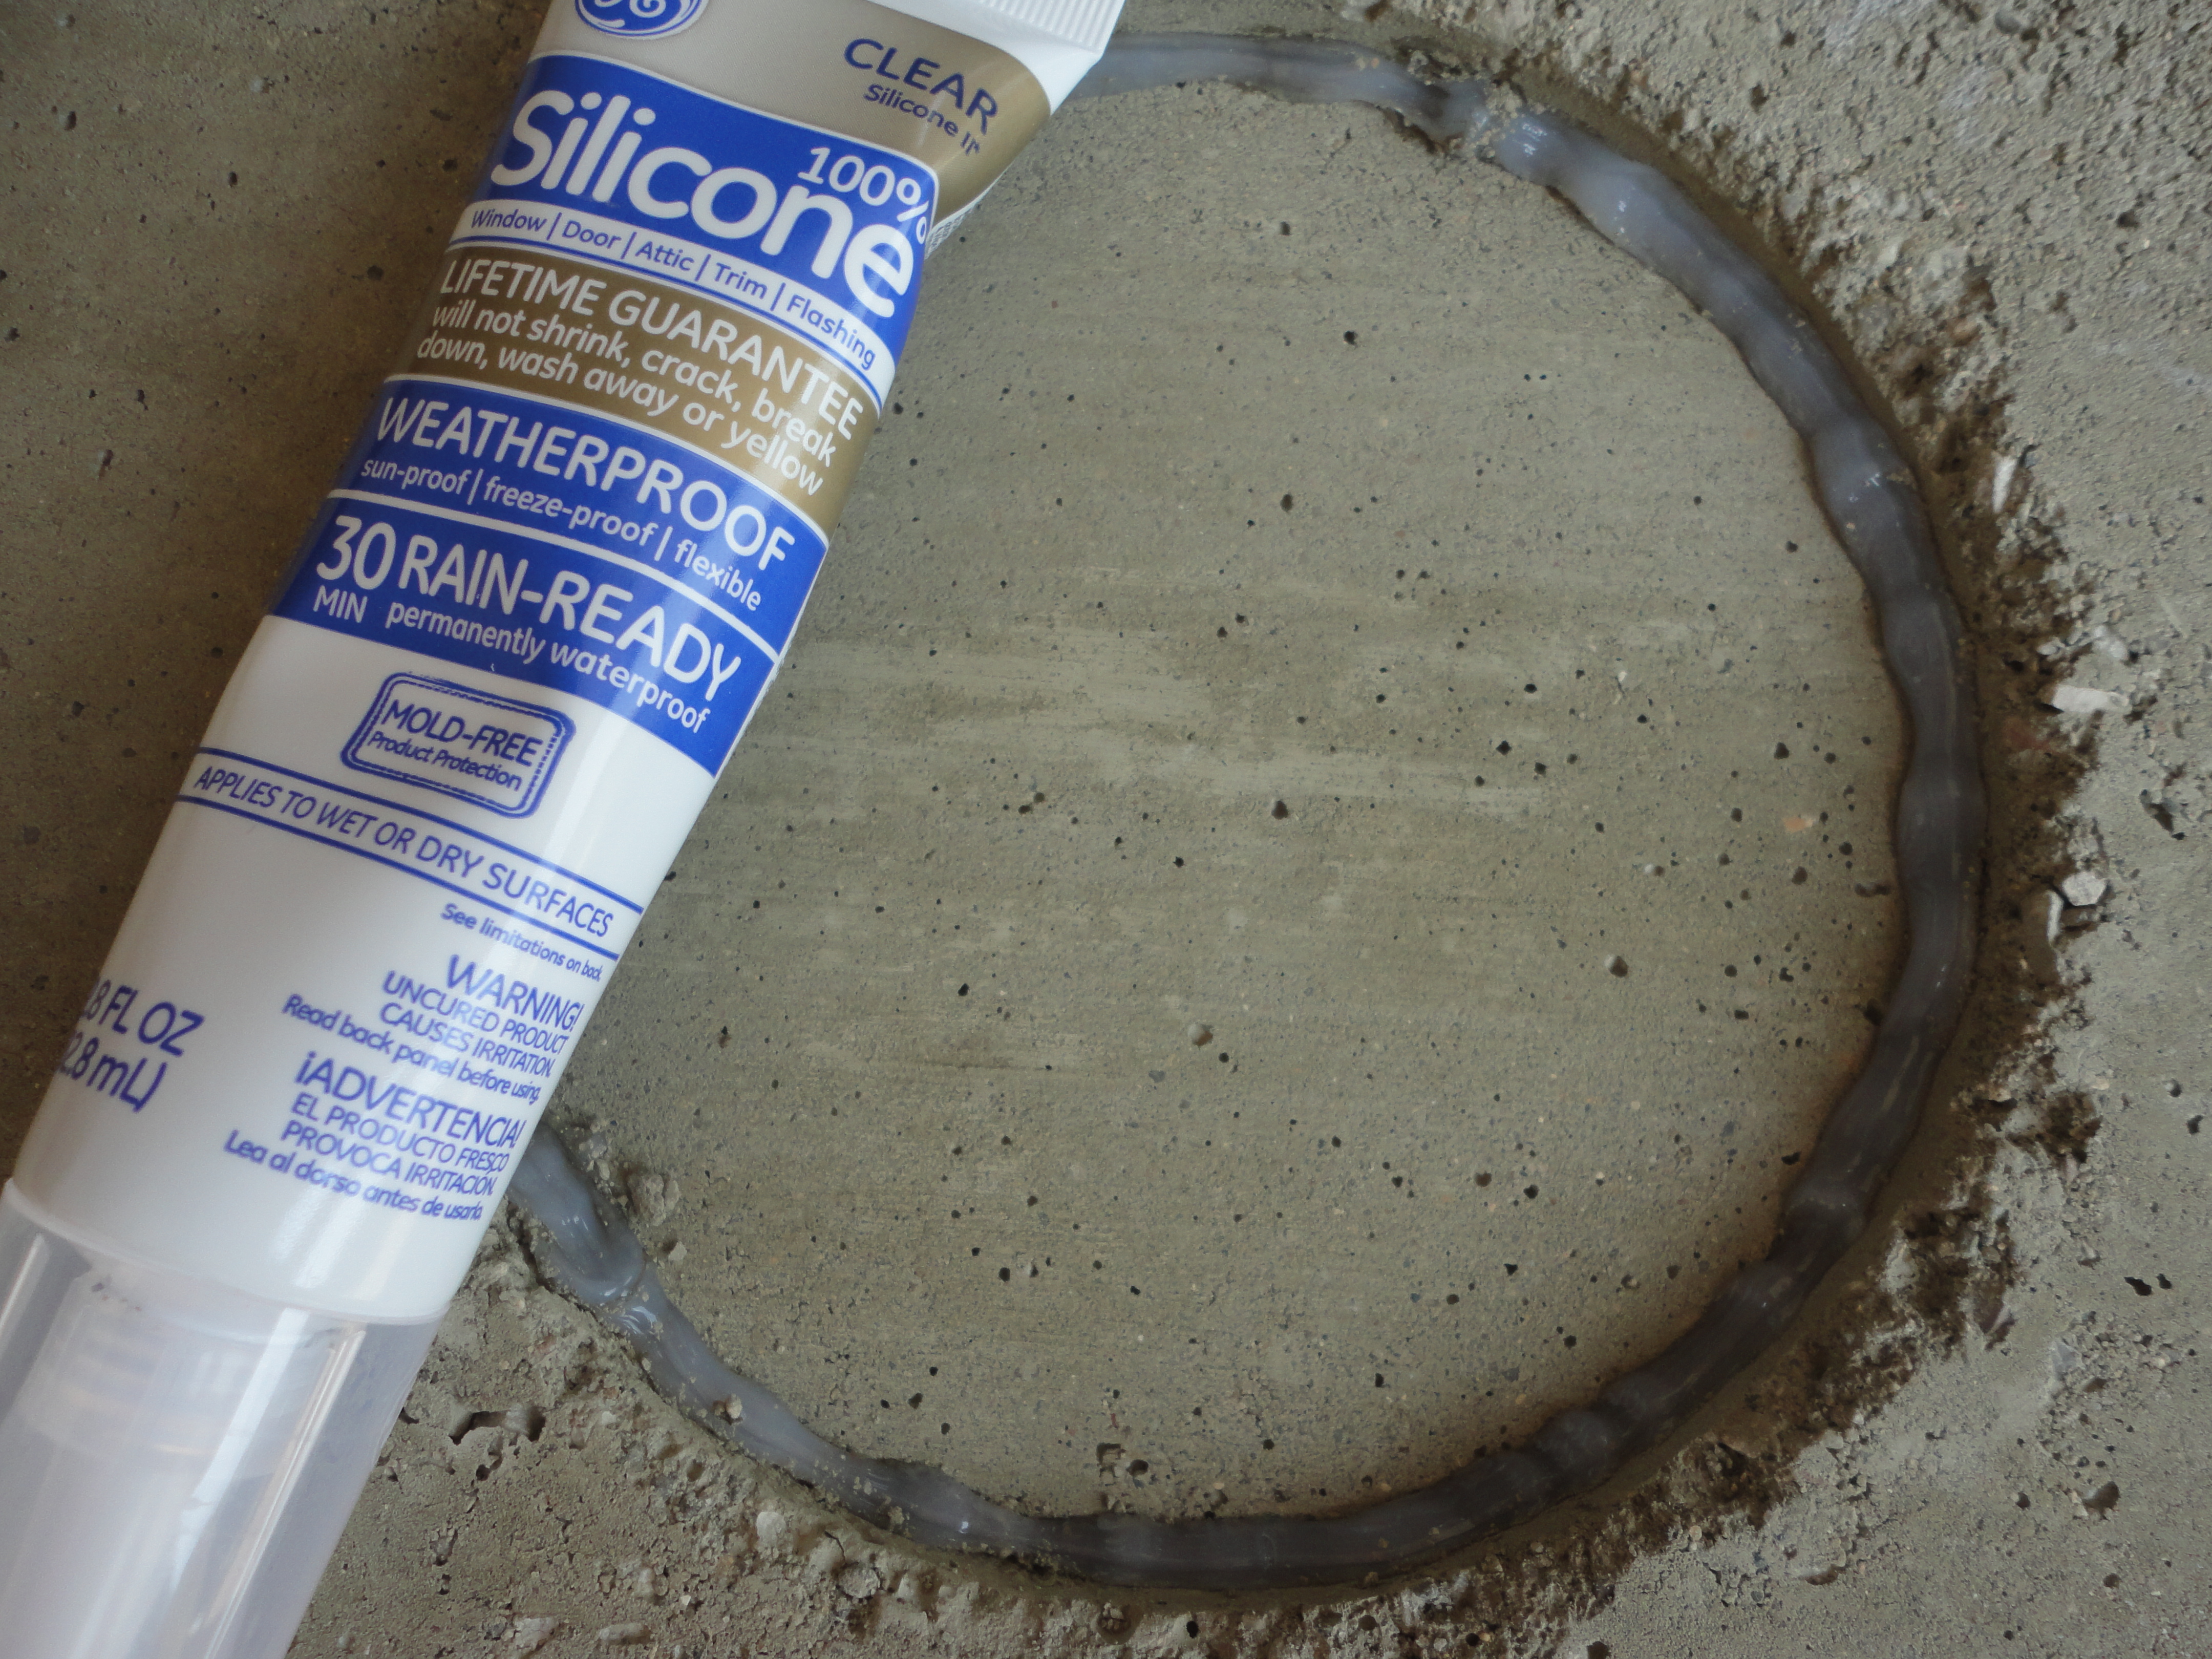
Run a thick bead of silicone around the inside circumference of the concrete circle and set the aluminum piece in place. Dry over night.
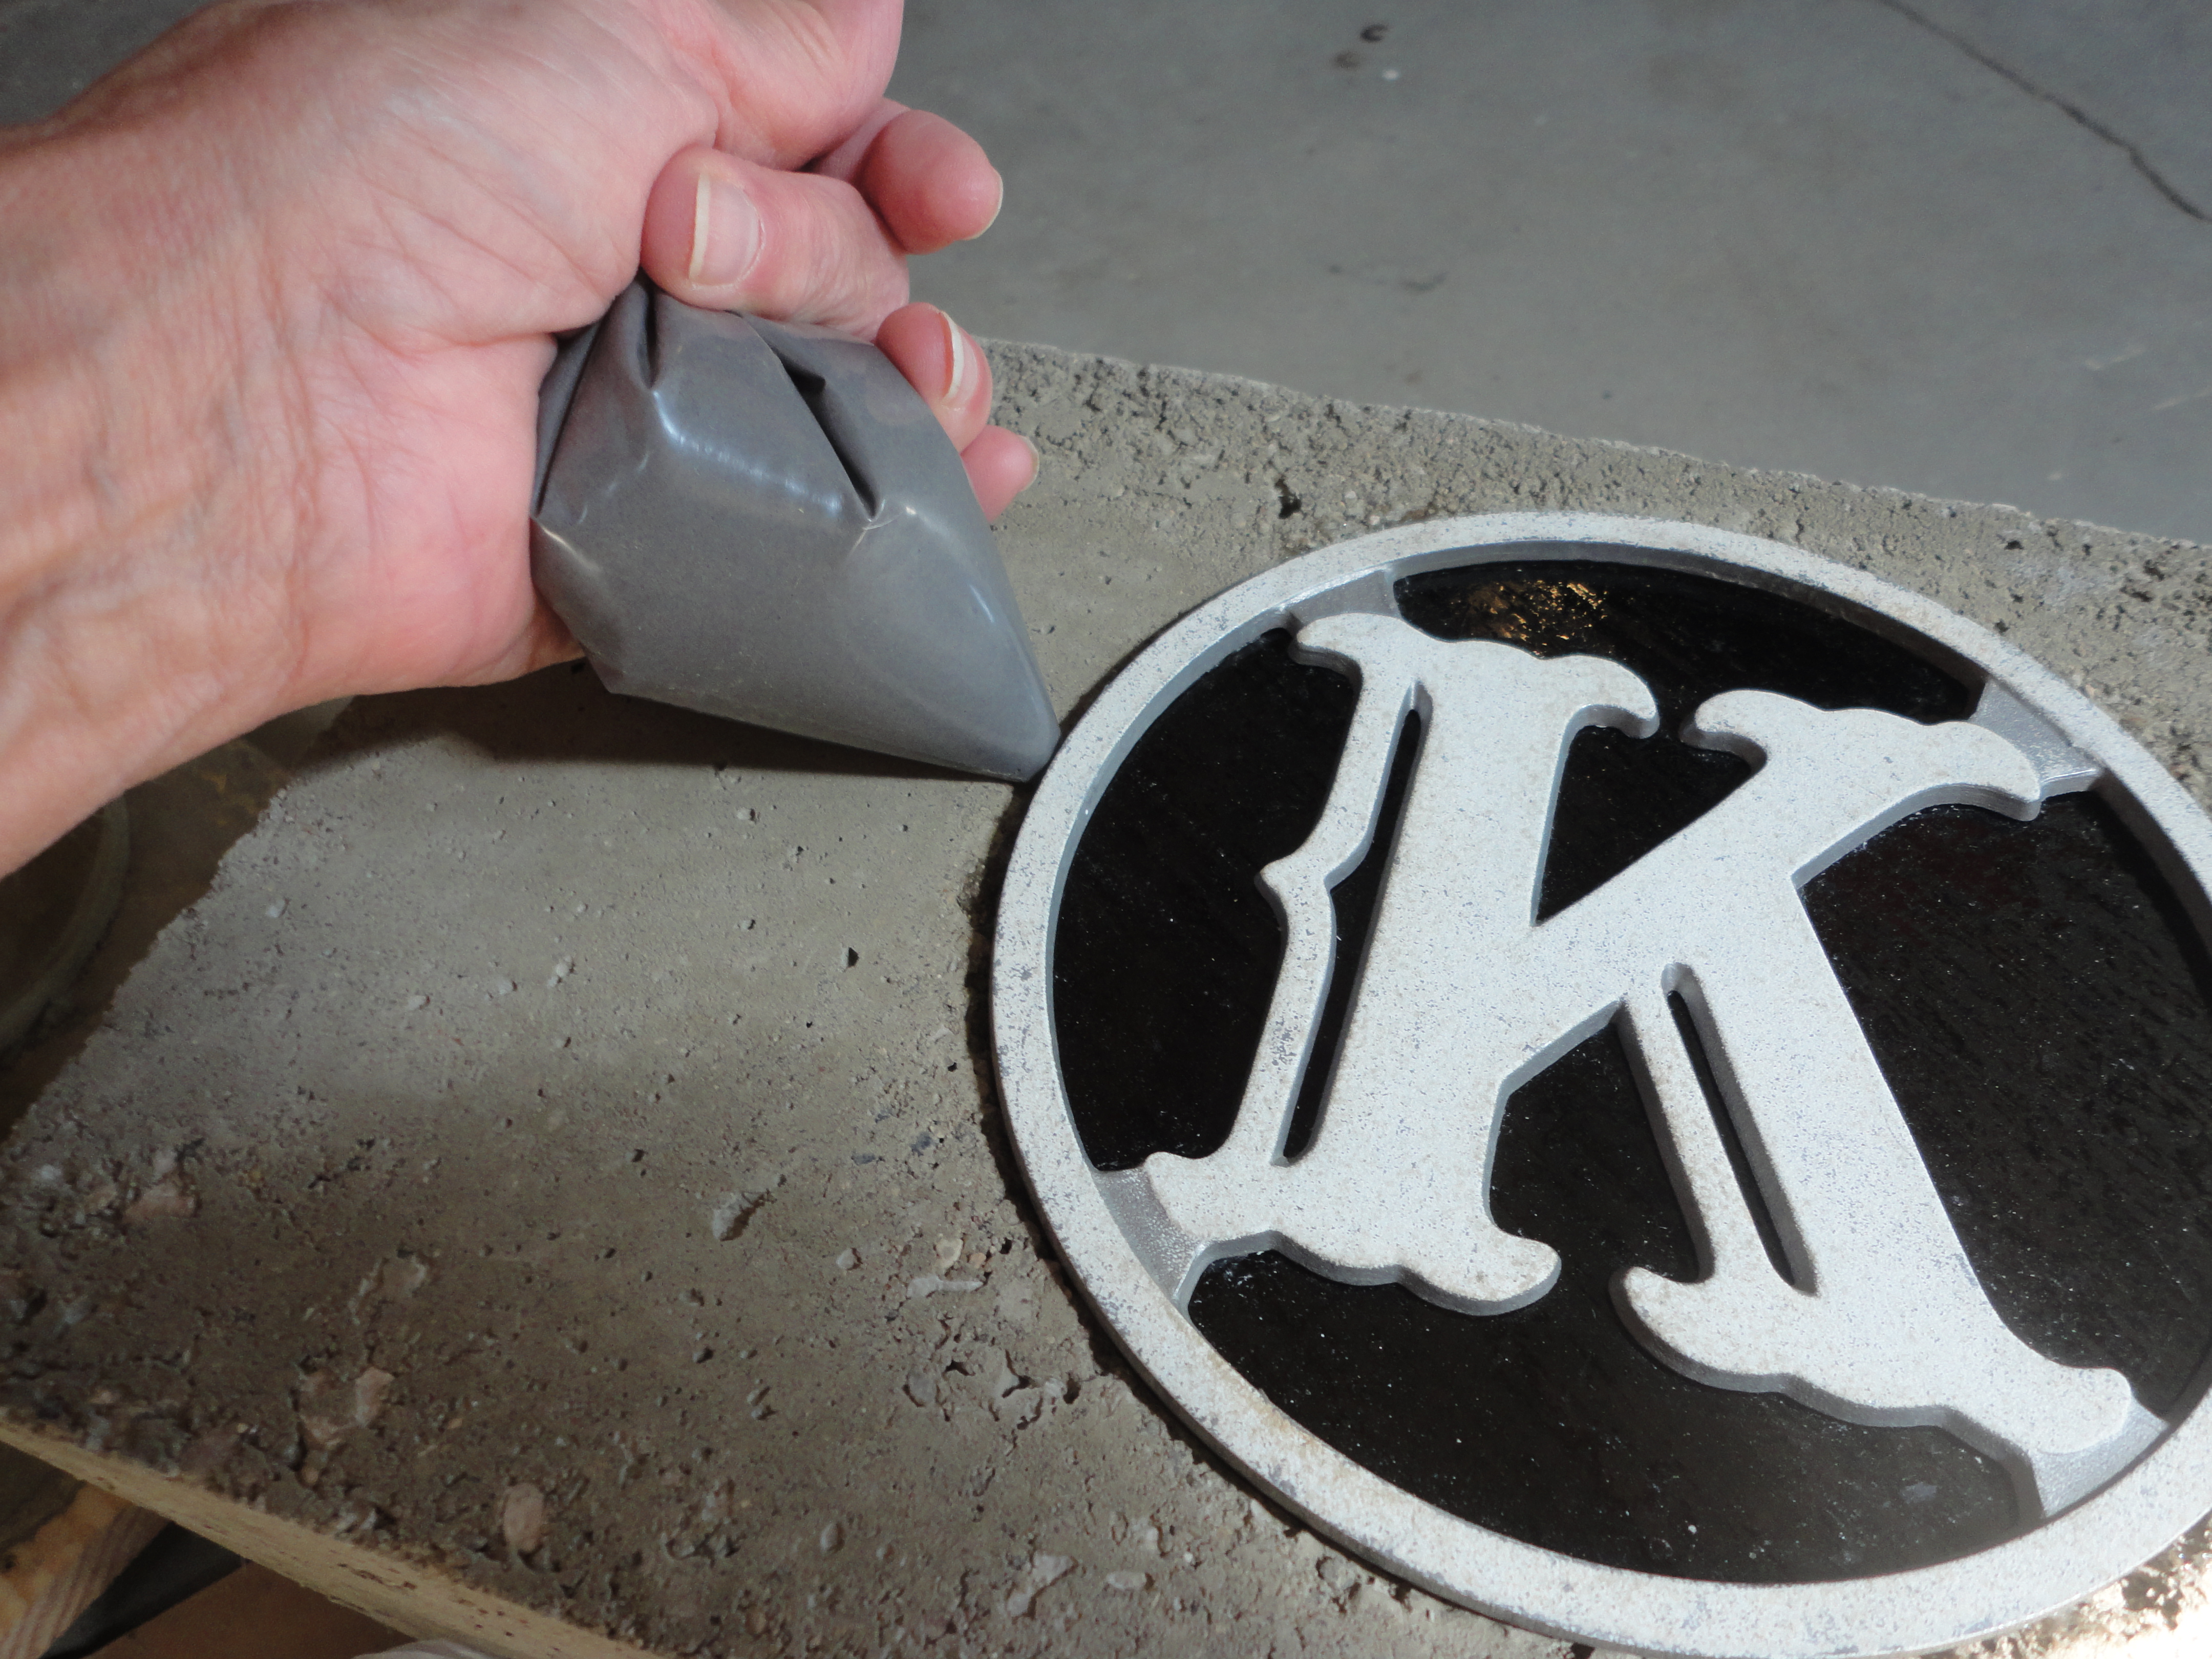
Using a baggie, pipe in an initial layer of interior/exterior sanded gray grout to fill the gap between the aluminum and concrete. Then apply a top layer with a putty knife. Let it dry a minute, then smooth and clean with a damp cloth. 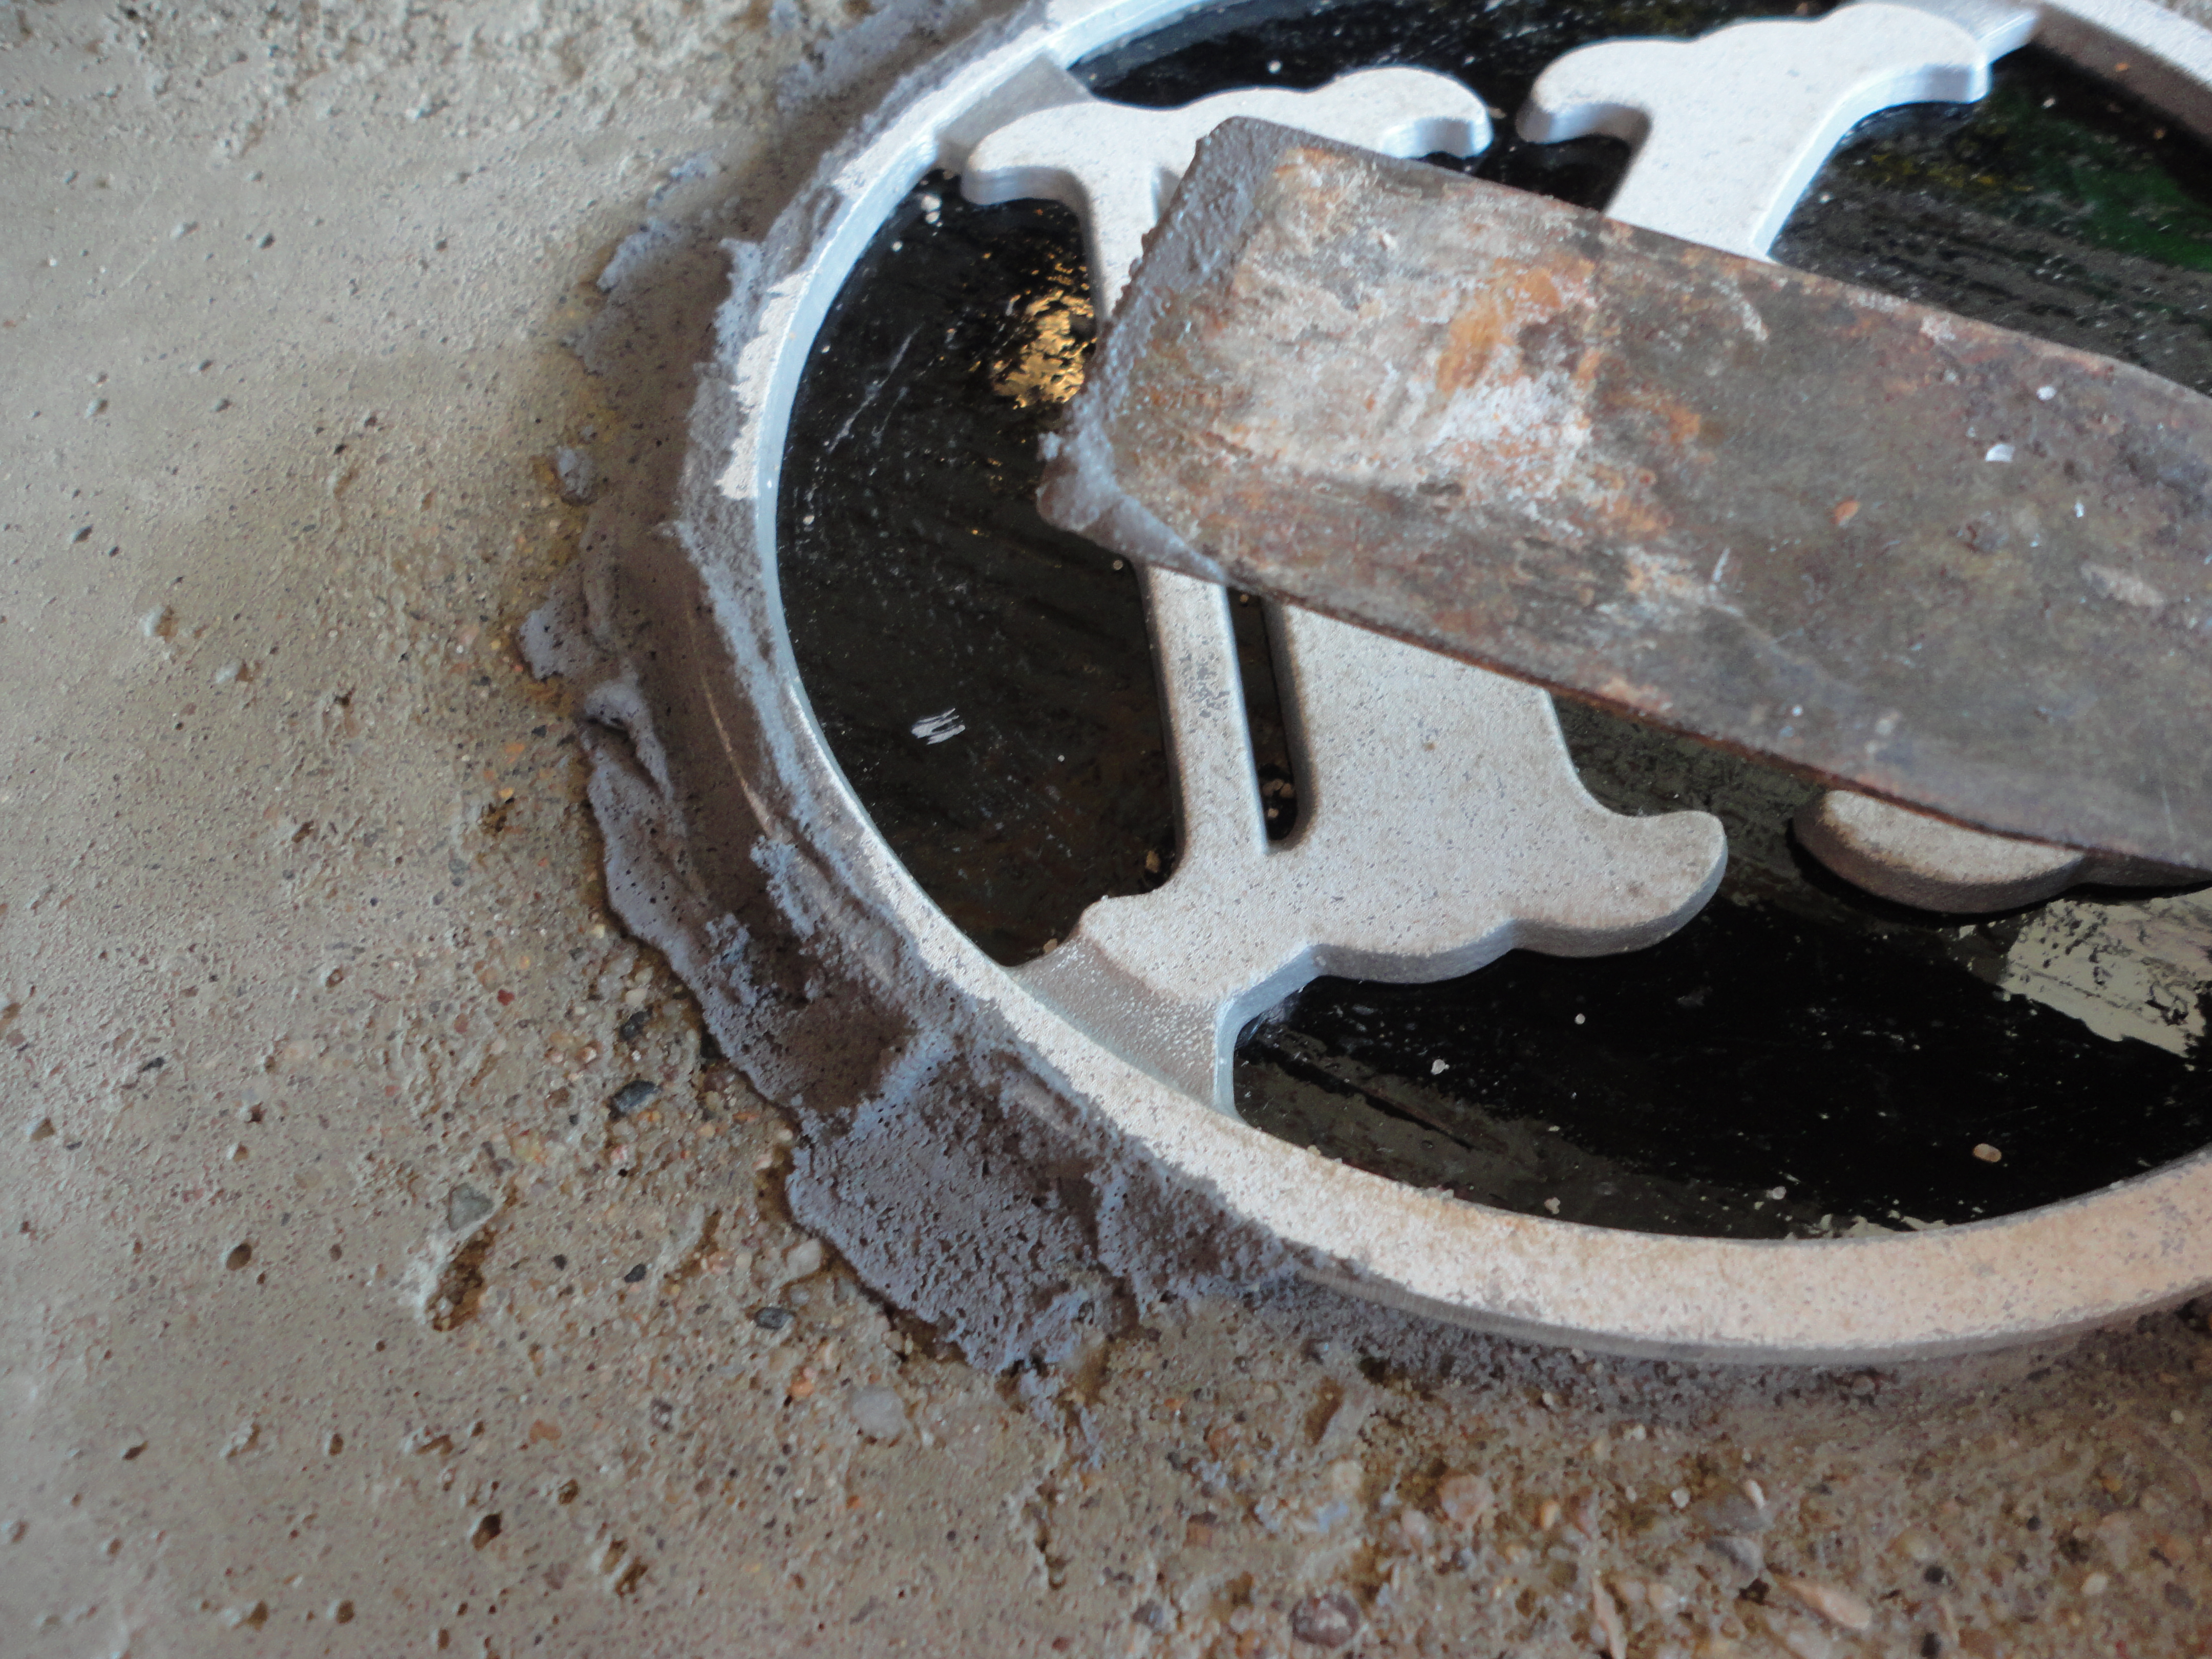
Let dry 12 hours and seal with grout sealer.

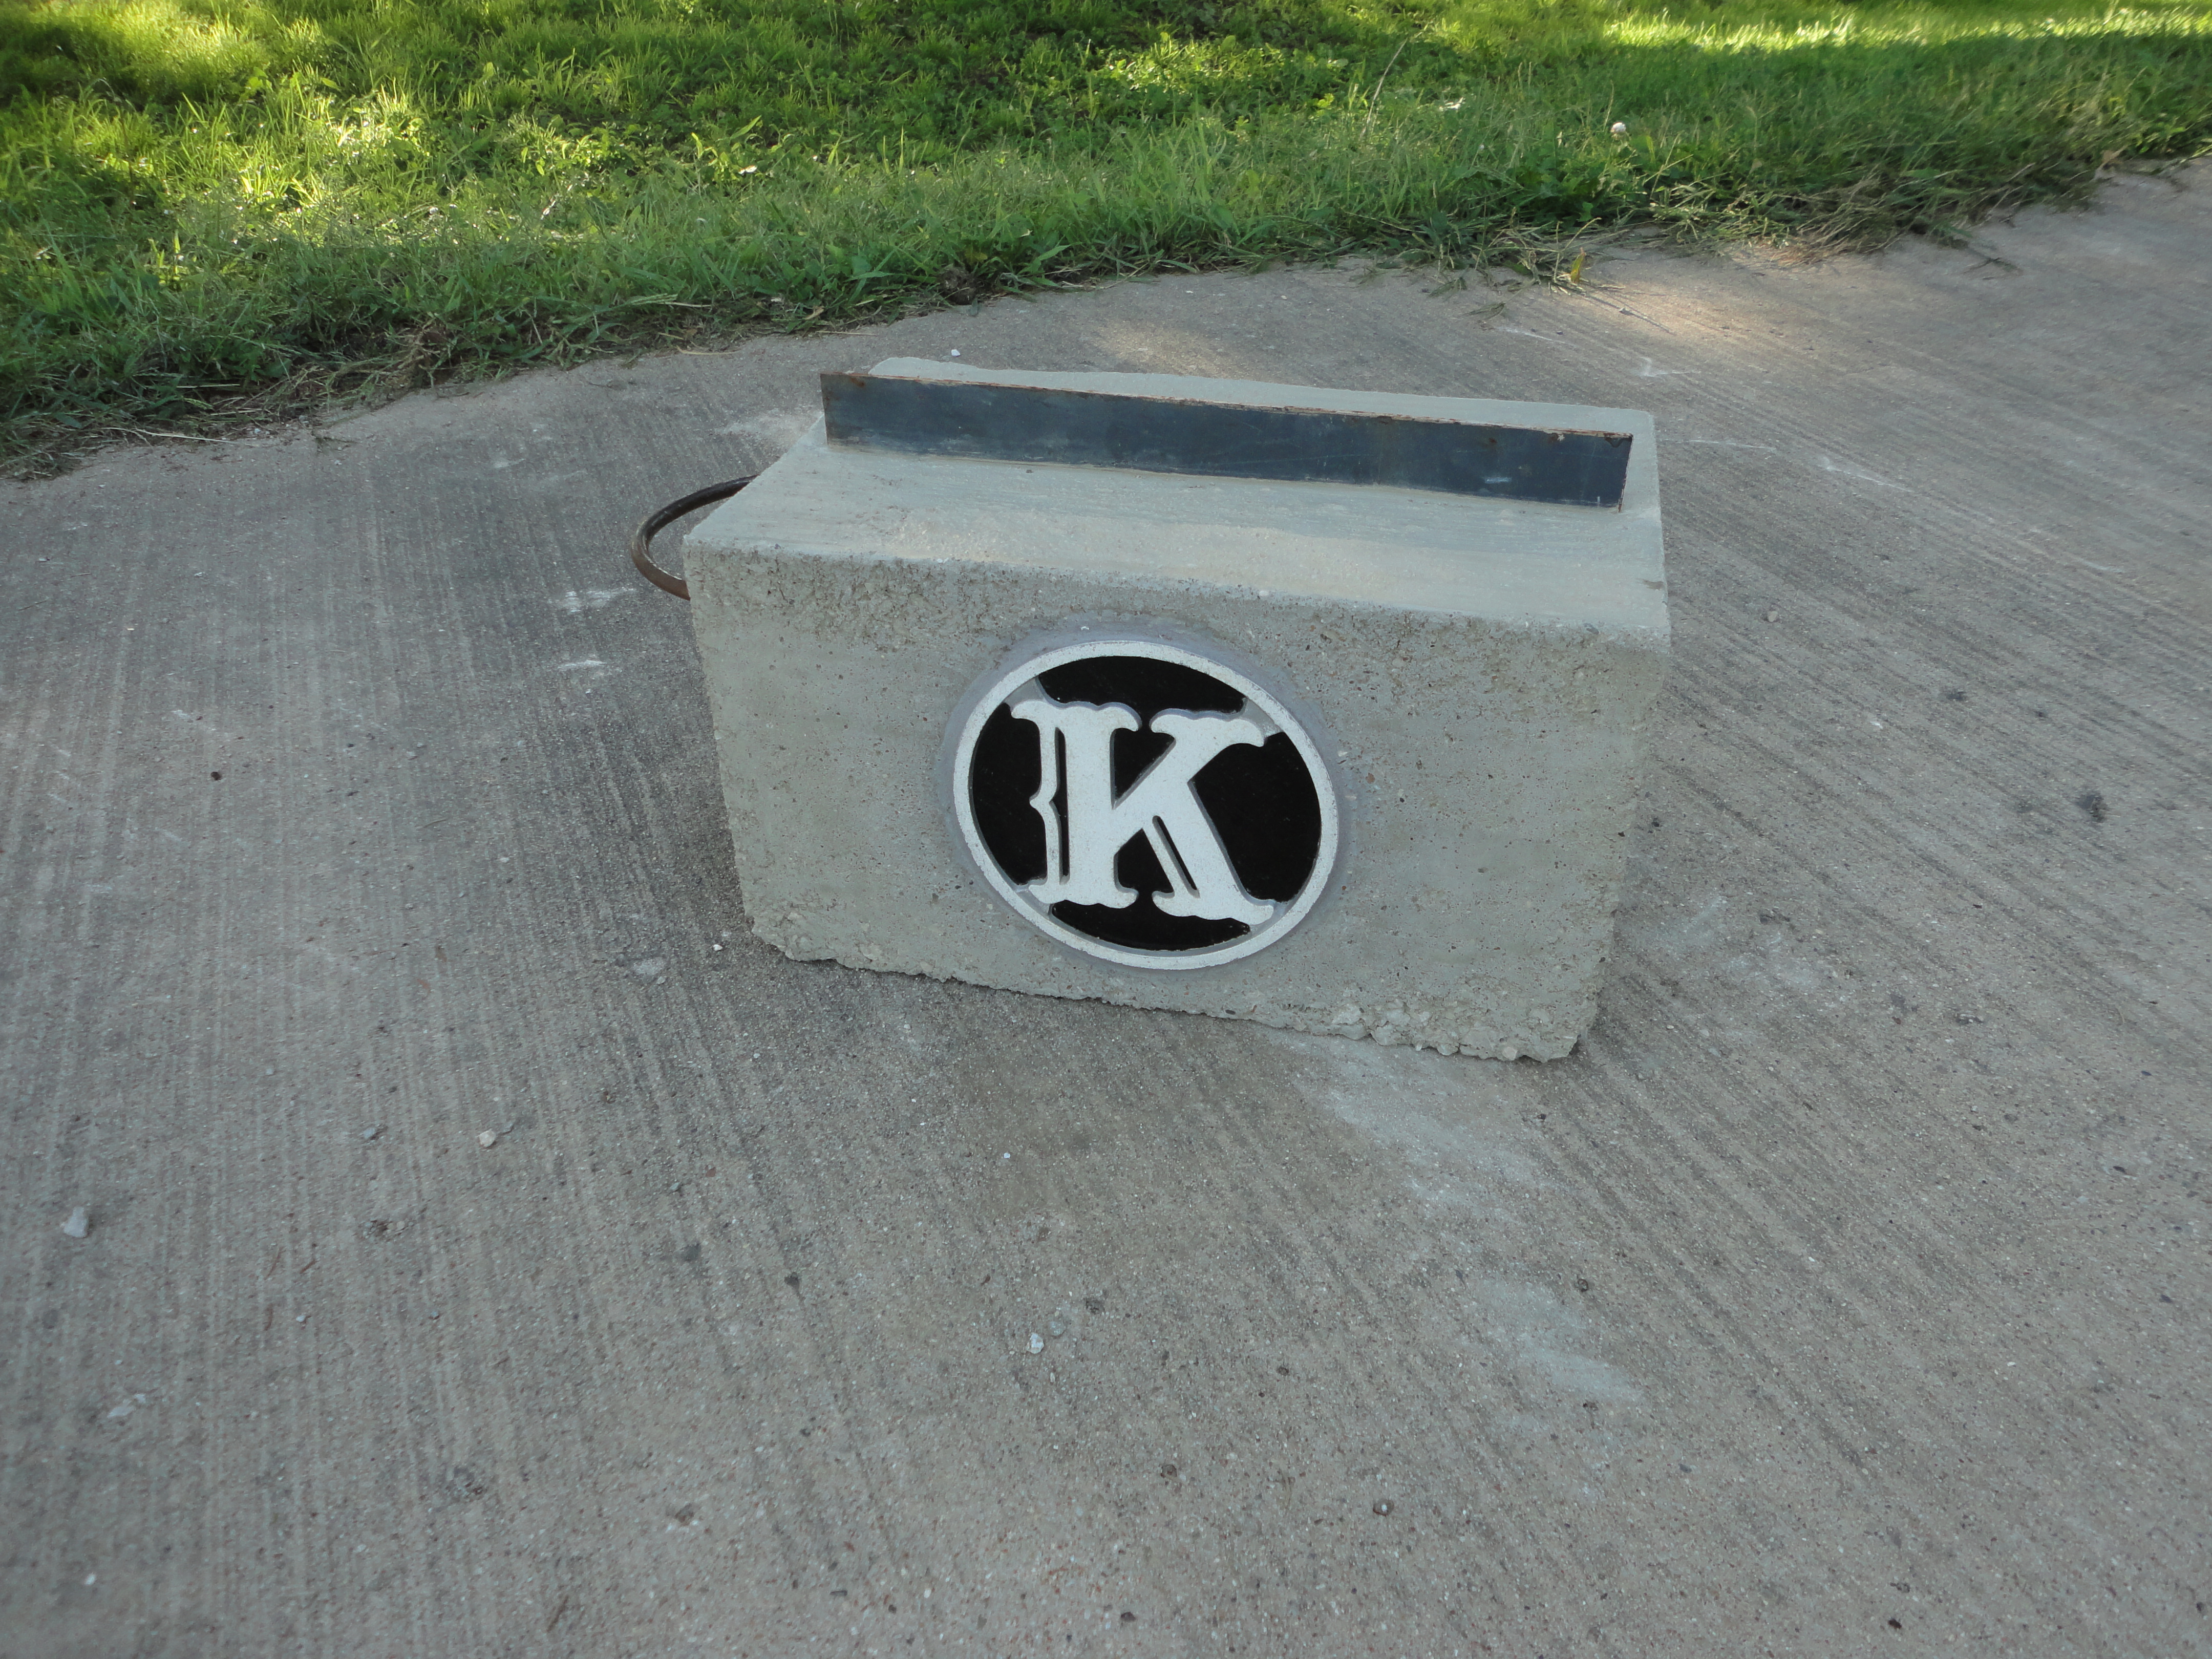
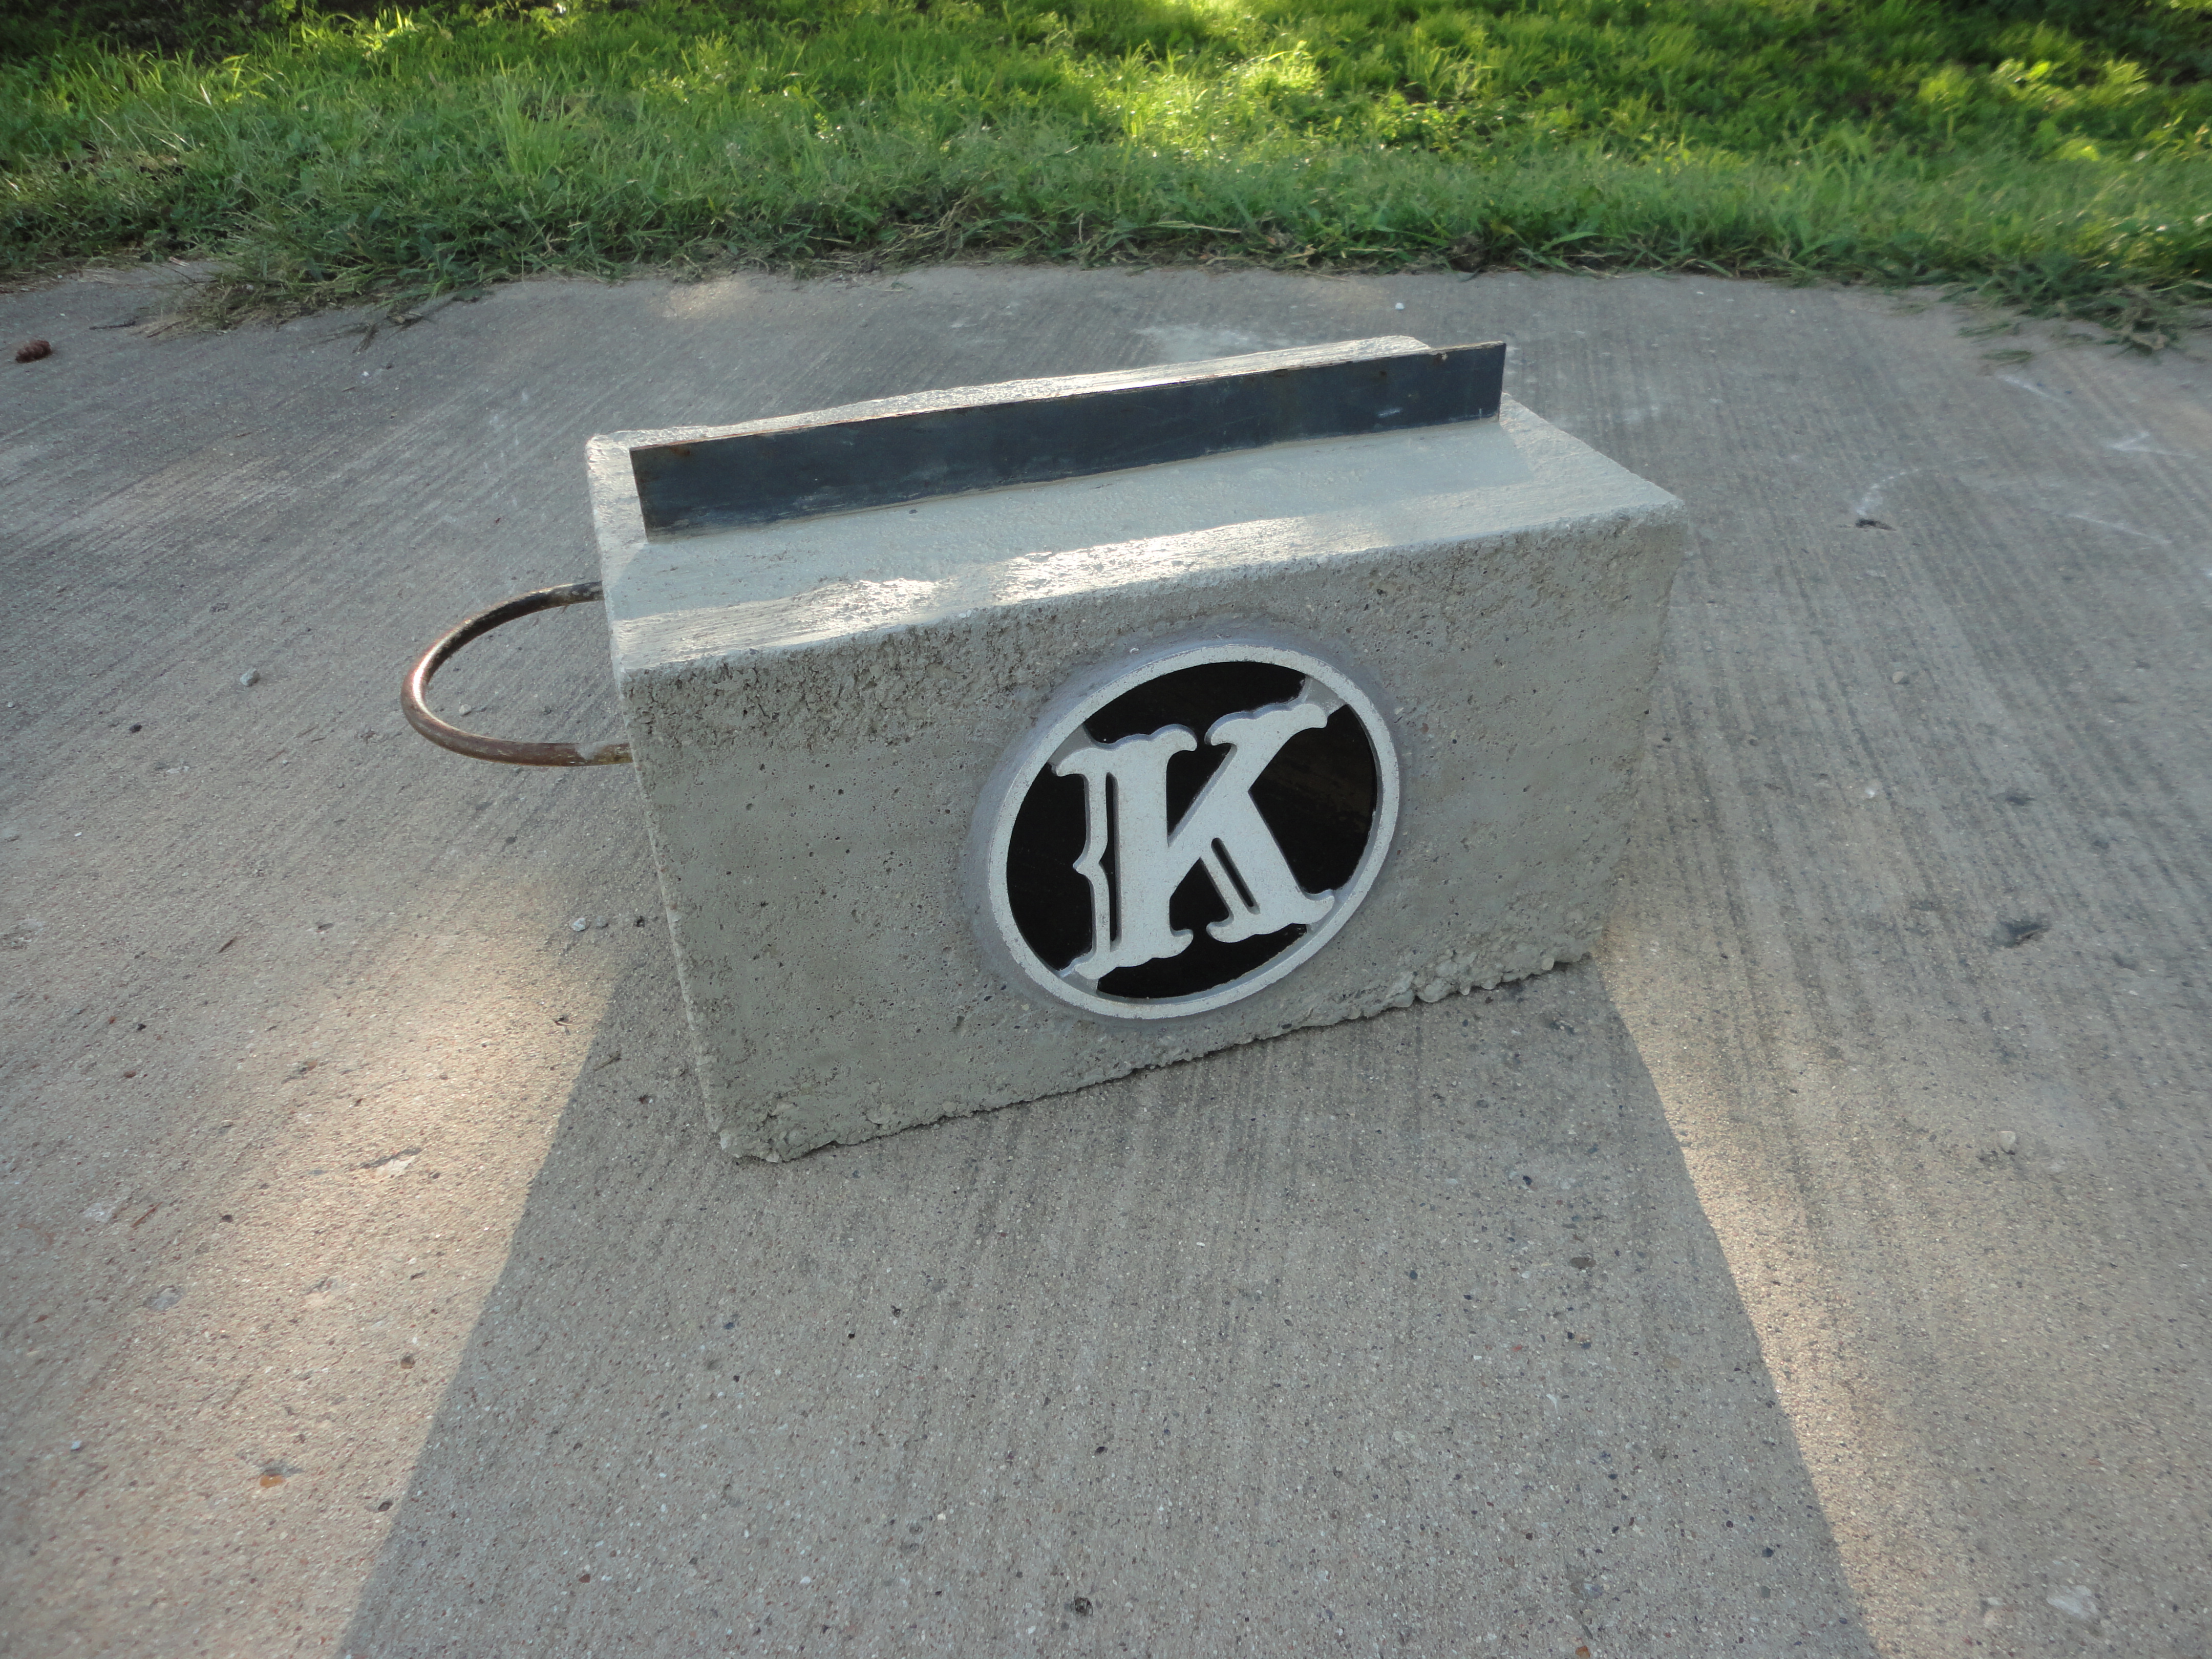
There it is.. this little “K” is once again greeting people at our door! What do you think?
I’m thinking the time for garden projects has come to an end for the year. Its time to start thinking Fall and Christmas!
