I hope followers haven’t been thinking I was getting lazy, I’ve not posted in a while. It’s been so dang hot all summer that it’s not been fun to work on many outdoor projects, and the little things I have been getting done were boring. But, the weather has cooled now and I’m raring to get going on the paths for my garden.
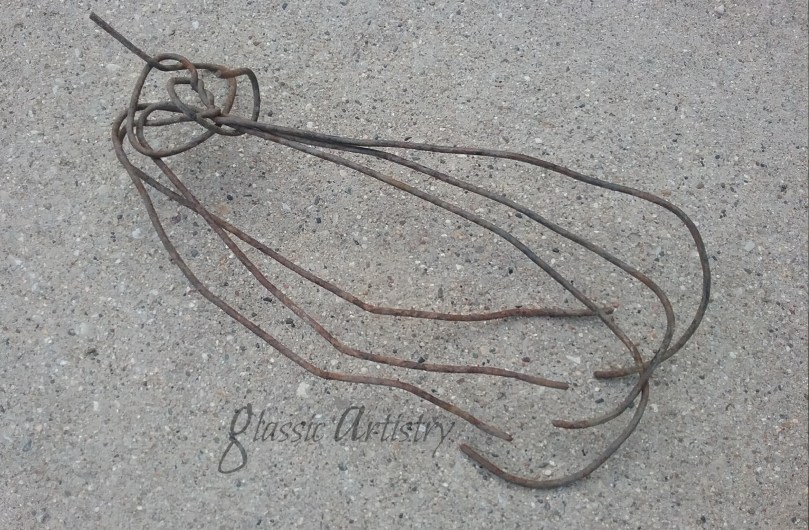
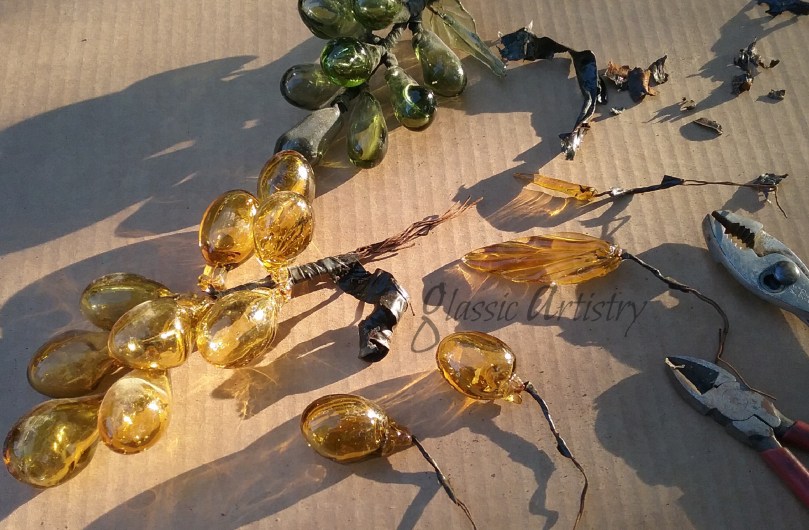
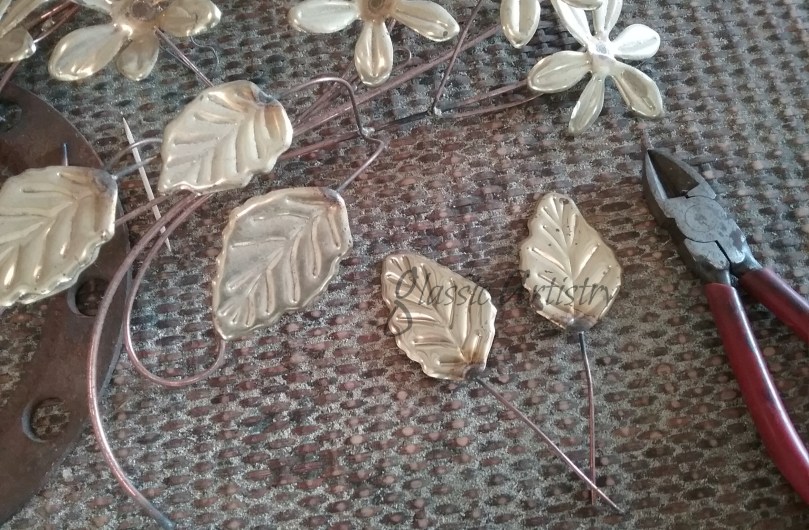
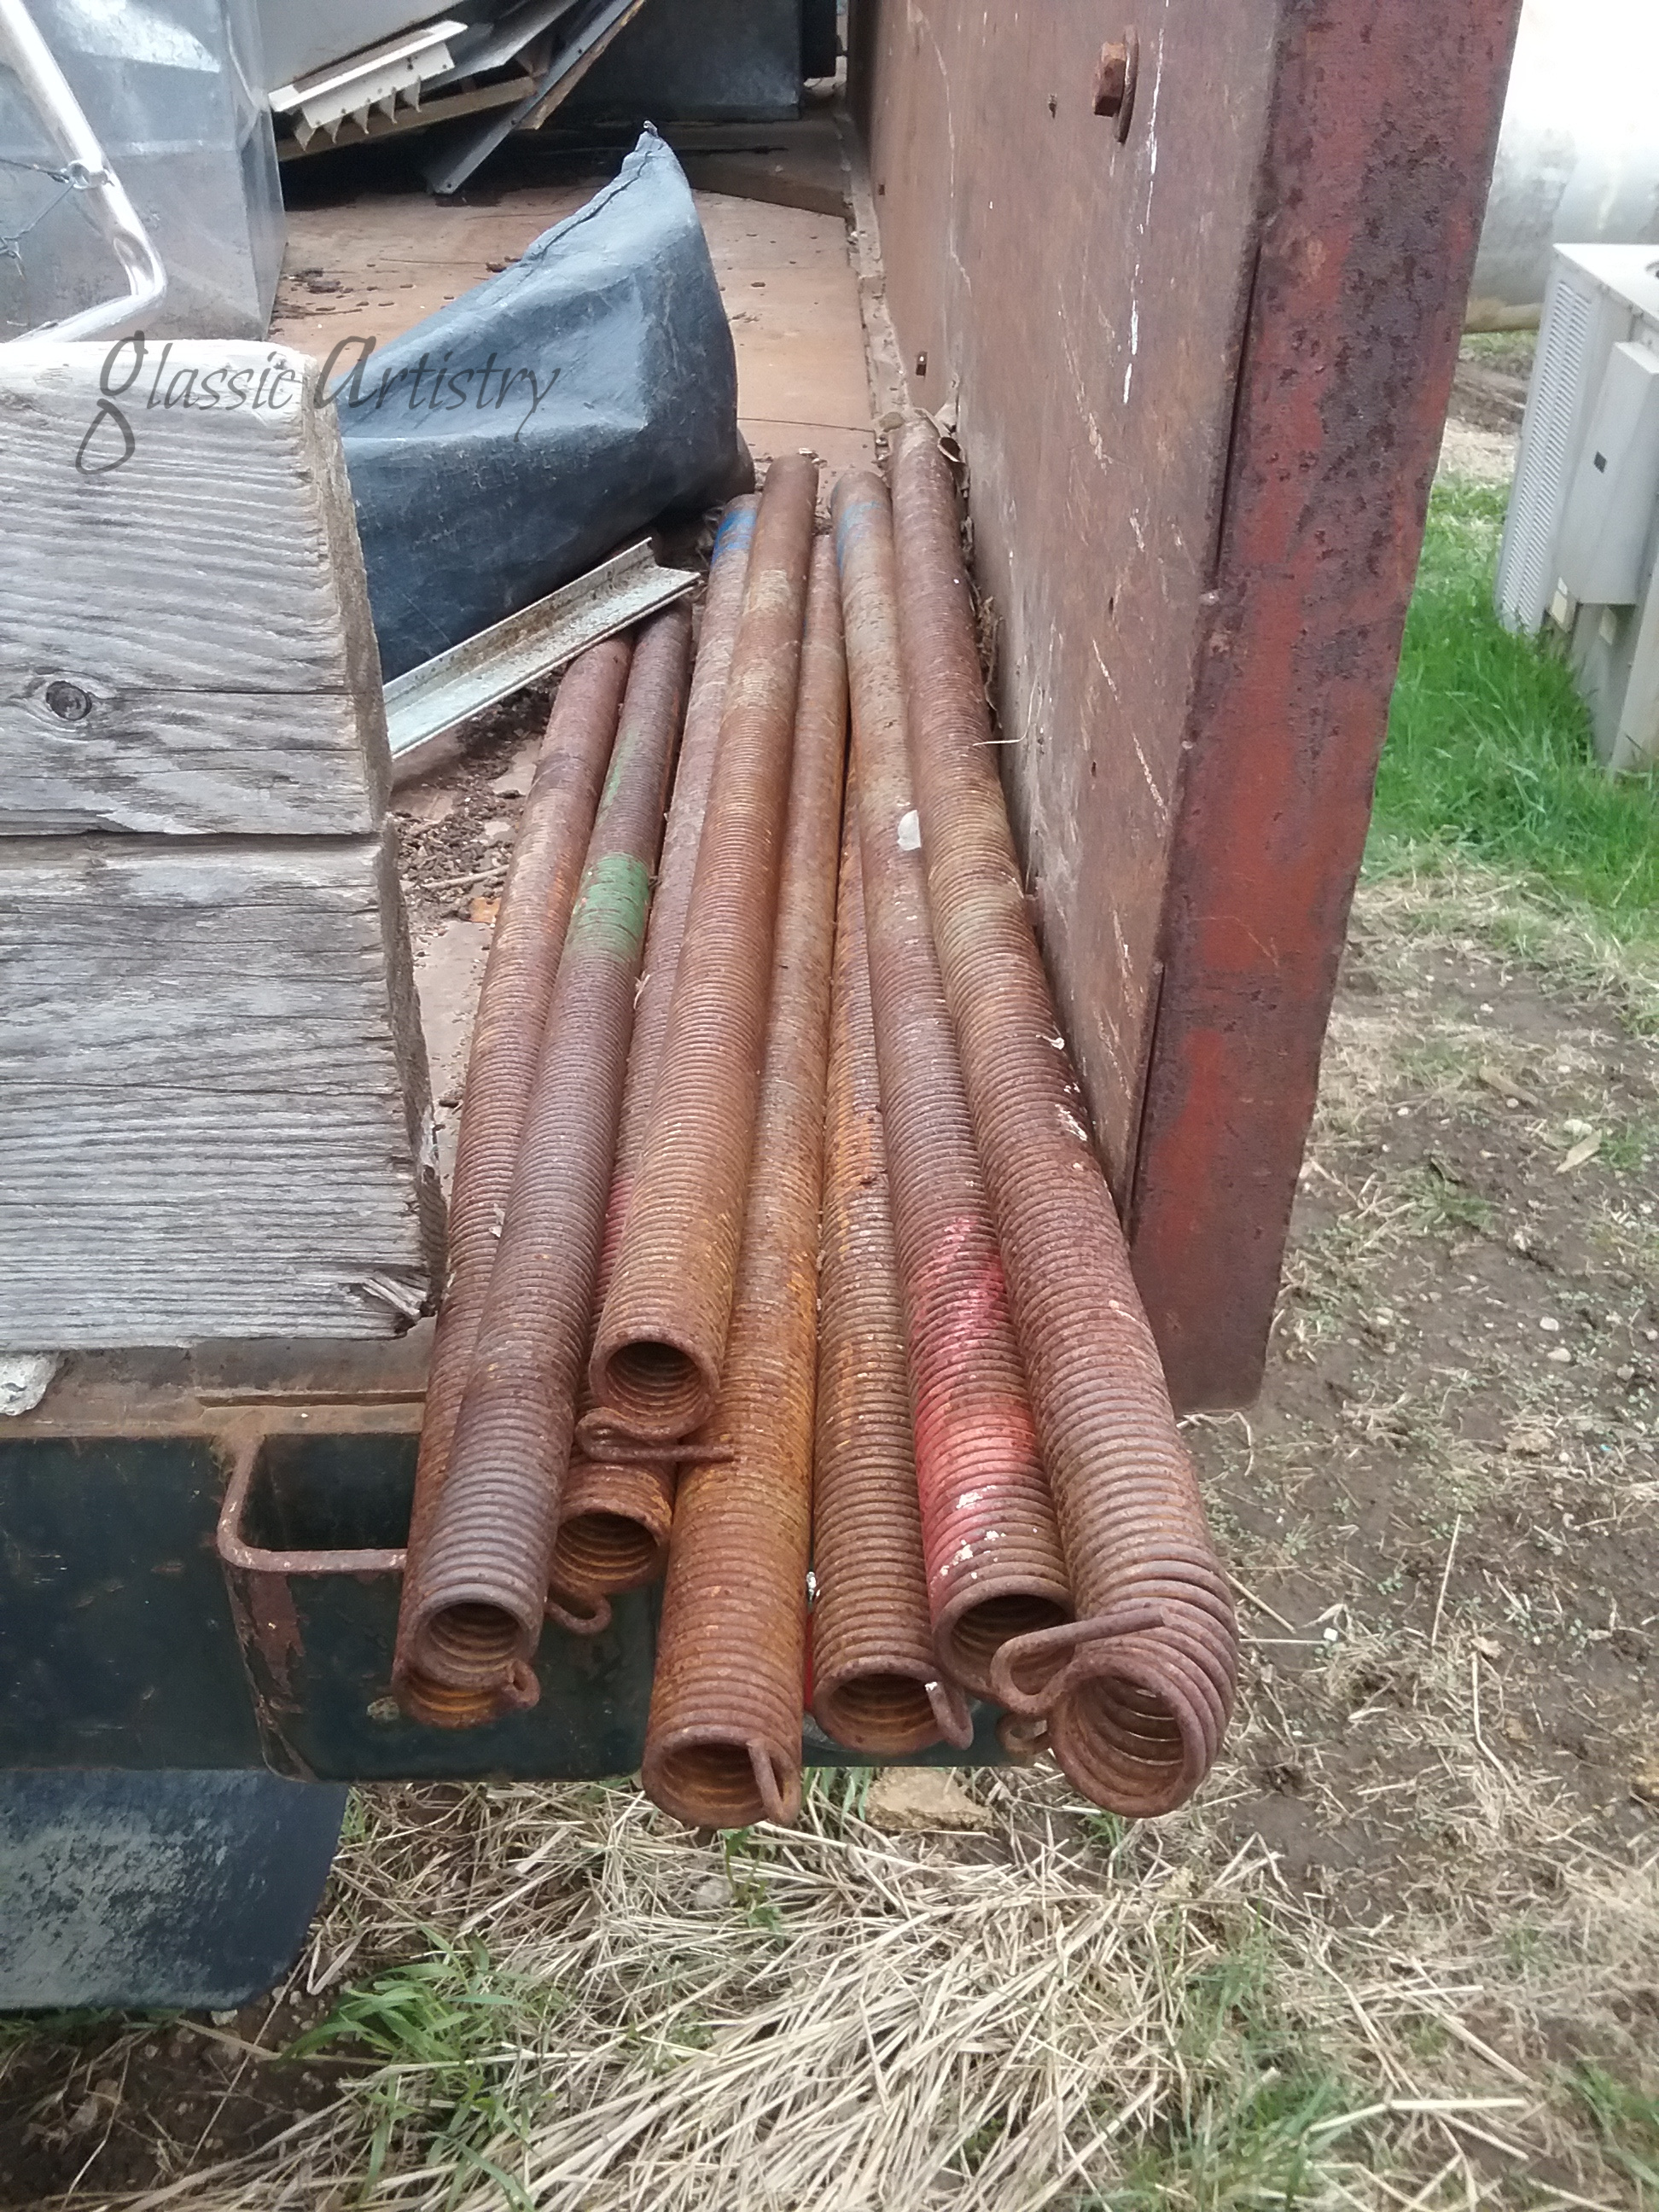
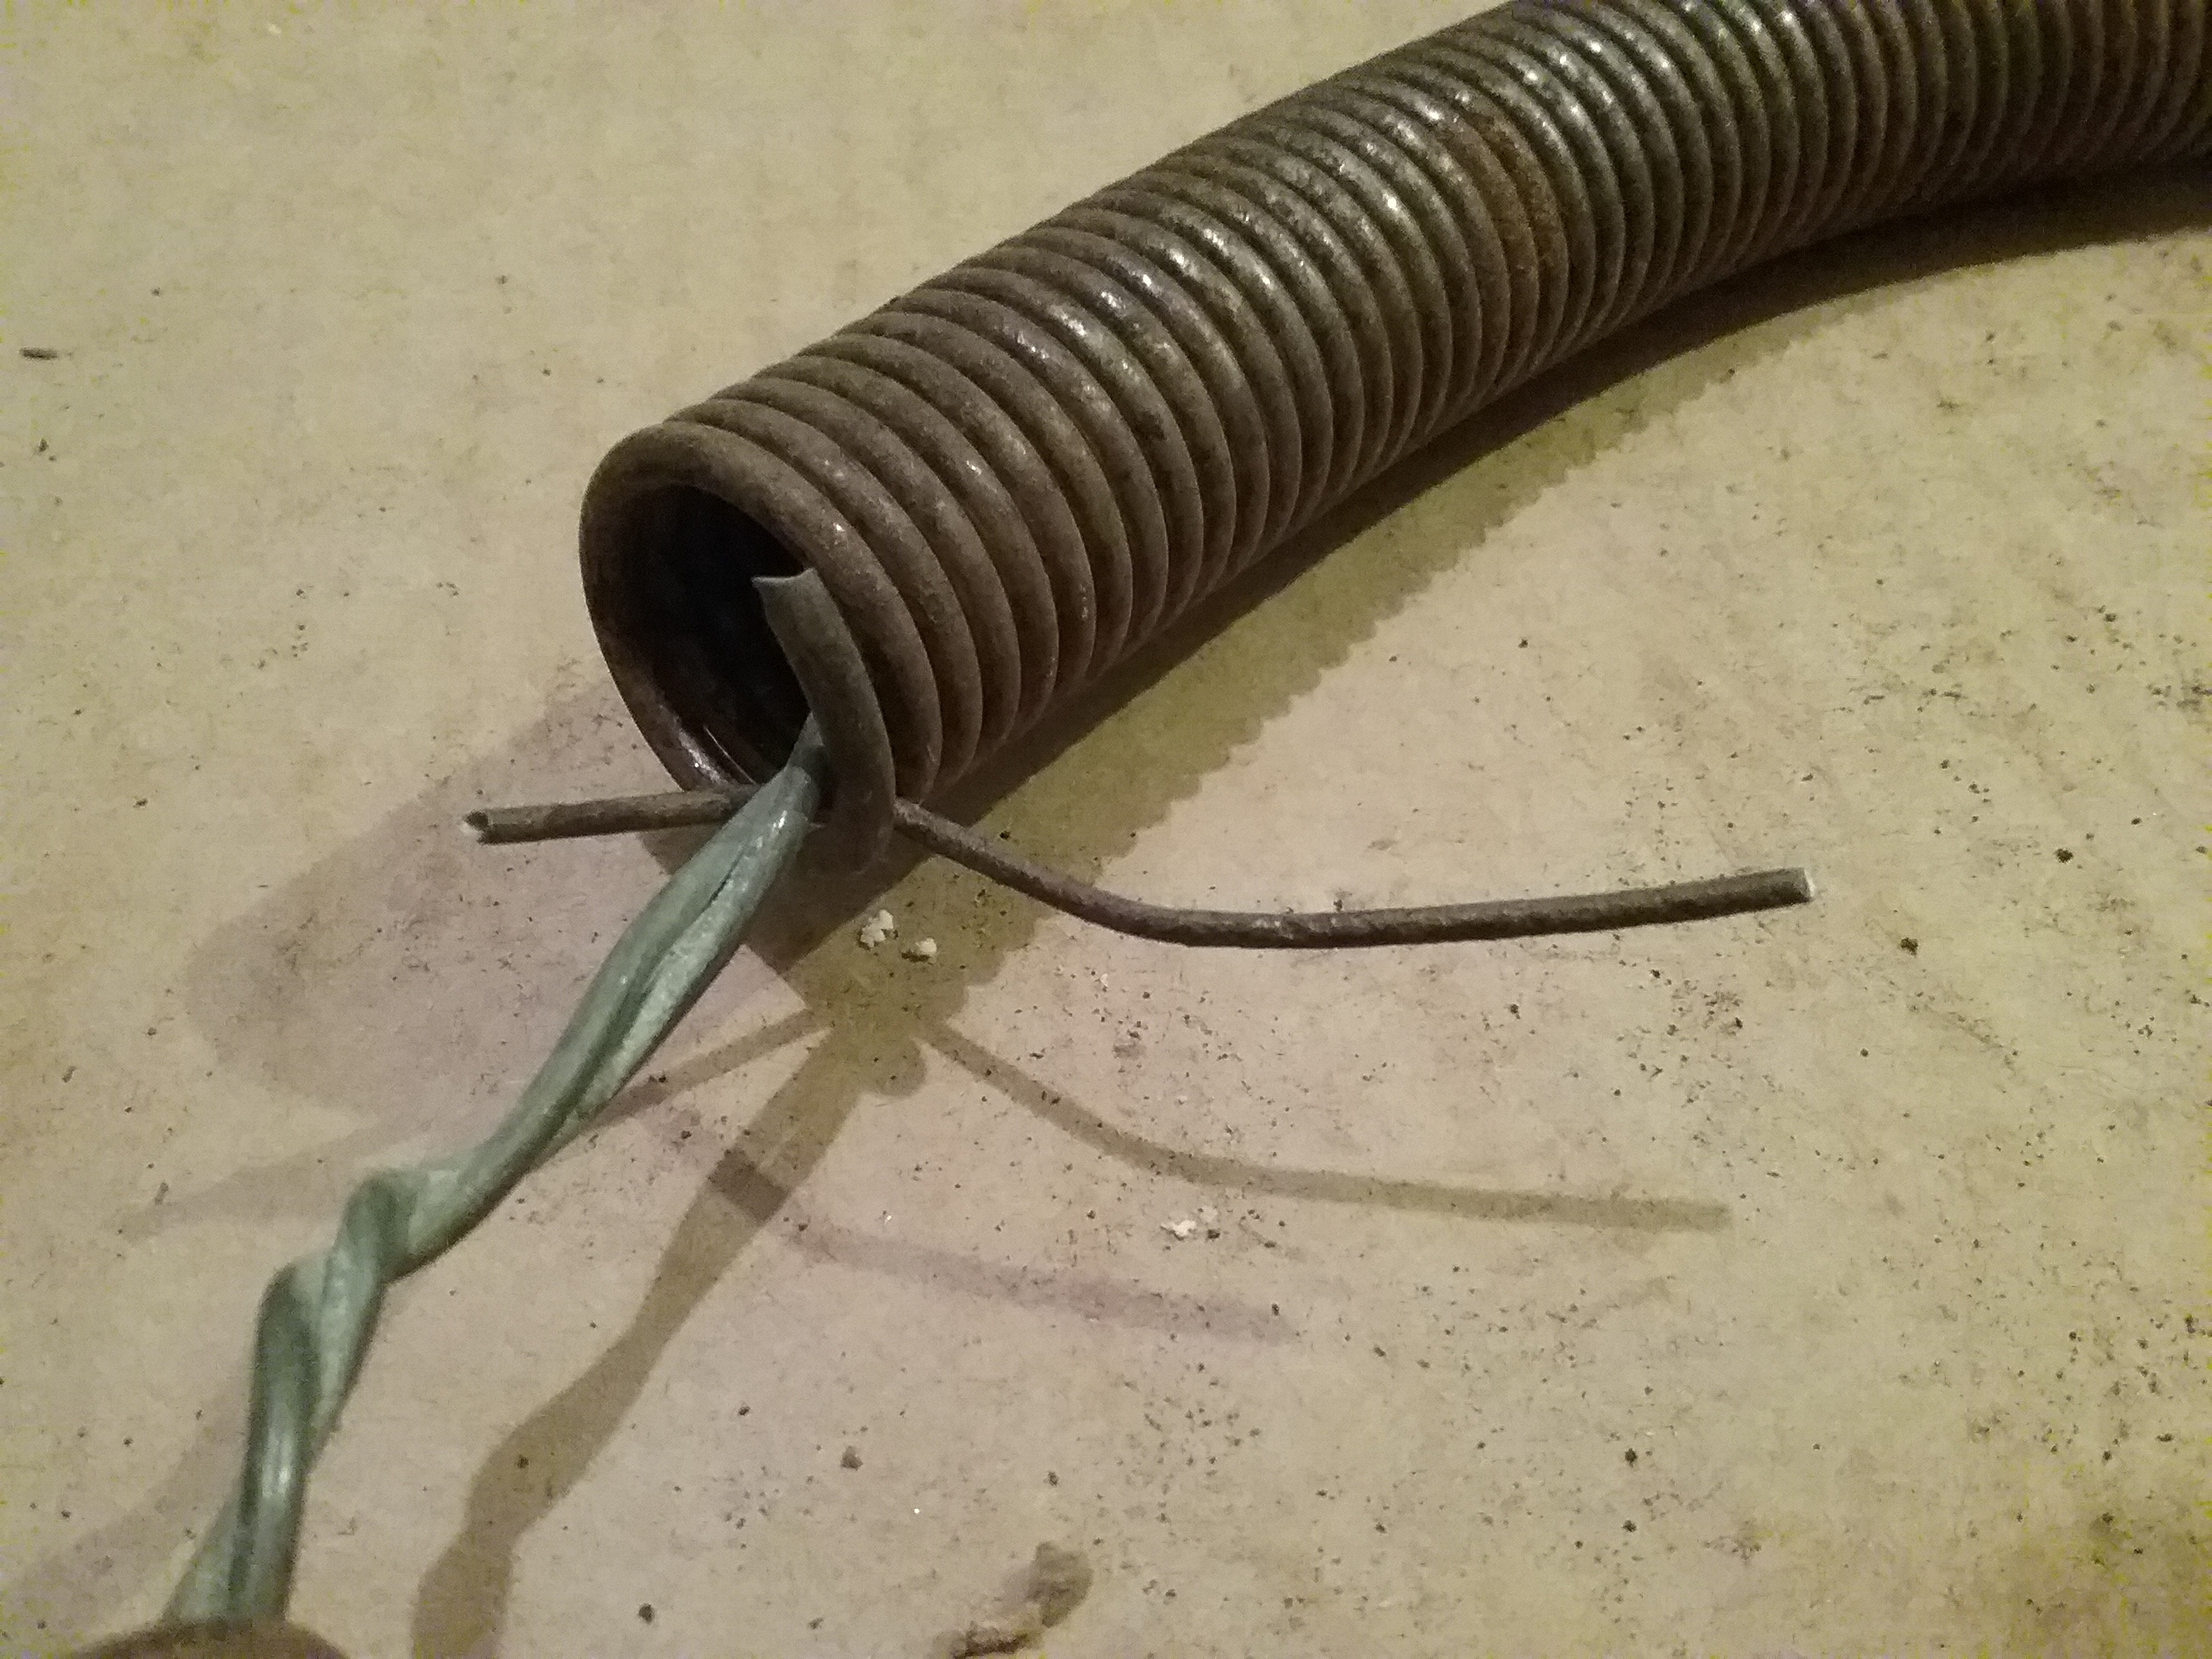
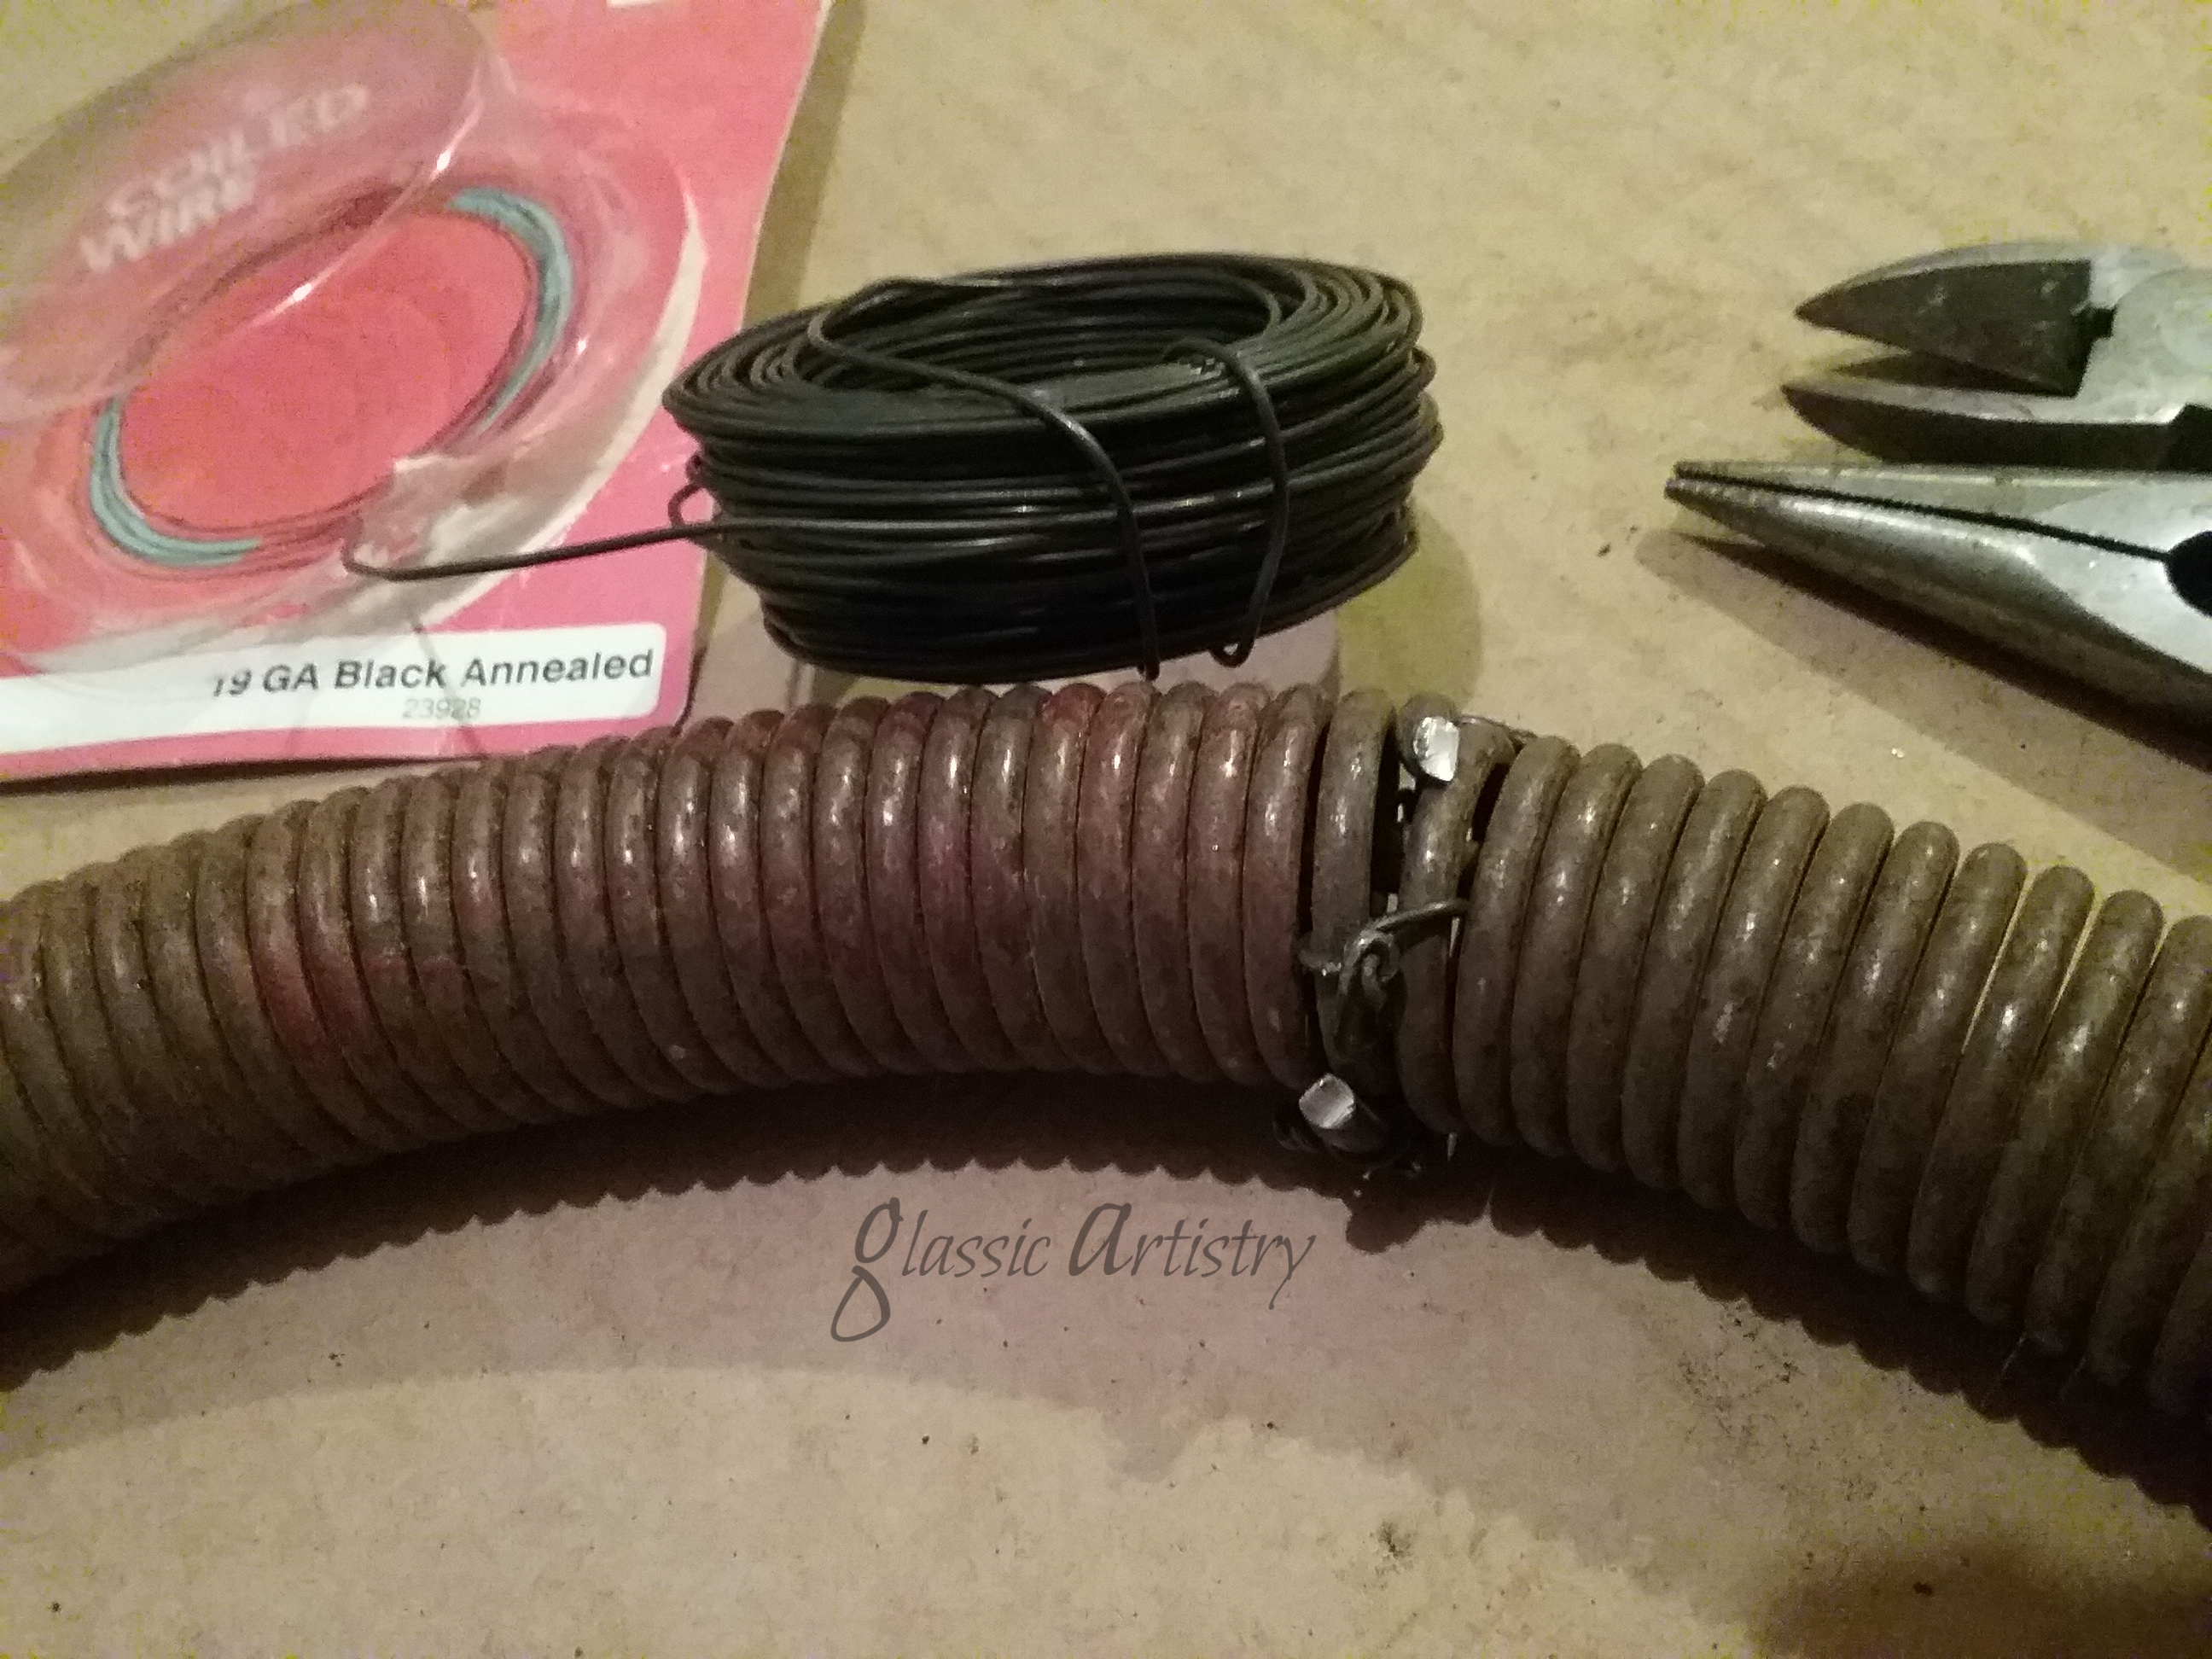
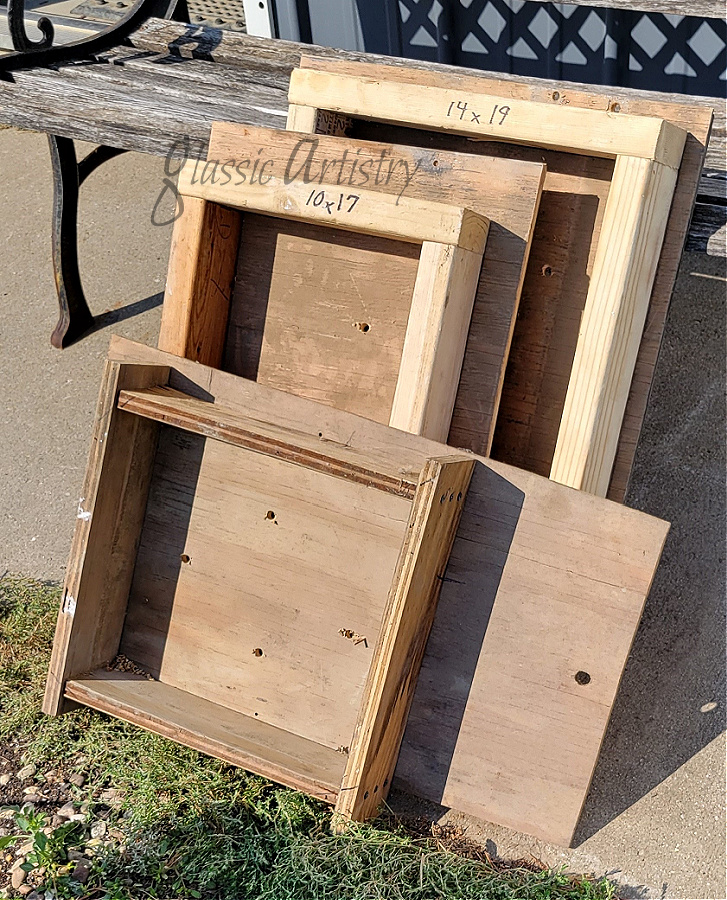
No plan, just going to visualize it as I go. I’m adamant about making most of the path stones myself; that’s going to be the funniest part. Preferring an aged, rougher look, I went to the salvage pile to see if there was anything I could work with. I found several interesting things to try and incorporate; we’ll see where things go.
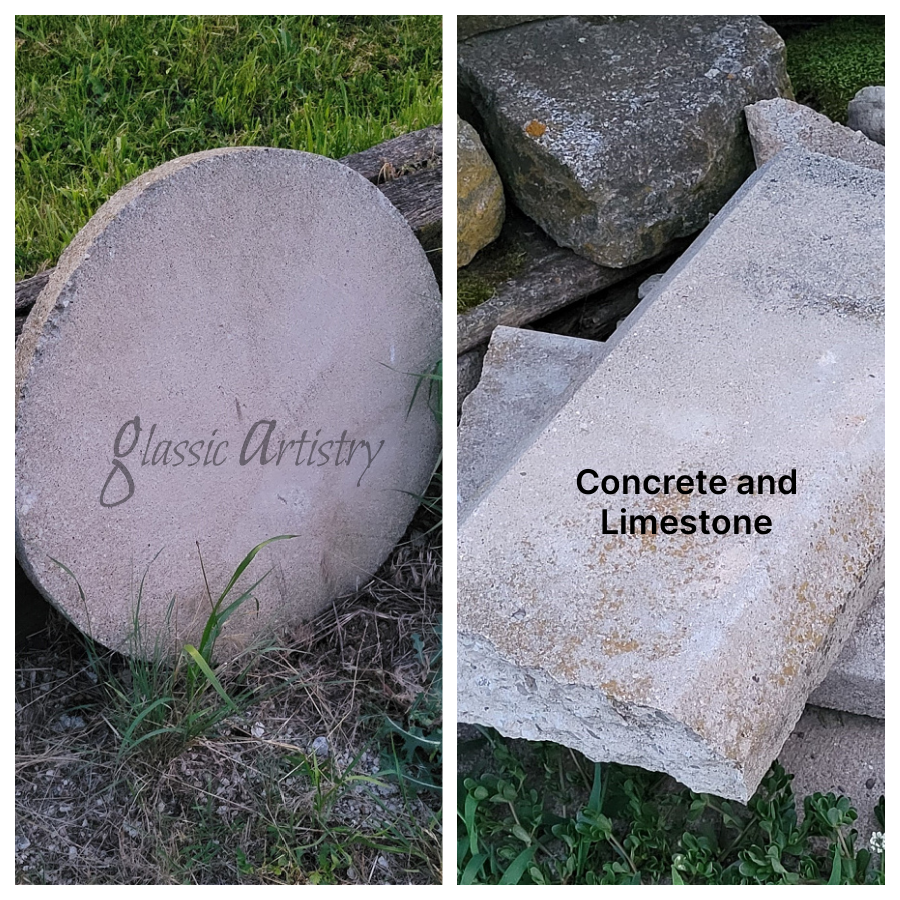


I was anxious to get started so my husband built a couple new boxes for me while I went after some 60 lb bags of General Purpose Concrete Mix as was used in a previous garden stone project https://glassictouch.com/category/for-the-garden/.
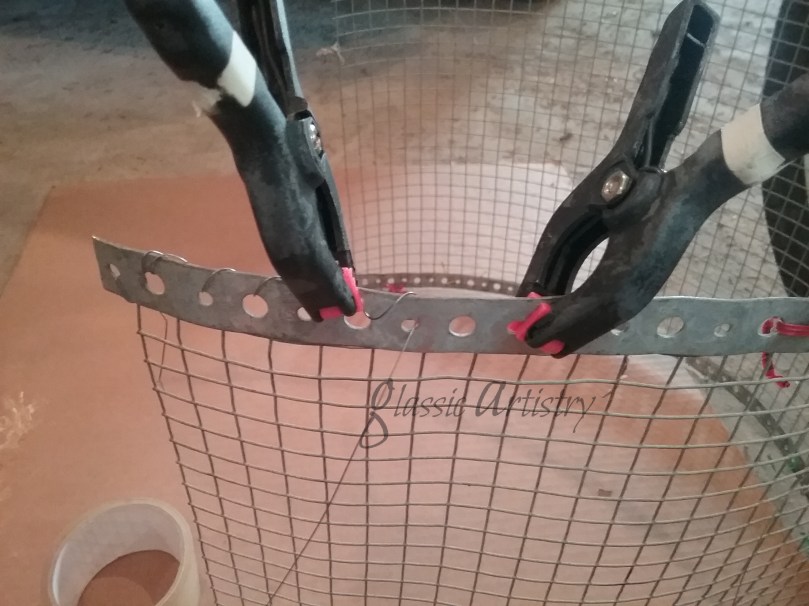
Adding a chicken wire reinforcement will be an added step with all of the new stones that are made.
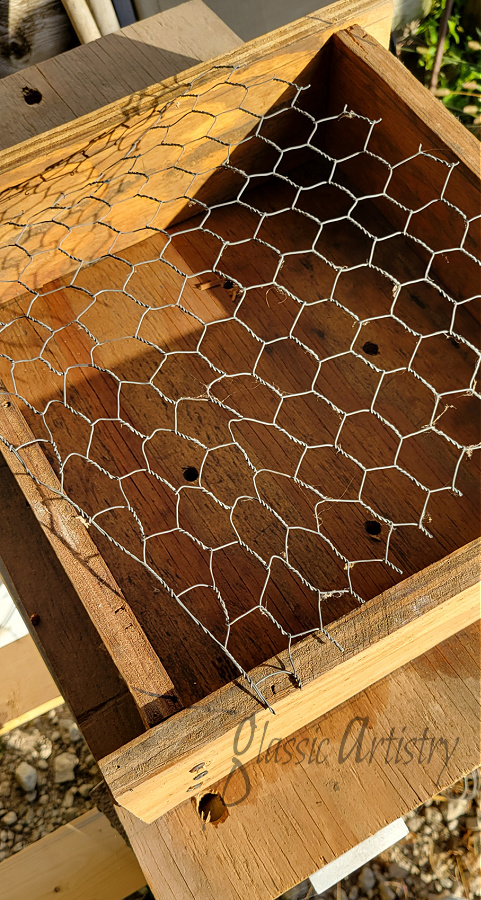
The inside of the wooden forms were brushed with diesel fuel as a release agent. I poured about half of the concrete in a form, laid the wire in, then finished filling.
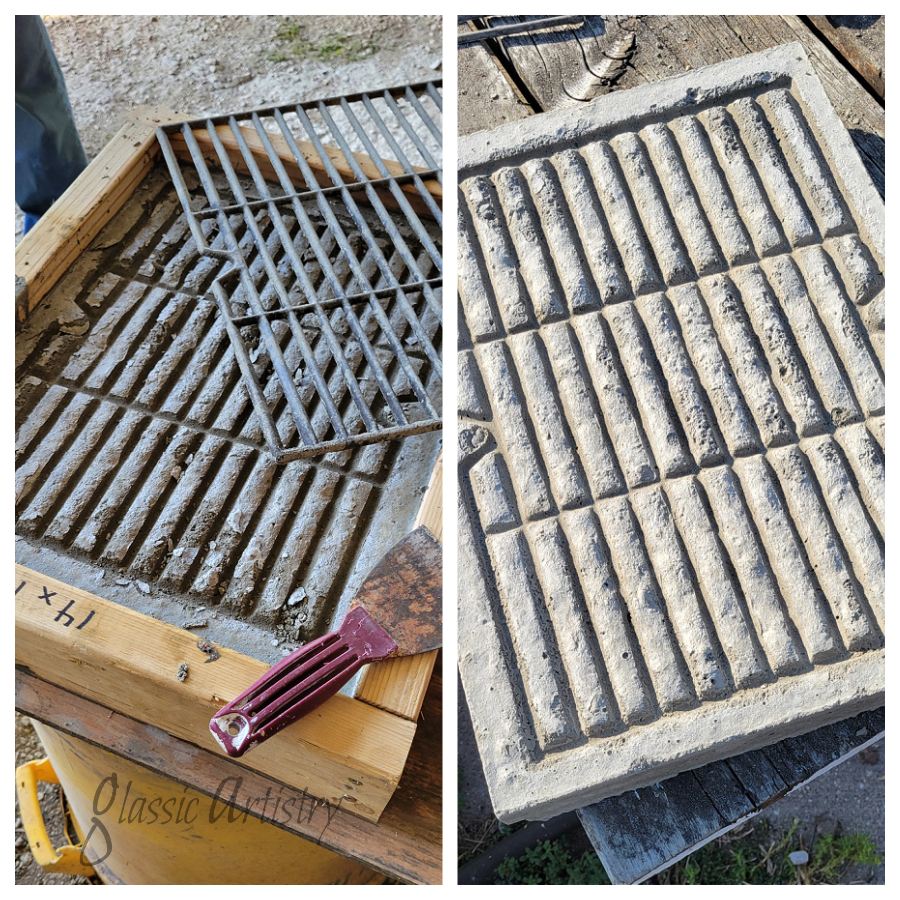
I chose the cast iron grids to experiment with first. They were given a quick swipe or two with a wire brush. I wanted to see if I could easily duplicate the grid pattern and/or embed the grid in the concrete.
I used a half a bag of concrete to embed a small grid in a 10” x 17” form opening. I think I might have pushed it in too far. It didn’t help that I got impatient and tried to unbox it too soon. It’s rougher than I wanted, but it’s fine. It is going to live outside in a garden after all, and I’ll try another one.

Both sides of a larger iron grid were coated with diesel fuel before pushing it into a 14” x 19” concrete filled form. Three quarters of a bag of concrete was used on this one. I had a heck of a time getting the concrete mixed thoroughly in a 5 gal bucket. A pair of stronger hands and arms would have been very helpful; I’ll have to remember that when making this larger stone. The grid came right out though and I’m very pleased with the way it looks.
A handful of hibiscus leaves were laid in the bottom of the last form. It’s probably best to press and flatten the leaves for a little bit before doing this, but, it was a last minute thought and getting late in the day. I’ll surely be doing more of this kind of thing.

That’s all for now. I’m going to need a lot more concrete to keep going and a new form built for the next one I want to try. I’m really looking forward to that one!

Feel free to comment and share. Have a great weekend, I’ll be back soon.