Chandelier Garden Stake

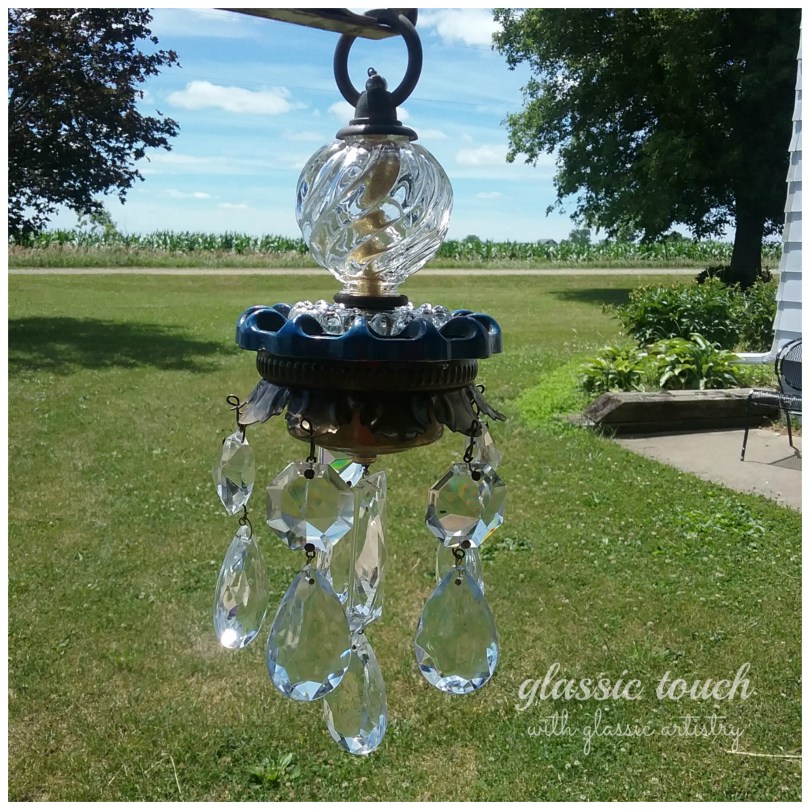
There’s no doubt about it, the old world charm of the crystal garden chandeliers has me totally captivated! I’m not sure if its the beautiful results or the fun of making something so unique and striking with reclaimed and repurposed materials, but whatever it is, I’m hooked.

stk5 mrk

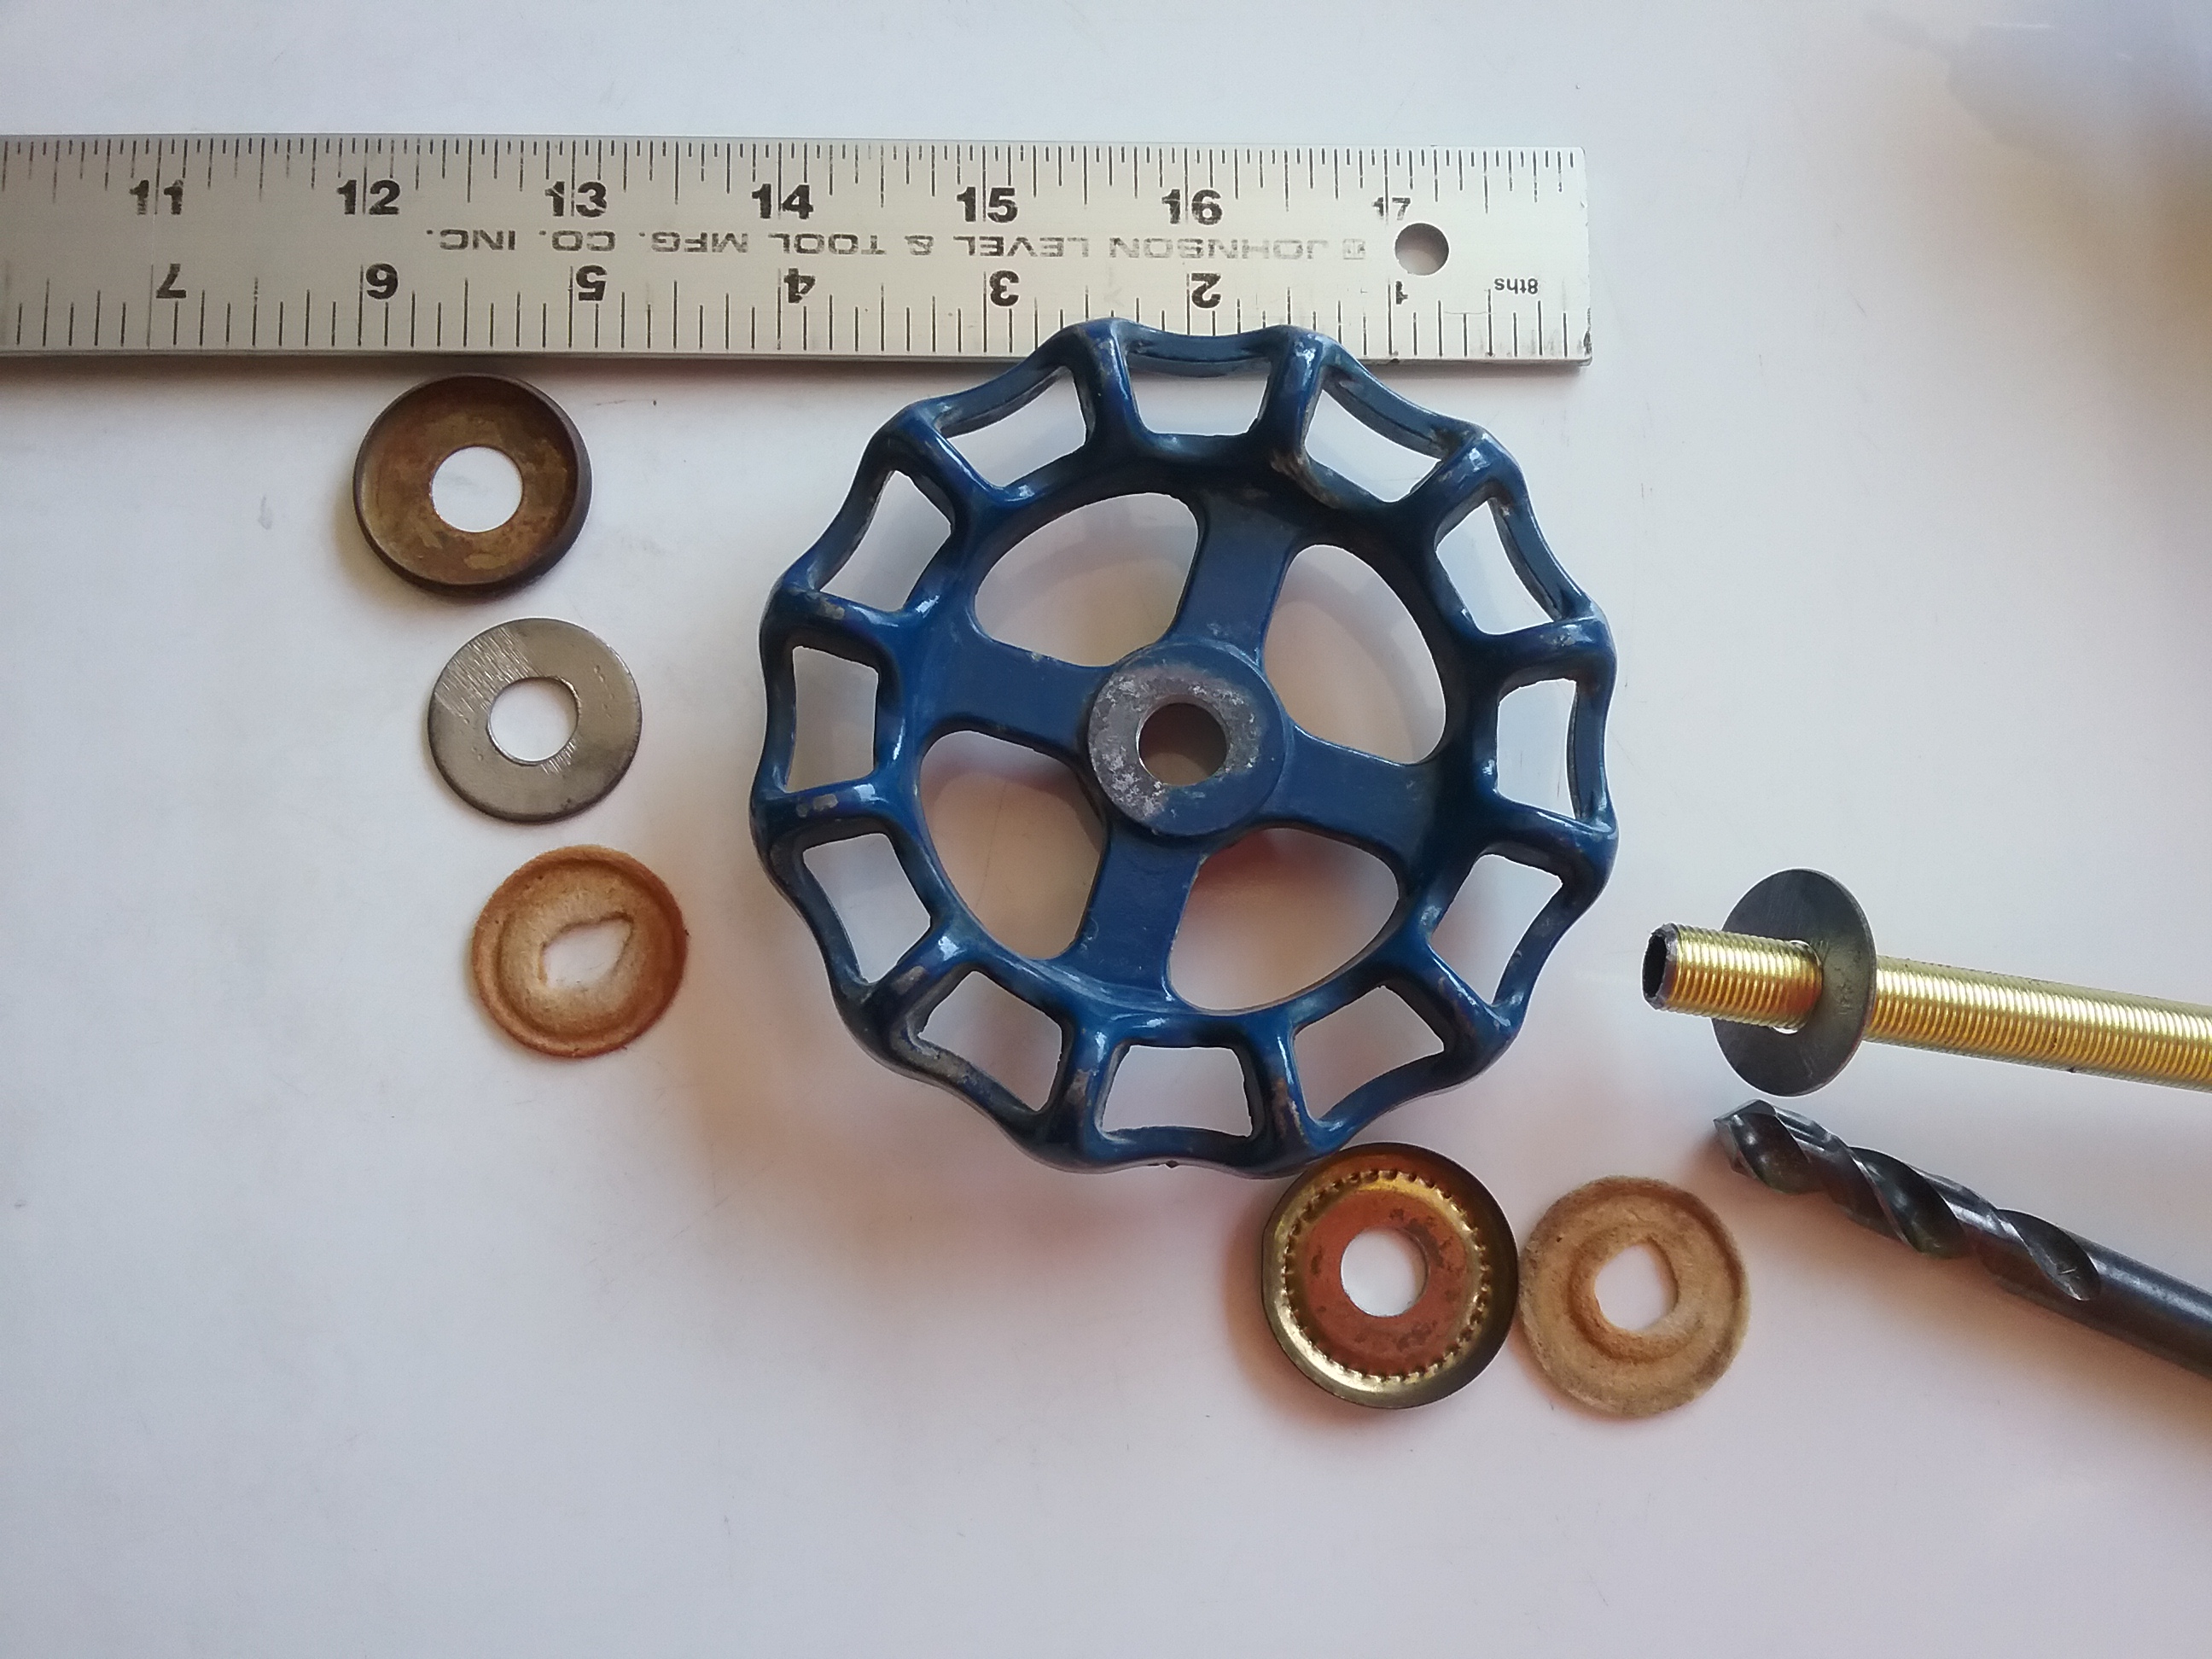
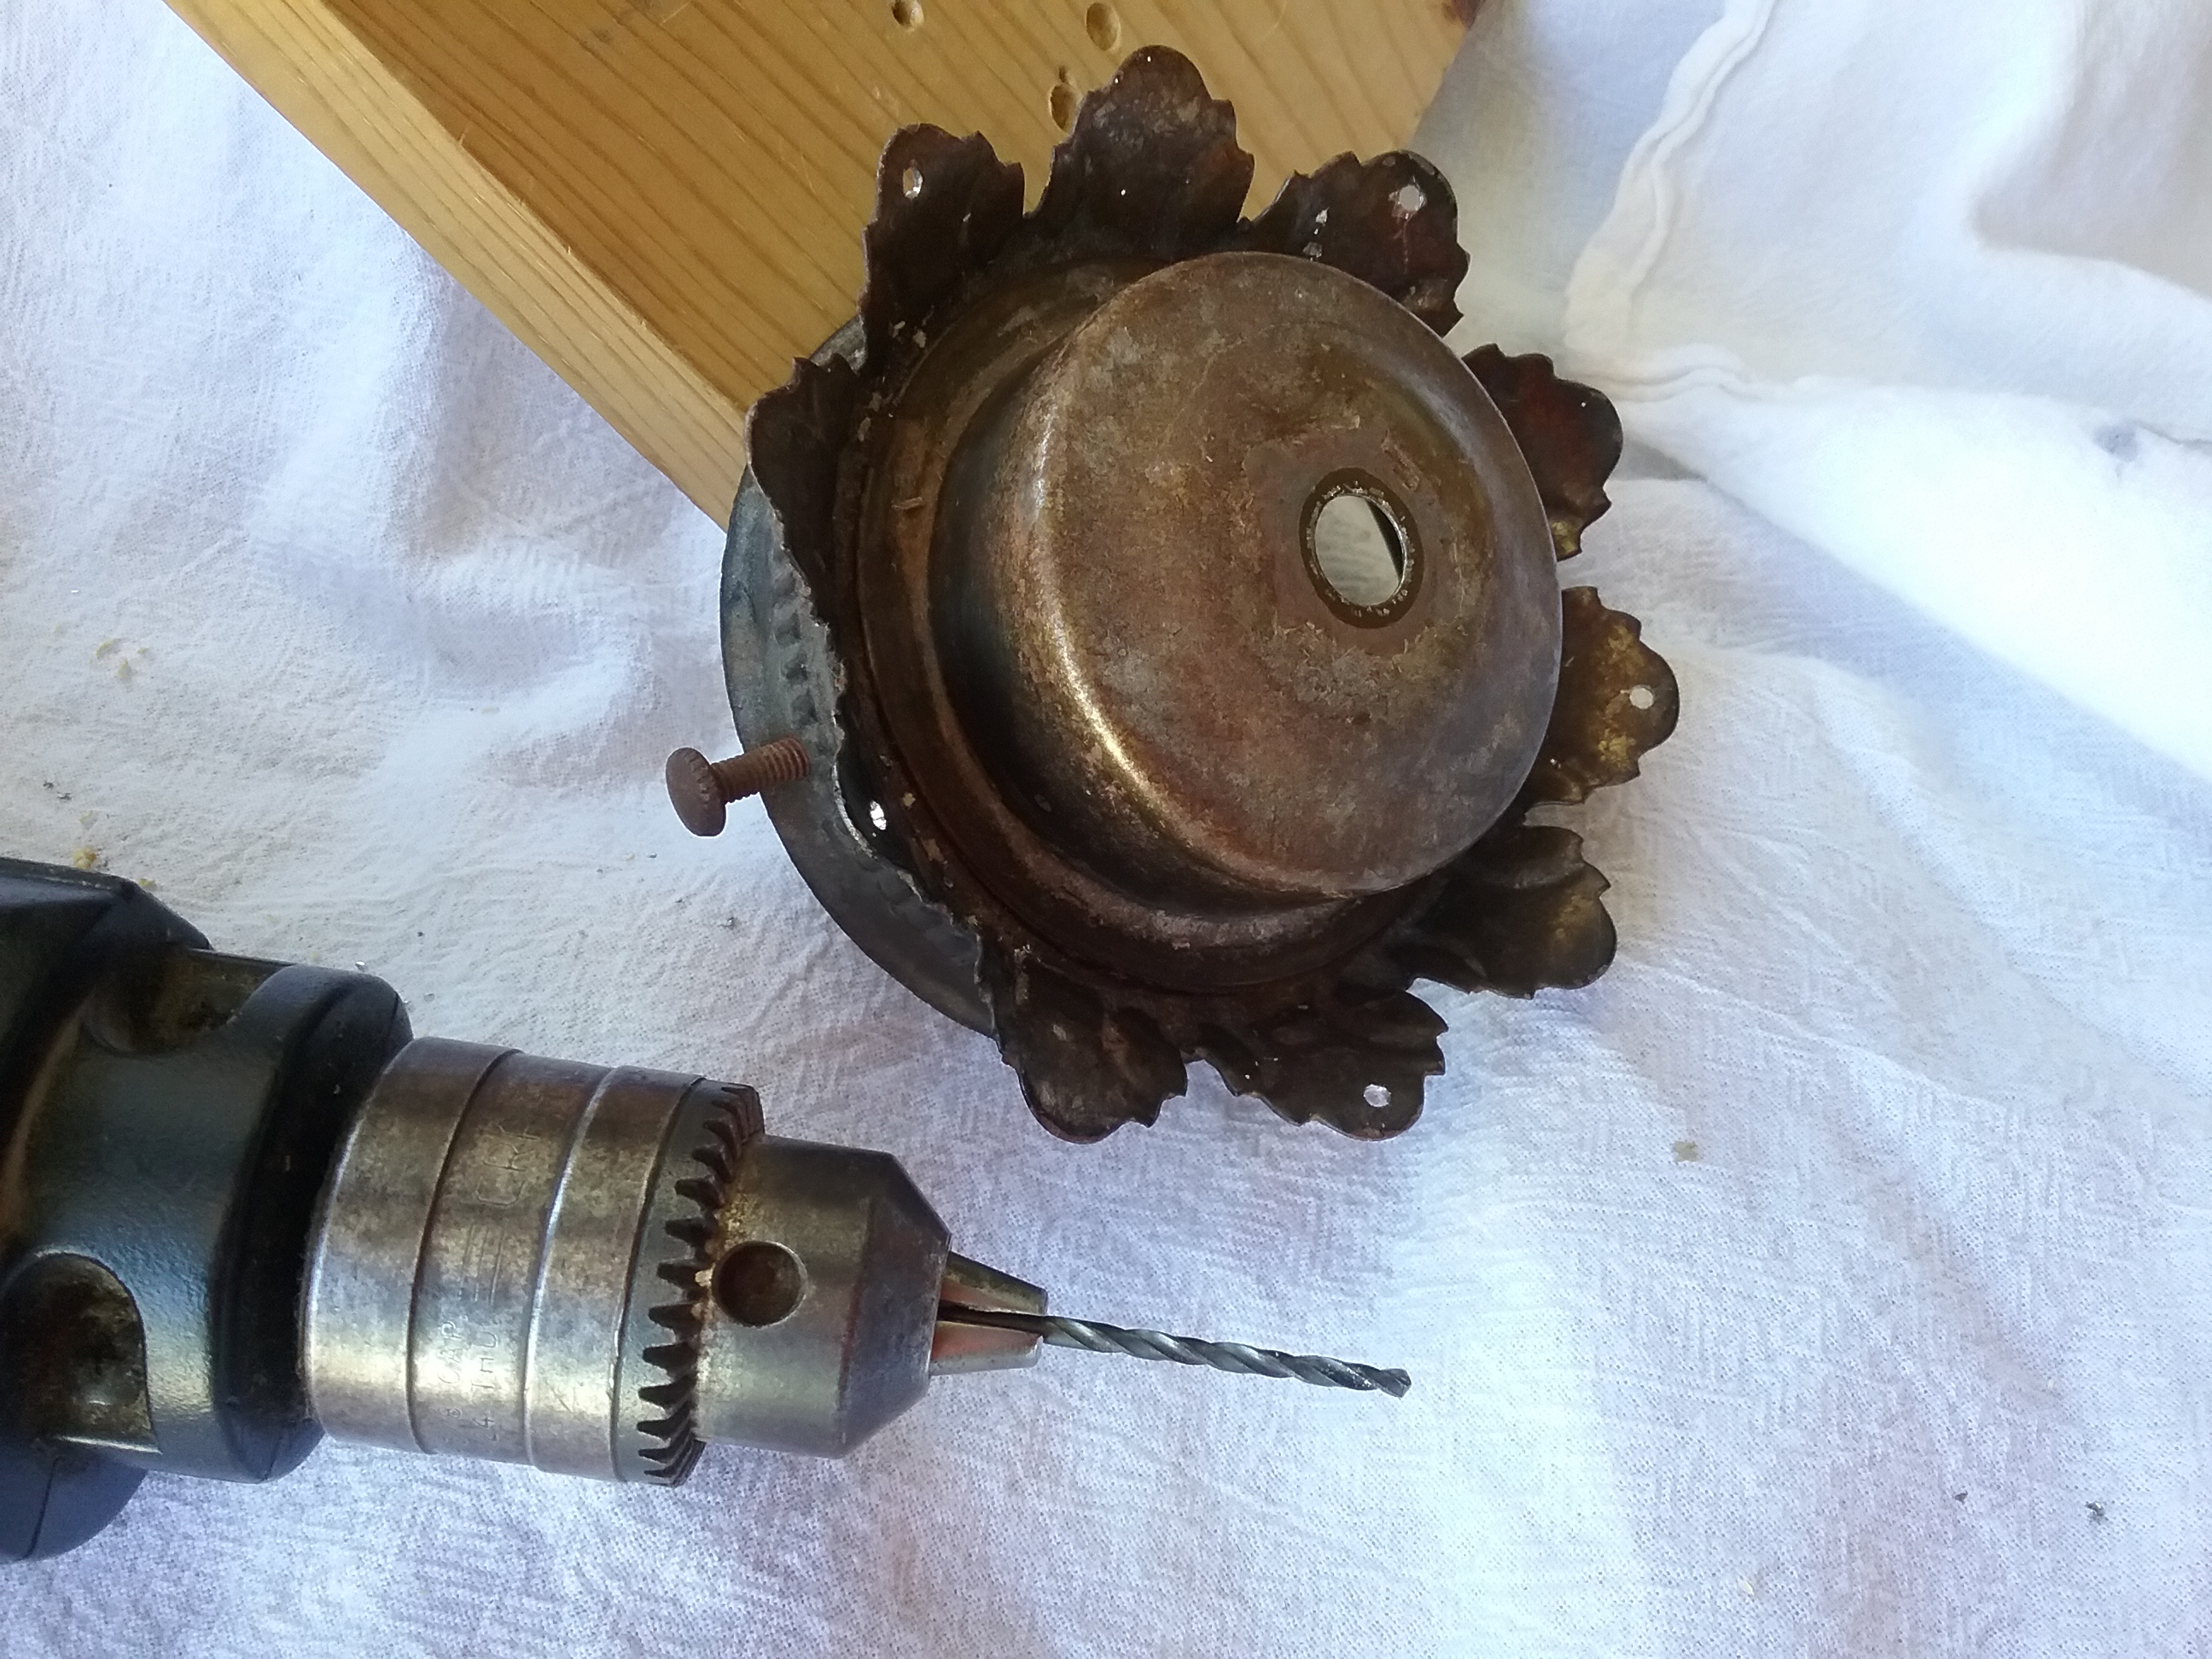
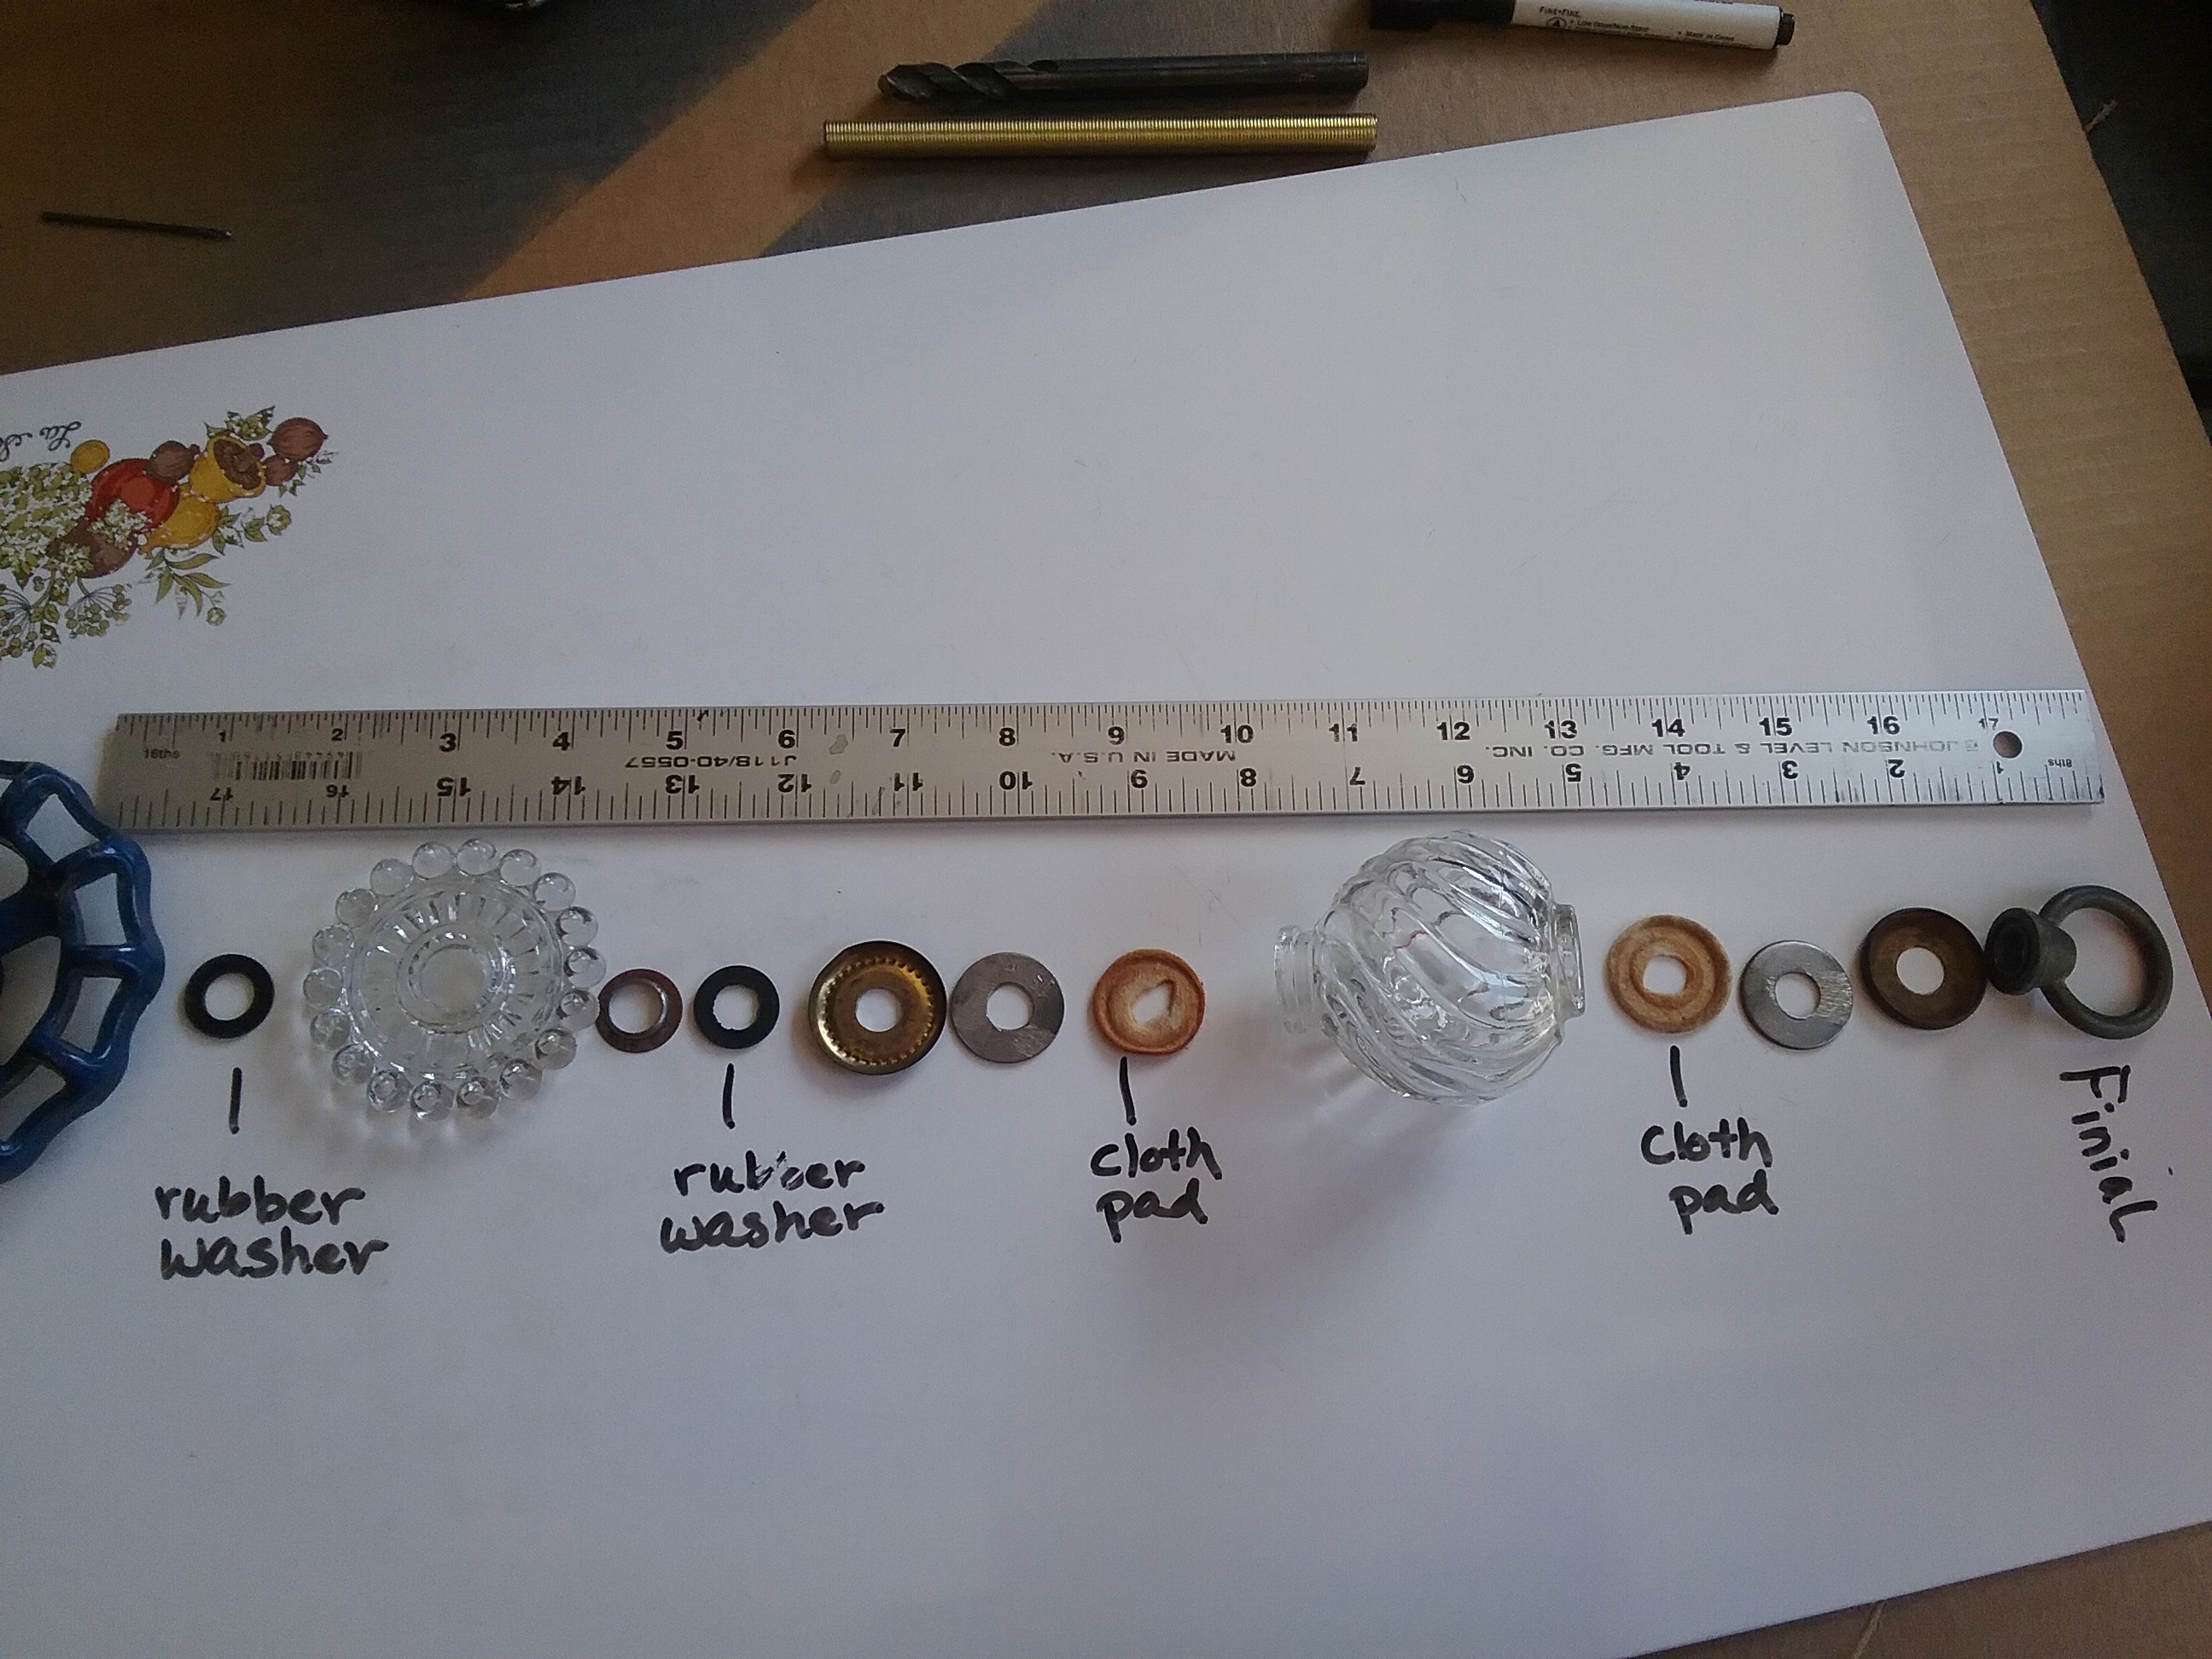
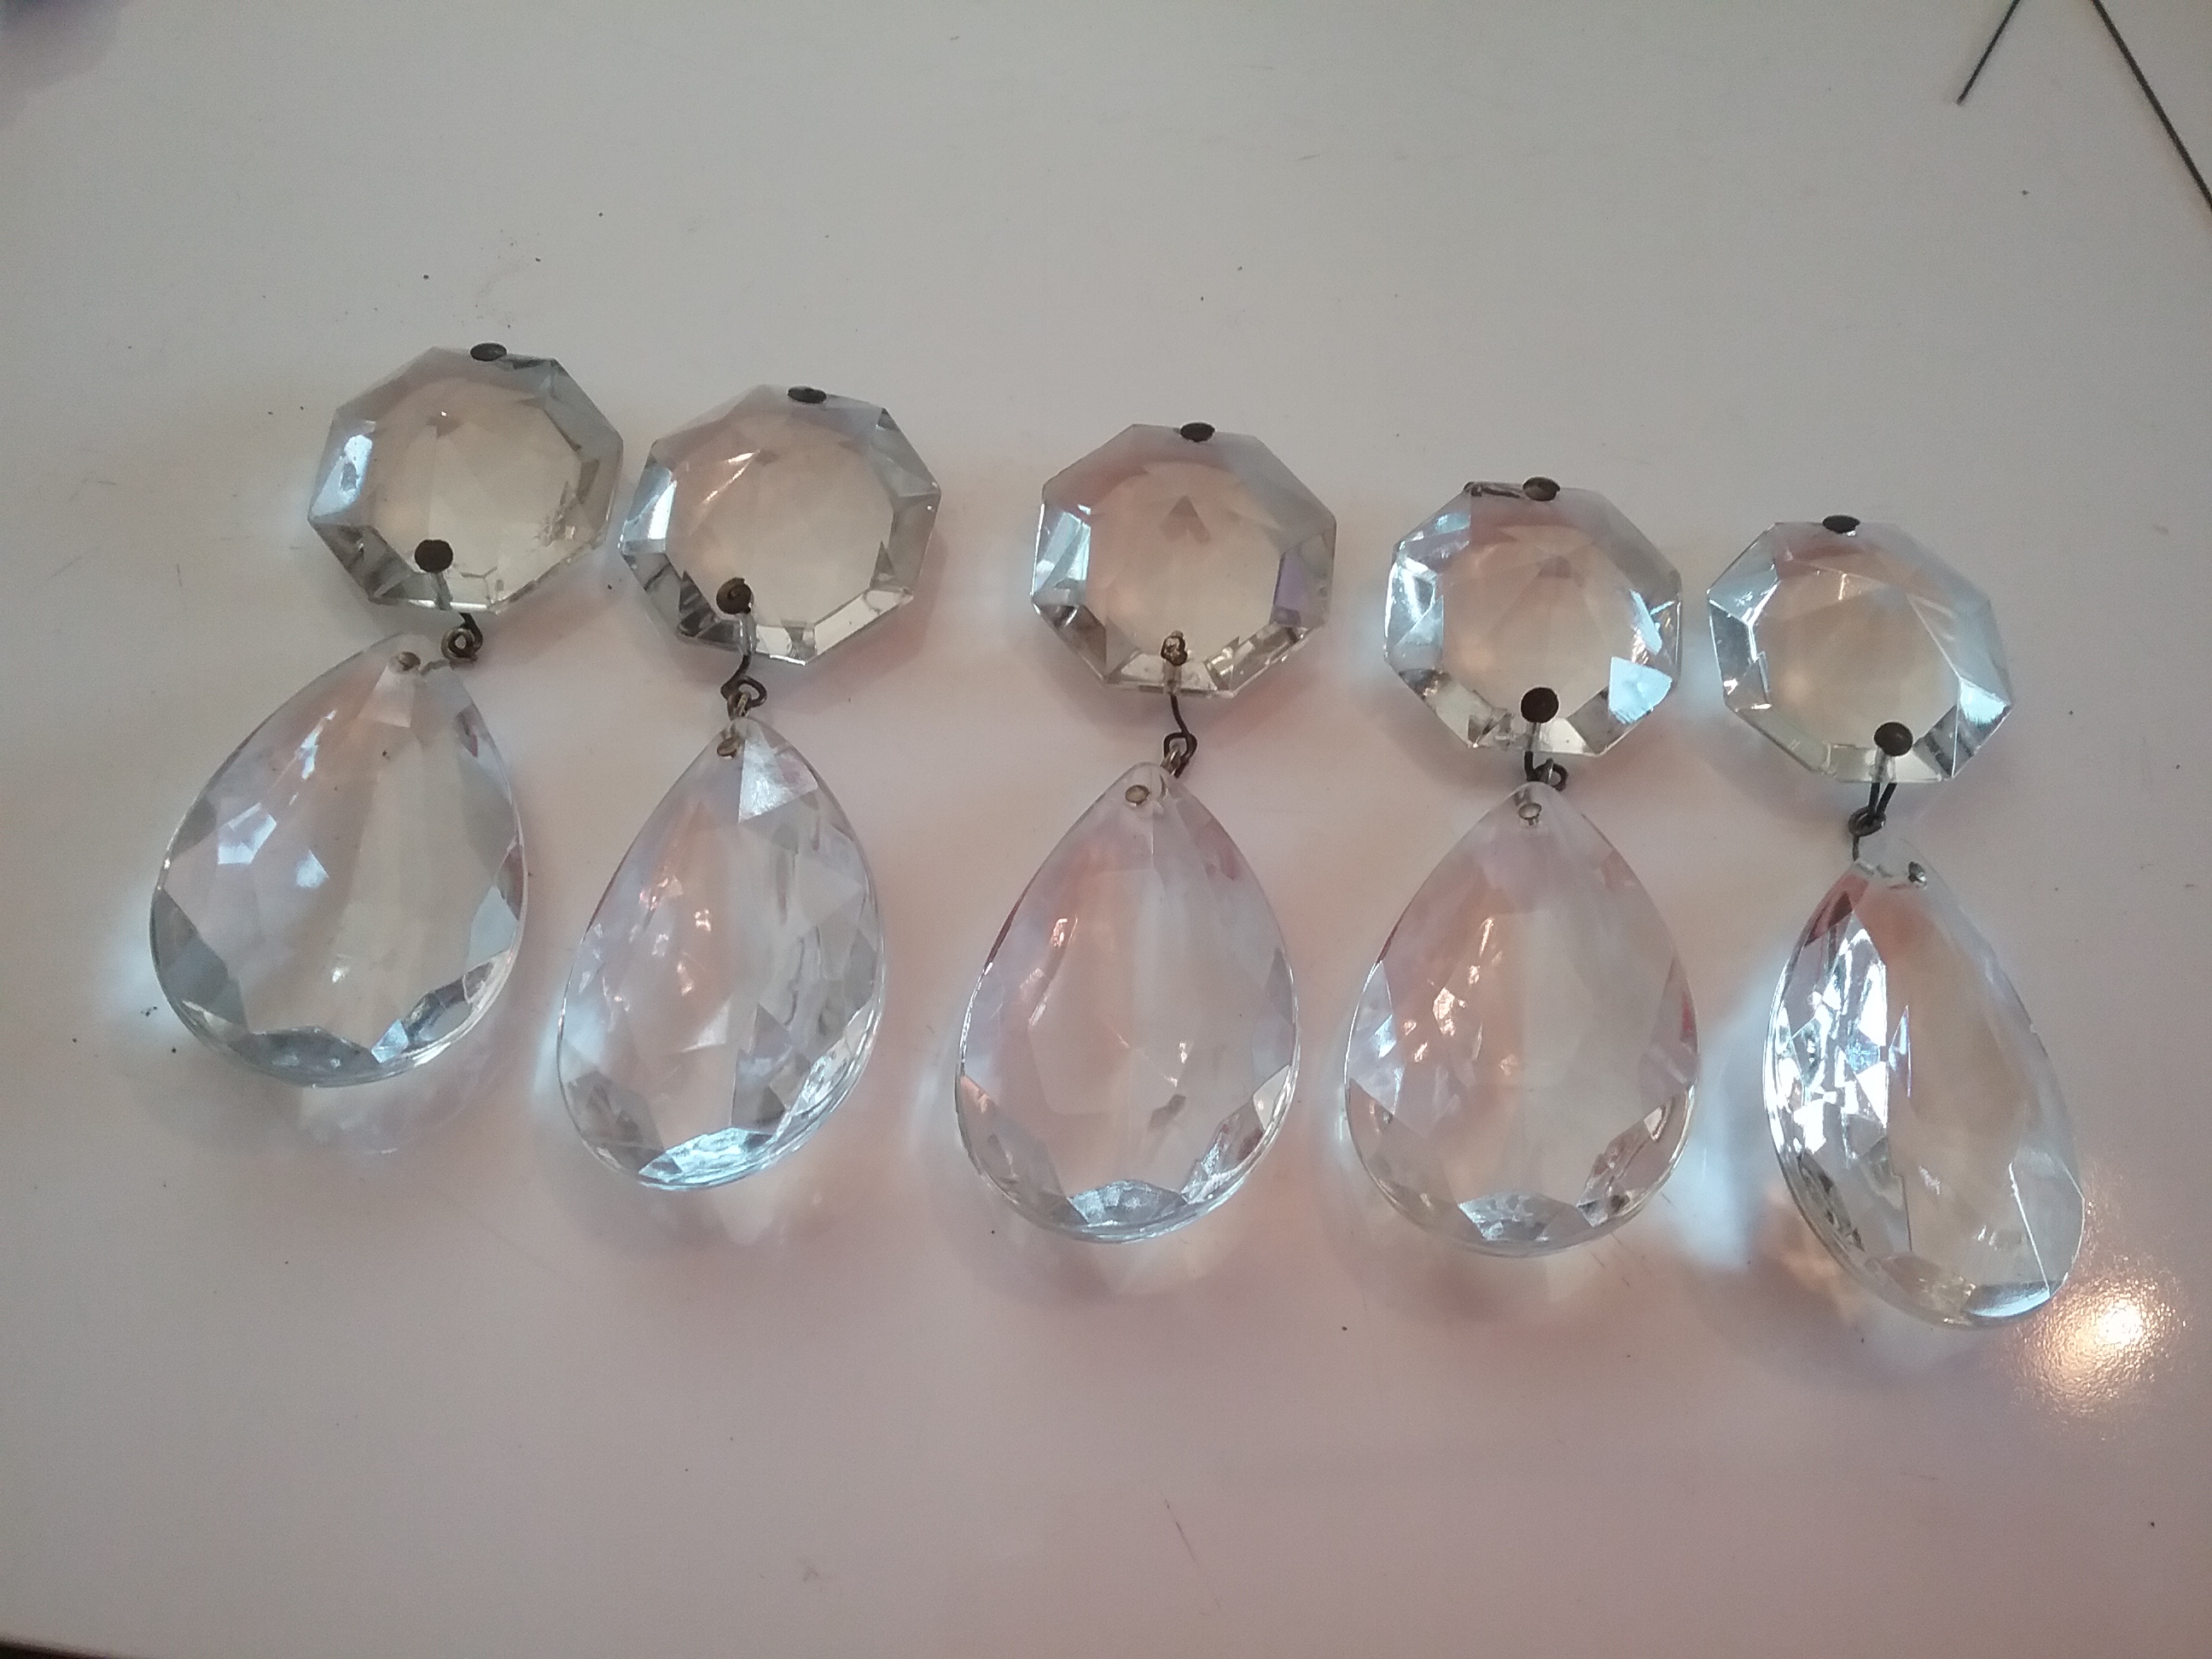
After last month’s post, I was anxious to try a chandelier garden stake. After laying out all of my glass and lamp pieces to see what there was to work with, I noticed several glass pieces were votive/candle holders, small saucers, and odd pieces without a hole. Playing around with stacking the pieces is the funniest part of this project, so I decided to grab the drill and 1/2″ diamond core bit to drill holes in pieces before getting started.
There’s a bunch of videos readily available on You Tube or Pinterest about drilling holes in glass. It is pretty simple really, just a little time consuming. Besides being very mindful of safety issues with water and electricity, the most important thing to remember is to keep the glass wet and cool so it doesn’t overheat and break.

20160712_202611

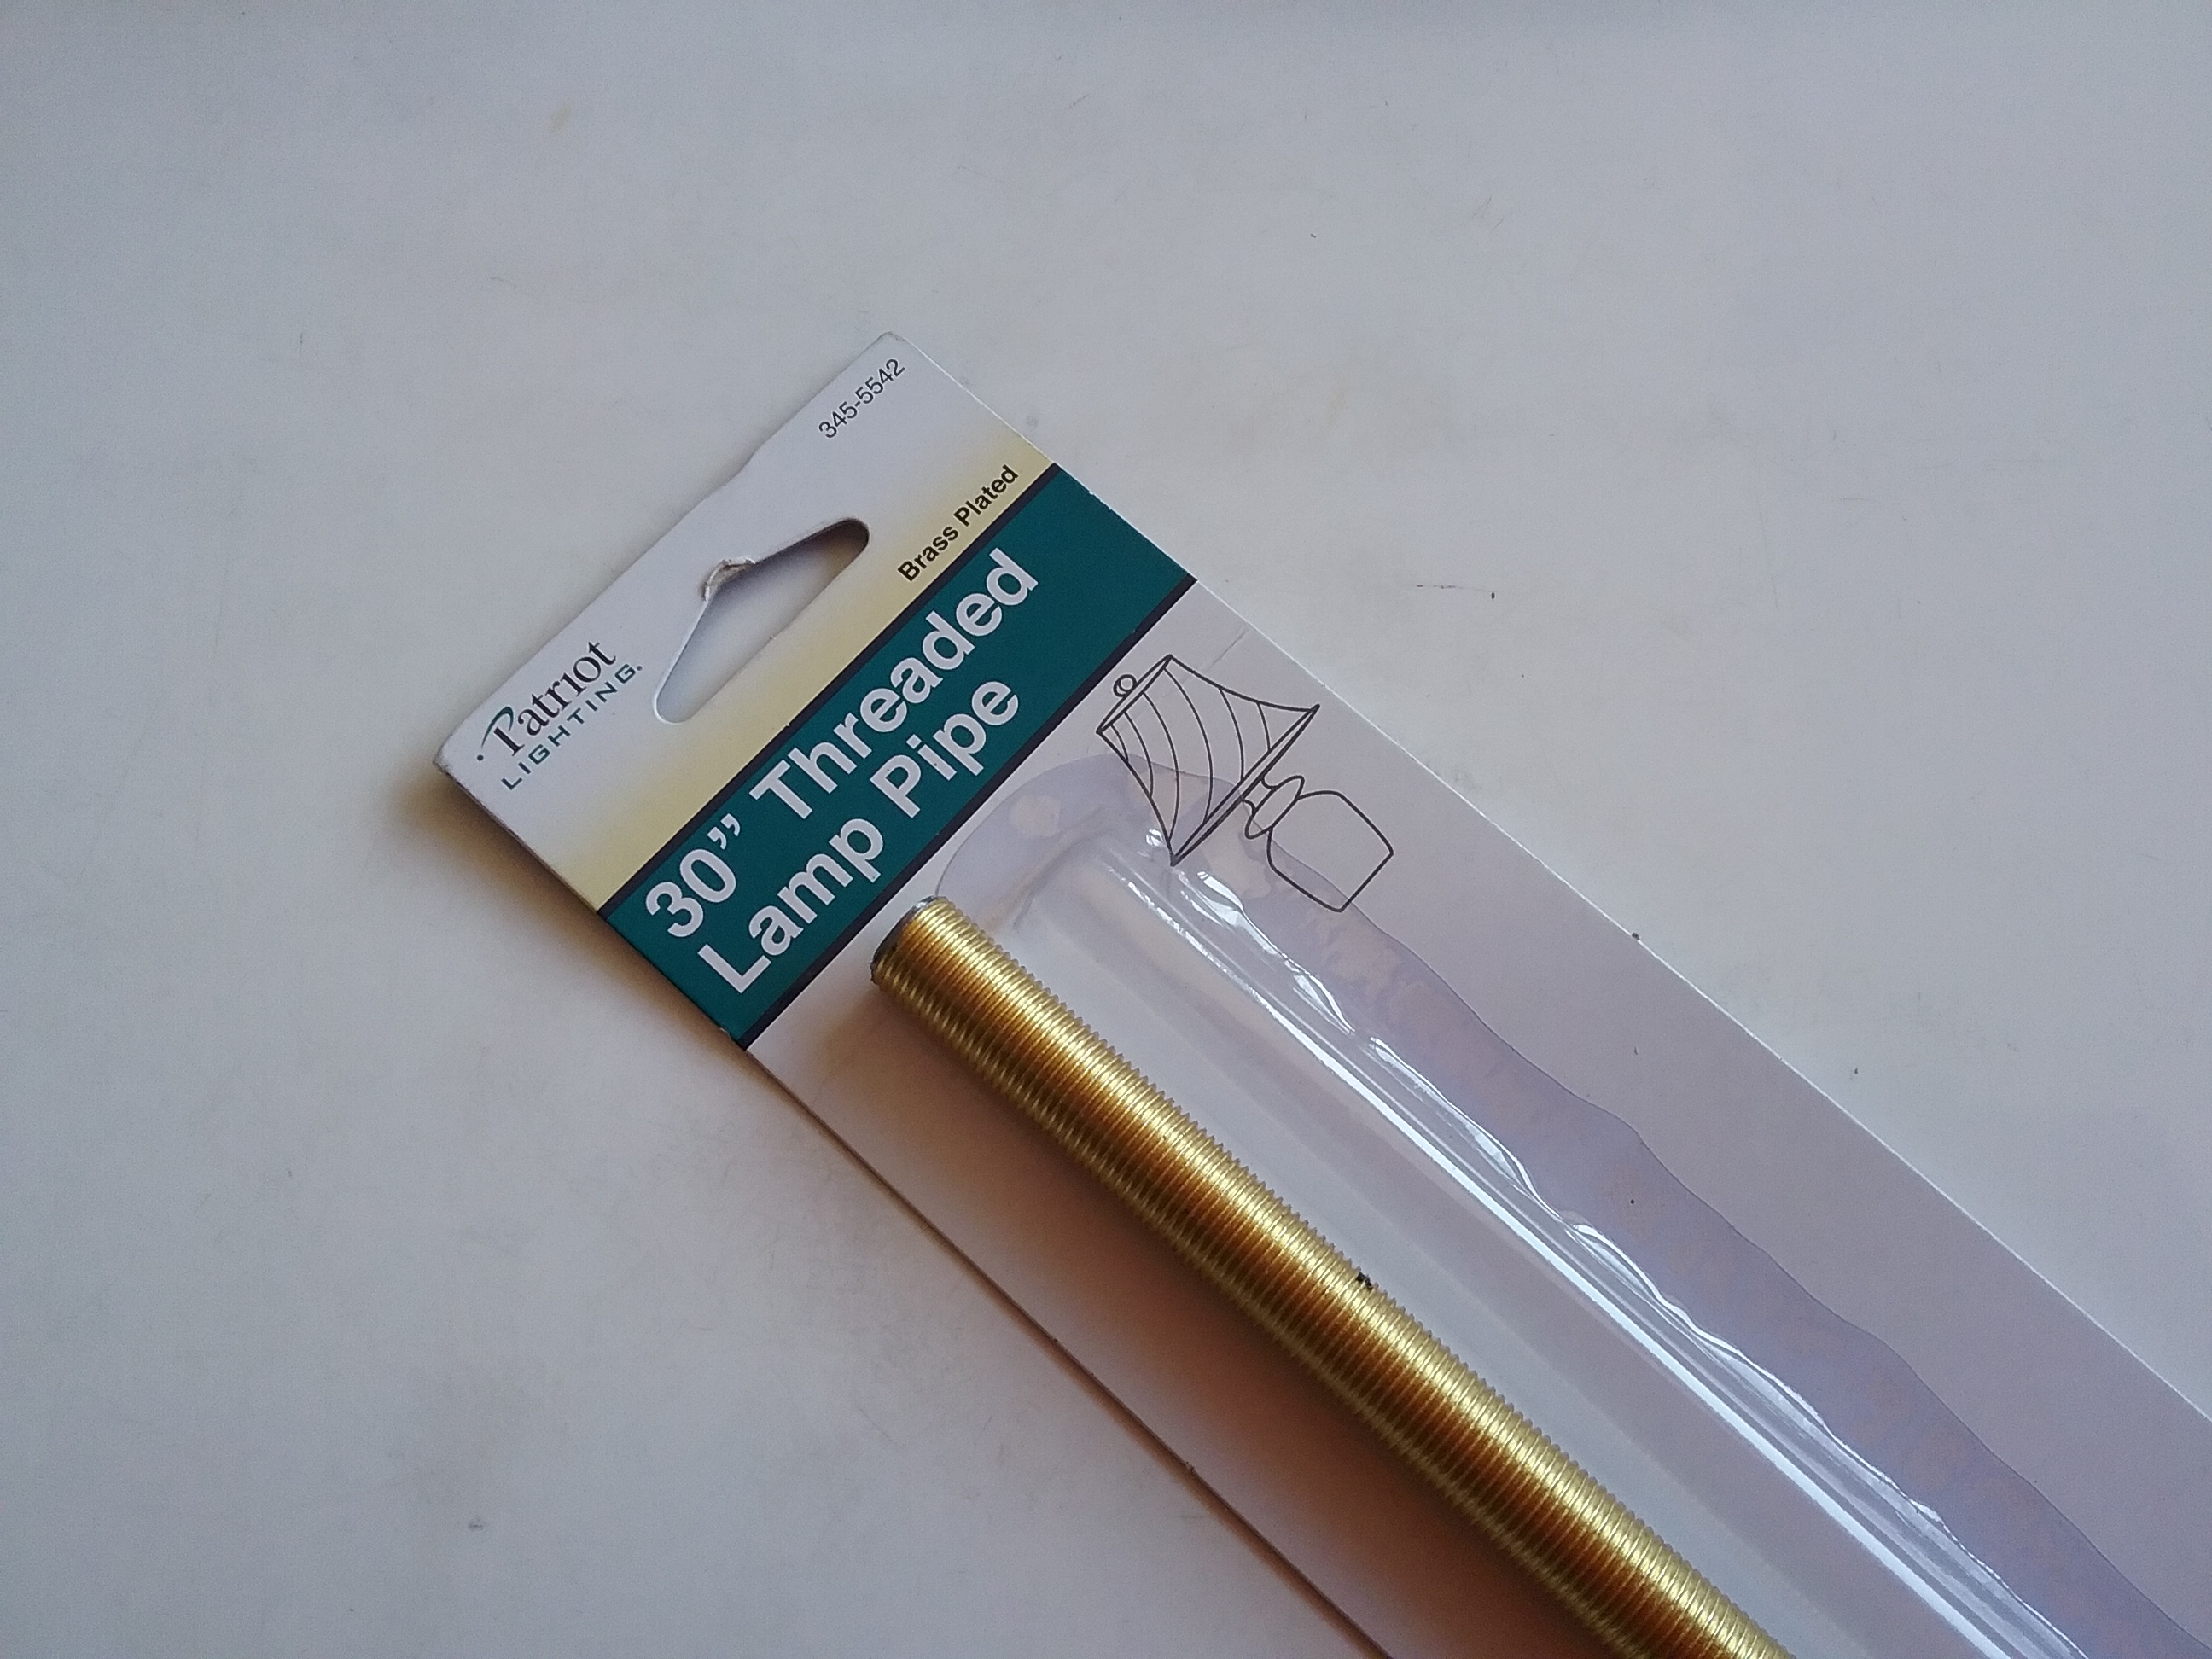
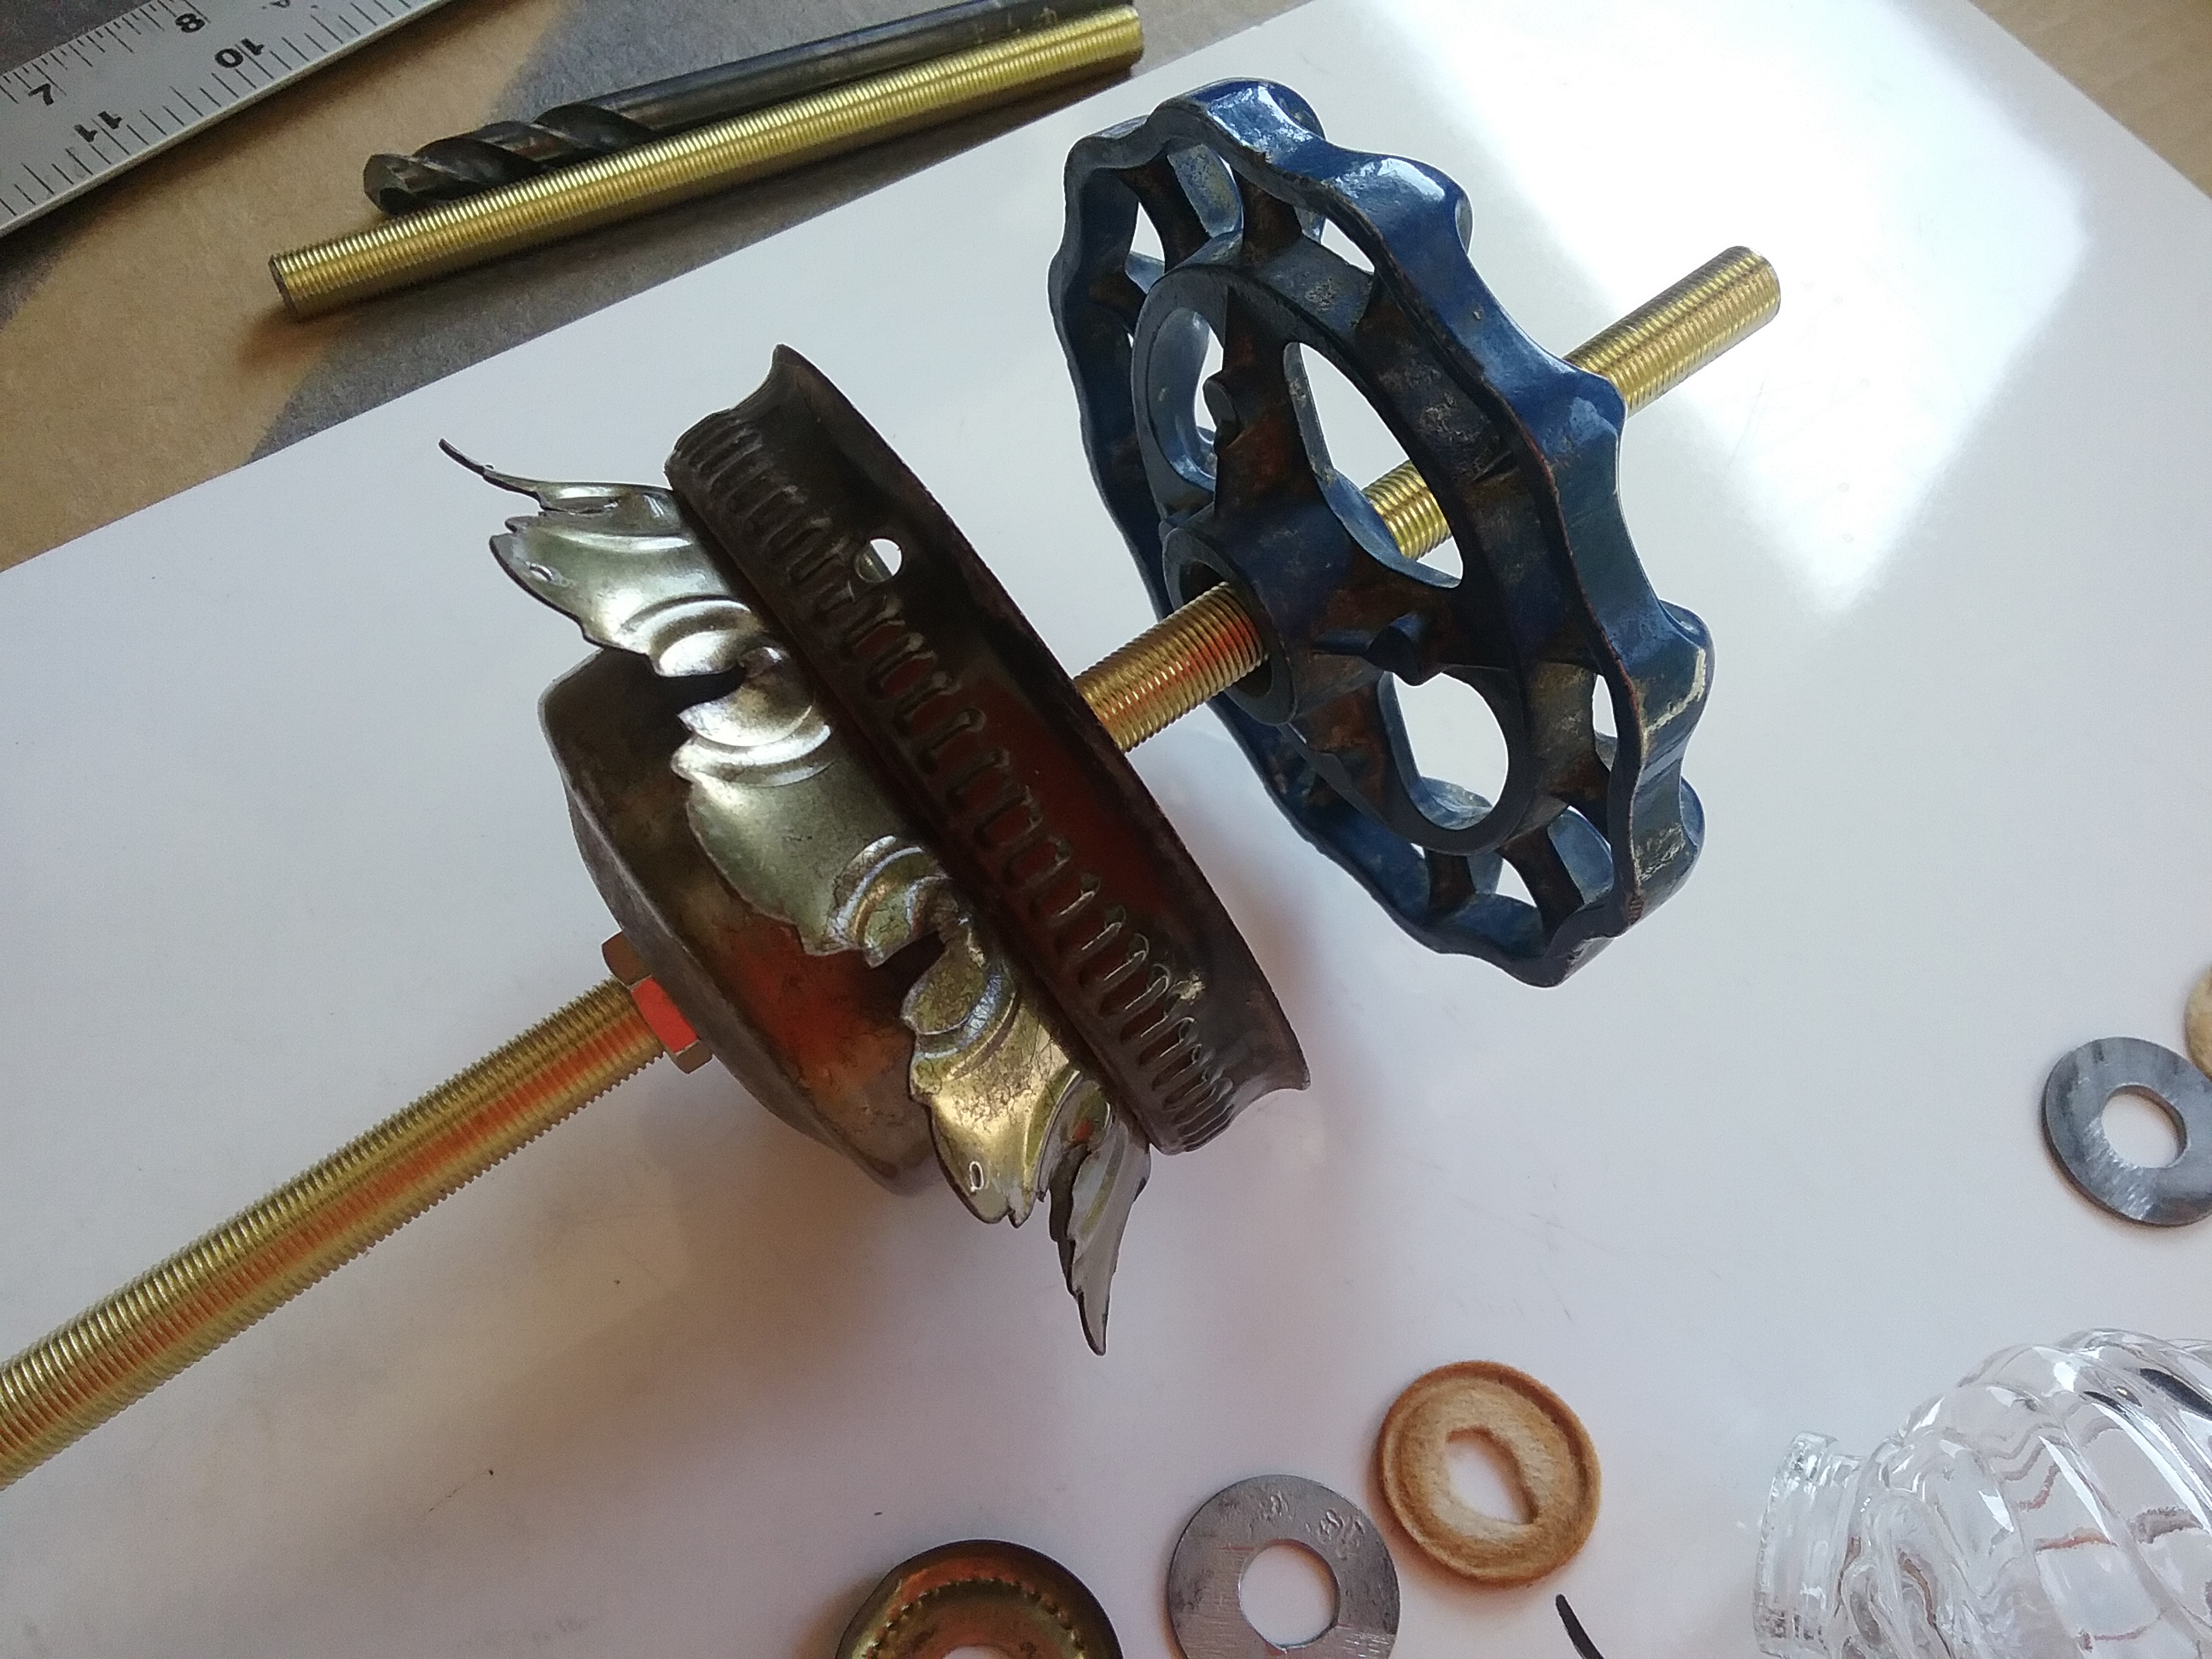
Although the pieces are different, the garden stake is stacked and made on a lamp pipe following the same steps as in last month’s post, with one exception. Instead of marking it with tape and cutting it off, mark it with tape, add 8 inches, then mark it with tape again for cutting. The added length will fit into a piece of conduit.

20160724_150314

Because of the crystals dangling, I wanted the stake to have some height, so I cut a piece of scrap 1/2″ conduit, four foot long.
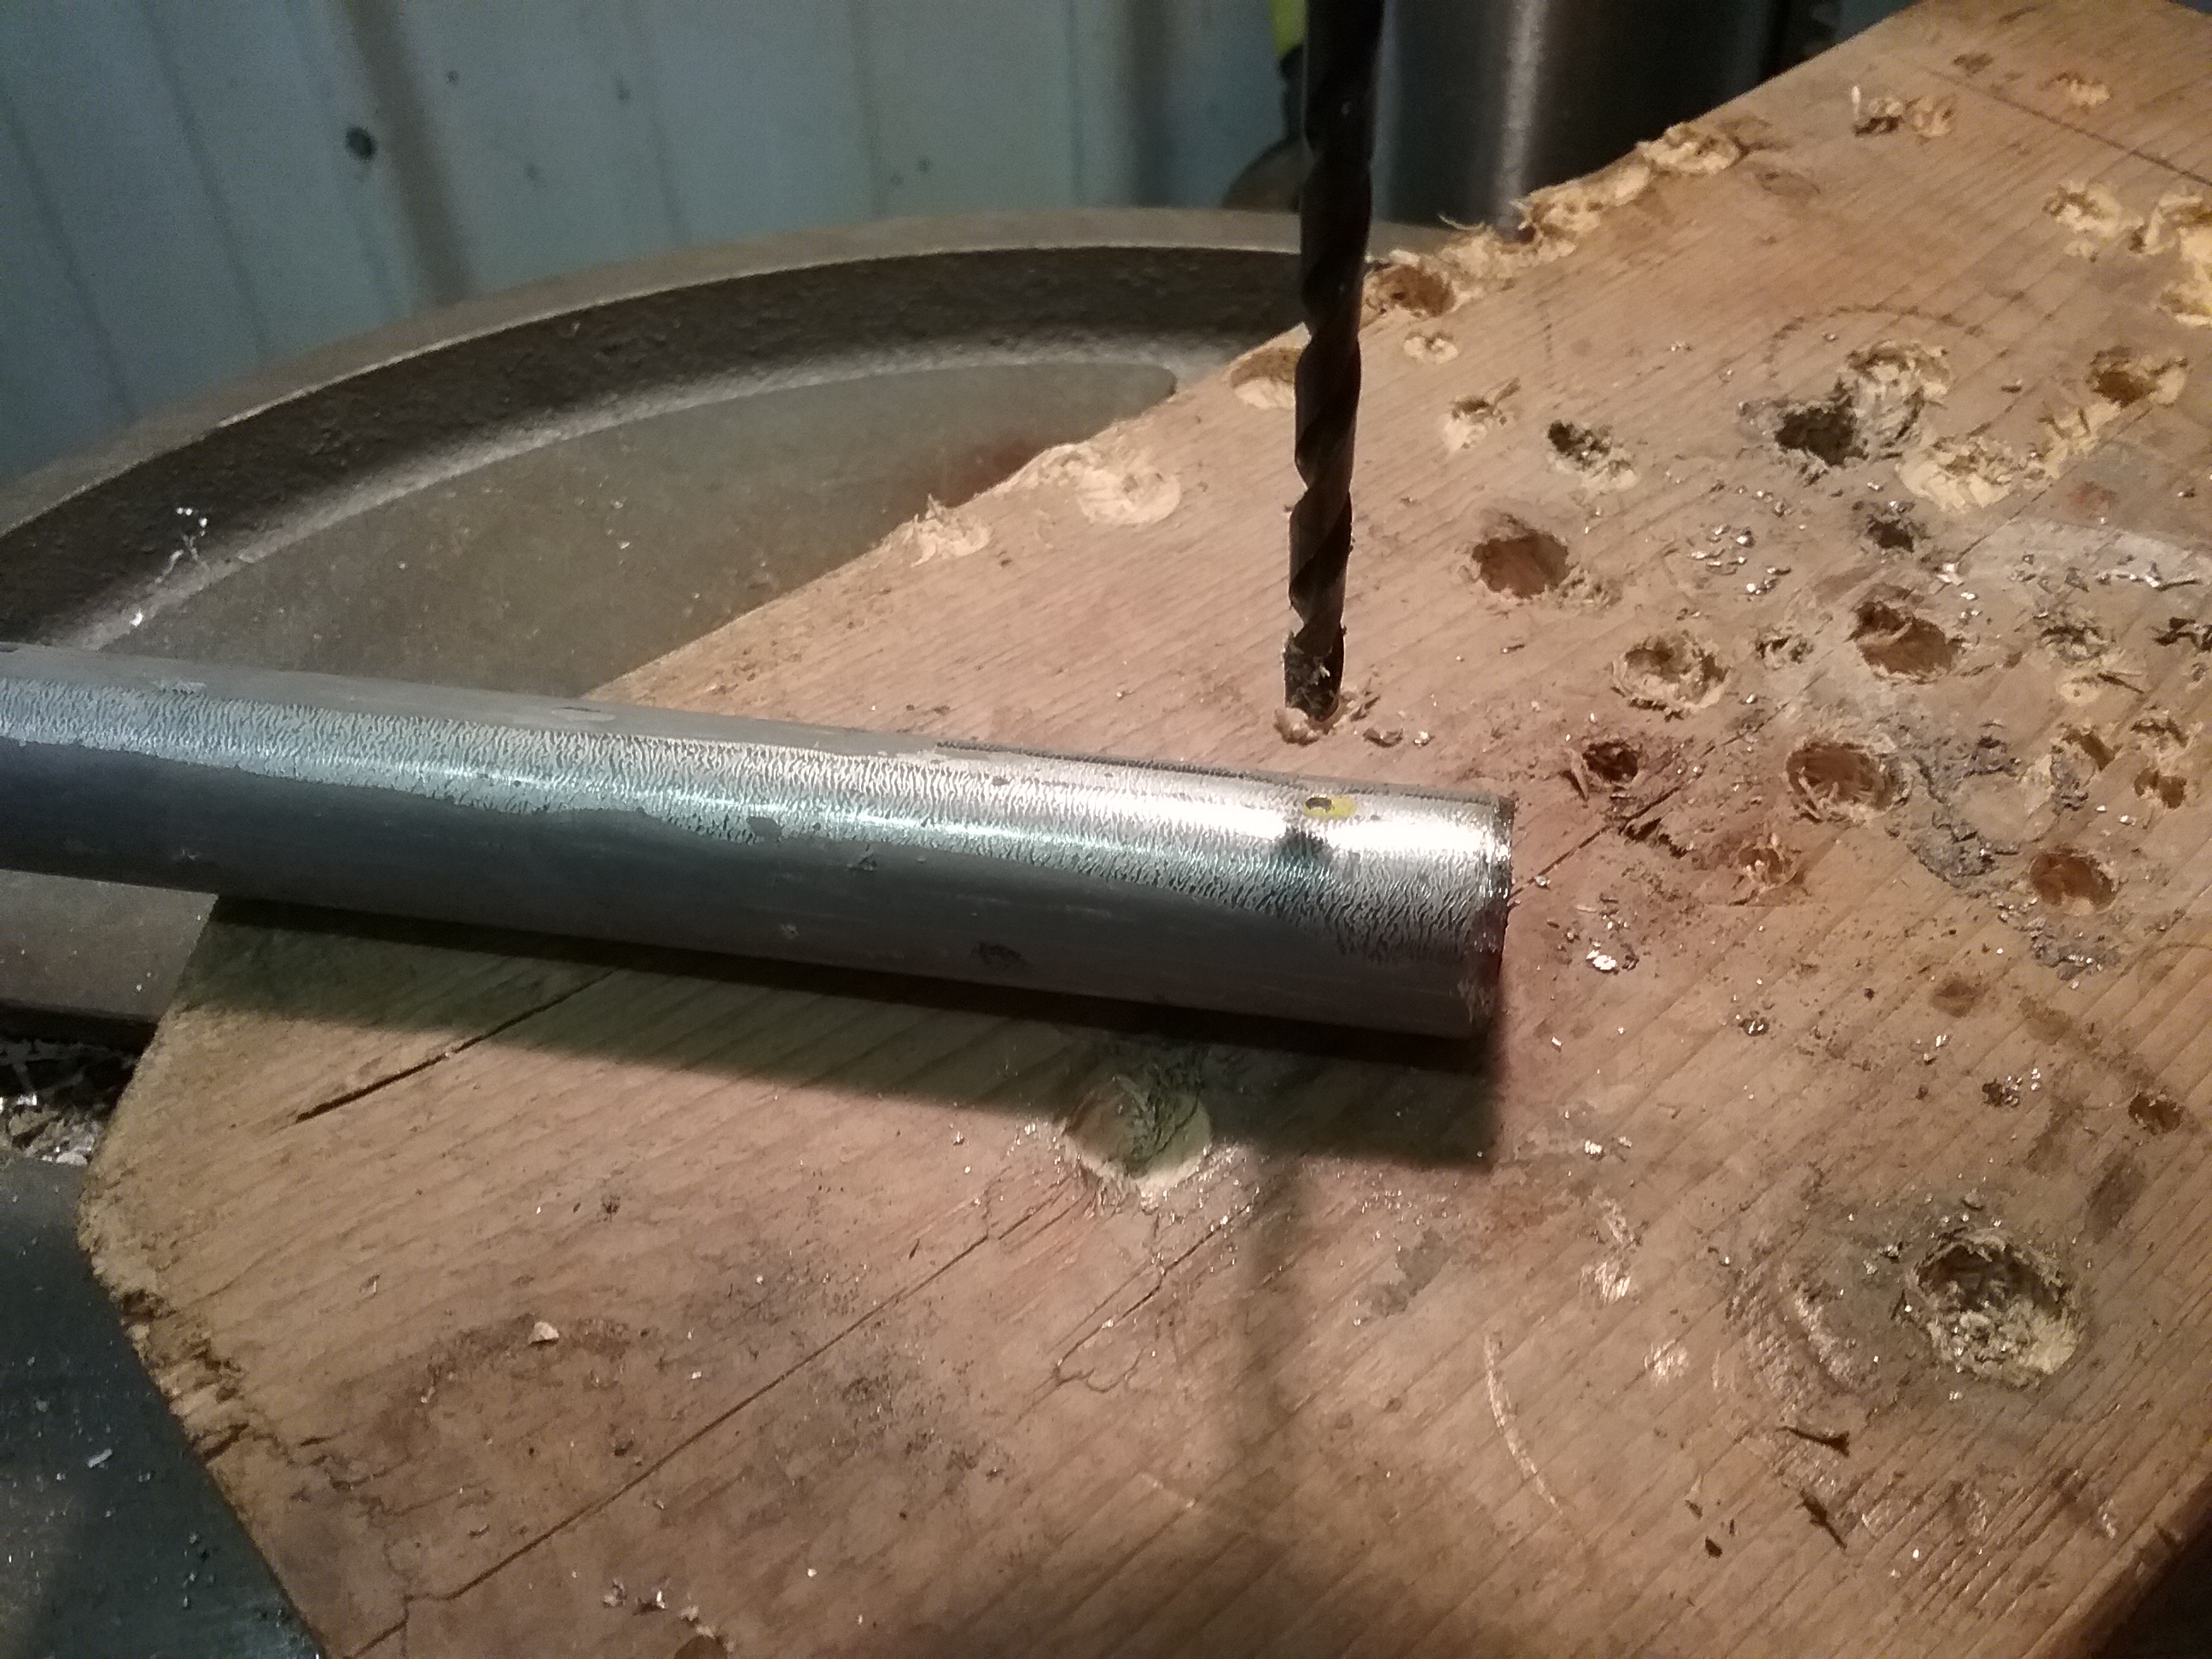
Approximately 1 inch from the top of the conduit, mark a spot for drilling. With a center punch, make an indentation on the spot. Drill a hole through the conduit with a 5/32″ bit.
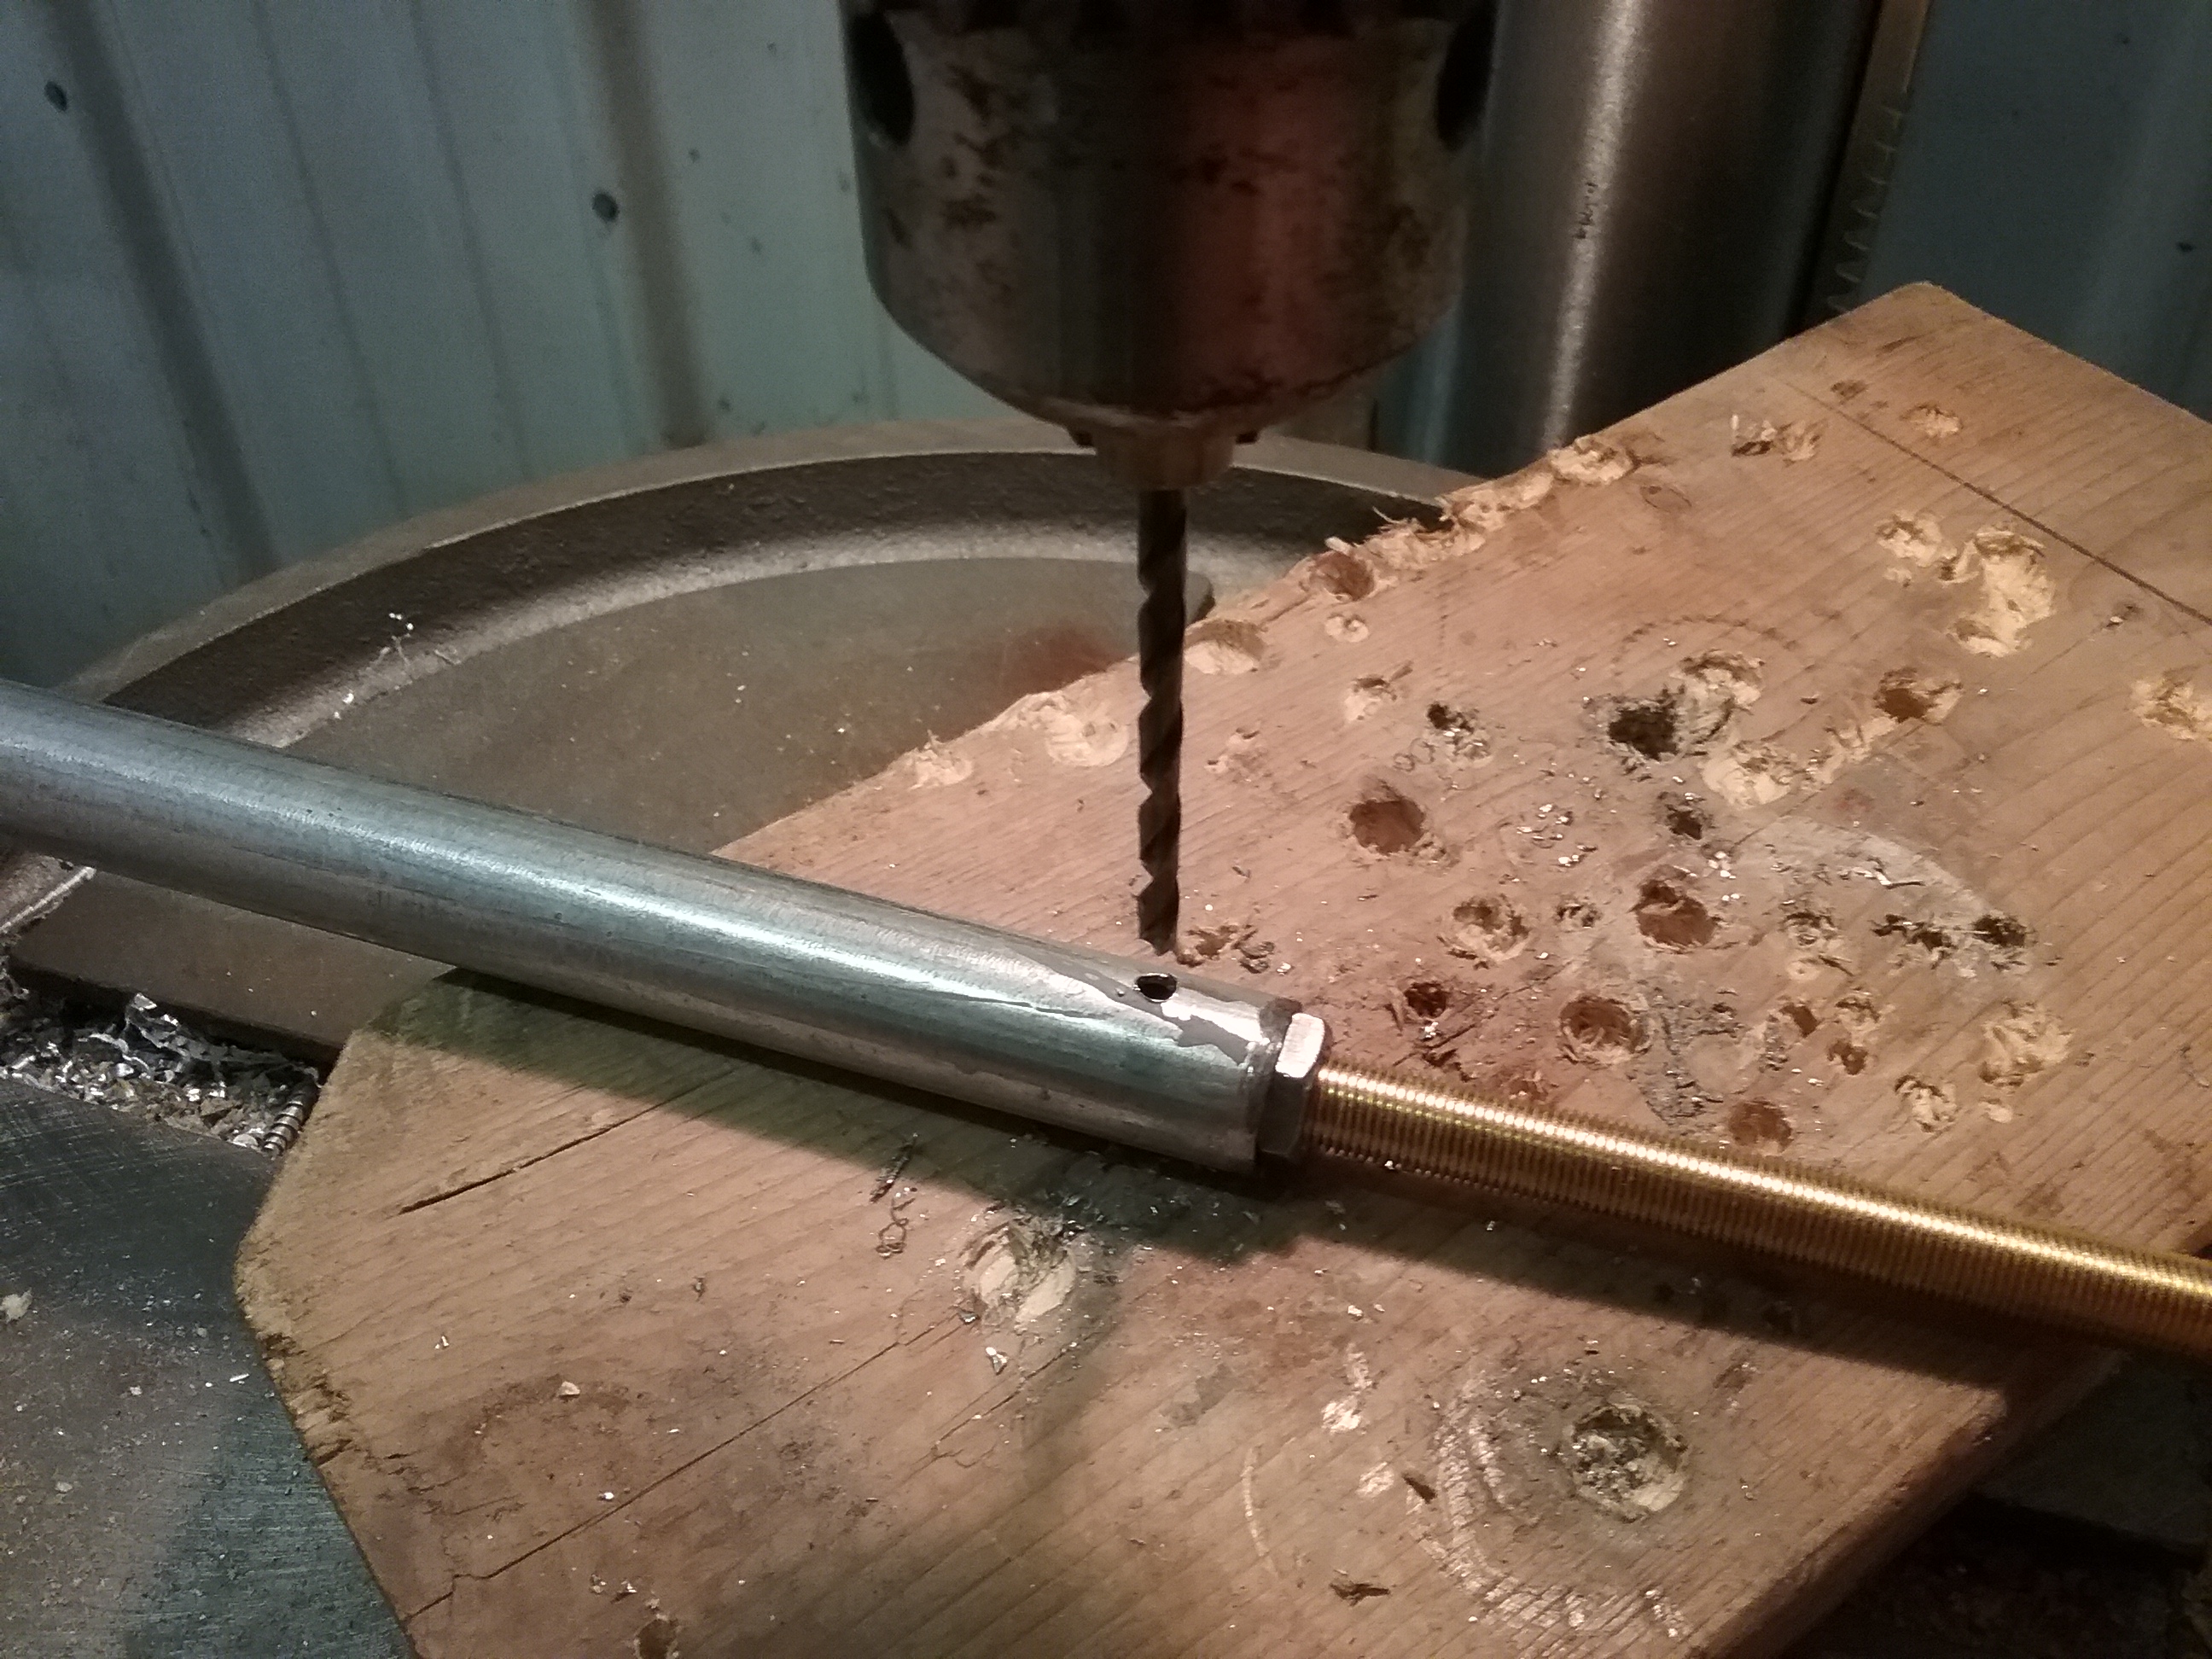
Insert the 8 inch added length of lamp pipe into the conduit until you meet the hex nut. With the lamp pipe and conduit held firmly, drill through the conduit holes again. This step works best with two people, one to hold the conduit and one to hold the lamp pipe, as you drill through the second time. Run a small bolt through the holes and tighten on a nut.

20160724_151310  20160724_151532

20160724_151811  20160724_152105

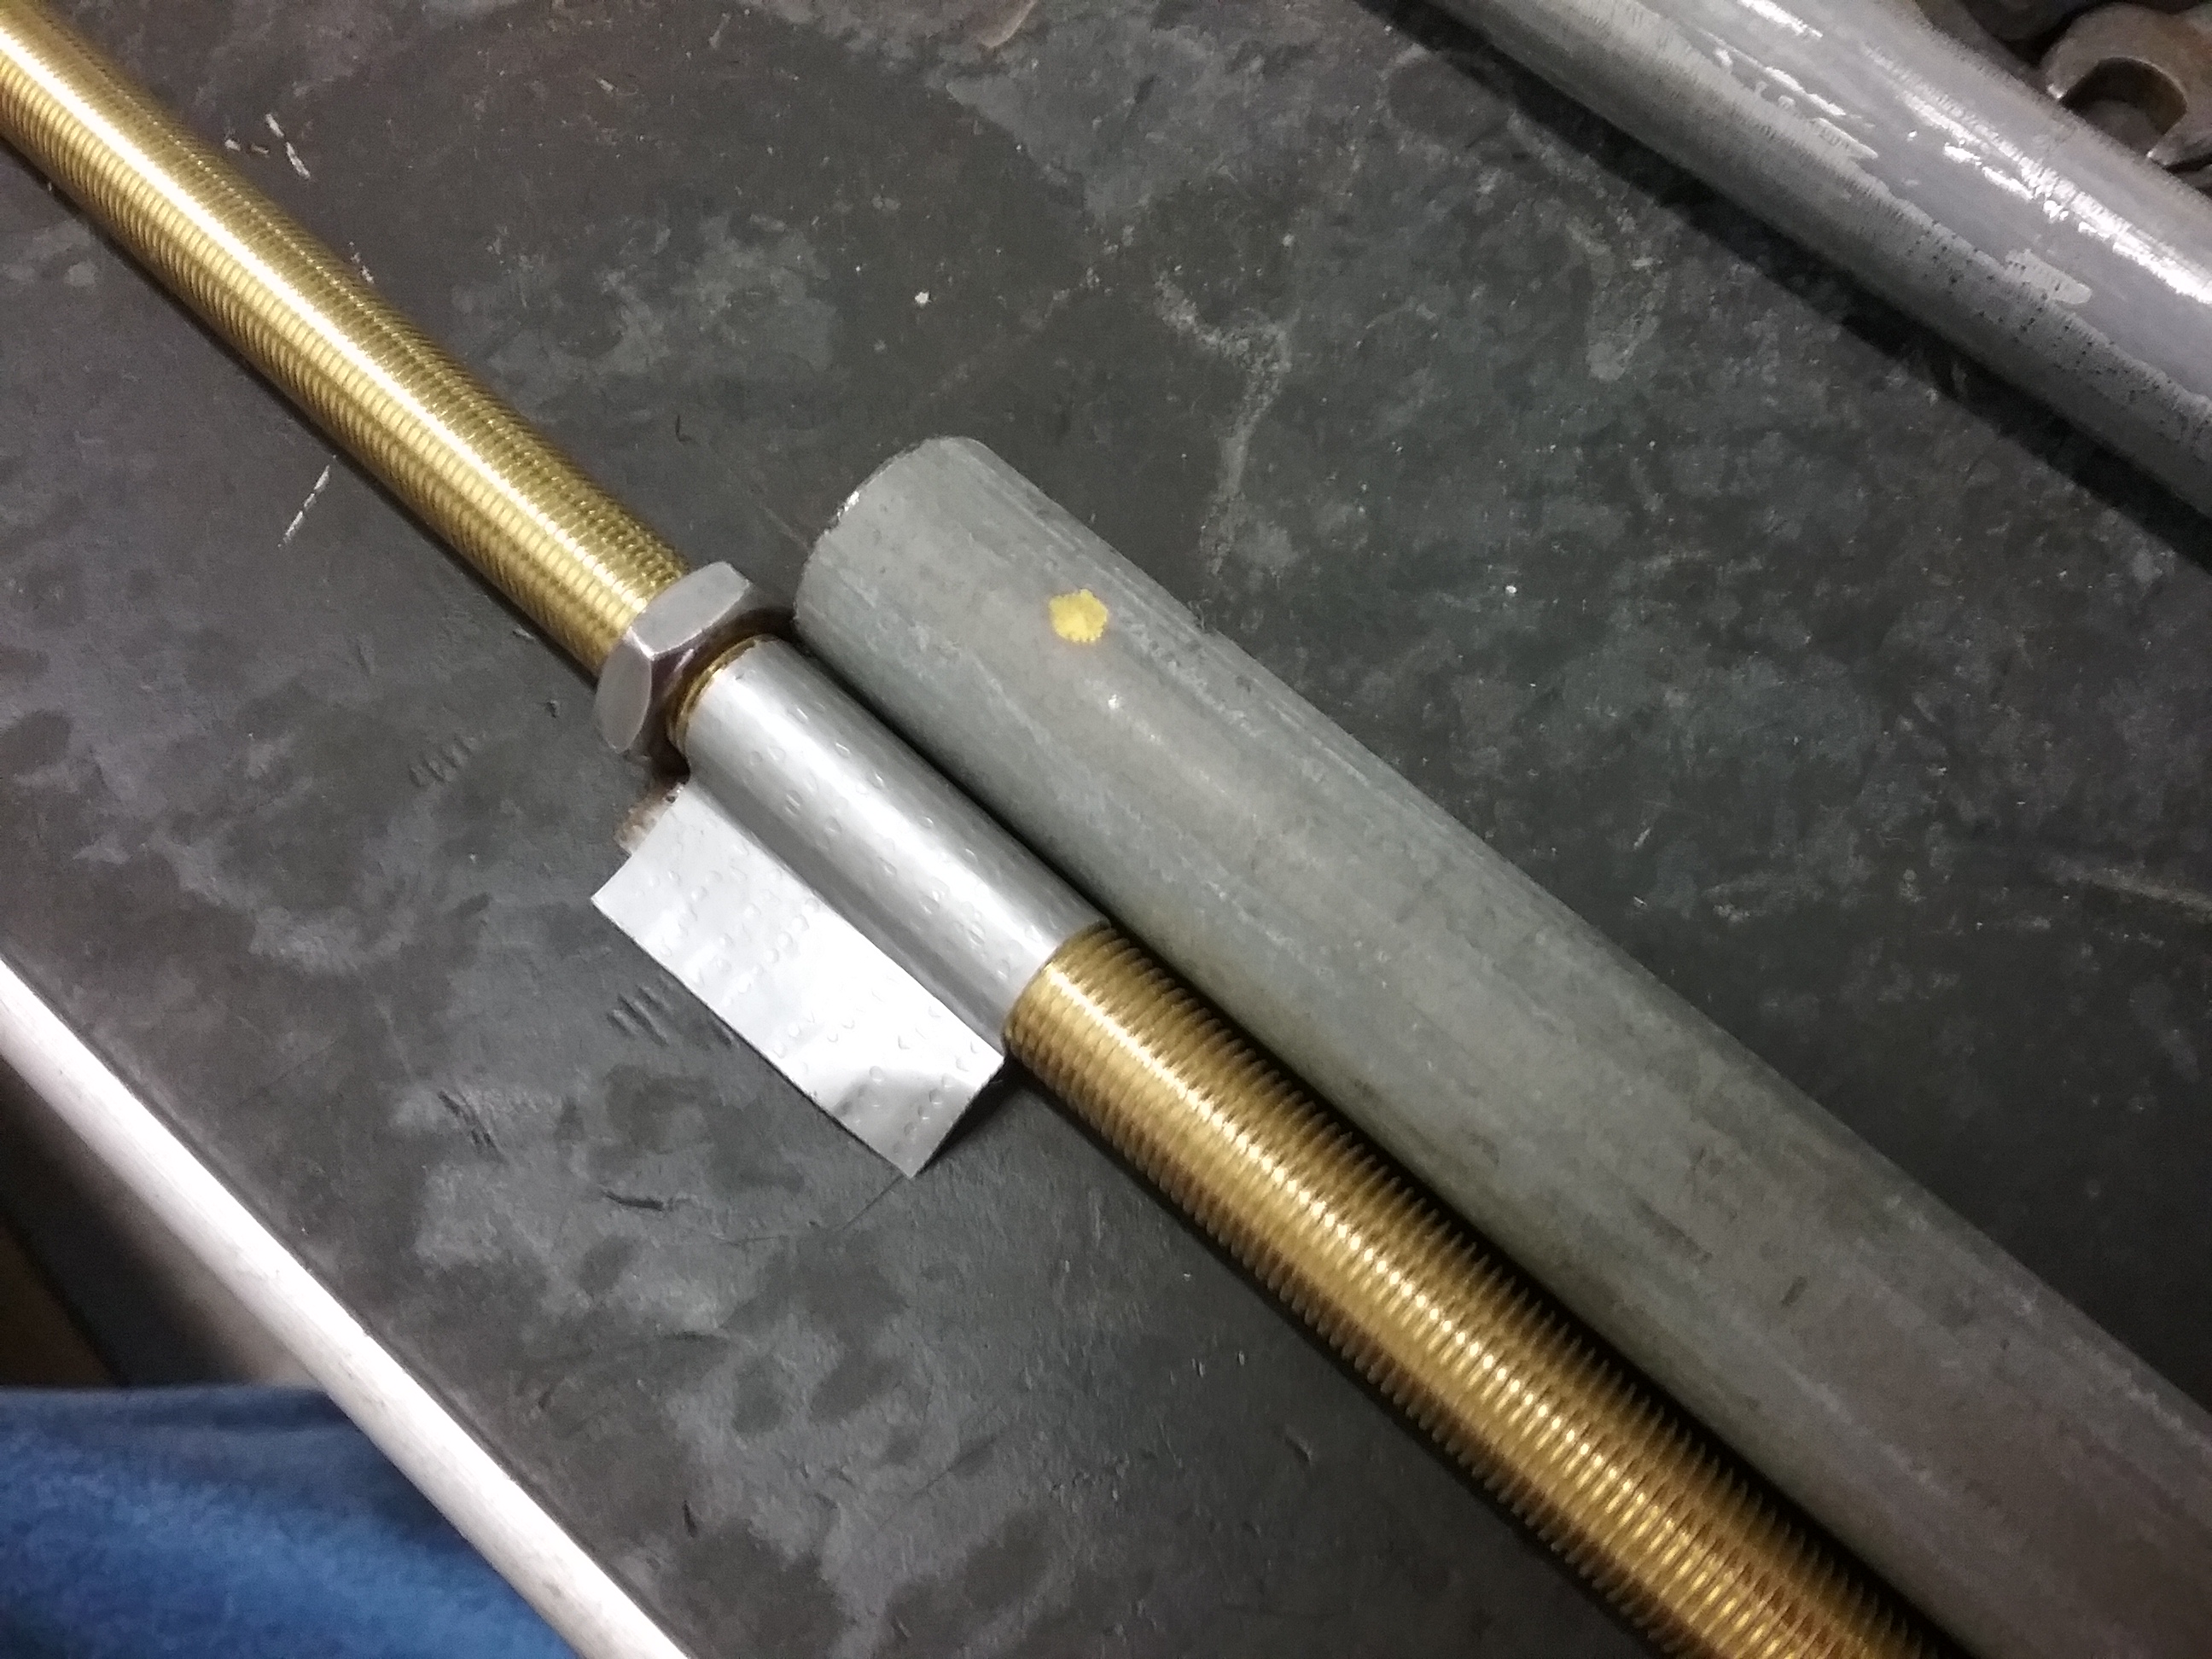
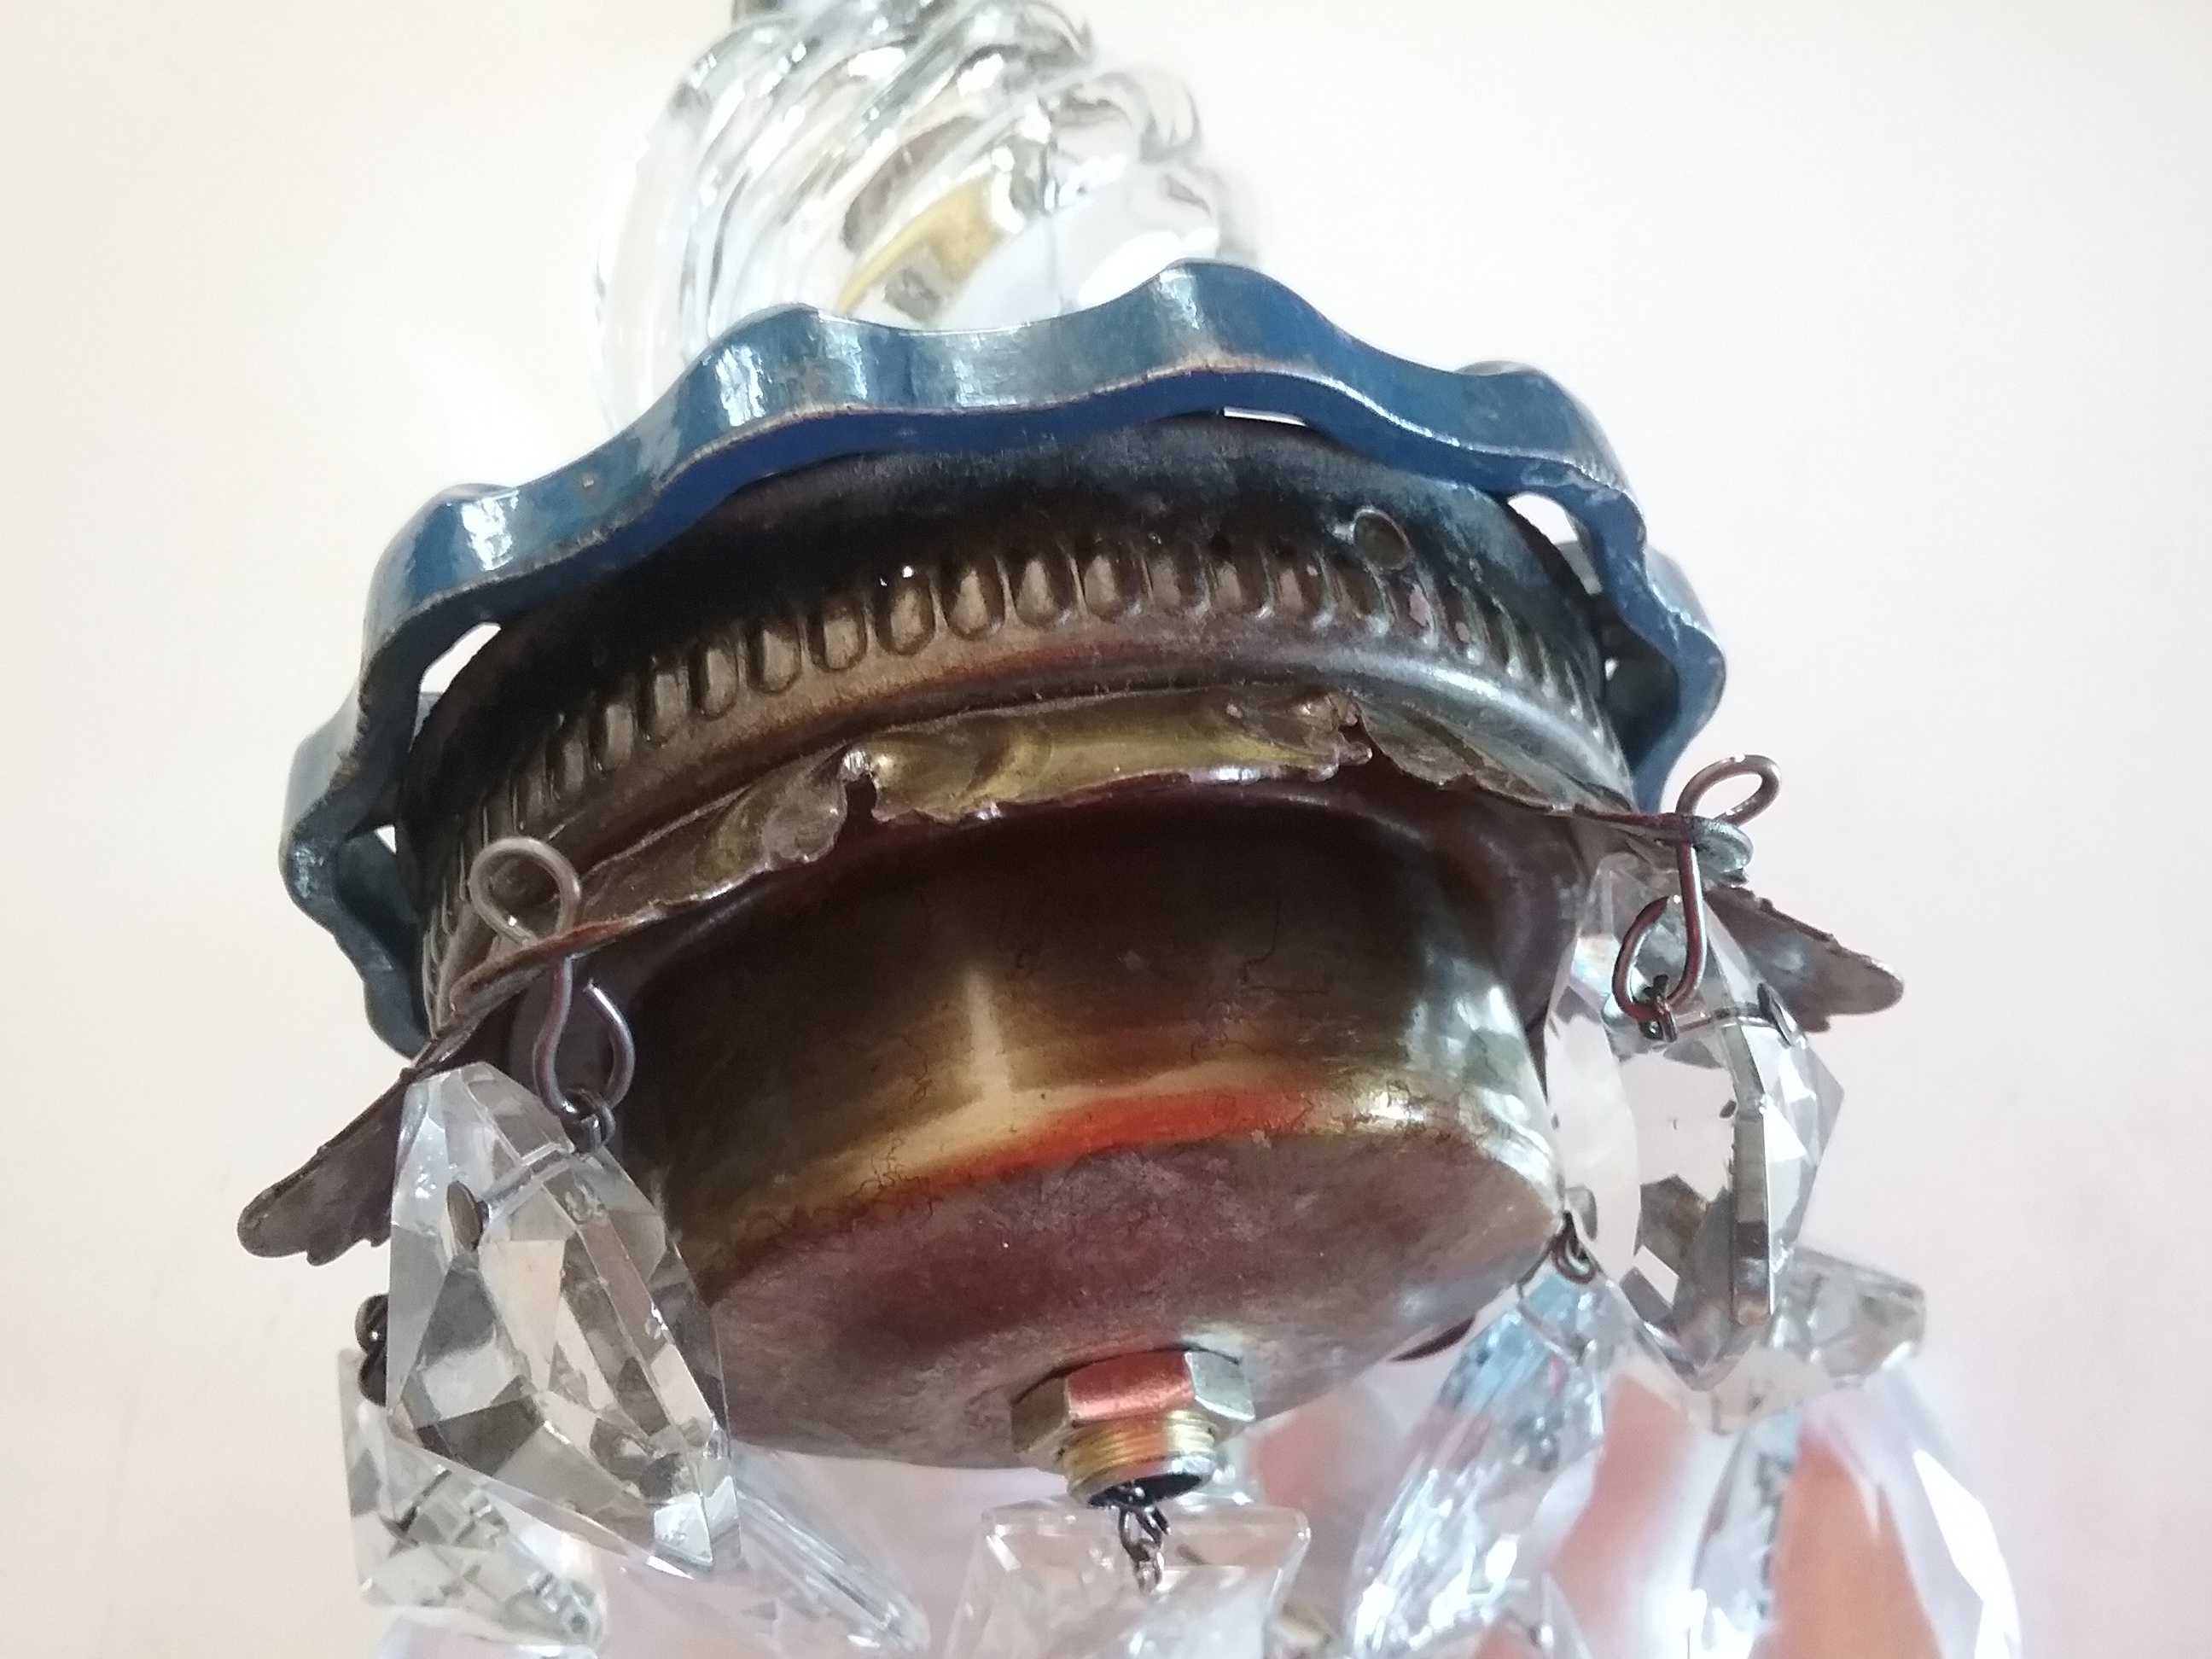
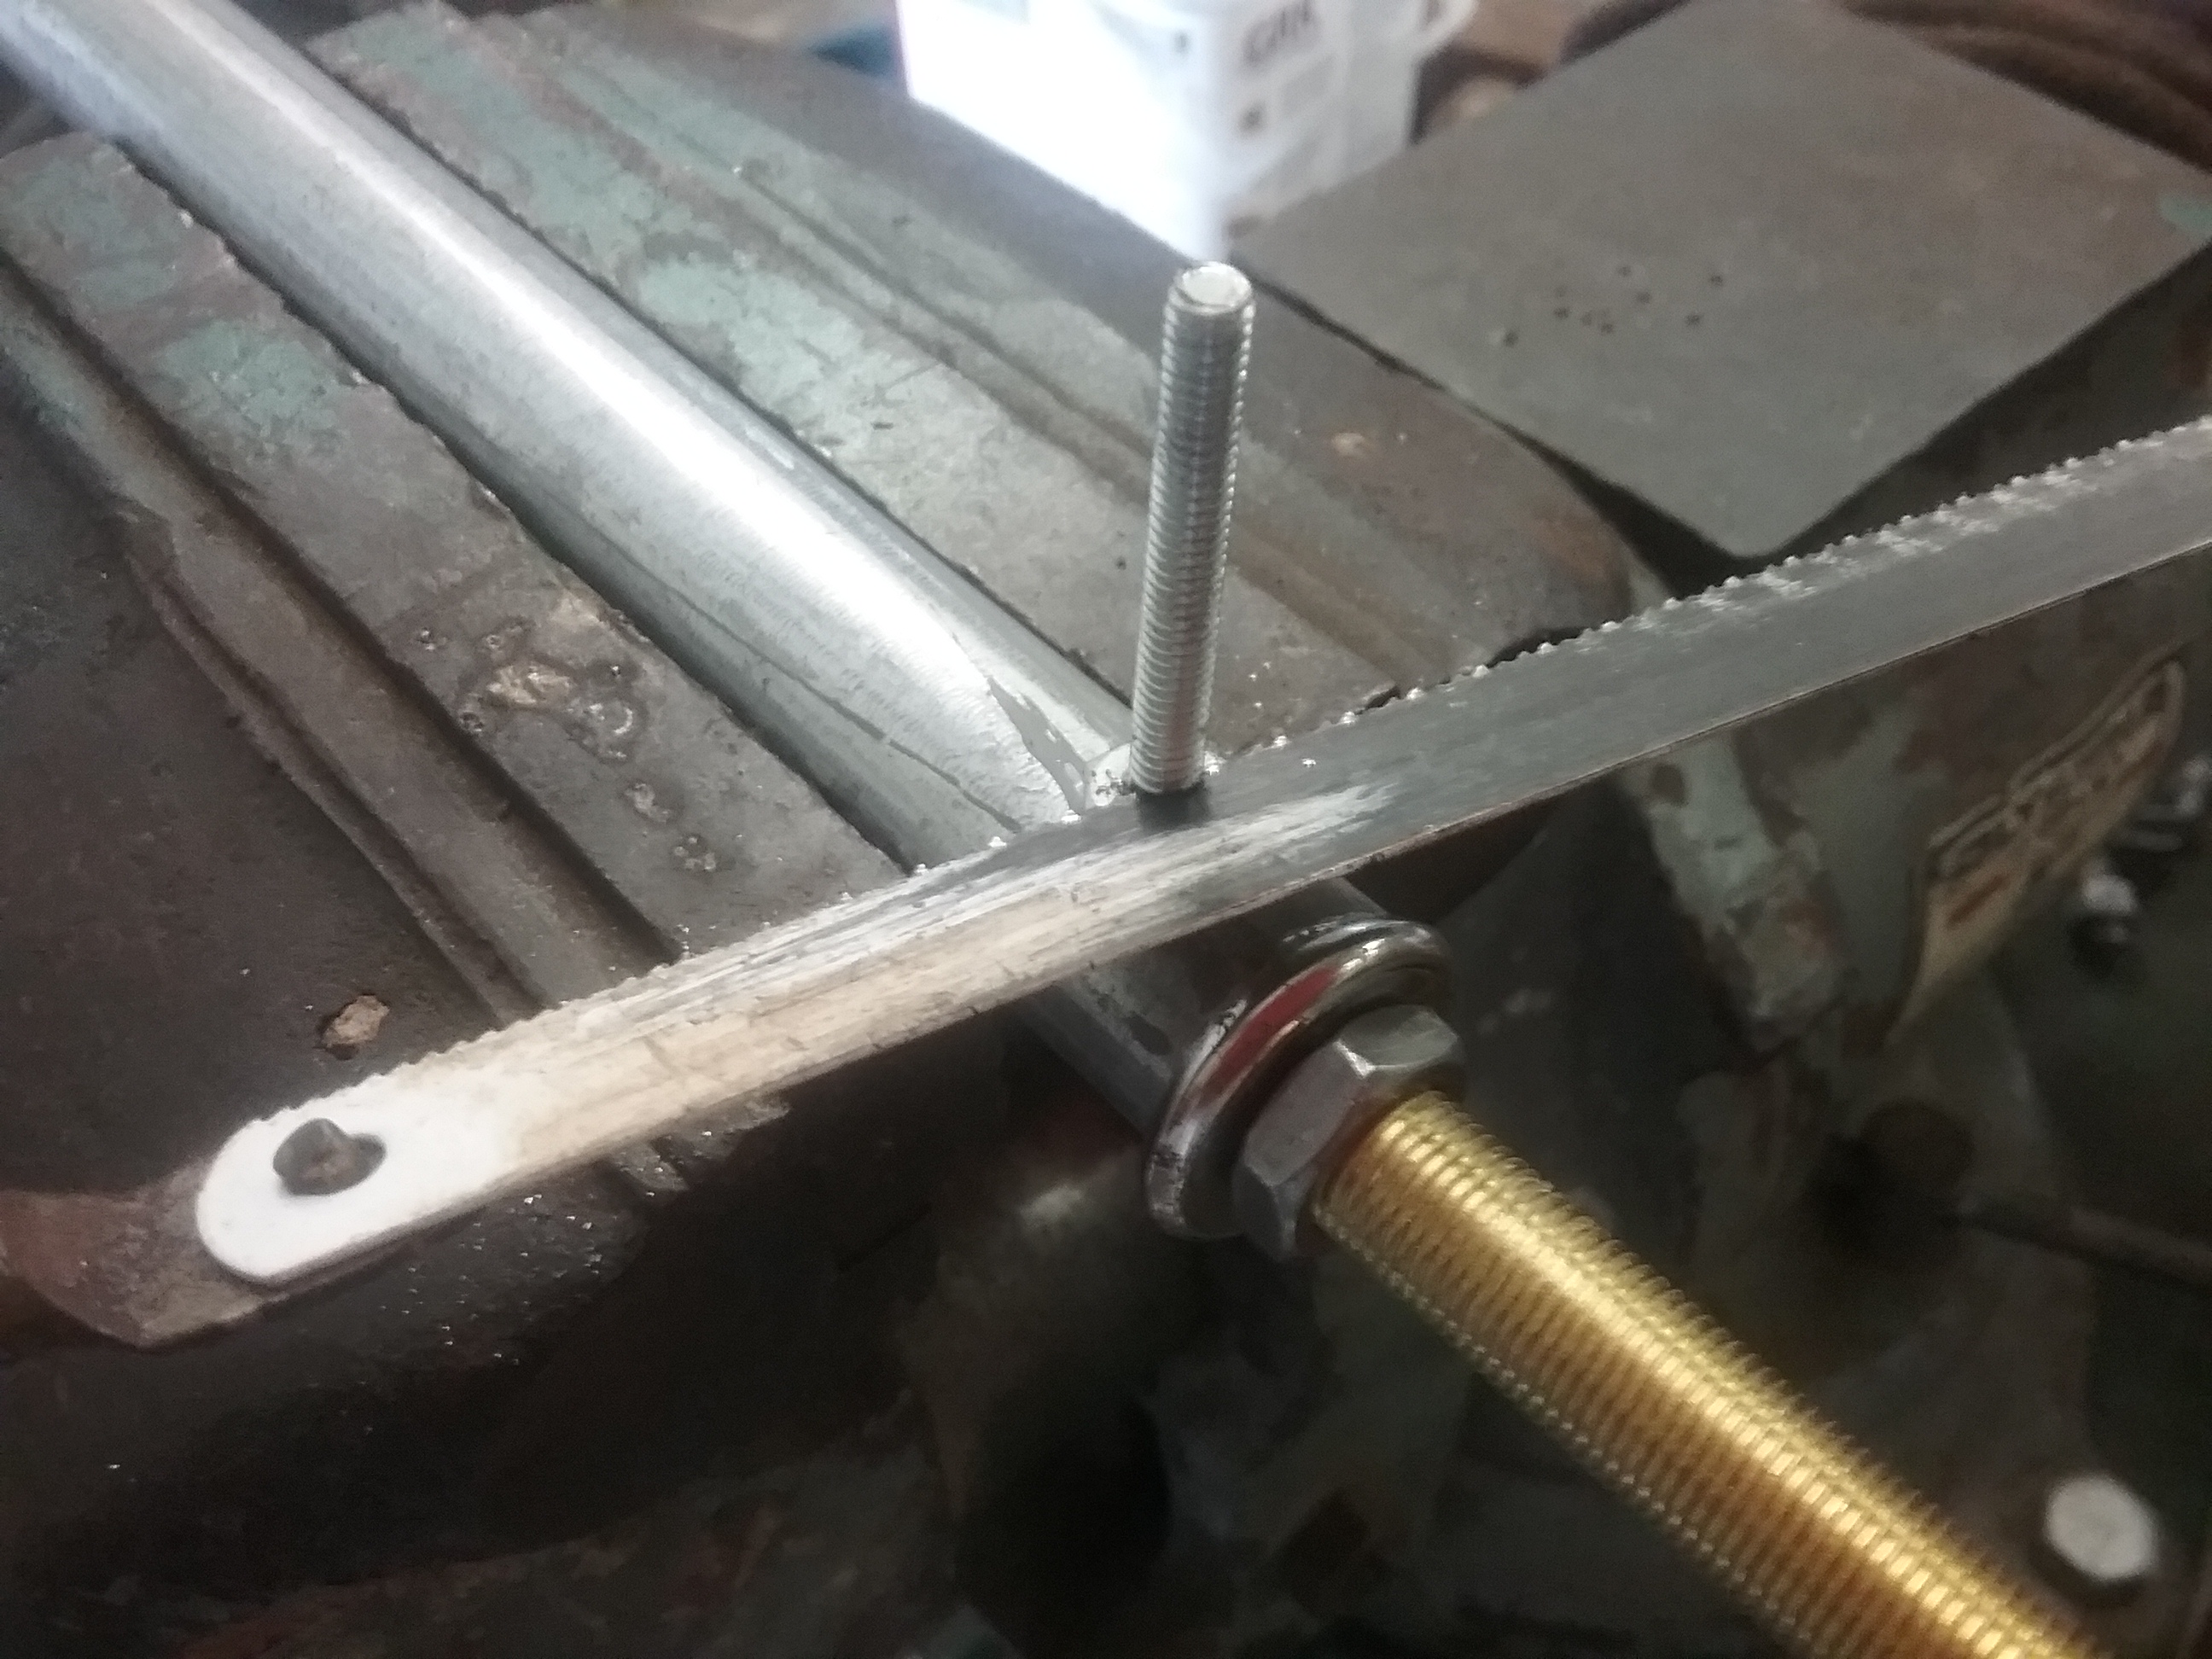
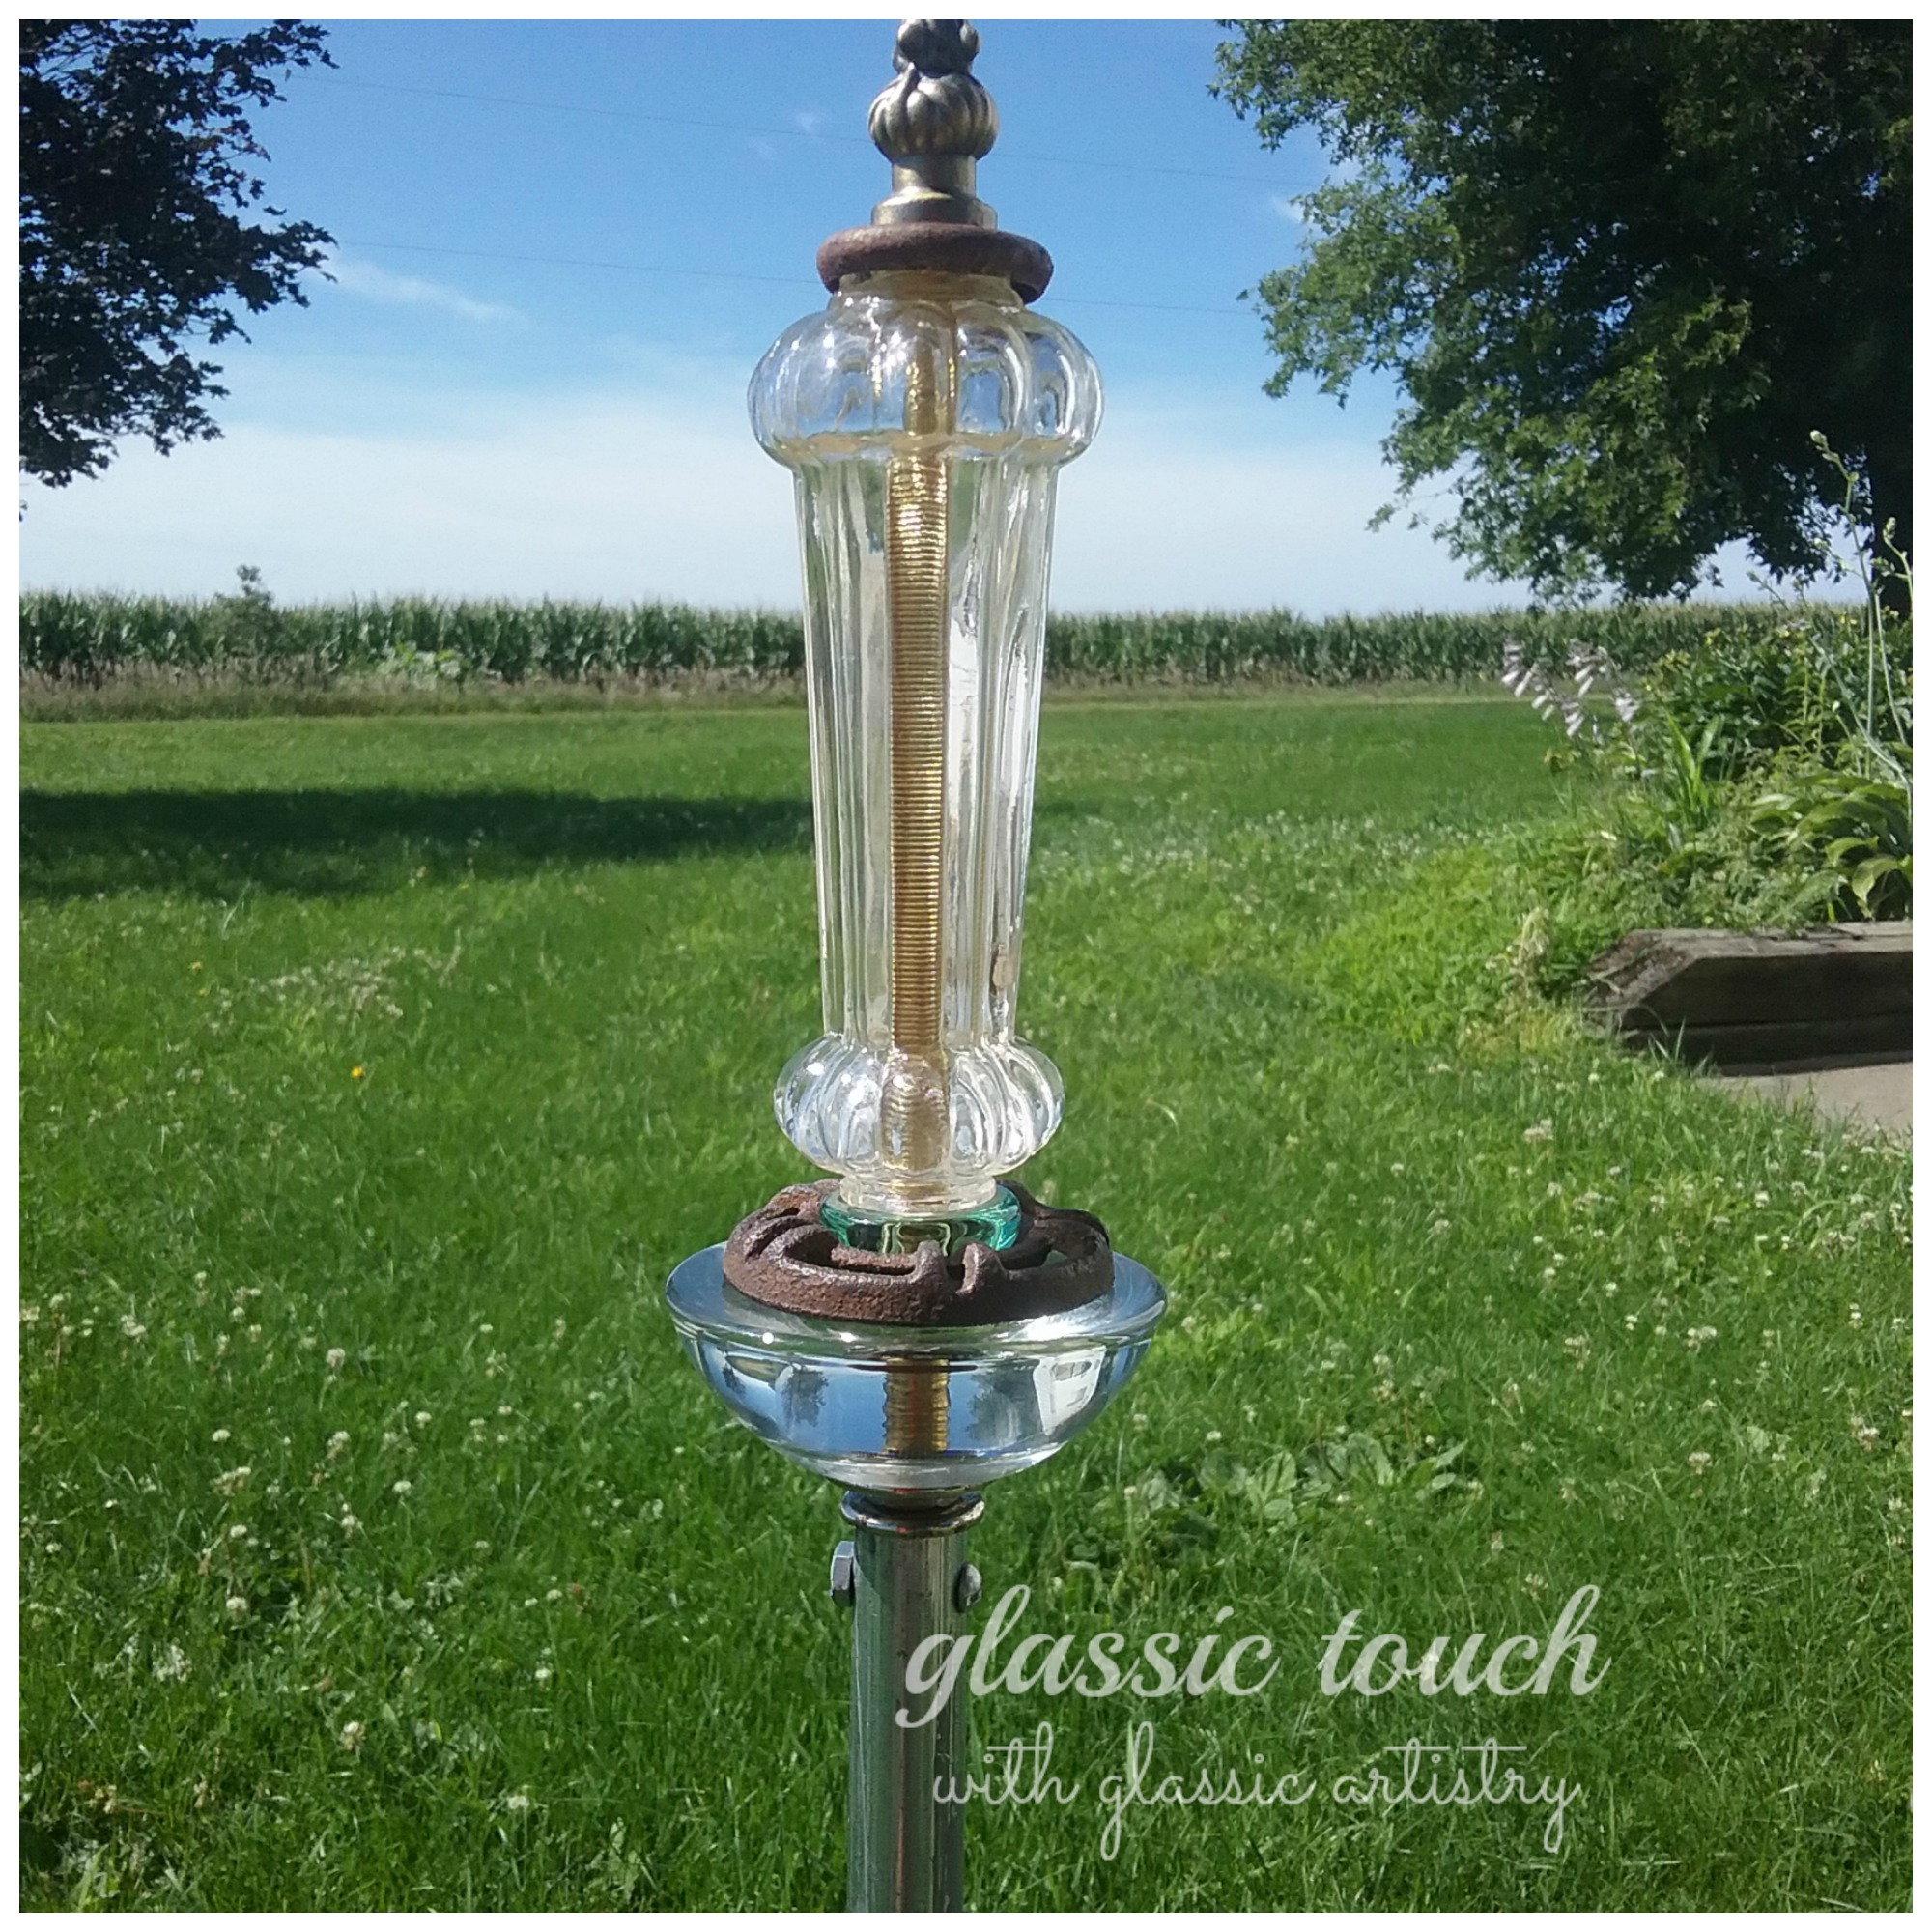
I noticed the hex nut didn’t cover the opening of the conduit pipe completely. I could have left it, but, didn’t like the look, so I added a flat, rounded edged lamp piece between the hex nut and conduit opening.
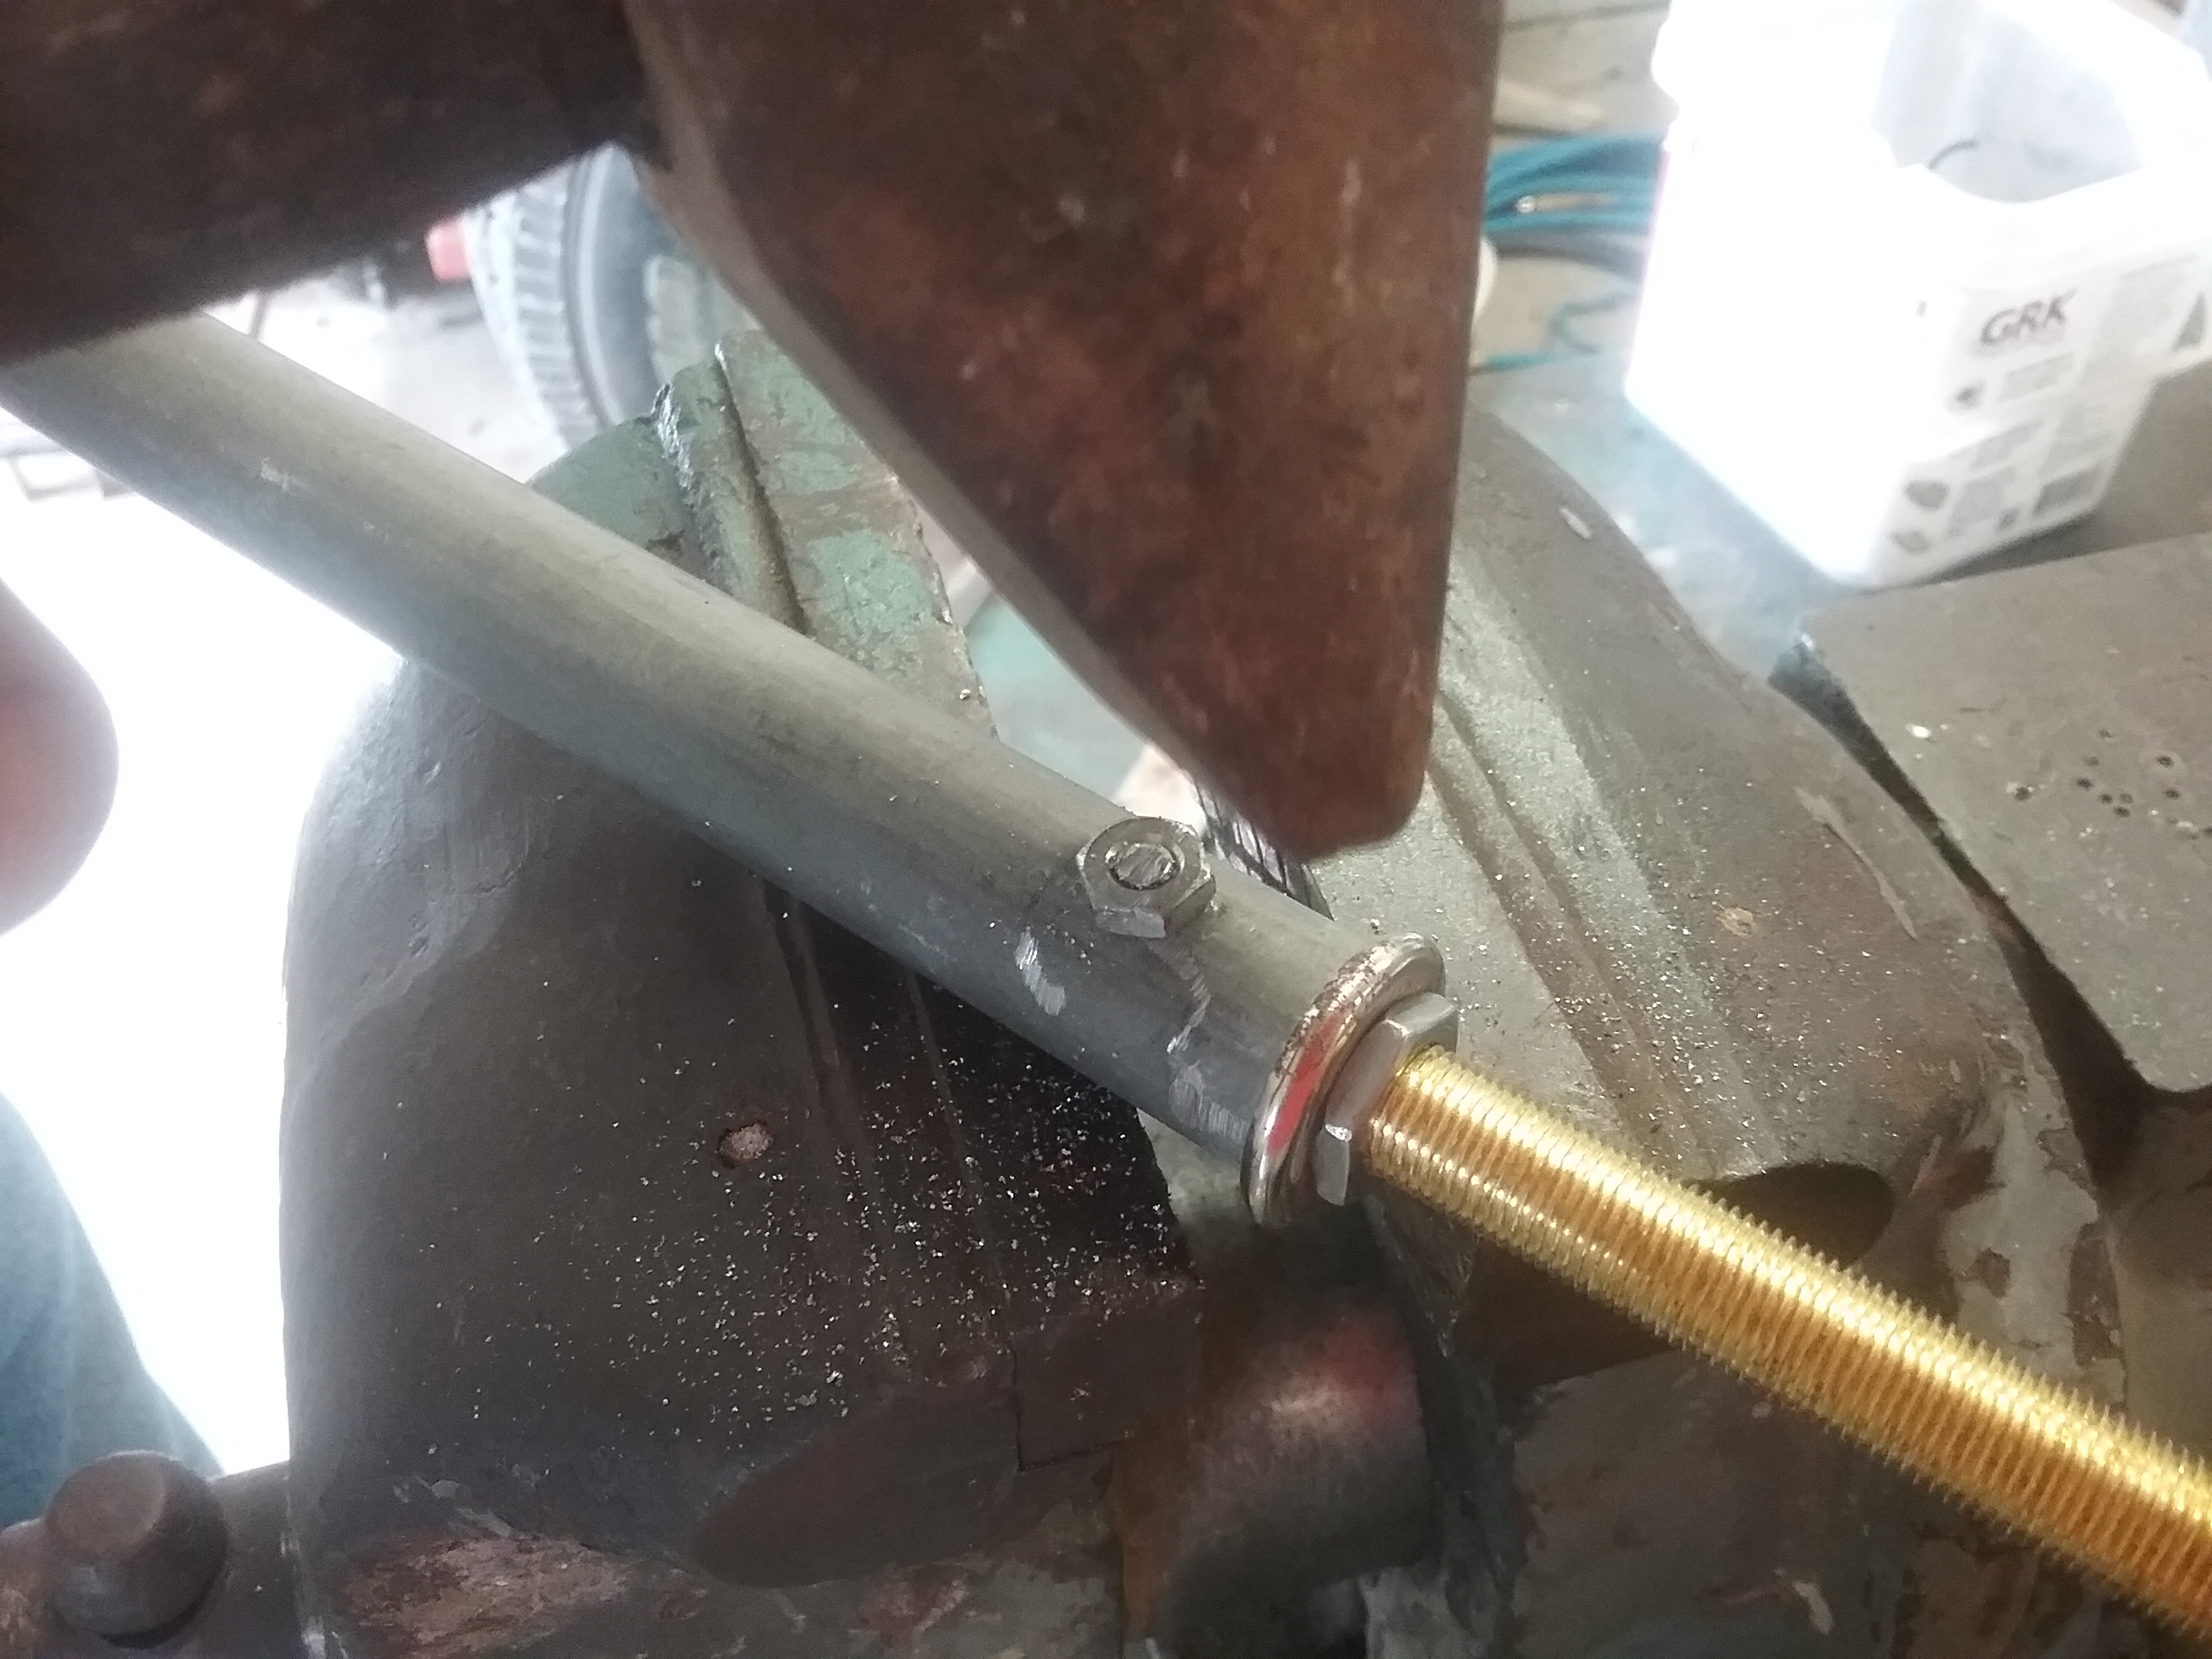
While holding the conduit in a vise, cut off the excess bolt length. Remove it from the vise, lay on a solid surface, and hit the cut bolt end with a hammer a few times to rivet it on.

20160724_155949  20160724_160427

20160724_160734

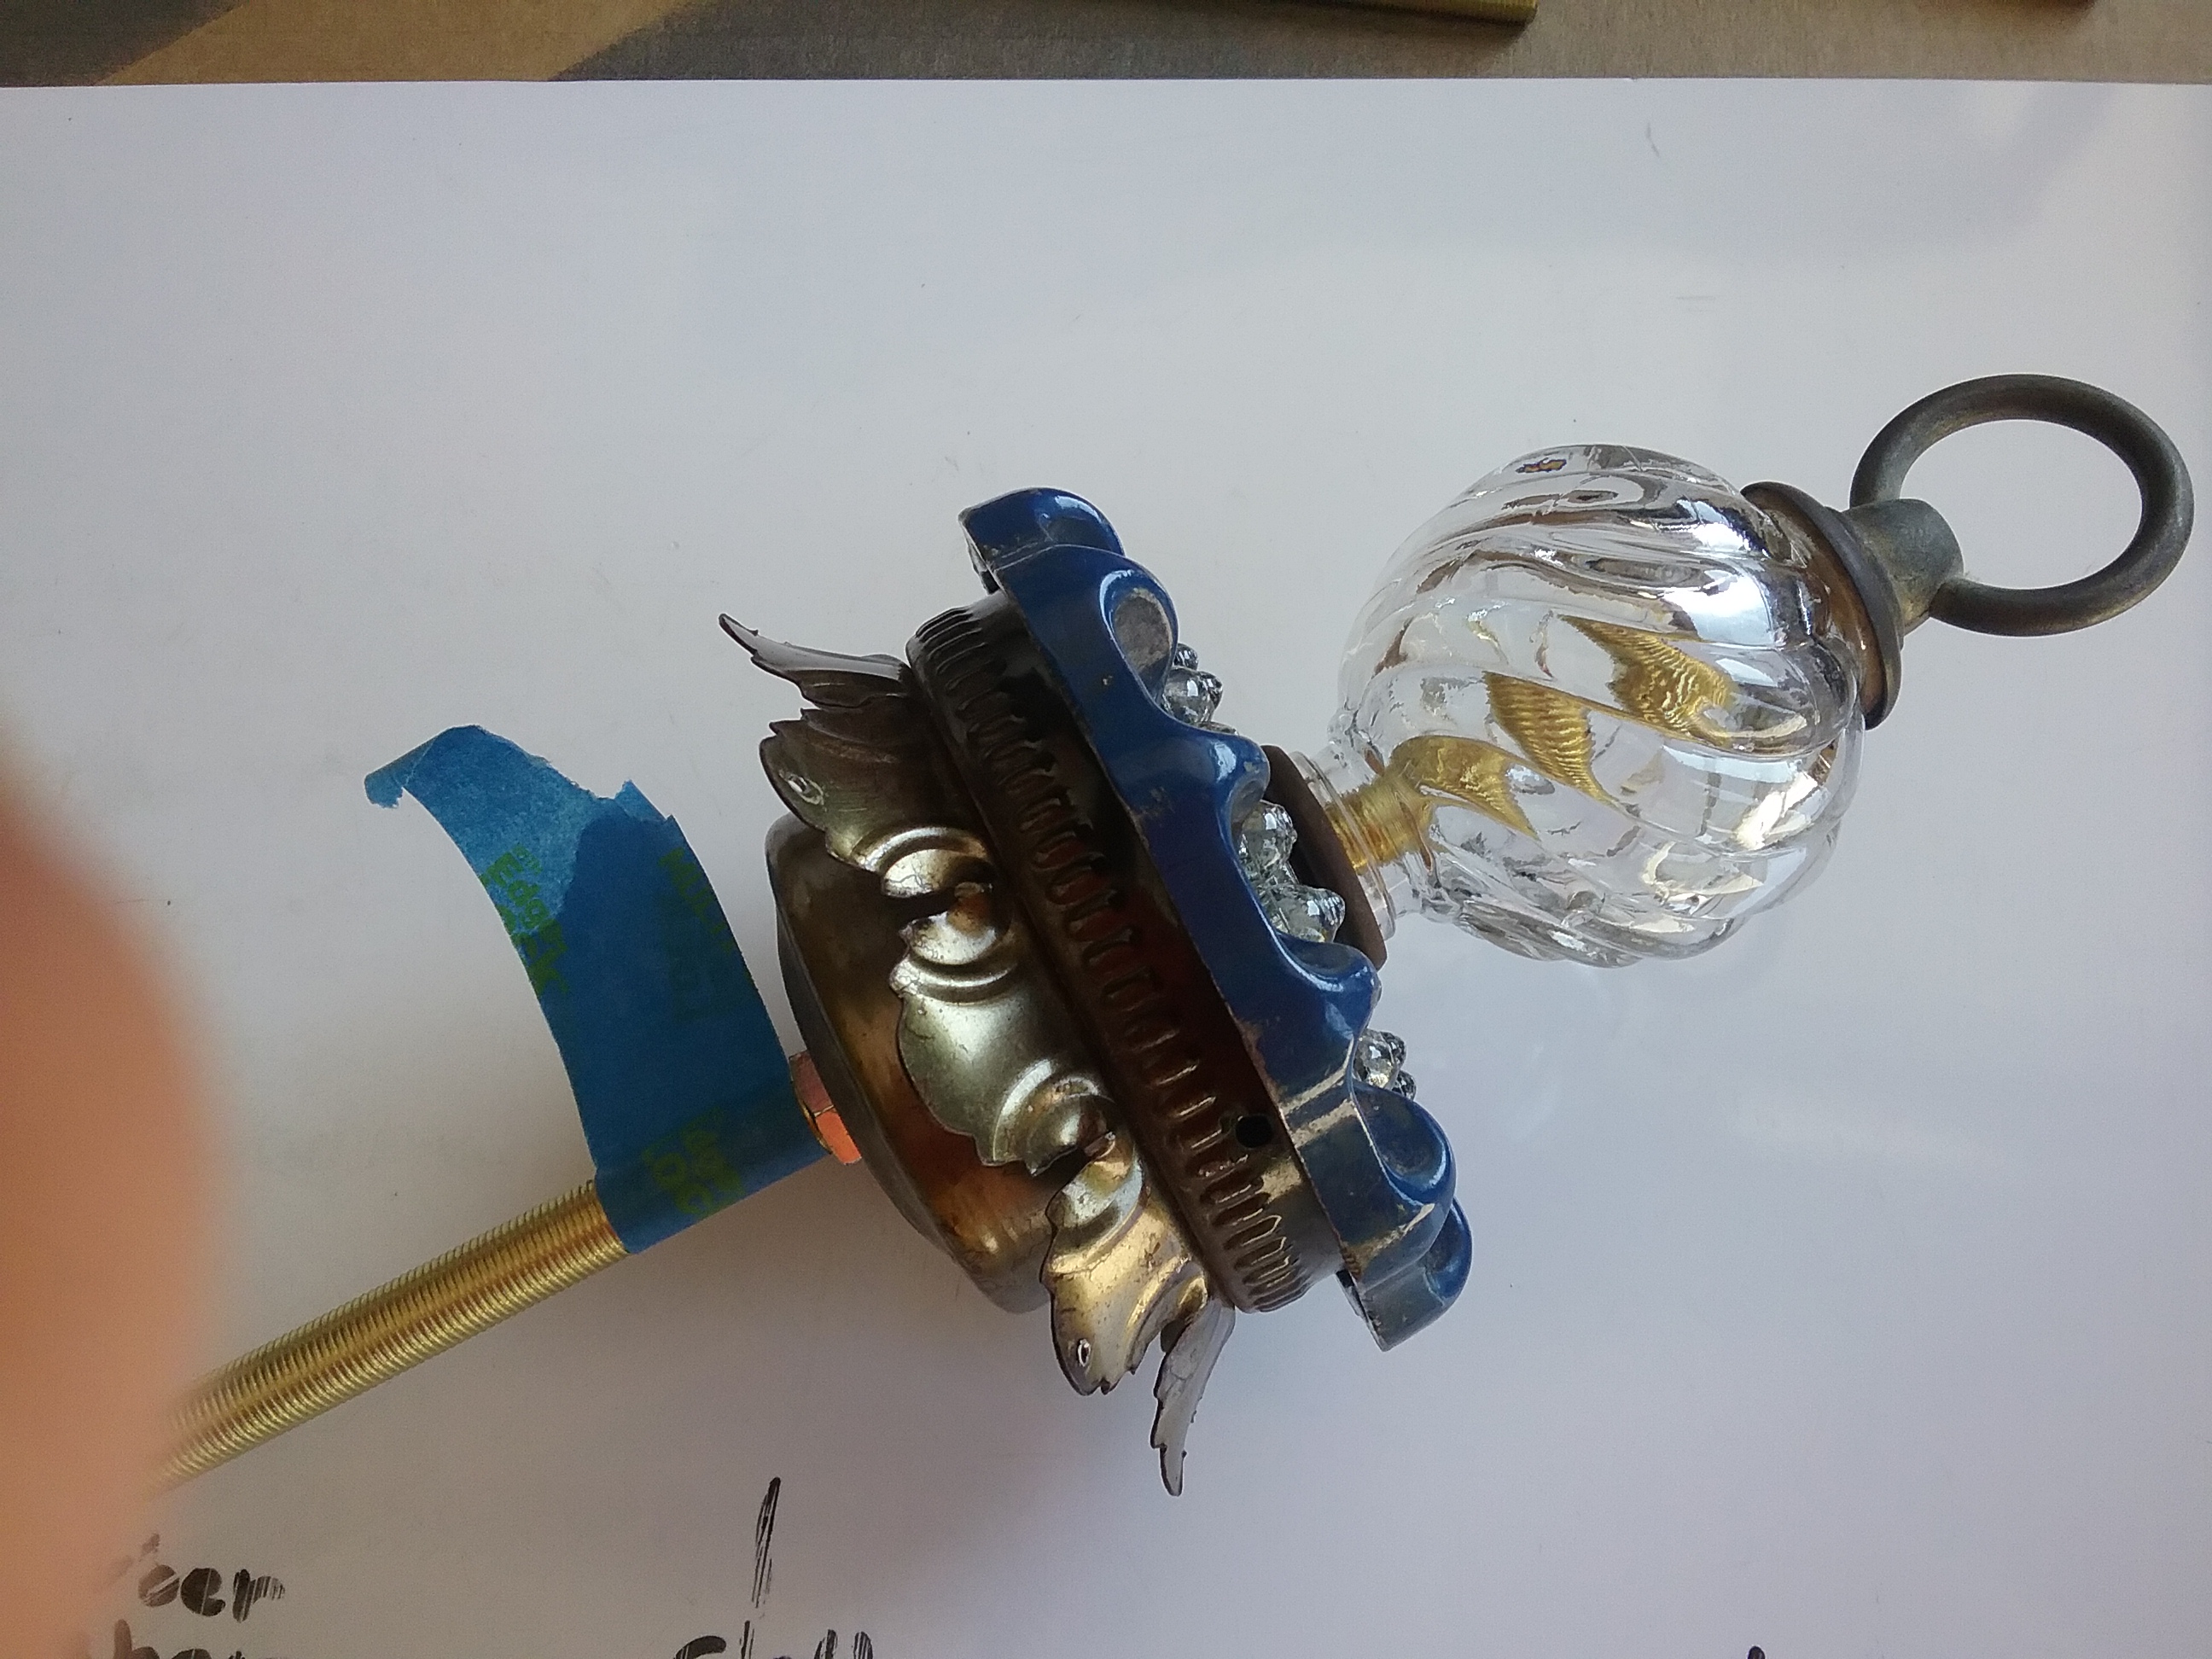
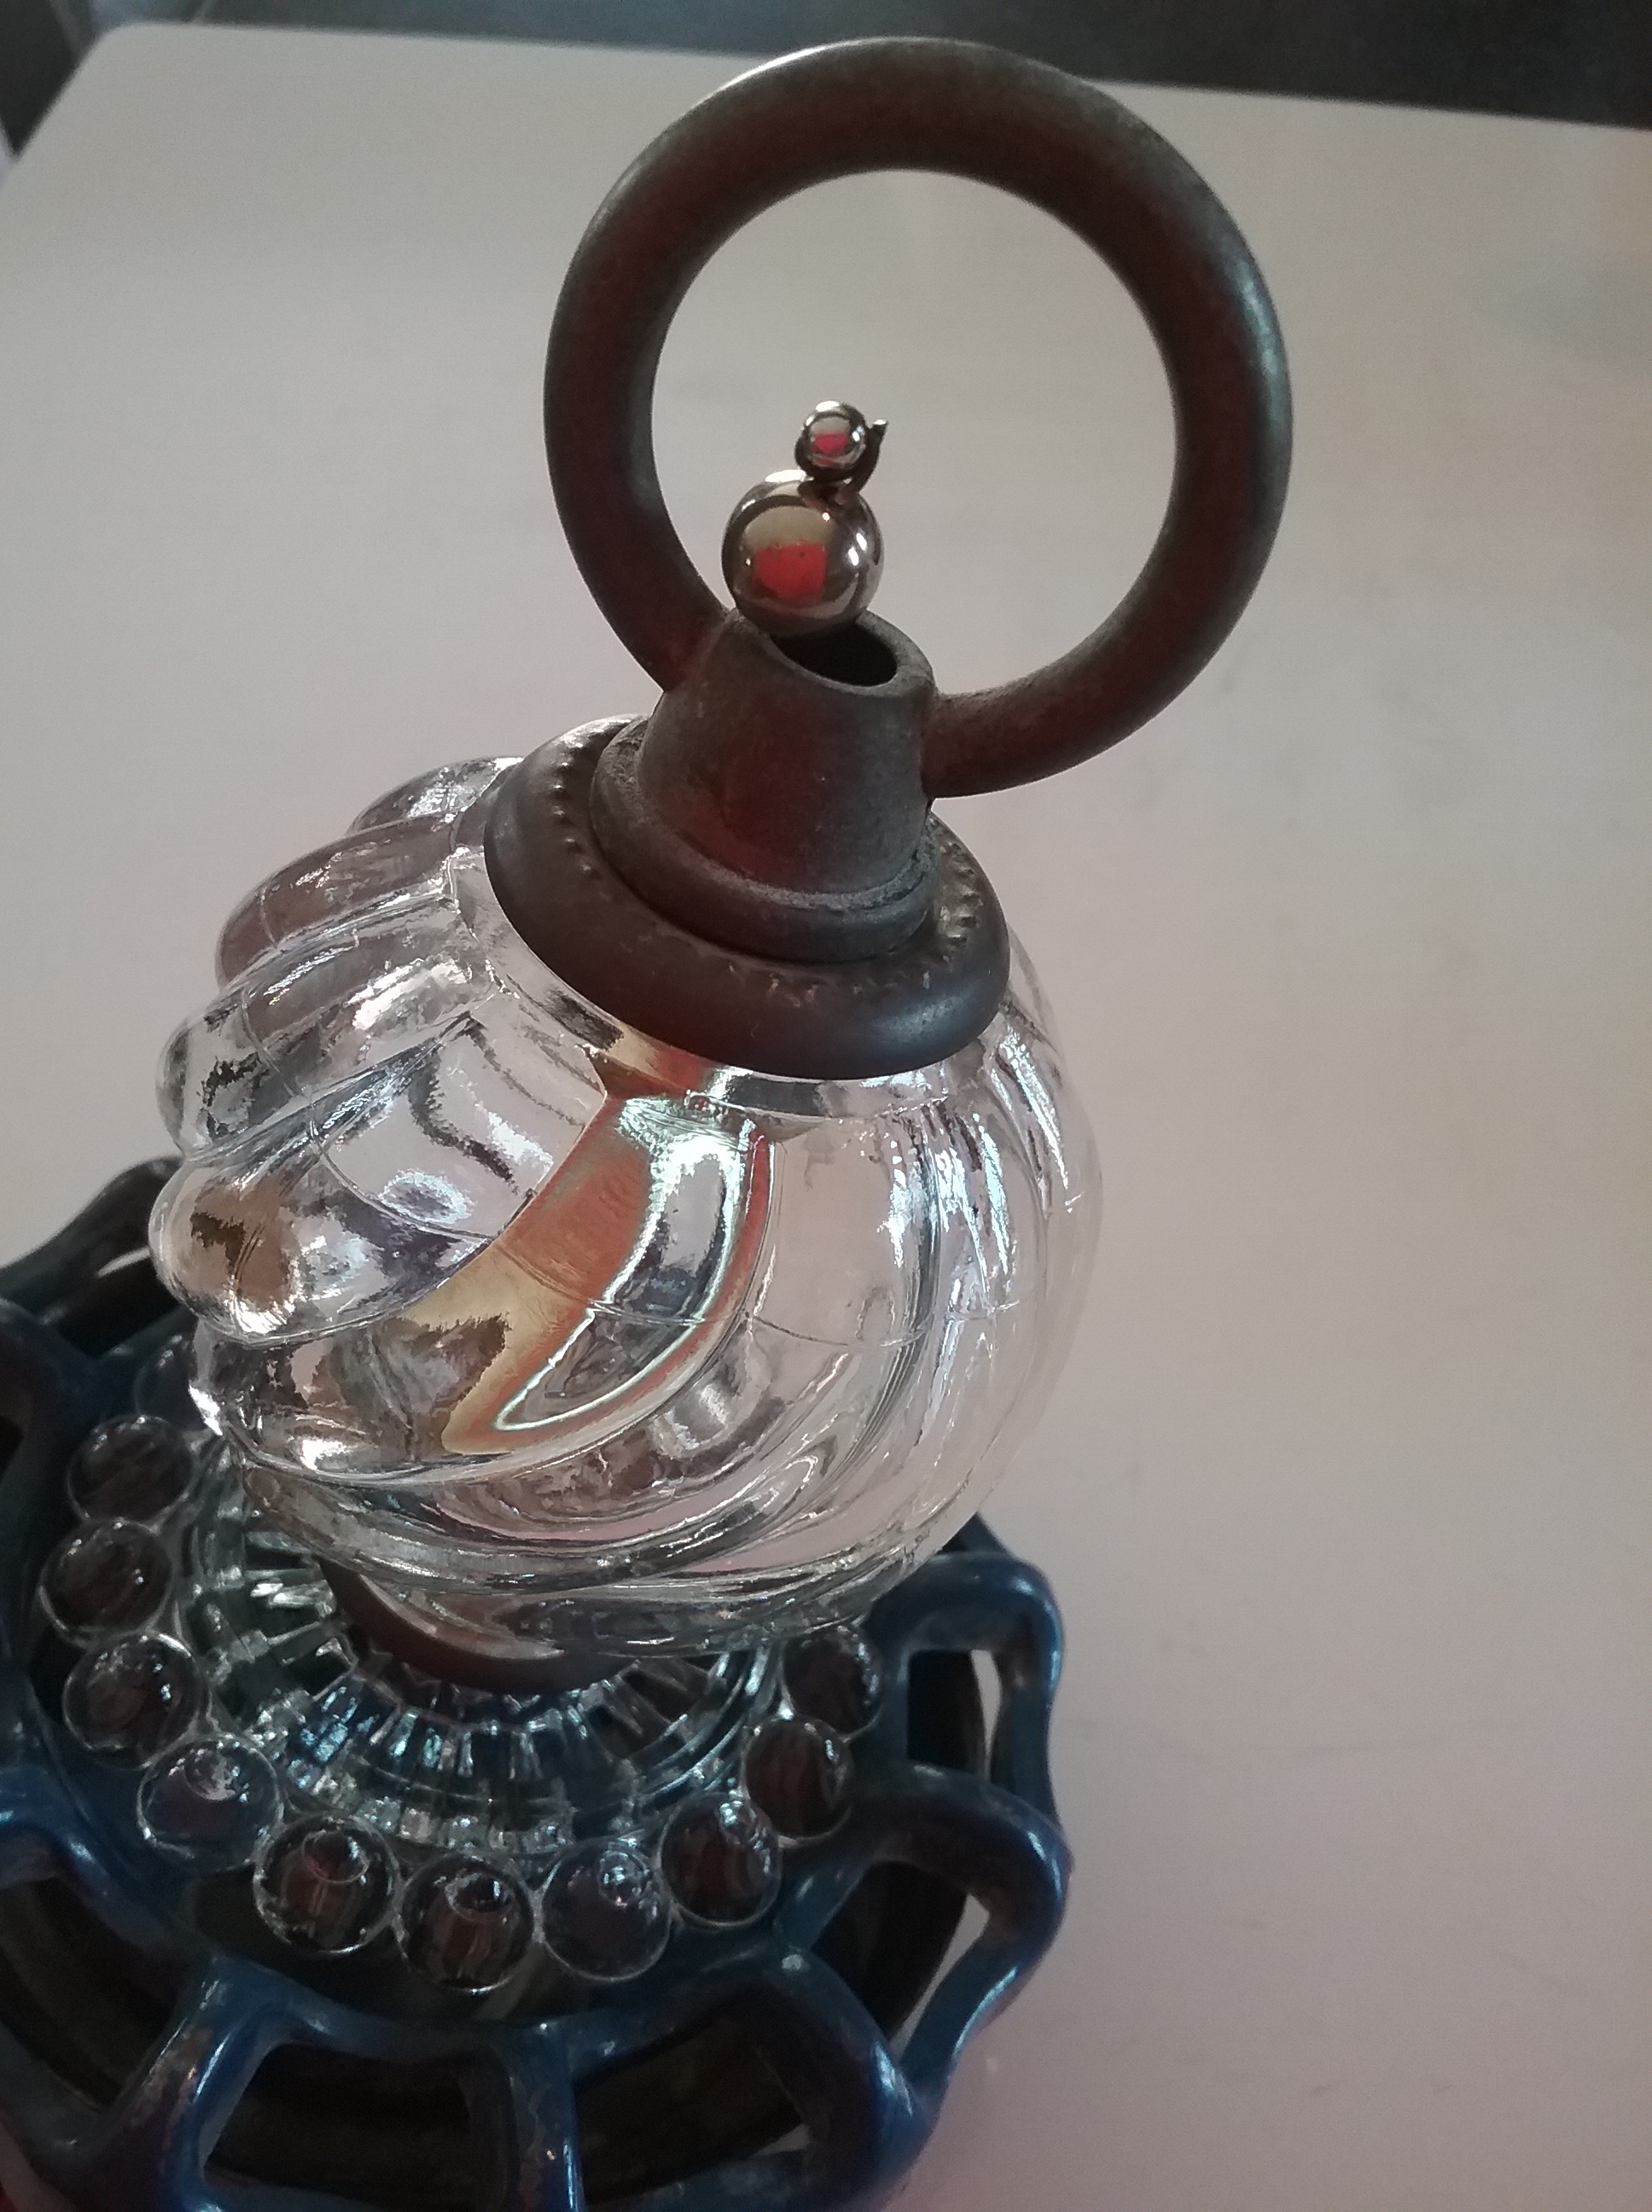
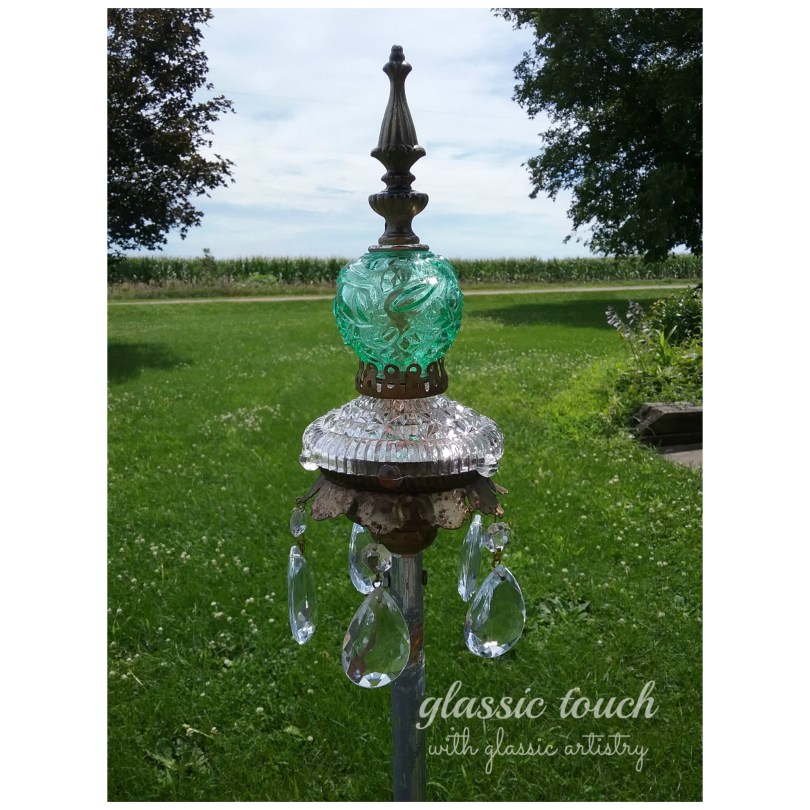
Replace your stacked pieces to the top of the lamp pipe, tightening when you screw on the finial. Once together, I found it helpful to stand the stake in a bucket of sand when adding the crystals. Pretty! Pretty!
No crystals? No problem! Garden Stakes can have a character and style all their own without the bling!

stk 1 watermrk  stk2 wtrmrk

If you like this post or found it helpful, please click on the “like” button below, or leave a comment.  I love hear what readers are thinking.

Thanks for visiting glassic touch!


Crystal Garden Chandelier

Whoa! This summer is going by way too fast! Between enjoying Grandma/Grandpa daycare activities, a couple of week-end road trips, and participating in a few market events, I must admit, I’ve selfishly been neglecting my blog a little. Okay, maybe more than a little ..
I haven’t been totally sloughing off though, so, while relishing in an unusually quiet week-end, I thought it would be a great time to try to catch up and get back into the swing of sharing in the blogging world.
Pretty reclaimed crystals, dangling on small garden chandeliers, seem to be popping up all over lately. They’re so darn cute!

Of course, I had to give one a go!

I had plenty of crystals. I remembered a blue faucet handle in the garage, then, sorted through a box of old lamp parts to find a couple small, clear glass pieces, a brass base, and all the nuts and washers I thought I’d need. I chose a finial with a hole in it so it would be easier to add a wire for the center crystals.
What I didn’t have was a long threaded lamp pipe. You can find them in a home improvement store for under $3.00. Sweet!

20160624_104052

Larger holes had to be drilled through the faucet handle and some of the washers to accommodate the rod. Holes were cut bigger in some cloth pads too.
In preparation to hang the crystals, small holes were drilled in every other petal of the brass globe lamp cap.  Sand, or grind the holes smooth after drilling.

20160624_103944  20160709_153131

I stacked the collected pieces in an arrangement I liked, then, removed each piece, laying them in a line, in the order they were stacked.
Run a hex nut down the threaded pipe. Put on the brass lamp cap, upturned, with the petals down. Add the faucet handle and other pieces in the order you have them laid out. If you happen to run out of rod before all the pieces are on, just run the hex nut a little further down the rod for more room. Hang on to the finial and screw the hex nut up on the rod to tighten things up. Once tightened, mark the rod with a piece of tape. Remove your pieces, once again laying them in order, and cut the rod to the length you need. Sand, or grind any sharp edges on the rod. Reassemble the piece.

20160624_105106-1  20160624_111105

20160624_110640  20160624_111634

I like to use small 19 gauge, black annealed wire when working on projects like this. It can be hard to find in craft stores. I have my best luck finding it at Theisen’s.  Other Farm & Home stores may have it, or a hardware store.
I was able to cheat a bit when it came to wiring the crystals. Most of mine were already attached together with the original head pin wires. If not, I robbed a wire from another one.
I wrapped a tiny silver bead on the end of a length of wire, and threaded it through a larger silver bead that was bigger than the hole in the finial, so it would not slip through. Insert the wire down through the finial. Trim the wire off leaving enough length for a small loop to attach your crystals.  A rectangle and large teardrop crystal were used in the center.

20160624_120521  20160624_121048

20160624_130537

Large octagonal and teardrop crystals were used around the outside edge. I first tried jump rings to attach them, but didn’t like the way they looked. I ended up making a kind of “s” shaped hook, leaving the loop of the hook visible on top of the brass cap.

20160624_135428  20160701_135628

Wa-Laa!

garden chime wtrk

I hope I’ve inspired a few of you to do your own garden chandelier making.  If so, I hope you’re willing to share a picture or any helpful suggestions in the comment section, Thank You! I love hearing from readers!