

After replacing several last spring, I was very happy to find all of my perennials up and thriving when I took a little meander through my garden a couple weeks ago. It felt so good being in the garden again and thinking of plans for yard and garden projects.
There’s a big sand pile, with climbing rocks, in one corner of the garden. While a garden hose trickles, my grandson enjoys creating rivers, and mixing faux cement in a wheel barrow during warm summer months. And, like every other youngster, he’s very curious, and notices every bug and worm too.
Many wonderful Pinterest posts on bee and bug houses have peaked my interest lately. I thought it would be fun to make one so we could observe what settles in and maybe learn something in the process.
I was able to rummage up everything I needed except for the bamboo, which I found in the garden center of a couple Home Improvement Stores, making the total cost of this project about $5.00.
Over the last month, I’ve been scrubbing dried gourds in preparation for a Farmer’s Market event, so I chose one of them as the structure for my first habitat abode.
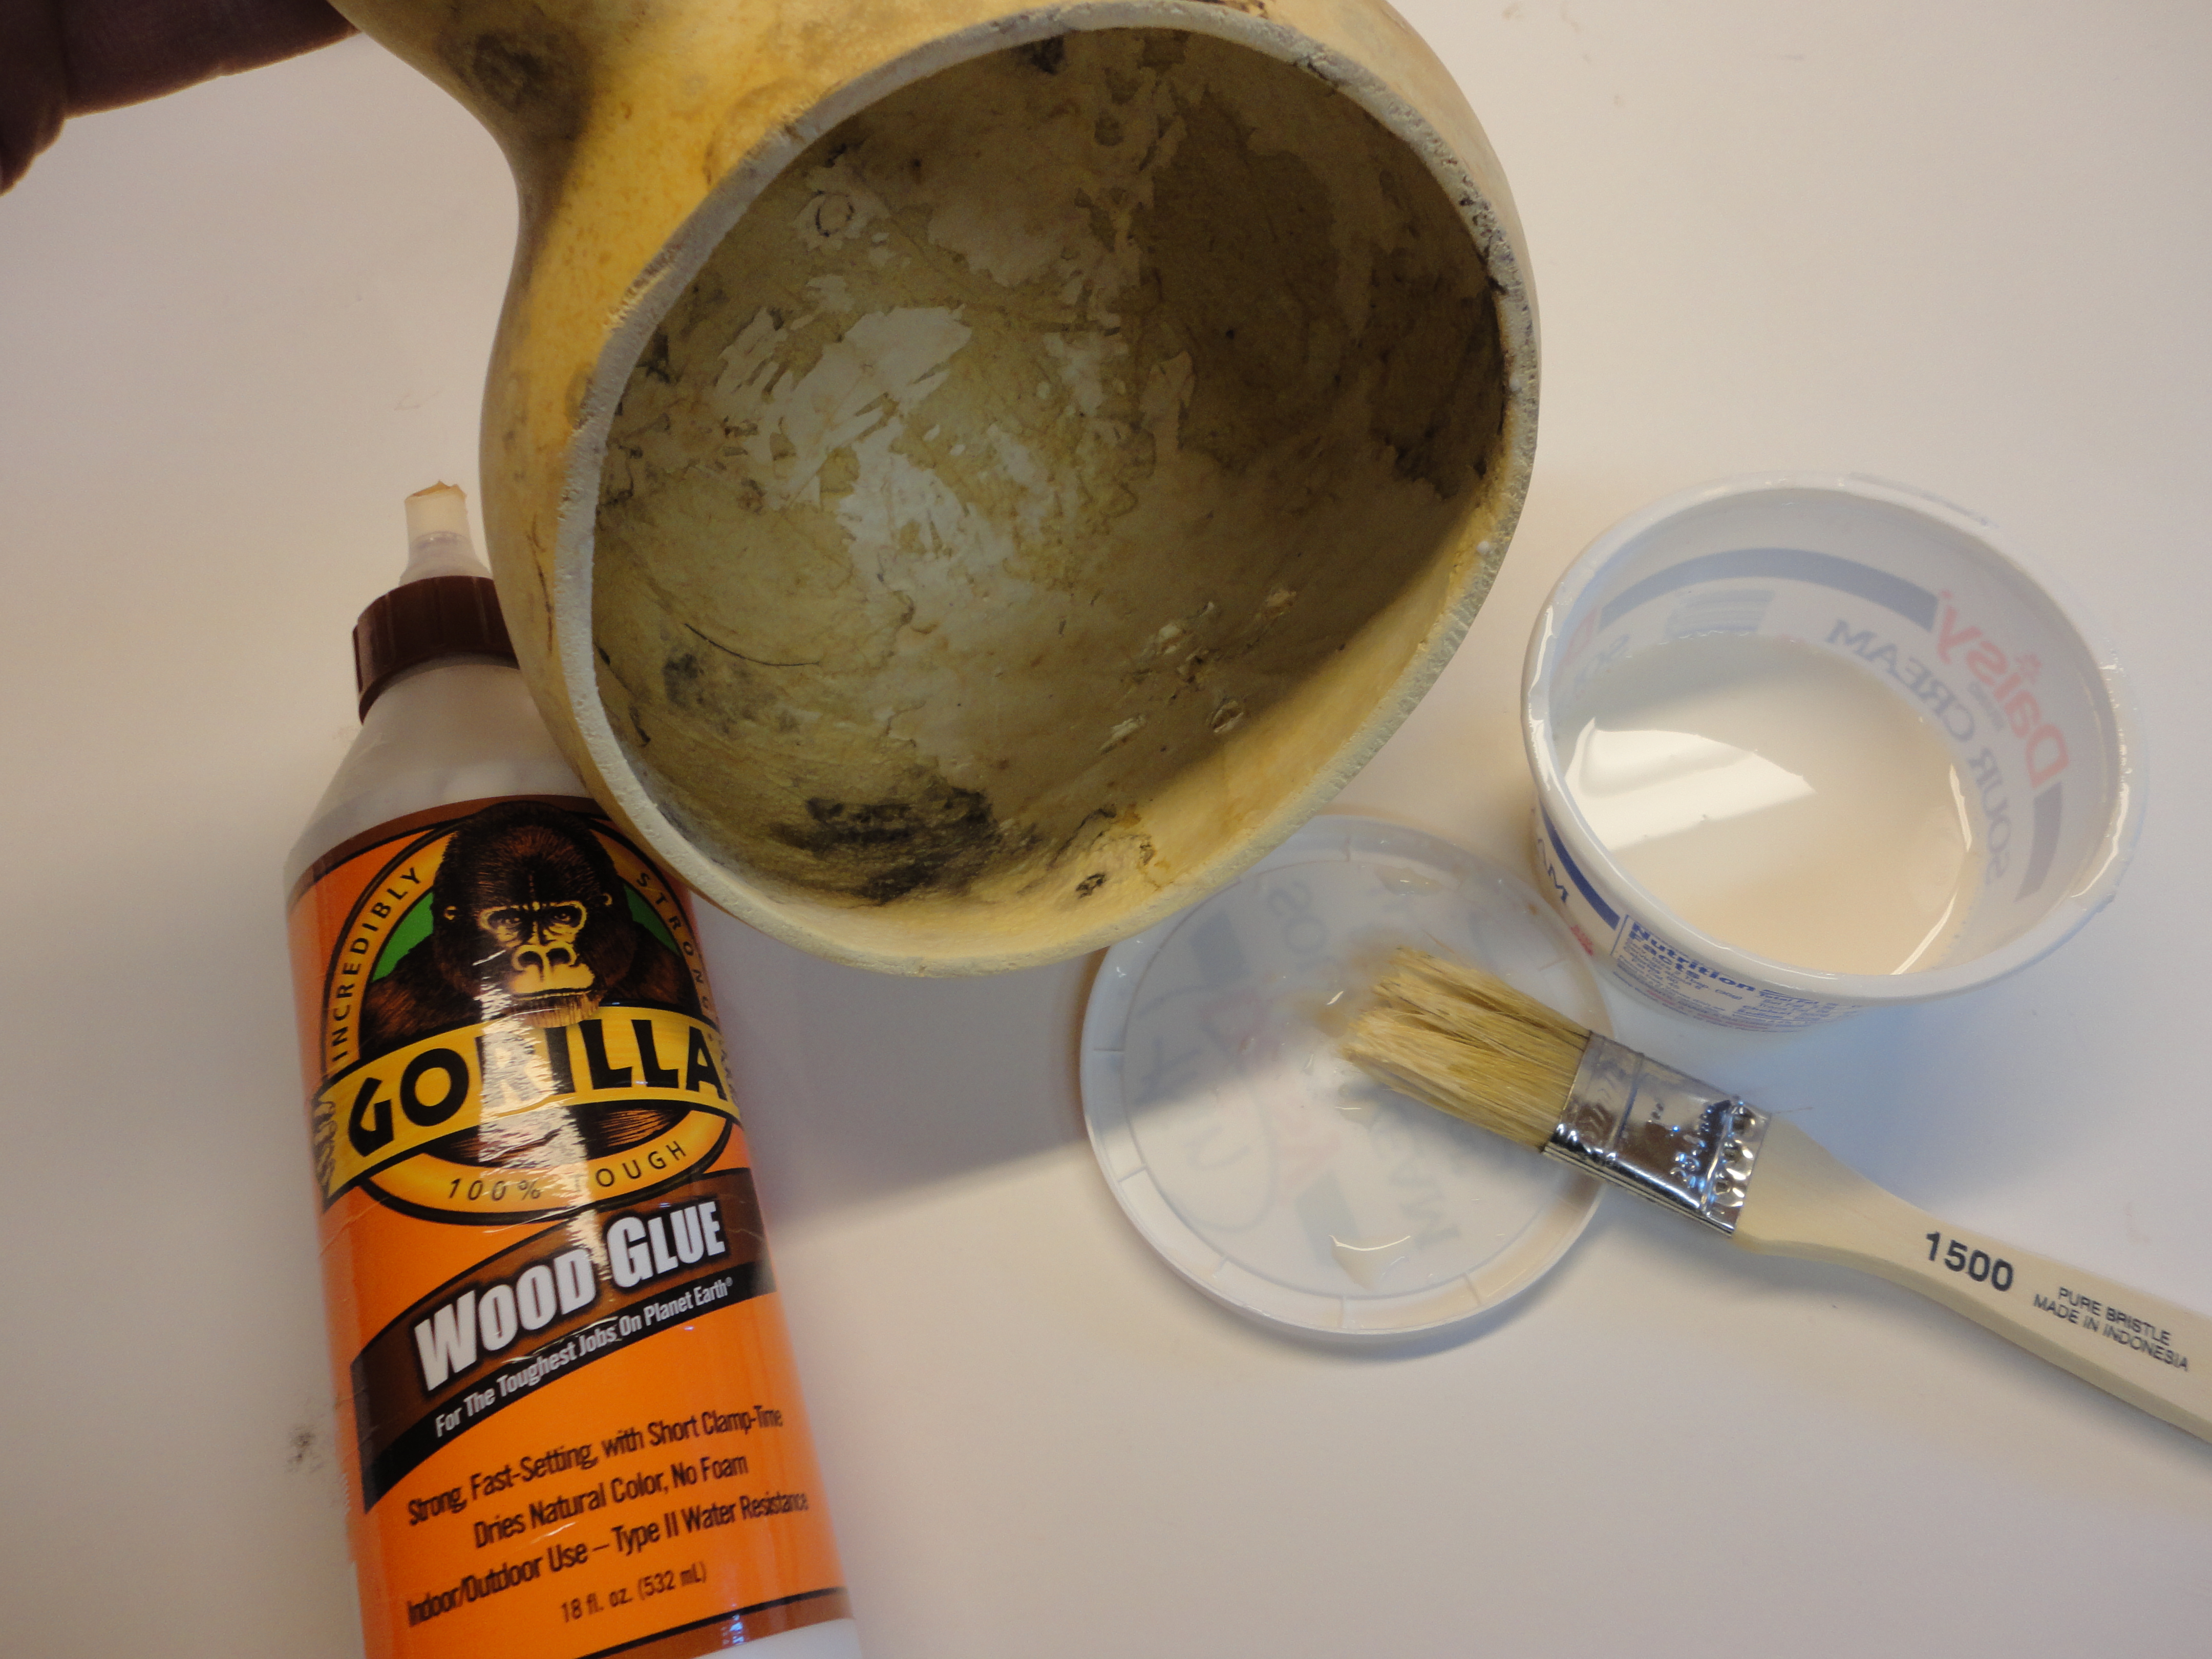
My gourd measured 7 1/2″H x 6 1/2″W. Rubber gloves provided grip while sawing off the front with a hack saw. Dried pulp and seeds were scraped from the inside. Sand the inside lightly to remove attached debris. Always wear a mask or bandanna over your mouth and nose when sanding gourds or cleaning out dried pulp and seeds. The dust and dried particles can irritate nasal passages and lungs.
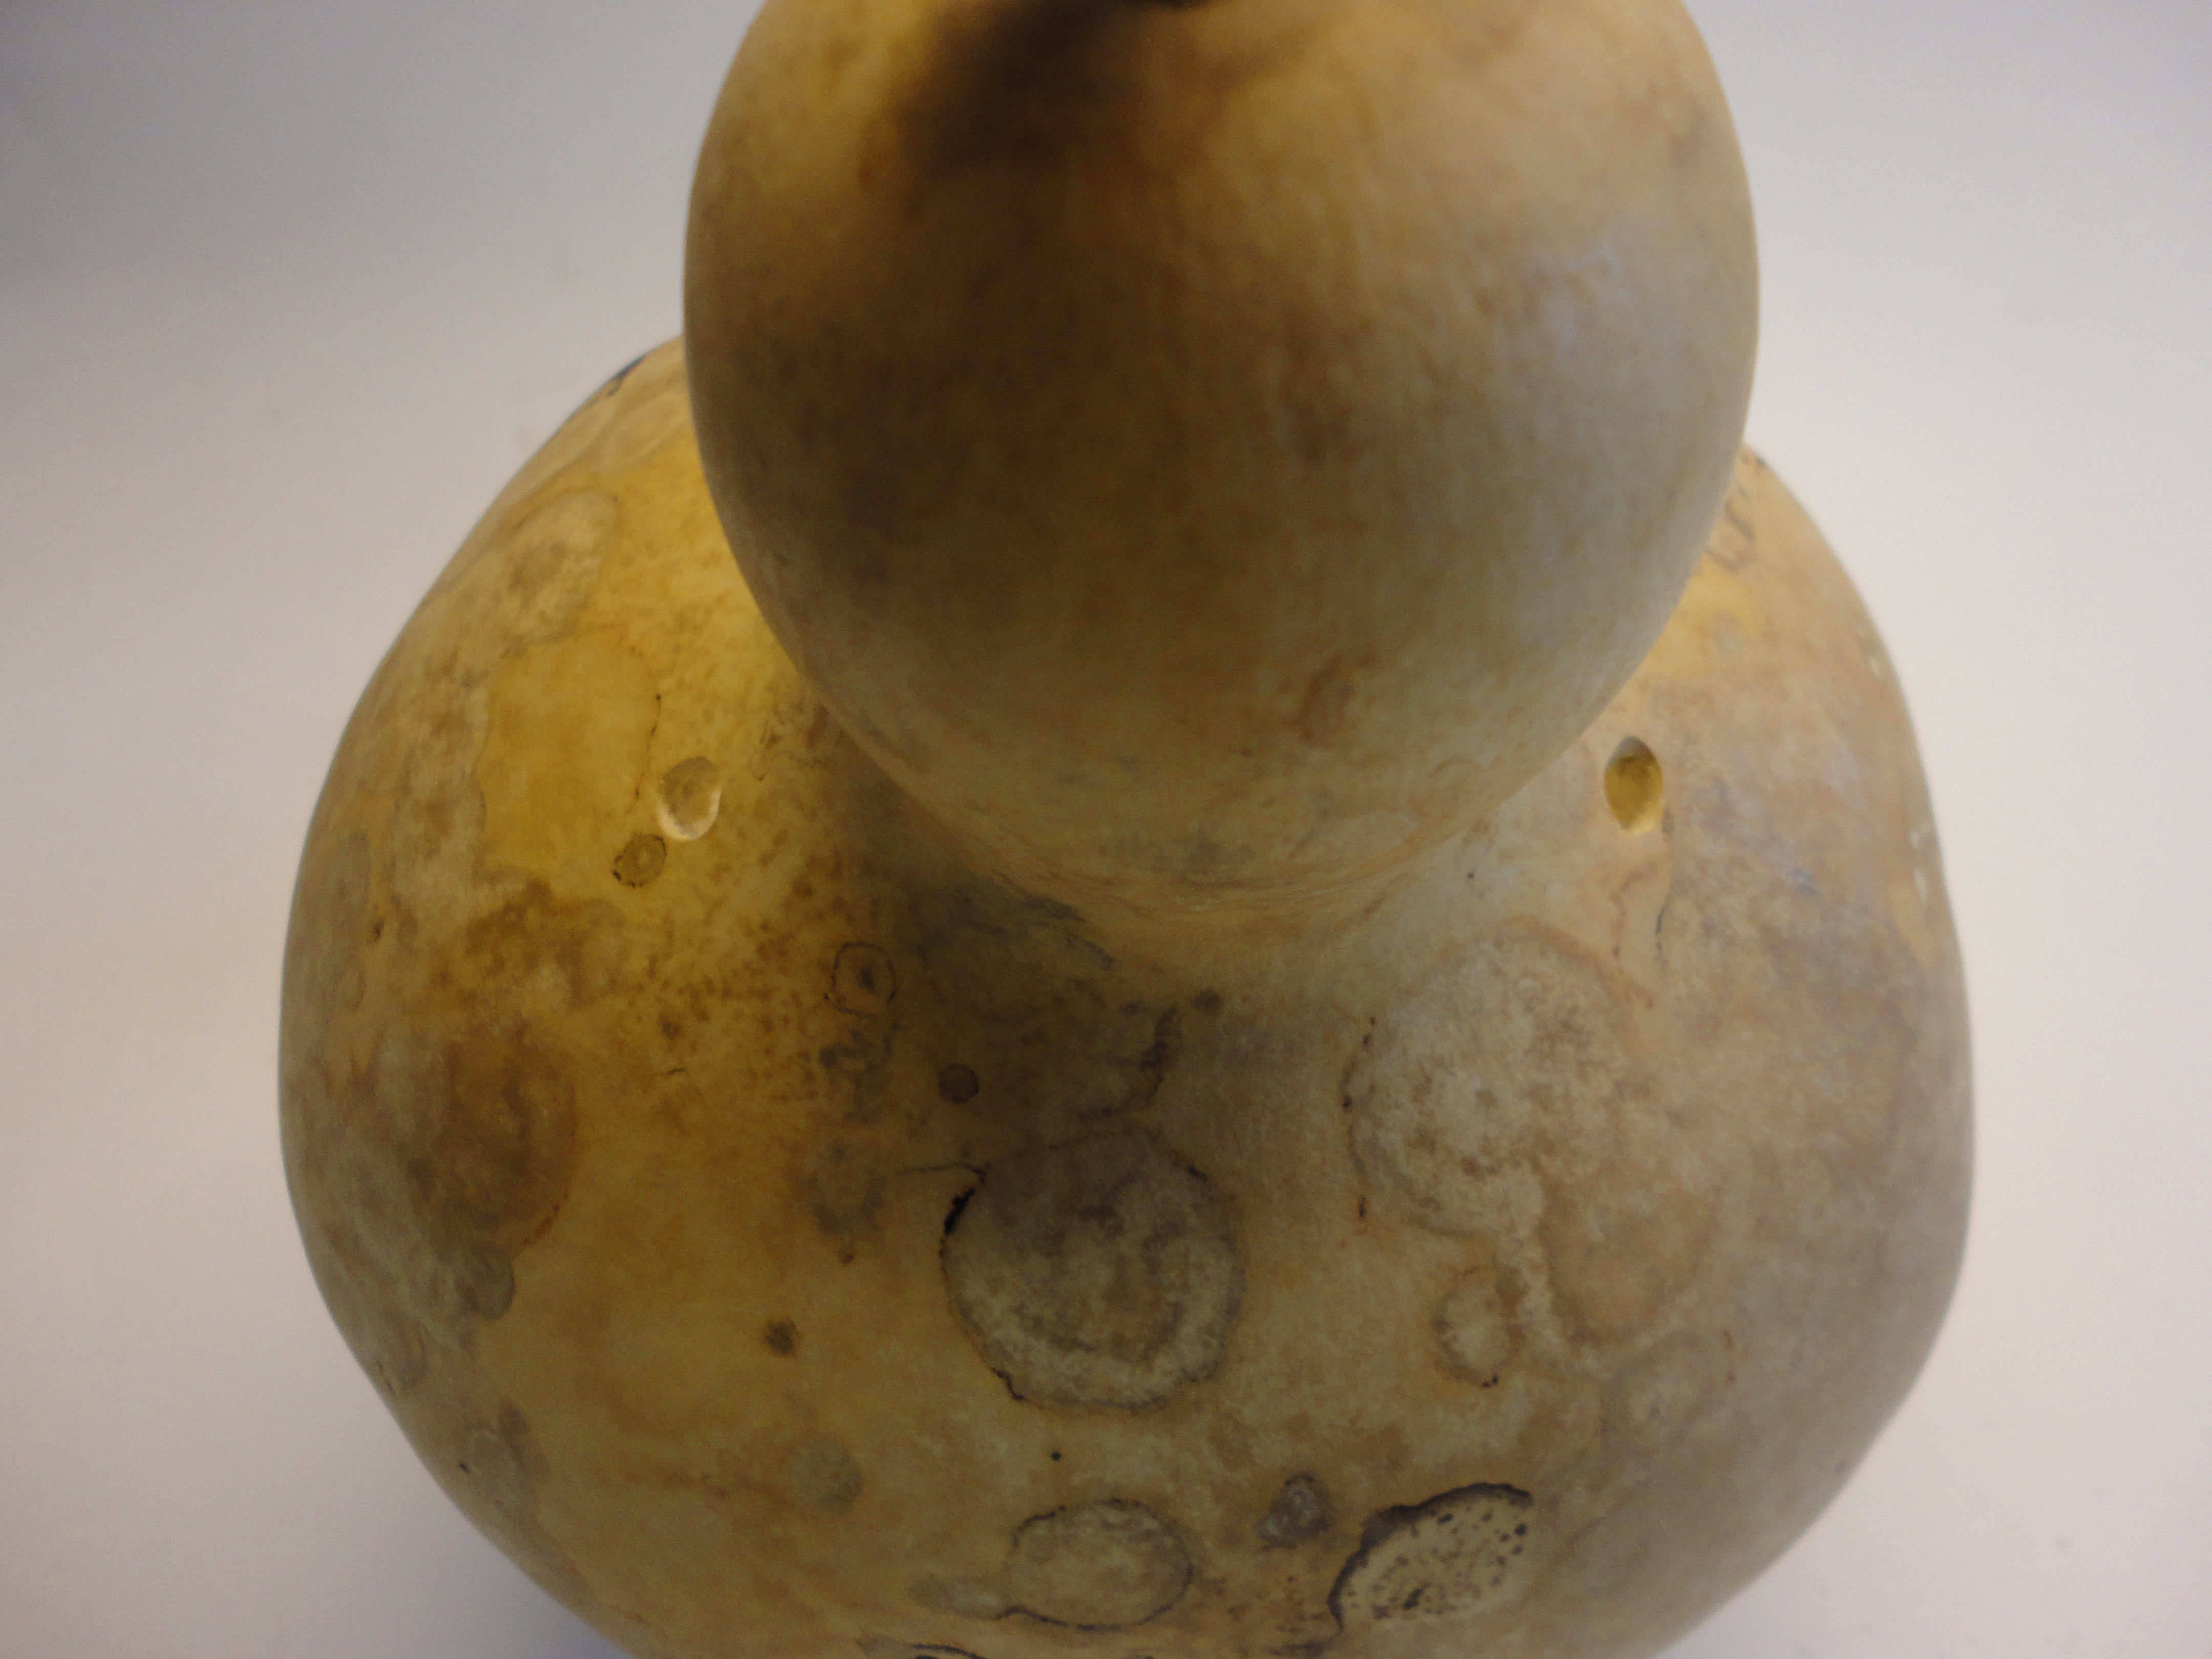
Seal the outside of the gourd with Thompson’s Water Seal. Let dry. Drill five holes in the bottom of the gourd, at the lowest points, for drainage. Try to keep the holes within a 2″ pattern. Seal the inside of the gourd with a good layer of thinned interior/exterior wood glue. Let dry.


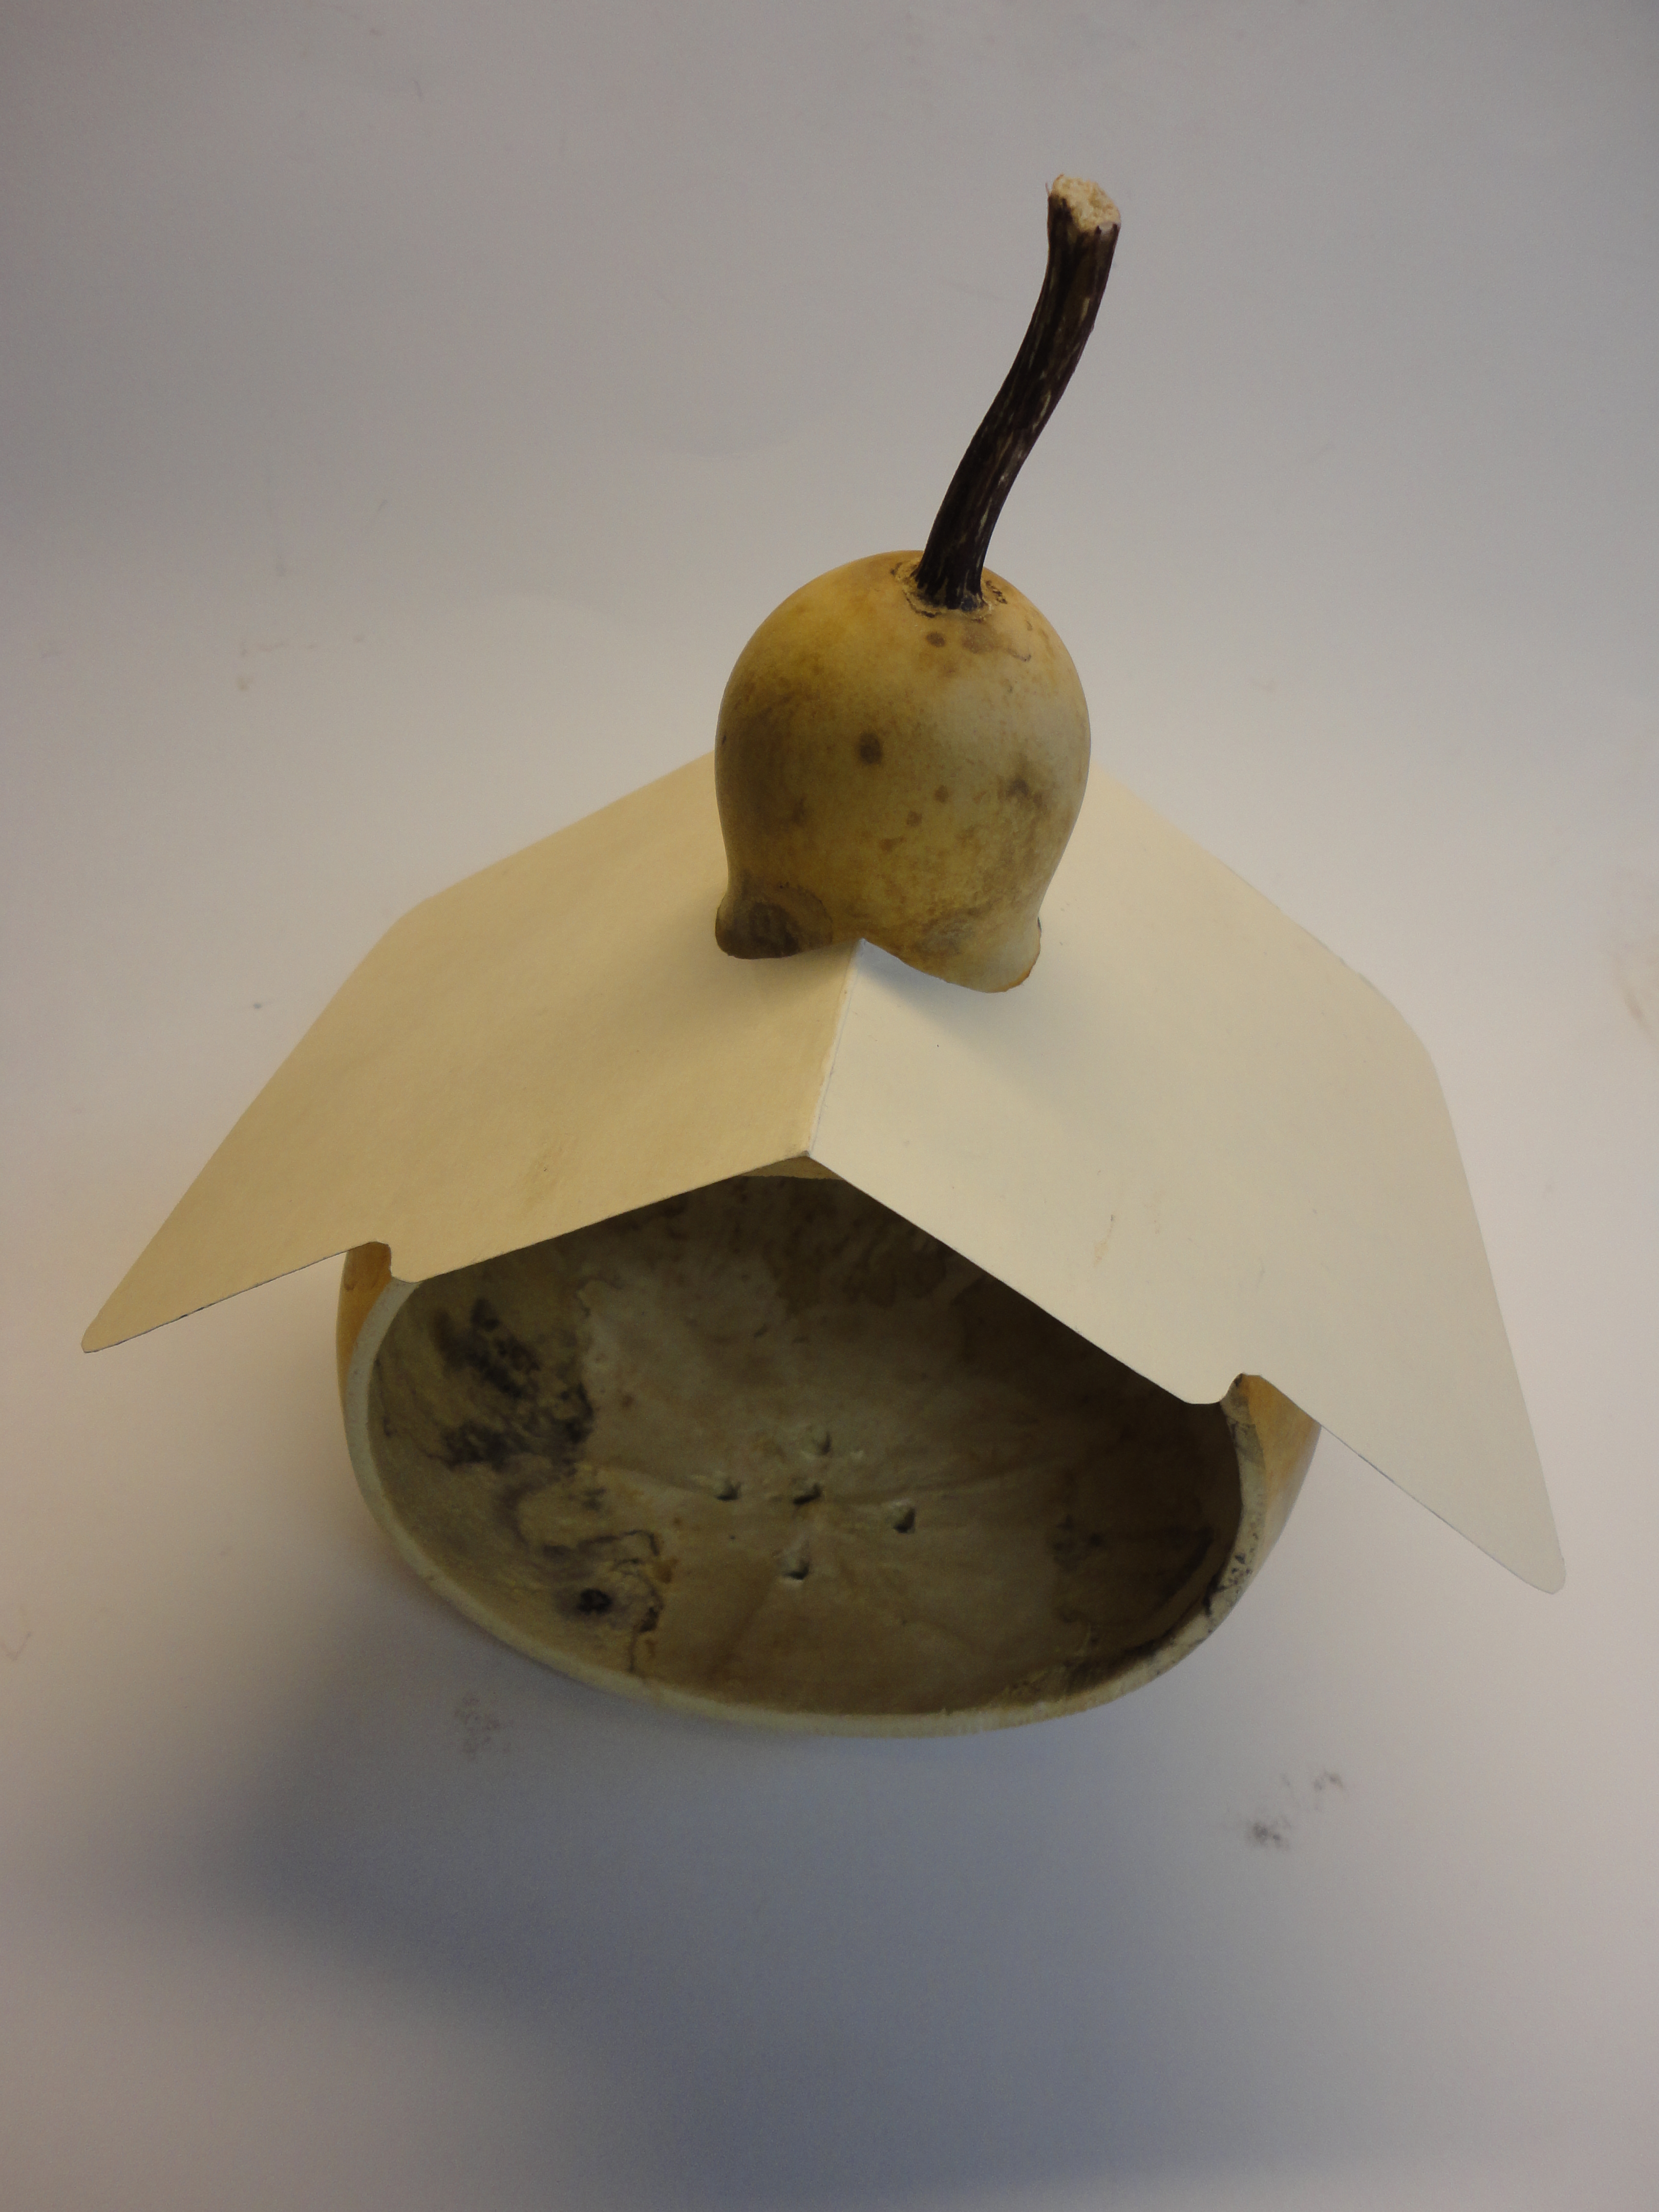
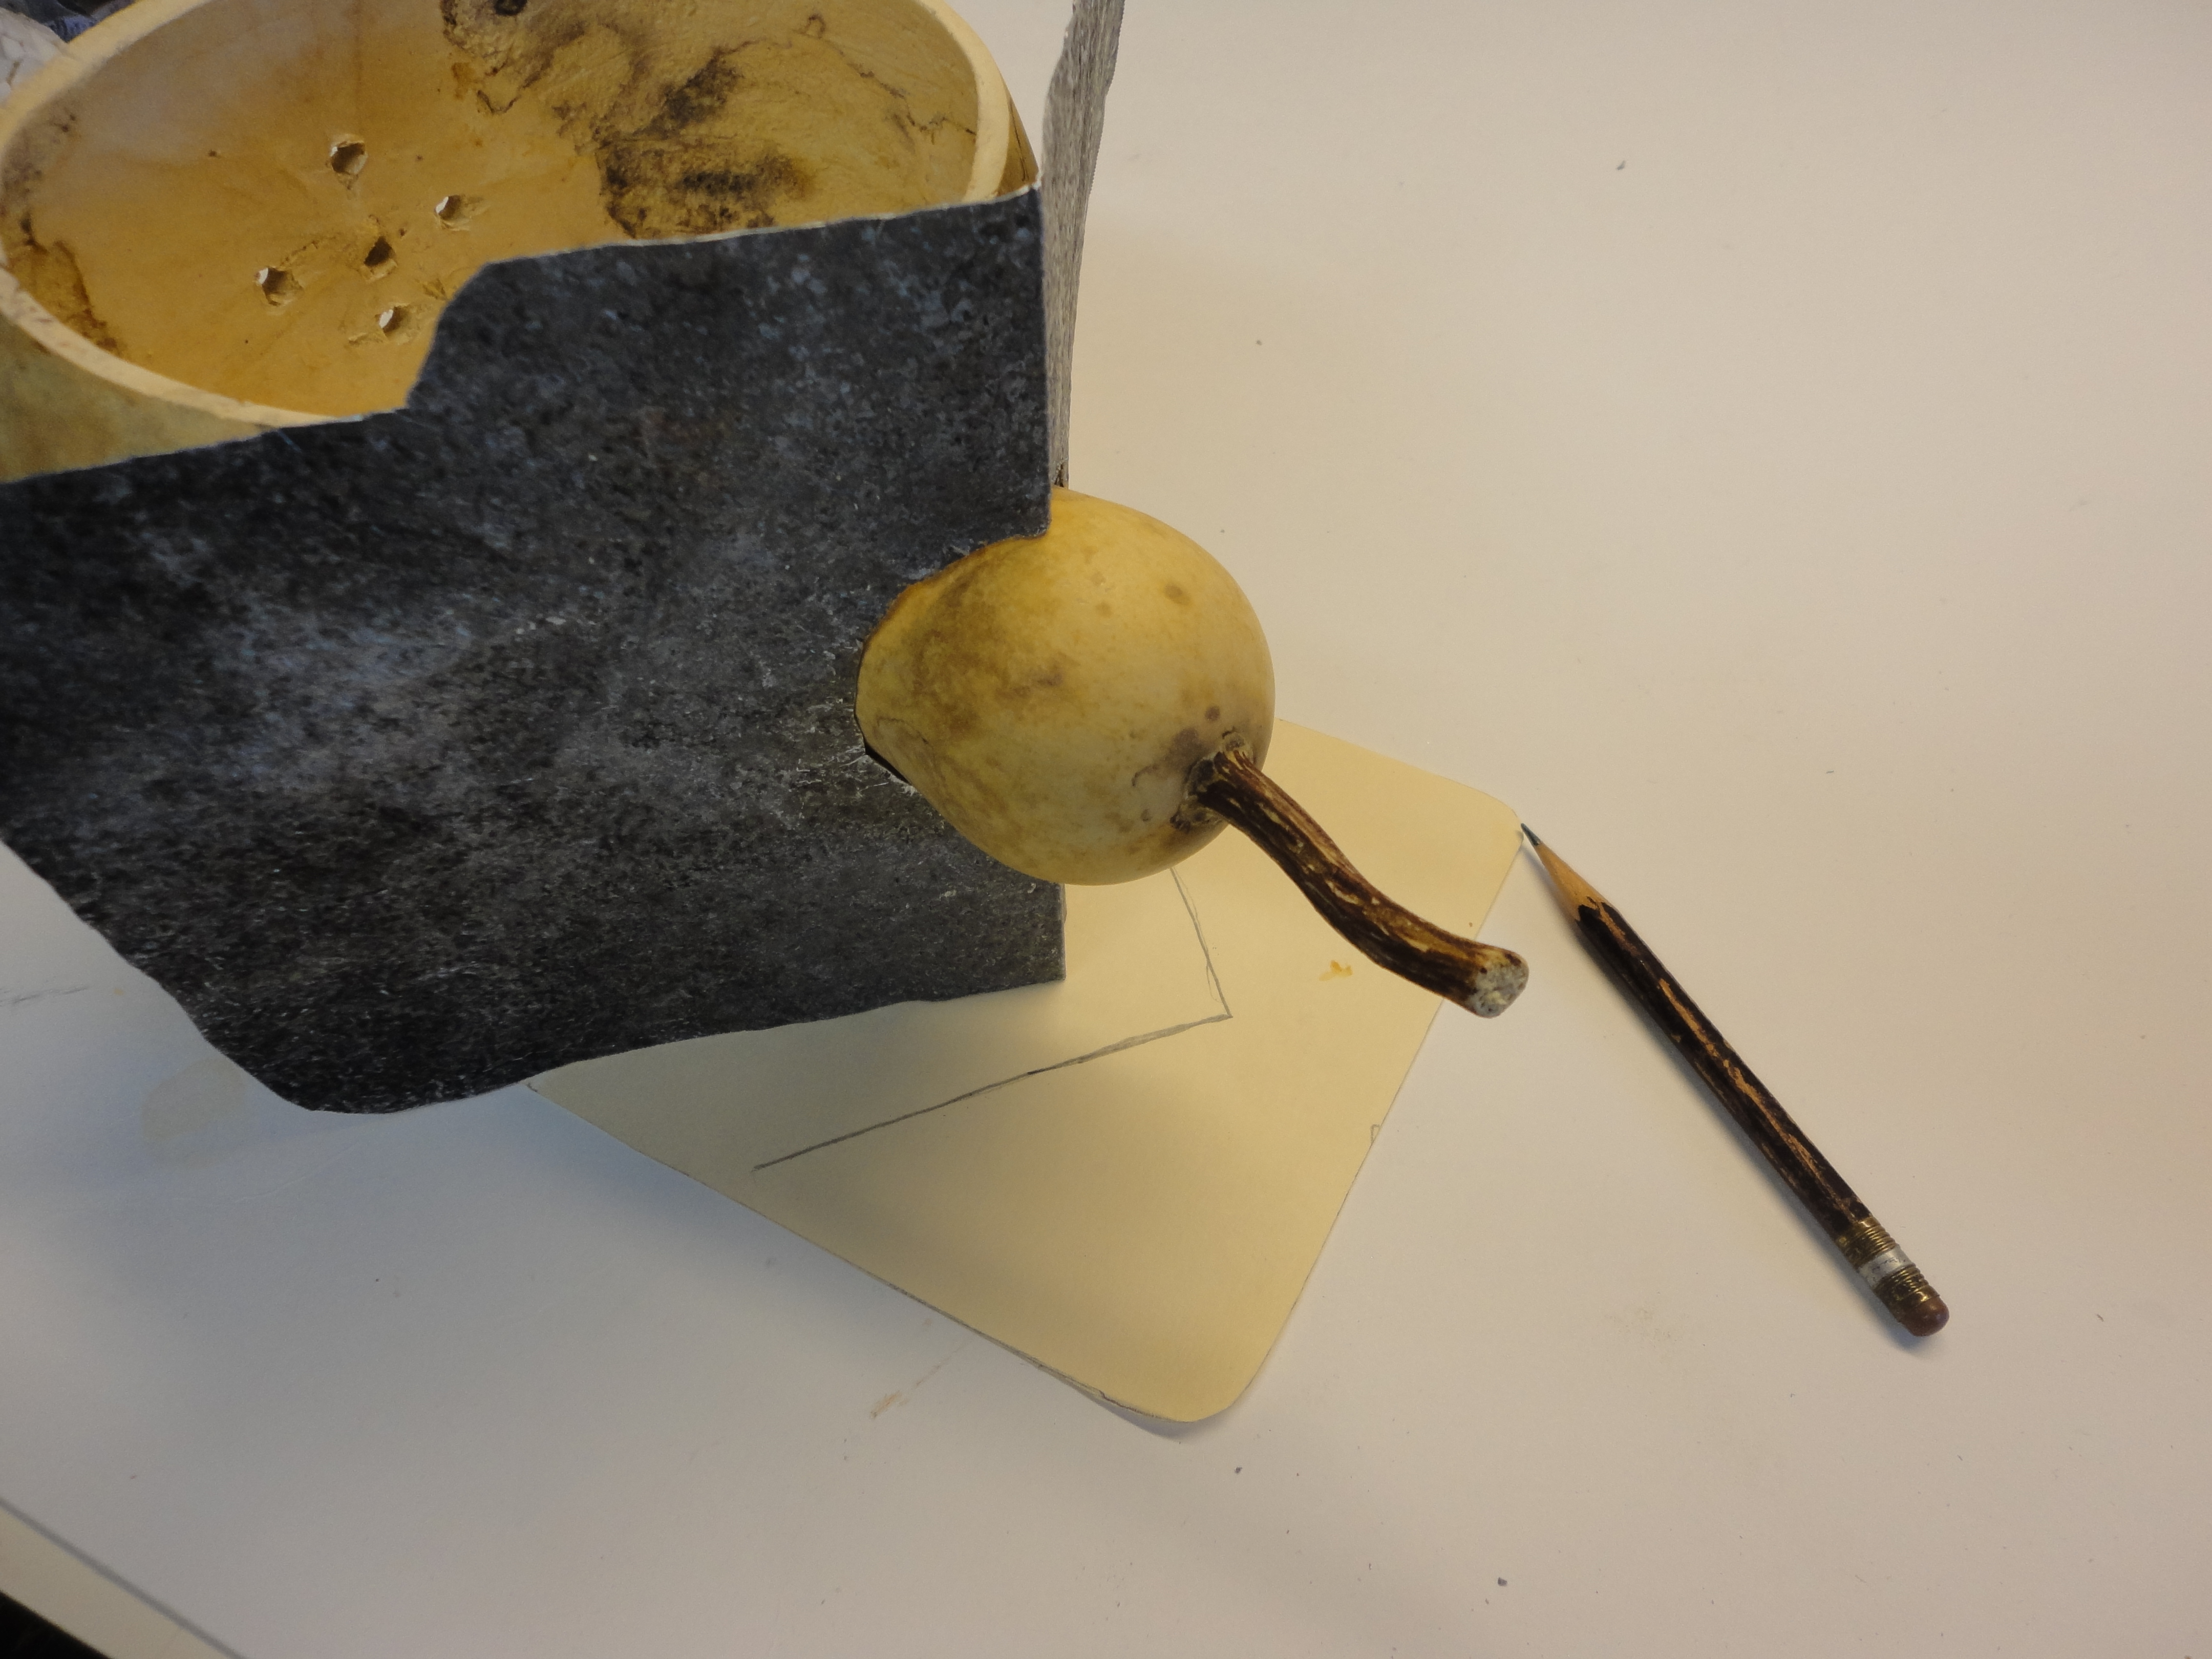
Fold and cut a hole in a piece of heavy paper, slip over stem to make a roof pattern. I extended the roof out a bit in front so it would cover the bamboo openings.
A few more holes may be needed for ventilation.

I have an old piece of burnt aluminum siding that I like to go to when I need a rustic piece of metal sheeting. Cut off the approximate size needed and flatten with a car body hammer before tracing and cutting out the roof pattern. My roof measured 10 1/4″W x 6″Deep with a 2 1/8″ dia. hole.

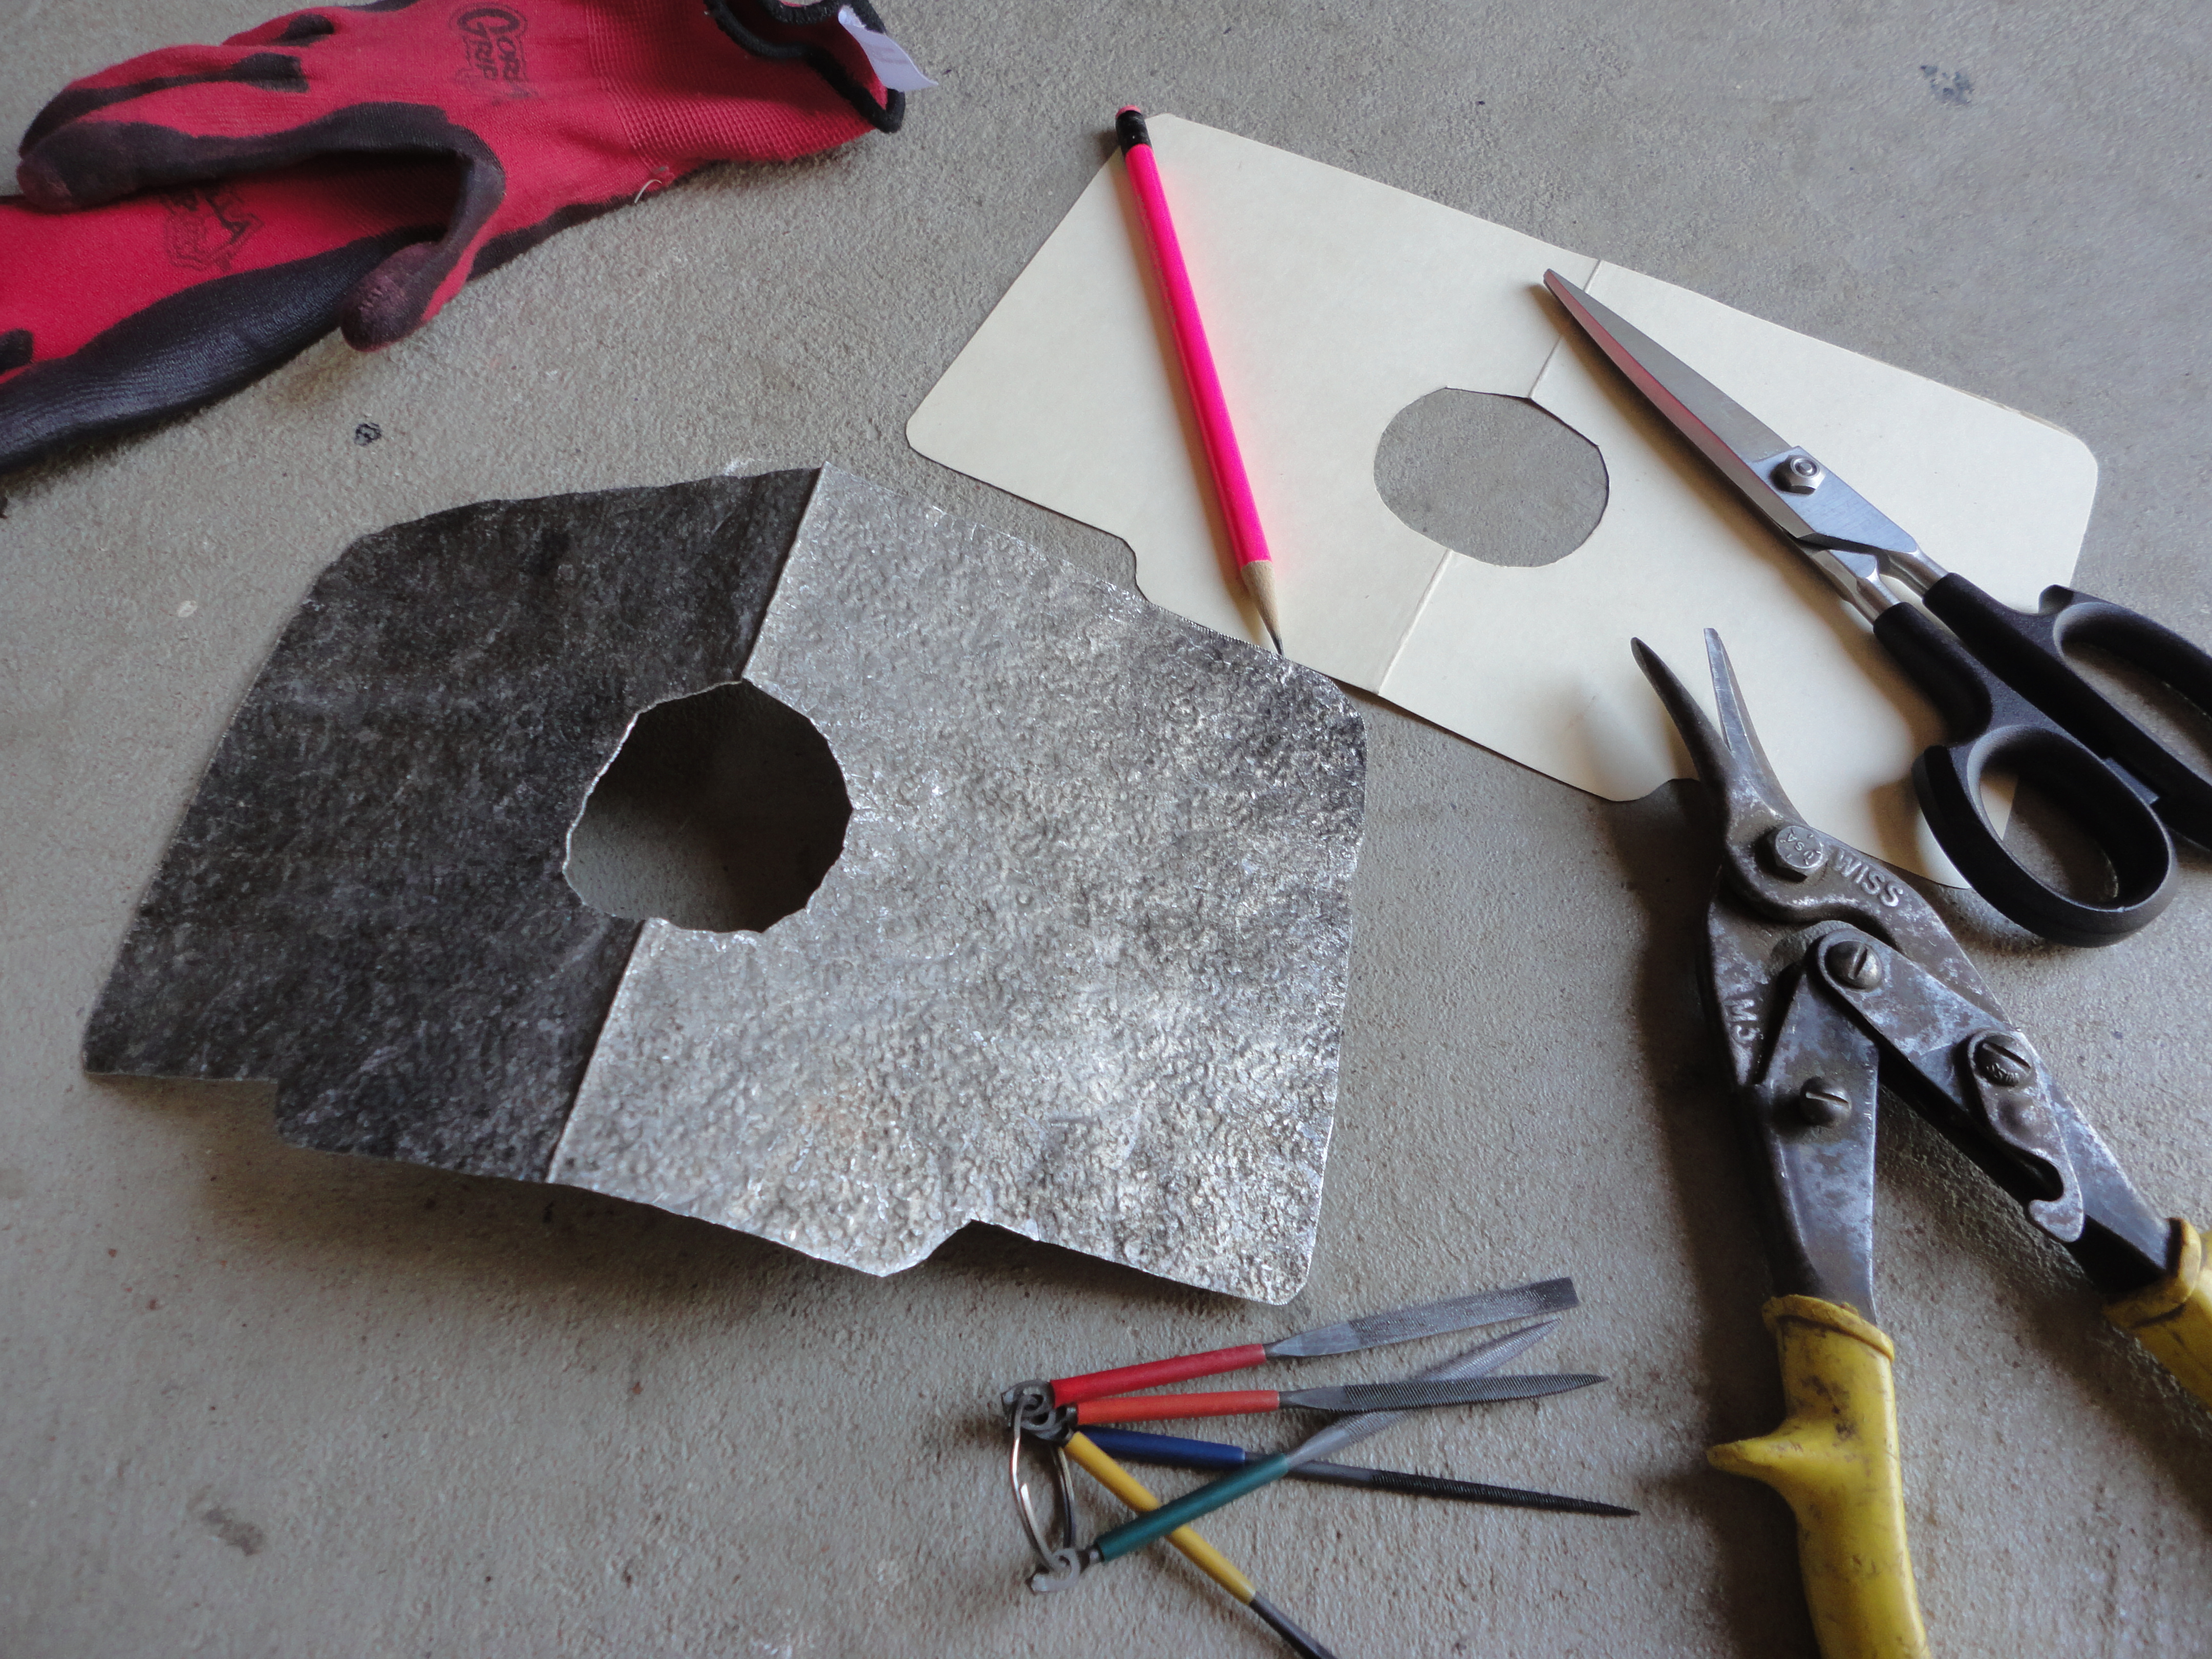
Small files worked well to smooth the sharp edges of the roof, but I found a large round file to smooth and shape the hole so it fit easily over the gourd. The roof has to be flat to fit over the gourd, then bent to shape. With the roof in place, lay the gourd on it’s back and trace the roof line on a piece of heavy paper. This pattern will be used to cut a small piece of wood as a brace under the roof peak when a shelf is made.


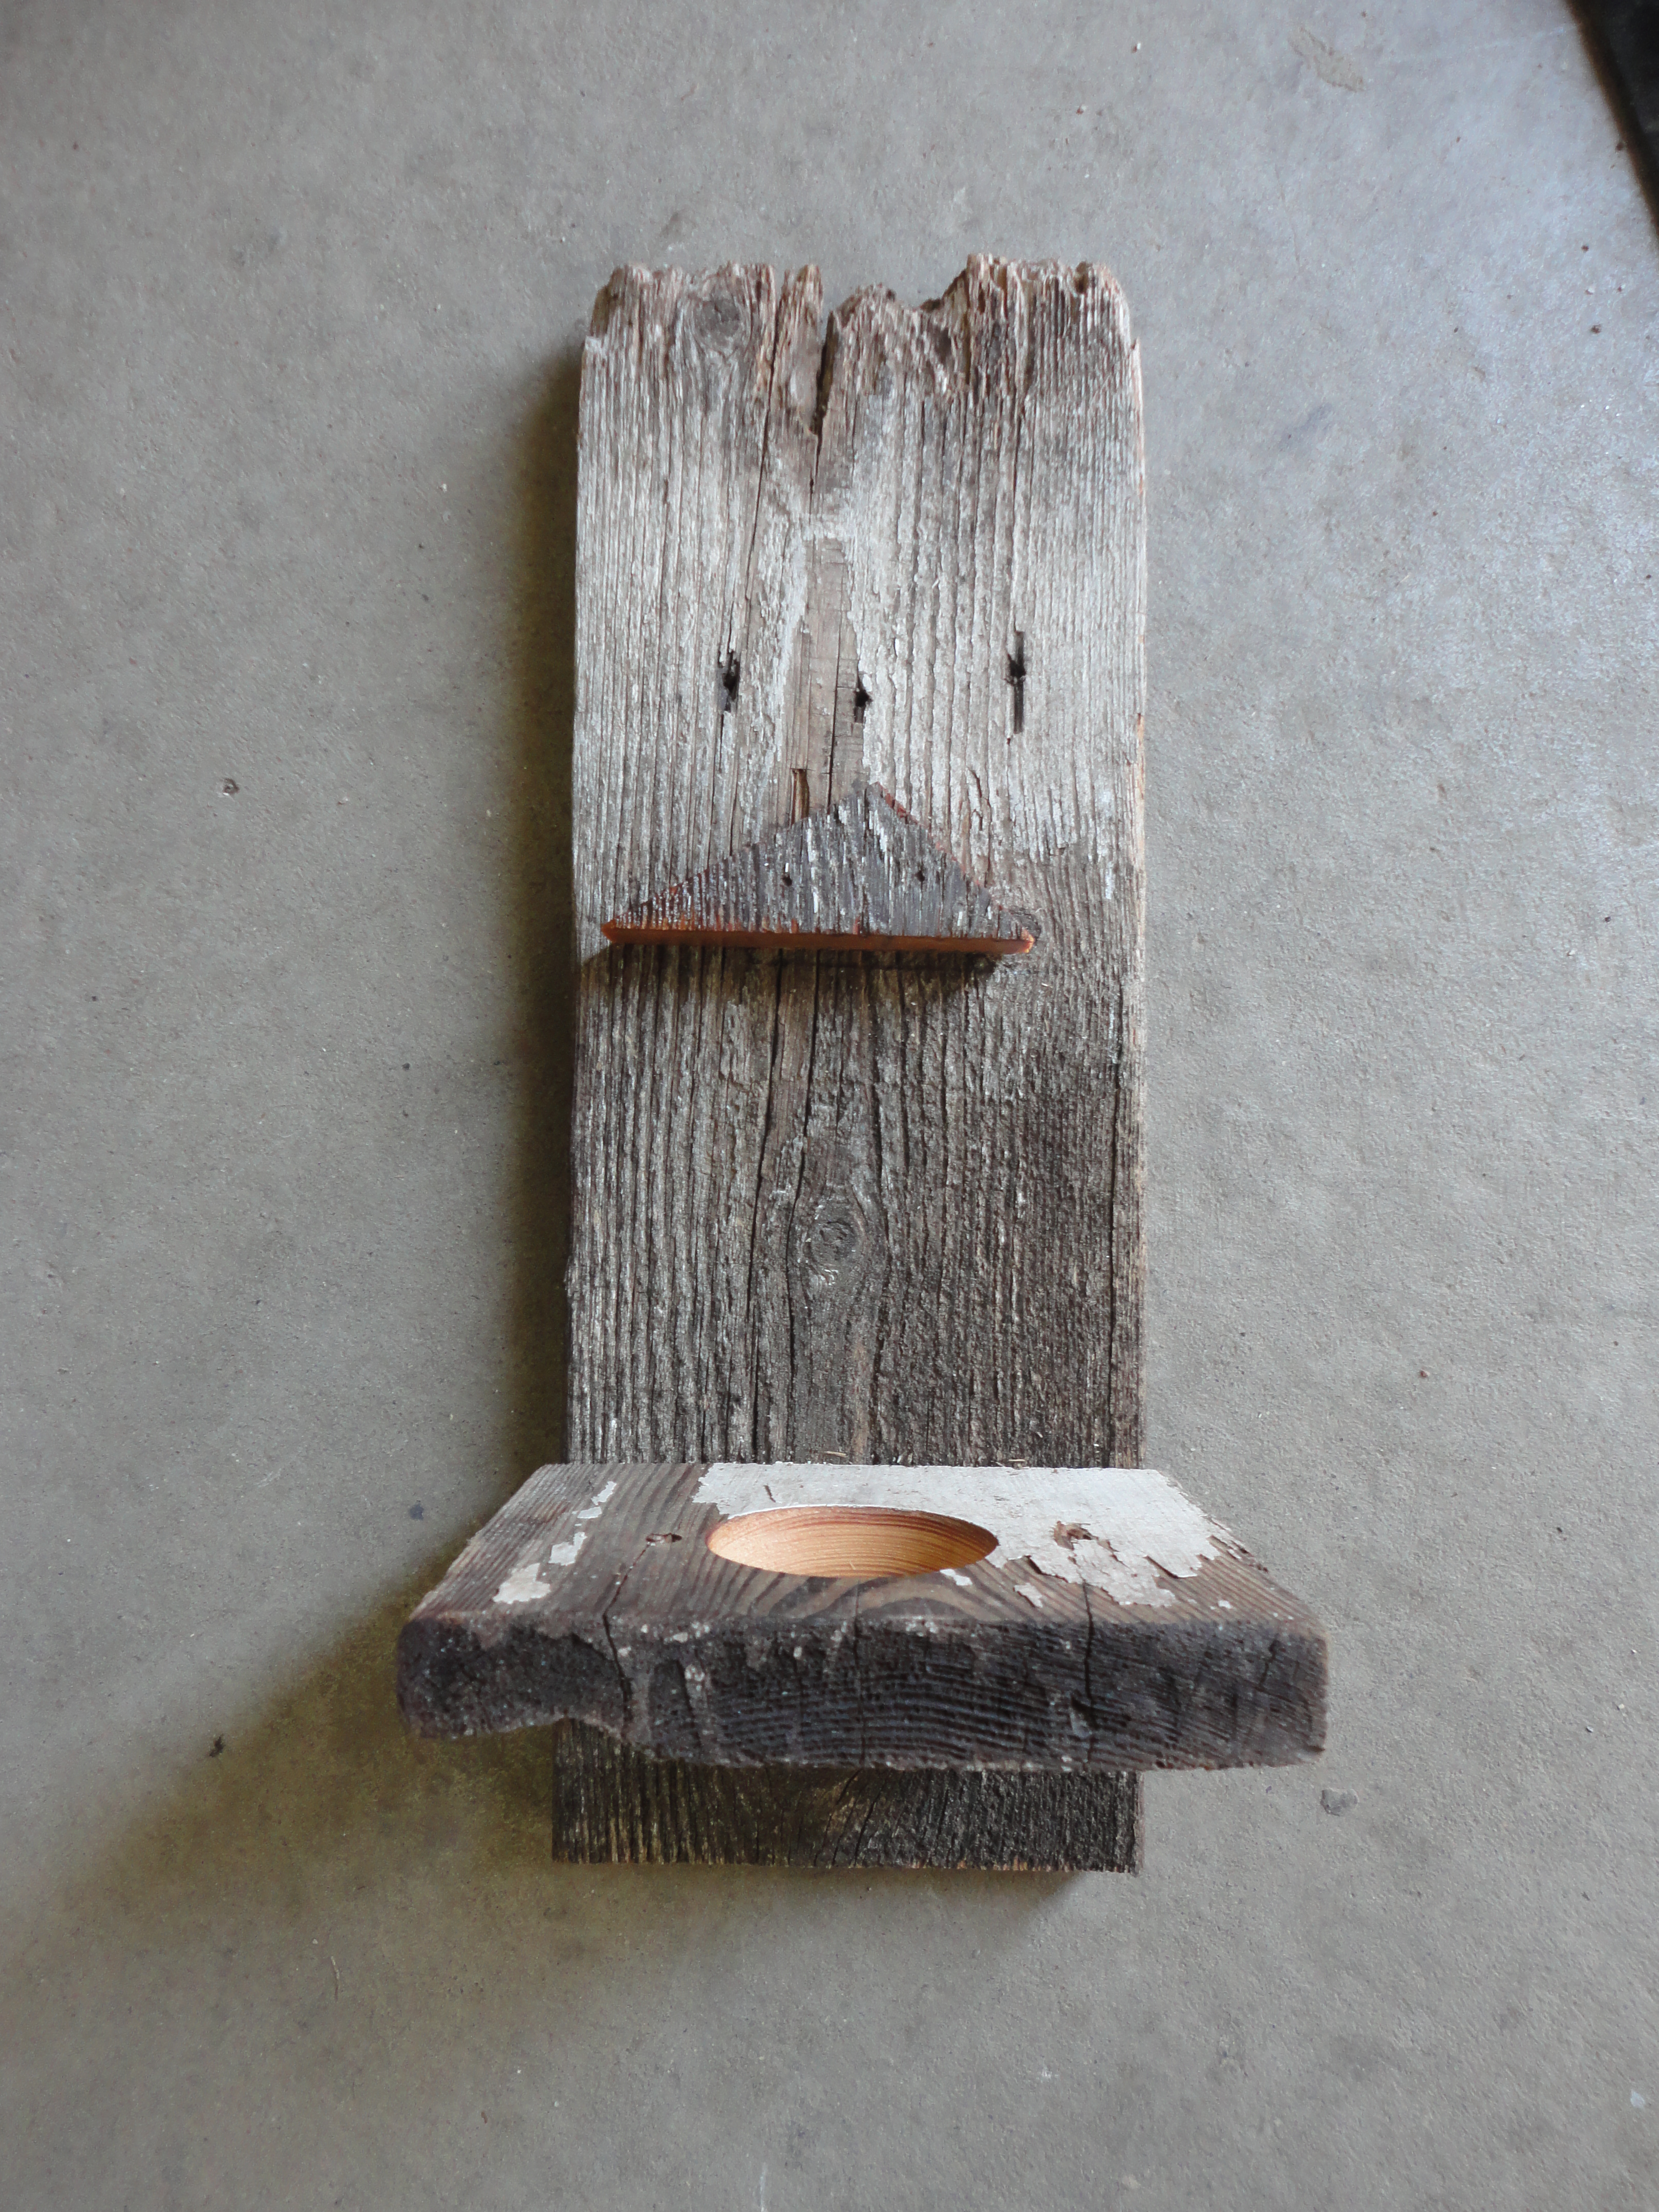
Initially, I planned to hang the gourd with a wire, or dowel, through the stem, but I read that Mason bees preferred a stable home over one swinging in the breeze, so it will go on a barn board shelf, which I think actually adds a lot of character to the piece. My board was 5 1/2″W. The back was cut 15 1/2″ long. A 2″ dia. hole was drilled in the 5″ long shelf and it was screwed on from the back. The roof line pattern traced earlier was used to cut a small triangular brace for the metal roof. Hold the roofed gourd on the shelf to determine where to place the brace. Use finishing nails to attach brace to board. Seal shelf with Thompson’s Water Seal.
An extra set of hands came in handy for stapling the roof. Hold the gourd firmly with roof resting on the brace. Staple roof to the top of brace. Drill a hole in back of gourd and secure it to the board with a screw and fender washer.


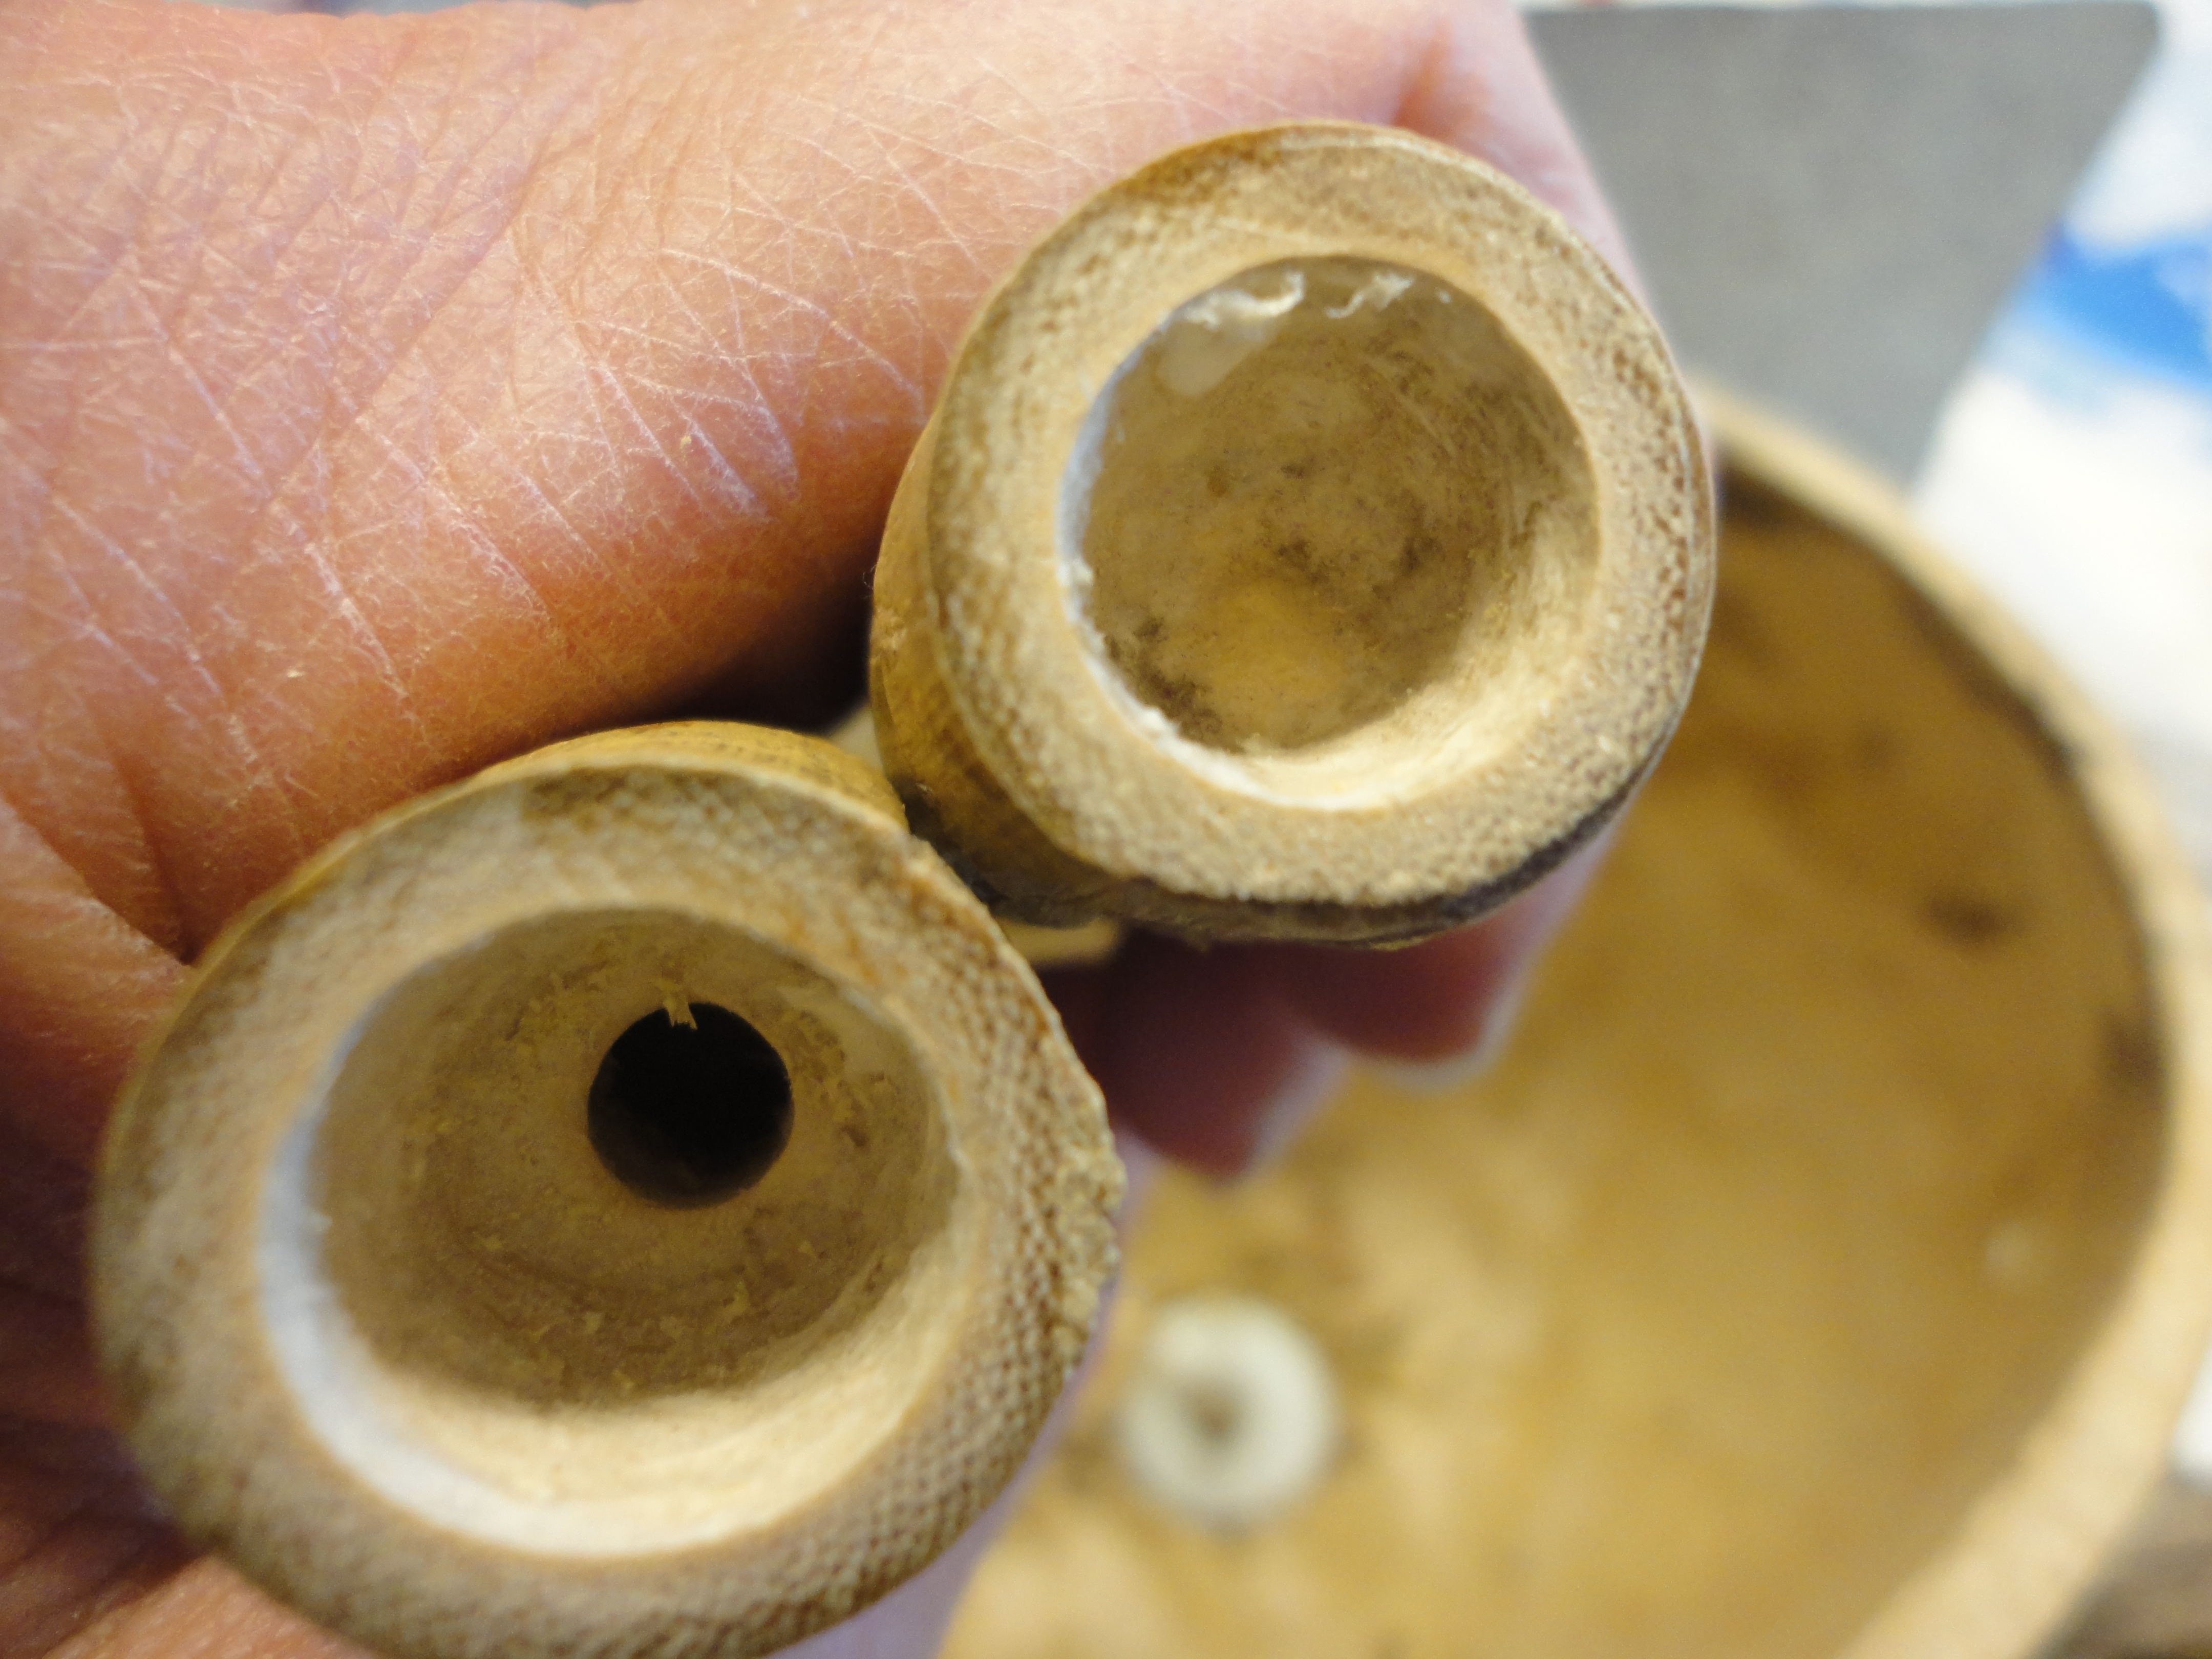
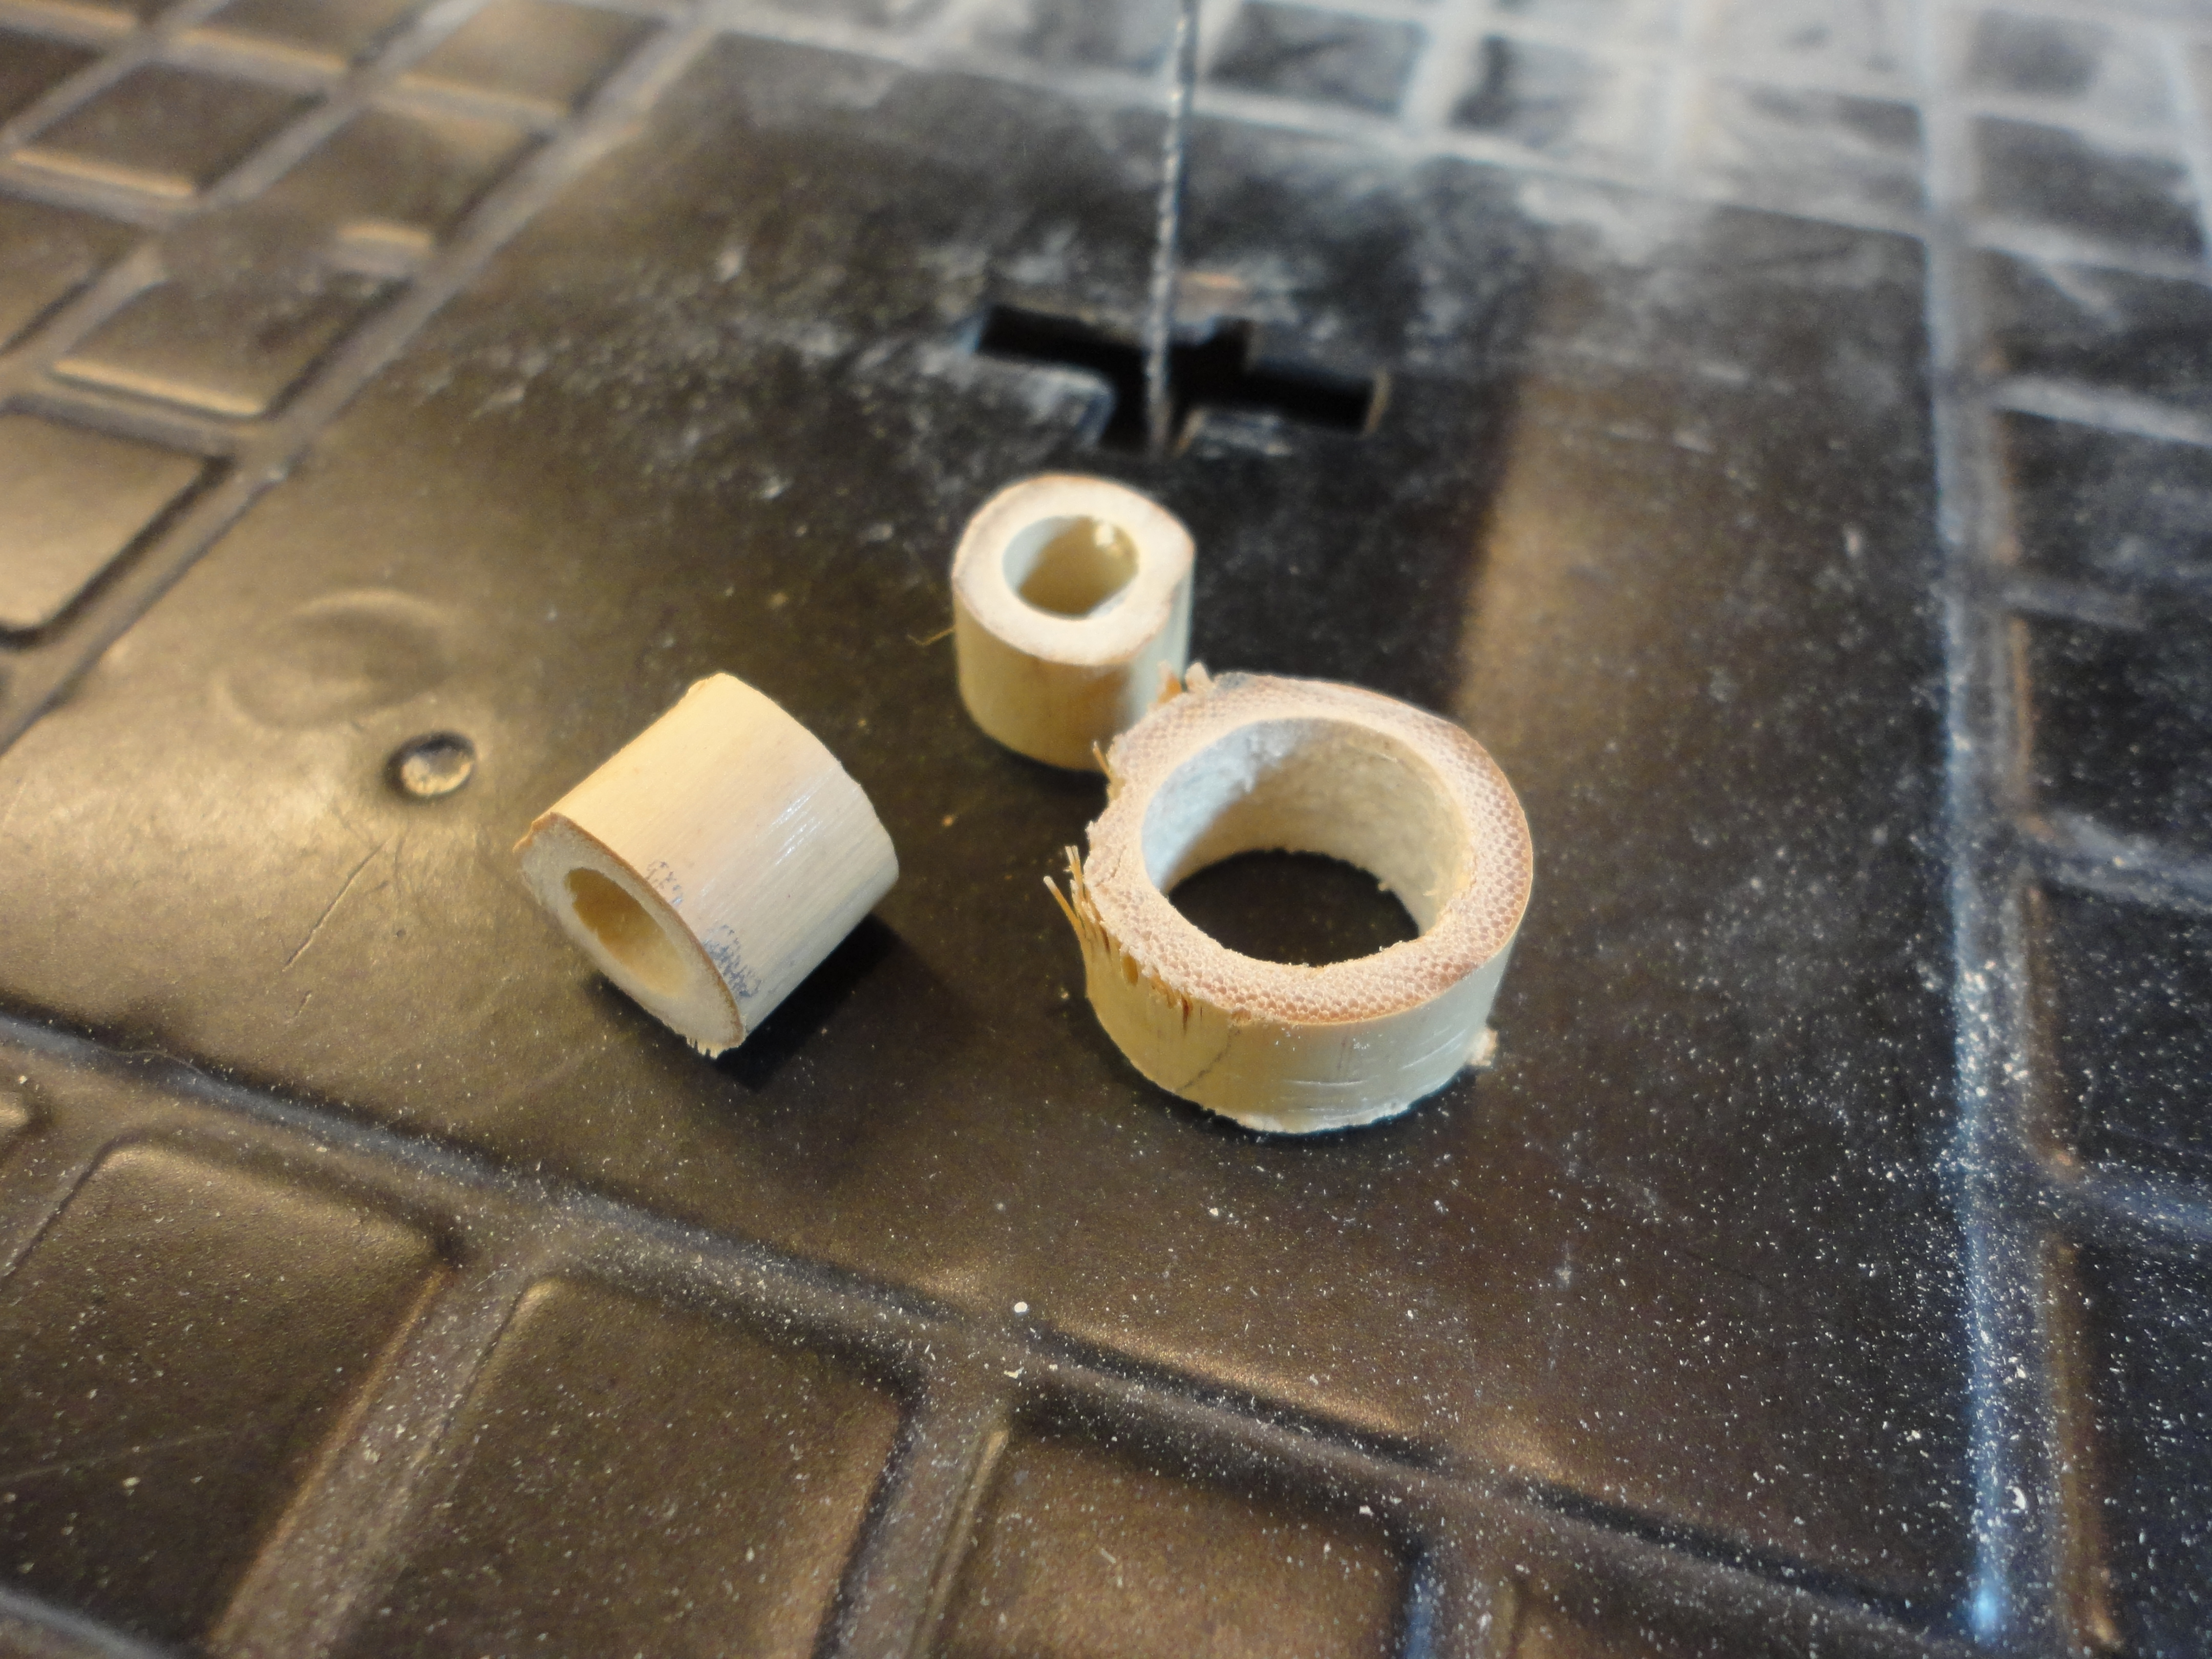
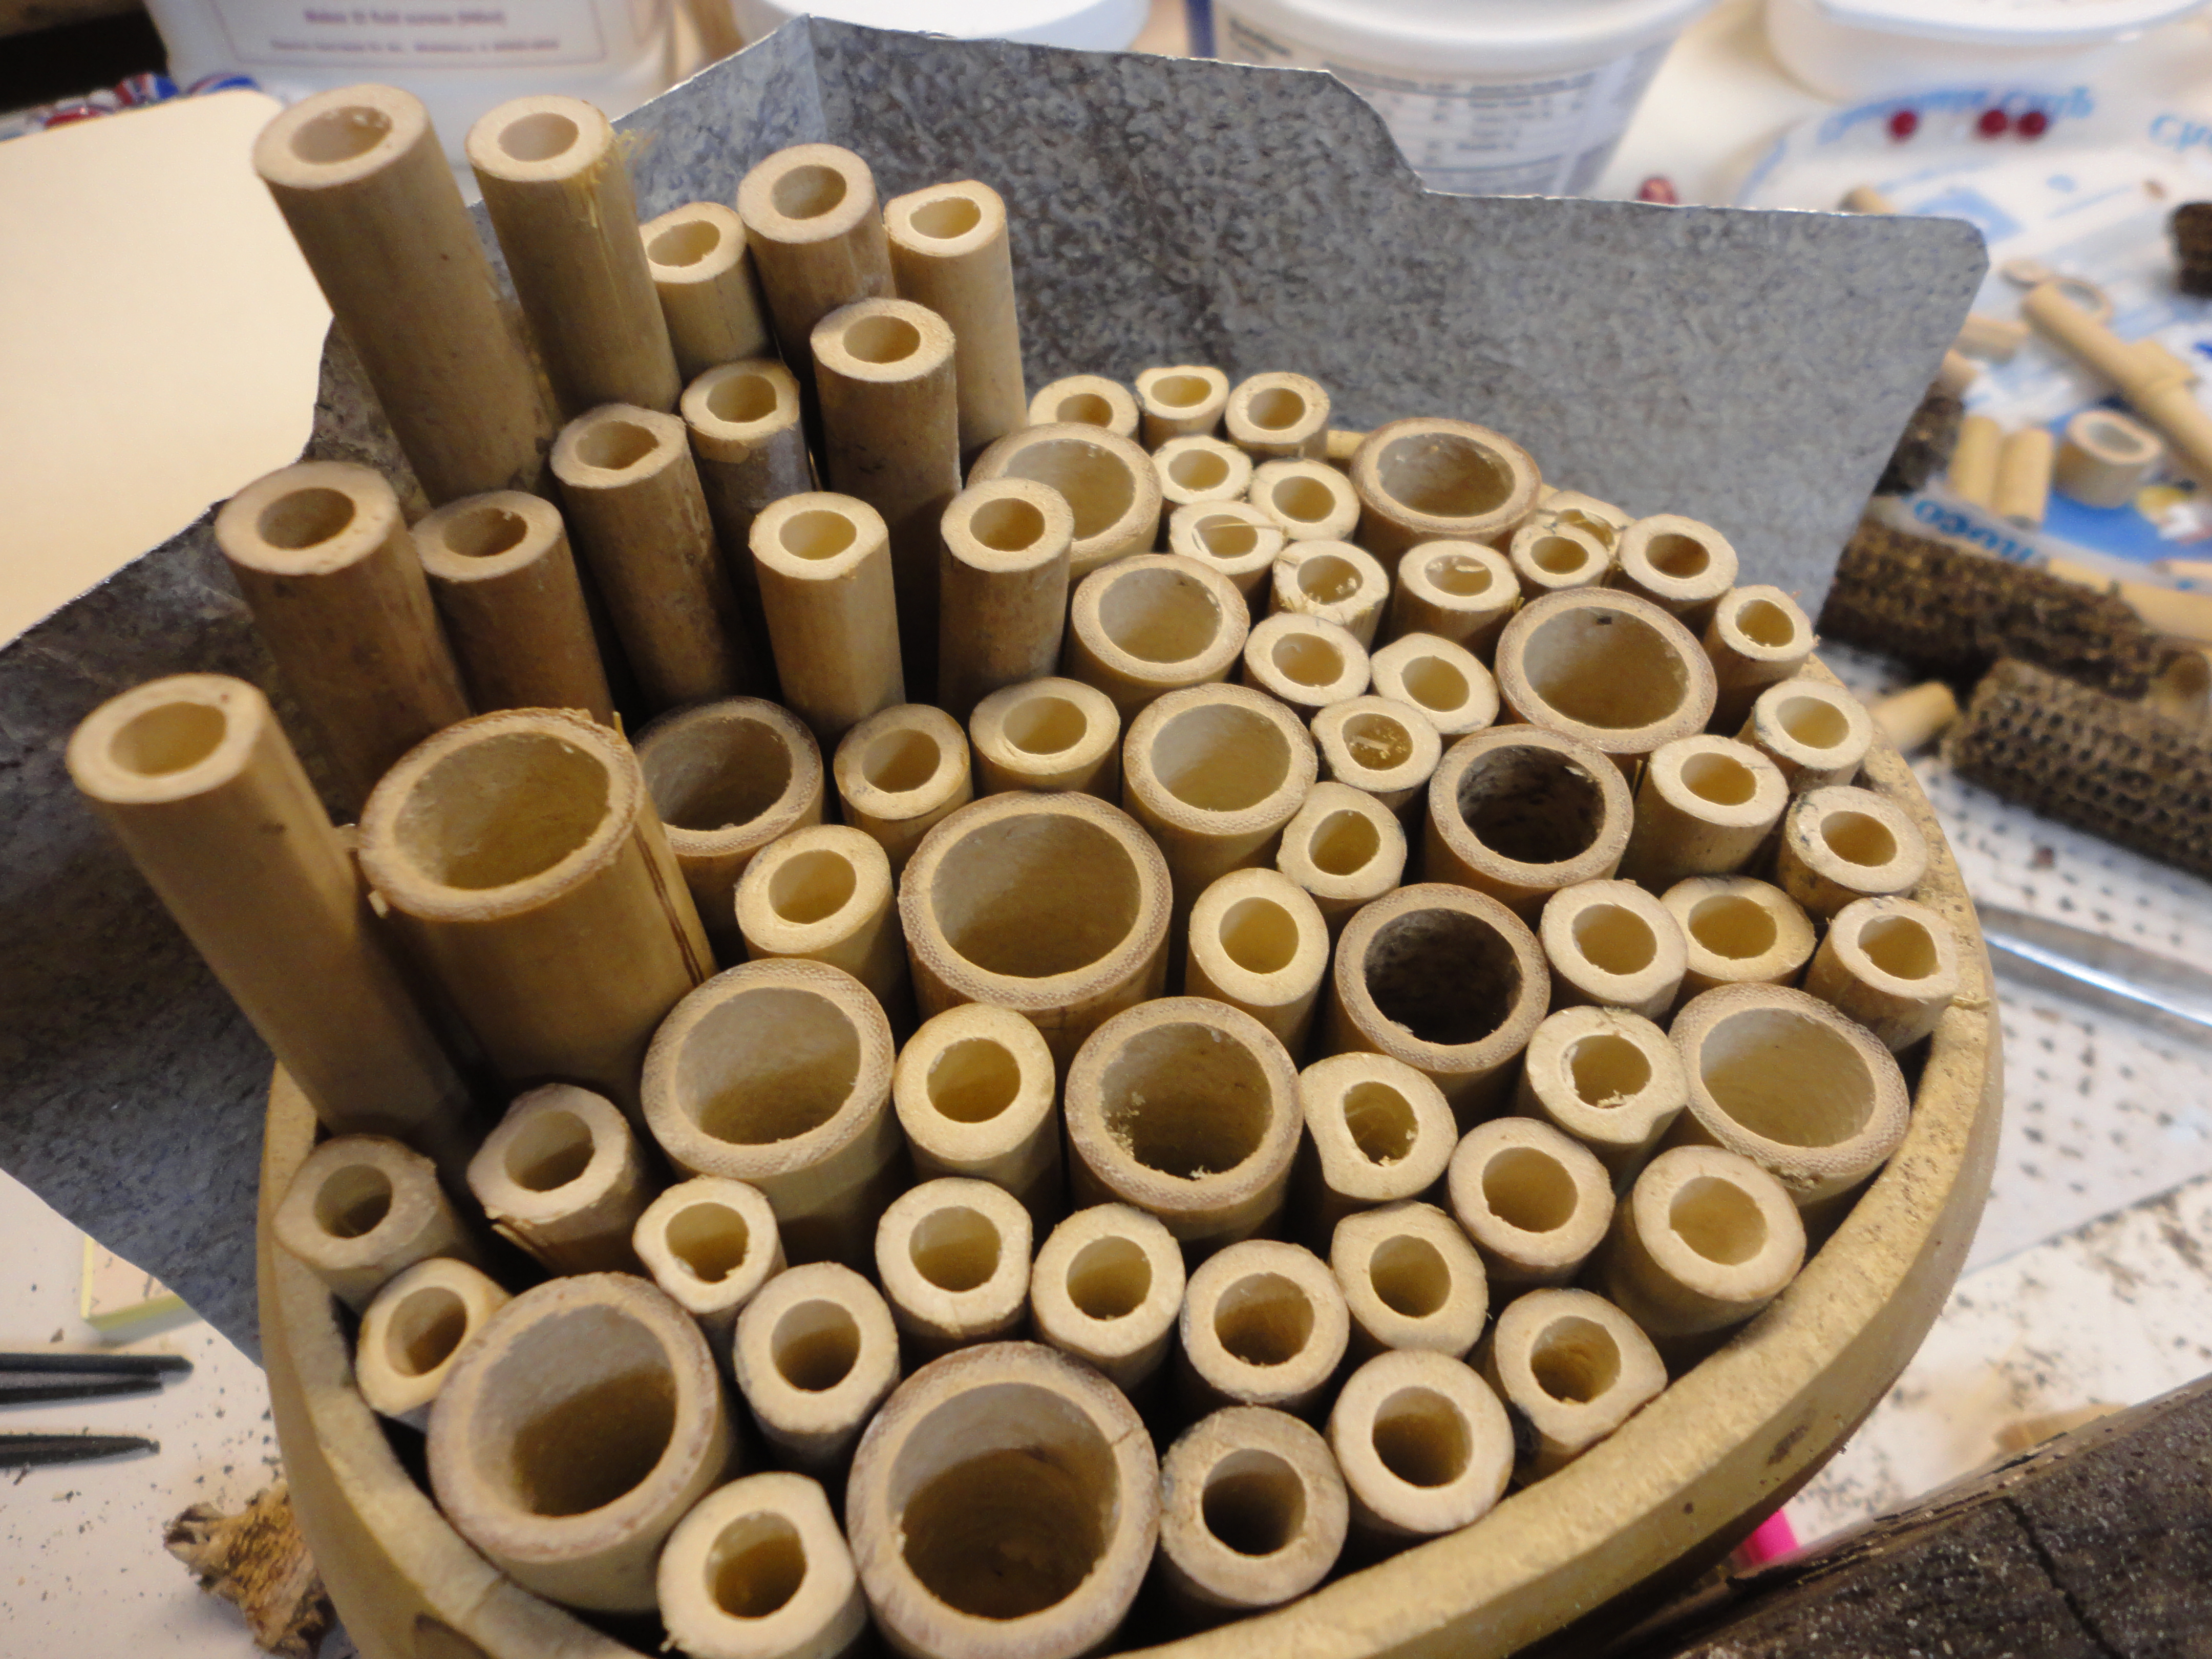
Adding the bamboo was a little tricky and took some time. I used a small tabletop scroll saw to cut the bamboo and drilled through any closed bamboo joints. Save all the trimmins! They’ll make cute little beads or embellishments for future projects.
Start in the middle with a bundle of 5″ lengths wrapped with rubber bands. To make a more level surface, I cut old corn cobs lengthwise, broke them in half, and surrounded the base of the bundle.


Mark bamboo and cut to surround the bundle. Hold in place with tape. When nearing the side, tuck in some small pine cones to fill in the curves, and maybe provide shelter for a few ladybugs. Things started to shift a bit as I added more bamboo, so I stuffed a cloth in the empty side and top to hold the bamboo in place. Pull the cloth out, a little at a time, as you fill in with bamboo. (Sorry, didn’t get a picture of this).


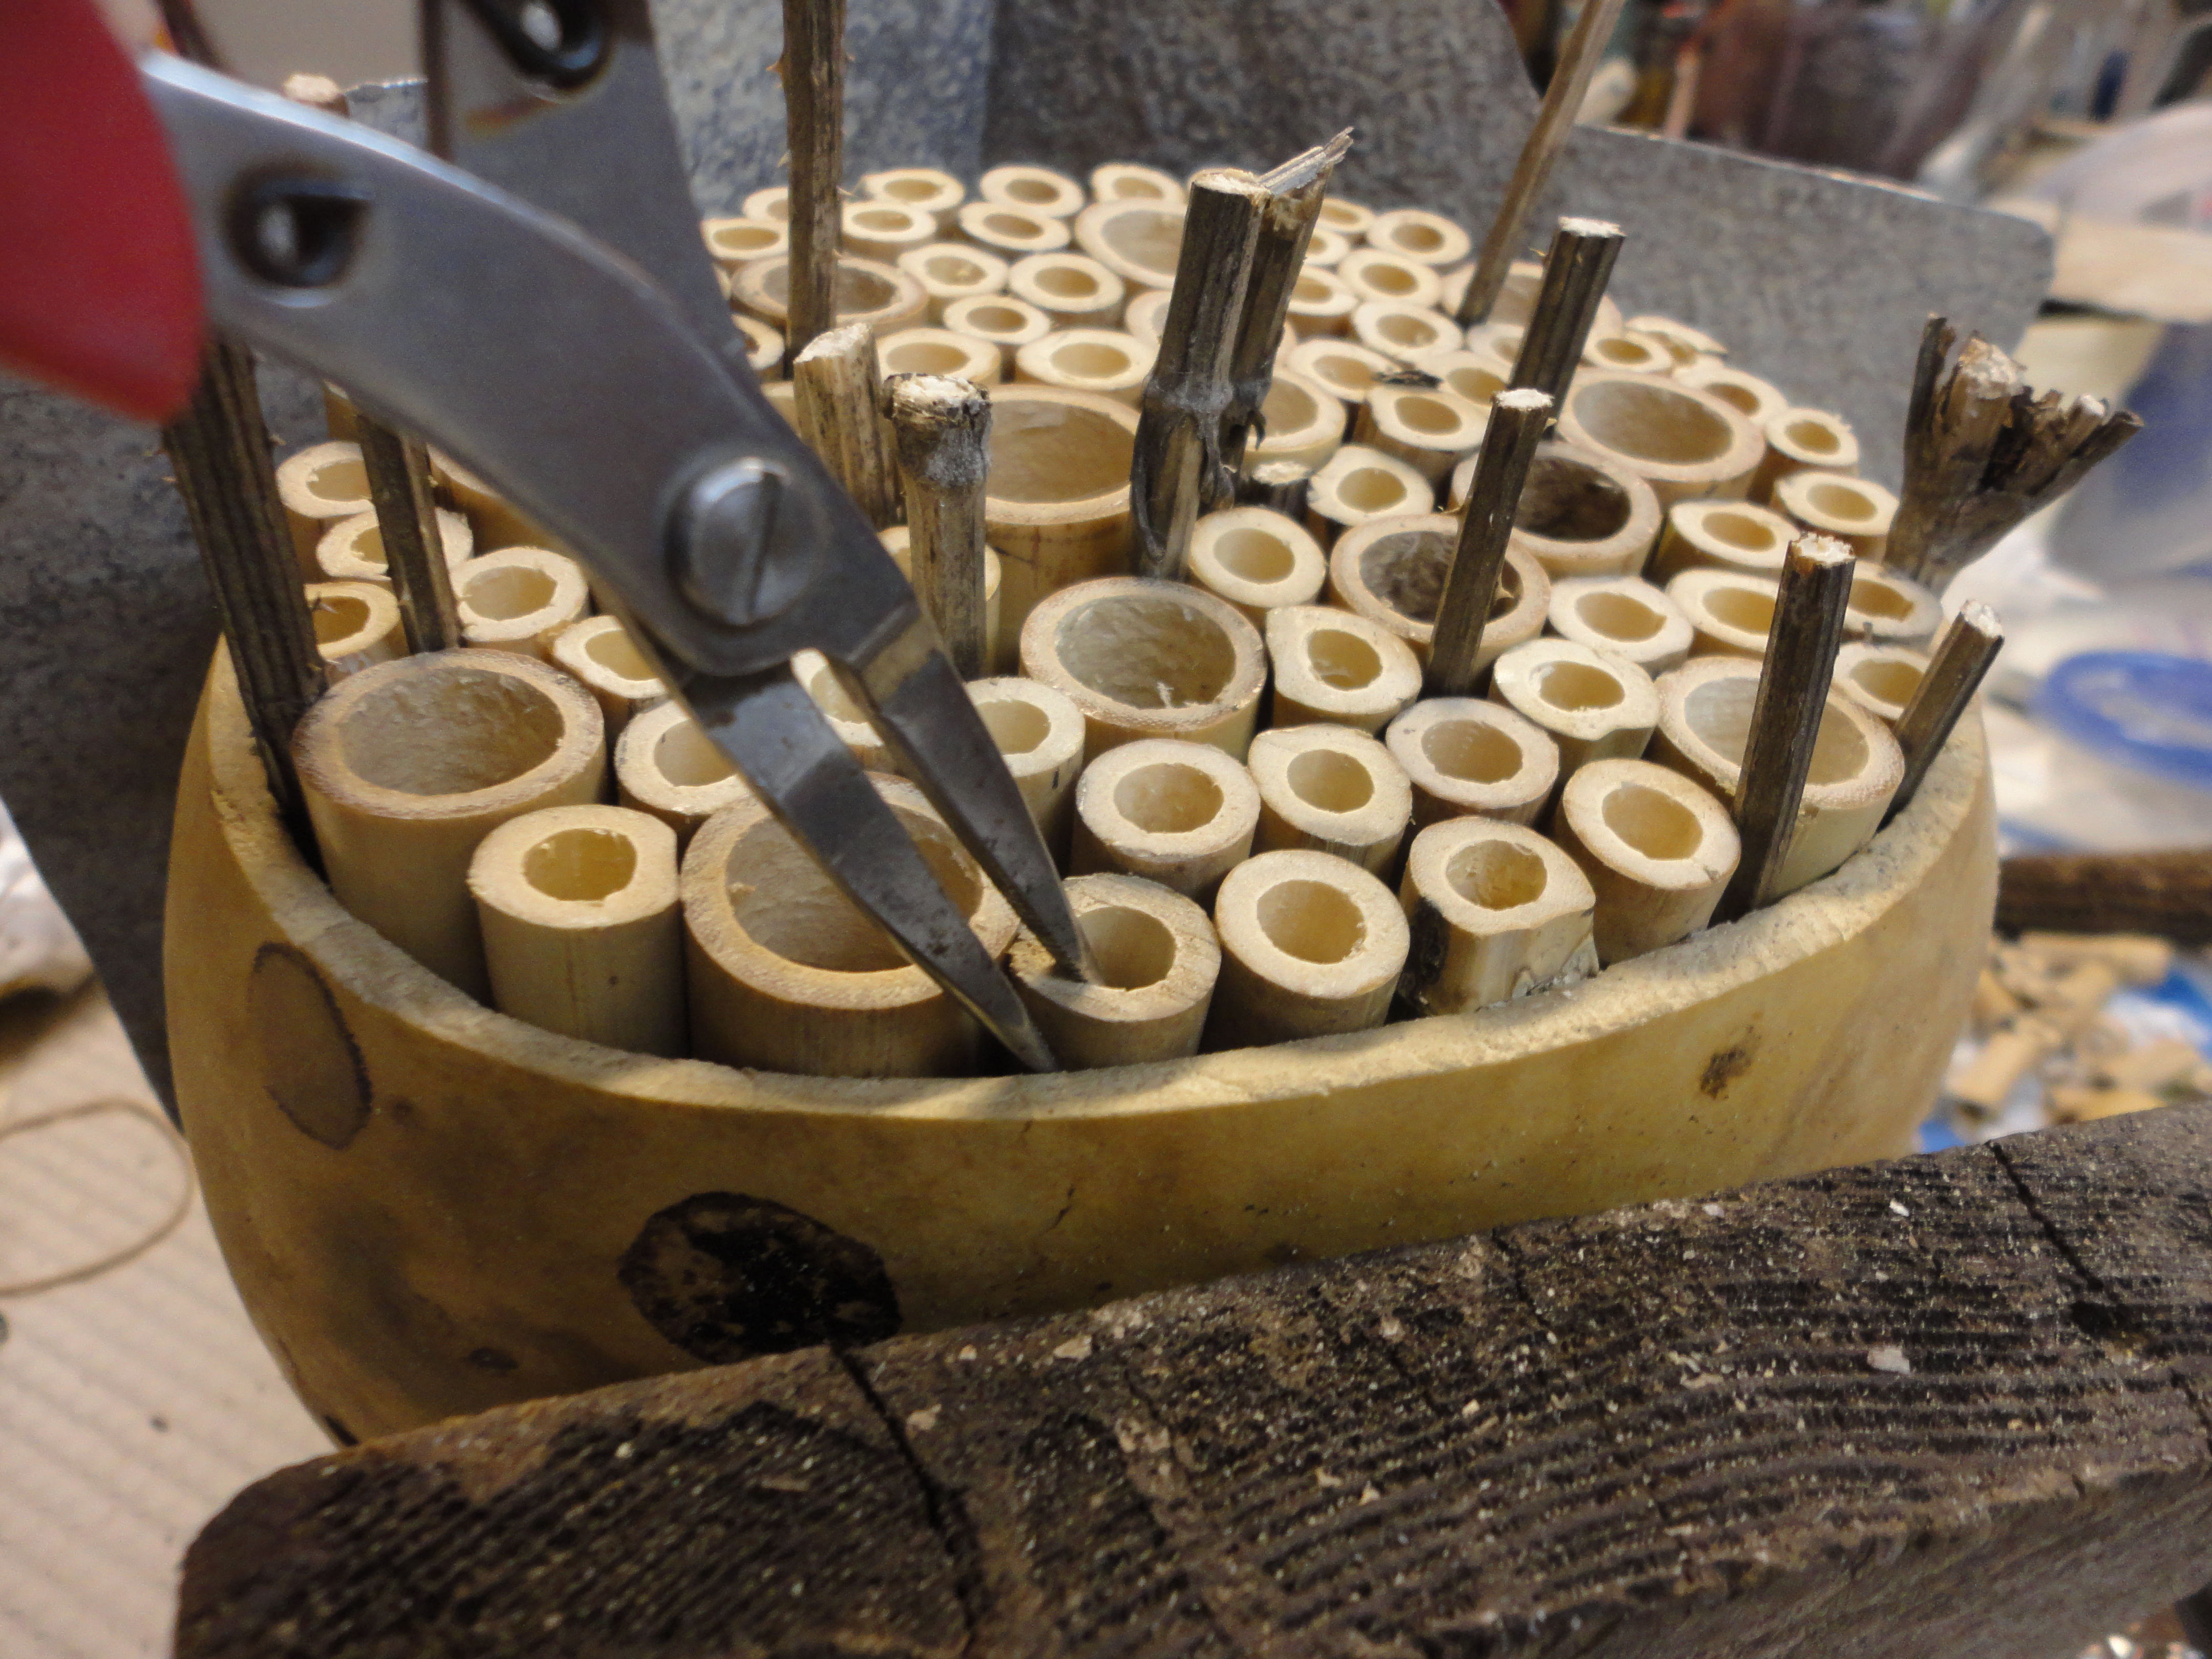
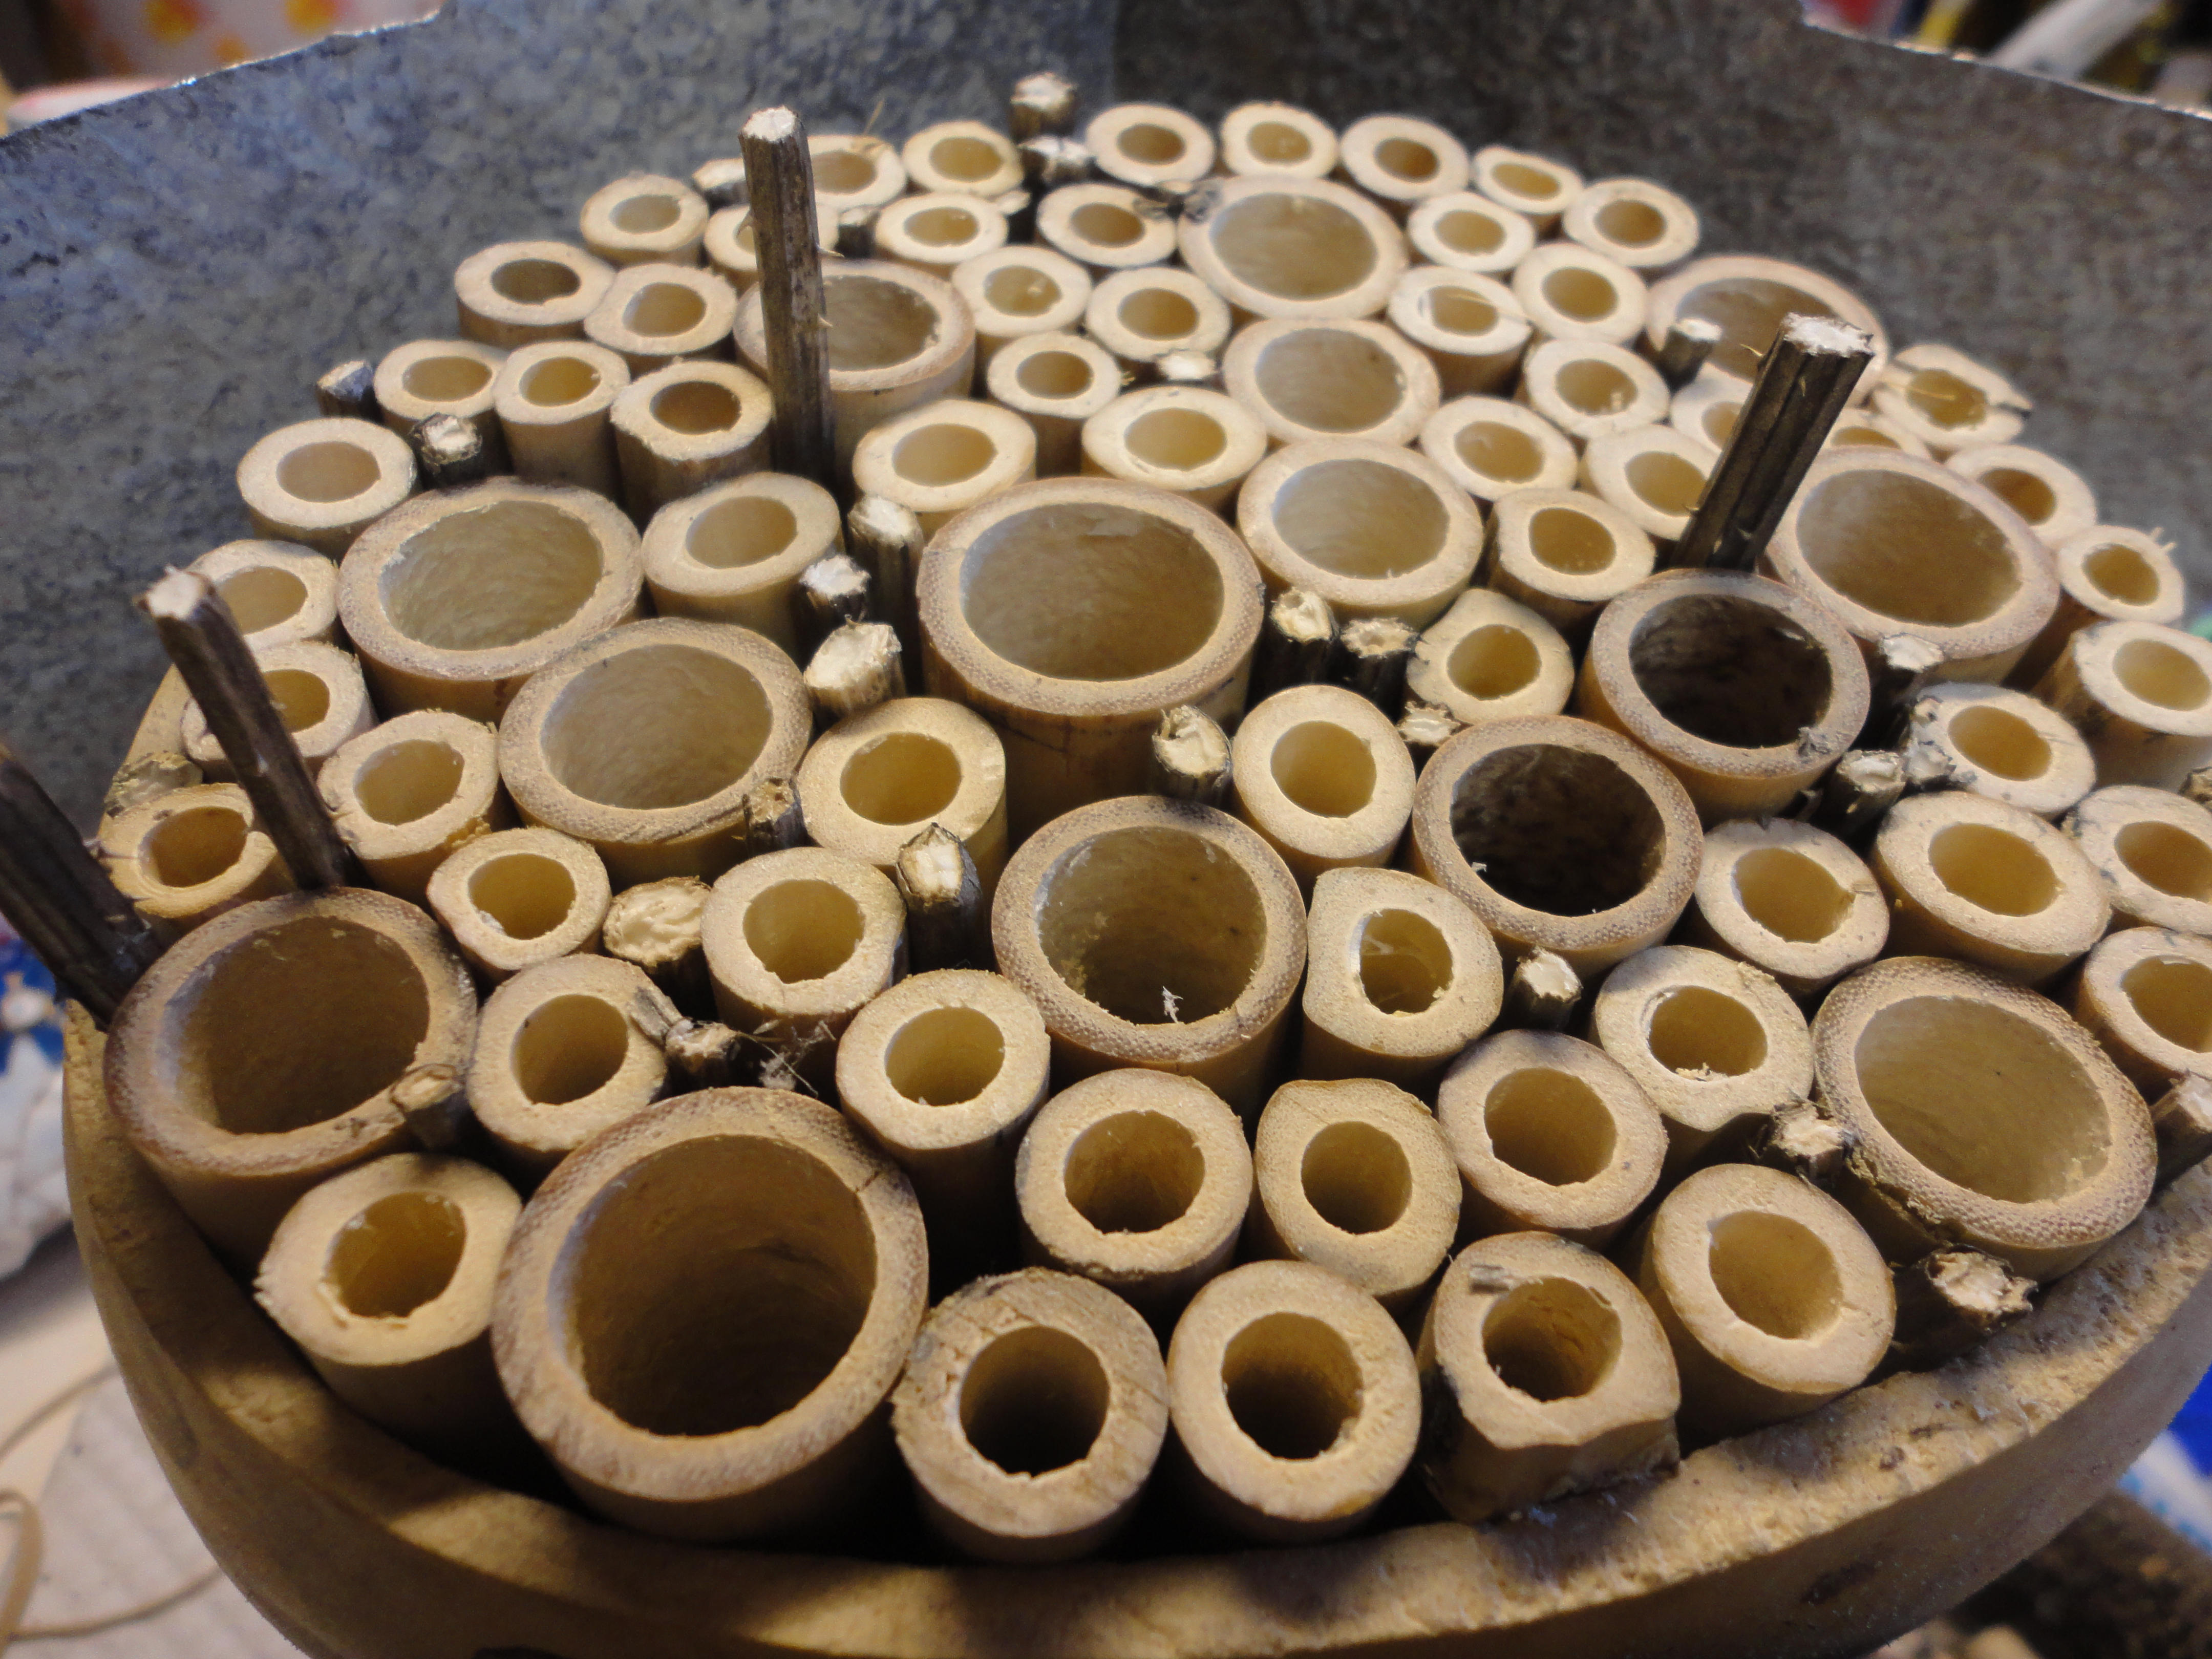
Scrap bamboo pieces quickly filled in as I neared the top, go back and cut them to fit. Dried Teasel stems were inserted into gaps to keep the bamboo snug and secure. You may want to wear gloves or use tweezers when working with Teasel, they are stickery. If bamboo pieces slide down, use small pliers to gently pull them back out flush. Trim off Teasel stems.
I felt a little something was needed, so I made a simple bee with a couple glass beads, leaving a couple inches of wire at the bottom to wrap around a Teasel stem, before pushing it in.

It’s ready for permanent occupancy as soon as I round up a post to attach it to and get it set in a patch of Bee Balm in my garden. Or, I could wire to one of my apple trees in the grove, Hmm?
It’s recommended that the house faces southeast for the warmth of the morning sun, be at least 4 feet above ground, and protected from wind and weather. Mud is also needed for bees to seal in their eggs. I think all the water activities in my sand pile address any mud concerns. 🙂
What new spring projects are you working on? Please share ……


