My Sunflower Garden Gate DIY Tutorial

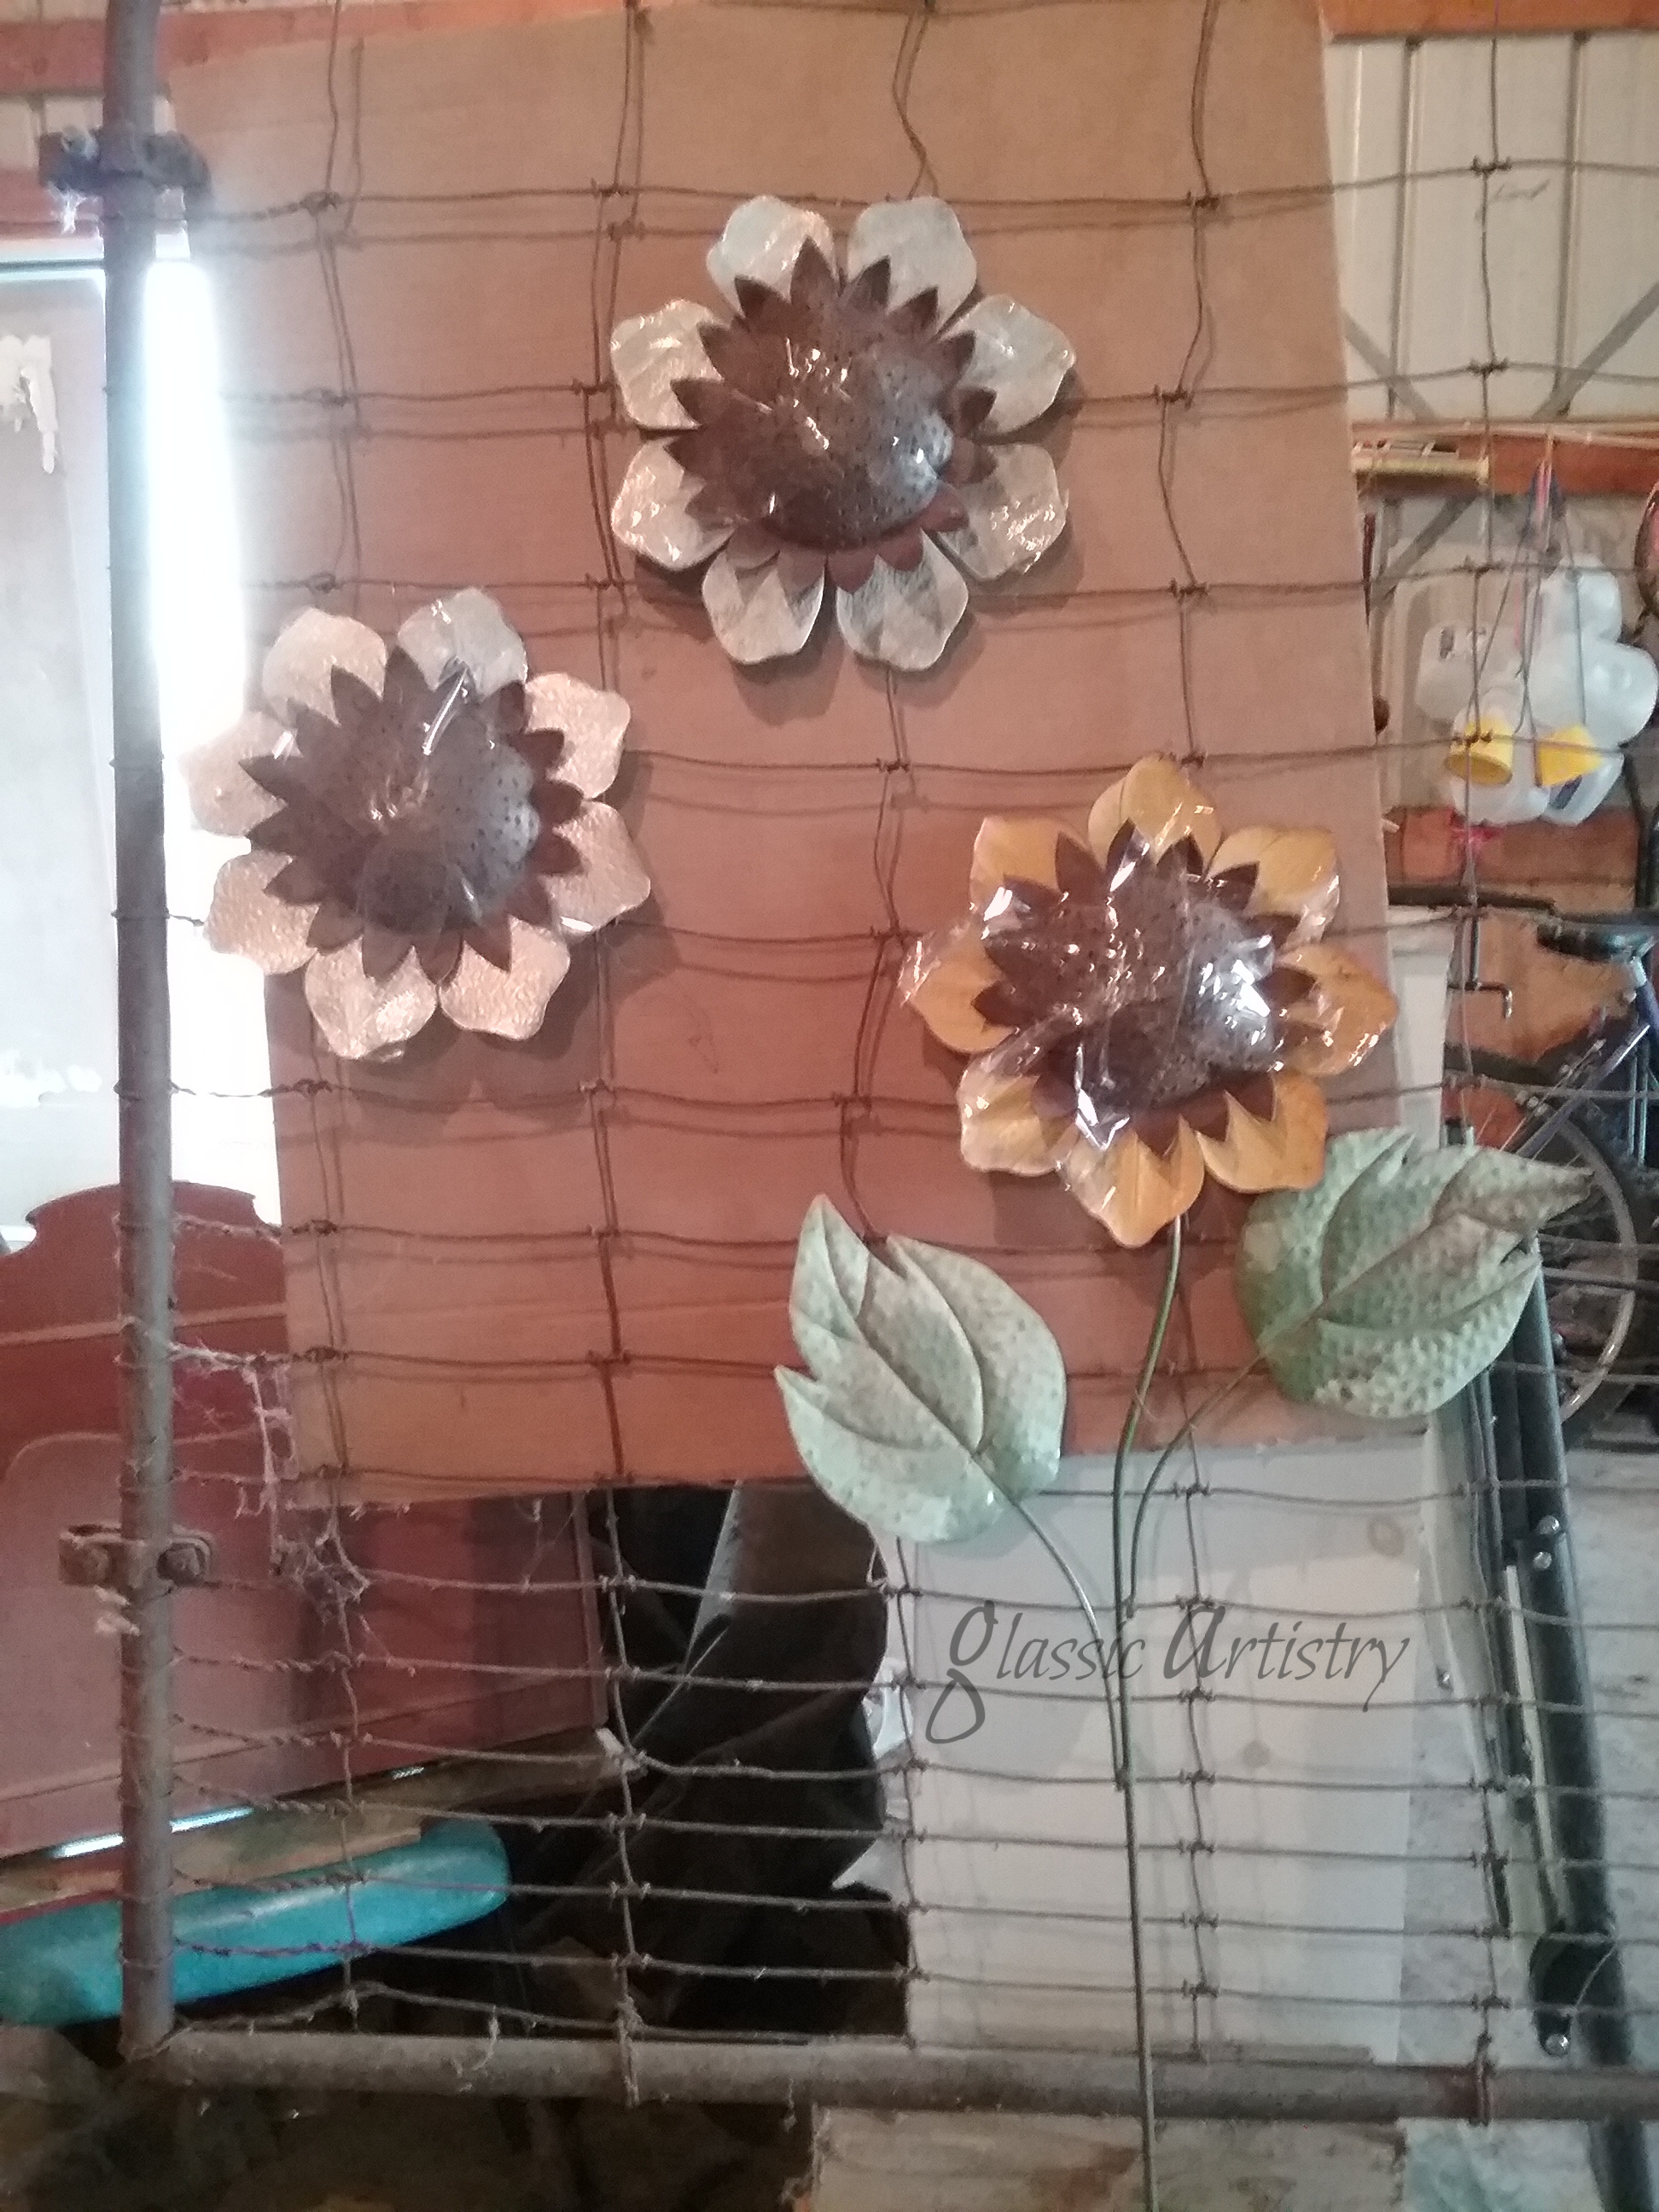
A garden gate was nowhere in my radar this fall. But, after pulling some beautiful rusty sunflowers from a pile of junk someone dropped off at our house, I had to use them. Having a husband in the salvage business does have its rewards. Anyway, they were on tall stems and looked like they had held a candle or solar light of some sort.

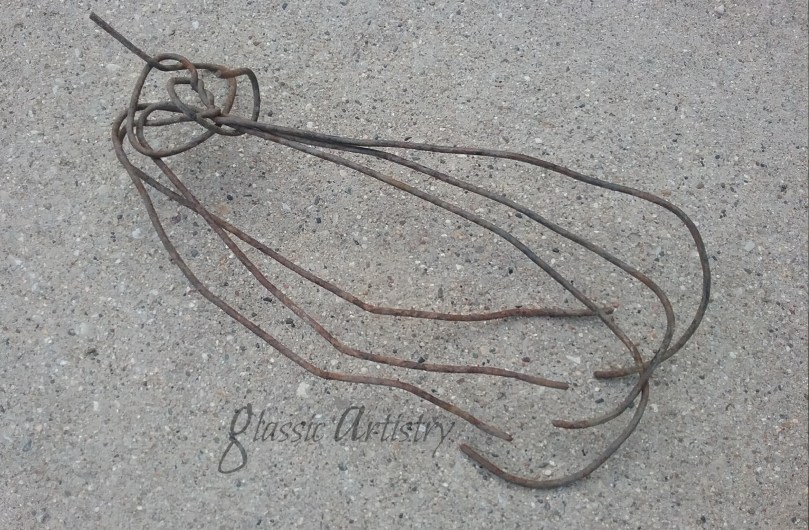
I laid them on a rusty gate, along with a faded, metal flower. The materials looked good together, but the sunflowers were too small to use.  The yellow flower would be the perfect size, but I only had one.  What to do? 

I left everything laying out, pondering over them as I piddled around with other things.  I really wanted to use those rusty flowers, I just wished they were bigger.  Could I do something to them to make them look bigger? Put something behind them, and make them the centers? That was it!  Once I began looking at them as the centers of flowers, things started coming together.  

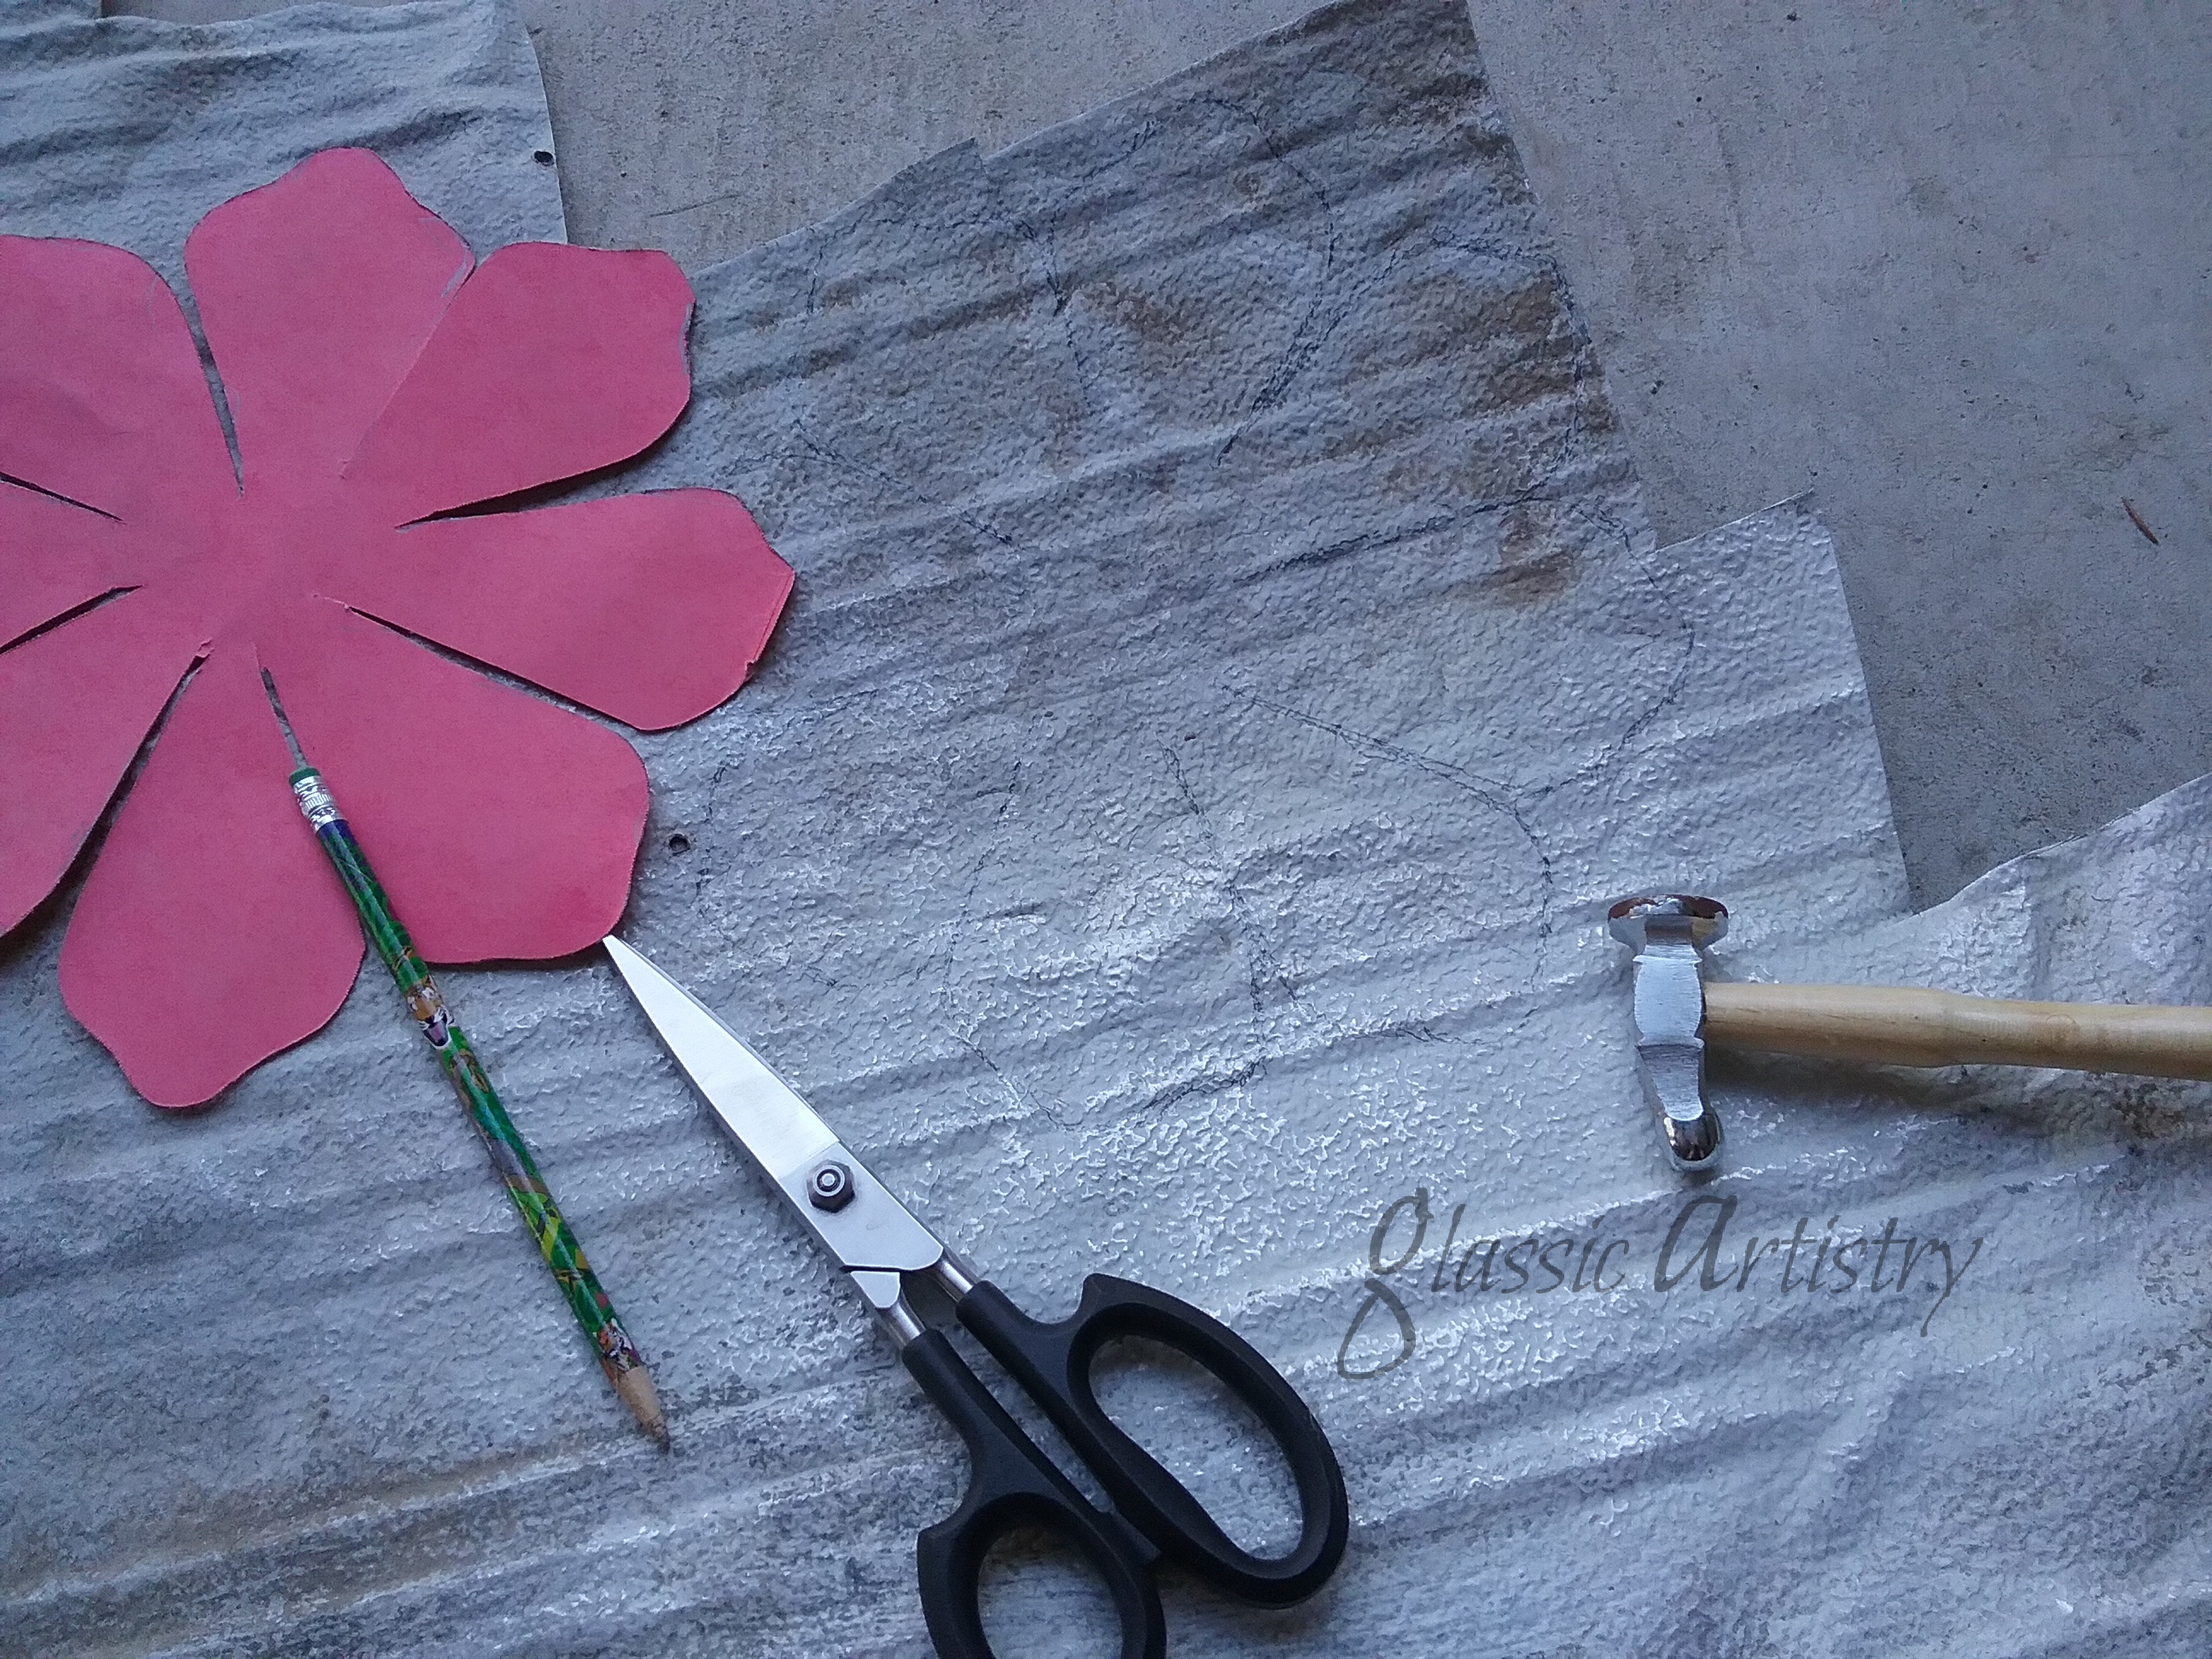
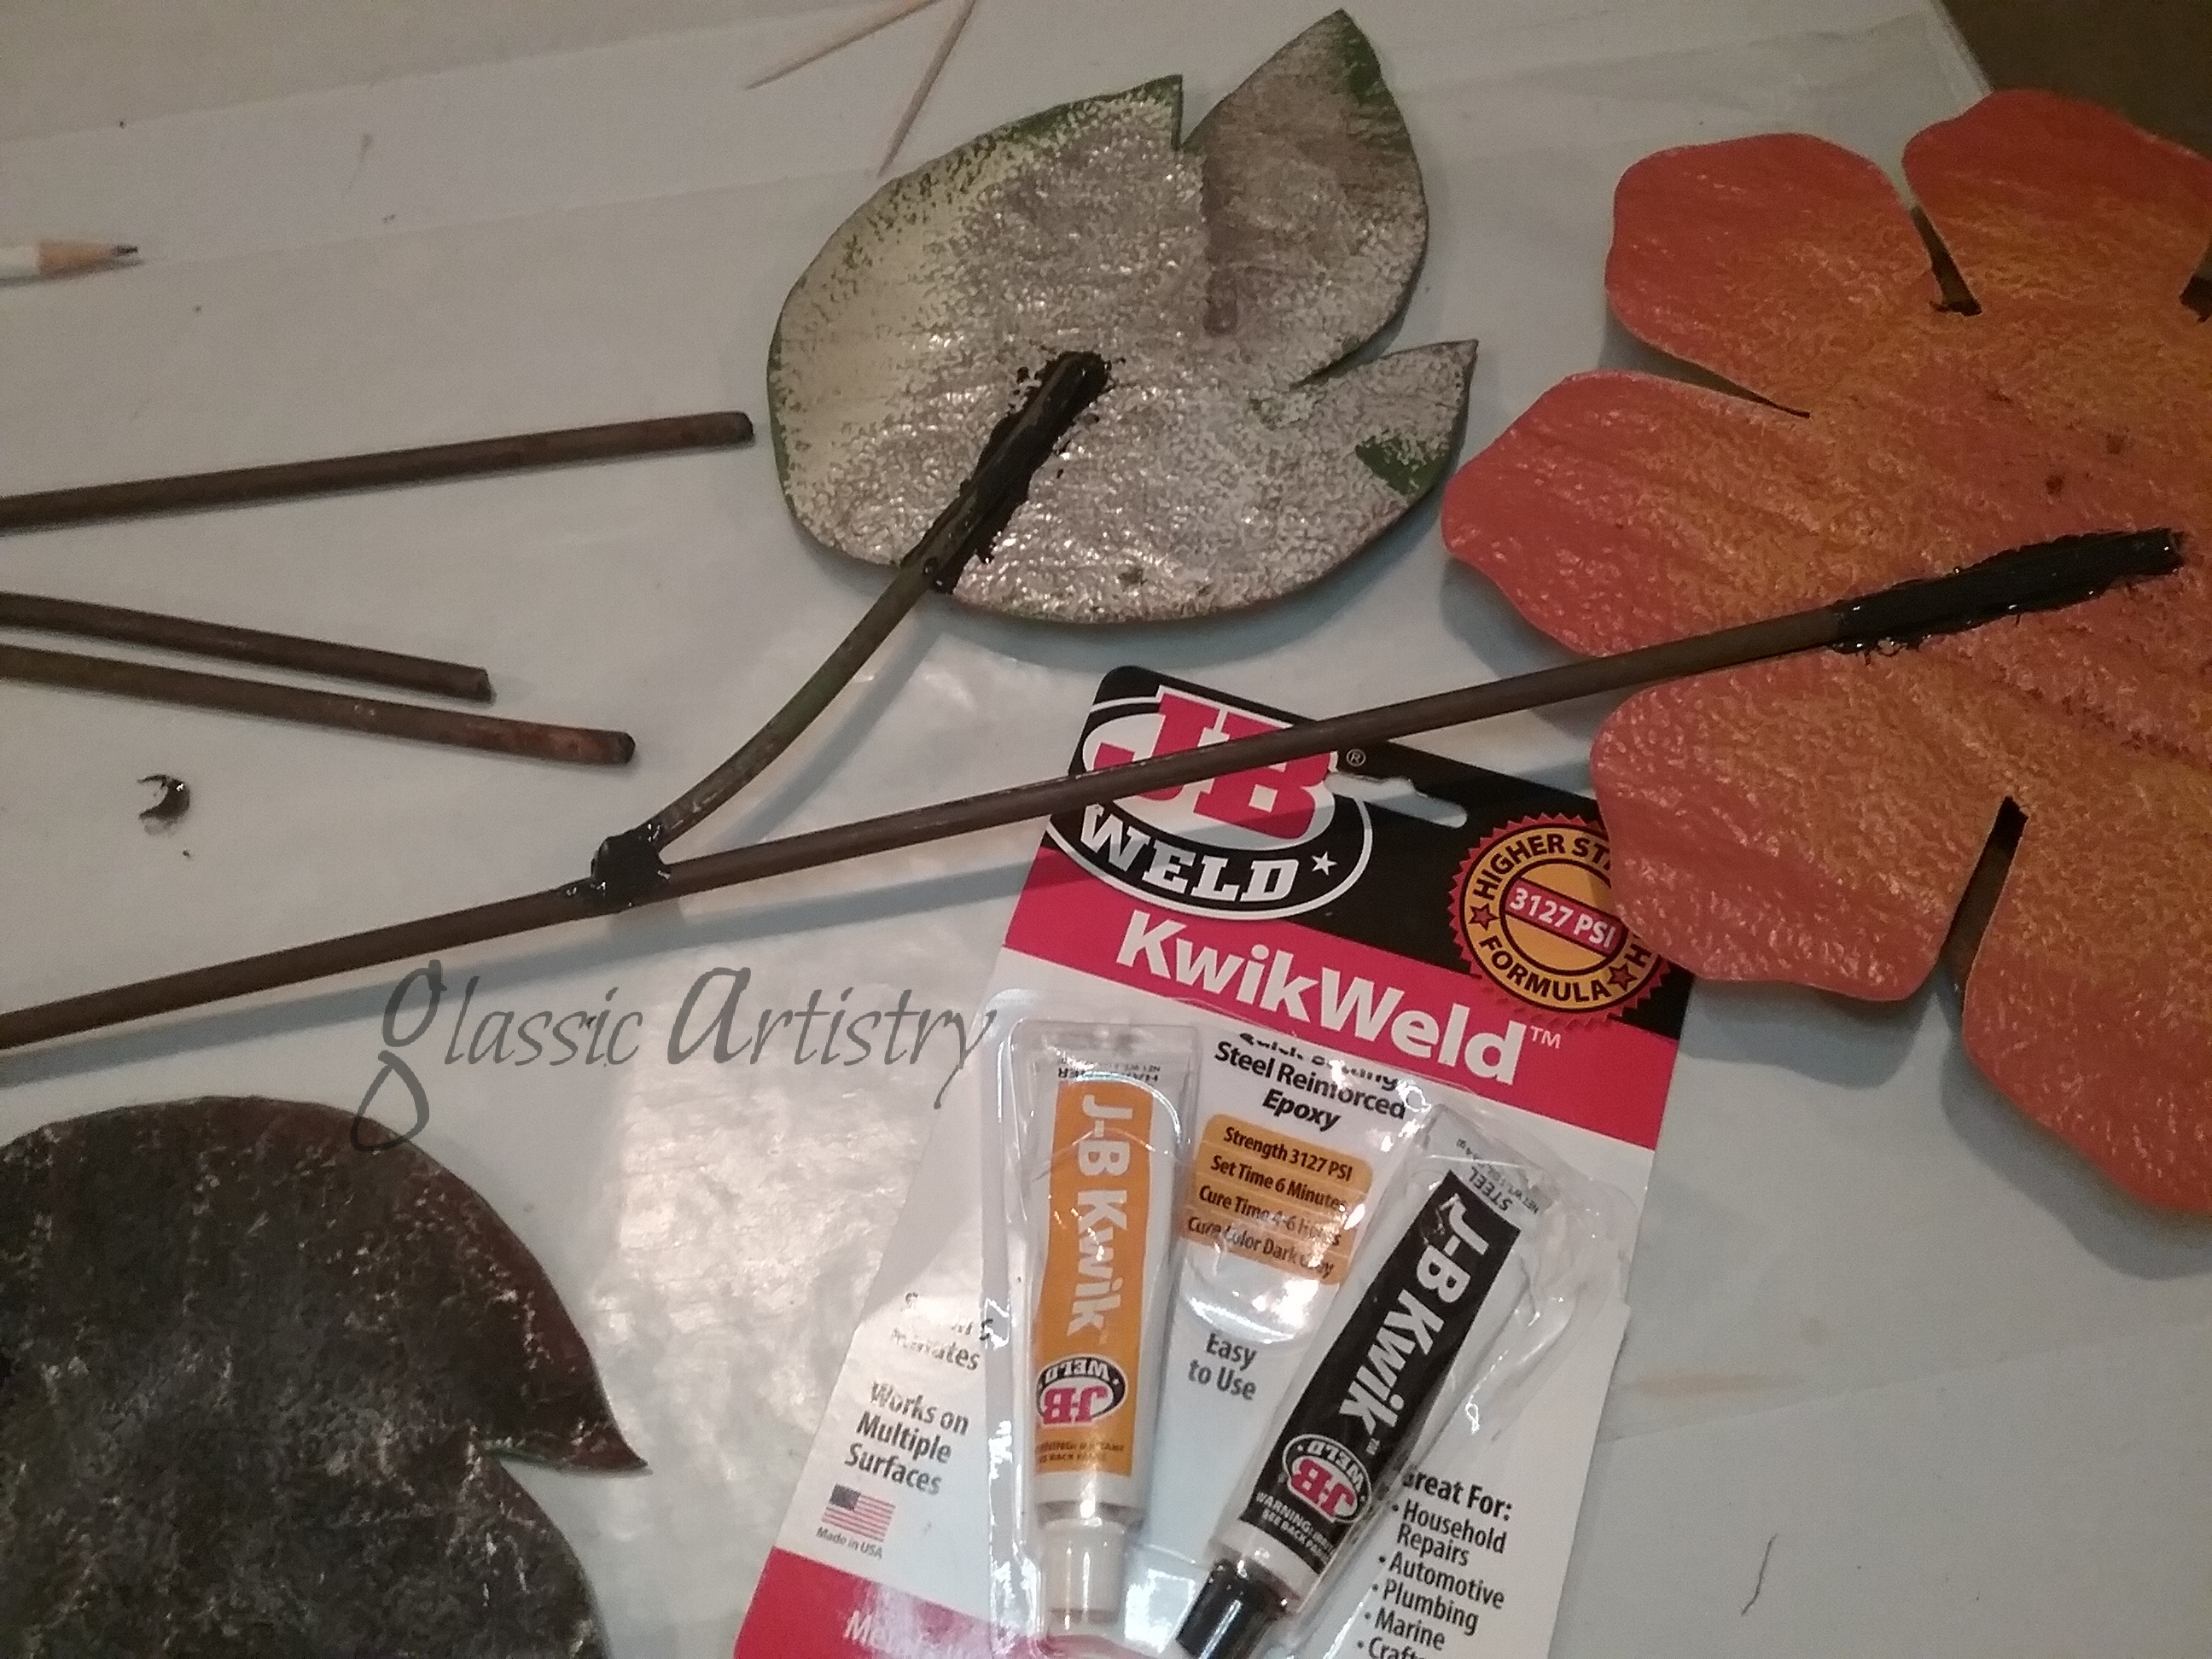
The plan – cut two new flowers from scrap aluminum, using the yellow flower and its leaves as a pattern, then give each a rusty flower center to pull them together. 

First, the sunflowers had to be taken apart.  With my husband’s help, the welded hinges and other small pieces were removed carefully with a low temp torch.  I slowly pulled them off with pliers as he controlled the heat.  The stems were saved for later.

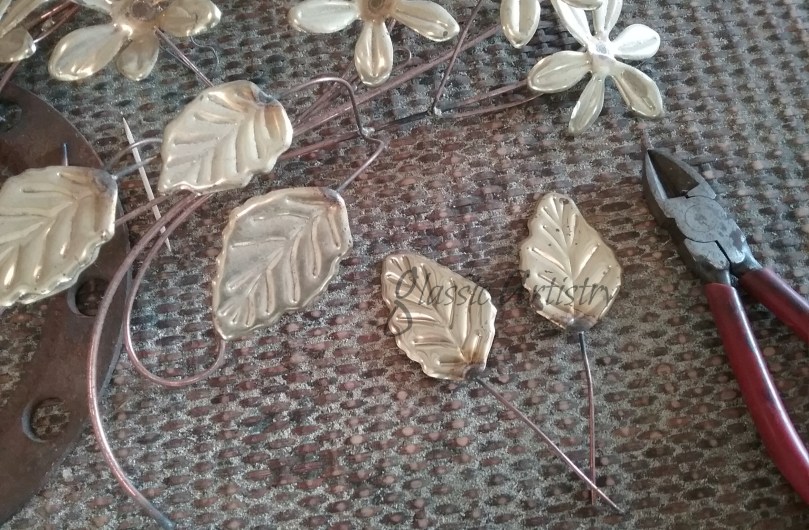
Flower pieces and leaves were cut from thin aluminum.

I taped the flower head pieces together and wired them to the gate to determine their placing. The leftover stem pieces were held up to the flowers and cut to the lengths needed, making sure they were long enough to go behind and be glued to the back of the flower.  The placing of the leaves was determined the same way.  Shorter leftover stem pieces were curved slightly and cut for the leaf stems.

File the sharp edges of the aluminum pieces.  Buff them with steel wool before priming and painting.

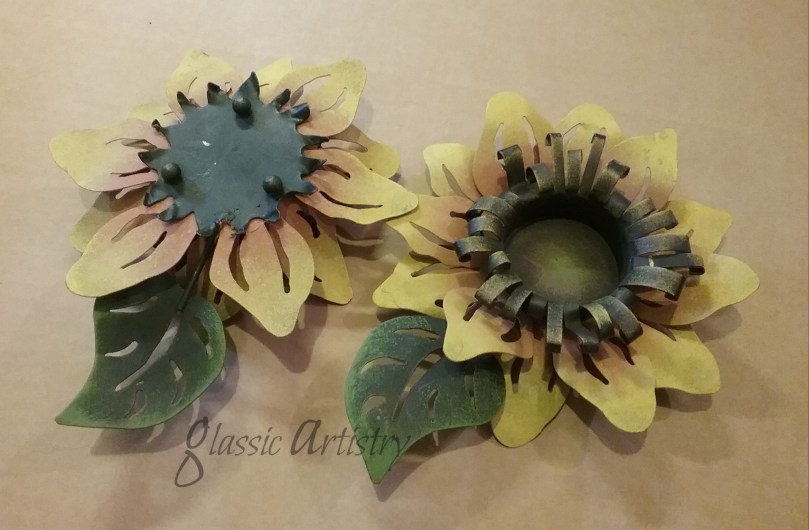
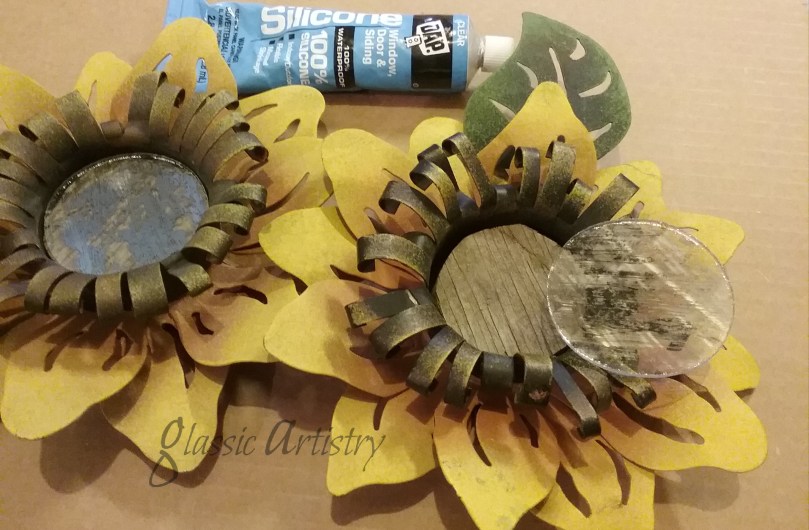
Glue the rusty sunflower centers to the front of the flowers.  NOTE – Always when gluing, the paint must be scraped from the surfaces to be glued – both surfaces must be clean and paint free. Let dry. 

The short curved stems were glued to the backs of the leaves.  Let dry.

The flower was placed face down and propped level to glue the stem to the back of the flower. Let dry.  Touch up paint, over the glue.

Glue leaves to the stem. Let dry.  After the leaves were dry, the flower was turned over and glued on the front of the leaf stems too. Let dry.  The stems and leaves were painted.

The gate was scrubbed clean and sprayed with clear sealer.

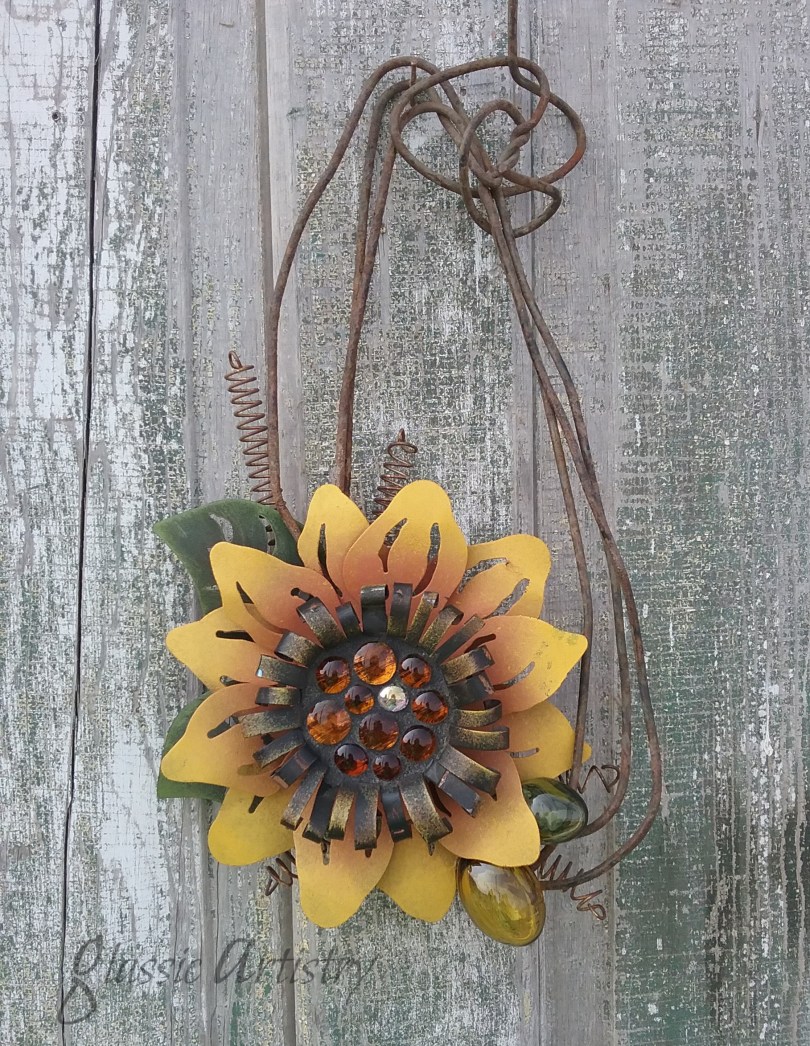
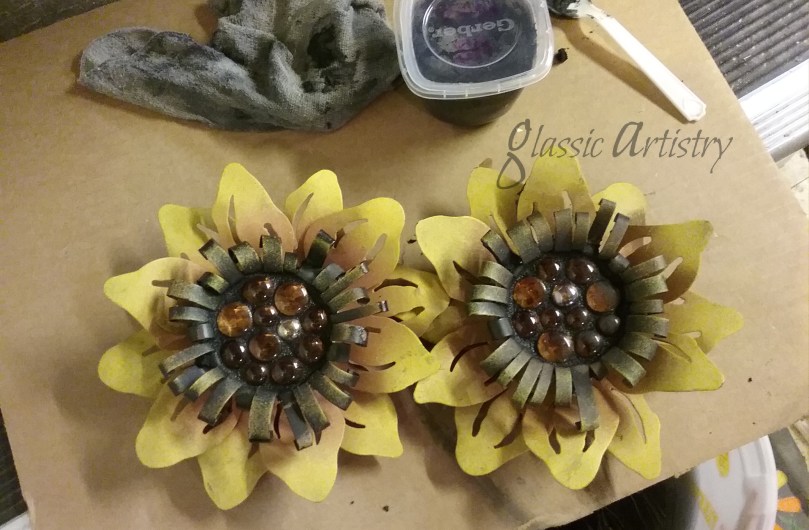
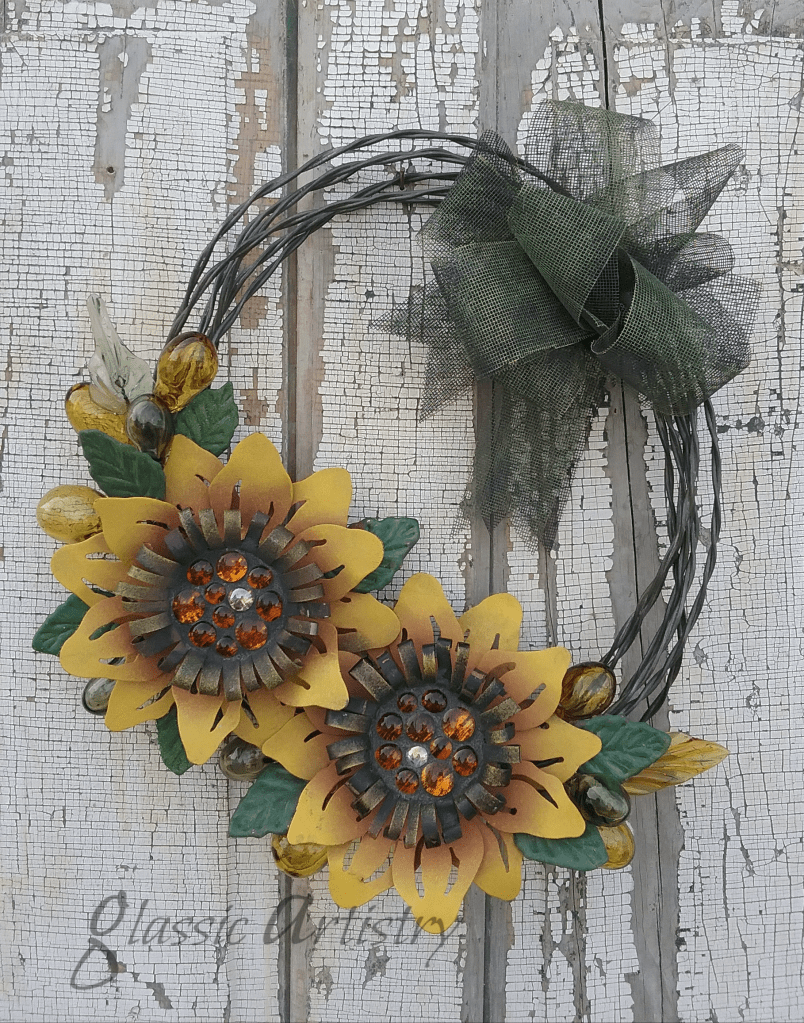
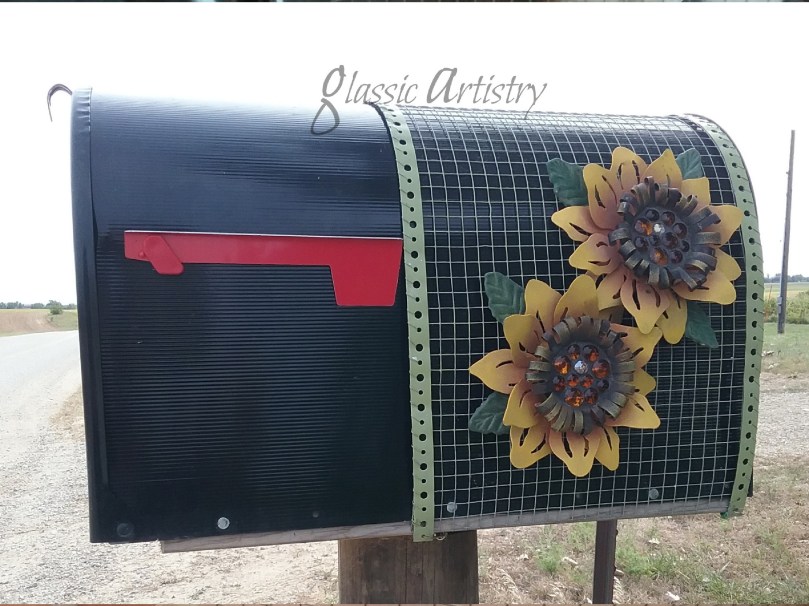
The flowers were wired to the gate in several places along the main stem and behind the flower.  Because they were glued on, I avoided putting any pressure on the leaf stems.   I painted a little green paint over wires that were showing.  A small amount of white paint was lightly sponged on the rusty centers. The thin aluminum petals and leaves were curved and shaped to add dimension.

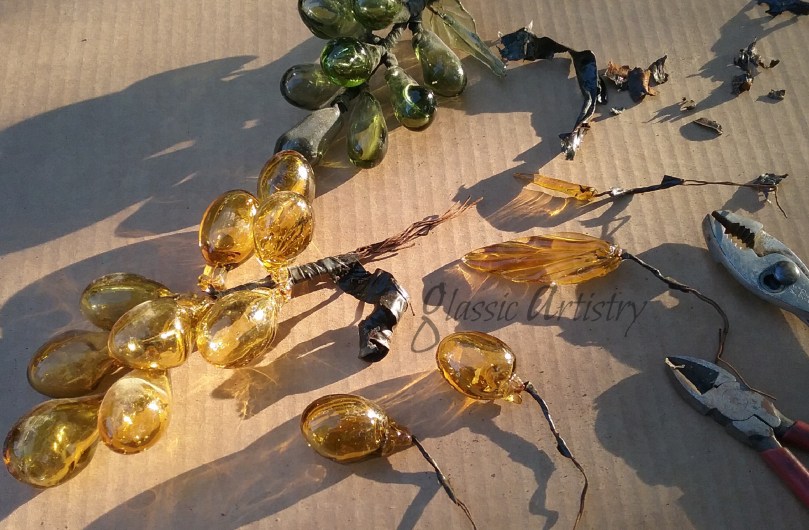
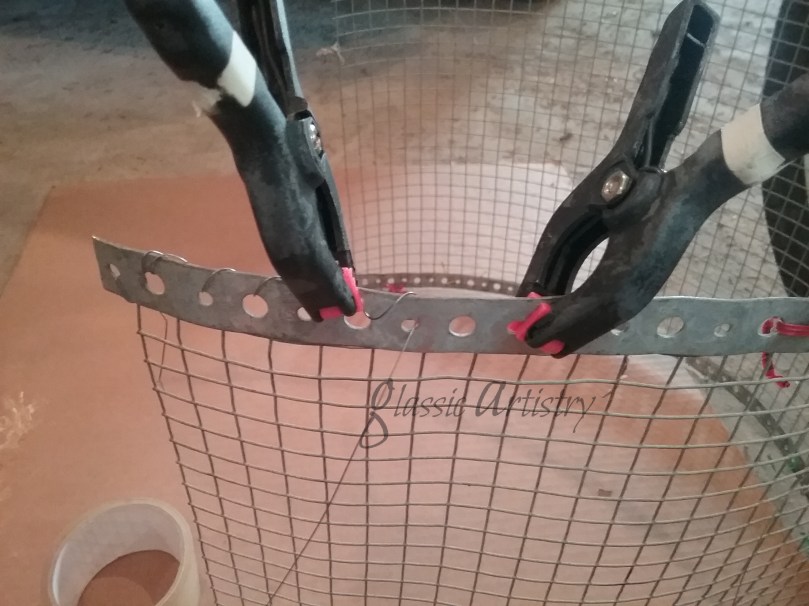
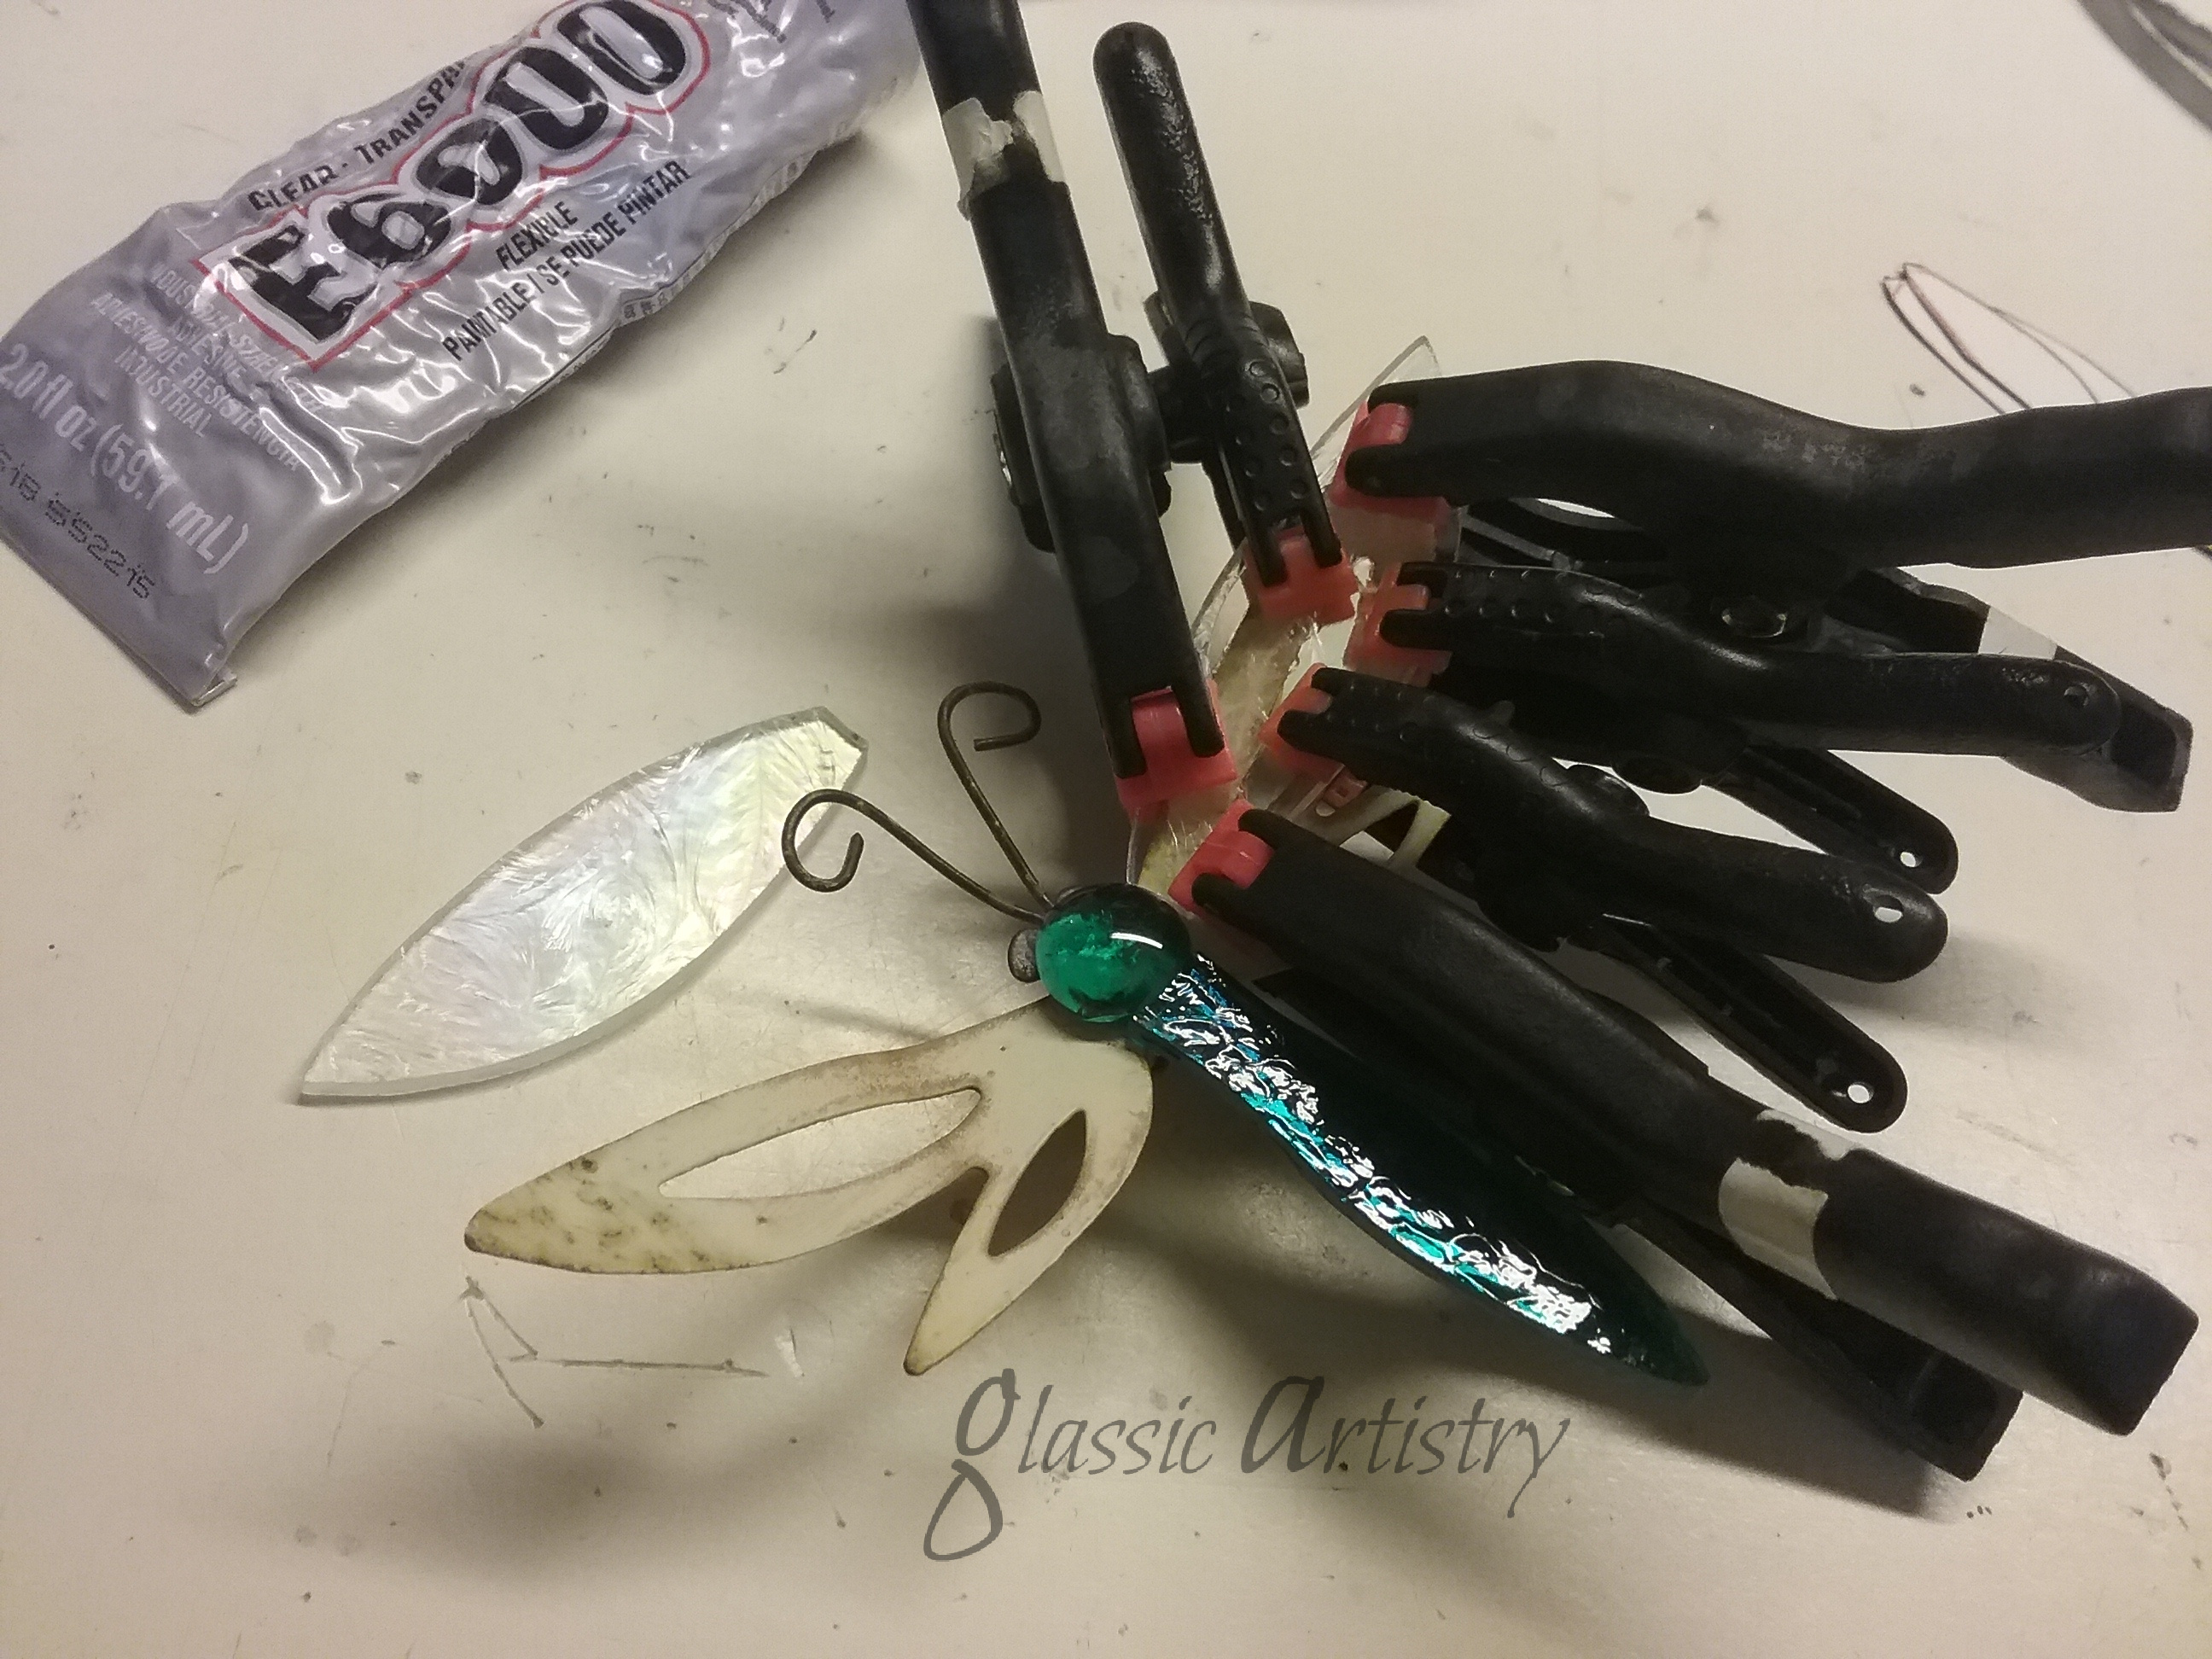
The little dragon fly from the yellow flower was wired on after it was brightened up with some glass wings and a nugget.  I don’t know what I’d do without my squeeze clamps.  🙂 

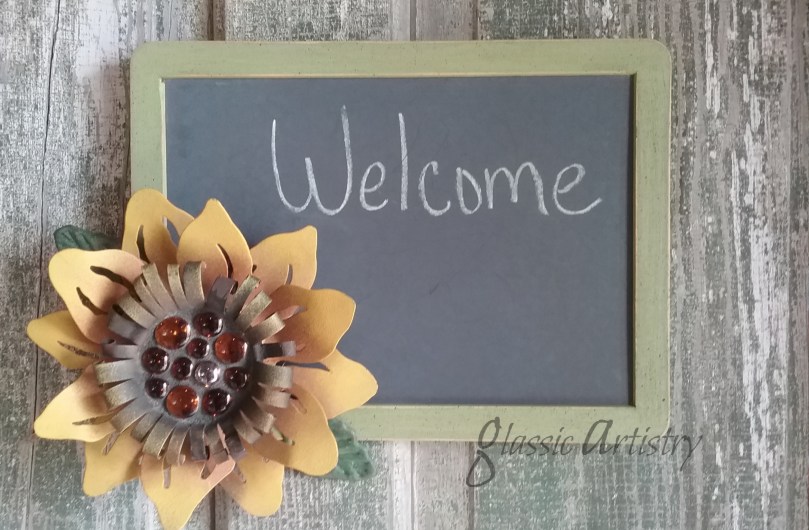
And there you have it!  Now, let’s just hope winter doesn’t get here before Thanksgiving.

I’m stepping clear out of my comfort zone with my next post and will be attempting an easy Christmas sewing project.  We’ll have to see how that goes …

Please, mask up, wash those hands, and stay healthy and safe my friends, I’ll be back soon.

Rustic Sunflower Fall Wreath DIY and A Bit More

Oh, how I love spending long, fun filled Fall days full of junk jaunts and tag sales with my daughters and sisters.  With all the virus concerns, we’ve not been out to any all summer, but are hoping to get masked up and maybe squeeze one in next month.  While poking around in my overloaded garage, sorting and tossing, I’m discovering a lot of treasures from our past outings, recalling the plans for them, and remembering some of the crazy times we had. 

One such past find was a pair of metal sunflower candleholders; perfect for Fall decor.  It really makes my day when I find a treasure like this to bring home, repurpose, and play with. When I found them, I knew right away I’d be filling the center with something.

The small round legs popped off easily with pliers.  The leaves were removed with bolt cutters, and saved. To build up height in the centers, a small circle of ½” plywood was glued into each one.  I wanted some shine to show through the translucent glass nuggets I would be using, so I cut circles from a discarded piece of antiqued mirror to glue over the plywood. Small circles of thin metal could also be used in place of the mirror. Different sizes of amber, brown, and clear glass nuggets were glued to the mirror, leaving a small space around each one. After letting the glue dry 24 hours, the nuggets were grouted with sanded grout.  I mixed a small amount of brown paint with my black grout to get the color I wanted.  Let grout dry overnight before sealing.

Searching through my stashes, I found an awesome piece of rusted steel wire and some beautiful green and gold blown glass grape bunches.  The wire,  I pulled from a salvage pile last year, and the grapes were found in an antique mall in Texas several years ago. They had broken leaves, and I paid a bit more than I would usually do, but they were so darned pretty.  And now, I’m really glad I did.

Not being one for flowery, frilly things, the wire piece worked perfectly for my taste; I could use the twisted wire knot to take the place of a bow.  

With 22ga, thin black wire, the flower was wired on first, then the leaves, and grapes.  I added some rusty springs to give it just a little bit more. 

I love the versatility of projects like this.  These sunflowers can be attached to just about anything, and used indoors, or out.  I did a little playing around with some other ideas too, and thought I’d share them just for fun.  You’ll have to let me know what you think ..

Keep it simple.  Paint a couple metal leaves to add around a flower; attach it to a chalkboard, or a welcome sign.

 A wire wreath is big enough for the pair. No ribbon for a wreath bow?  Cut strips of fiberglass window screening and loop one.  There’s easy bow instructions on YouTube.

How about a mailbox cover?  A metal nail strip was stitched to wire hardware cloth and shaped in an arch.  Hold it in place underneath with mini bungee cords.  

For an open porch, I think a small arrangement with a sunflower and raffia would look great too, tied around the neck of a milk can filled with tall florals, or ornamental grasses; but I didn’t have time, a porch, or florals to get that put together. 🙂

A wide variety of small, inexpensive metal and glass pieces can usually be found at garage sales, and tag sales, so keep an eye out if you like repurposing and working with salvaged materials.  It’s good to get in the practice of looking at a piece and taking it apart in your mind to see how it’s parts can be used in other ways before carting it home.

Please feel free to comment, or share my post if you like. Take Care and Stay Healthy.