

I’m back with a little something random to get the summer season started.
I love watching and listening to all the birds that visit our farm, but I swear the robin population is doubling every year. They are super fast nest builders and will get in every nook they can find. My husband has even had to remove the beginnings of a nest out of the grill of his truck the last few mornings, it’s crazy. They can get a little aggressive when watching over hatchlings learning to fly too. I once had one repeatedly swoop down on the top of my head while I attempted to hang clothes on the line, not realizing her baby was on the ground nearby.
The idea of robin roosts came to mind when we were getting ready to toss a small pile of wood scraps. Why not get a little more use out of the lumber and give our feathered friends a few other options for nesting? It was a plus plus!
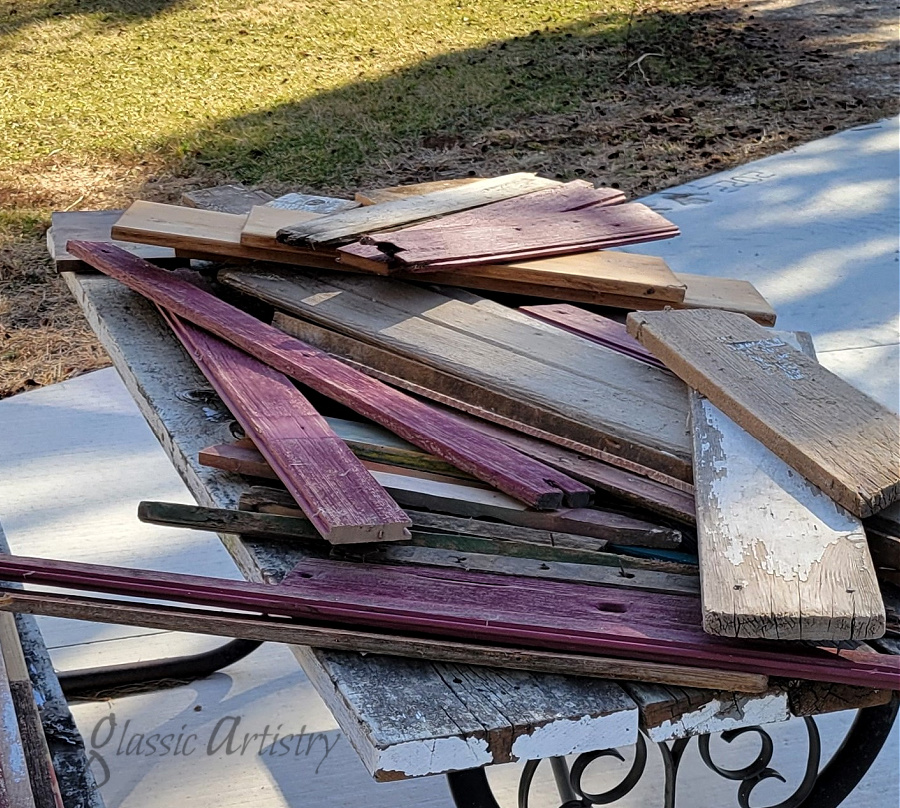
I’d consider this a weekend project; no right or wrong way, just using what you have along with a table saw, nail gun and screws.
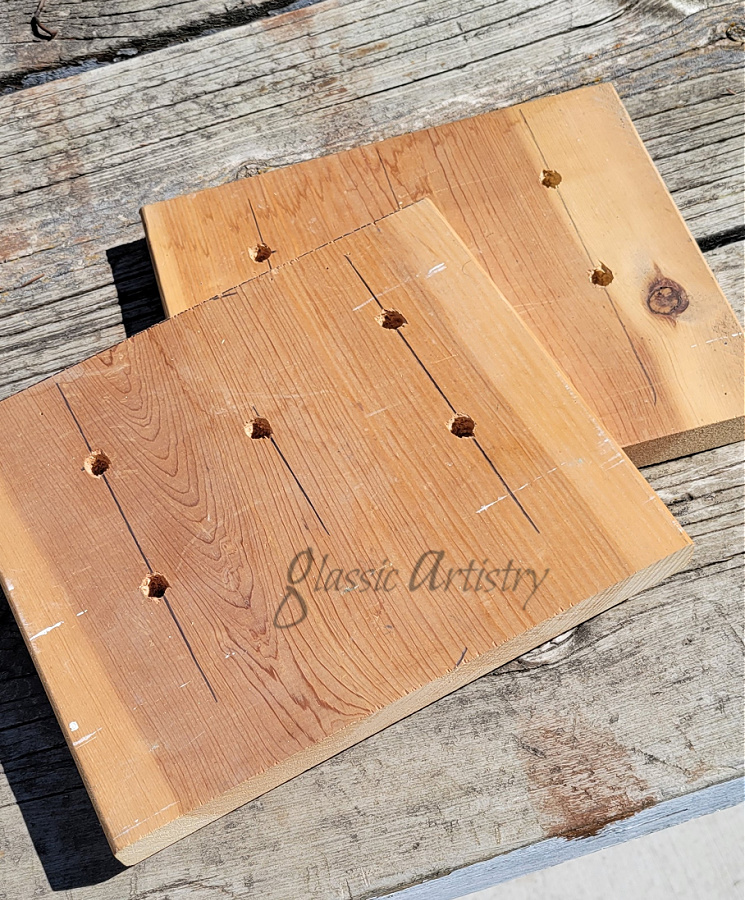
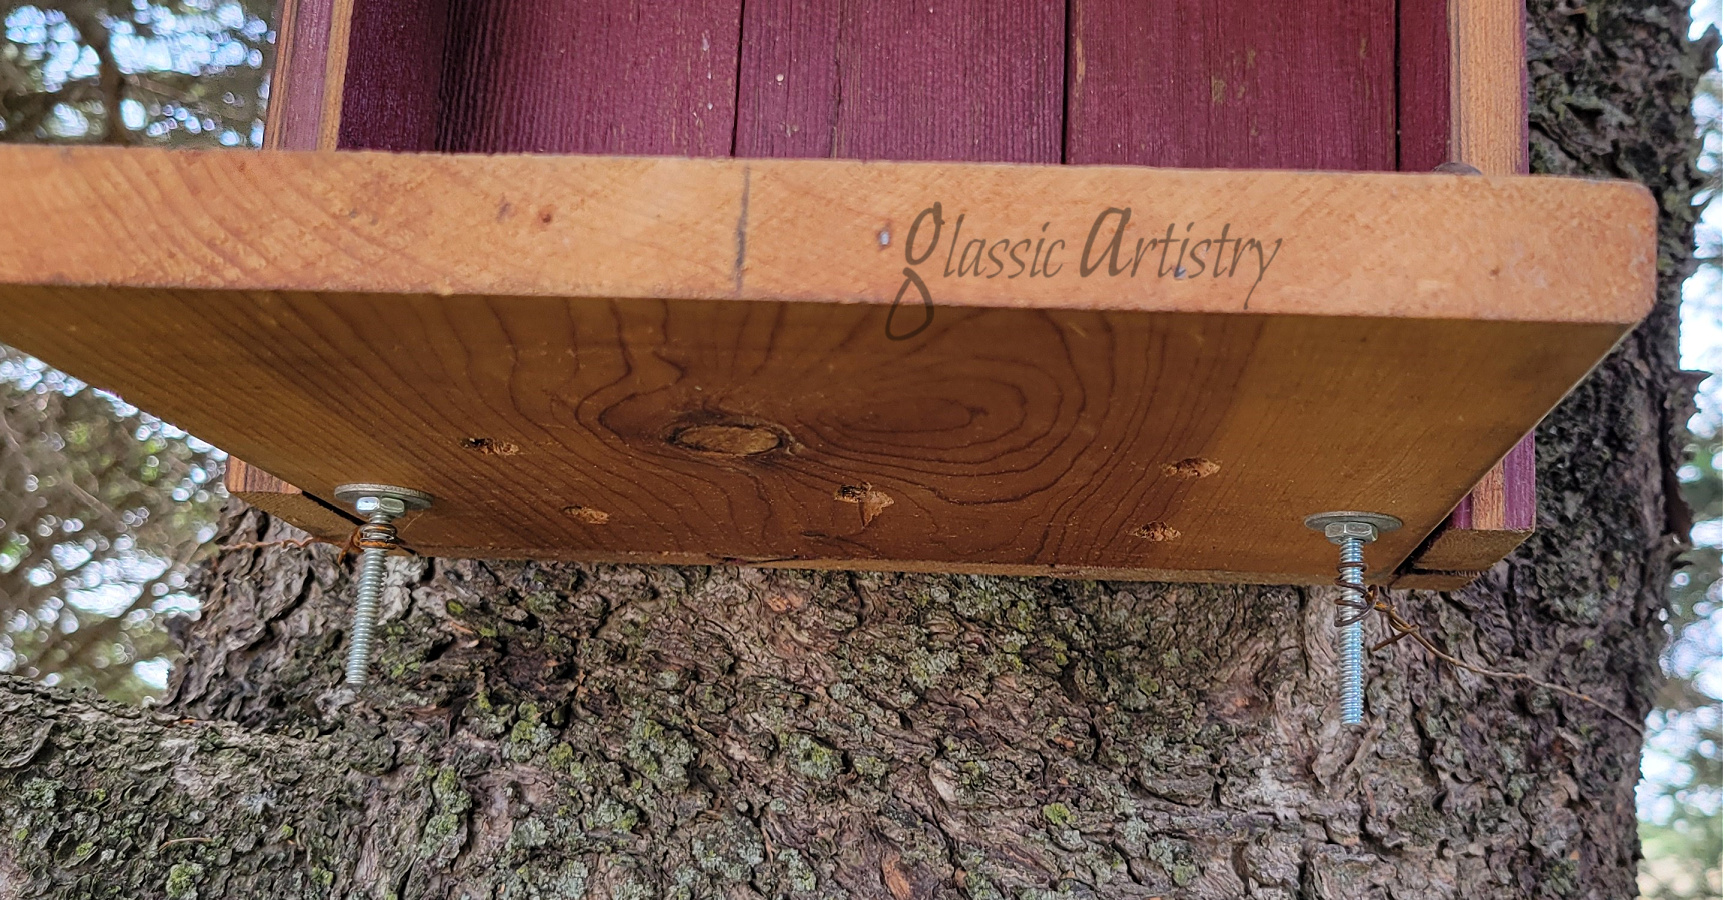
Our widest board in the pile was 9 ¼”. It was cut in 8” increments to use as bases. Five holes were drilled in each piece for drainage.
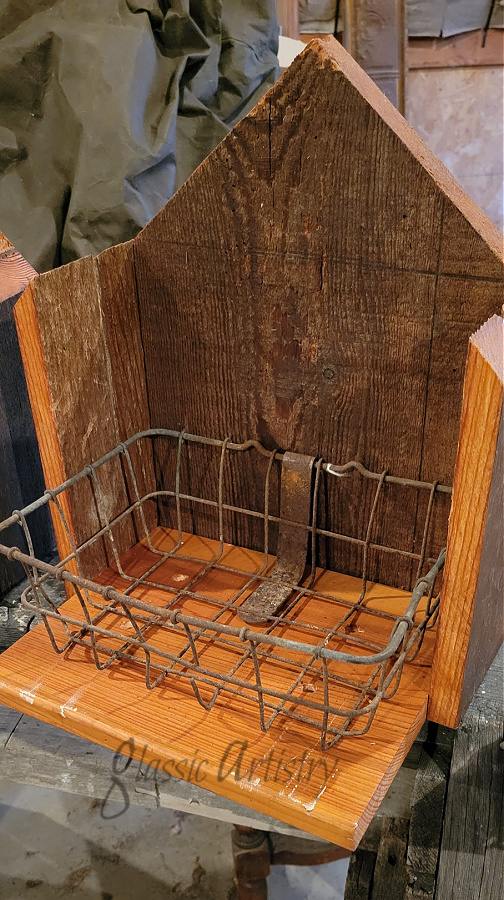
Two house shapes from a past project were in the pile so we started with them. They measured about 10” wide and 12” high at the peak. The shapes were attached to the back of the bases. Tongue and groove pieces were trimmed and attached to the sides. The sides were cut at a slant at the top so a steel roof could lie flat against it.
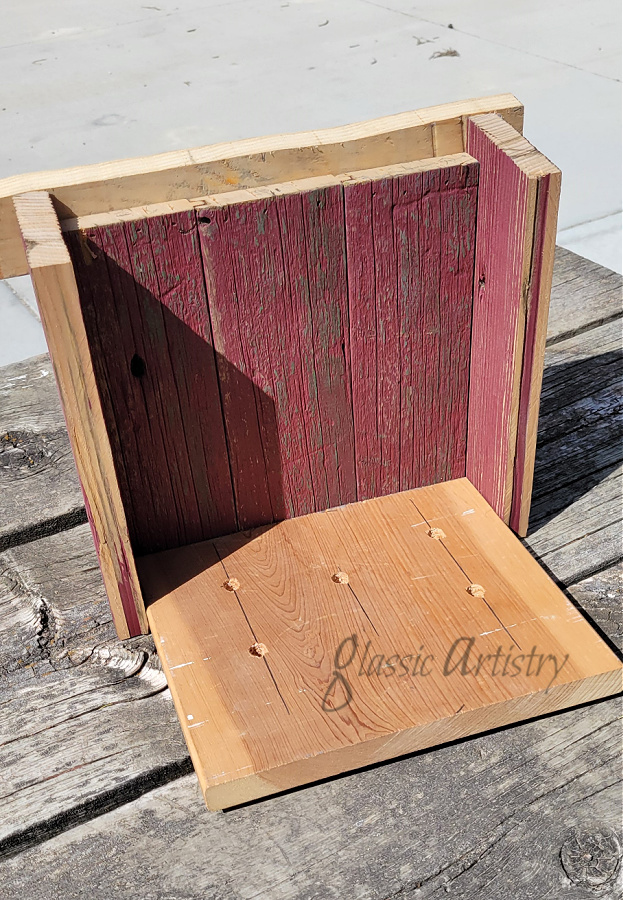
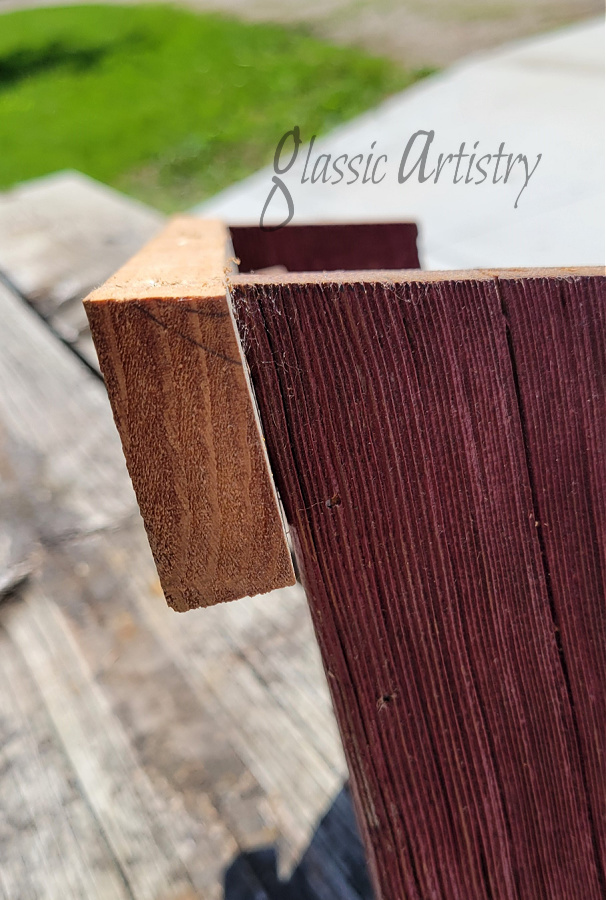
The other roosts had a square design with tongue and groove attached for the sides and back. A piece of 2” wide lumber was added along the top backside to hold the pieces solidly. We forgot to cut a slanted edge on the 2” piece for the roof when we first put them together and had to remove it, take it to the table saw to trim, and reattach it. There’s always a learning process, right?

The roosts were stained and water proofed, drying over night between steps.
They were a bit plain looking at this point. Vintage hooks, handles, insulators, and a rusty wire basket were added to perk them up BEFORE the roofs went on.
The embellishments helped with my concern about hanging them securely too. One hole on each handle and hook was enlarged so a long bolt could be used in place of a screw. It gets pretty windy here. The length on the bolt will be used for wrapping wire when time to hang.
The added extras may even help hold in nesting materials, who knows?

Steel roofs were cut with tin snips and screwed on. Caution is key when working with steel; the edges can be very sharp.
We lightly smoothed the edges of the steel with a grinder before screwing them on. An eye bolt was centered and screwed through the steel for hanging. A washer can be used under the eye bolt to help it fit more snugly between the steel groves.
A helpful tip for bending steel can be found in one of my previous post https://glassictouch.com/2015/08/10/barn-bird-feeder-with-mini-barn-quilt/.

Per google, it is suggested that robins like their roost to face north or east, 3 to 6 feet off of the ground. I’m not sure it makes that much difference because they are everywhere here. My daughter snagged a couple roosts to hang at her place and we attached ours to yard light poles and an old pine that is due to be replaced in another year or two. A length of wire was wrapped around the tree and wired tightly to the long bolts to hold it secure and prevent rocking in the wind.

Now I’ll be keeping a watchful eye to see if any tenants move in.
I’ve had the winter to mull over hundreds of garden paths and stepping stone ideas. I can’t wait to get back on that project. There’s so many awesome ideas on Pinterest. It’s time to stop looking and start doing.
Feel free to comment, like and share if you so please. It’s fun to hear from readers.
I hope everyone has a fantastic summer!

very nice!
LikeLiked by 1 person
very nice!
LikeLiked by 1 person