Vintage Style Display Tray DIY

With the summer dates on the calendar filling in almost quicker than I can write them down, I’ve had to kick my garage clearing project into a higher gear.  A tag sale is being planned at my home toward the end of May so there’s going to be a lot of crazy going on here for the next 2 ½ weeks.  Fun crazy!

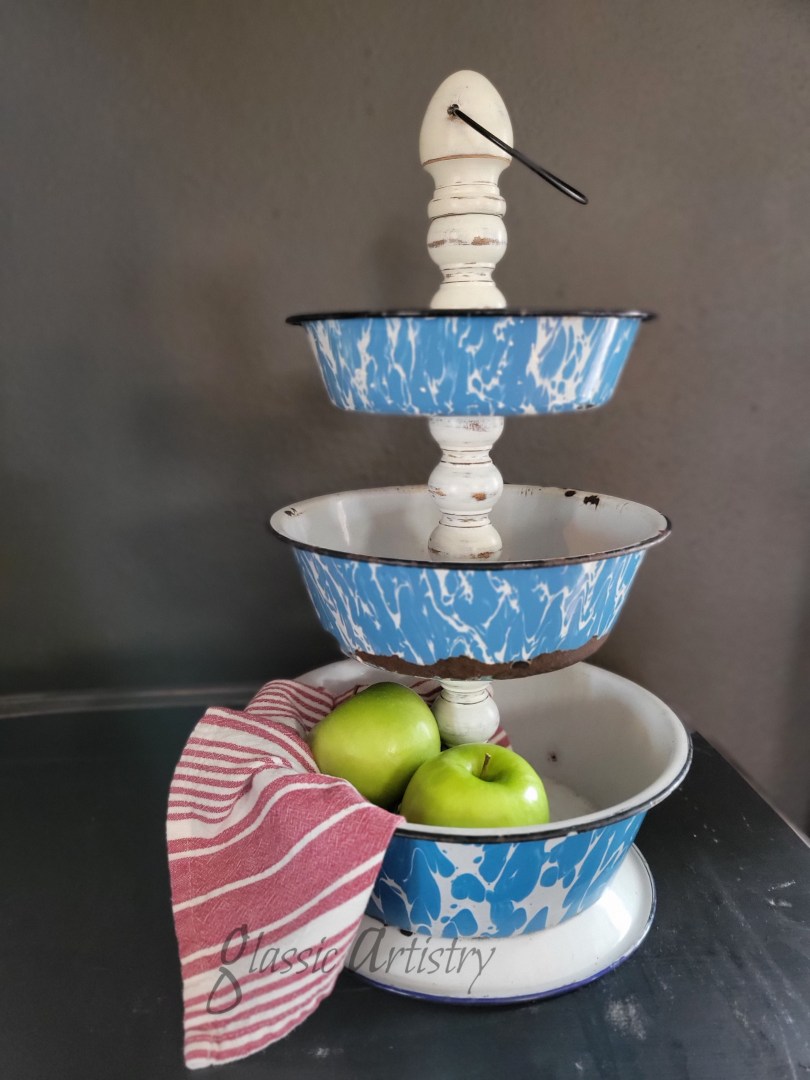
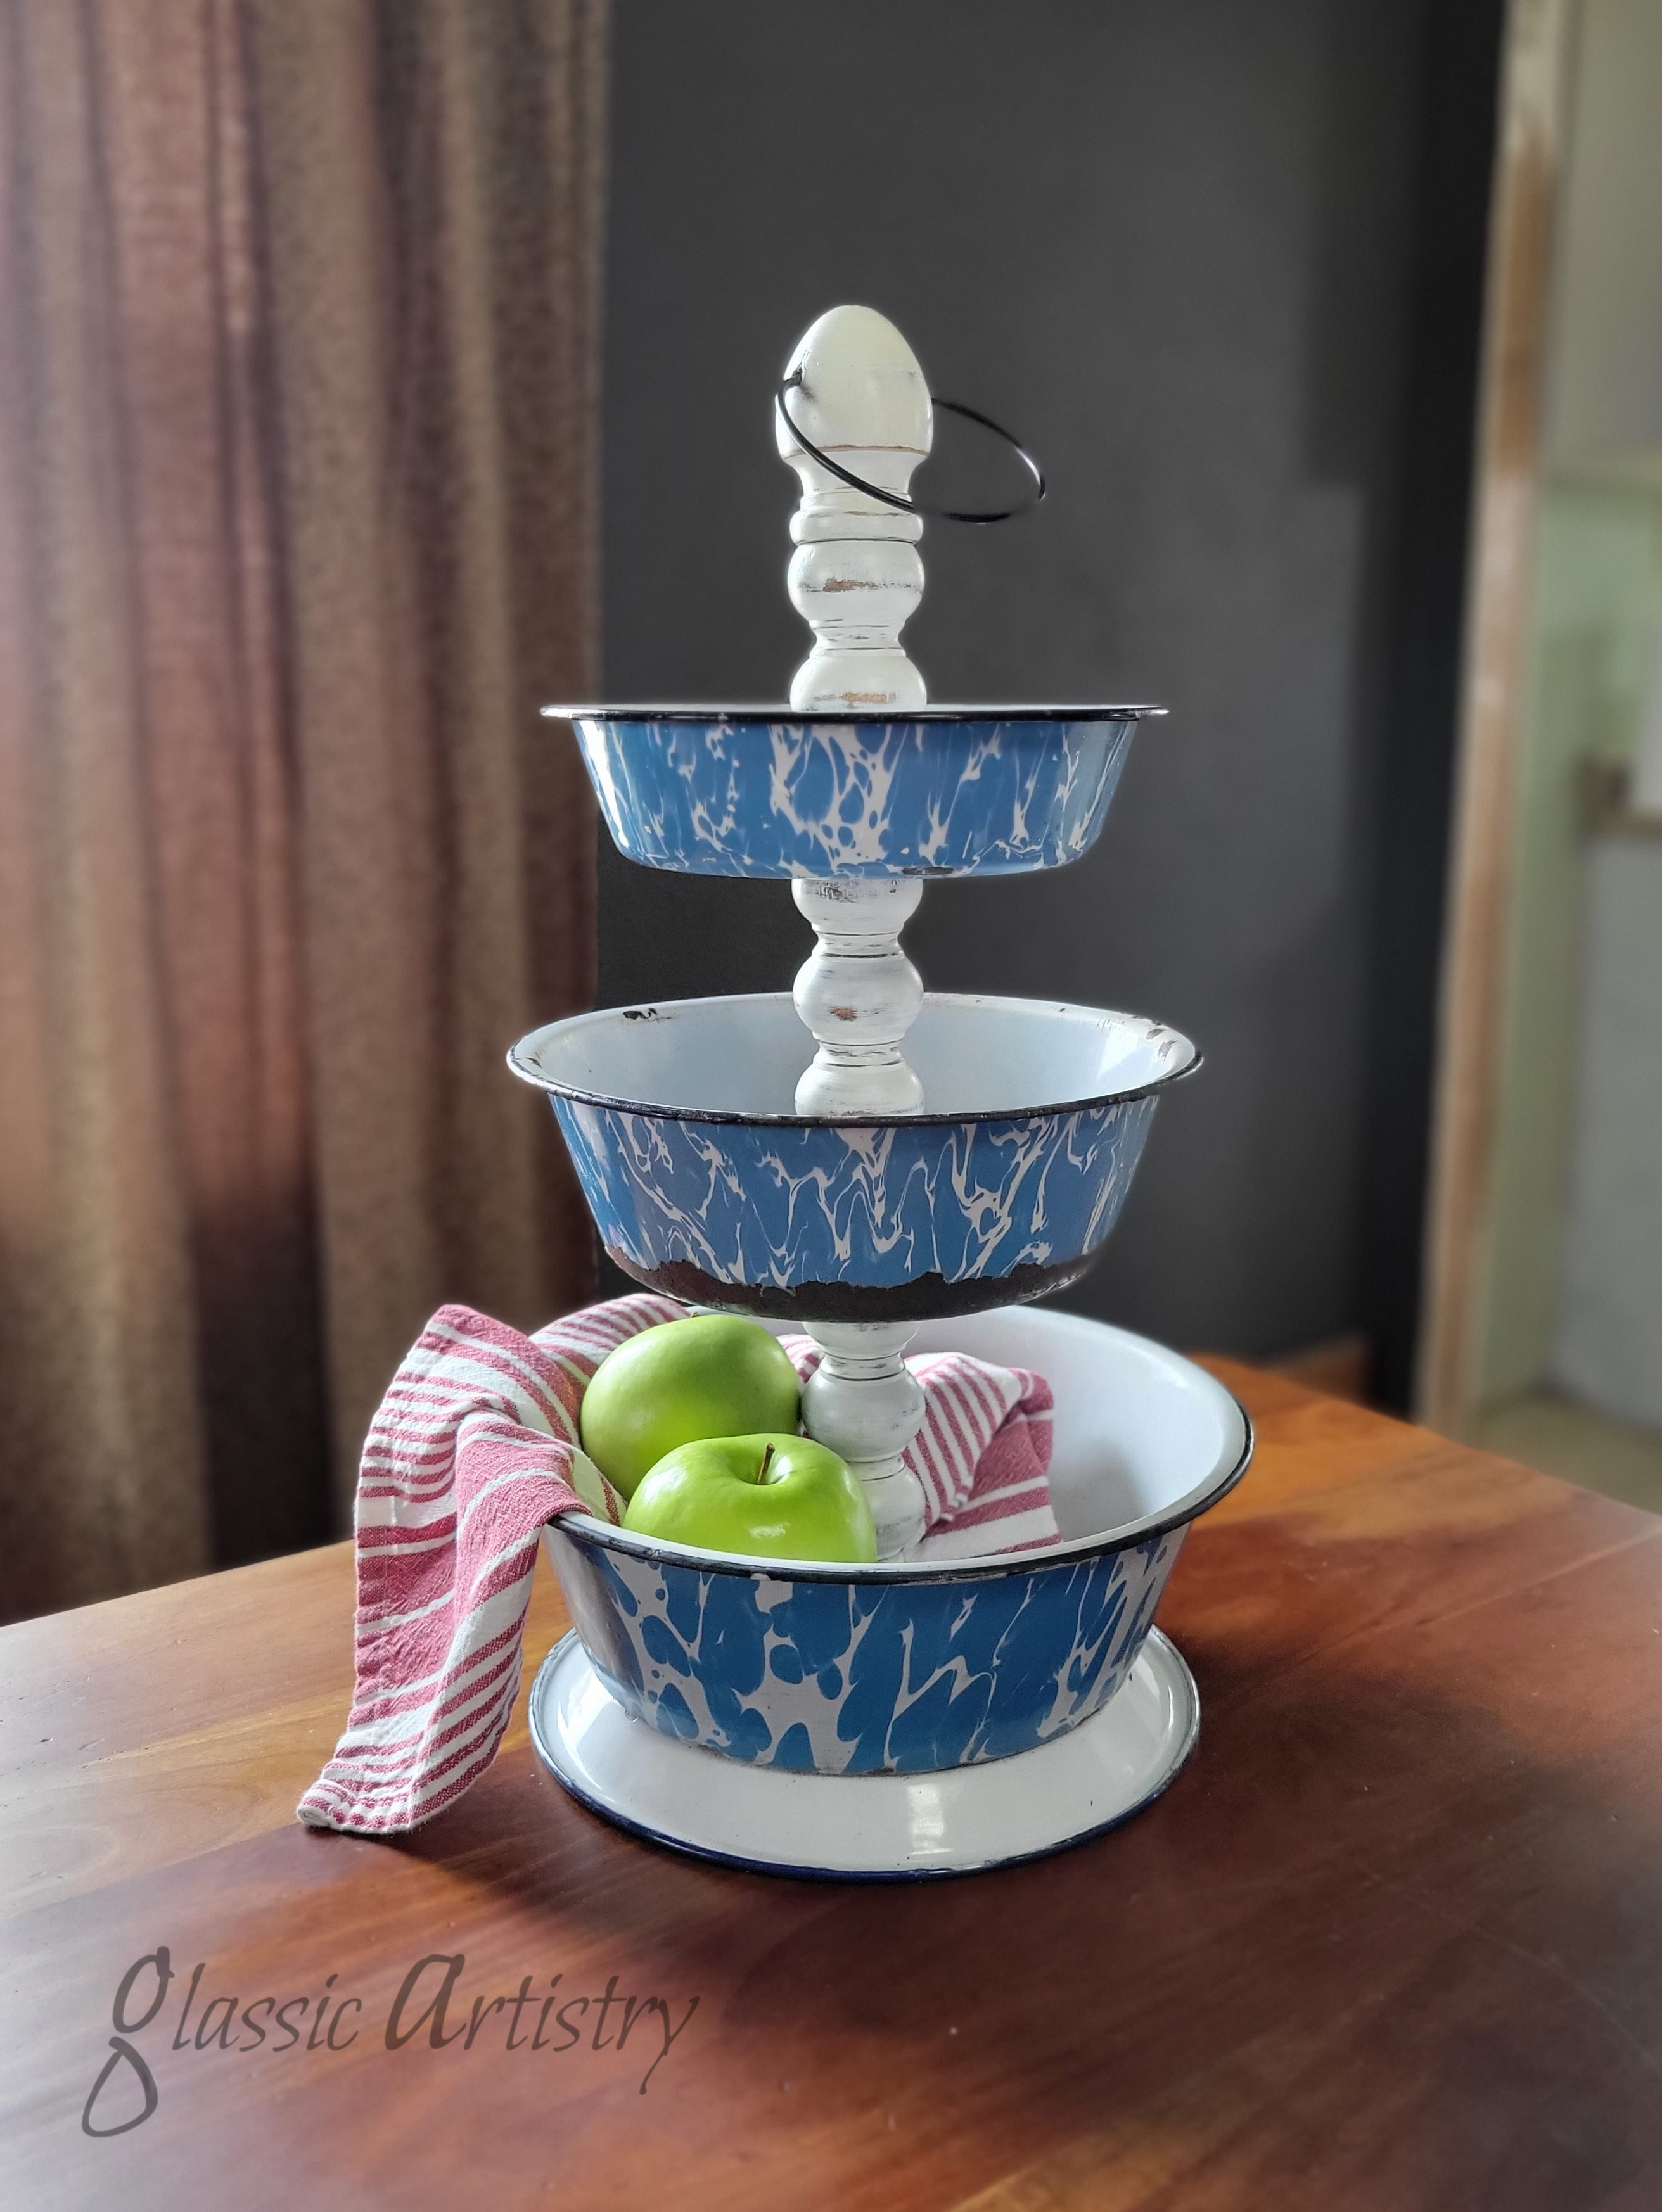
But first, I wanted to put up a quick post on a newly finished display tray created from a vintage springform baking pan, a brown ceramic insulator, metal lamp ring, wooden finial, and a zinc Ball canning lid stacked on a short length of ⅜” threaded rod.  It may seem like an odd assortment of pieces, but the different materials melded together beautifully.

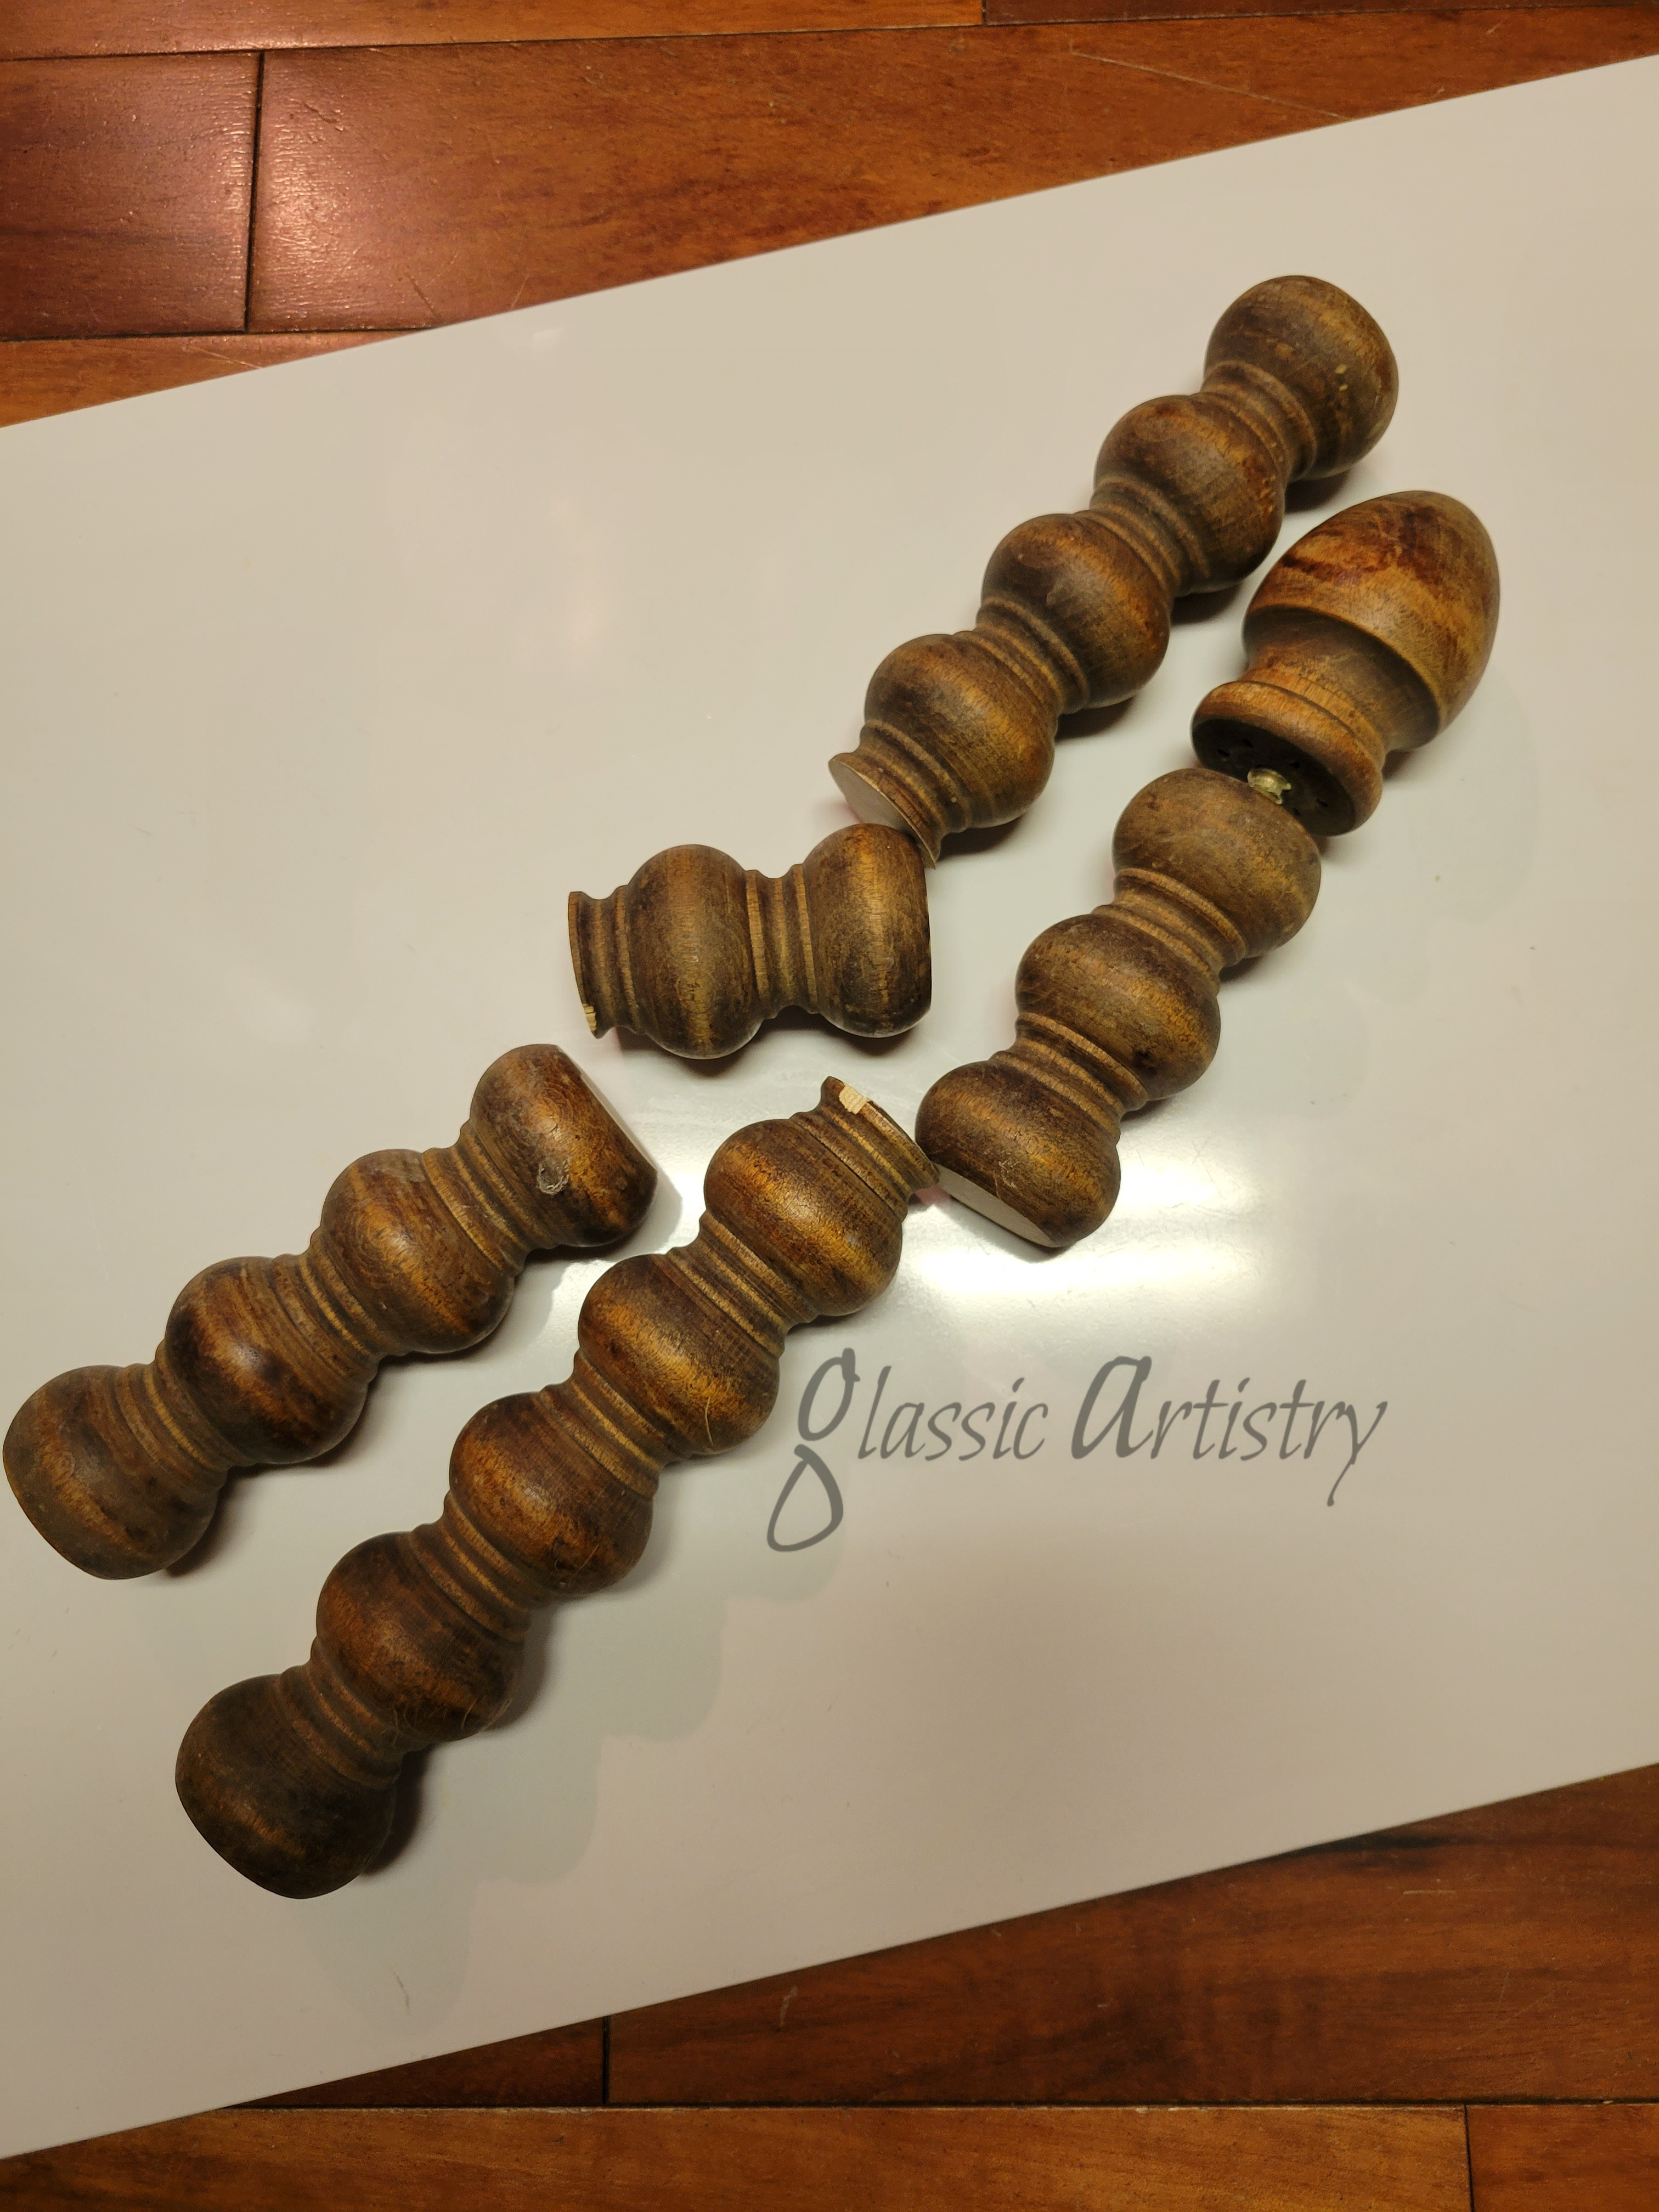
Before starting, a ⅜” hole was drilled in the center of the zinc lid, and a 11/32” hole was drilled in the bottom center of the wooden finial.  The hole in the finial is slightly smaller so the threaded rod will fit snugly. An assortment of washers and nuts were found to fit the threaded rod.

As with previous projects, all pieces were cleaned well and waxed before laying them out to be assembled.

The finial was constructed first.

The rounded end of the insulator sits into the pan’s center opening.
Insert the rod down through the insulator.
Turn the piece upside down, holding the finial firmly. Drop the zinc lid in place over the rod, add washers and the nut; tighten. The insulator may shift as you tighten. If so, loosen the nut and adjust.

The biggest challenge I had with this piece was to find an item that would fit perfectly inside the pan center from the bottom and not slip through. The zinc lid was the solution for me.

The little metal piece on the outside of the pan was bent up slightly so it would not scratch any surfaces.

Would love to know your thoughts. Please feel free to comment and share. Until next time …

Tiered Tray DIY Repurposed Enamelware

I’m back with my first tiered tray. As mentioned in my previous post, I’m working to clear out old before bringing in new. I would like to use as many of my gathered pieces as possible, so you may be seeing several small projects over the next two months and occasional tag sales at my home to help achieve my goal.

To get started, a collection of three worn enamelware pans were taken to the drill press and 5/16″ holes drilled through their centers. The enamel coating will chip away during drilling. I applied a coat of clear fingernail polish around the drilled holes and any chipped edges of the enamel to prevent any further chipping. A clear sealer could be used for this step too. After the fingernail polish was dry, the enamelware was waxed and buffed.

I chose two decorative spindles to use as spacers between the pans. I thought their design worked well, they already had center holes in one end, and one already had a finial; perfect. After cutting them to the lengths desired, they went to the drill press and a hole was drilled through the length of them using the original hole as a guide. They were sanded, painted, and sealed.

A piece of 5/16″ threaded rod was cut to the length needed and a washer and nut found to fit it.

The pieces were slipped on the rod, working from the top down and secured with the washer and nut.

I thought it was finished at this point, but after looking at for a week, I had to add one more detail; a wire ring at the top.

With bolt cutters, a circle was cut from a steel bedspring; sanded, painted, sealed. The tray was taken apart and the finial drilled through at the drill press. The steel ring was almost unbudgeable. I had to hold the finial while my husband stretched the ring enough to get it the holes; its a tight fit.

The tray was reassembled and done! I have my first item for a future tag sale!

Please like, comment, and share as you wish. Keep recycling, repurposing, and upcycling, each small step helps.