
I’m so excited! There’s a big 3 day happening in Central Iowa this week-end. If you like treasure huntin’ and junkin’, you won’t want to miss this one. Check out @Back Roads Junk-it Trail to print off a map of all the wonderful places to go, and join in the fun!!
My Thanks to @Gypsy’s Alley, in Nevada, Iowa, for graciously accepting me as a new consignee recently so I can participate in the event.
I have a few gourd projects to finish up, and some cool junk pieces to load up too, but, stained glass leaf sun catchers, garden stakes, and garden chandeliers have already been delivered. Its a good thing I was in a hurry when I stopped by to make a delivery the other day. The place was filled to the hilt with so many new things, and awesome displays, that I know I would have spent the whole morning there and surely brought home more than I took!
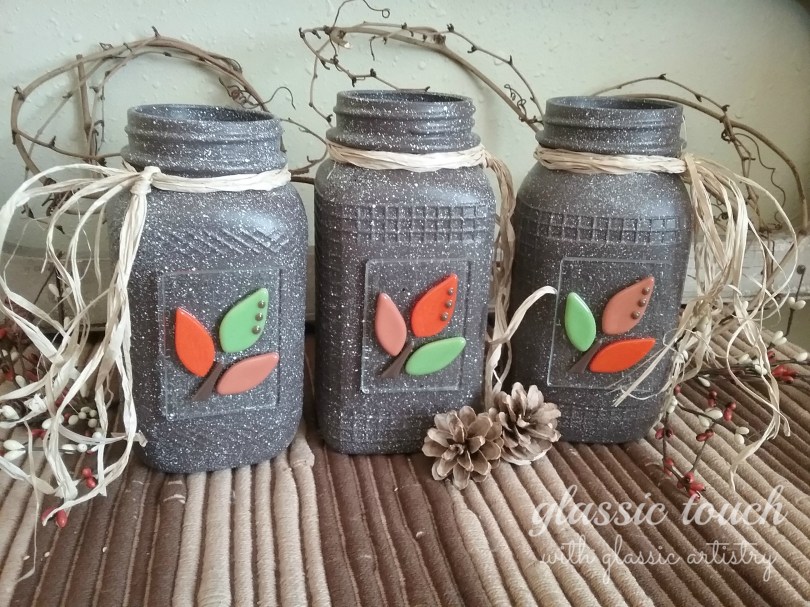
With re-purposed and painted Mason jars being so trendy these days, and with a little time to spare, I thought I’d make a little fun Fall decor to take too.
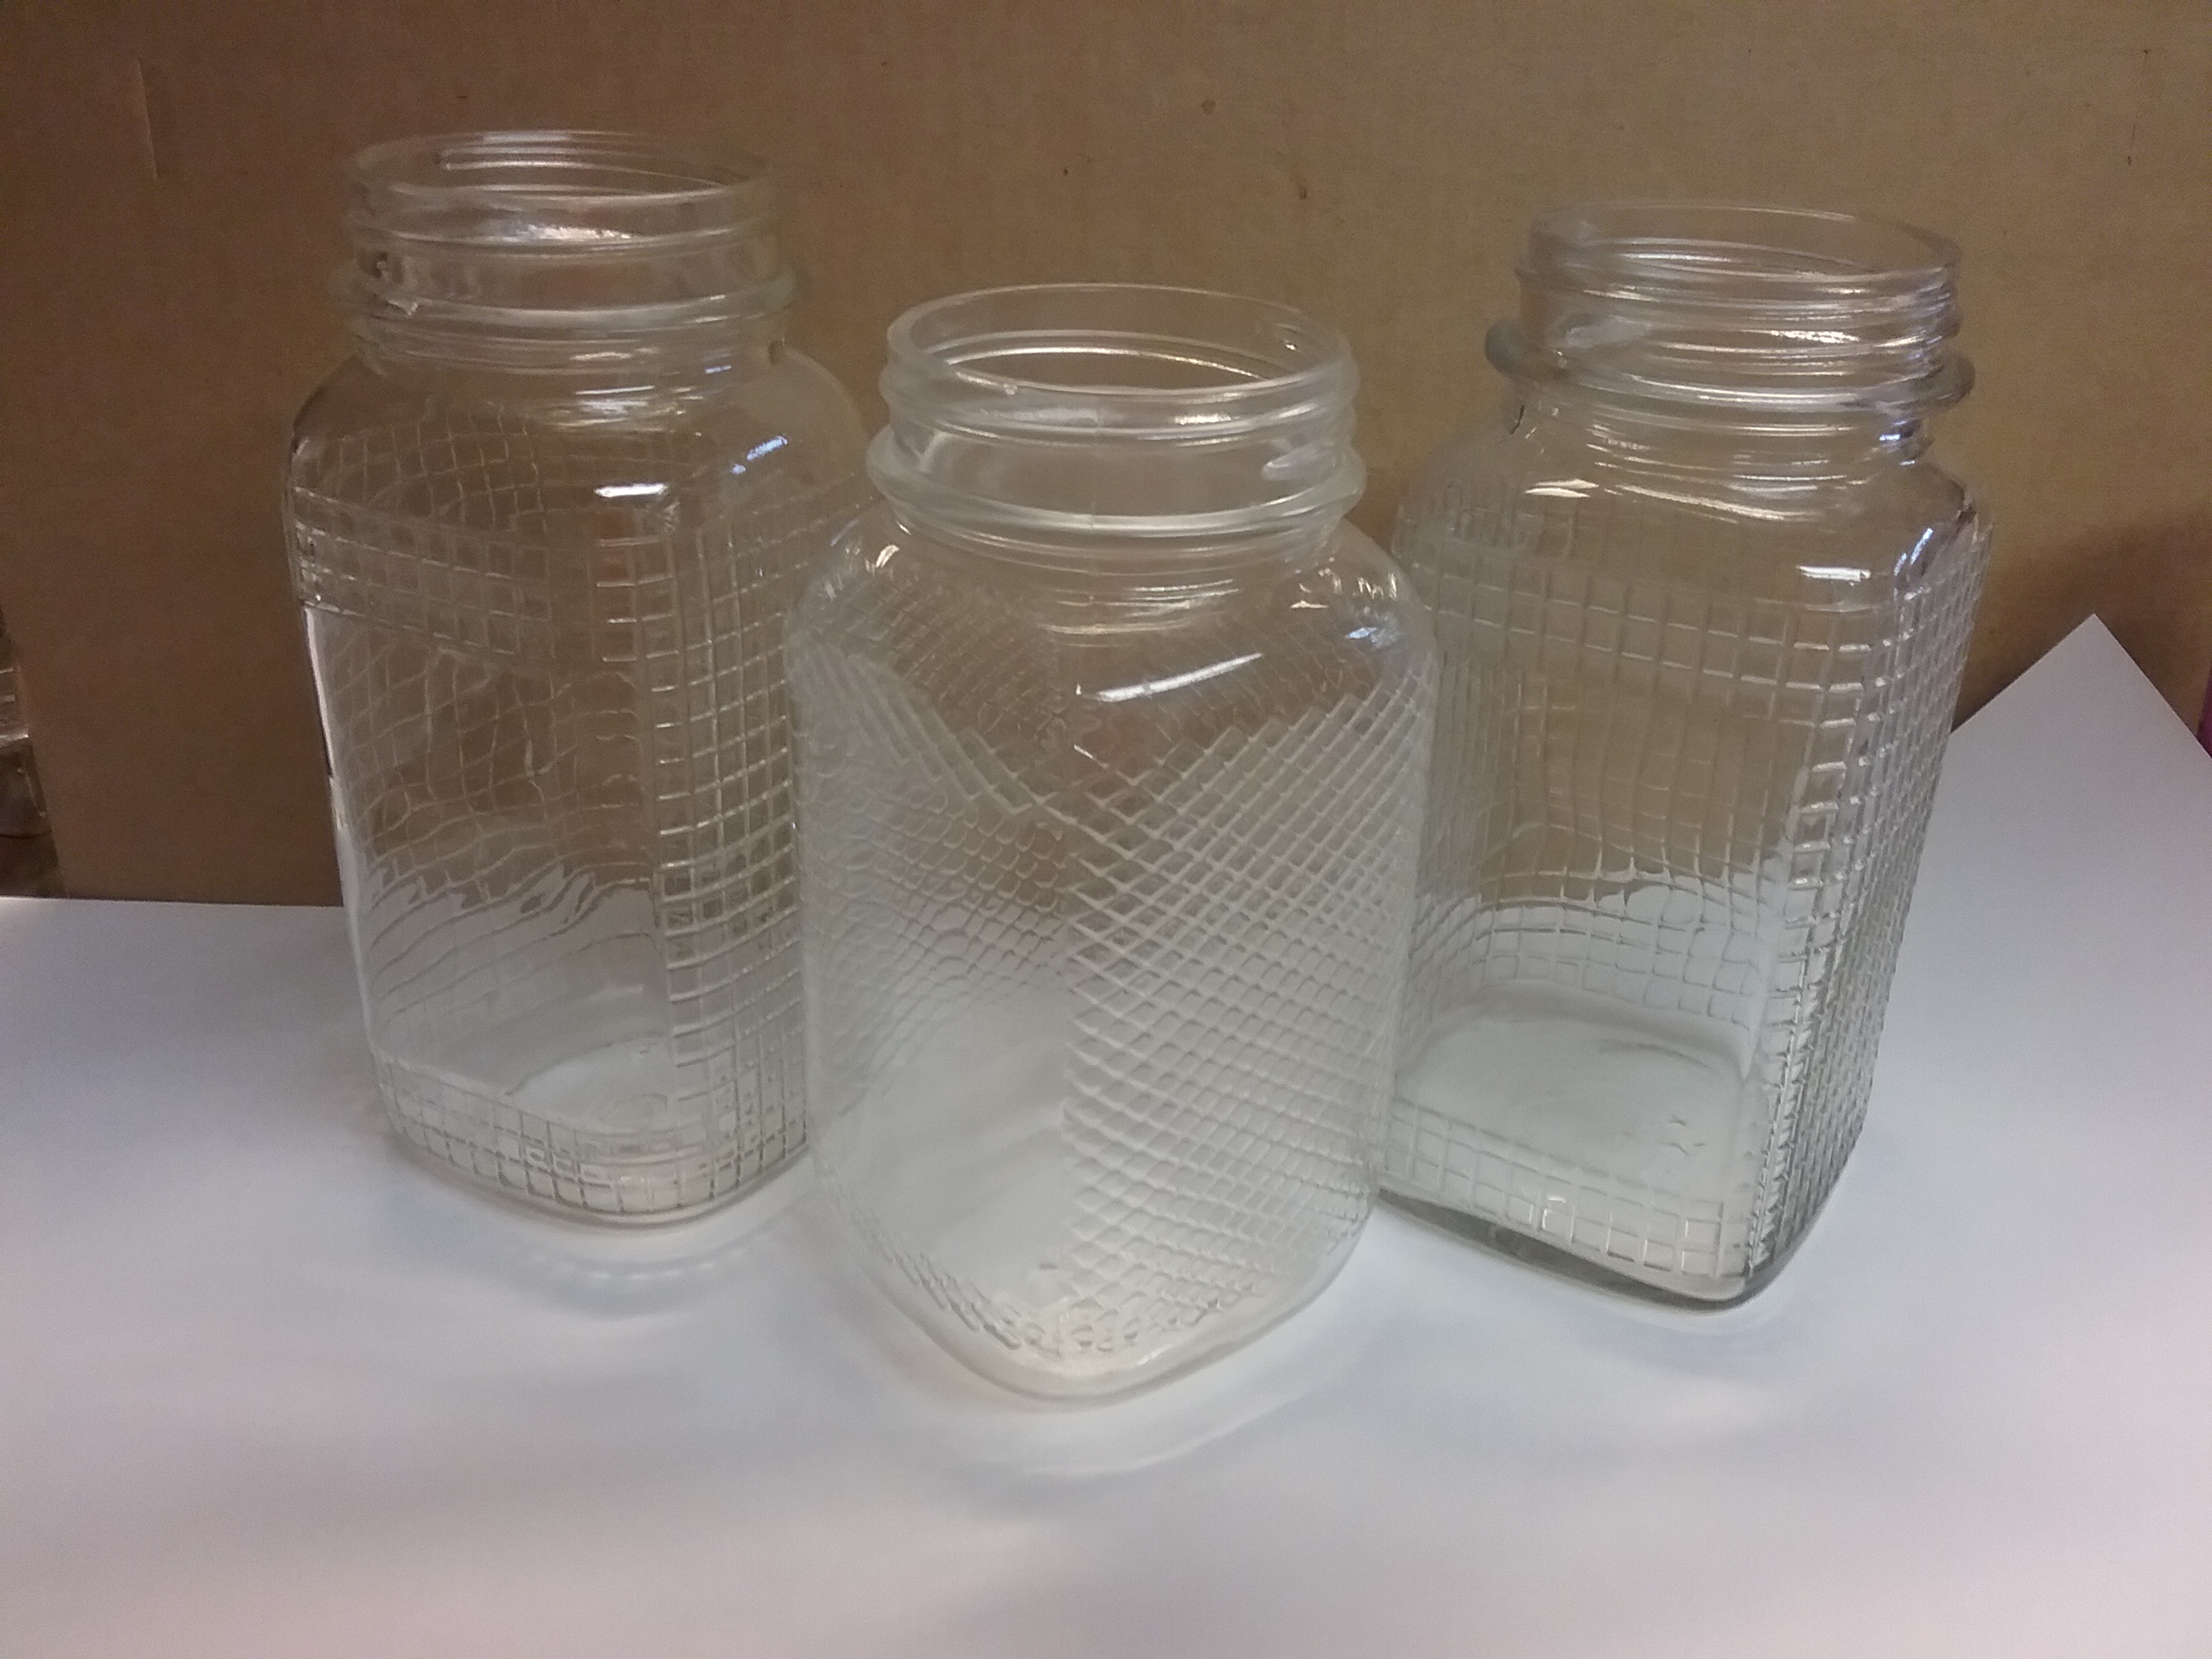
Last spring, I had saved some jars because they were embossed with a small checkered design on three sides, and had a smooth front, which I’m assuming was probably for a label. I wasn’t sure what I was going to do with them, but I liked the texture, and remember thinking the front might offer a nice surface for a tiny mosaic.
After rethinking it a bit, I still liked the idea of a design on the front, but scratched the idea of a mosaic with grout, and choose to go with a fused glass tile instead.
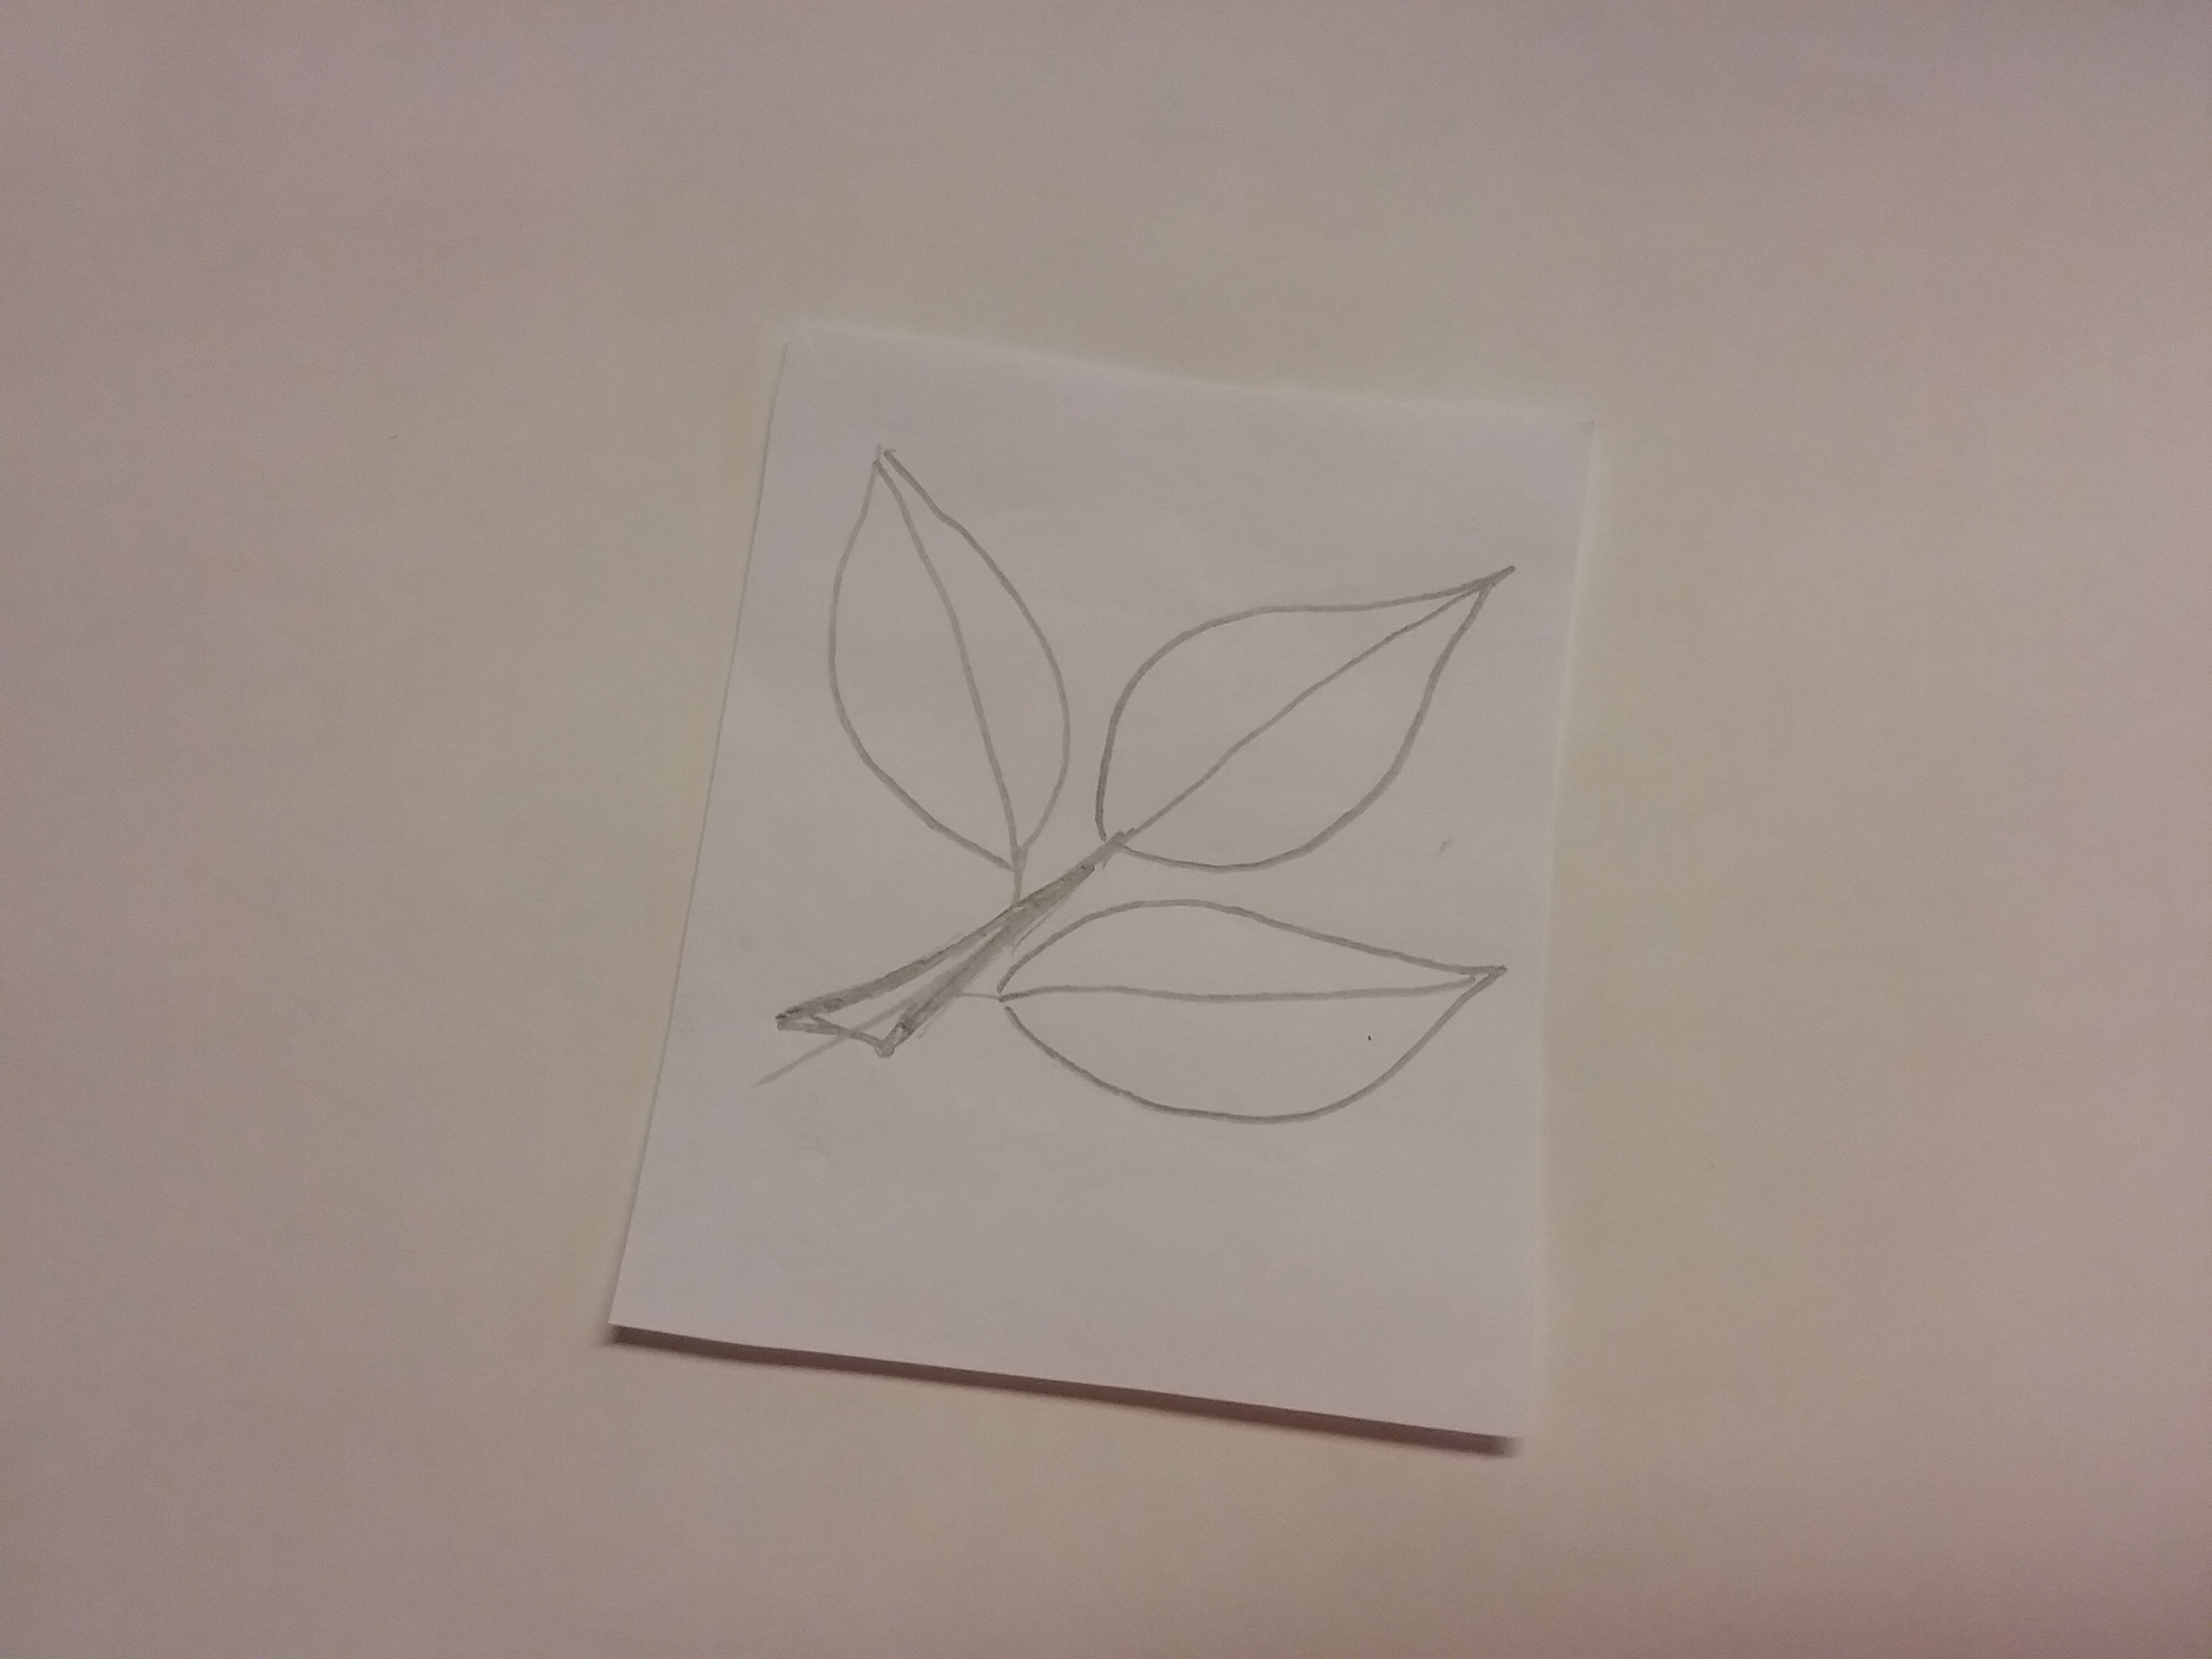
I measured the smooth surface on the front to determine the size of the clear glass tiles I wanted, then drew a simple leaf pattern to fit on top of the tile piece. My drawing skills are not what they used to be, so this was definitely the most difficult part of the project for me. You could also find a pattern to trace if you like.
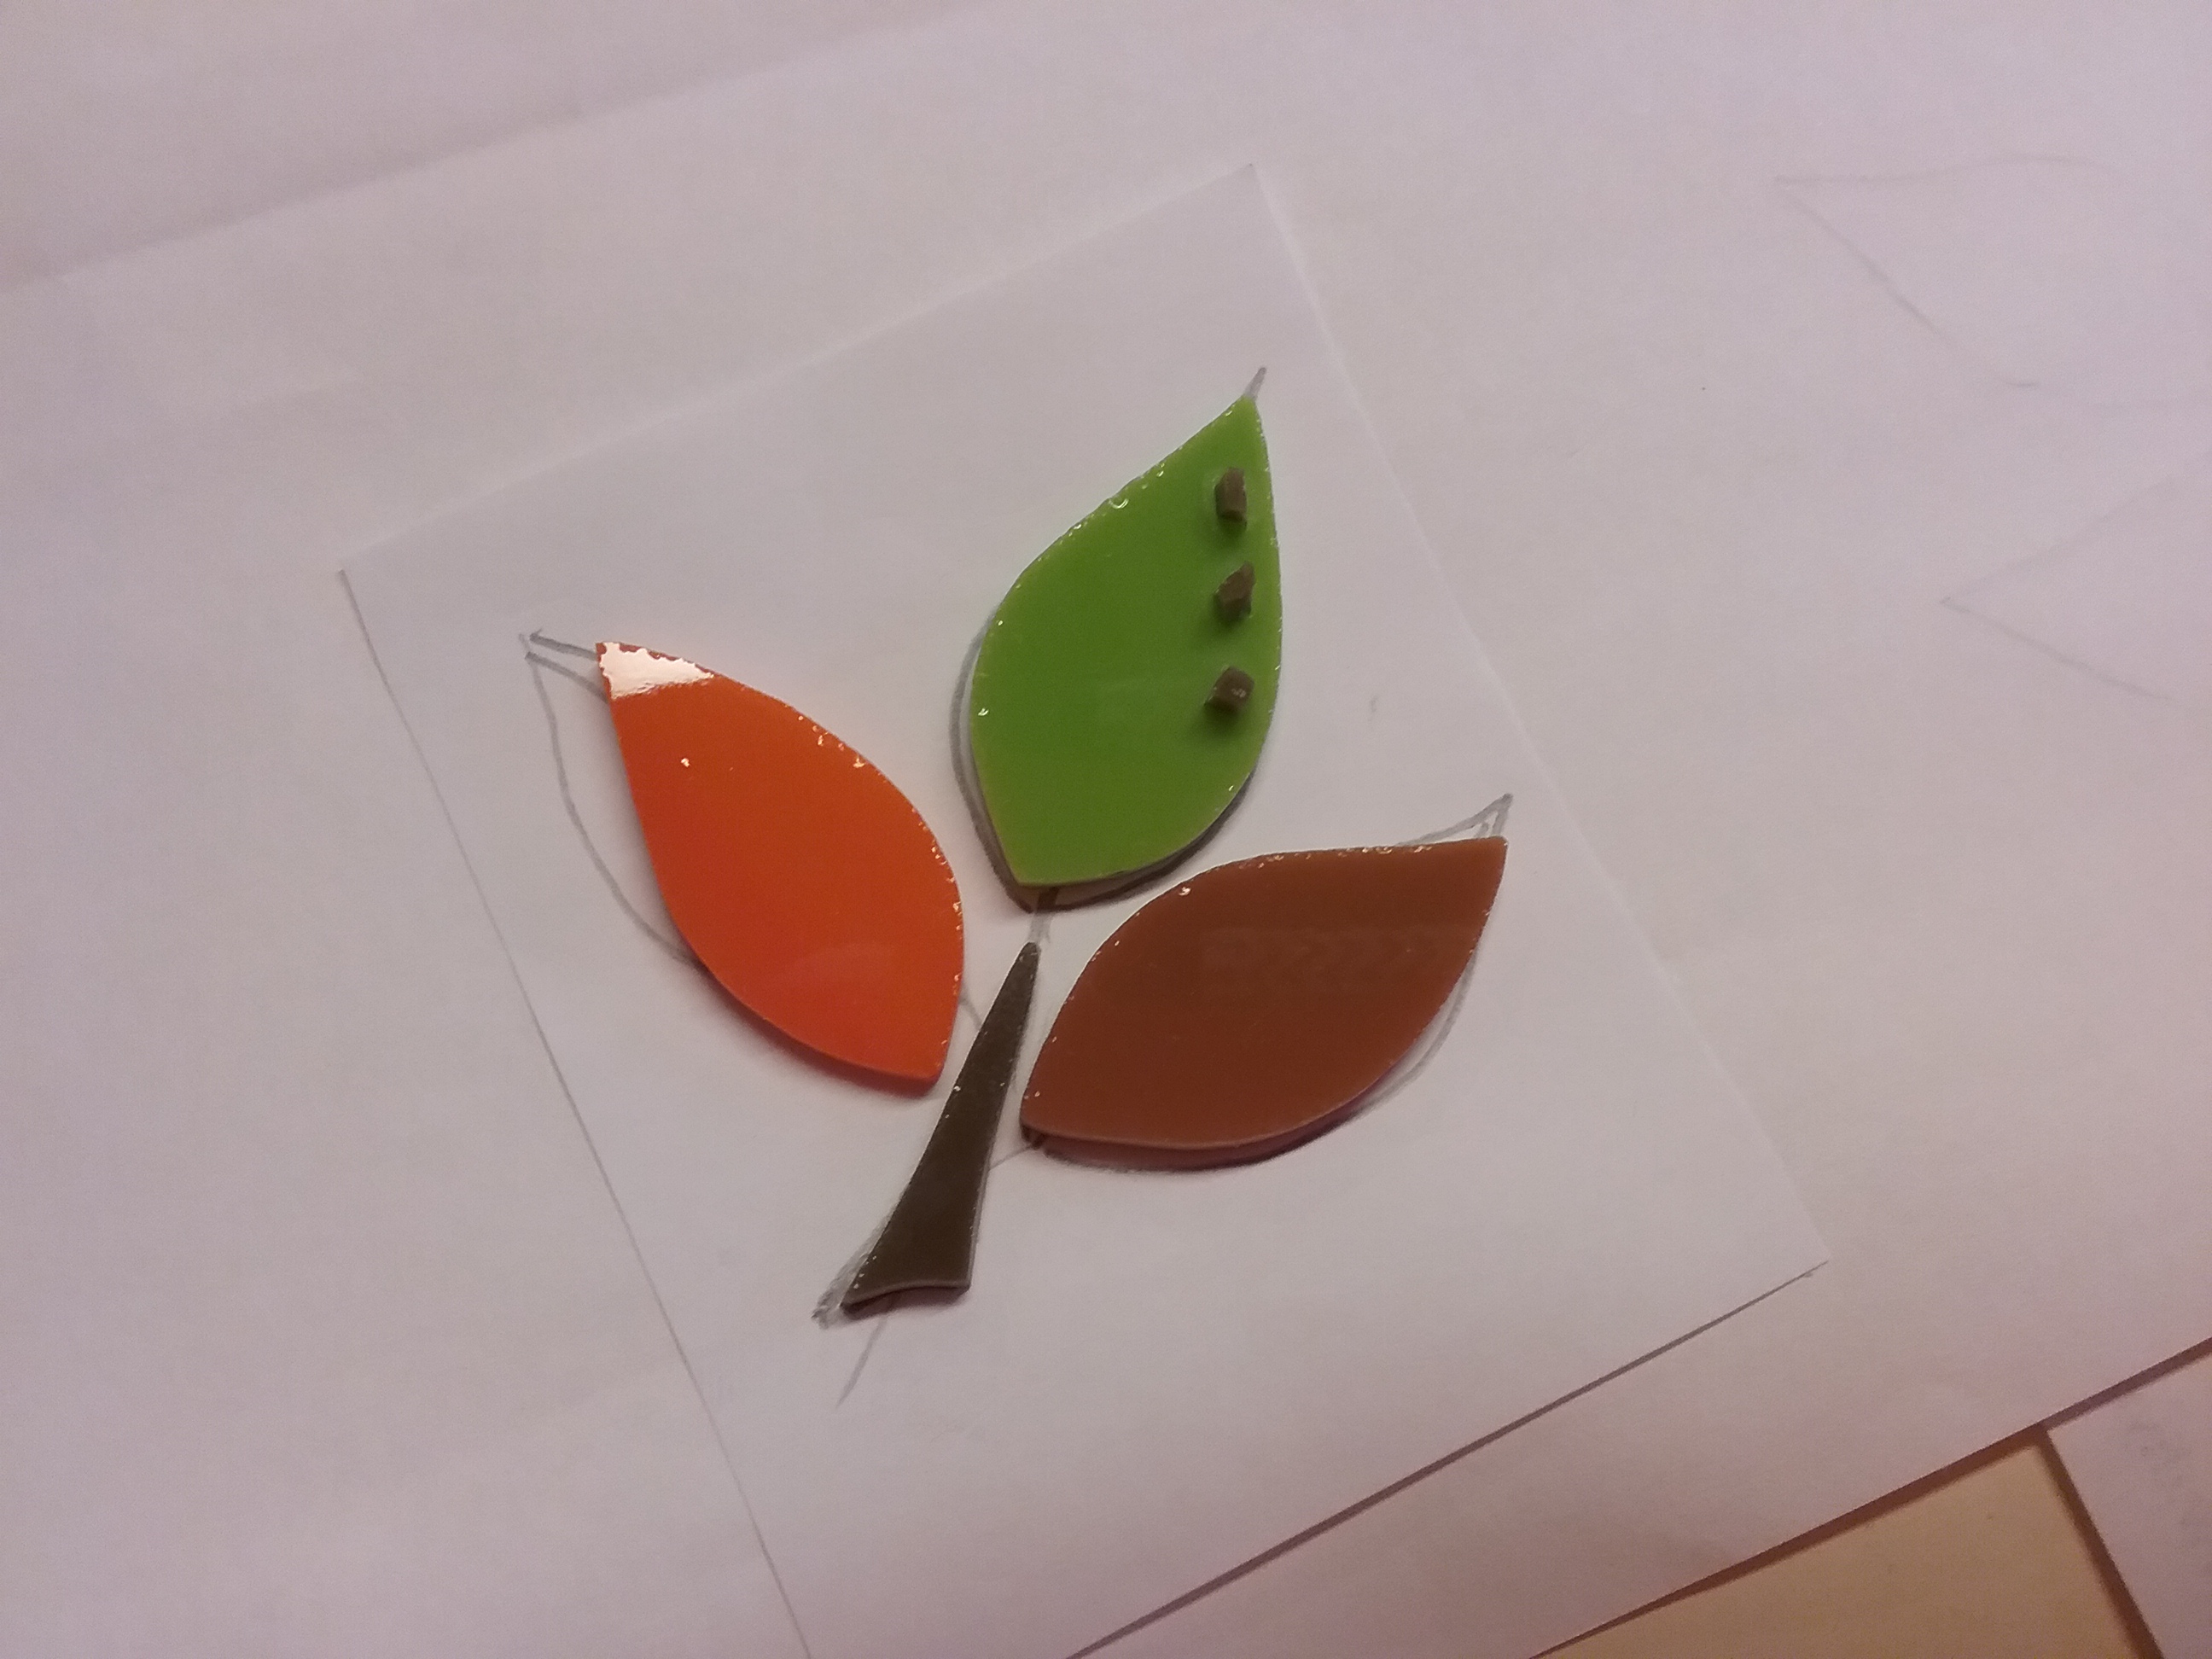
I picked out some fall colors of glass, and cut and ground them to fit my pattern. I had three jars, so I changed the leaf colors around so they were not all the same. All of the pieces were cleaned, then fired in a tabletop kiln, up to 1700 – 1750 degrees, just until the edges were rounded. My glass was all 96COE, but it doesn’t have to be. The only pieces that need to be COE compatible would be the middle leaf and small brown dots, nothing else is fused together.


Wanting my jars to be dark brown, I waited until I could take a piece of fired brown glass to town to match it. A brown spray paint would work too, but I opted to have a small sample sized can mixed for about $3.00.
Each jar was washed and given a quick wipe of alcohol, then painted with a foam brush. I did 4 coats for nice coverage. In between coats, I wrapped the end of the brush in a baggie and clipped it closed, so I only had to use one brush. After the jars were completely dry, they were speckled white. Once the speckling was dry, they were sprayed with clear matte sealer. Even though the paint is sealed, they may still scratch easily, so handle gently.


A fired leaf arrangement was traced inside the traced shape of a clear glass tile. Remove the leaves and replace the clear tile in it’s place over the leaf tracing. Following the traced pattern, glue leaf pieces in place with E6000. Let dry completely.


Lay a dry tile on the front of the jar to determine where your leaves will be located before gluing. For the best adhesion, scratch off a very small amount of paint in the areas that the leaves will cover. Put a small dab of E6000 on the scratched areas, lay the tile in place, and press down very lightly, obscuring the glue. Be careful not to use too much glue or it will seep out beyond the leaf and be seen through the glass. Let dry overnight.


Knot a length of raffia around the neck of the jar. Fill with fall flowers, a pretty napkin and tableware for an informal fall gathering, anything you like!
Gosh, I really like these colors … one of these may have to stay here … Happy Fall!


like it,
LikeLike
Love them . Have never seen jars like that. Great idea.
LikeLiked by 1 person
And that. Is why canning jar prices have went through the roof.!
LikeLike