

The heat and humidity has us spending much of our time indoors lately. That’s not all bad though, the AC feels real good and there’s always an area in my house that could use a little attention; like the large catch-all area in the basement. It actually turned out to be quite fun to take on that task. I found things I’ve been looking for, things I forgot I had, and most of all, figured out I definitely need to get better at putting things away.
It made my day when I pulled a container of rocks out from under a table. Here was a garden project that I had been wanting to do for a couple years now, and never took the time. It could be done indoors, and in small steps. Alright, I could multi-task!
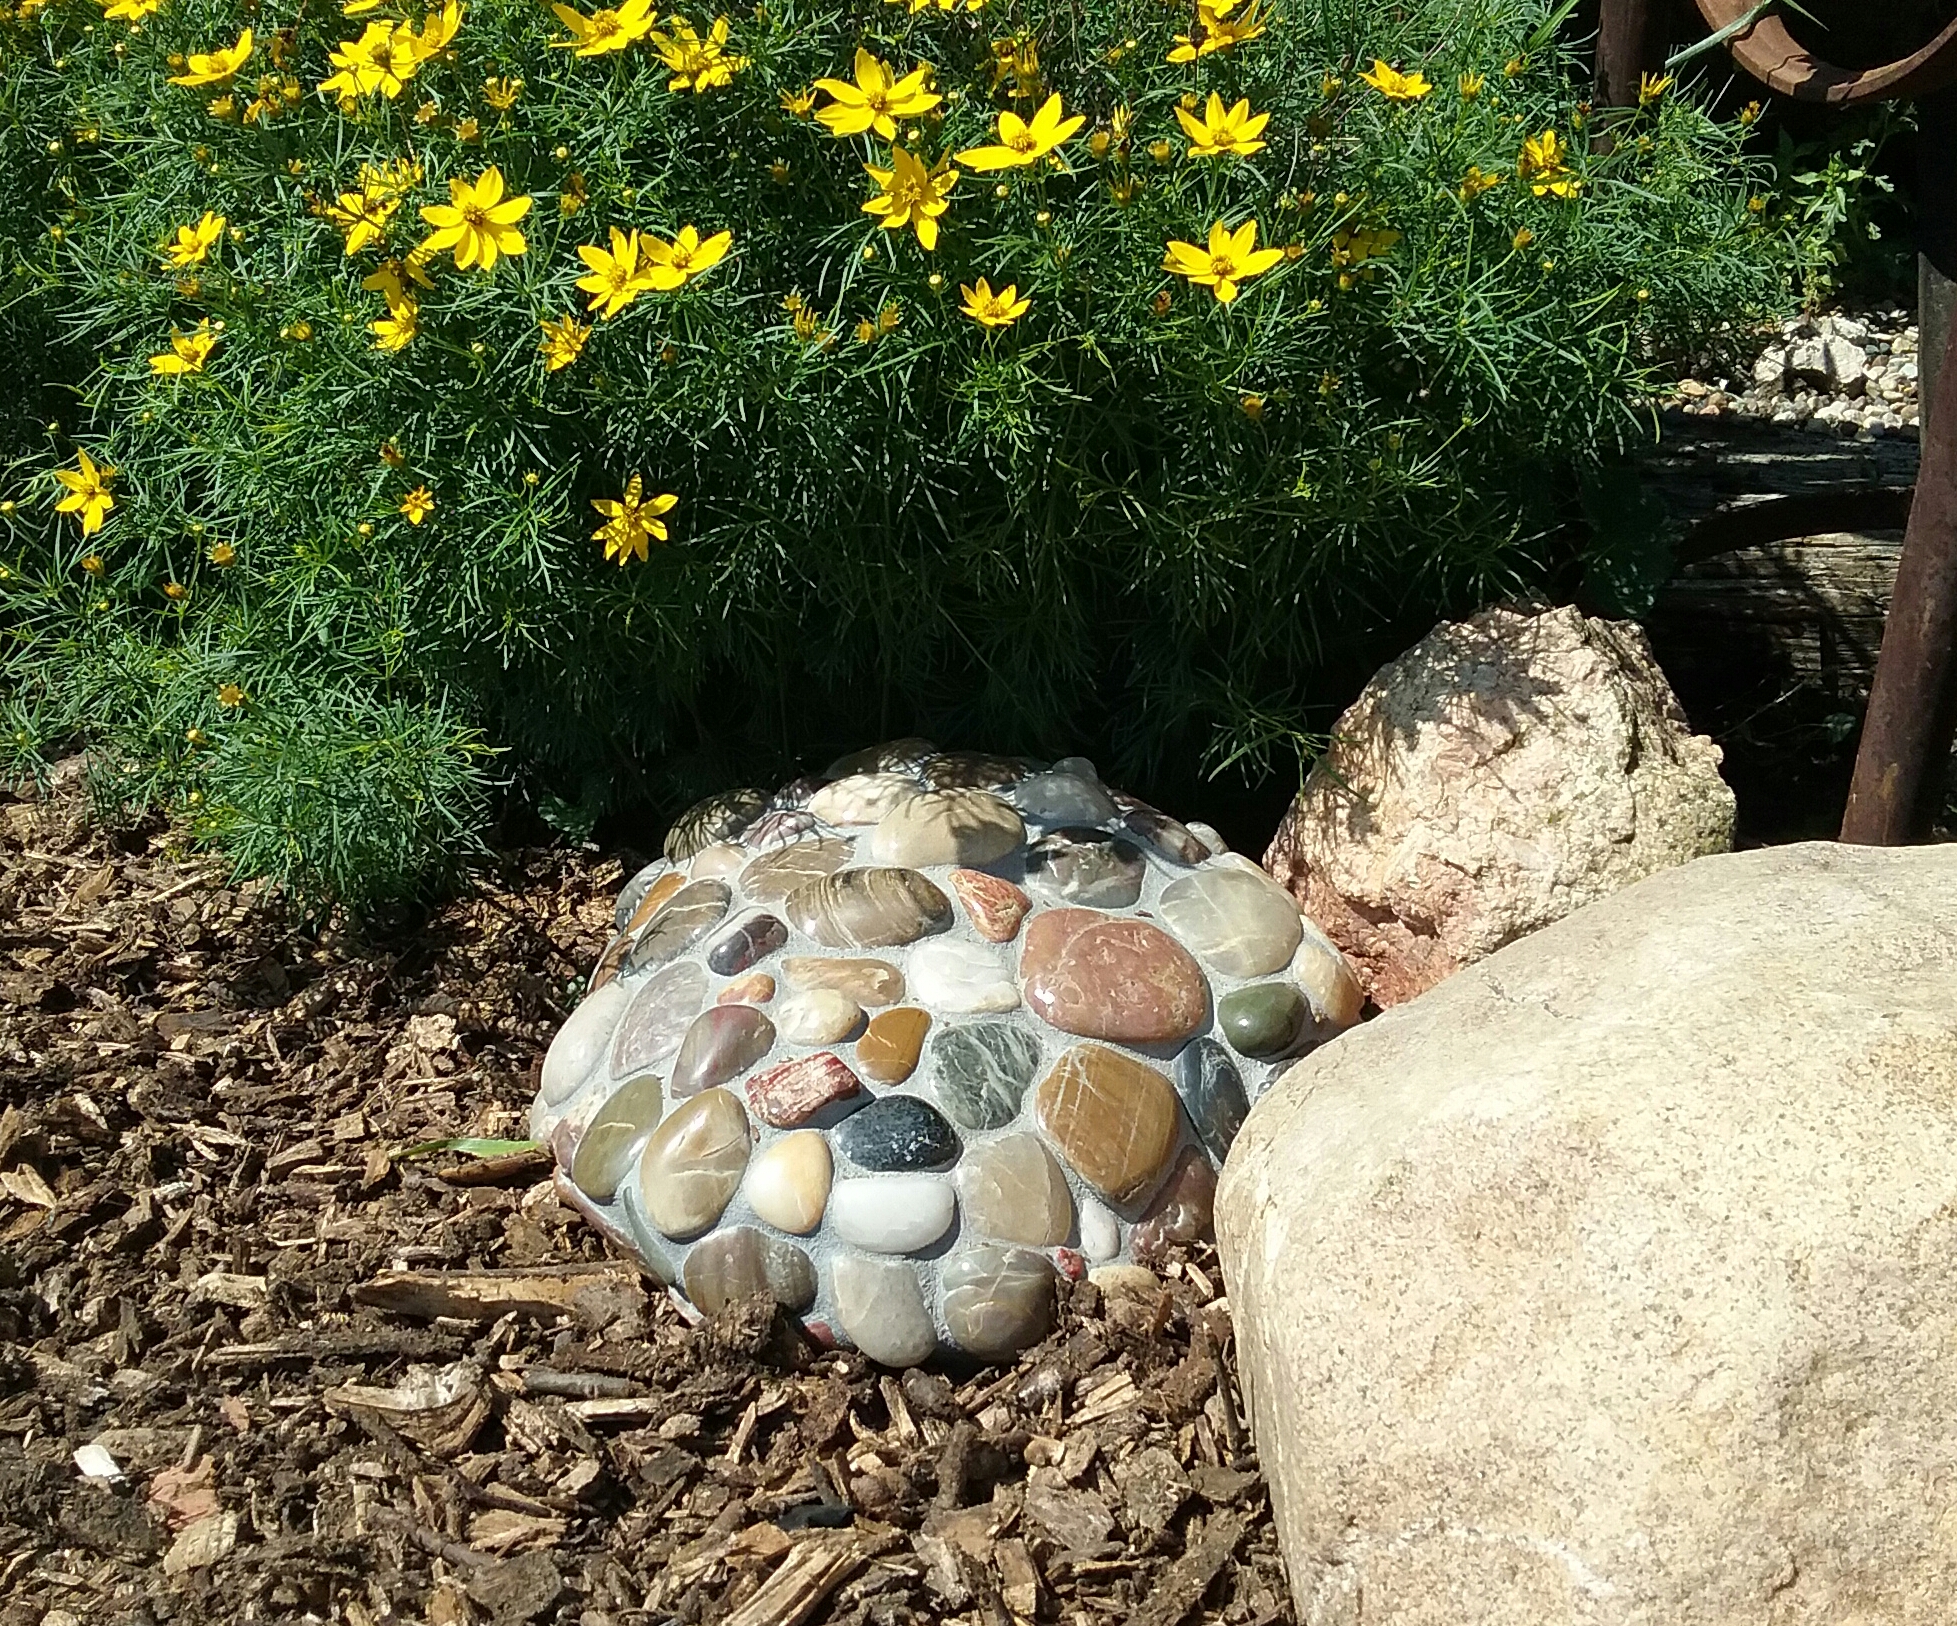
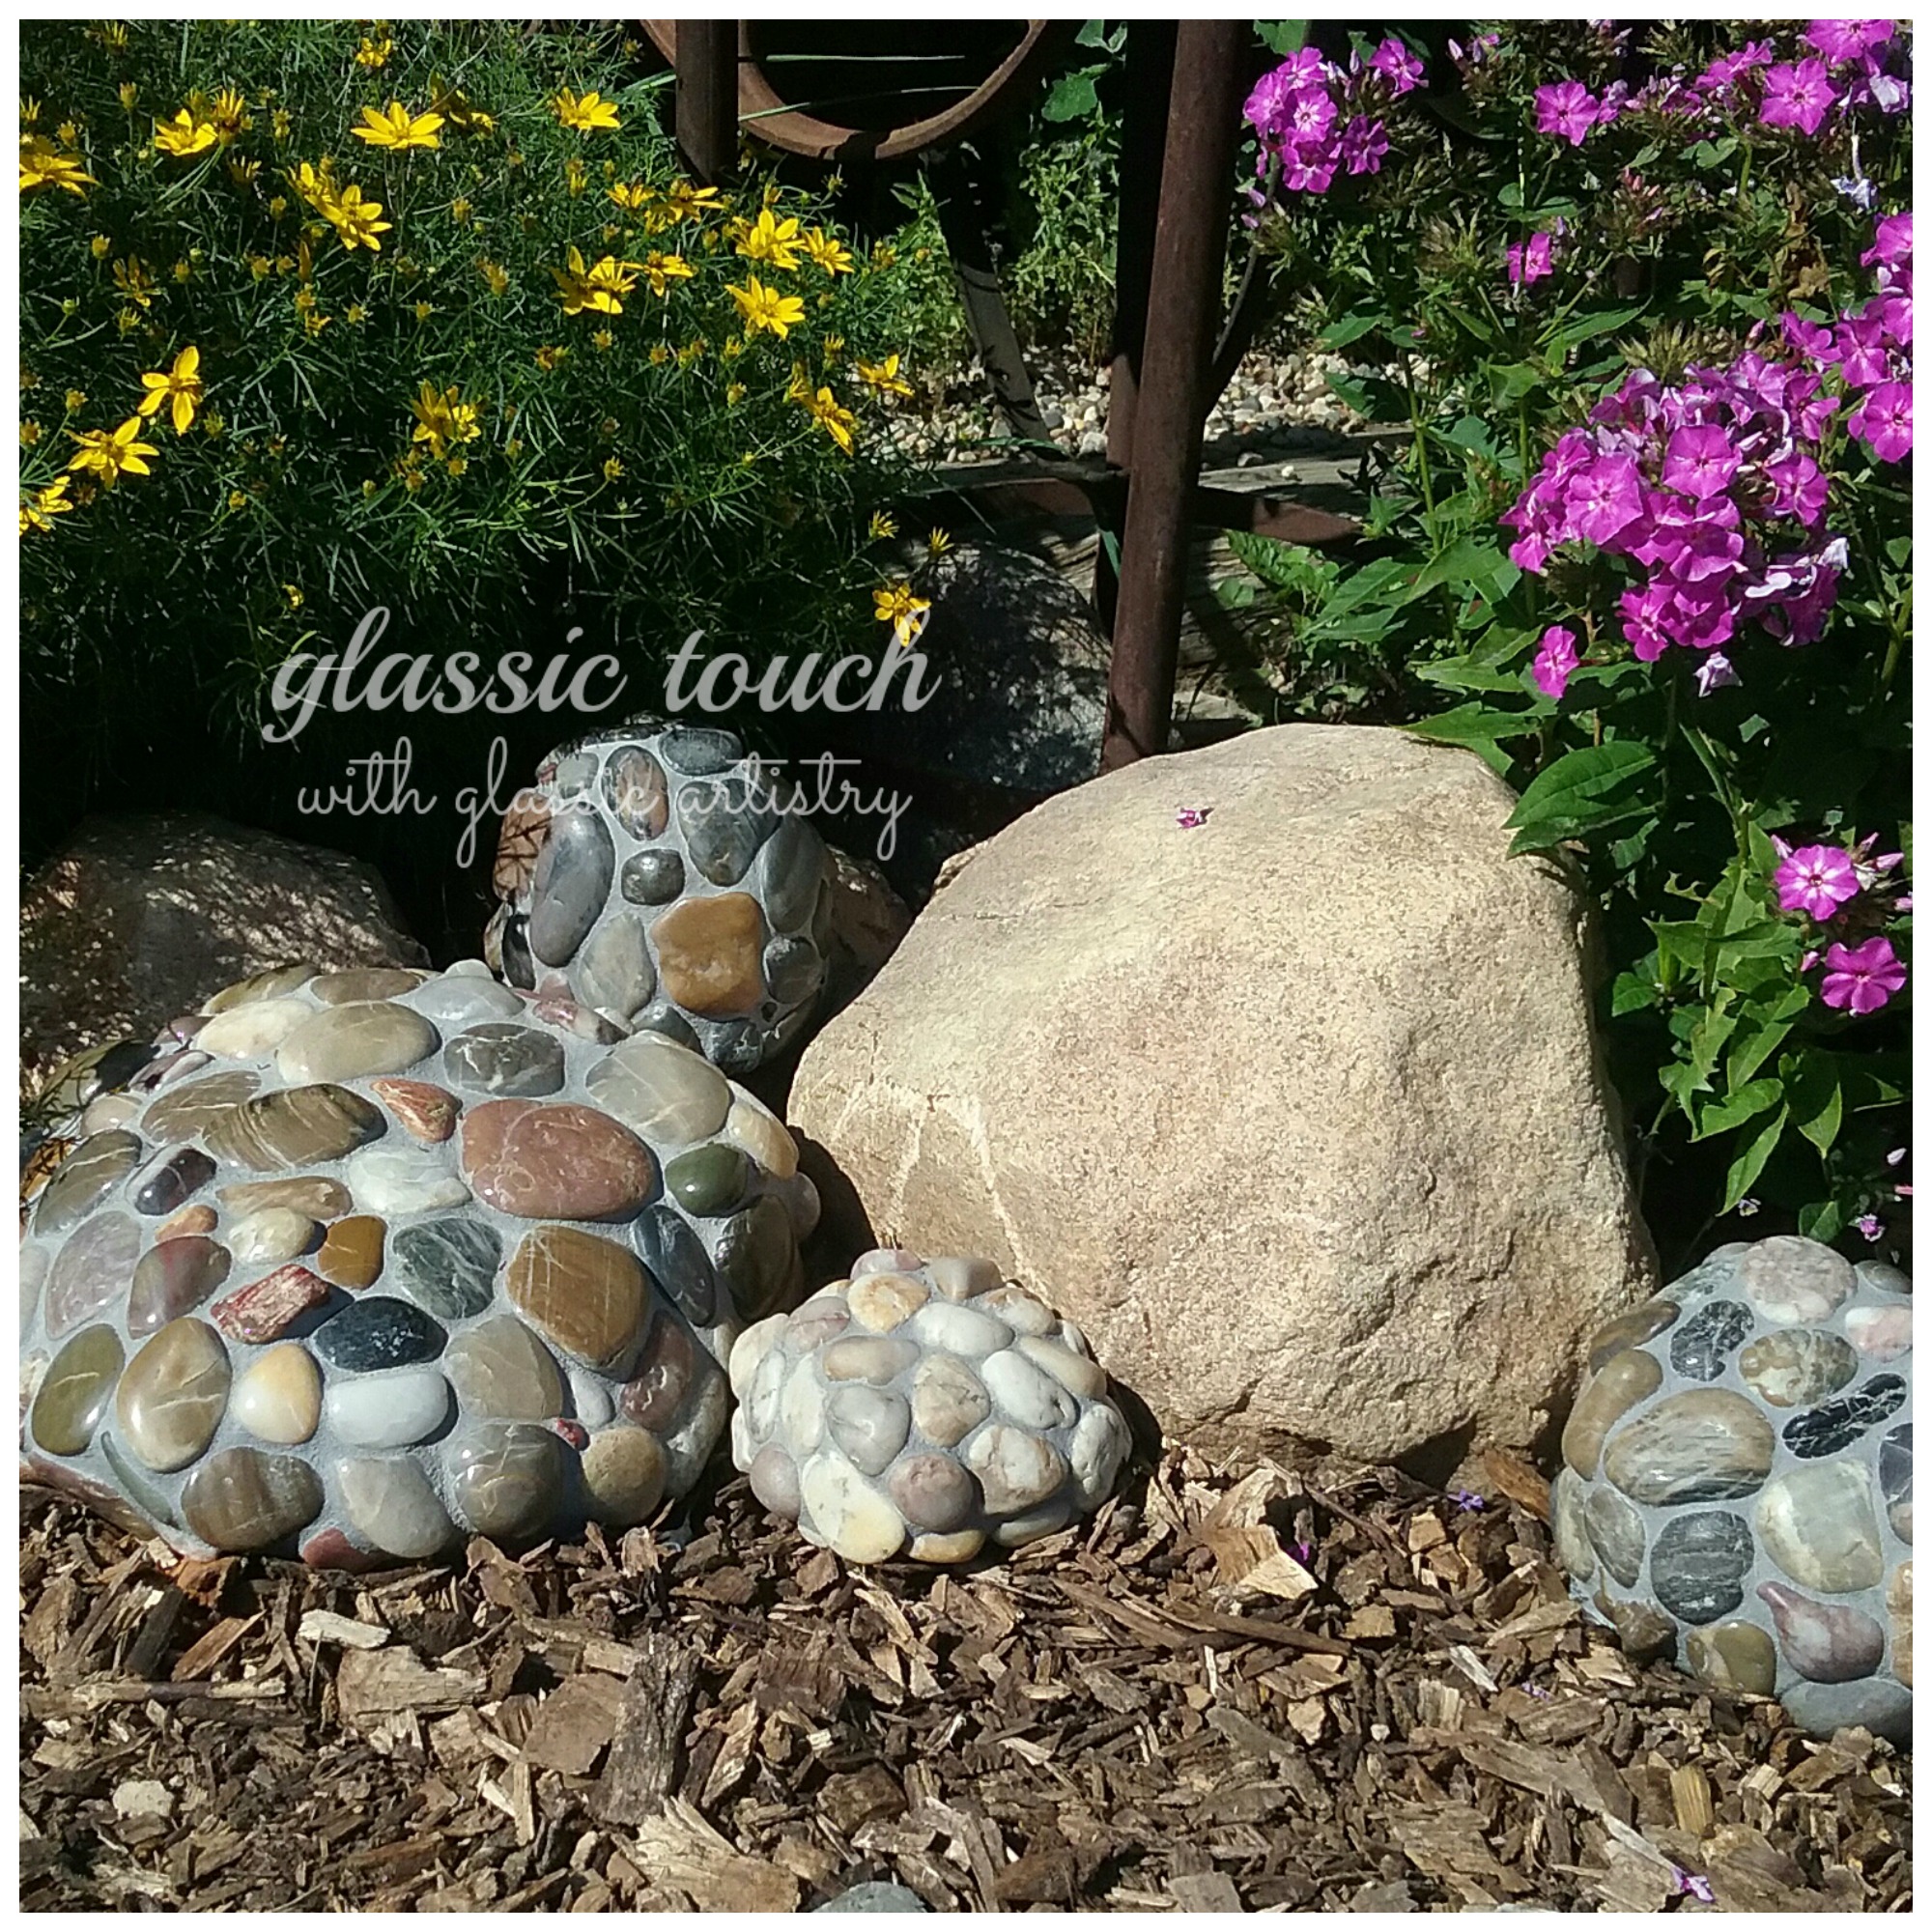
A couple years ago I made a big mosaic rock with some polished river rocks. It was meant for a show, but, found a welcome home in my garden instead. I thought a grouping of them would look cool, so I bought more rocks with the intentions of making some, but never took the time. Well, now, was the perfect time.
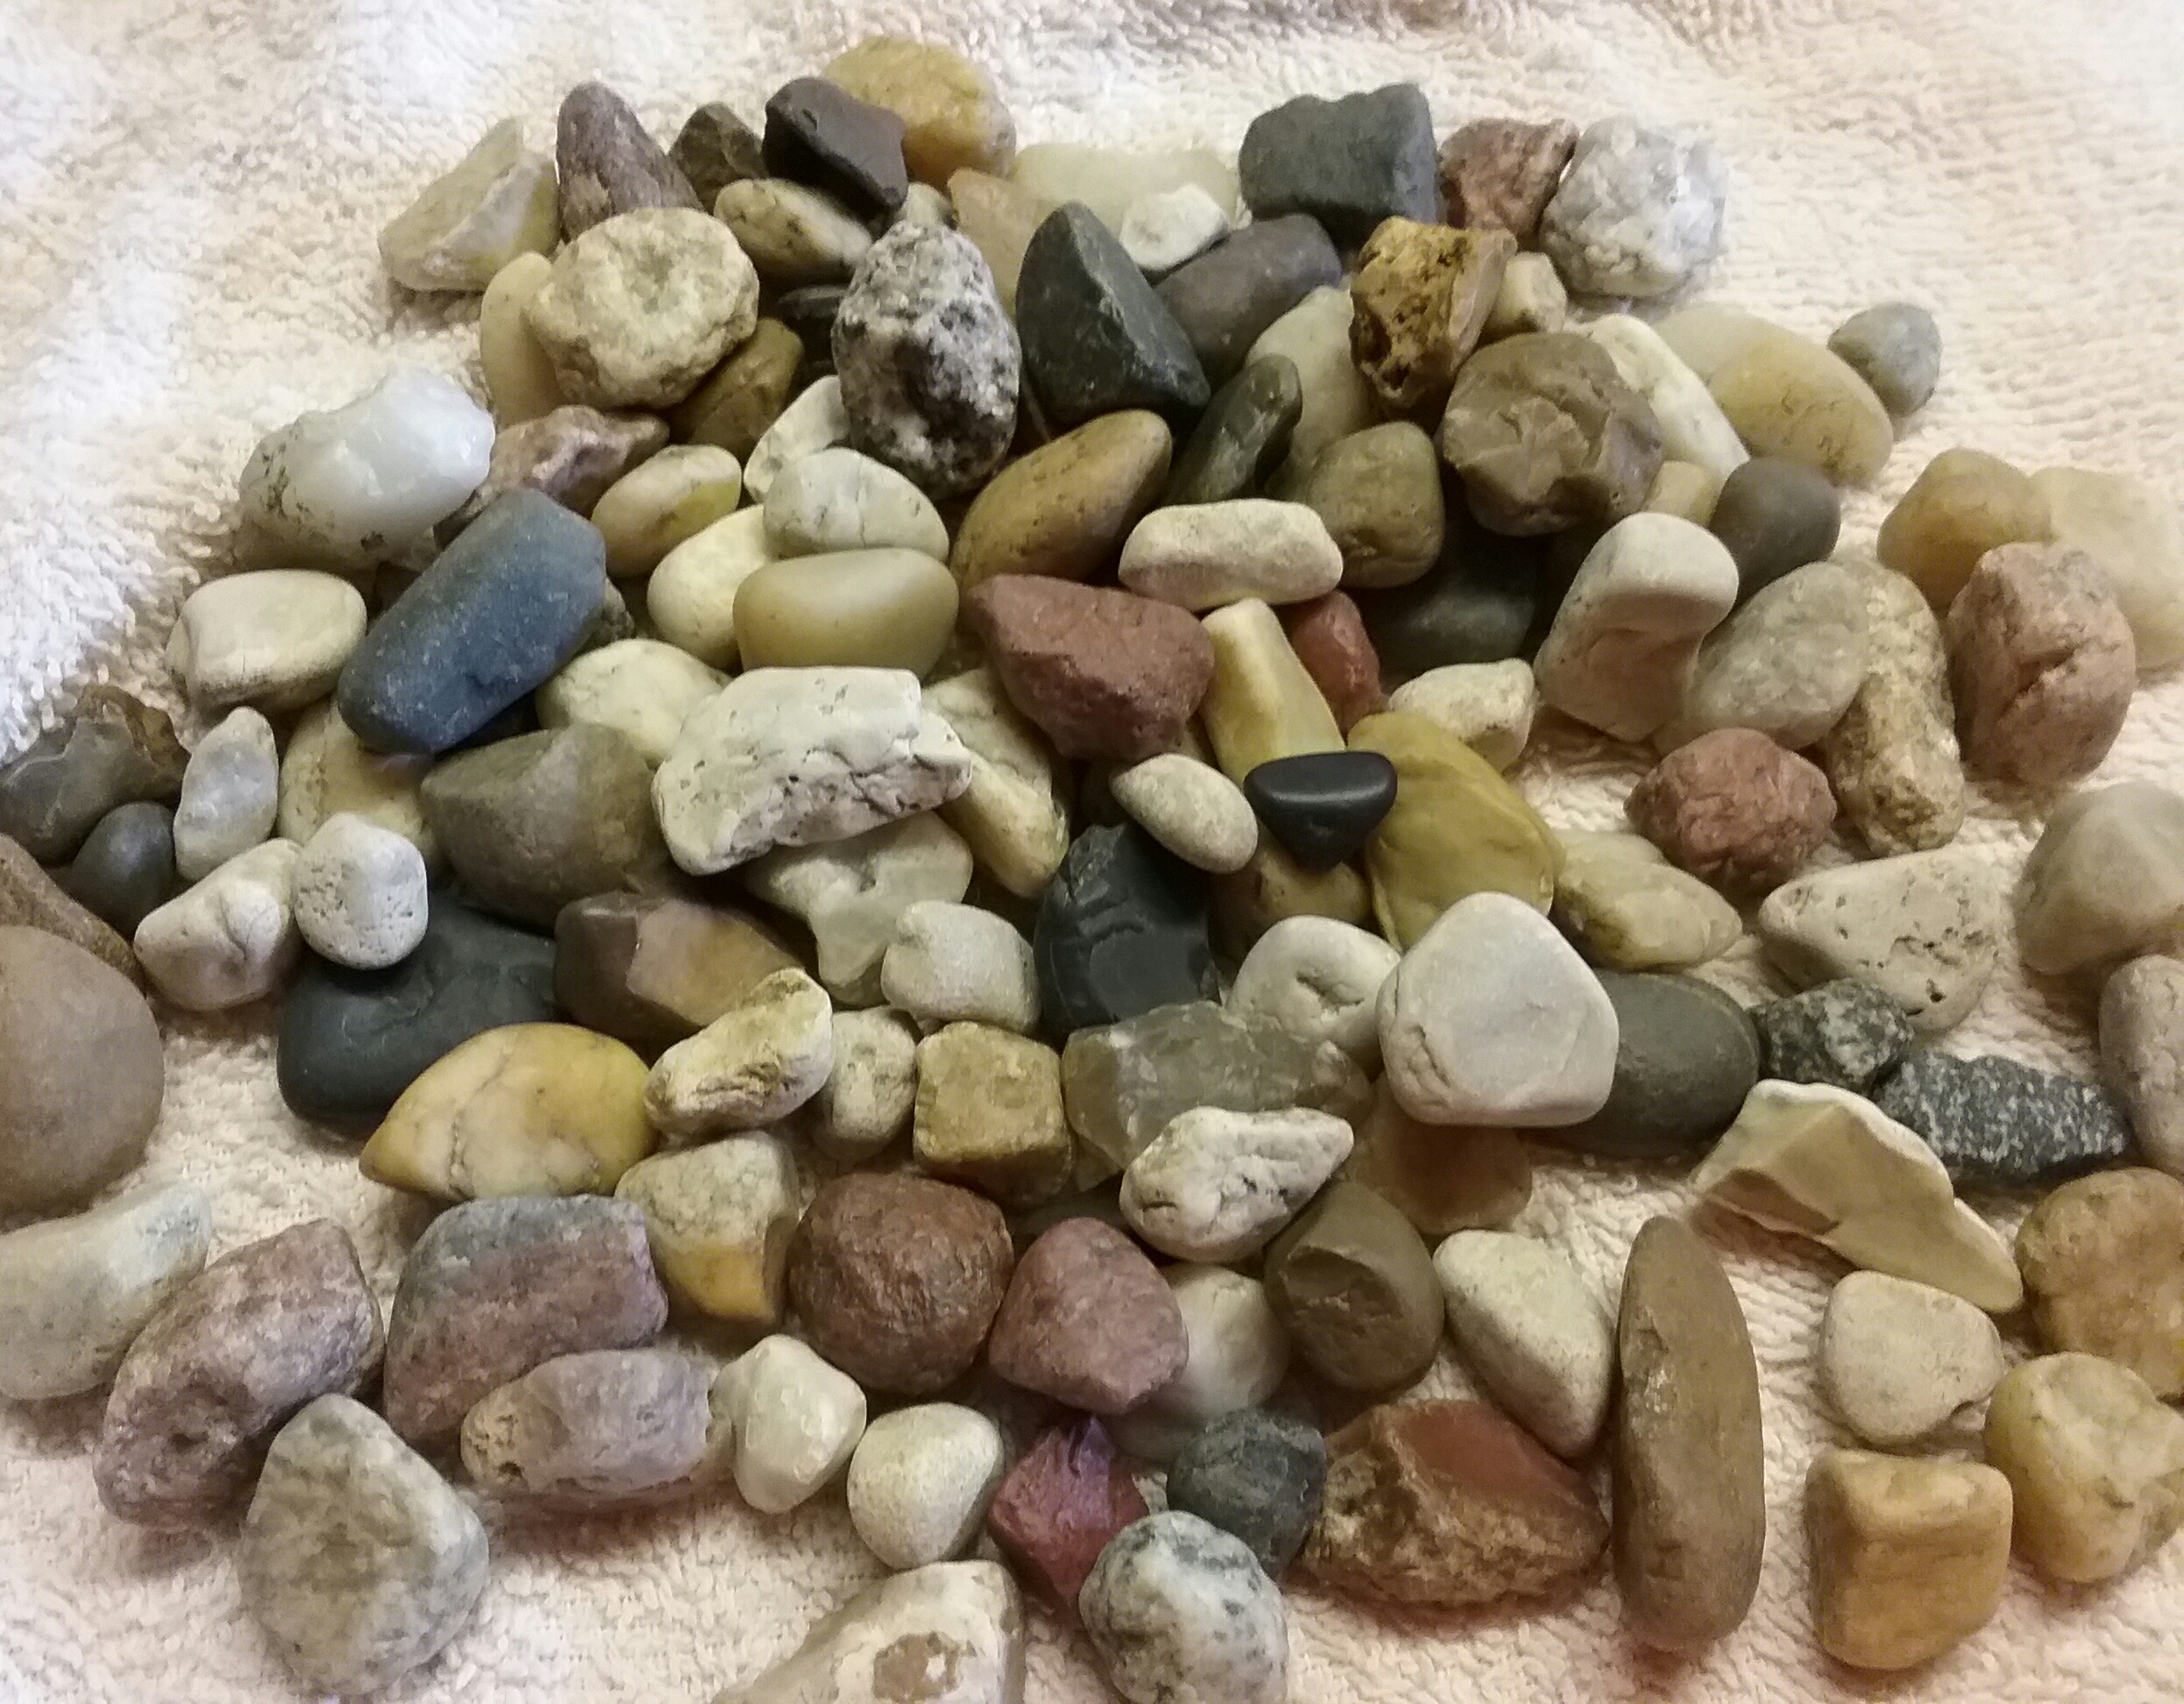
I picked out three smaller rocks I liked the shape of and washed them with hot soapy water. Then gathered my rocks, painters/masking tape, bowl of rubbing alcohol, a work rag, and some E6000, clear or white. I found my bags of rock in the floral department at Hobby Lobby. I think they were about $3 each. They weren’t as shiny as my original ones, but would do.
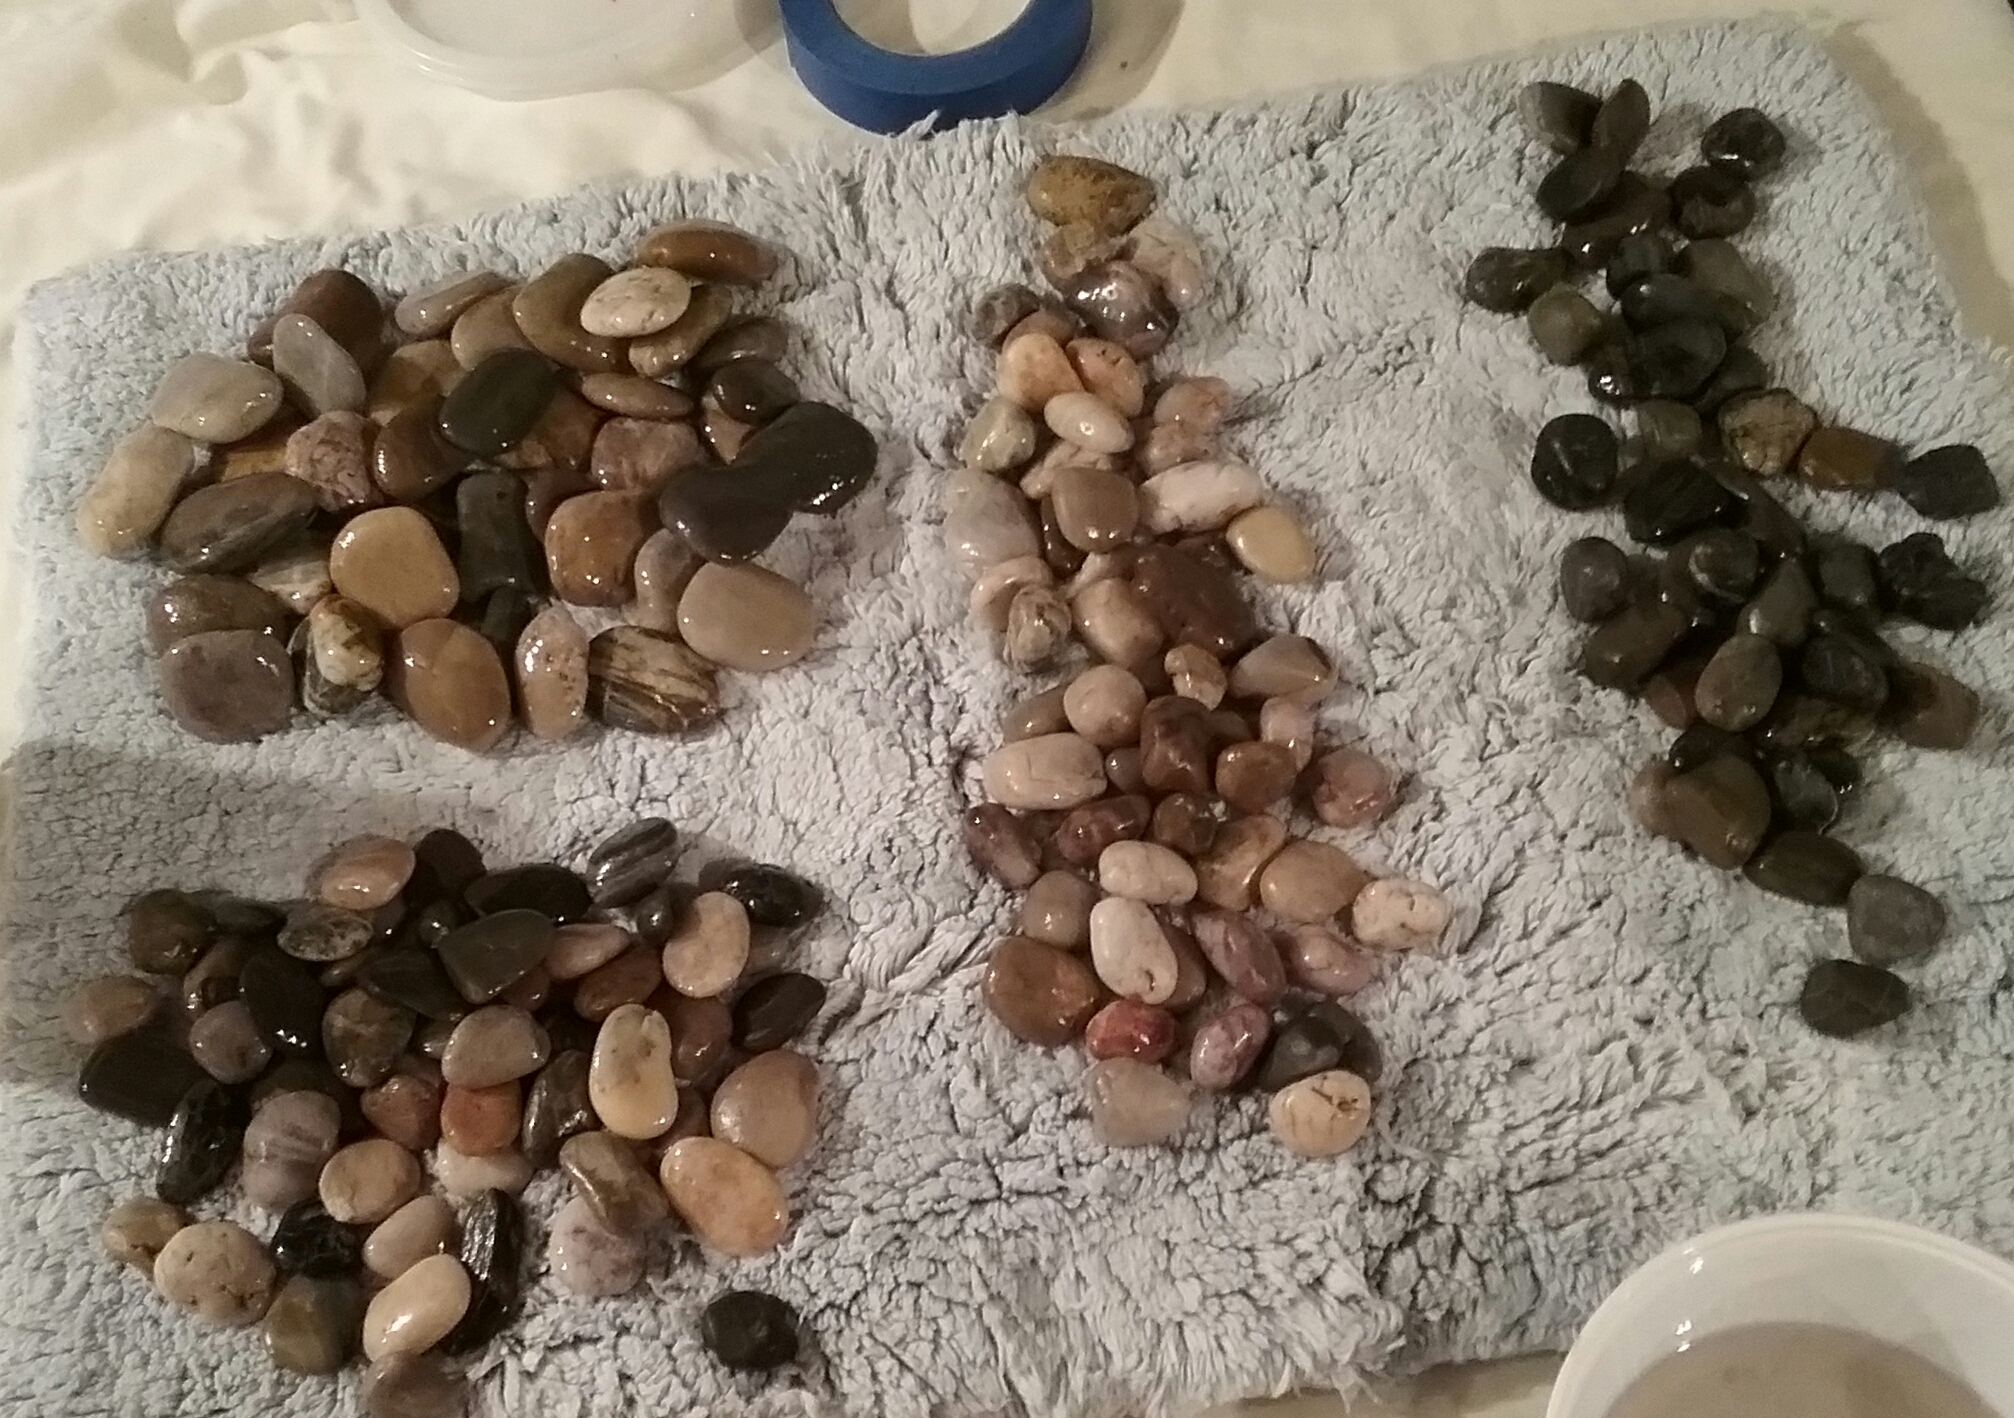
After washing the rocks, they were sorted by the colors and sizes I wanted to use, swished in a bowl of rubbing alcohol to remove any oils on them, and laid out to dry.


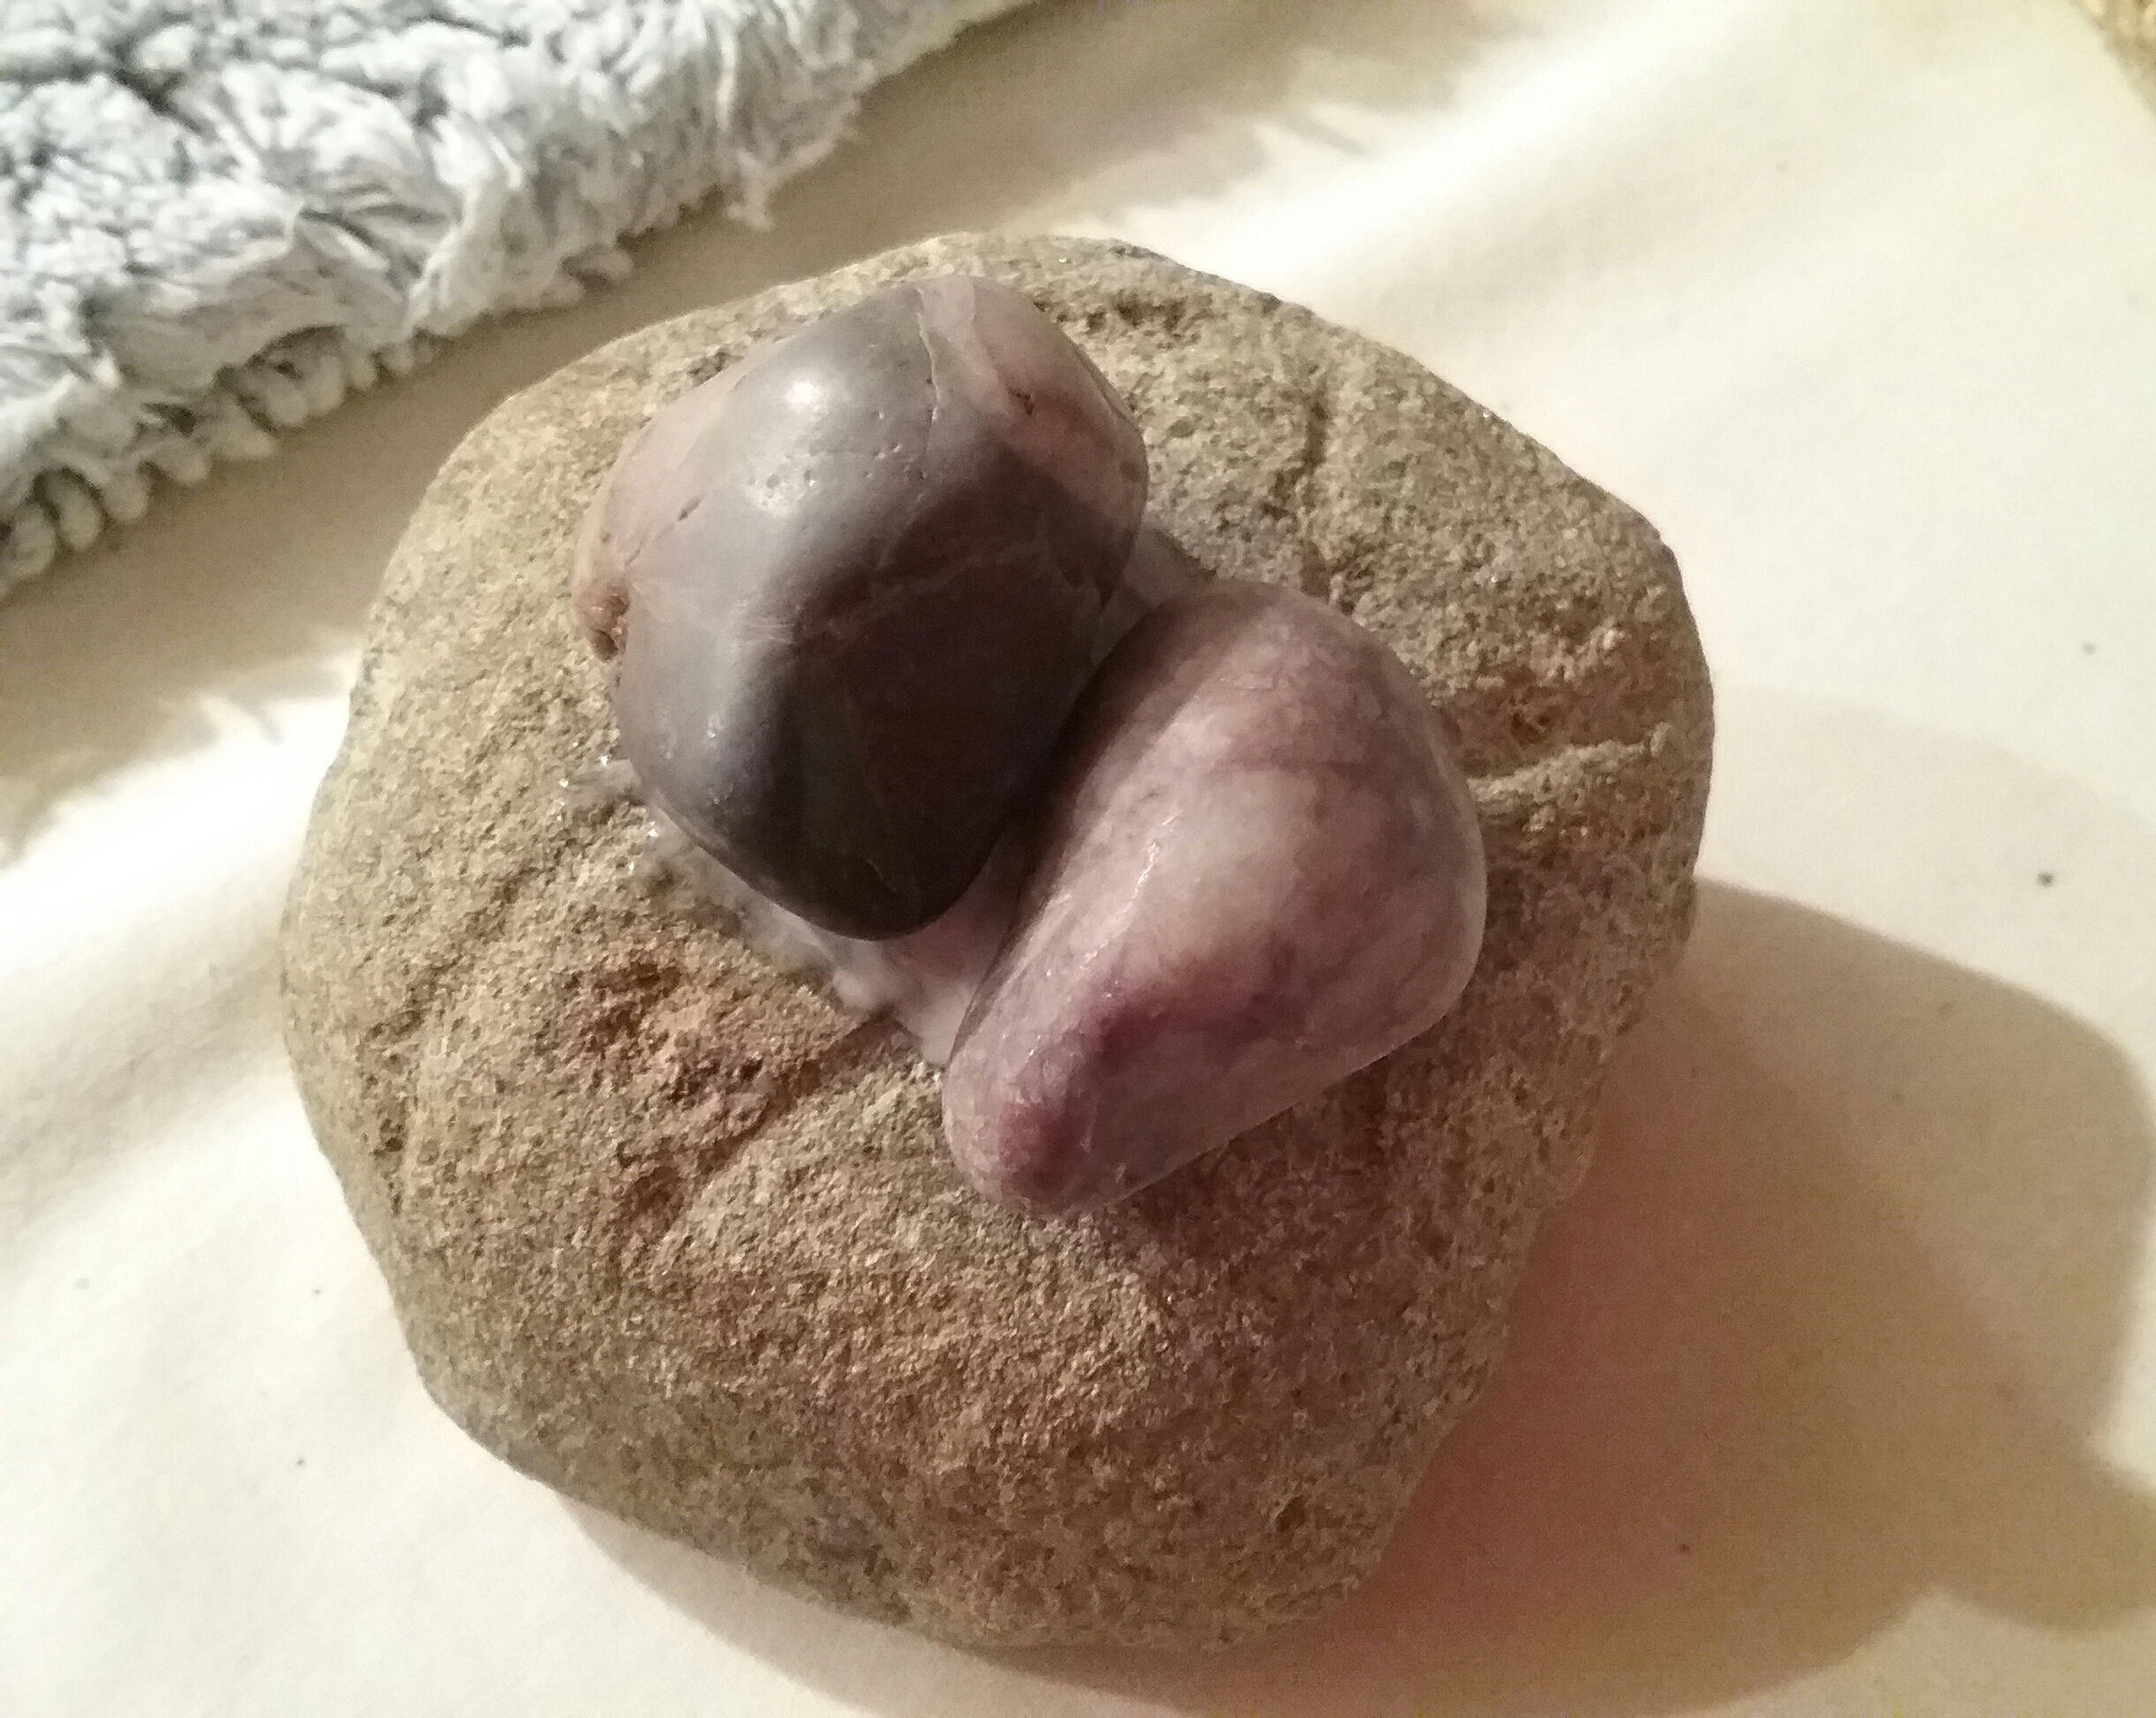
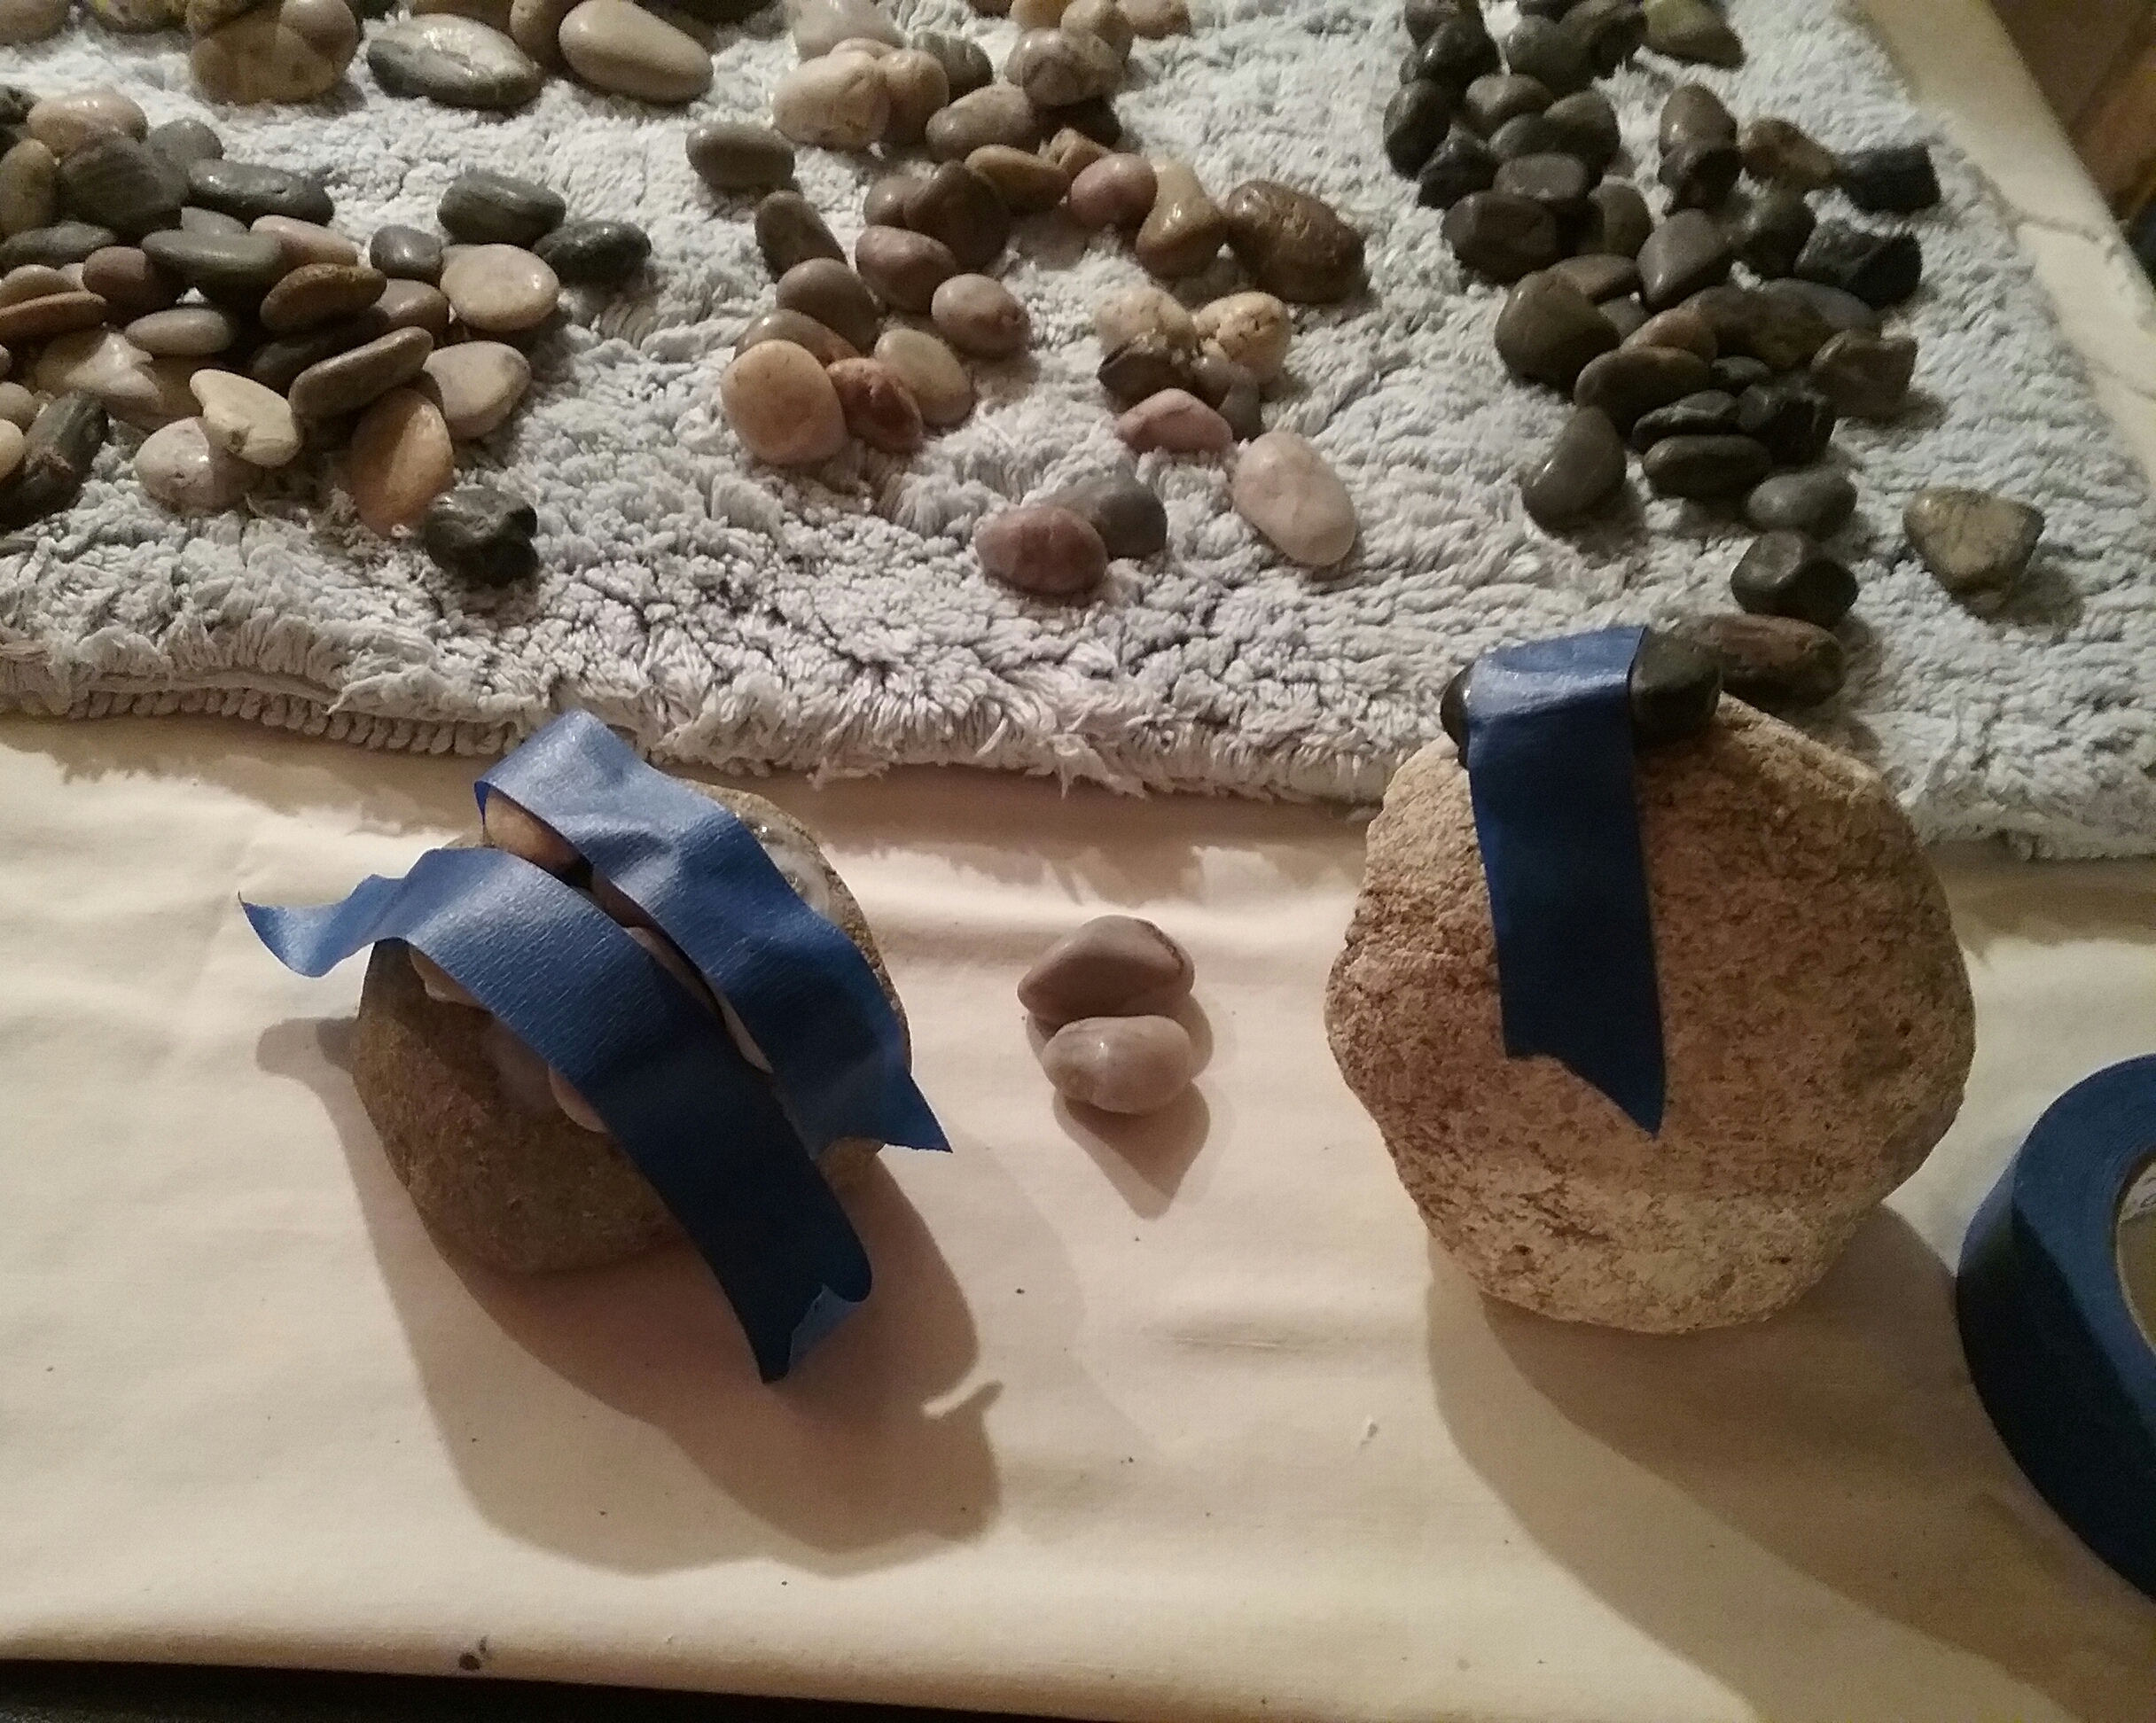
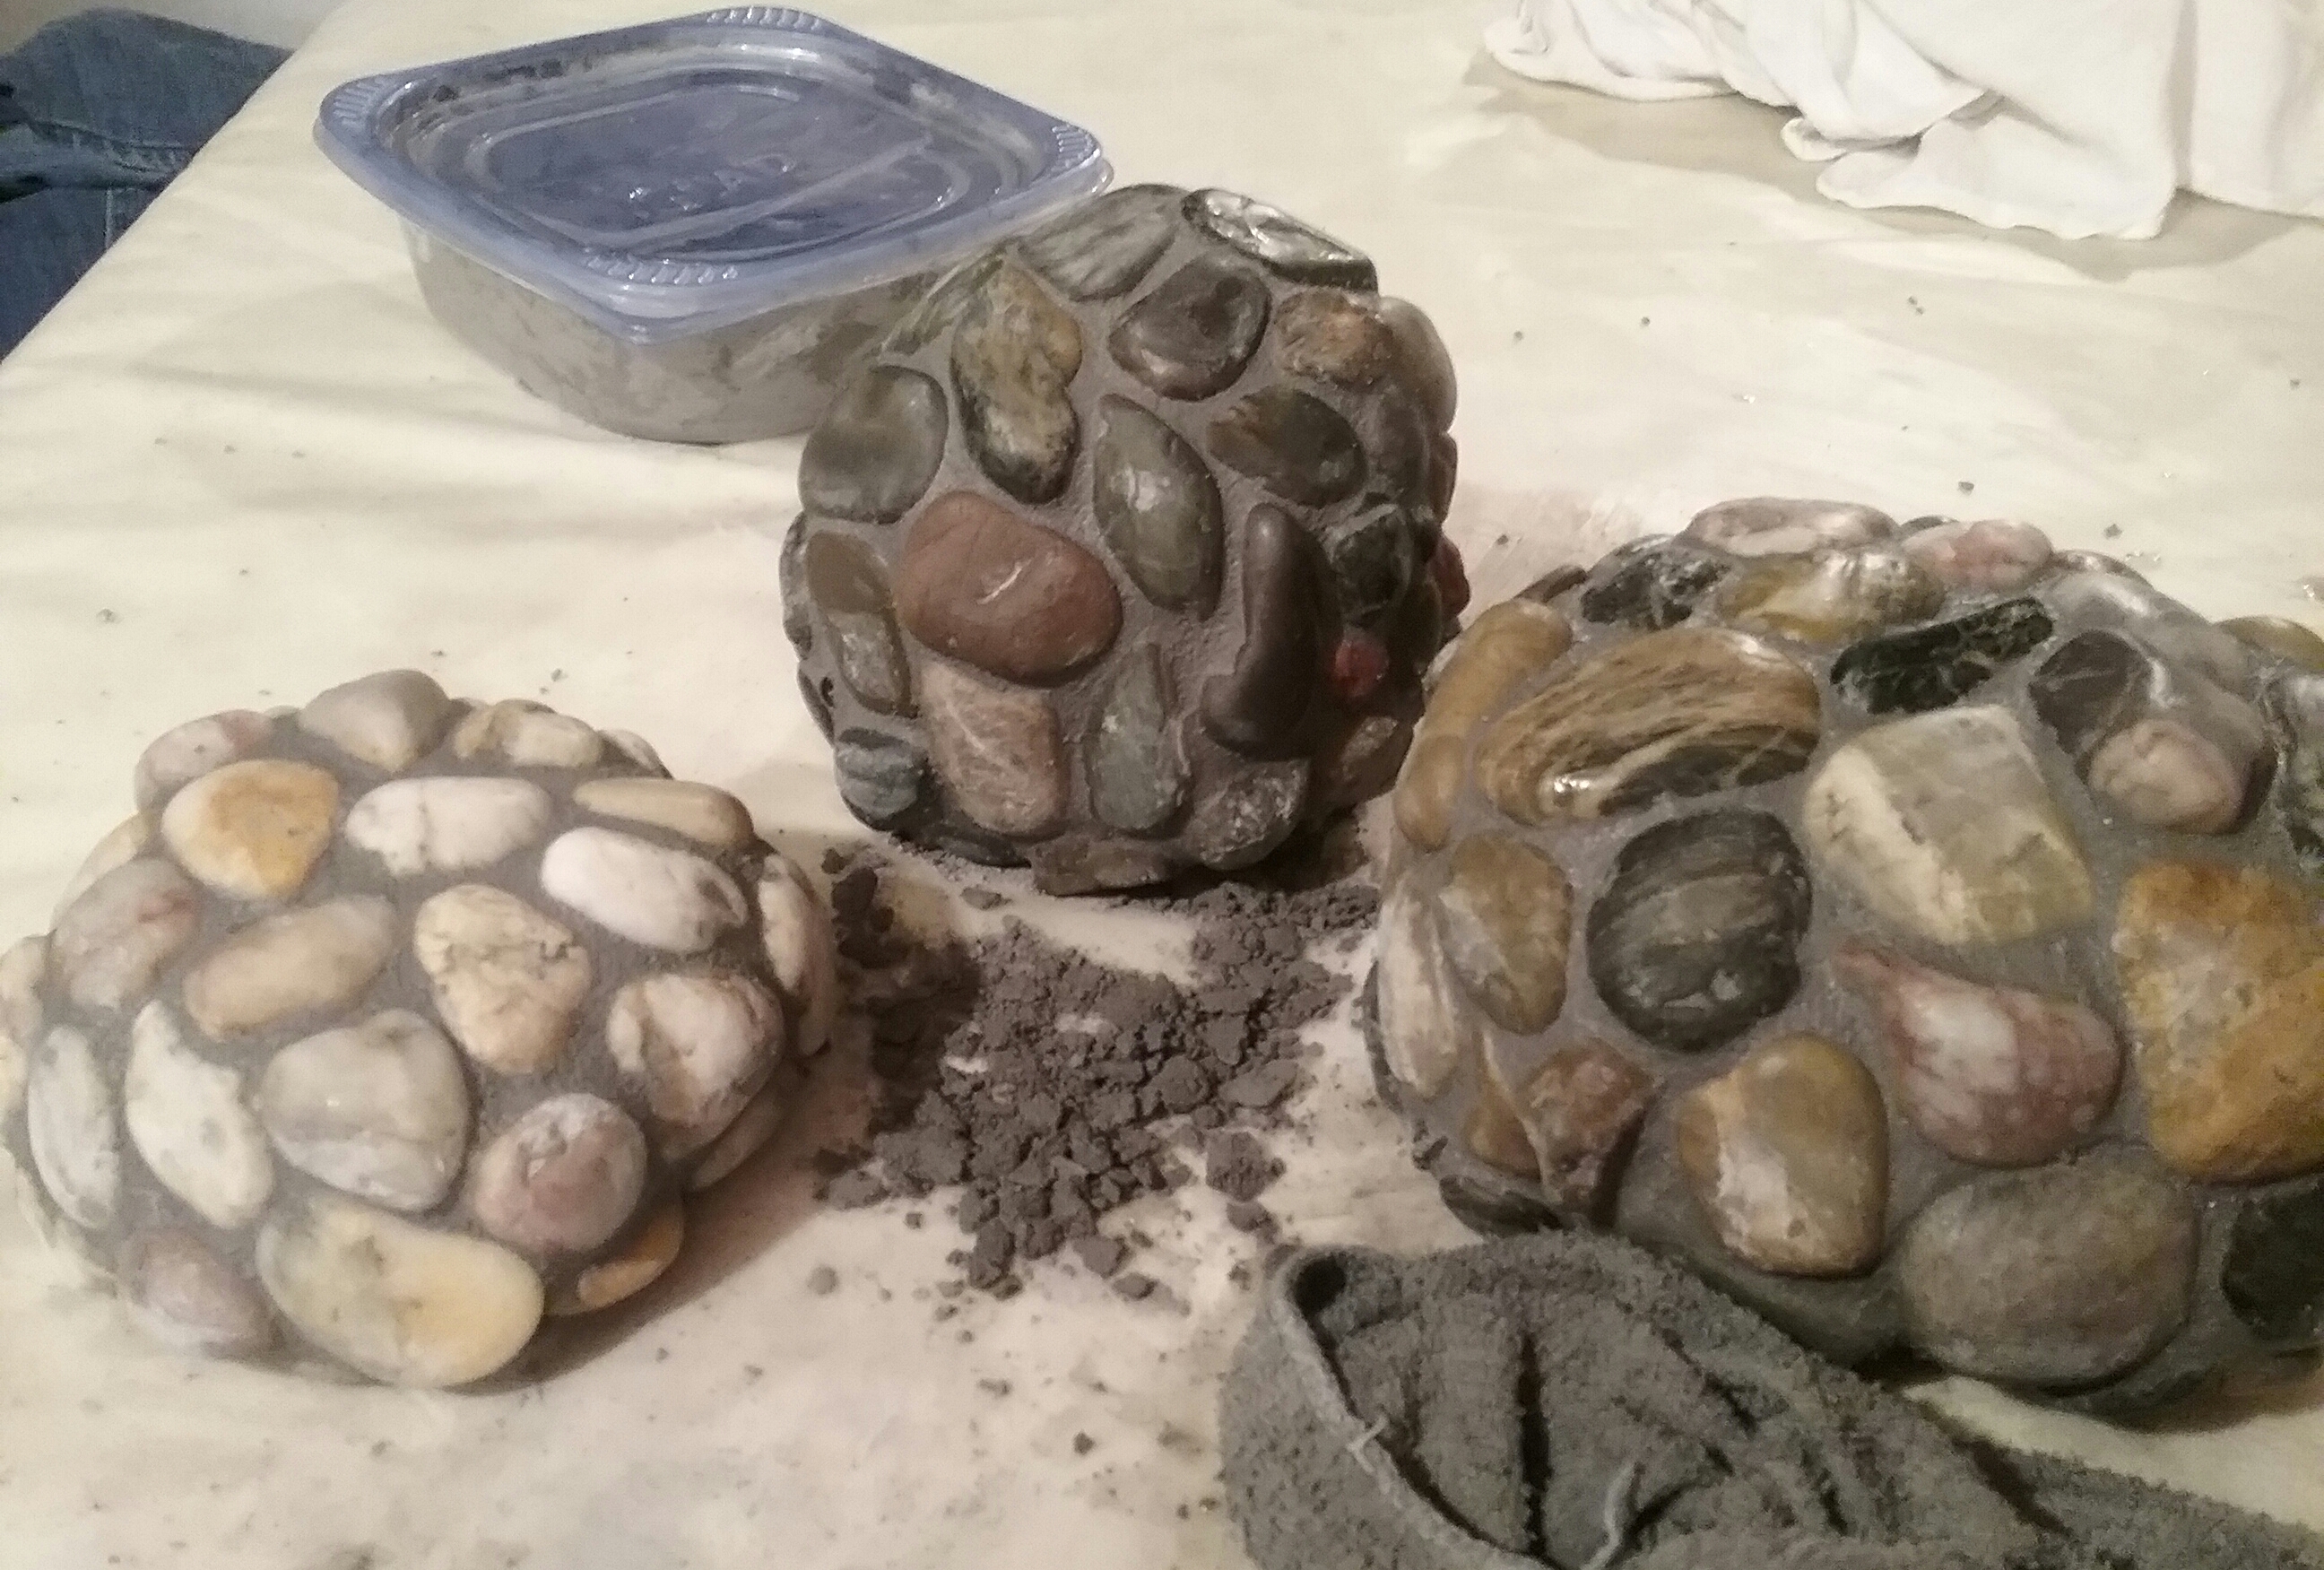
using a liberal amount of glue, begin gluing on the rocks you like, leaving a small space between them, 1/16″th to 1/8th”. Use a piece of tape to hold them into place until they dry. This takes some time. You may even have to use tape and a rock as a prop while drying. If you don’t wait for the rocks to dry firmly enough, they may shift as you move the rock around.

As I glued, I realized I was going to need tiny rocks for a few small spaces around the rounded tops and bottom edges. I picked out a big handful from a pea rock pile behind my house, and gave them a wash, so I’d have something to choose from.
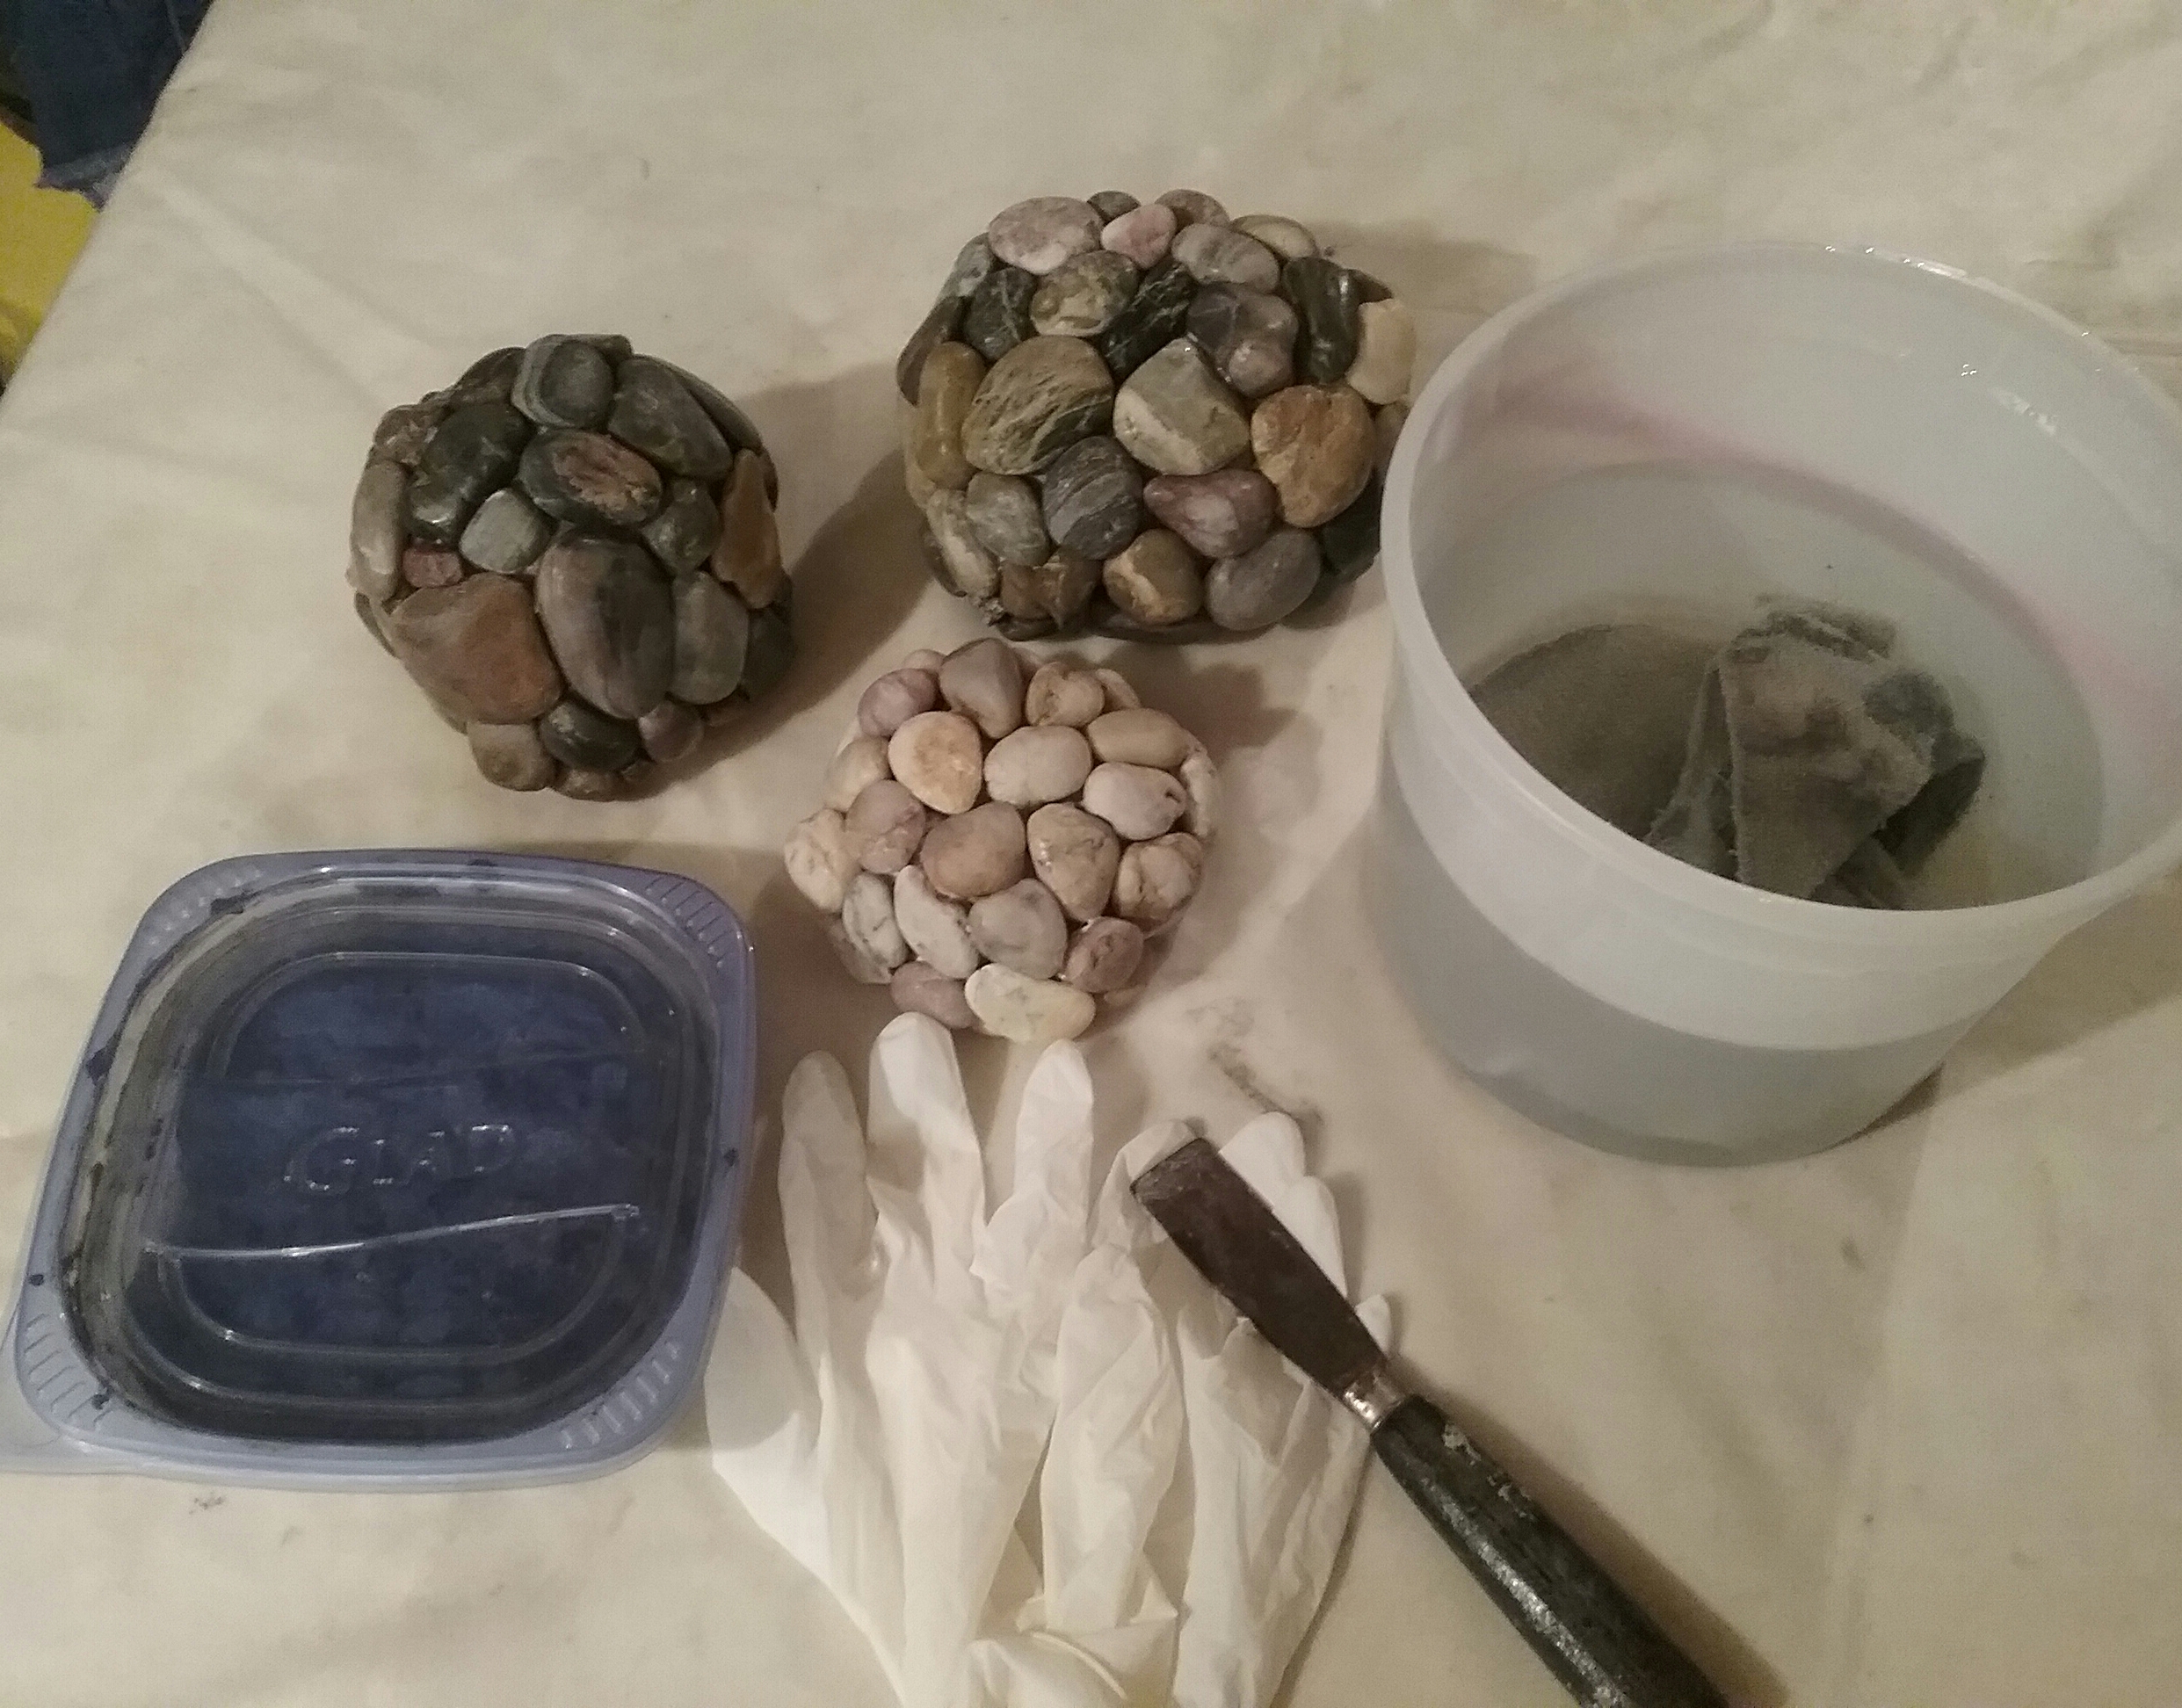
Once the rock is completely covered, let it dry 24 hours.
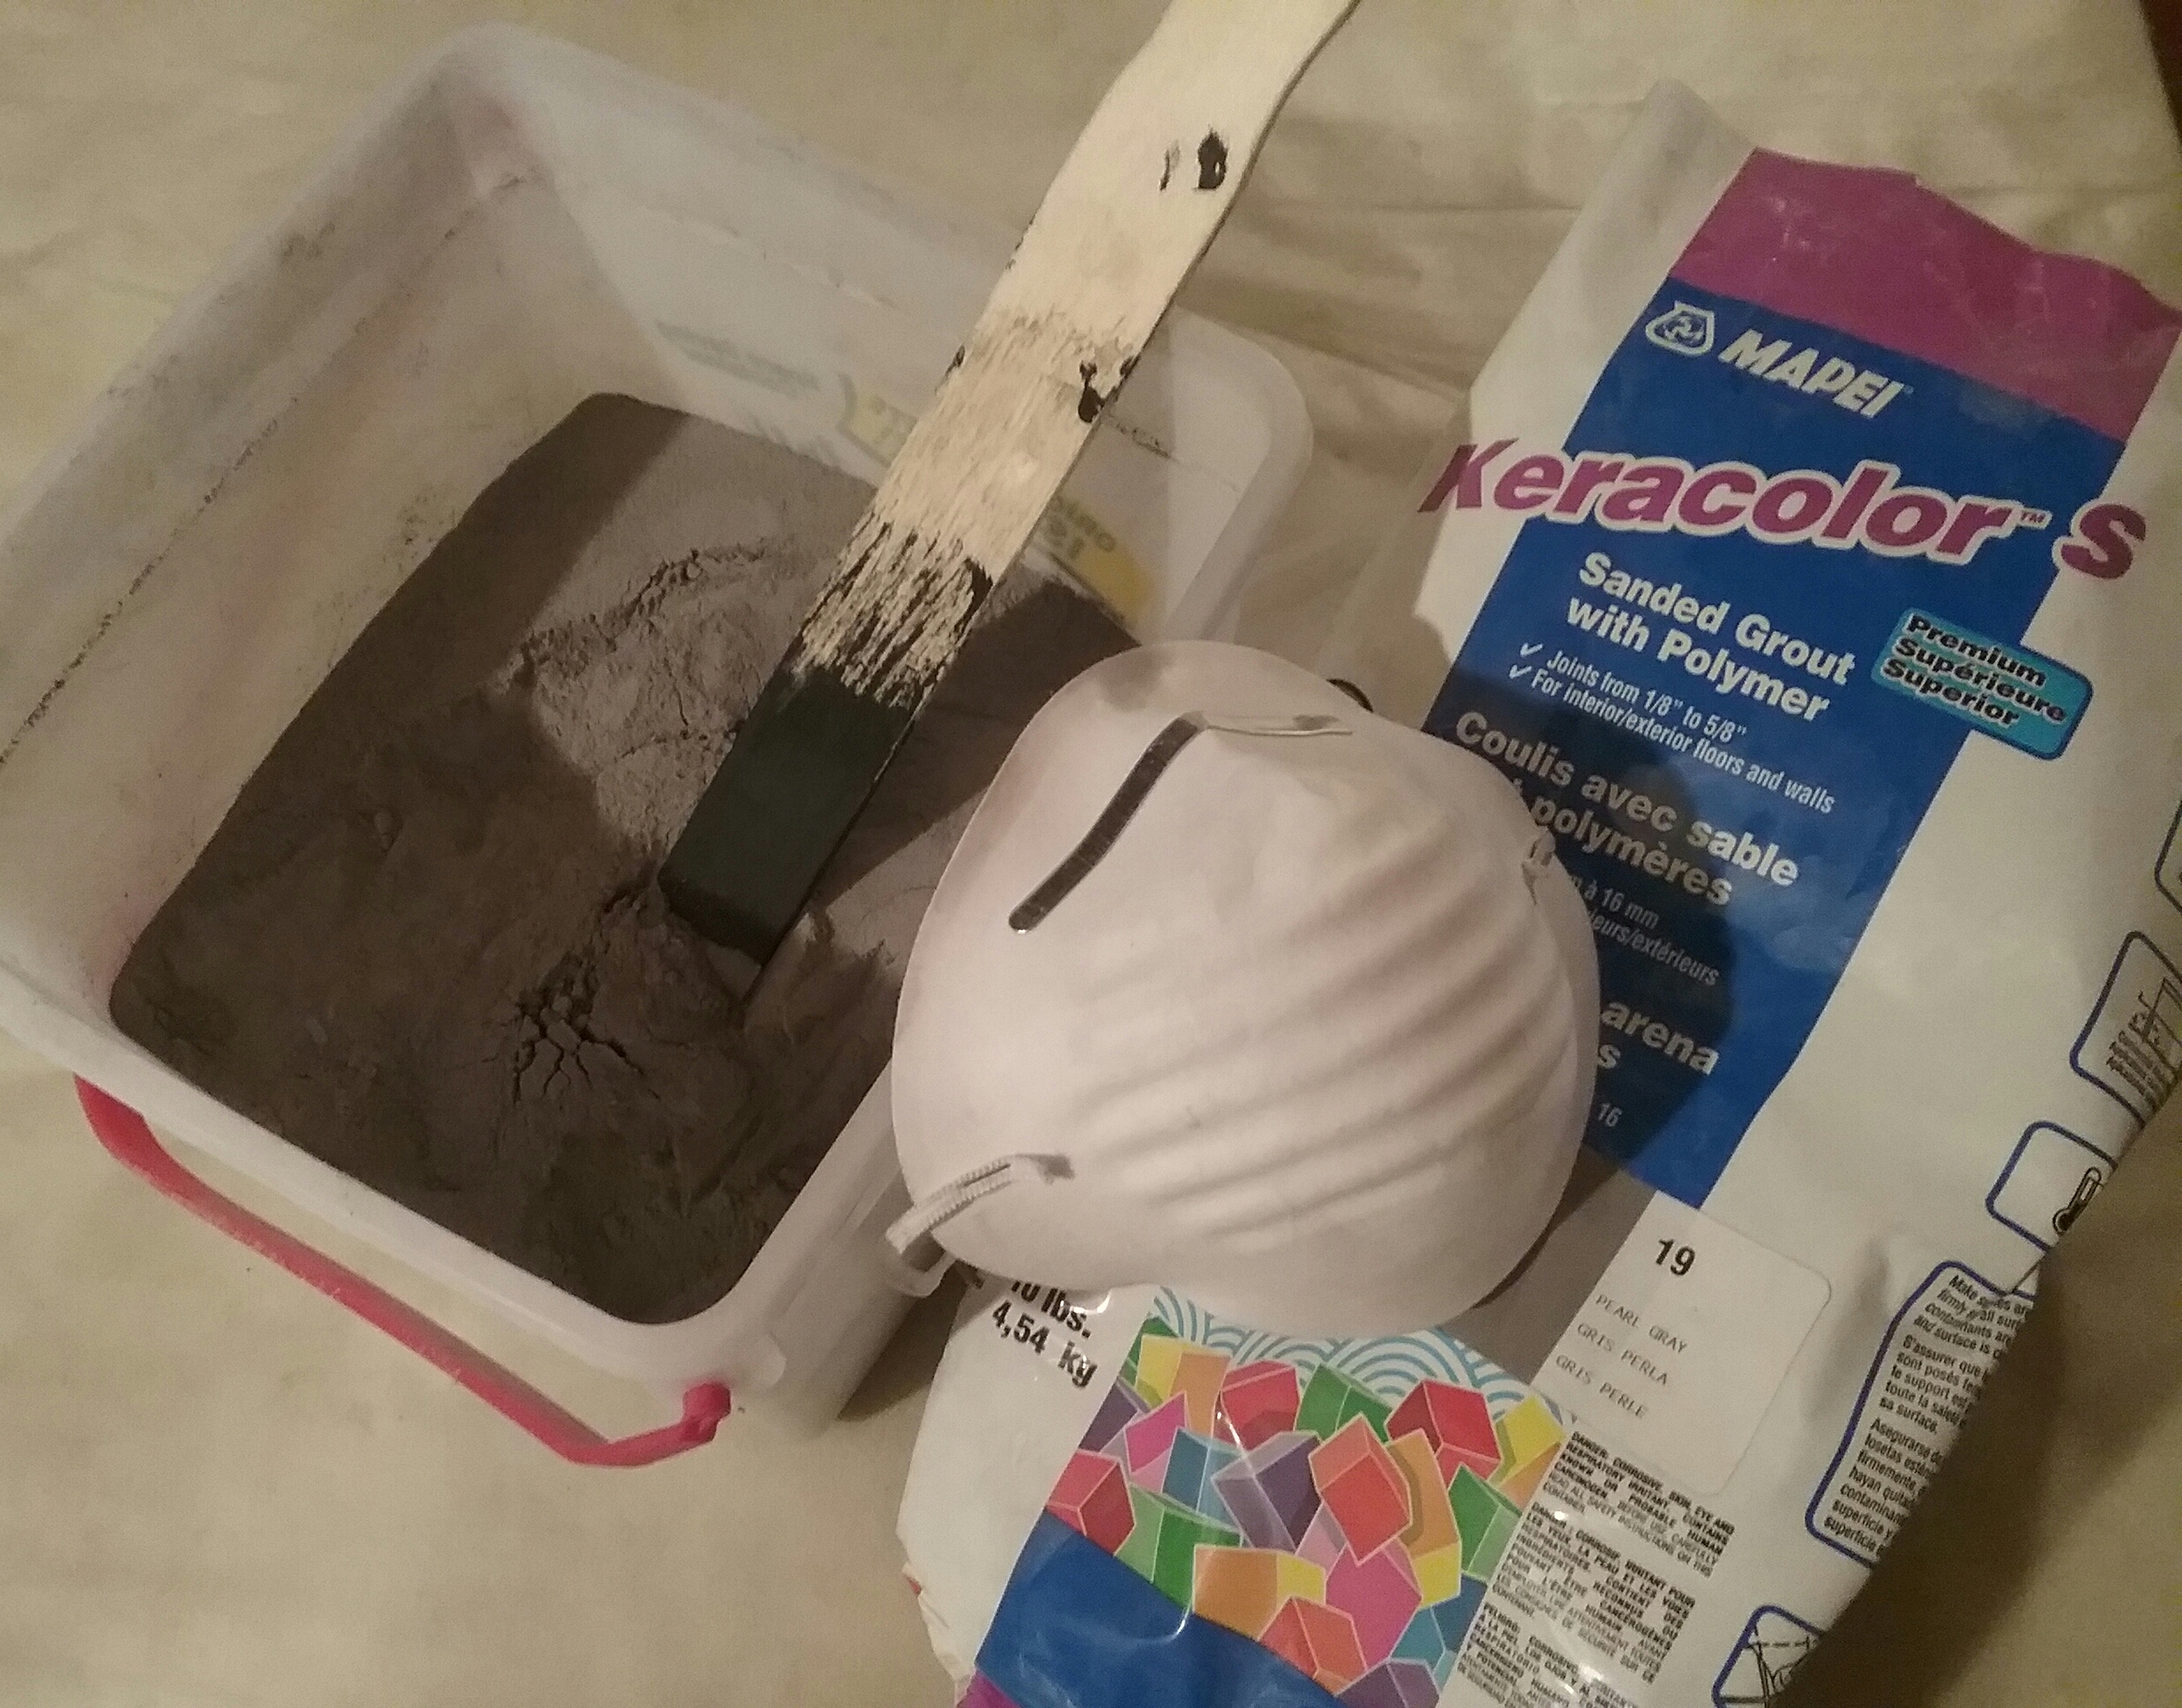
I used gray sanded grout left over from a bathroom tile project. Grout powder settles and should be re-stirred before mixing with water. ALWAYS WEAR A MASK AND GLASSES when stirring or mixing grout powder. You do not want it to get into your eyes, lungs or nasal passages.
Grouts may differ, follow the directions on the grout package for mixing. I started with 1/2 cup of water, and stirred in about 1 1/4 cup to 1 1/2 cup grout powder. Stir until lumps are gone and it has a consistency of thick oatmeal. Cover in an airtight container and let set for 15 to 20 minutes, before grouting.
I used an old shower curtain to provide a waterproof surface to work on. You’ll also need a pair of rubber or disposable gloves, a bucket of water, old rag, and maybe a putty knife.

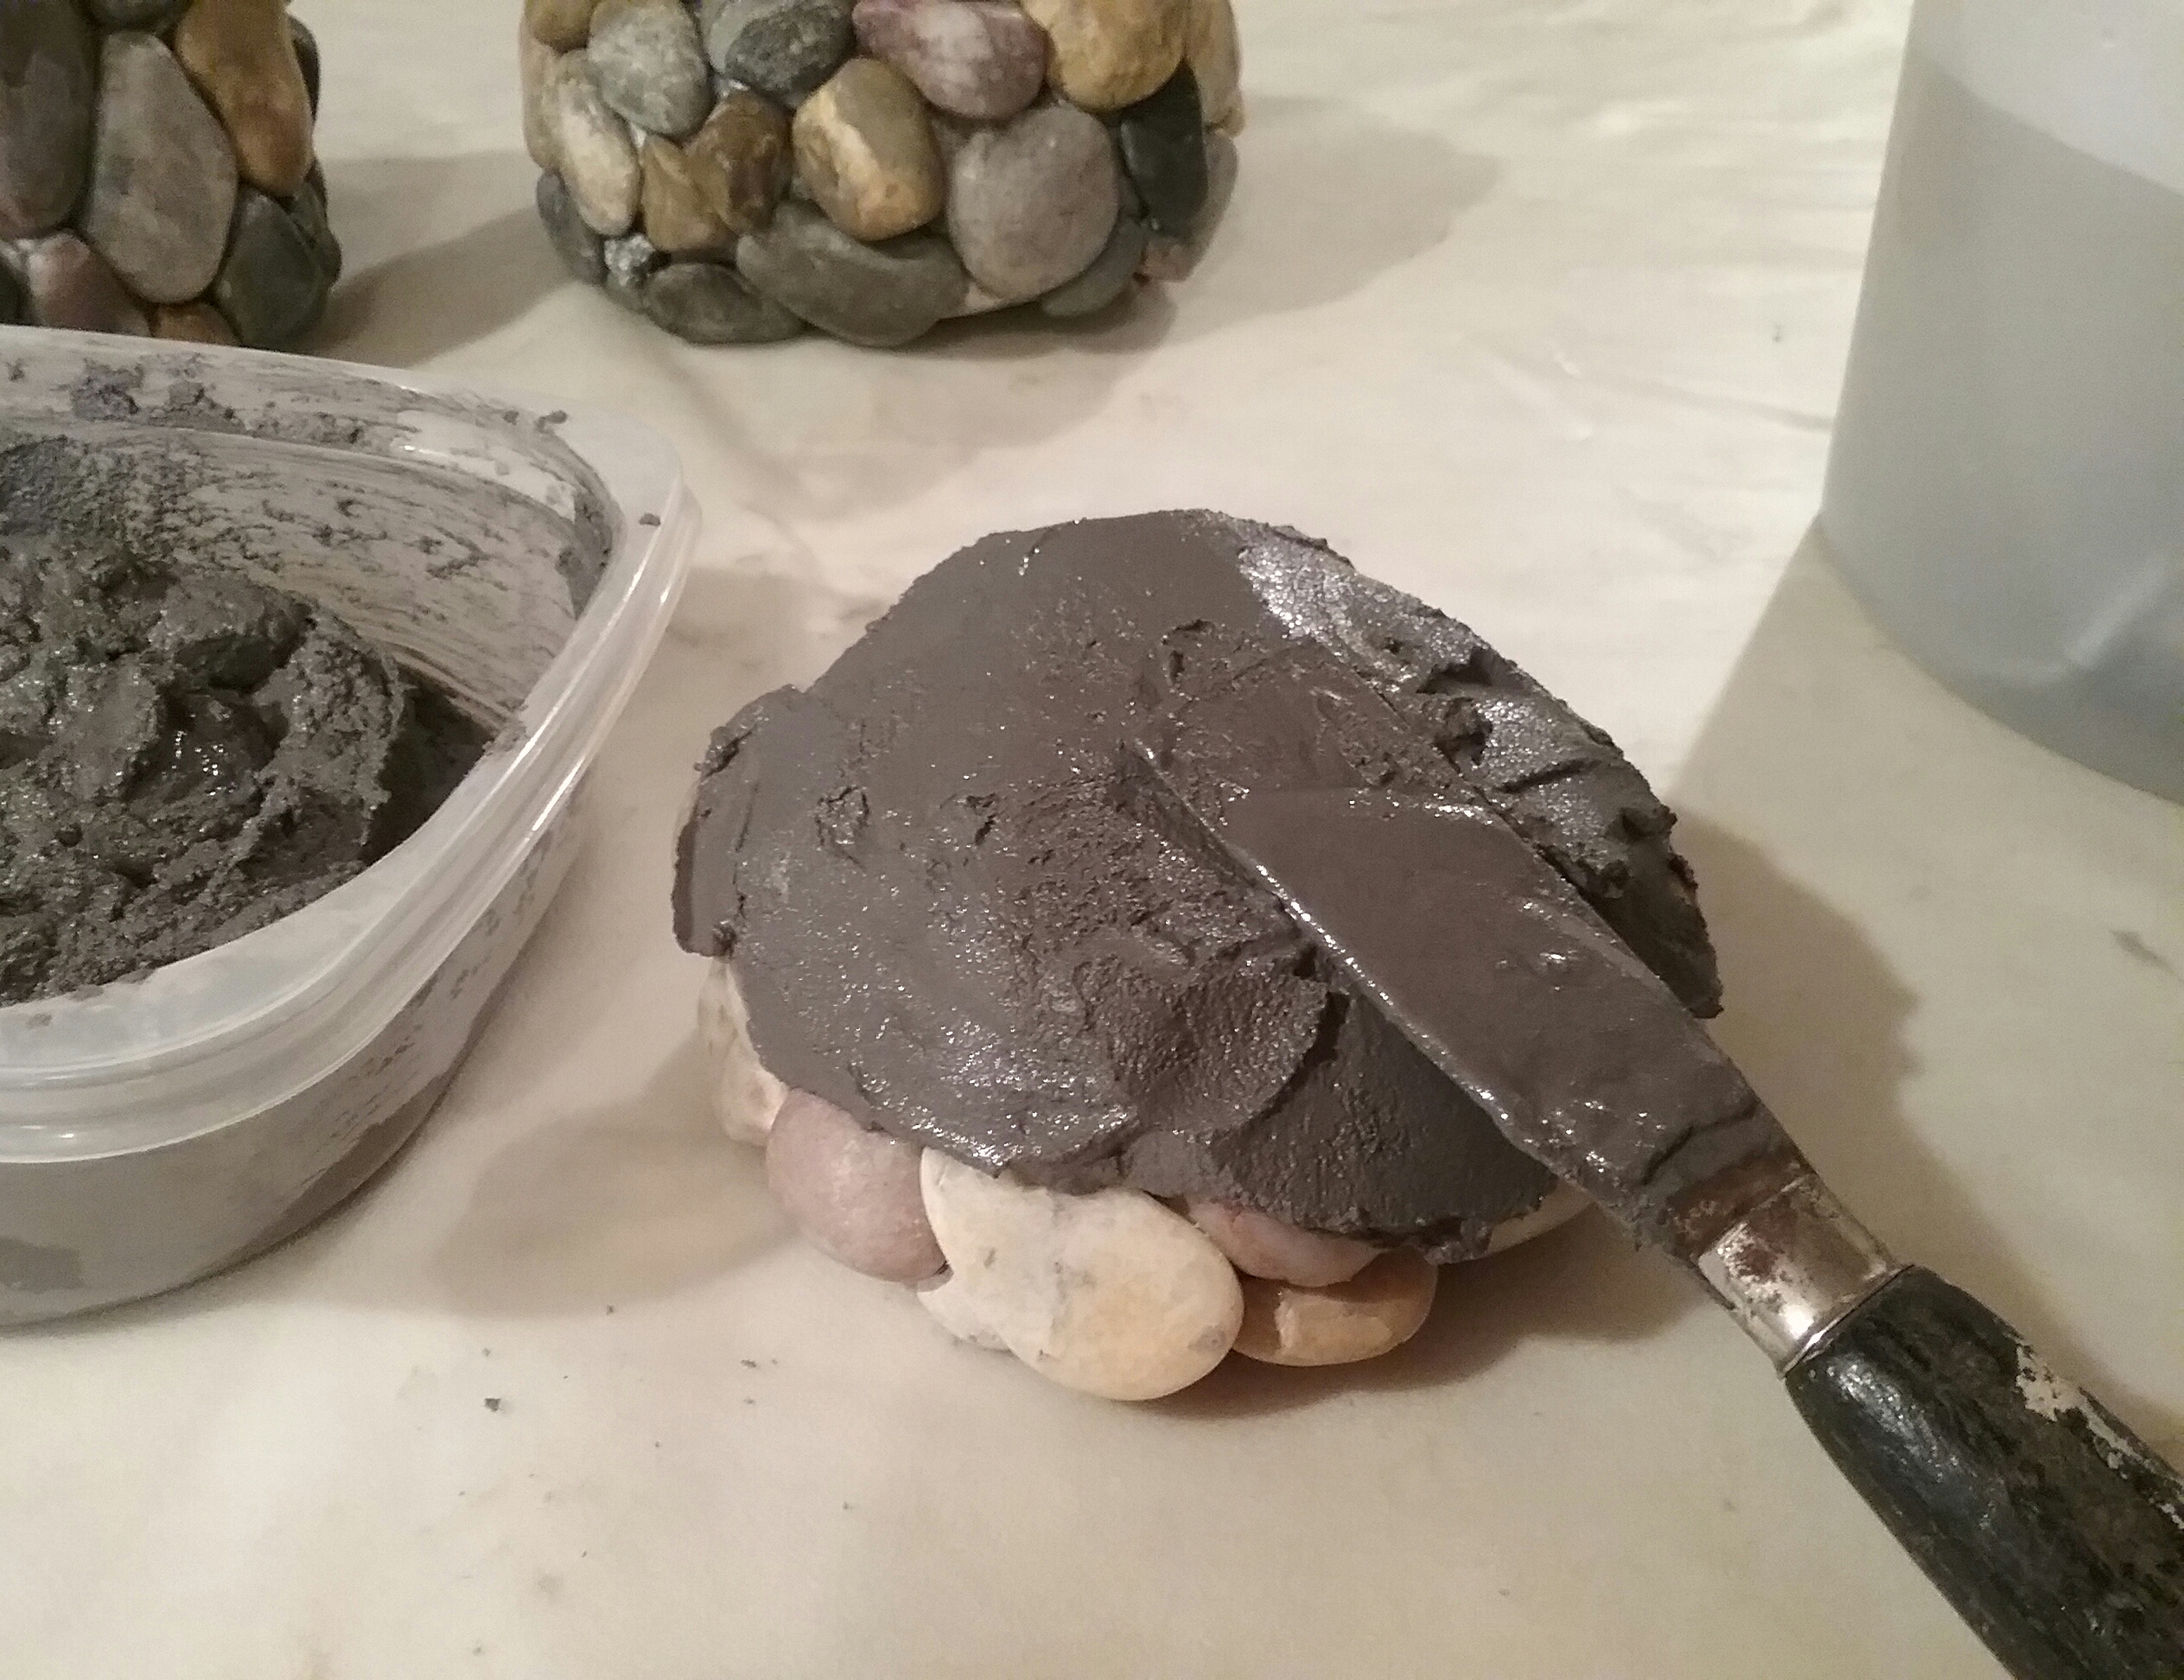
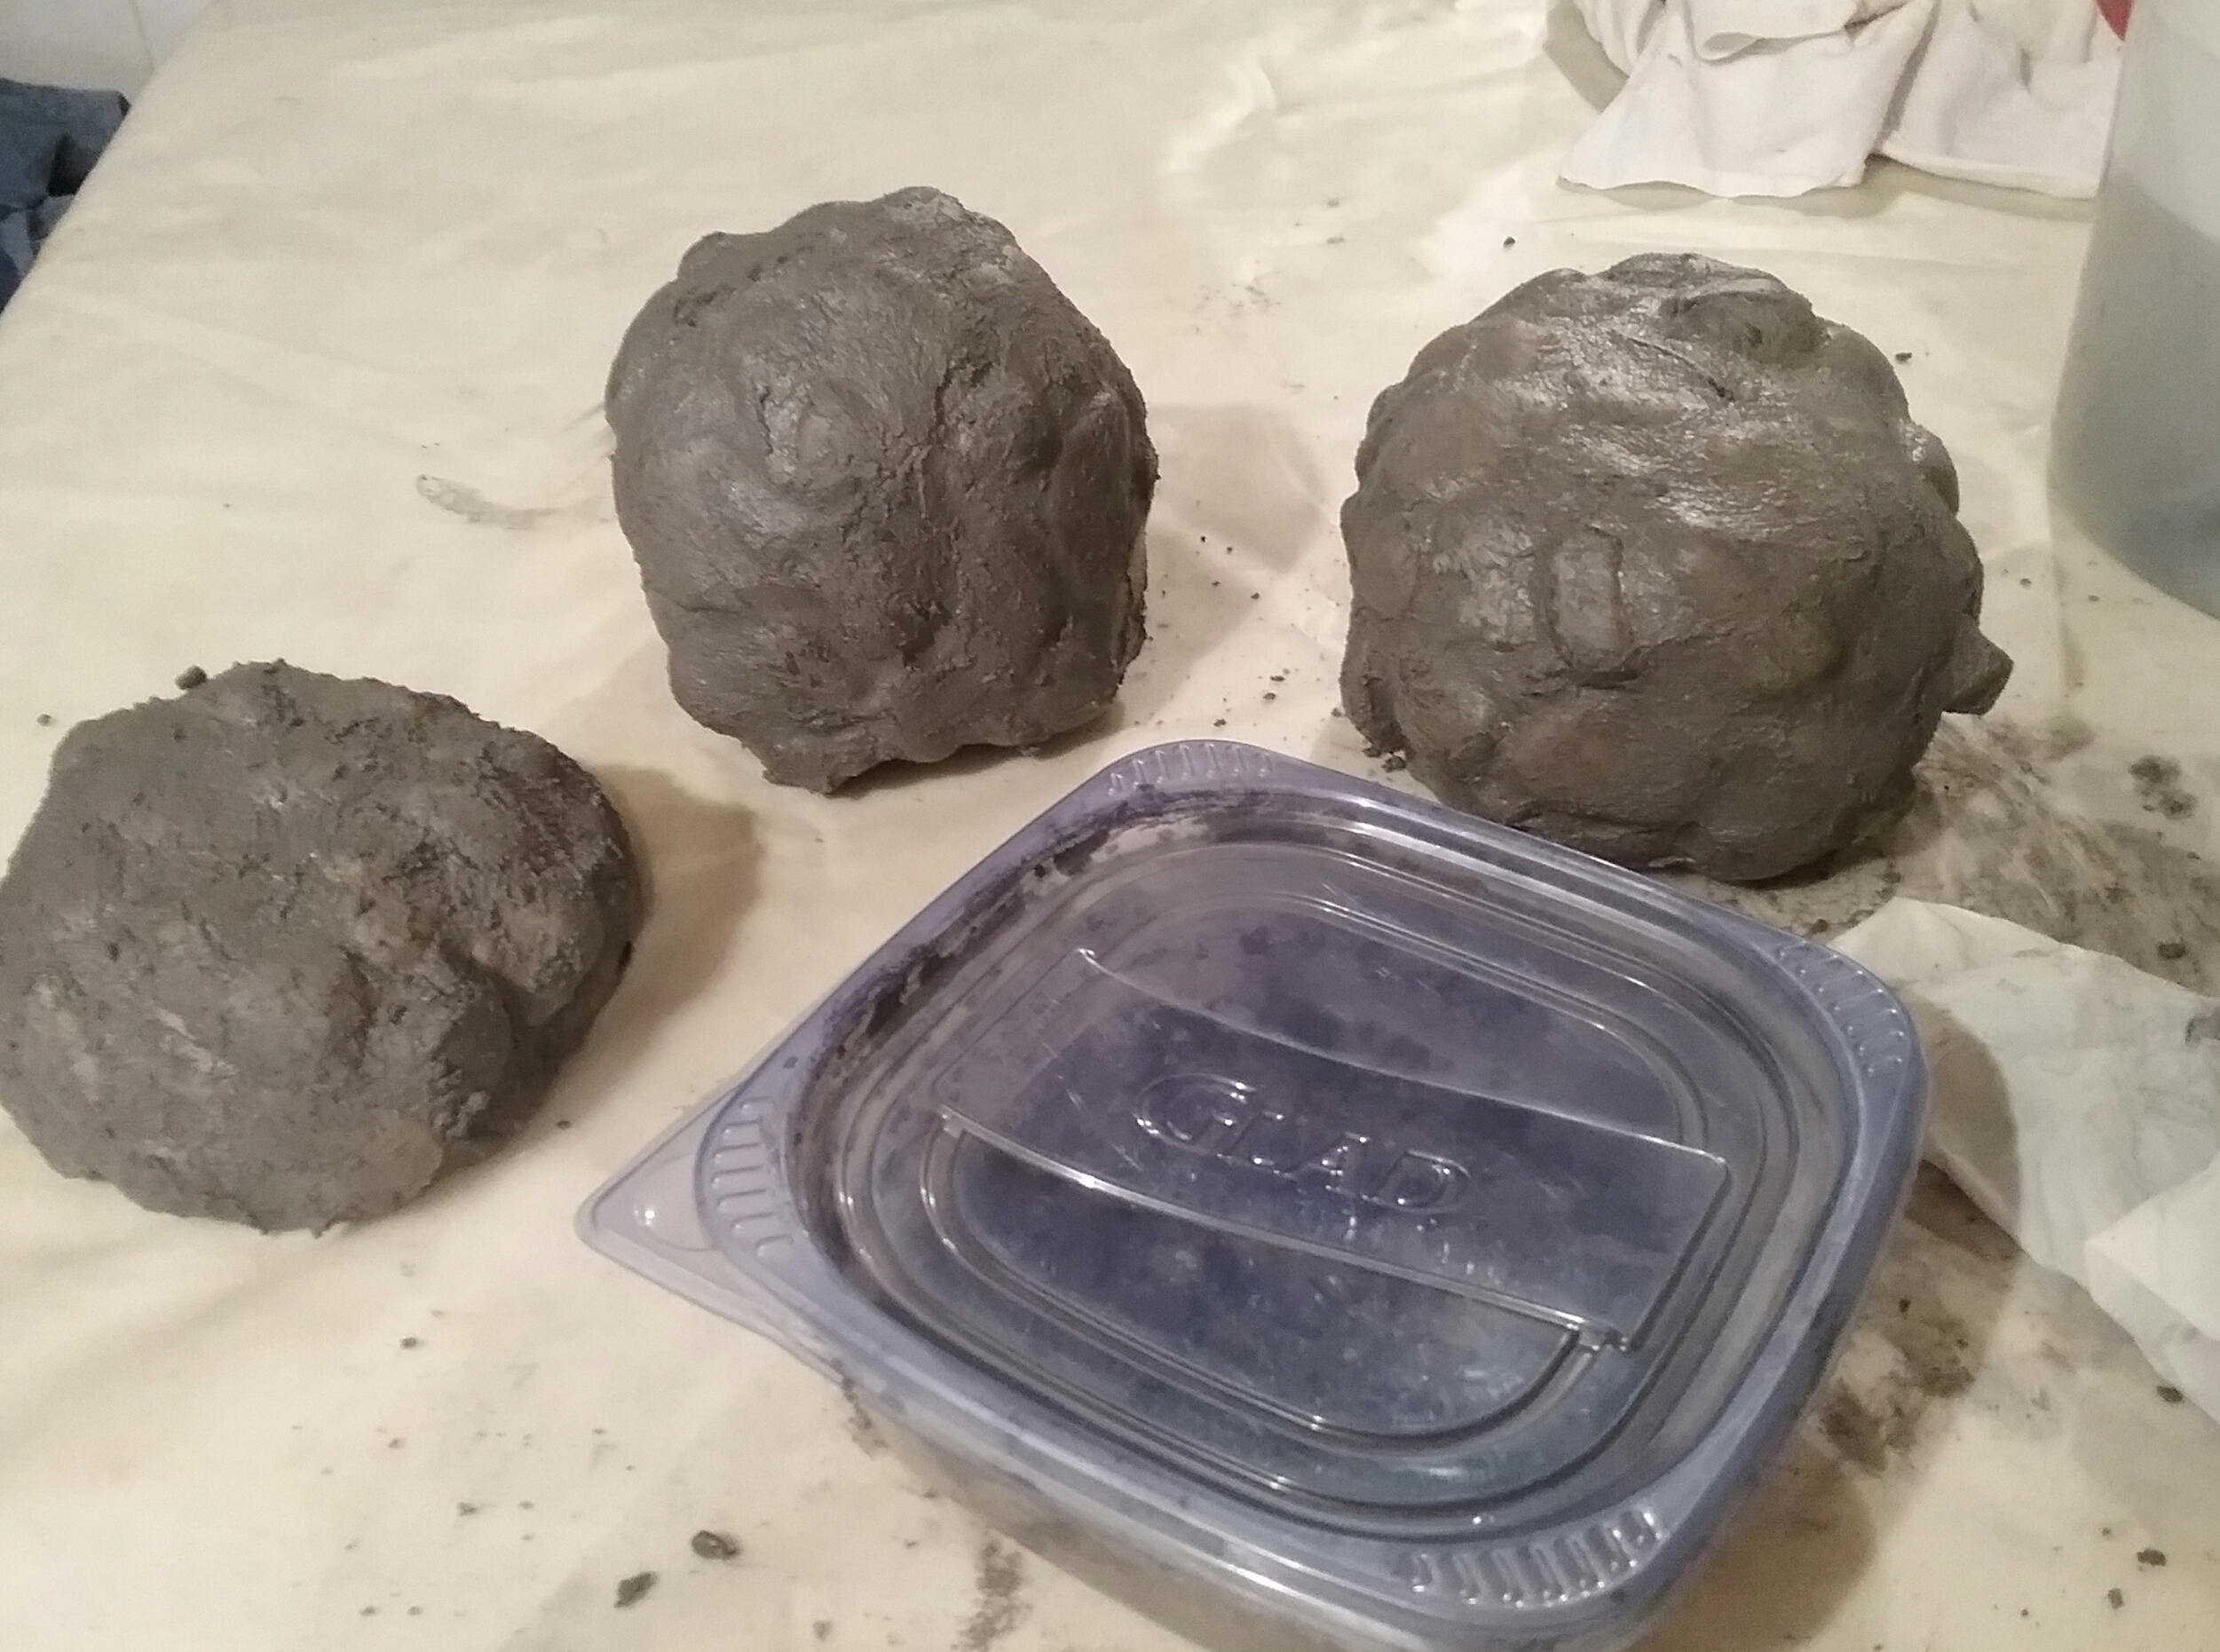
Re-stir the mixed grout. Spread the grout across the rocks, pressing it into all the crevices. You can spread the grout on neatly with a putty knife, or just lay it on with your gloved fingertips, which is the method I prefer. Make sure you cover the edges of the rocks on the bottom as well.

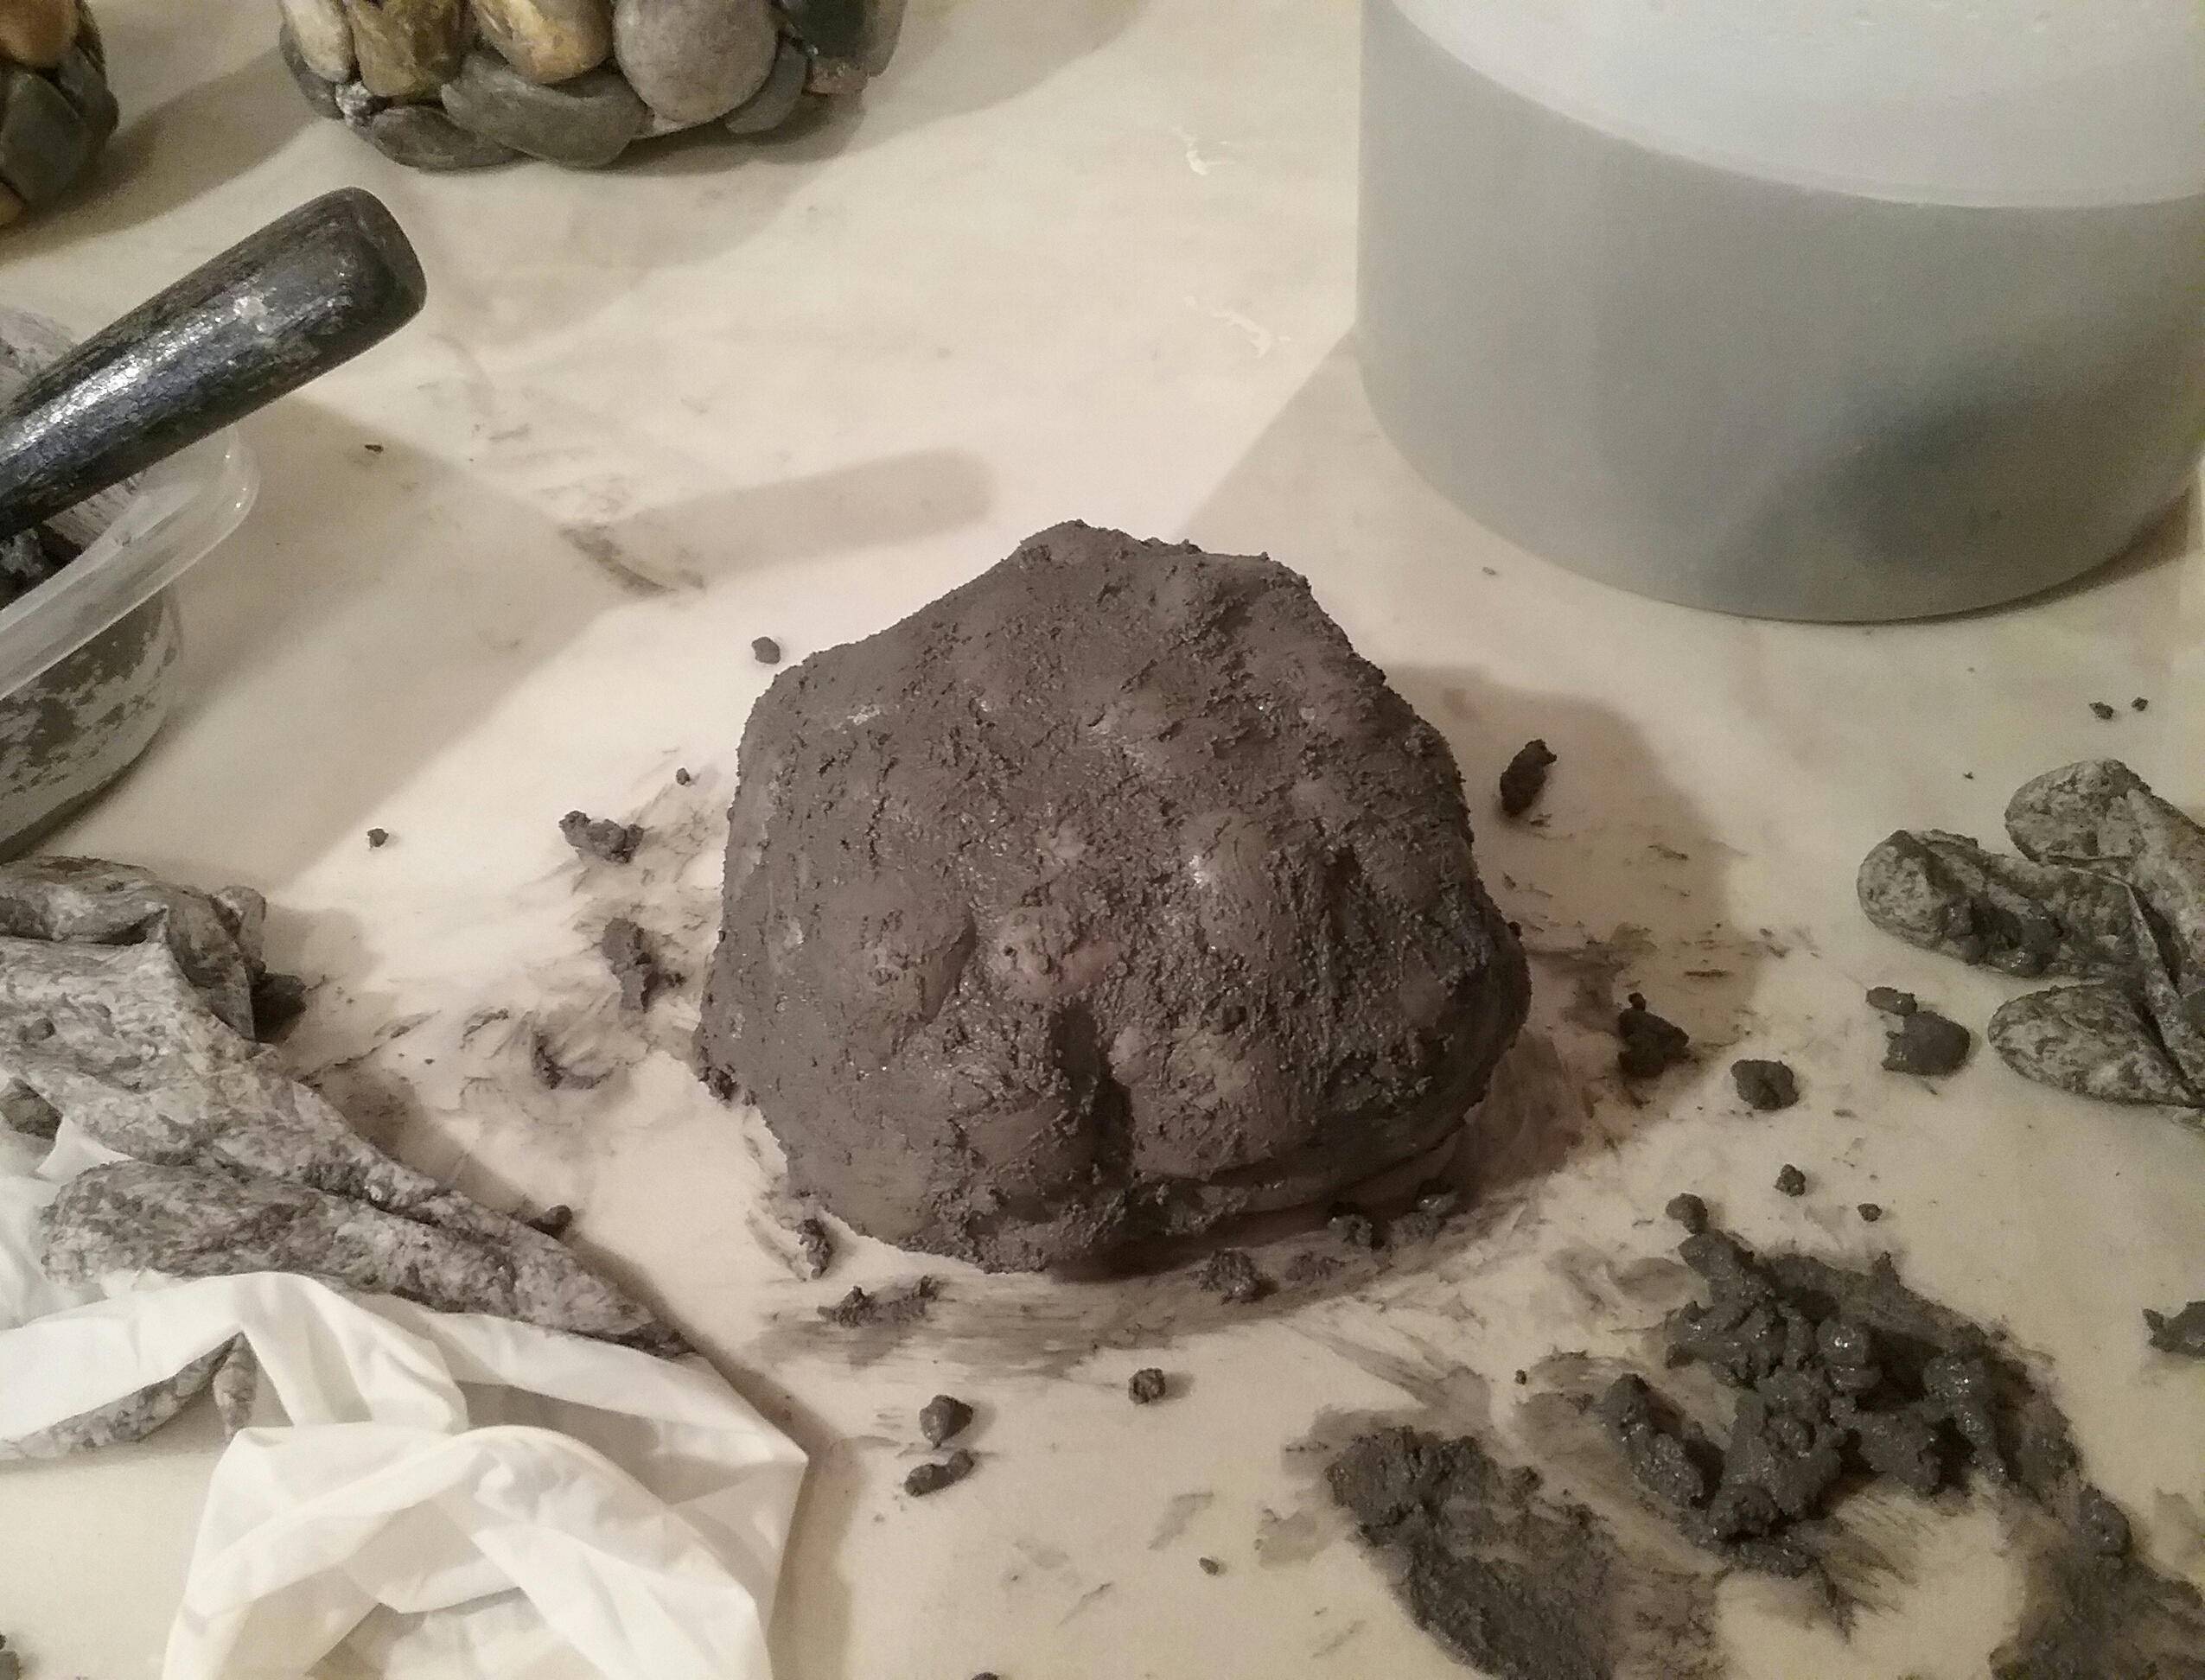
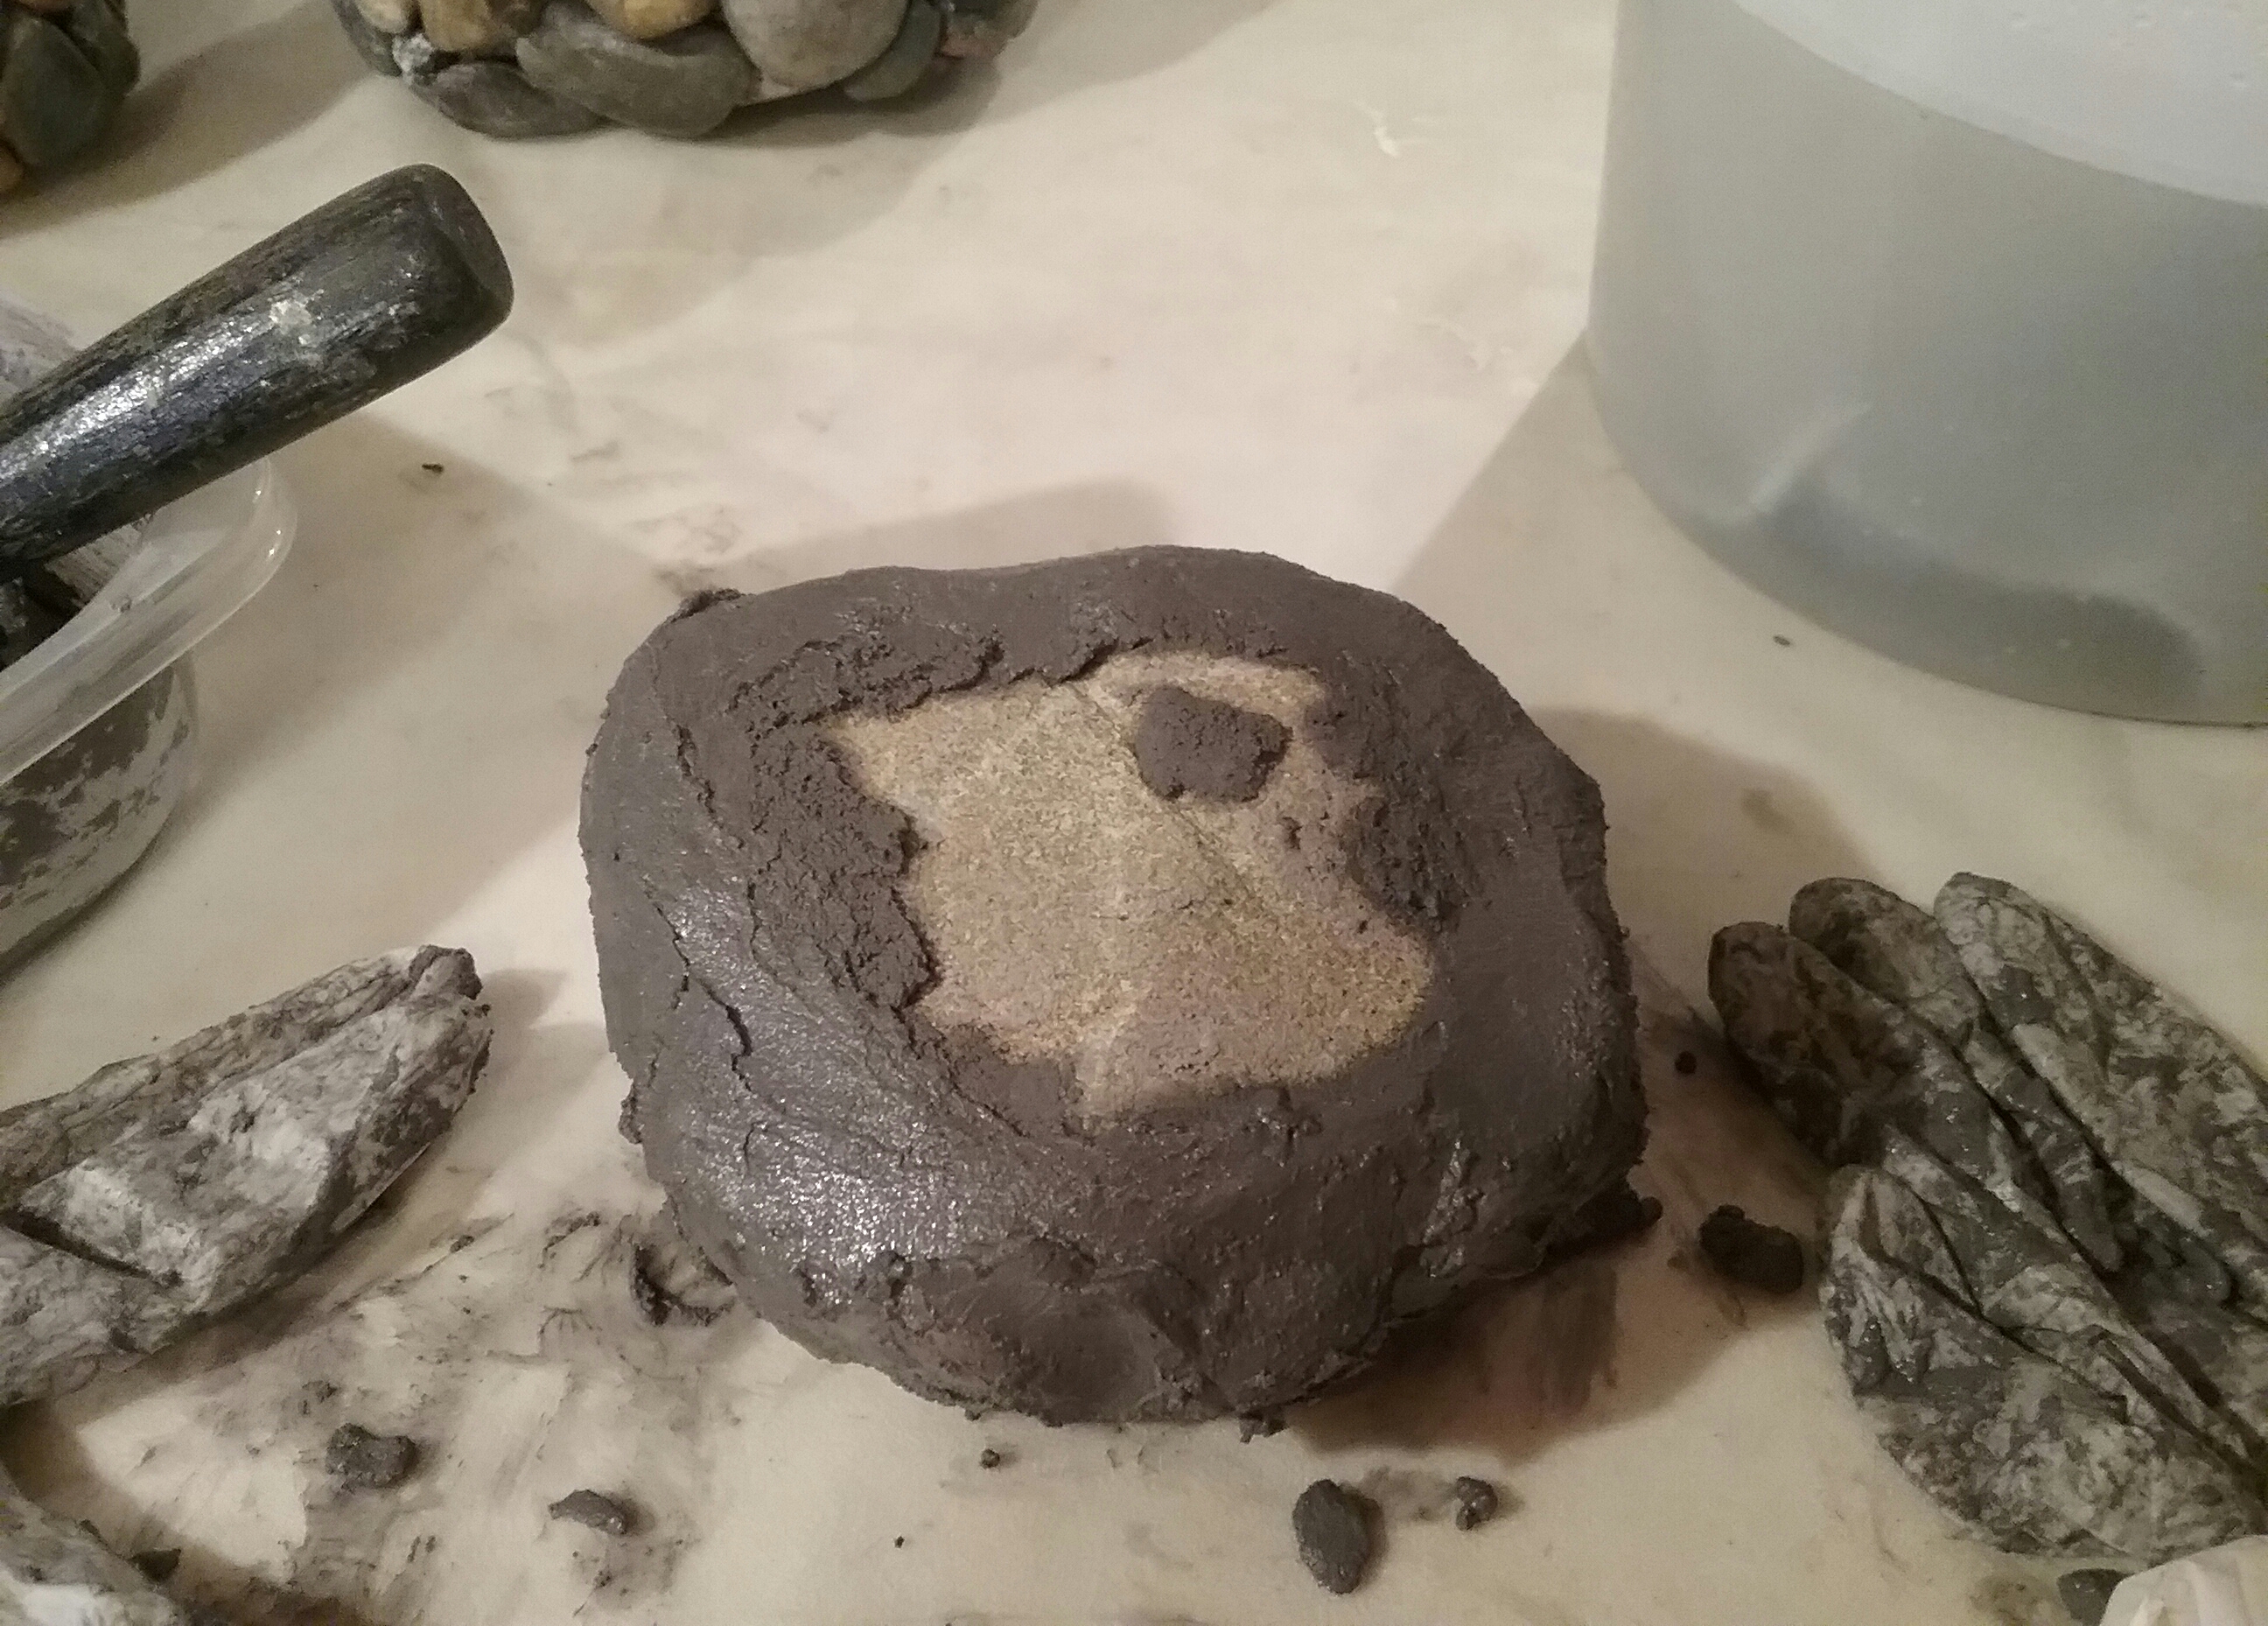
Once the rocks are covered with grout, let them set 30 to 40 minutes. Squeeze out a wet rag and wipe them down to expose the rocks you glued on. Let set another 10 to 15 minutes, or sooner, depending on how fast your grout is drying, then rub firmly around the rocks to remove any excess grout, and smooth the grout lines. Wipe lightly with a rinsed dampened rag. Rinse rag with clean water and wipe lightly again. The rocks should be pretty clean but still have a slight hazy look. Let dry 12 hours. ALWAYS DISPOSE OF DIRTY GROUT WATER OUTSIDE – NEVER POUR IT DOWN YOUR DRAIN! Using an outdoor faucet works best for rinsing and washing grout buckets, rags, and tools.
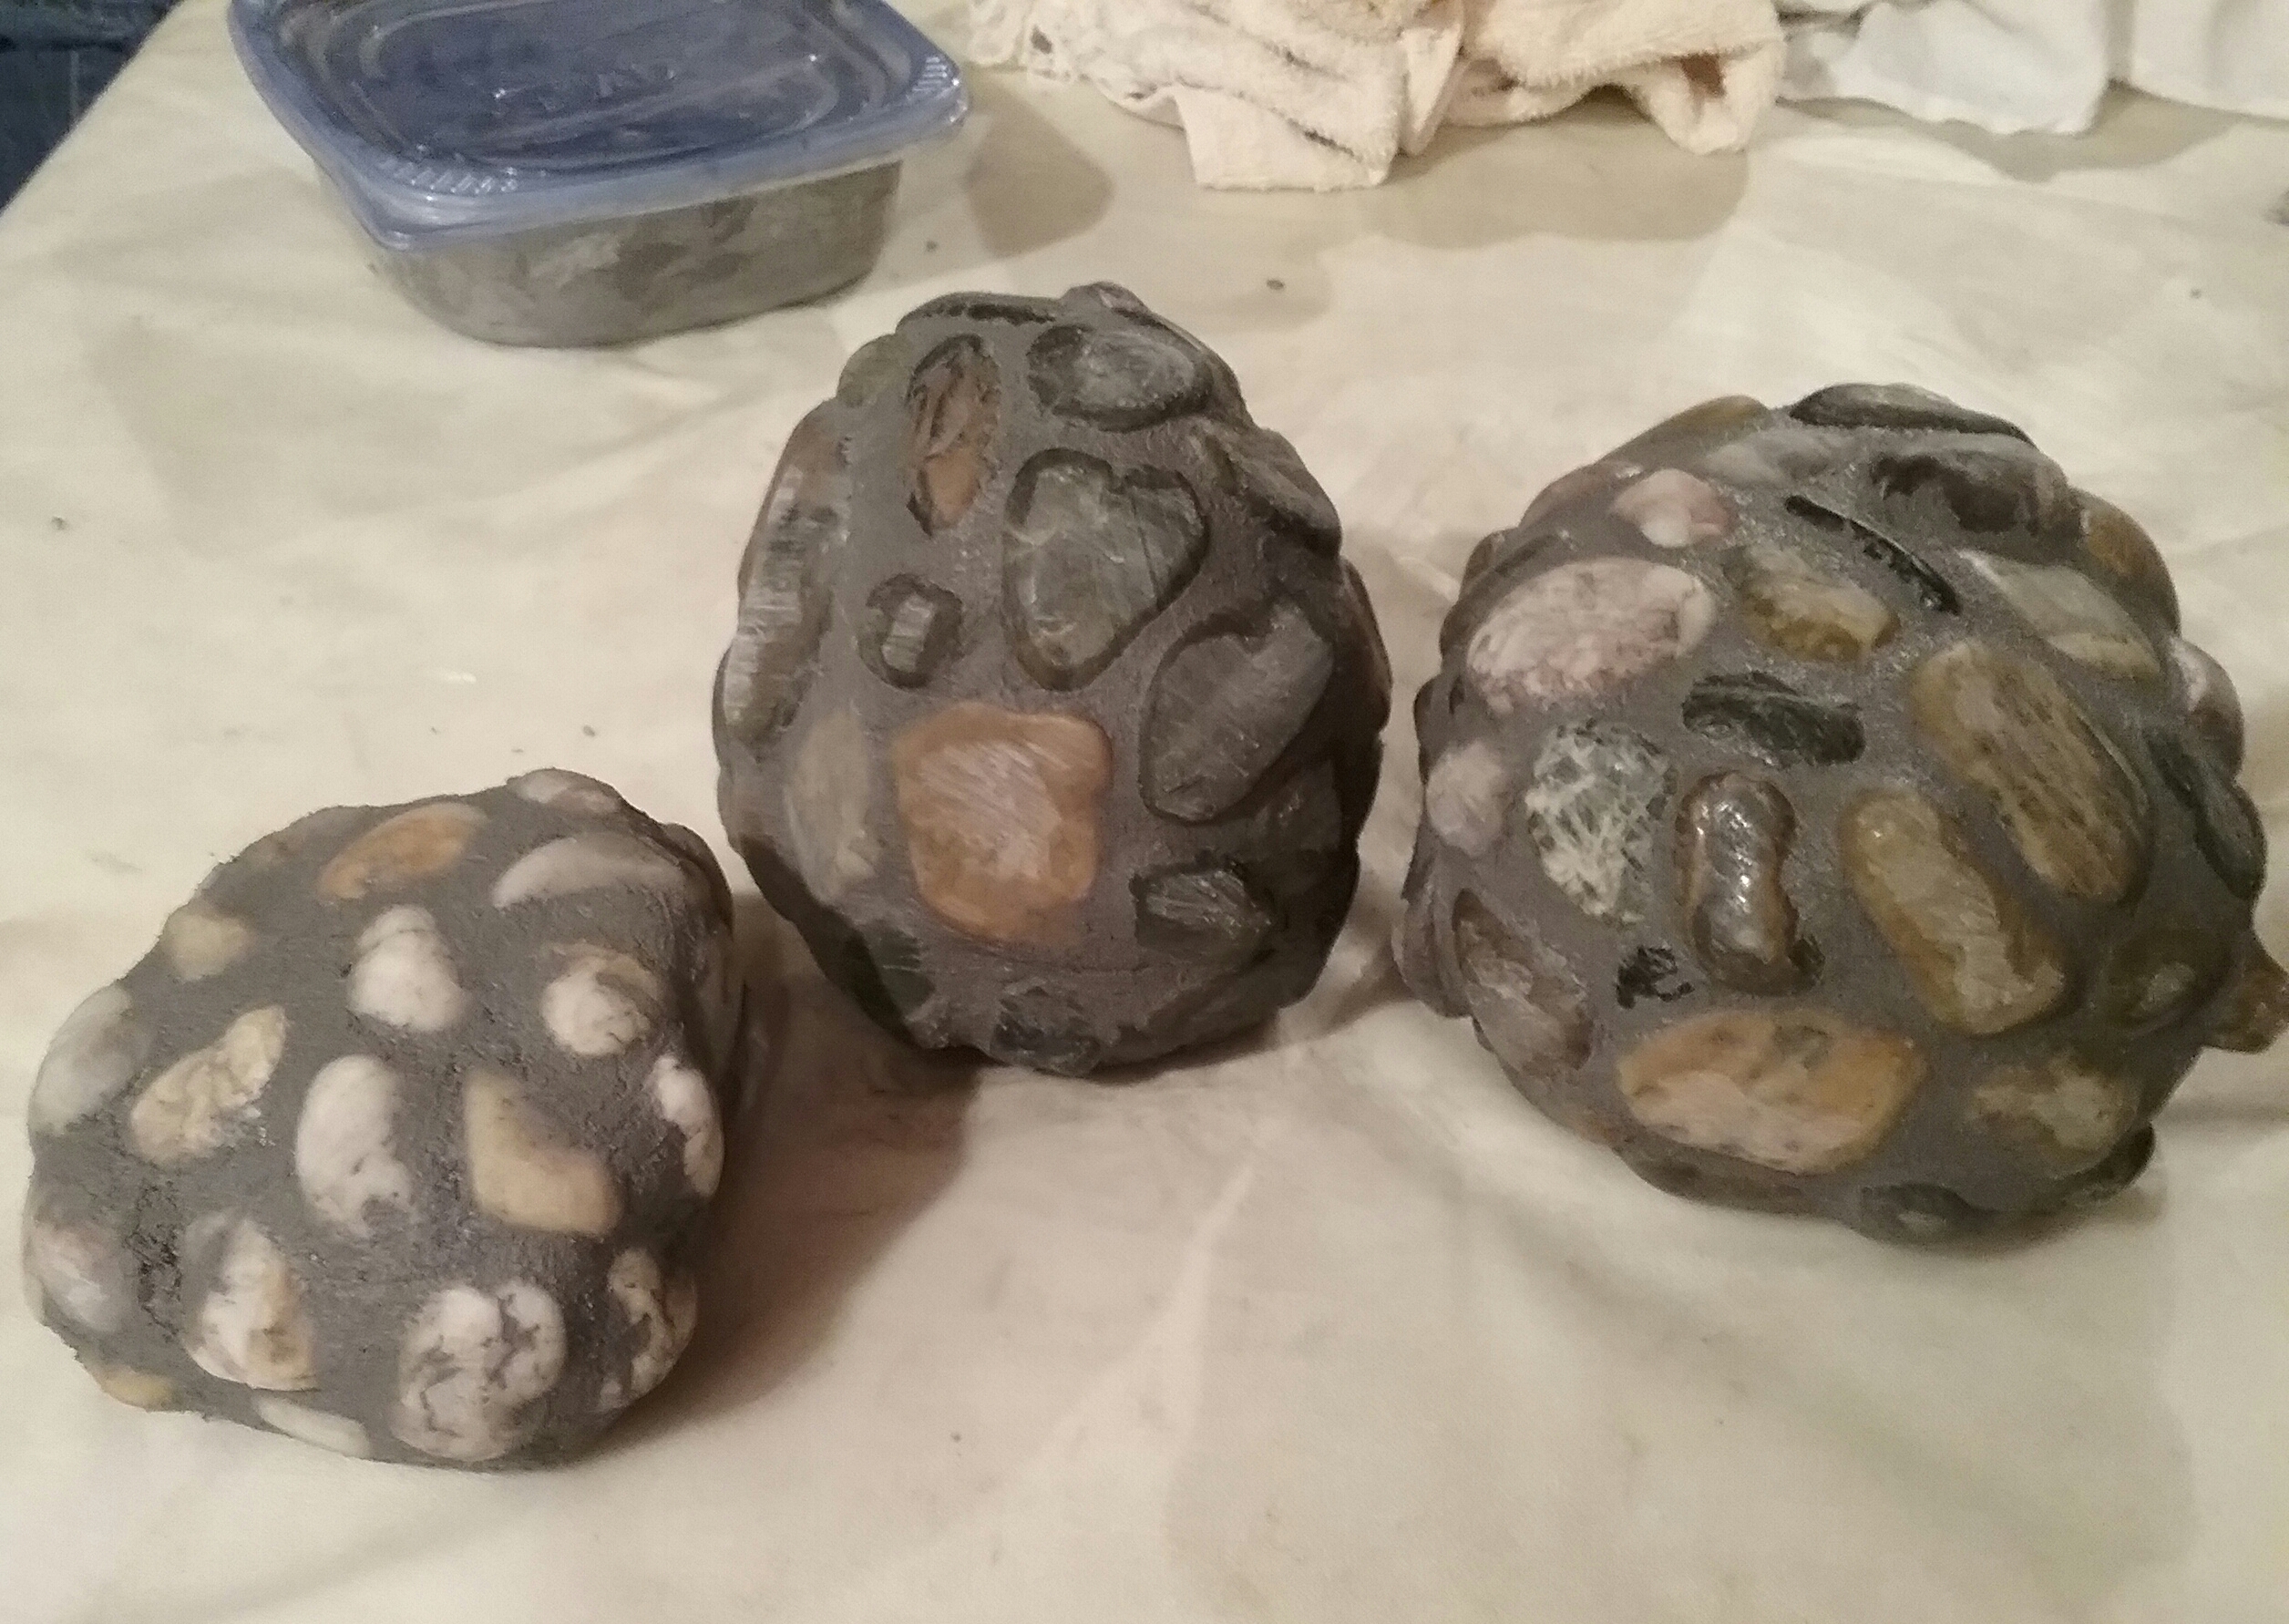

Spritz the rocks lightly with window cleaner and use a soft bristled toothbrush to give the exposed rocks a very light scrub and remove the haze. Use a ceramic tool/dental pick to remove any glue residue or unwanted grout. You can wipe it down with a damp rag again at this point if needed. Let dry another 12 hours. Brush the entire rock with a light coat of grout sealer, wipe and buff it dry. Follow recommended curing time on grout instructions before exposing your mosaics to saturation.


My grout instructions recommended waiting three weeks. Keeping that in mind, I arranged my rocks in the garden. I do have my dumb moments once in a while, so, I really thought I was on top of my game when I remembered to move them inside when there was a threat of rain, and before the 3 weeks were up. I didn’t get to revel very long, I’m embarrassed to say. After getting no rain, I moved my rocks back, and turned on the sprinkler to water the garden, duh? Oh well, it didn’t look like any damage was done, I guess time will tell. 🙂
Friendly reminder – mosaic rocks should be stored indoors during the cold winter months and returned to the garden after temps maintain over 32 degrees in the spring.


Reblogged this on vanny439 and commented:
I live this approach to #gardenart
LikeLiked by 1 person
Thanks so much cheeeezit, for reposting and sharing!
LikeLike
What a great idea–and easy too!
LikeLiked by 1 person
Thank You Kelly!
LikeLike
I have done this to clay flower pots and bowling balls. I use tile mastic to glue the rocks on.
LikeLiked by 1 person
That’s a good idea Jill. I’ll give it a try on my next one!
LikeLike
[…] Tutorial […]
LikeLiked by 1 person
Thank You for sharing my post. I will share your post on my FB page.
LikeLike
[…] Tutorial […]
LikeLike
[…] Tutorial […]
LikeLiked by 1 person
[…] Source: glassictouch.com […]
LikeLiked by 1 person