
Whoa! This summer is going by way too fast! Between enjoying Grandma/Grandpa daycare activities, a couple of week-end road trips, and participating in a few market events, I must admit, I’ve selfishly been neglecting my blog a little. Okay, maybe more than a little ..
I haven’t been totally sloughing off though, so, while relishing in an unusually quiet week-end, I thought it would be a great time to try to catch up and get back into the swing of sharing in the blogging world.
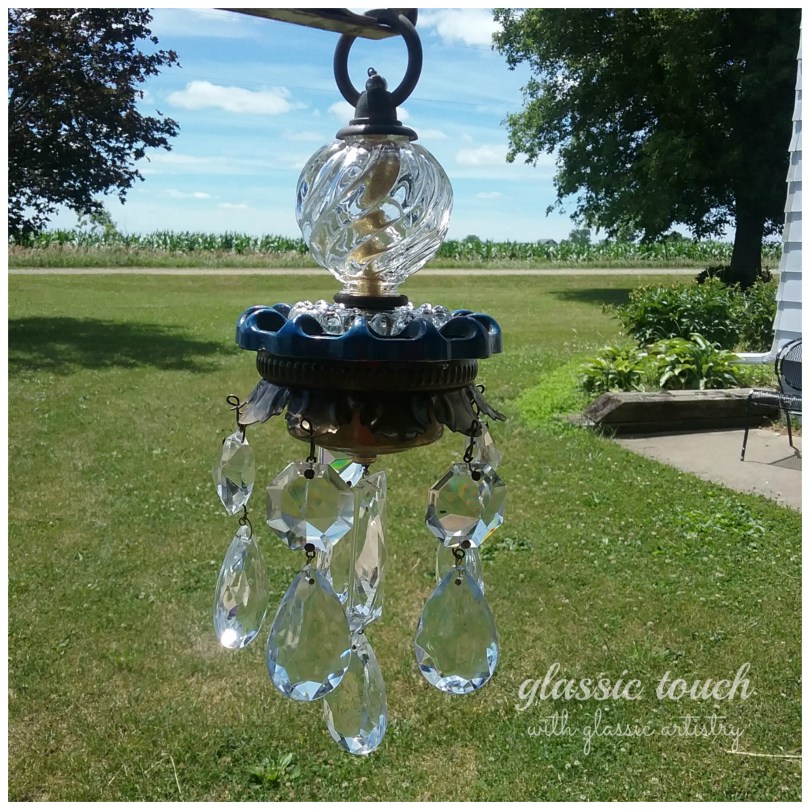
Pretty reclaimed crystals, dangling on small garden chandeliers, seem to be popping up all over lately. They’re so darn cute!
Of course, I had to give one a go!
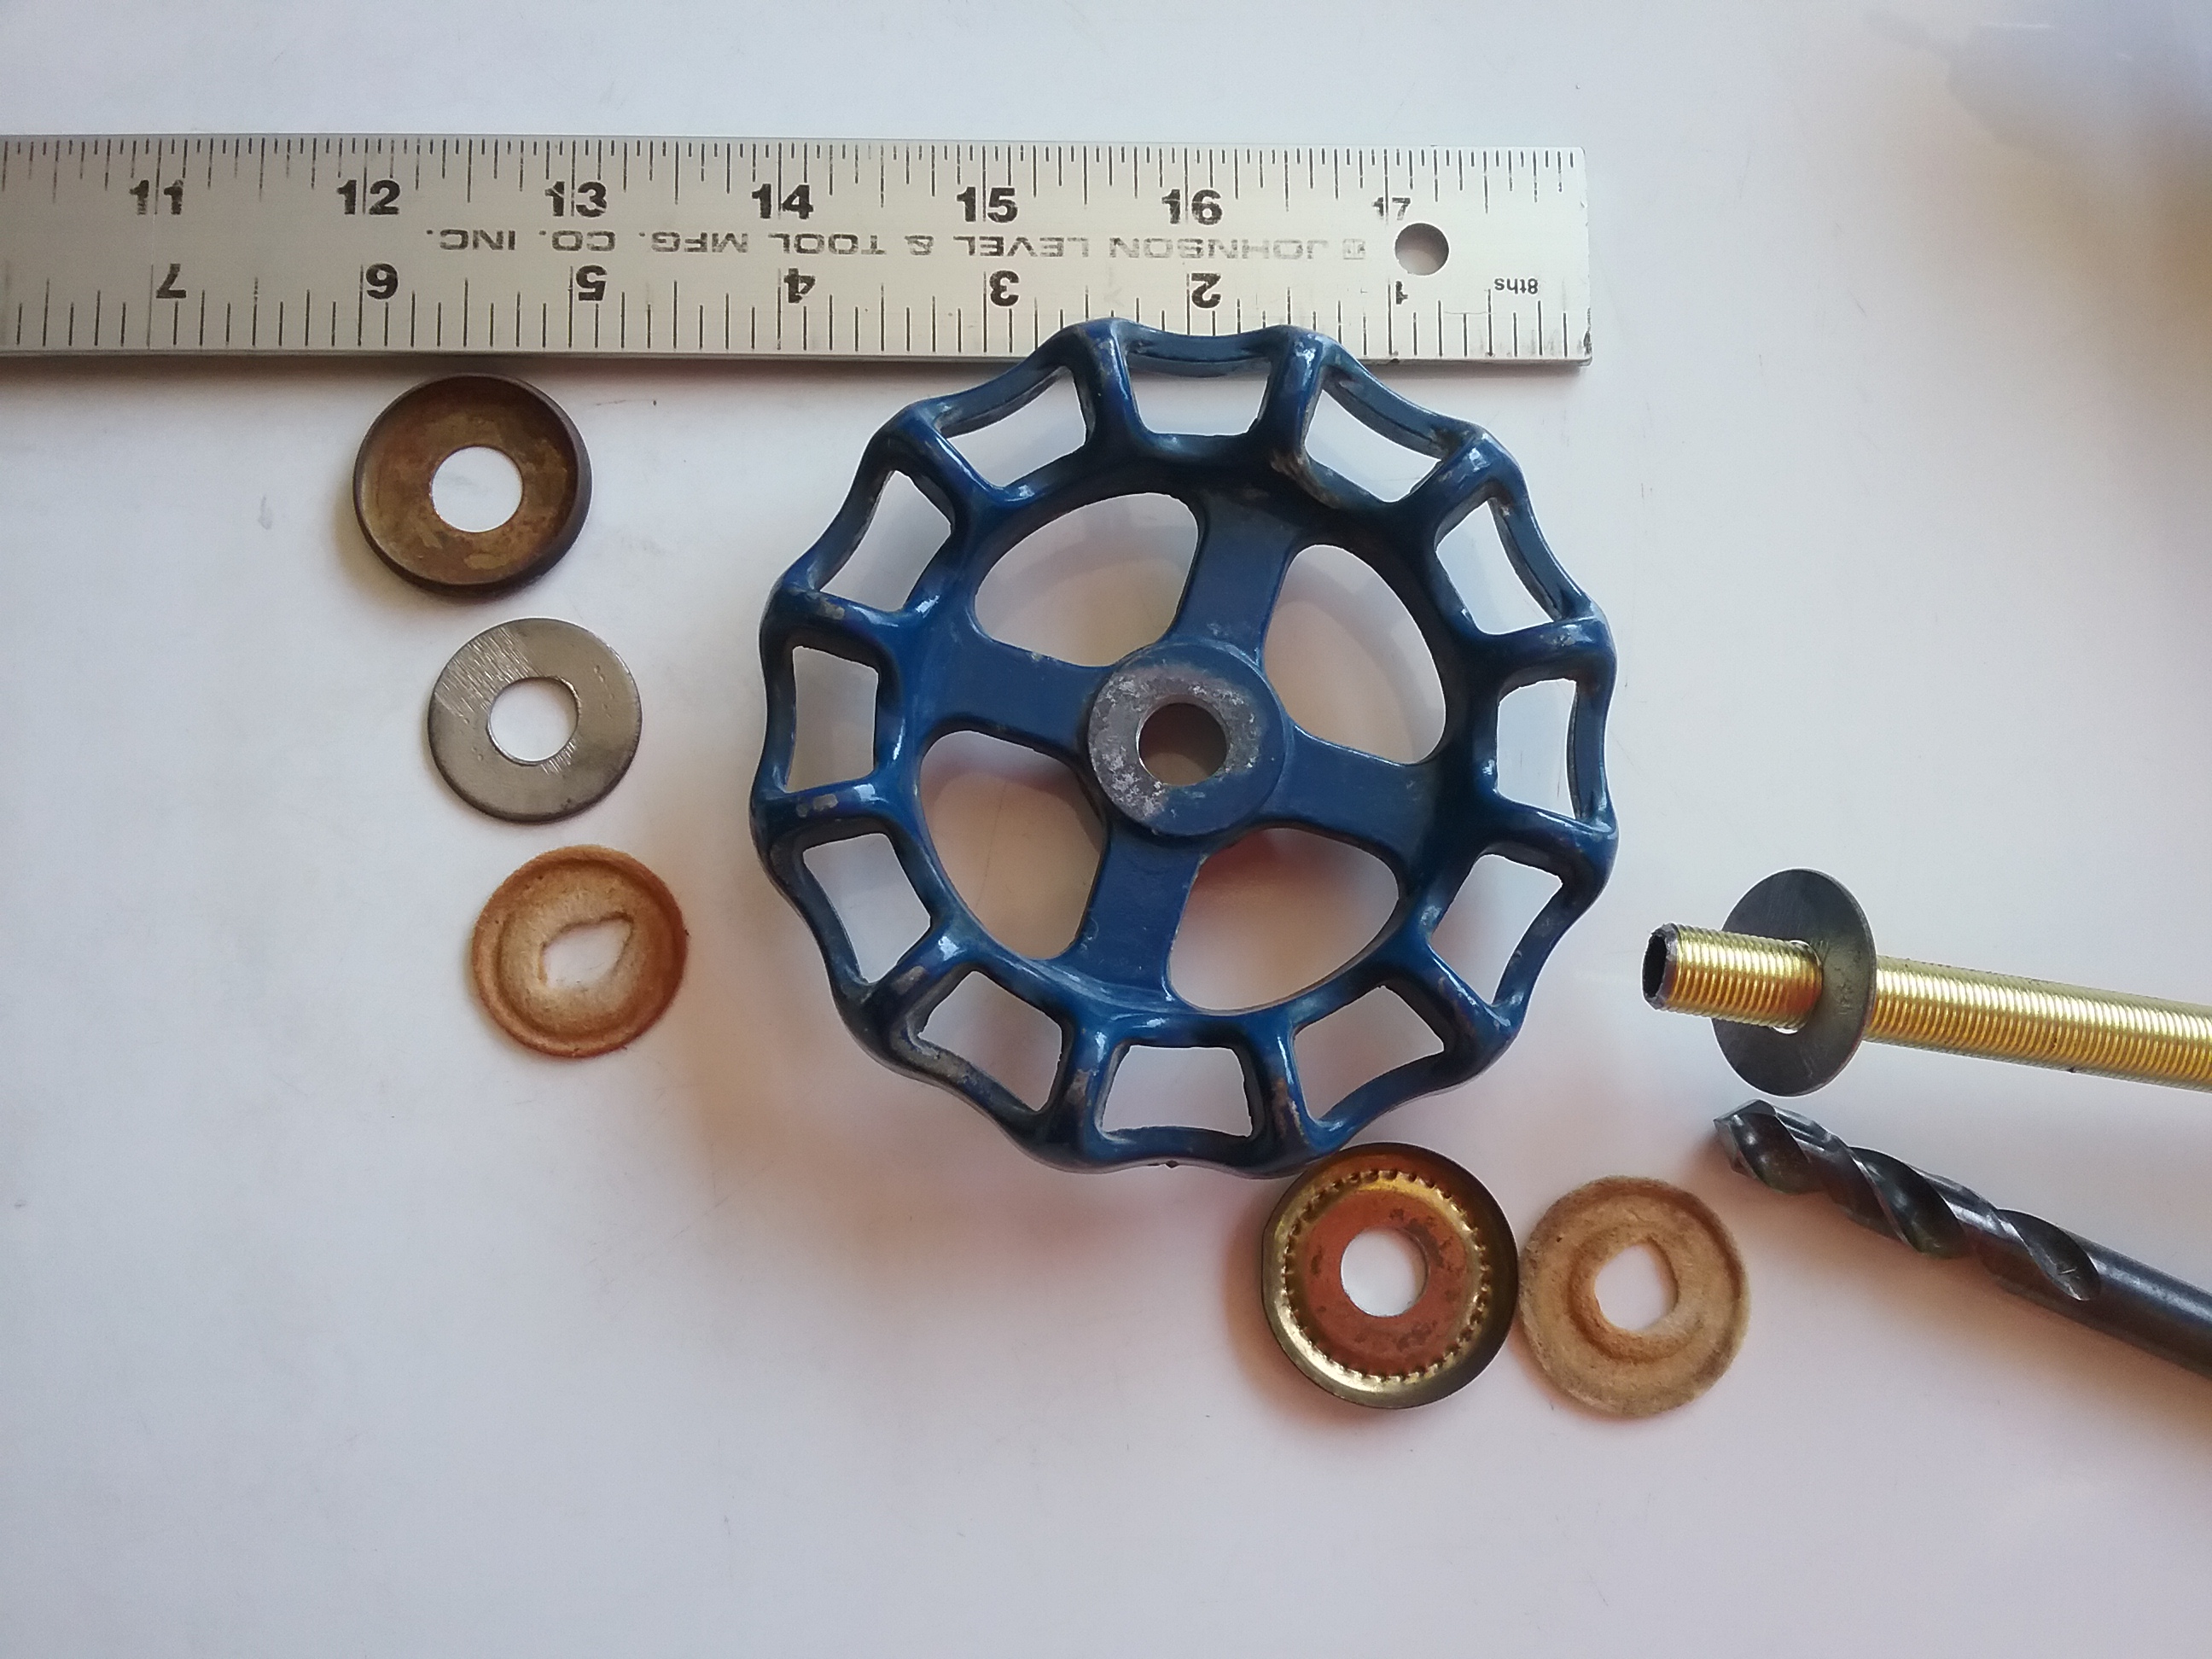
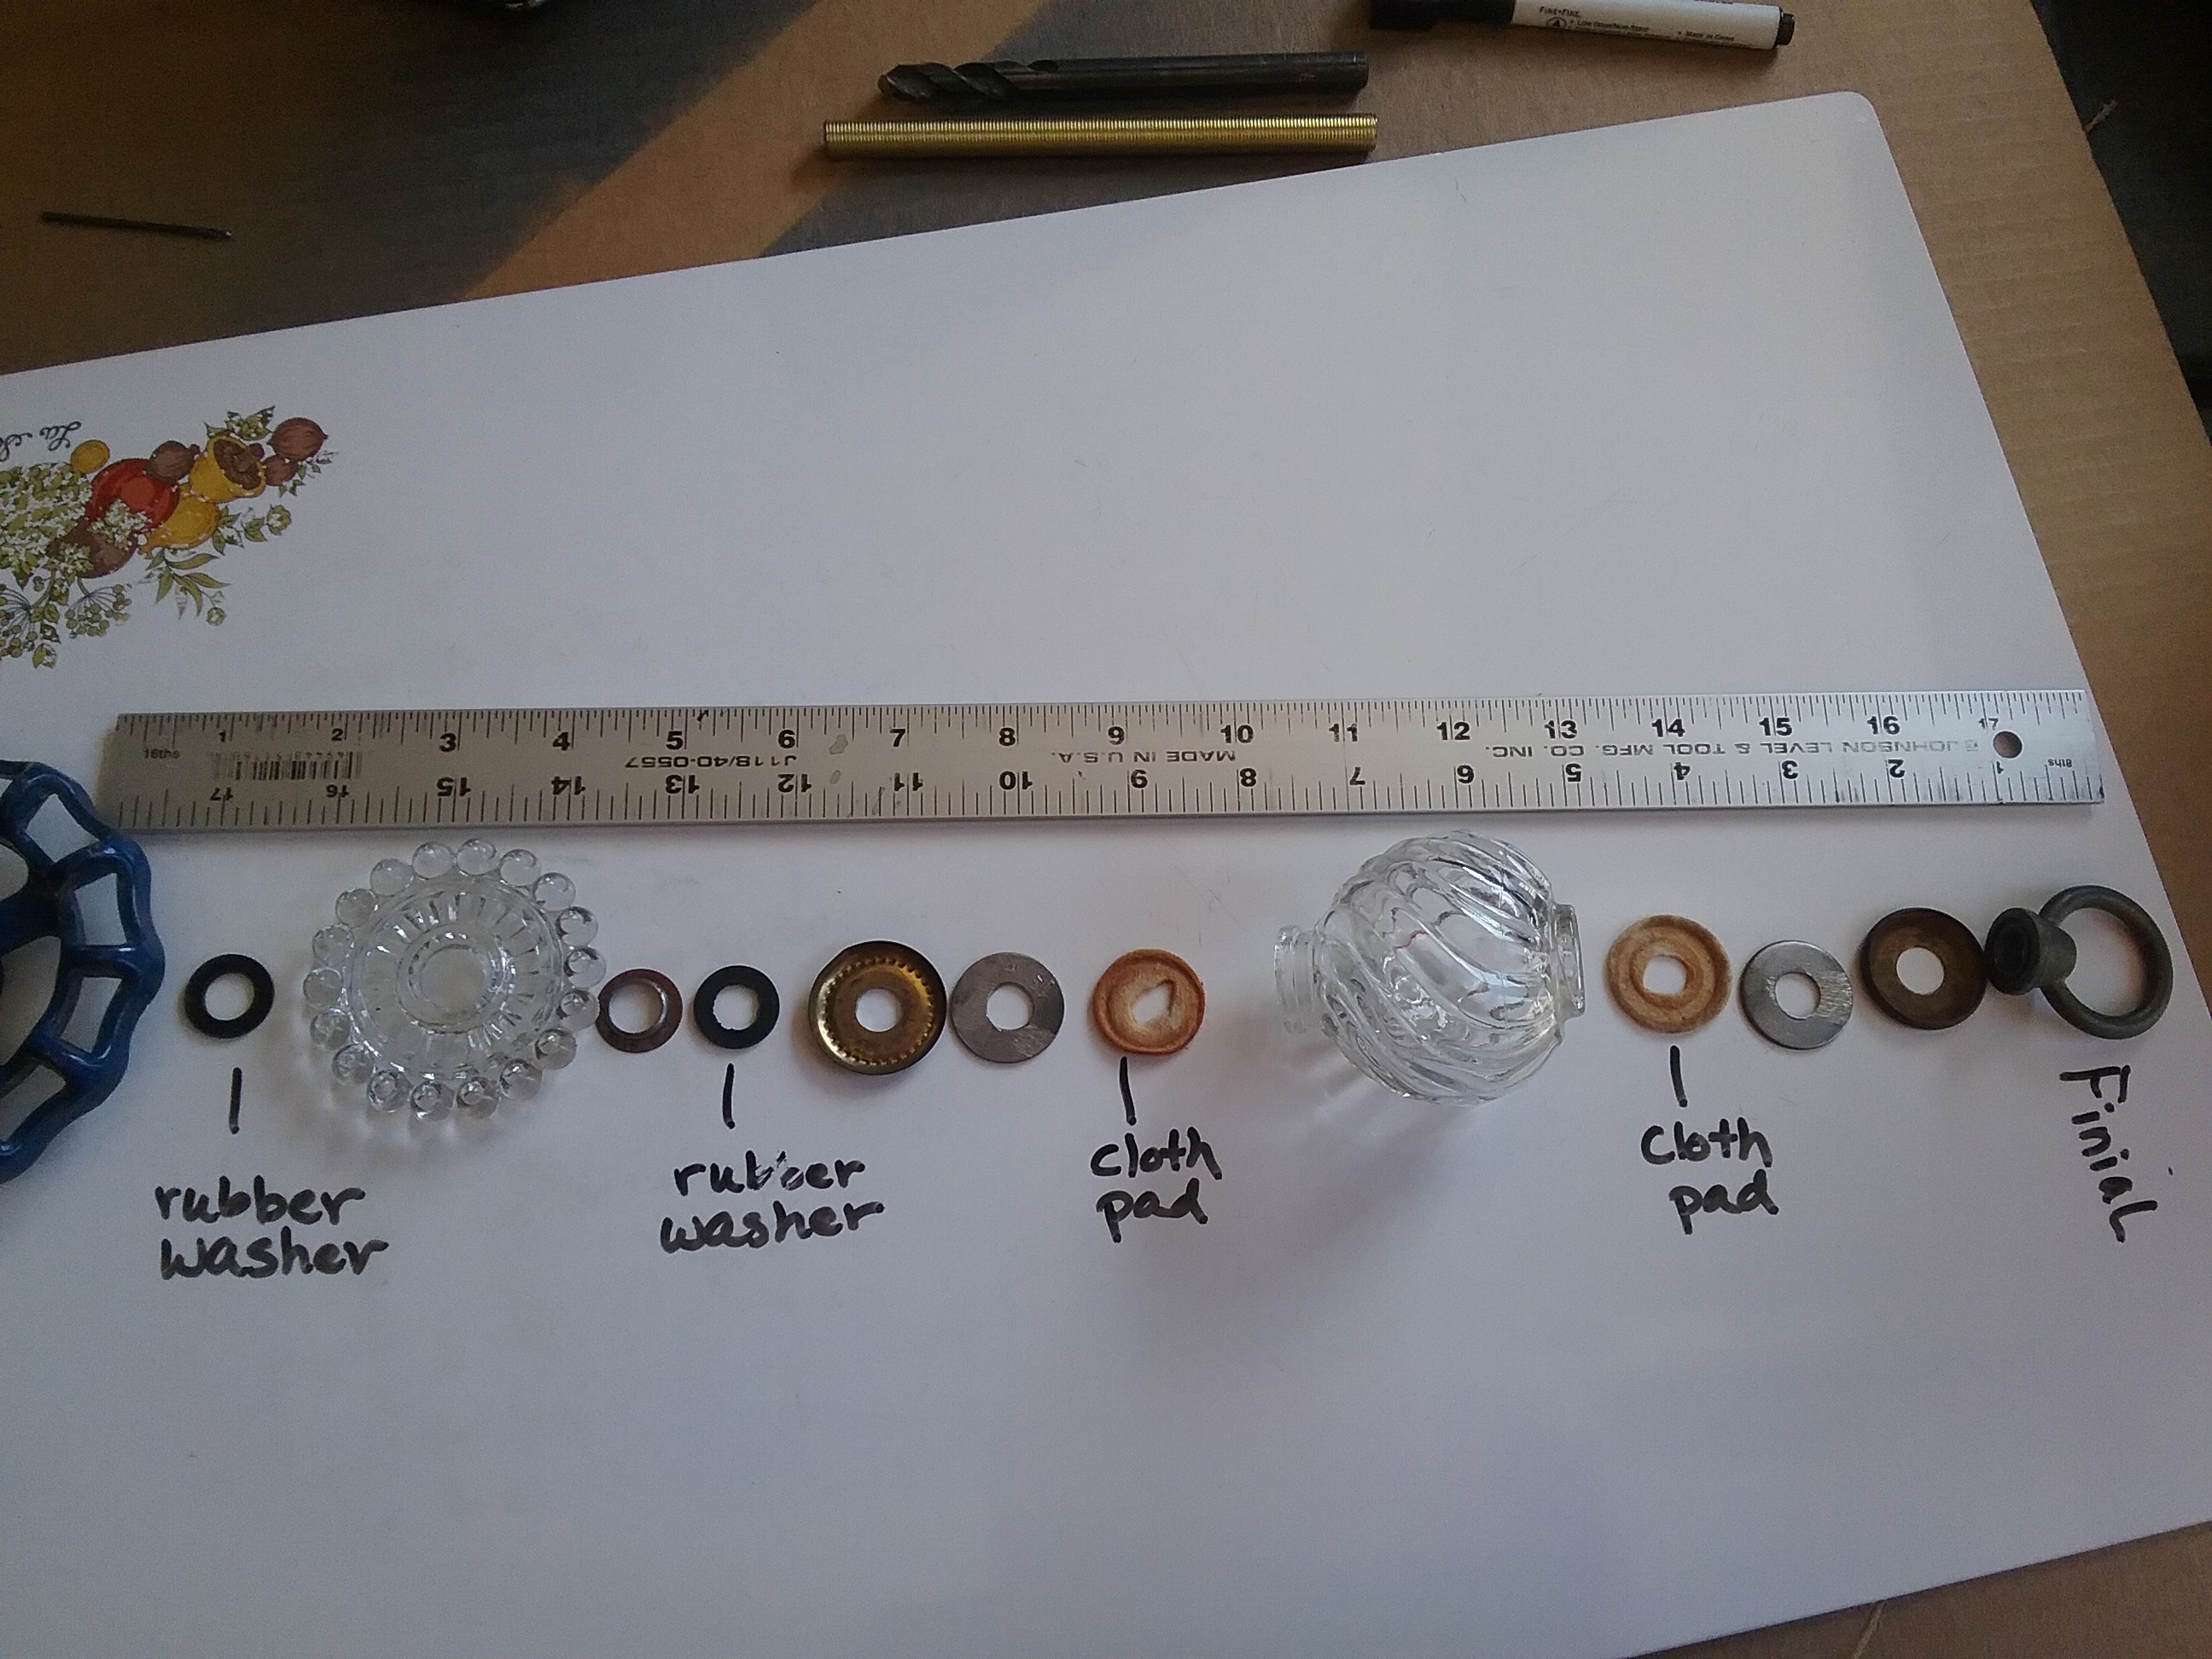
I had plenty of crystals. I remembered a blue faucet handle in the garage, then, sorted through a box of old lamp parts to find a couple small, clear glass pieces, a brass base, and all the nuts and washers I thought I’d need. I chose a finial with a hole in it so it would be easier to add a wire for the center crystals.
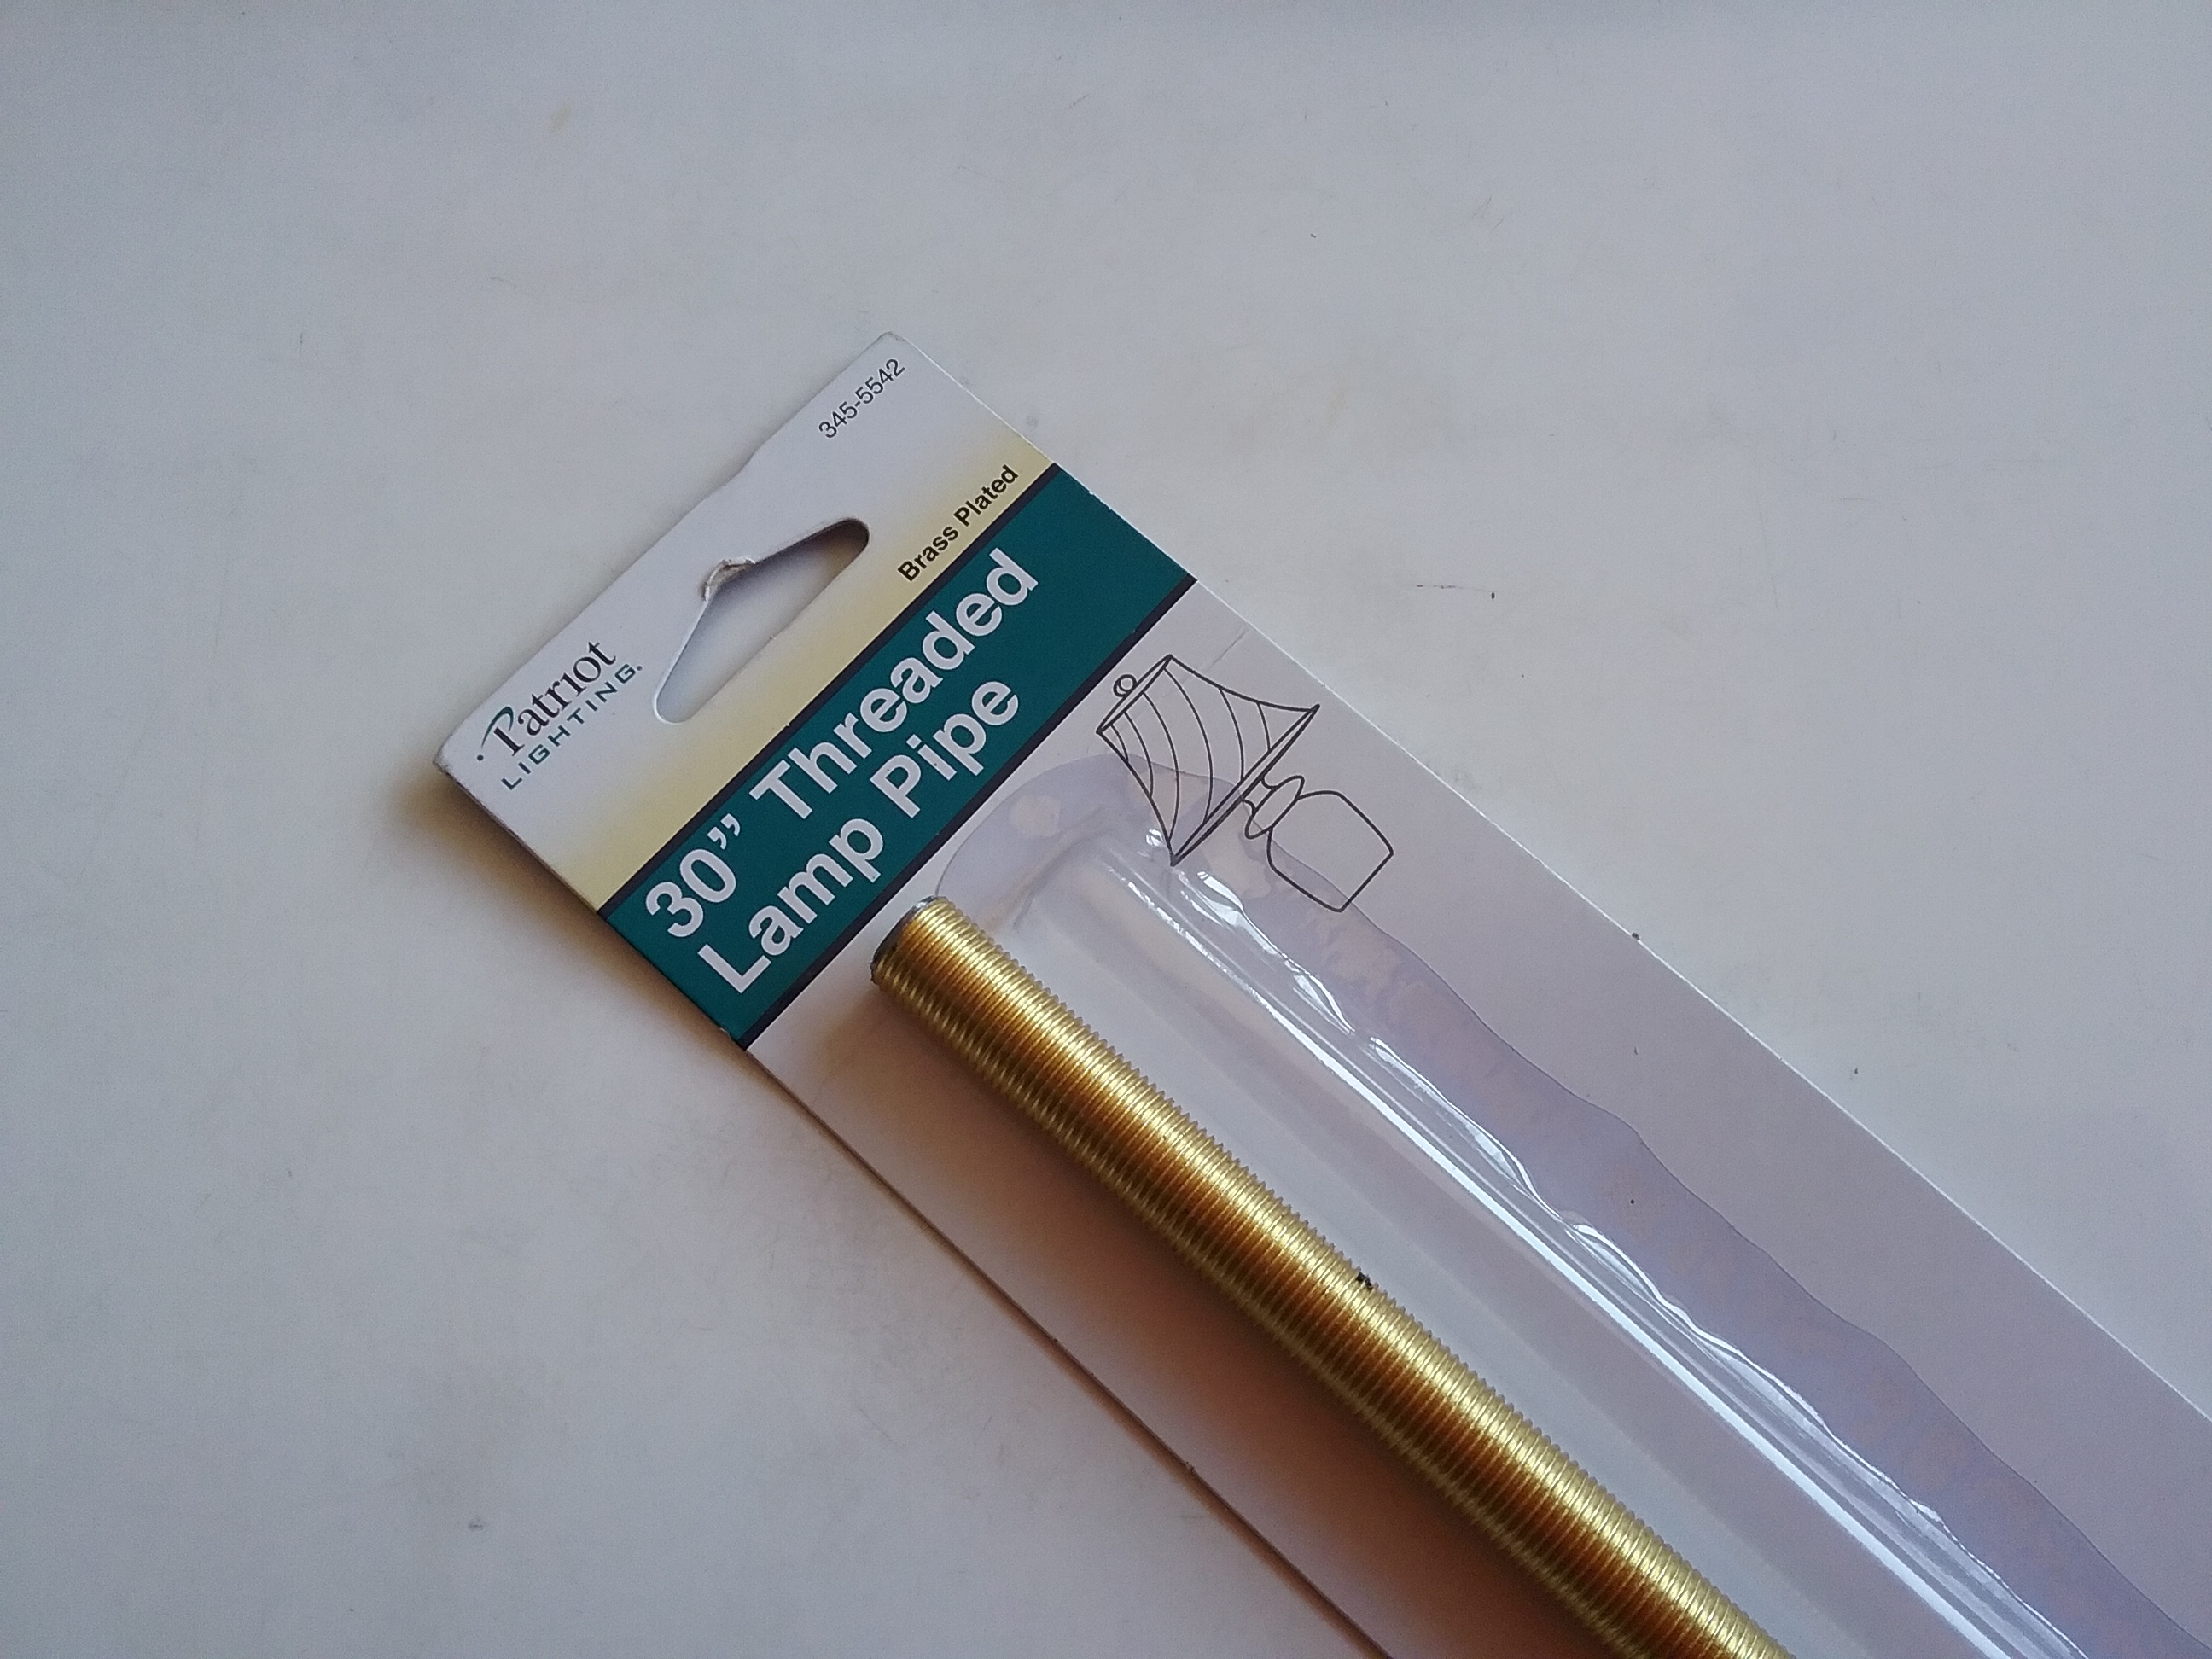
What I didn’t have was a long threaded lamp pipe. You can find them in a home improvement store for under $3.00. Sweet!
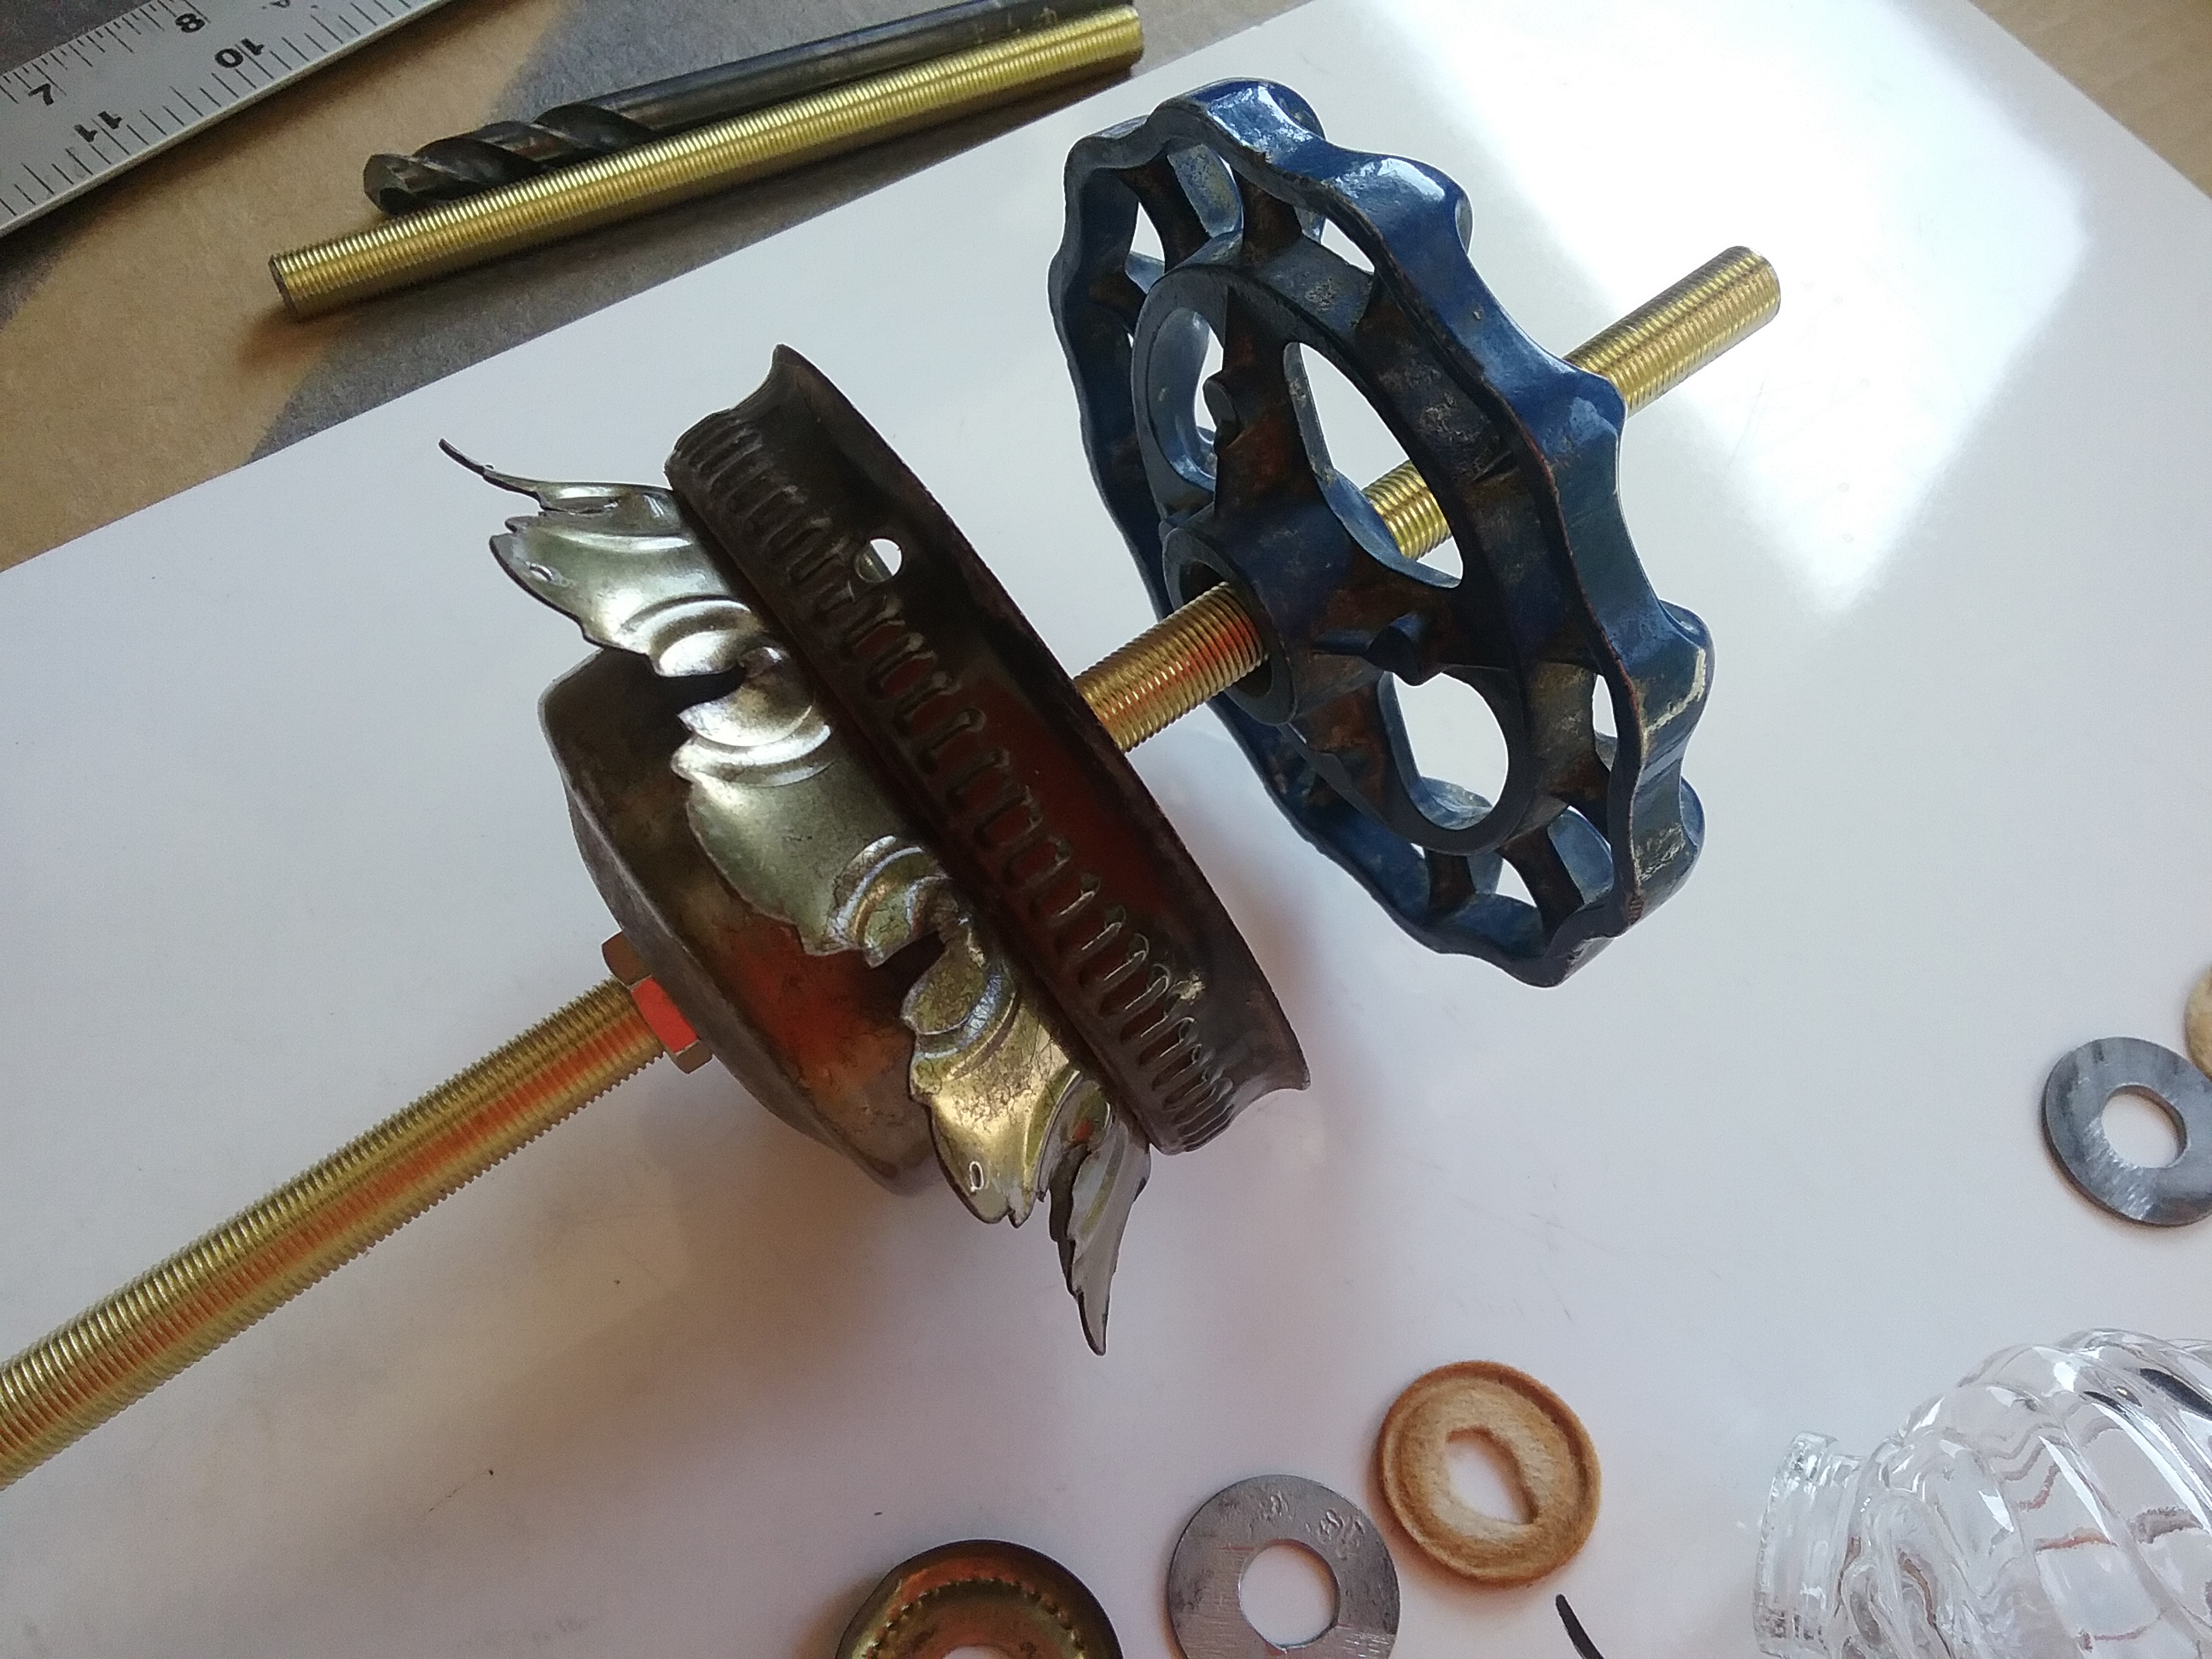
Larger holes had to be drilled through the faucet handle and some of the washers to accommodate the rod. Holes were cut bigger in some cloth pads too.
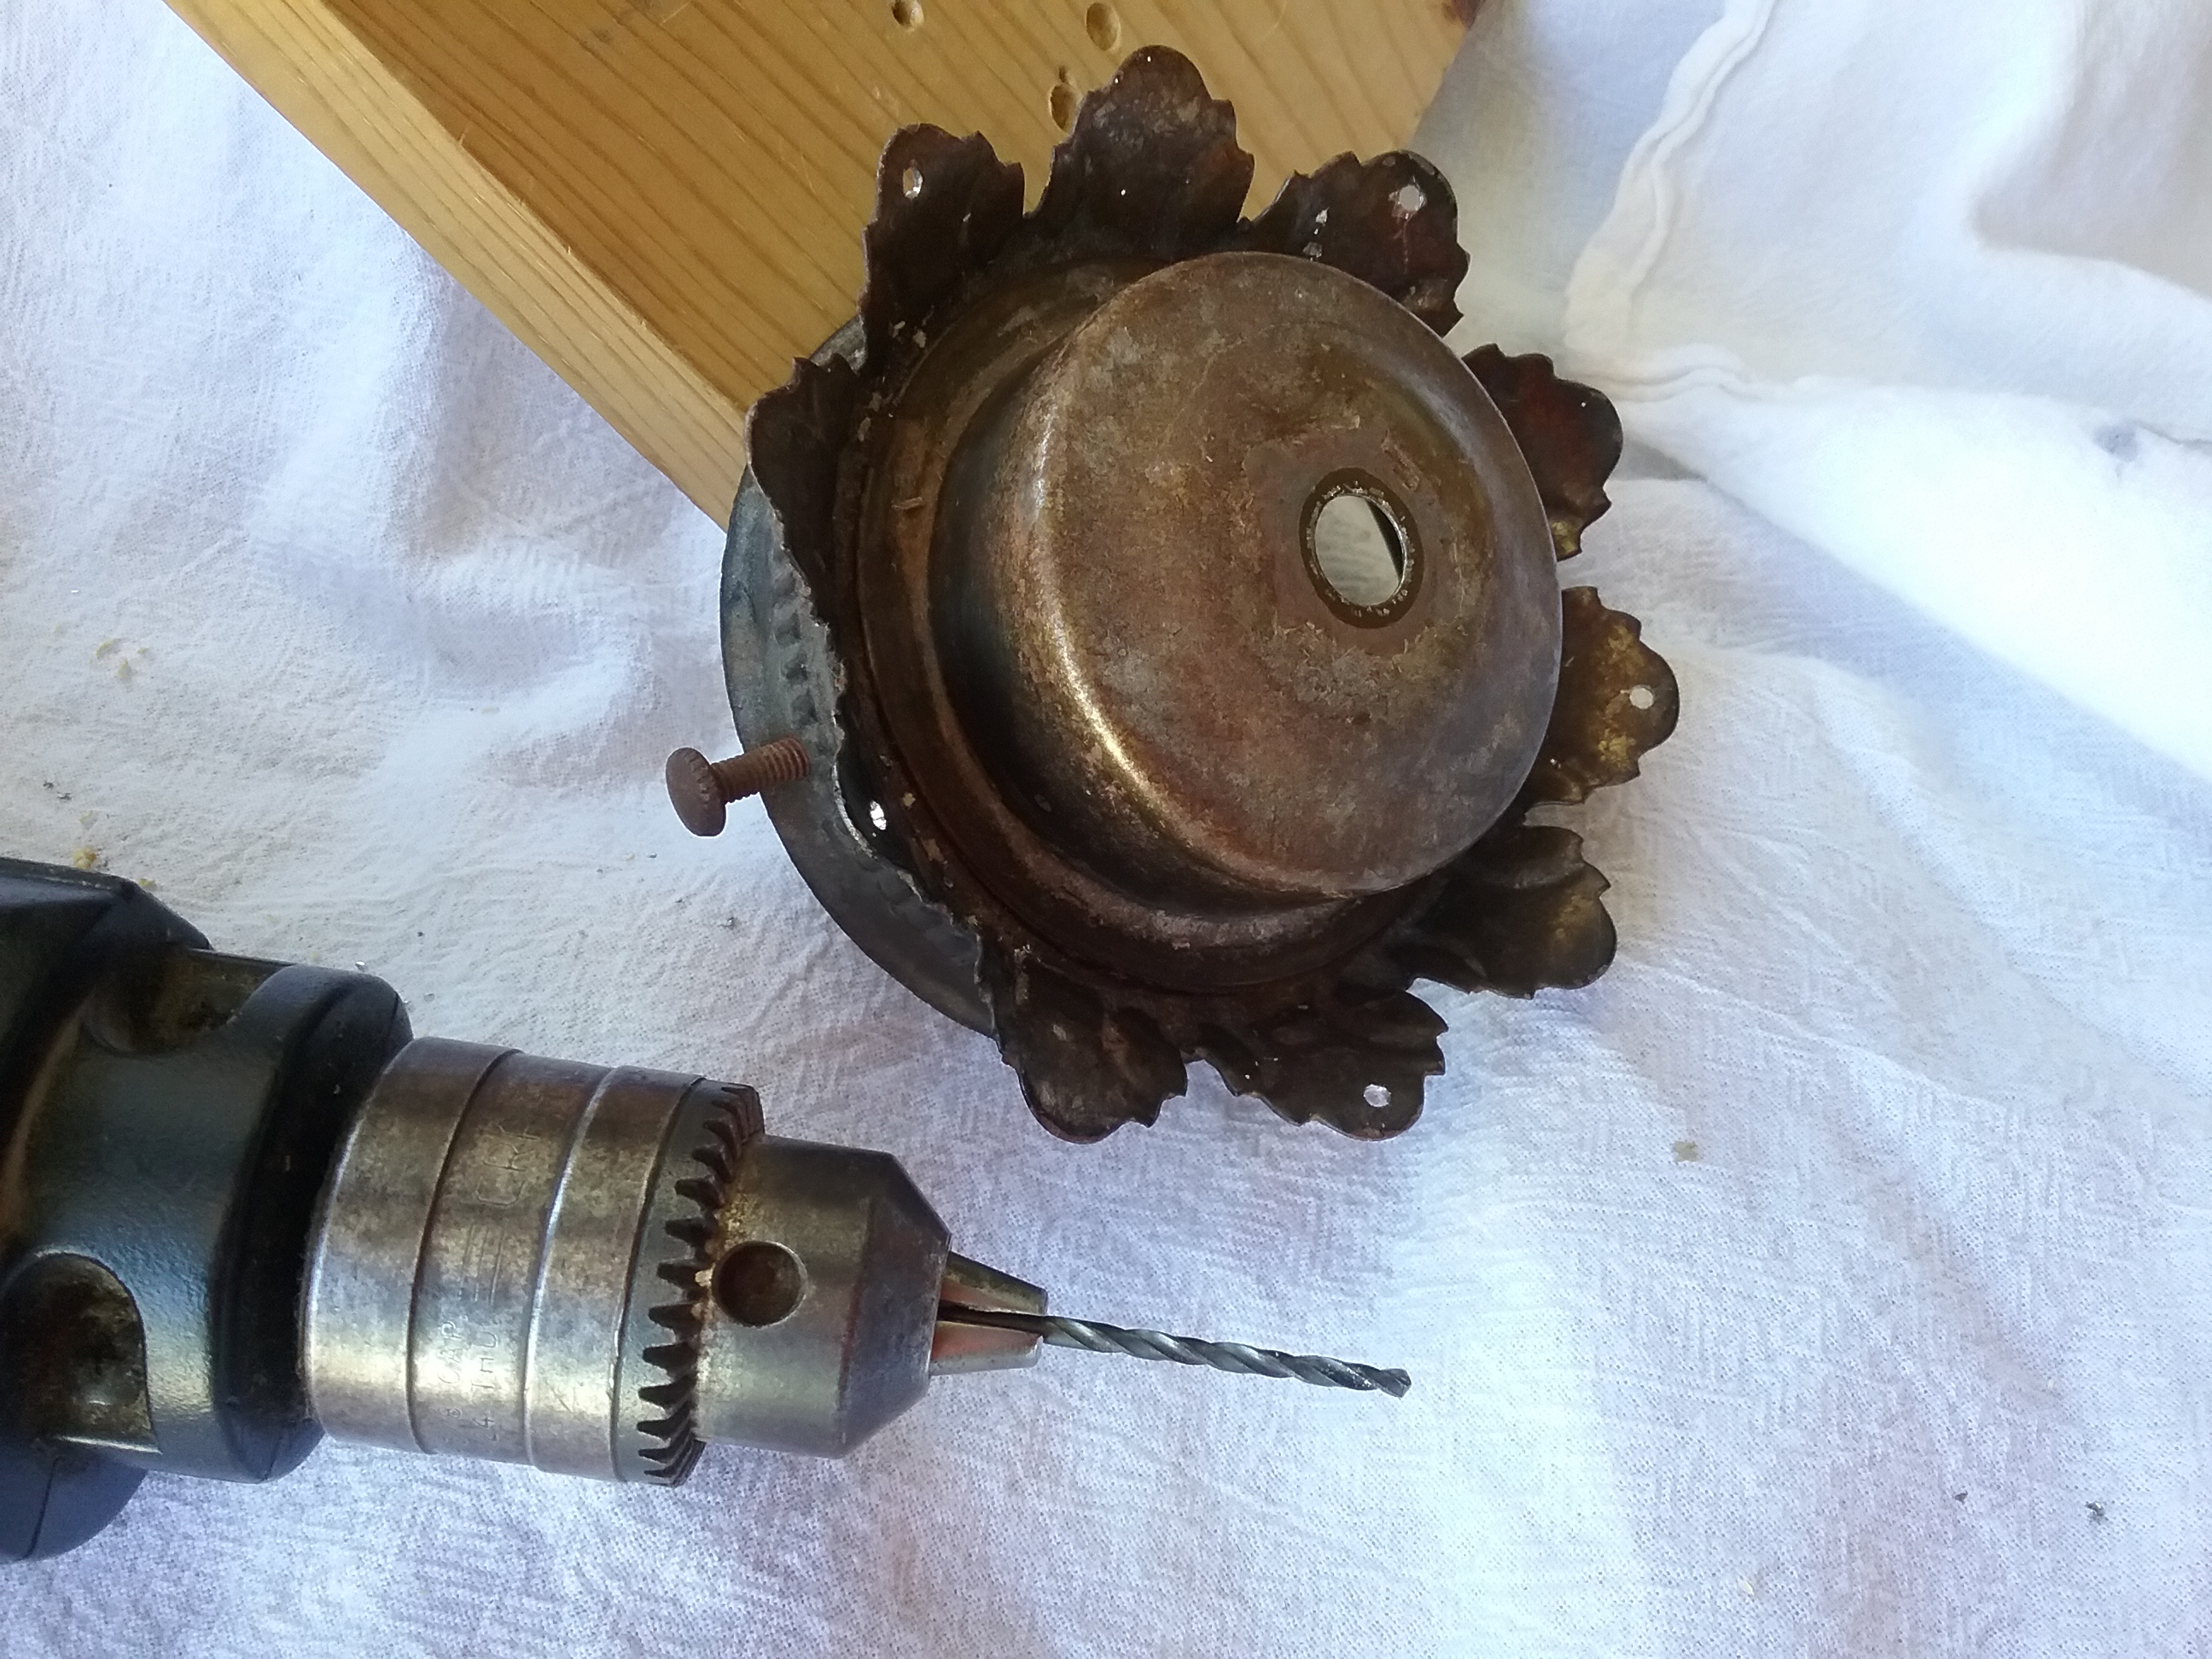
In preparation to hang the crystals, small holes were drilled in every other petal of the brass globe lamp cap. Sand, or grind the holes smooth after drilling.
I stacked the collected pieces in an arrangement I liked, then, removed each piece, laying them in a line, in the order they were stacked.
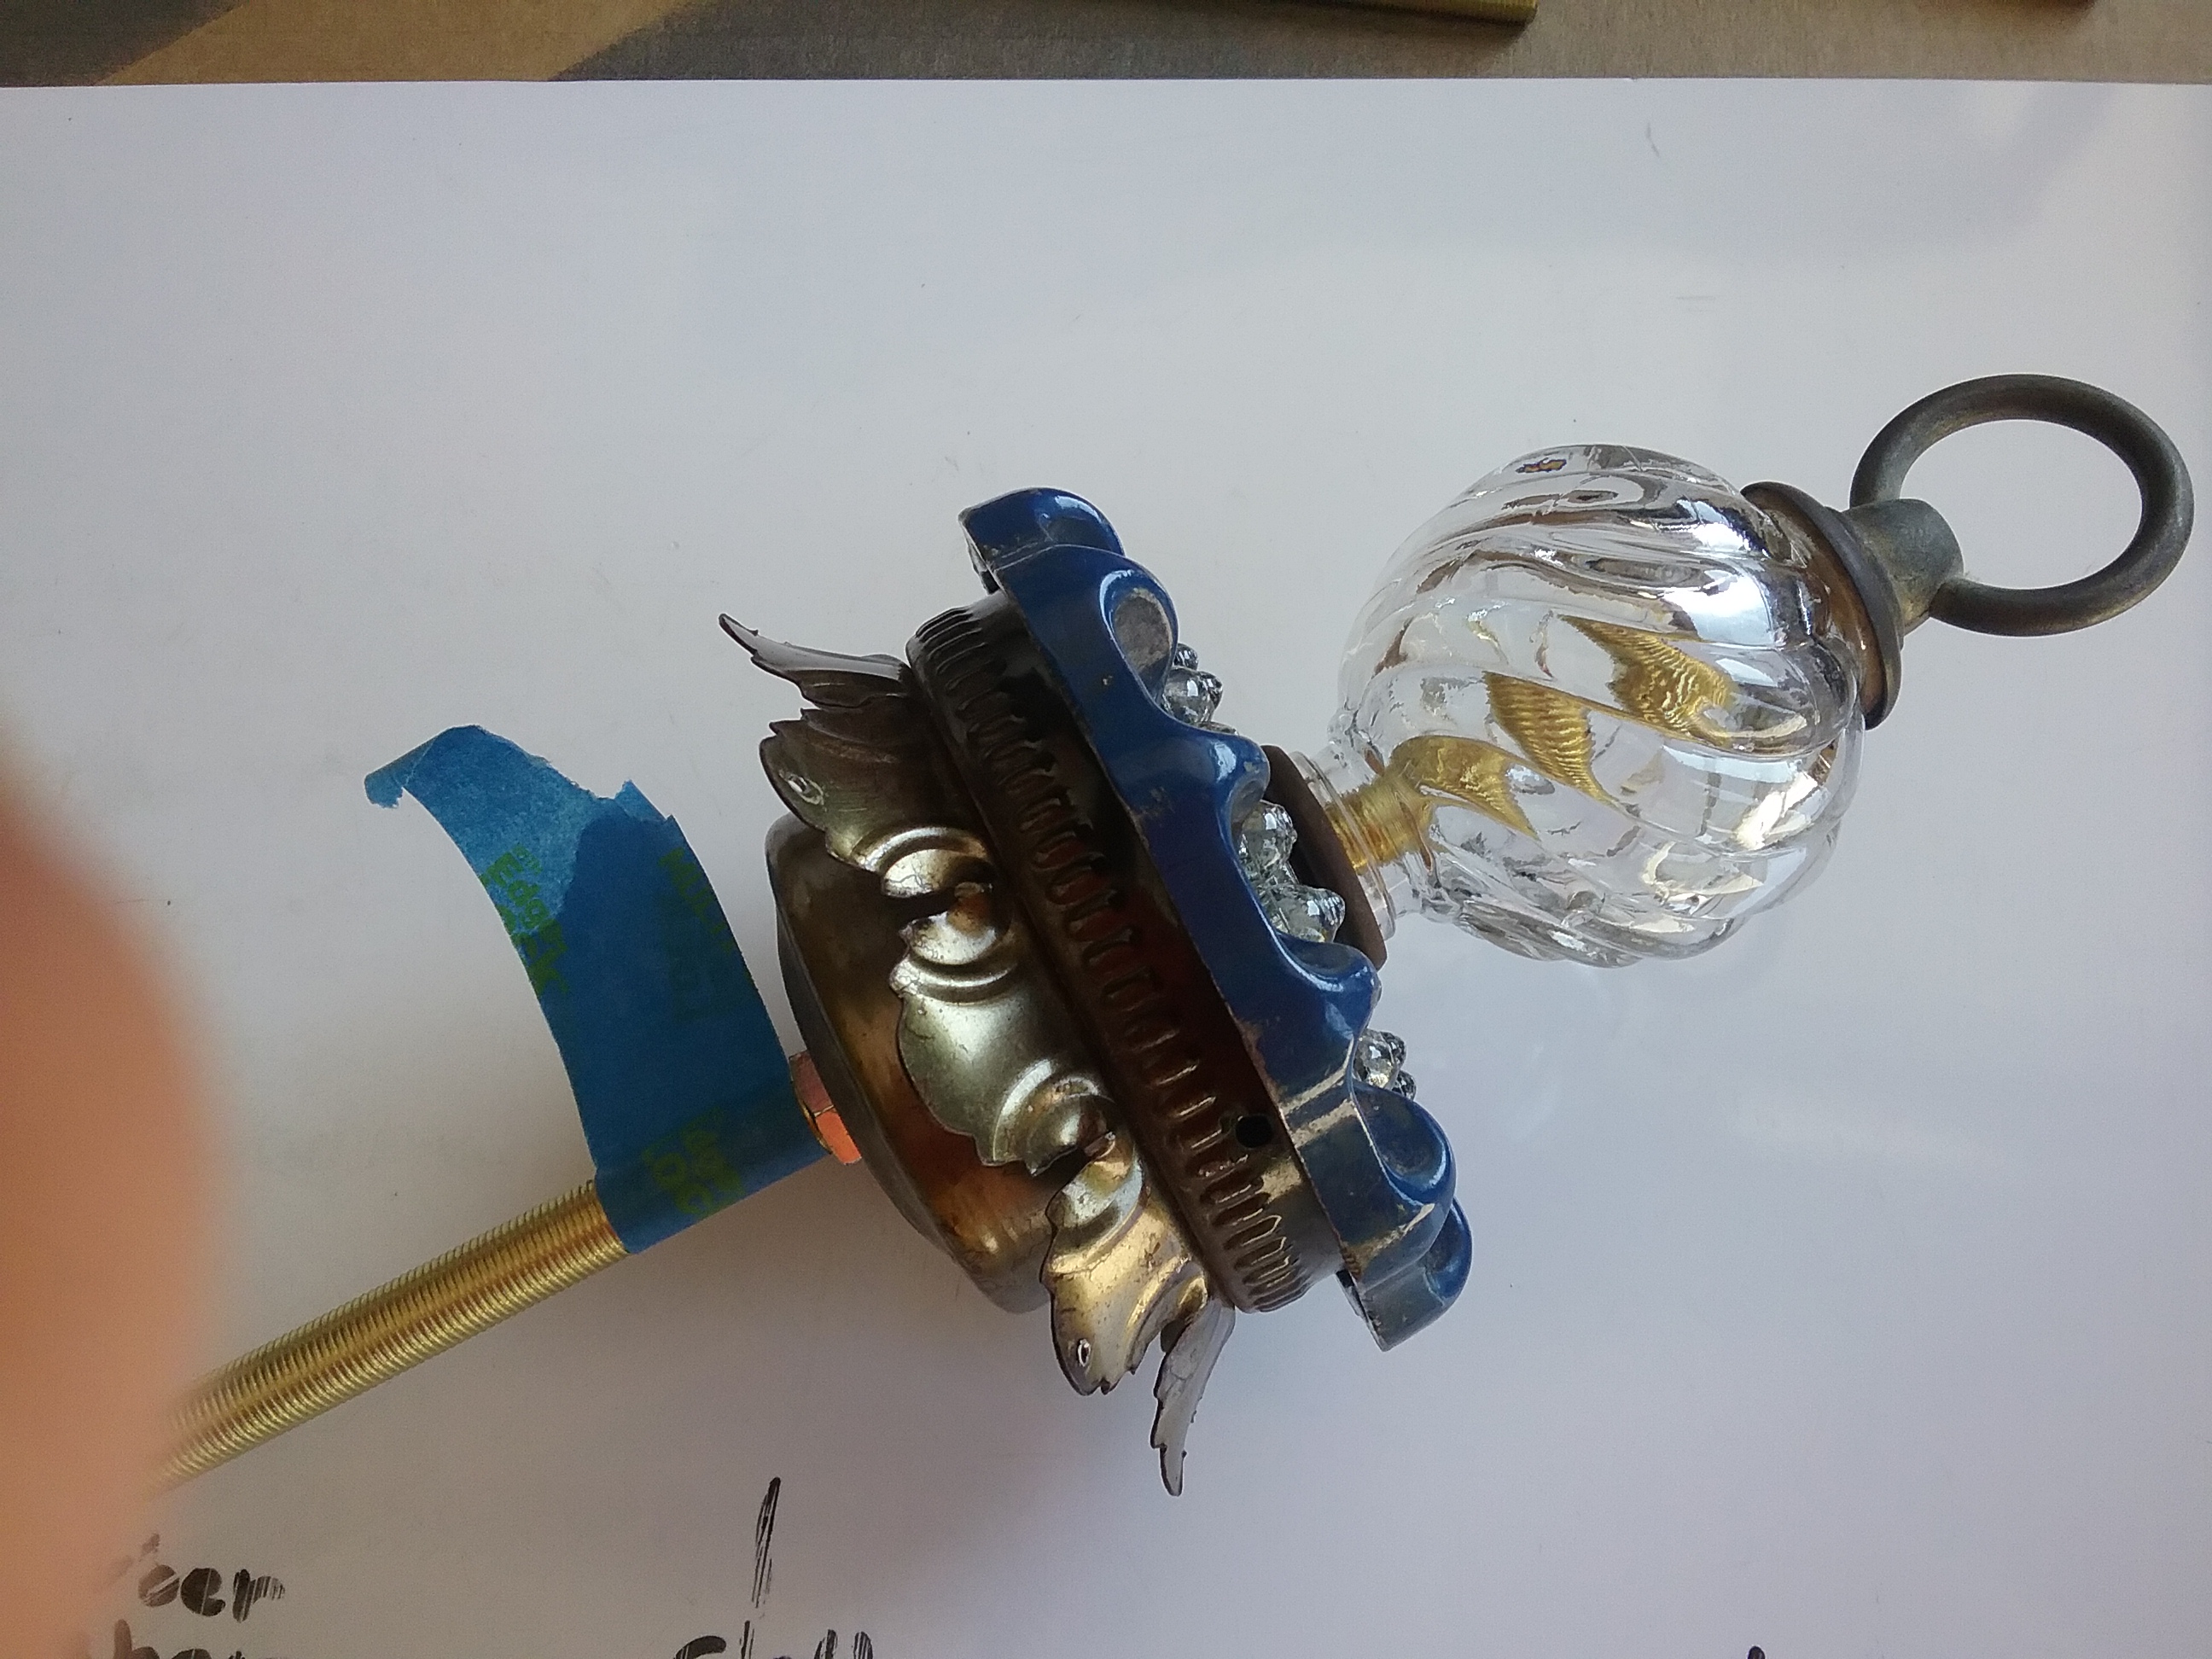
Run a hex nut down the threaded pipe. Put on the brass lamp cap, upturned, with the petals down. Add the faucet handle and other pieces in the order you have them laid out. If you happen to run out of rod before all the pieces are on, just run the hex nut a little further down the rod for more room. Hang on to the finial and screw the hex nut up on the rod to tighten things up. Once tightened, mark the rod with a piece of tape. Remove your pieces, once again laying them in order, and cut the rod to the length you need. Sand, or grind any sharp edges on the rod. Reassemble the piece.

I like to use small 19 gauge, black annealed wire when working on projects like this. It can be hard to find in craft stores. I have my best luck finding it at Theisen’s. Other Farm & Home stores may have it, or a hardware store.
I was able to cheat a bit when it came to wiring the crystals. Most of mine were already attached together with the original head pin wires. If not, I robbed a wire from another one.
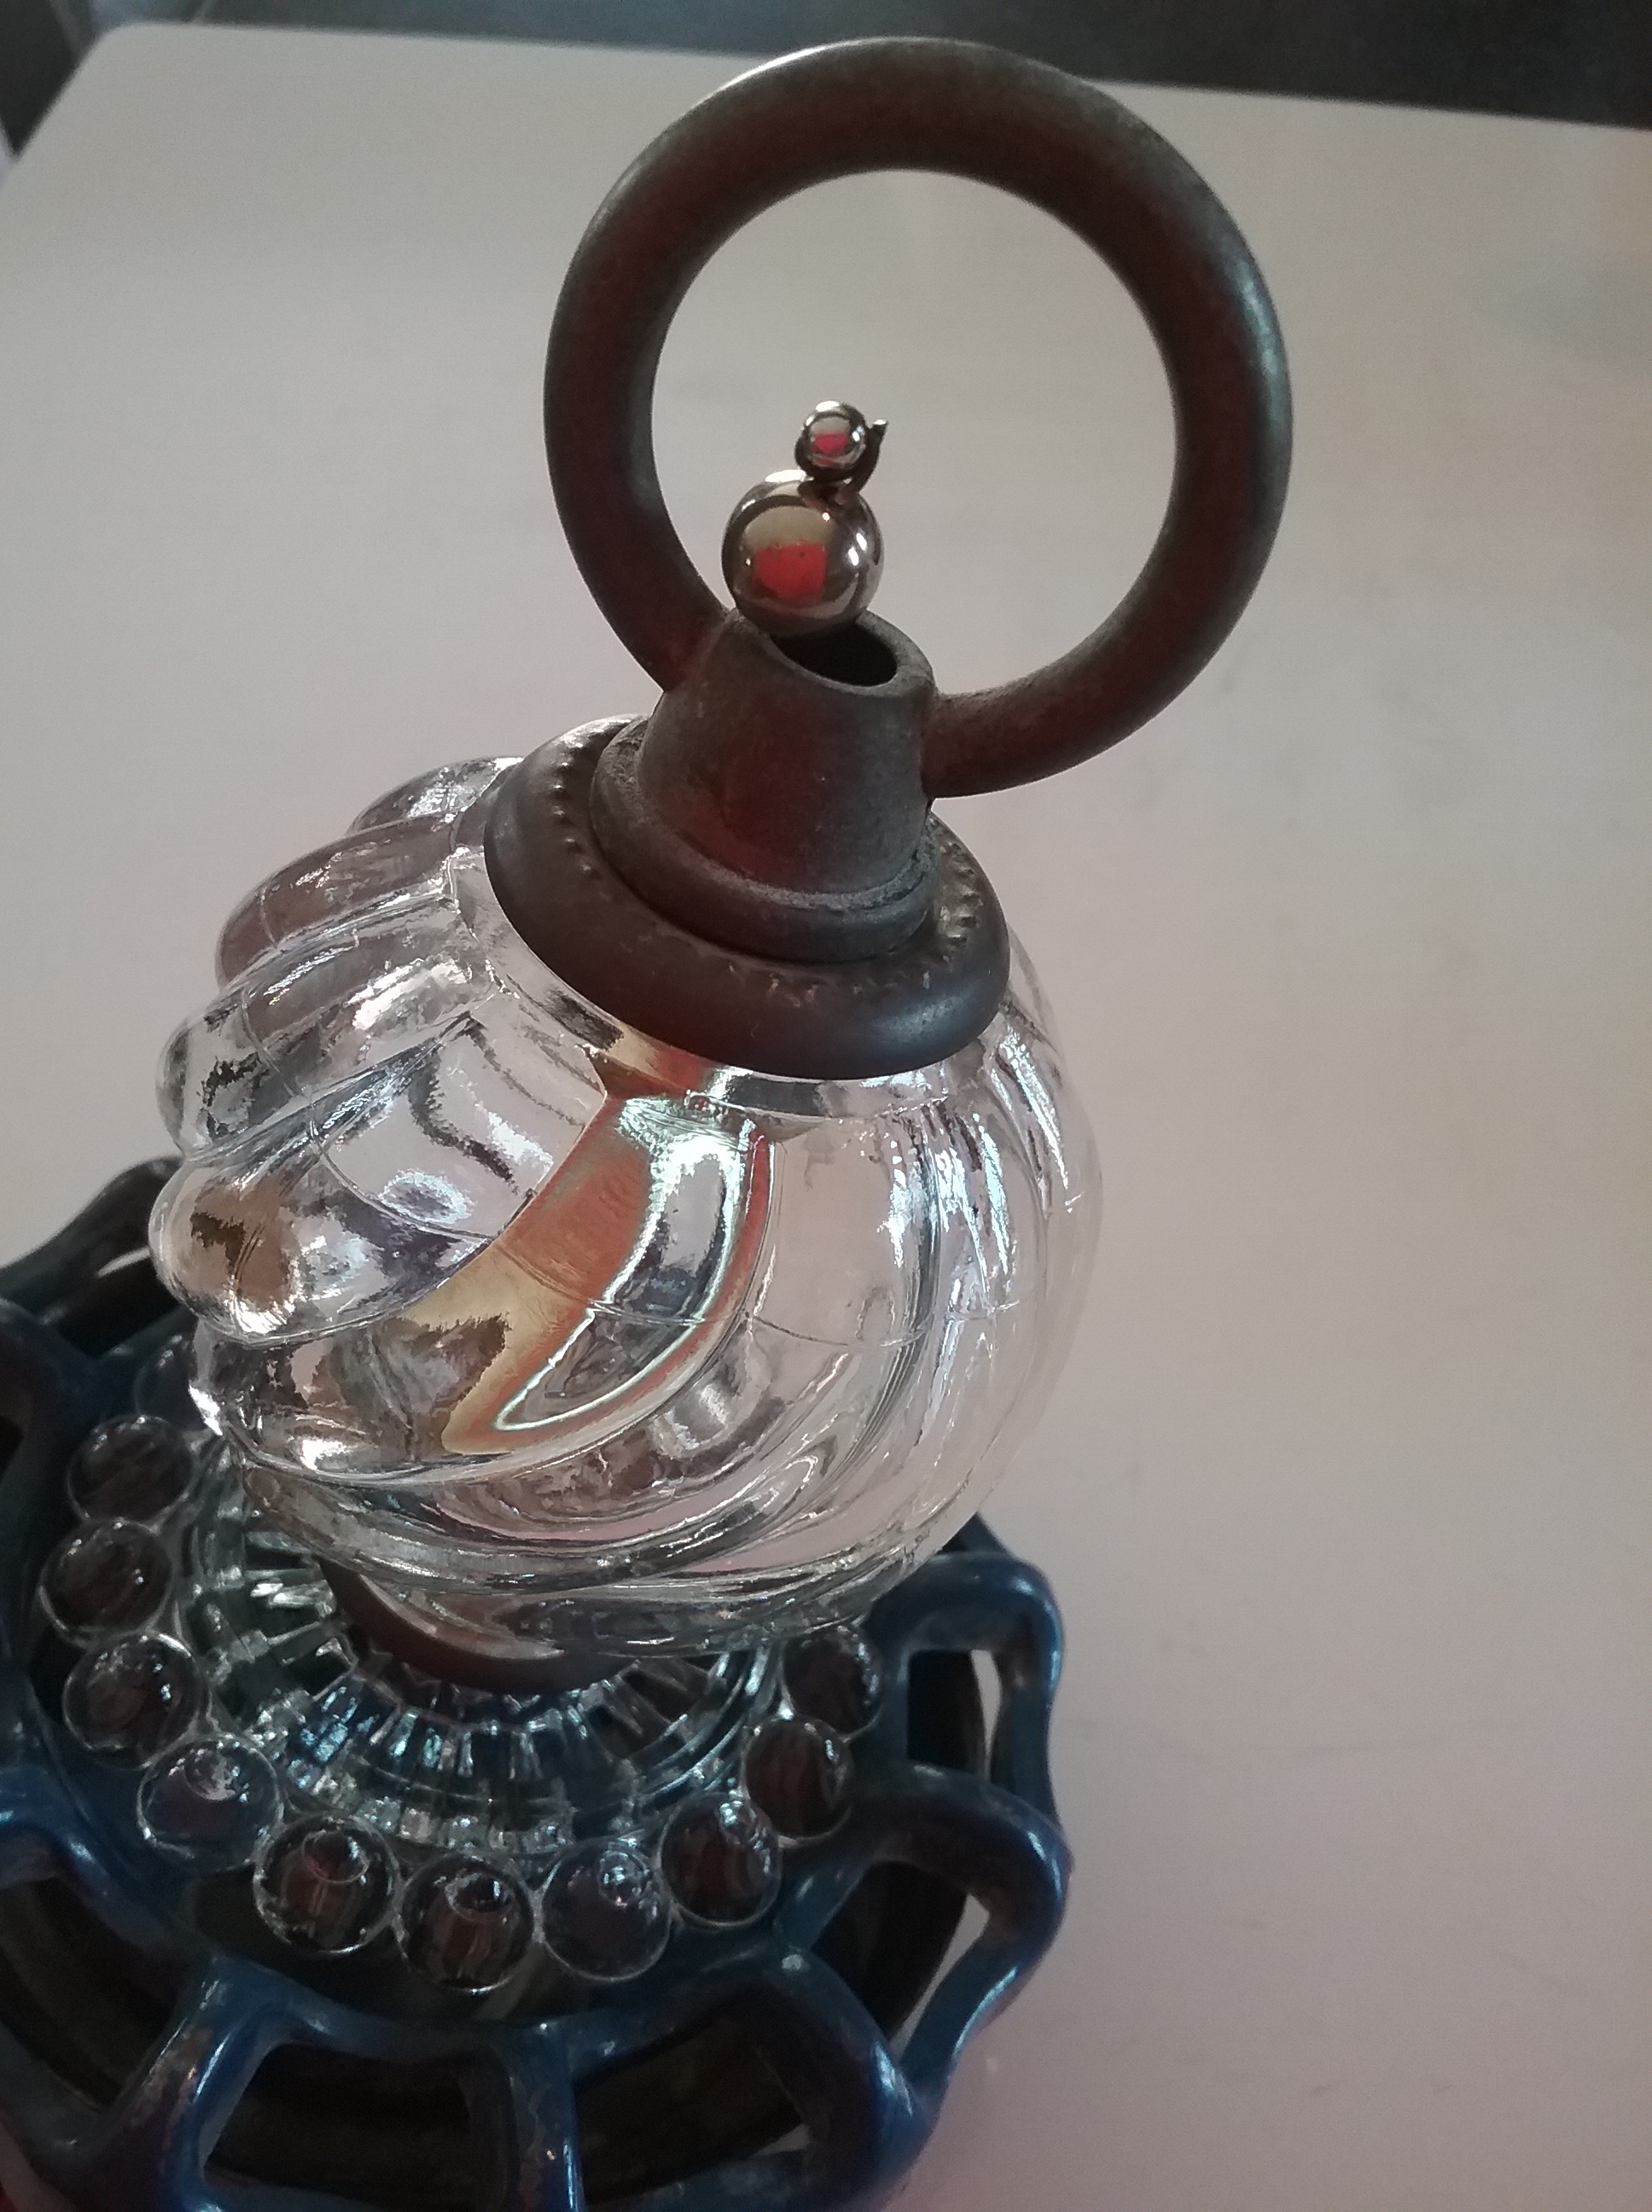
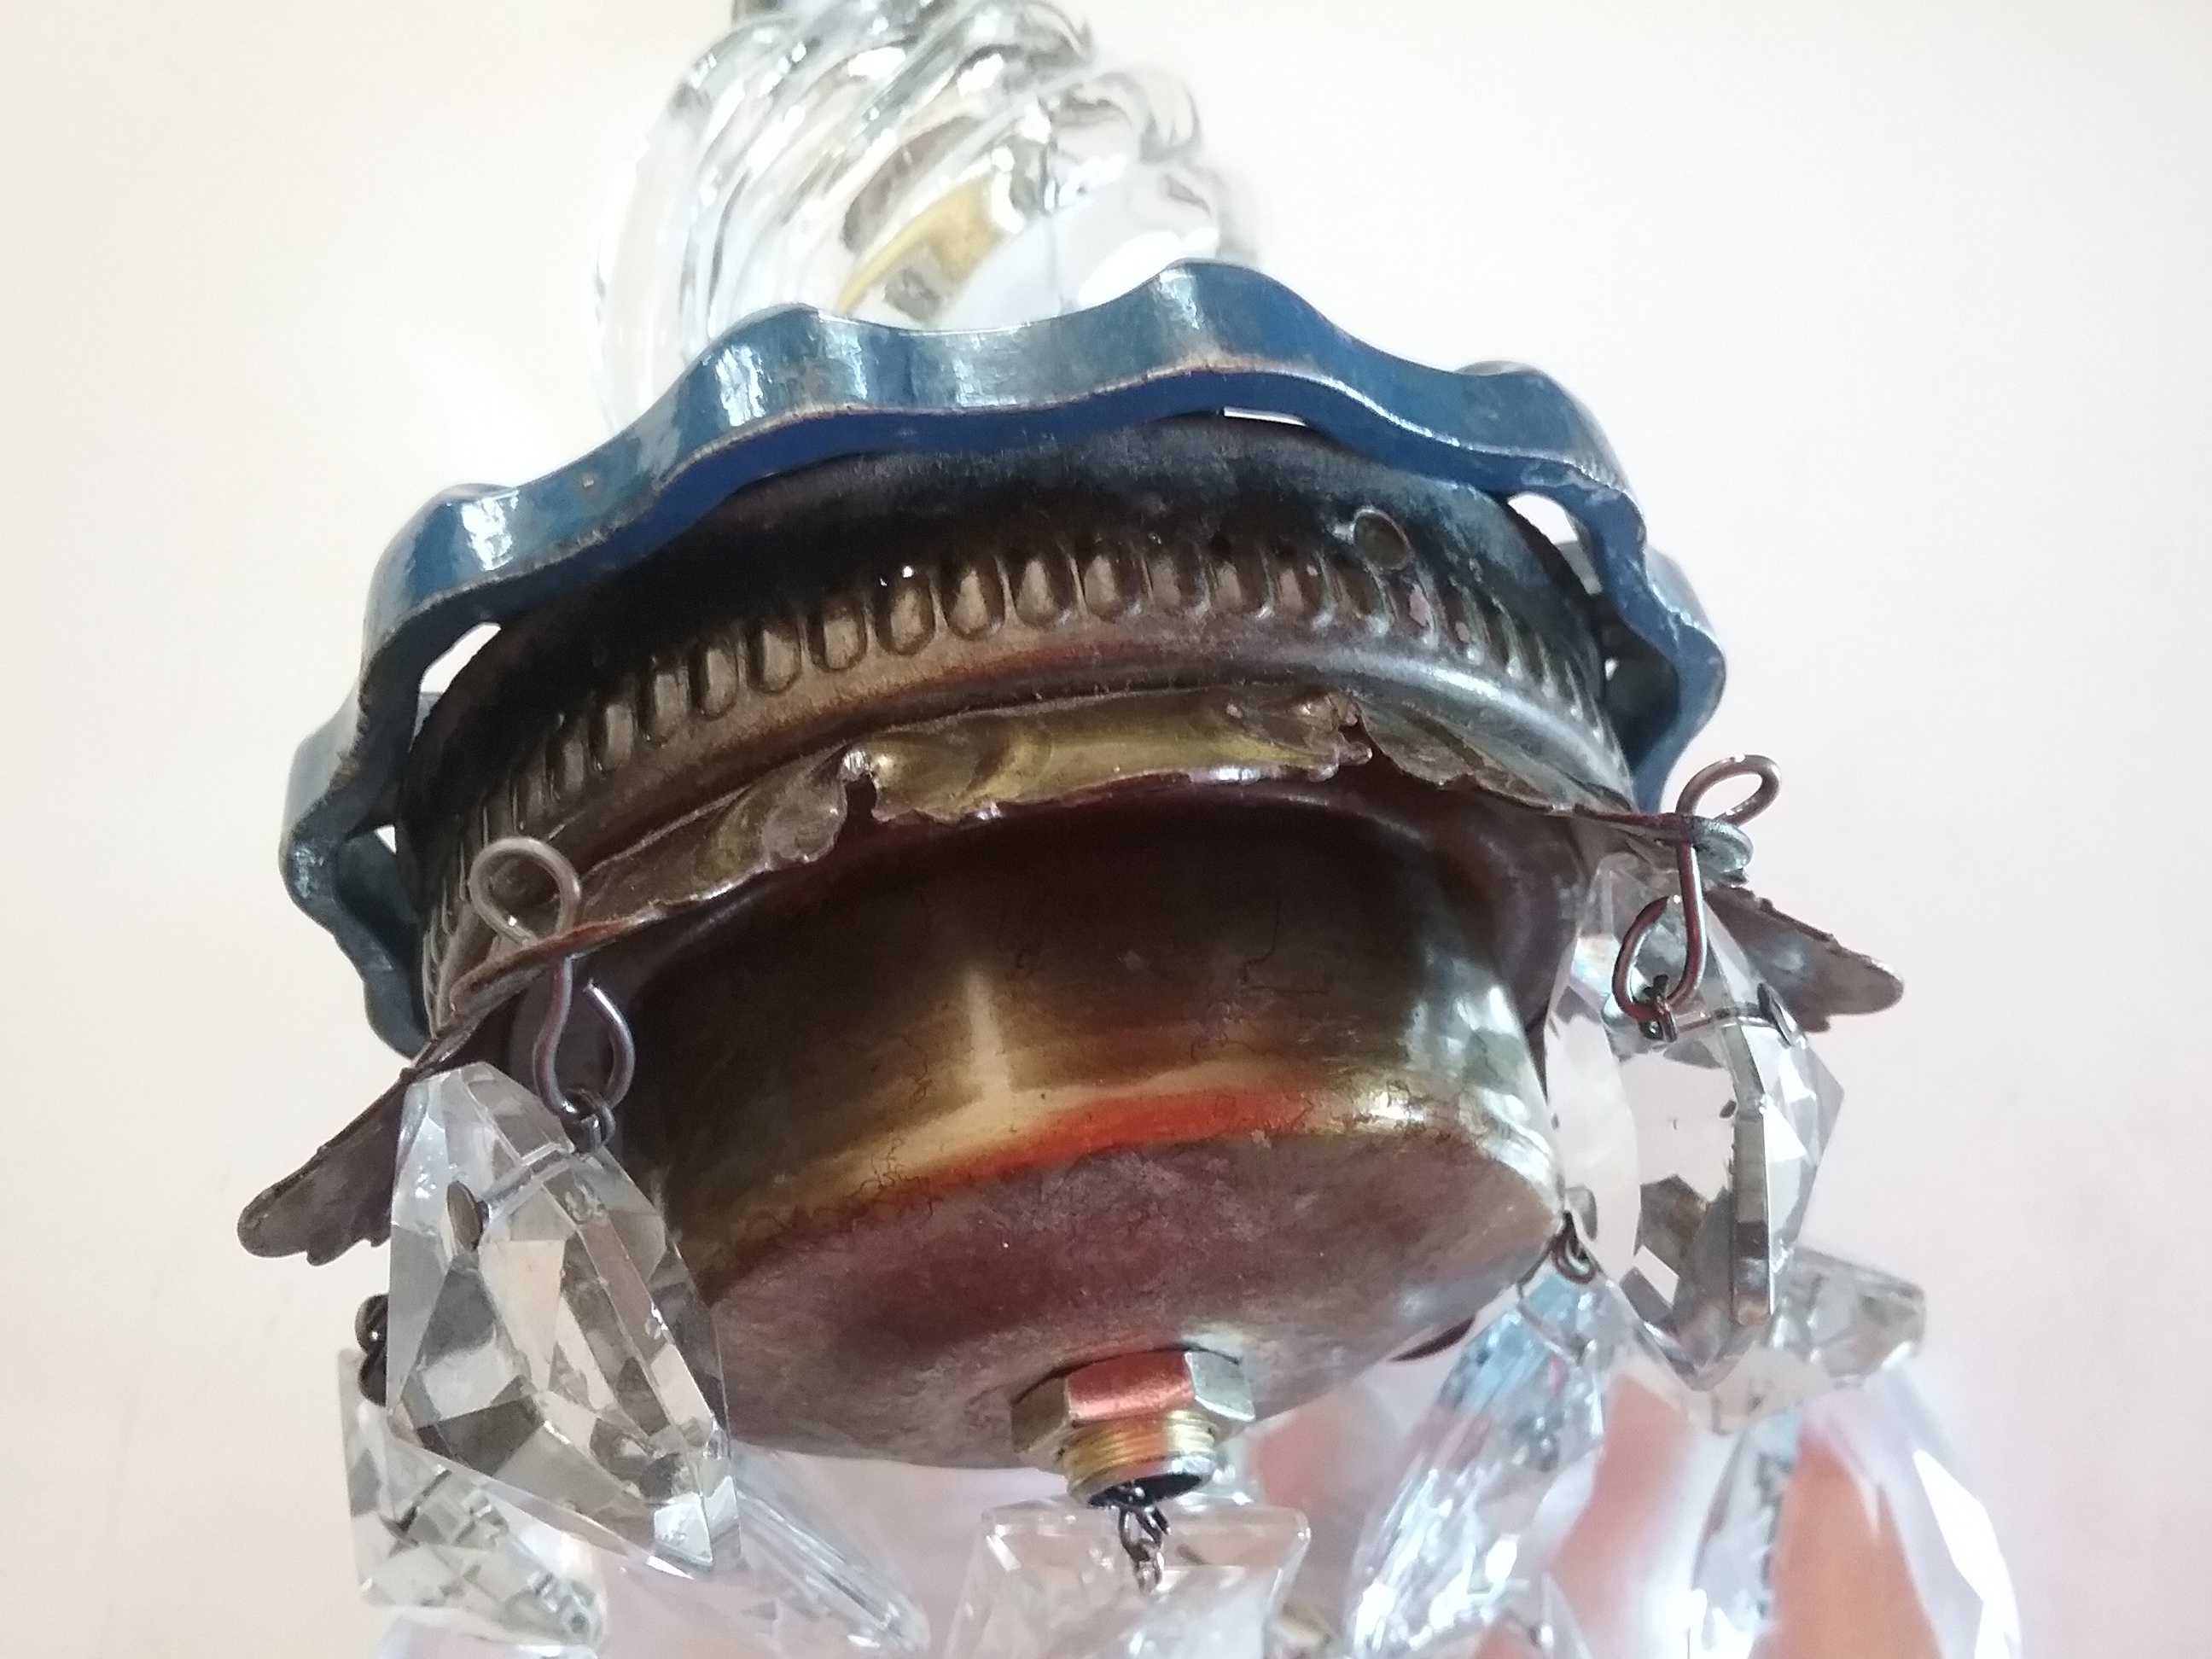
I wrapped a tiny silver bead on the end of a length of wire, and threaded it through a larger silver bead that was bigger than the hole in the finial, so it would not slip through. Insert the wire down through the finial. Trim the wire off leaving enough length for a small loop to attach your crystals. A rectangle and large teardrop crystal were used in the center.


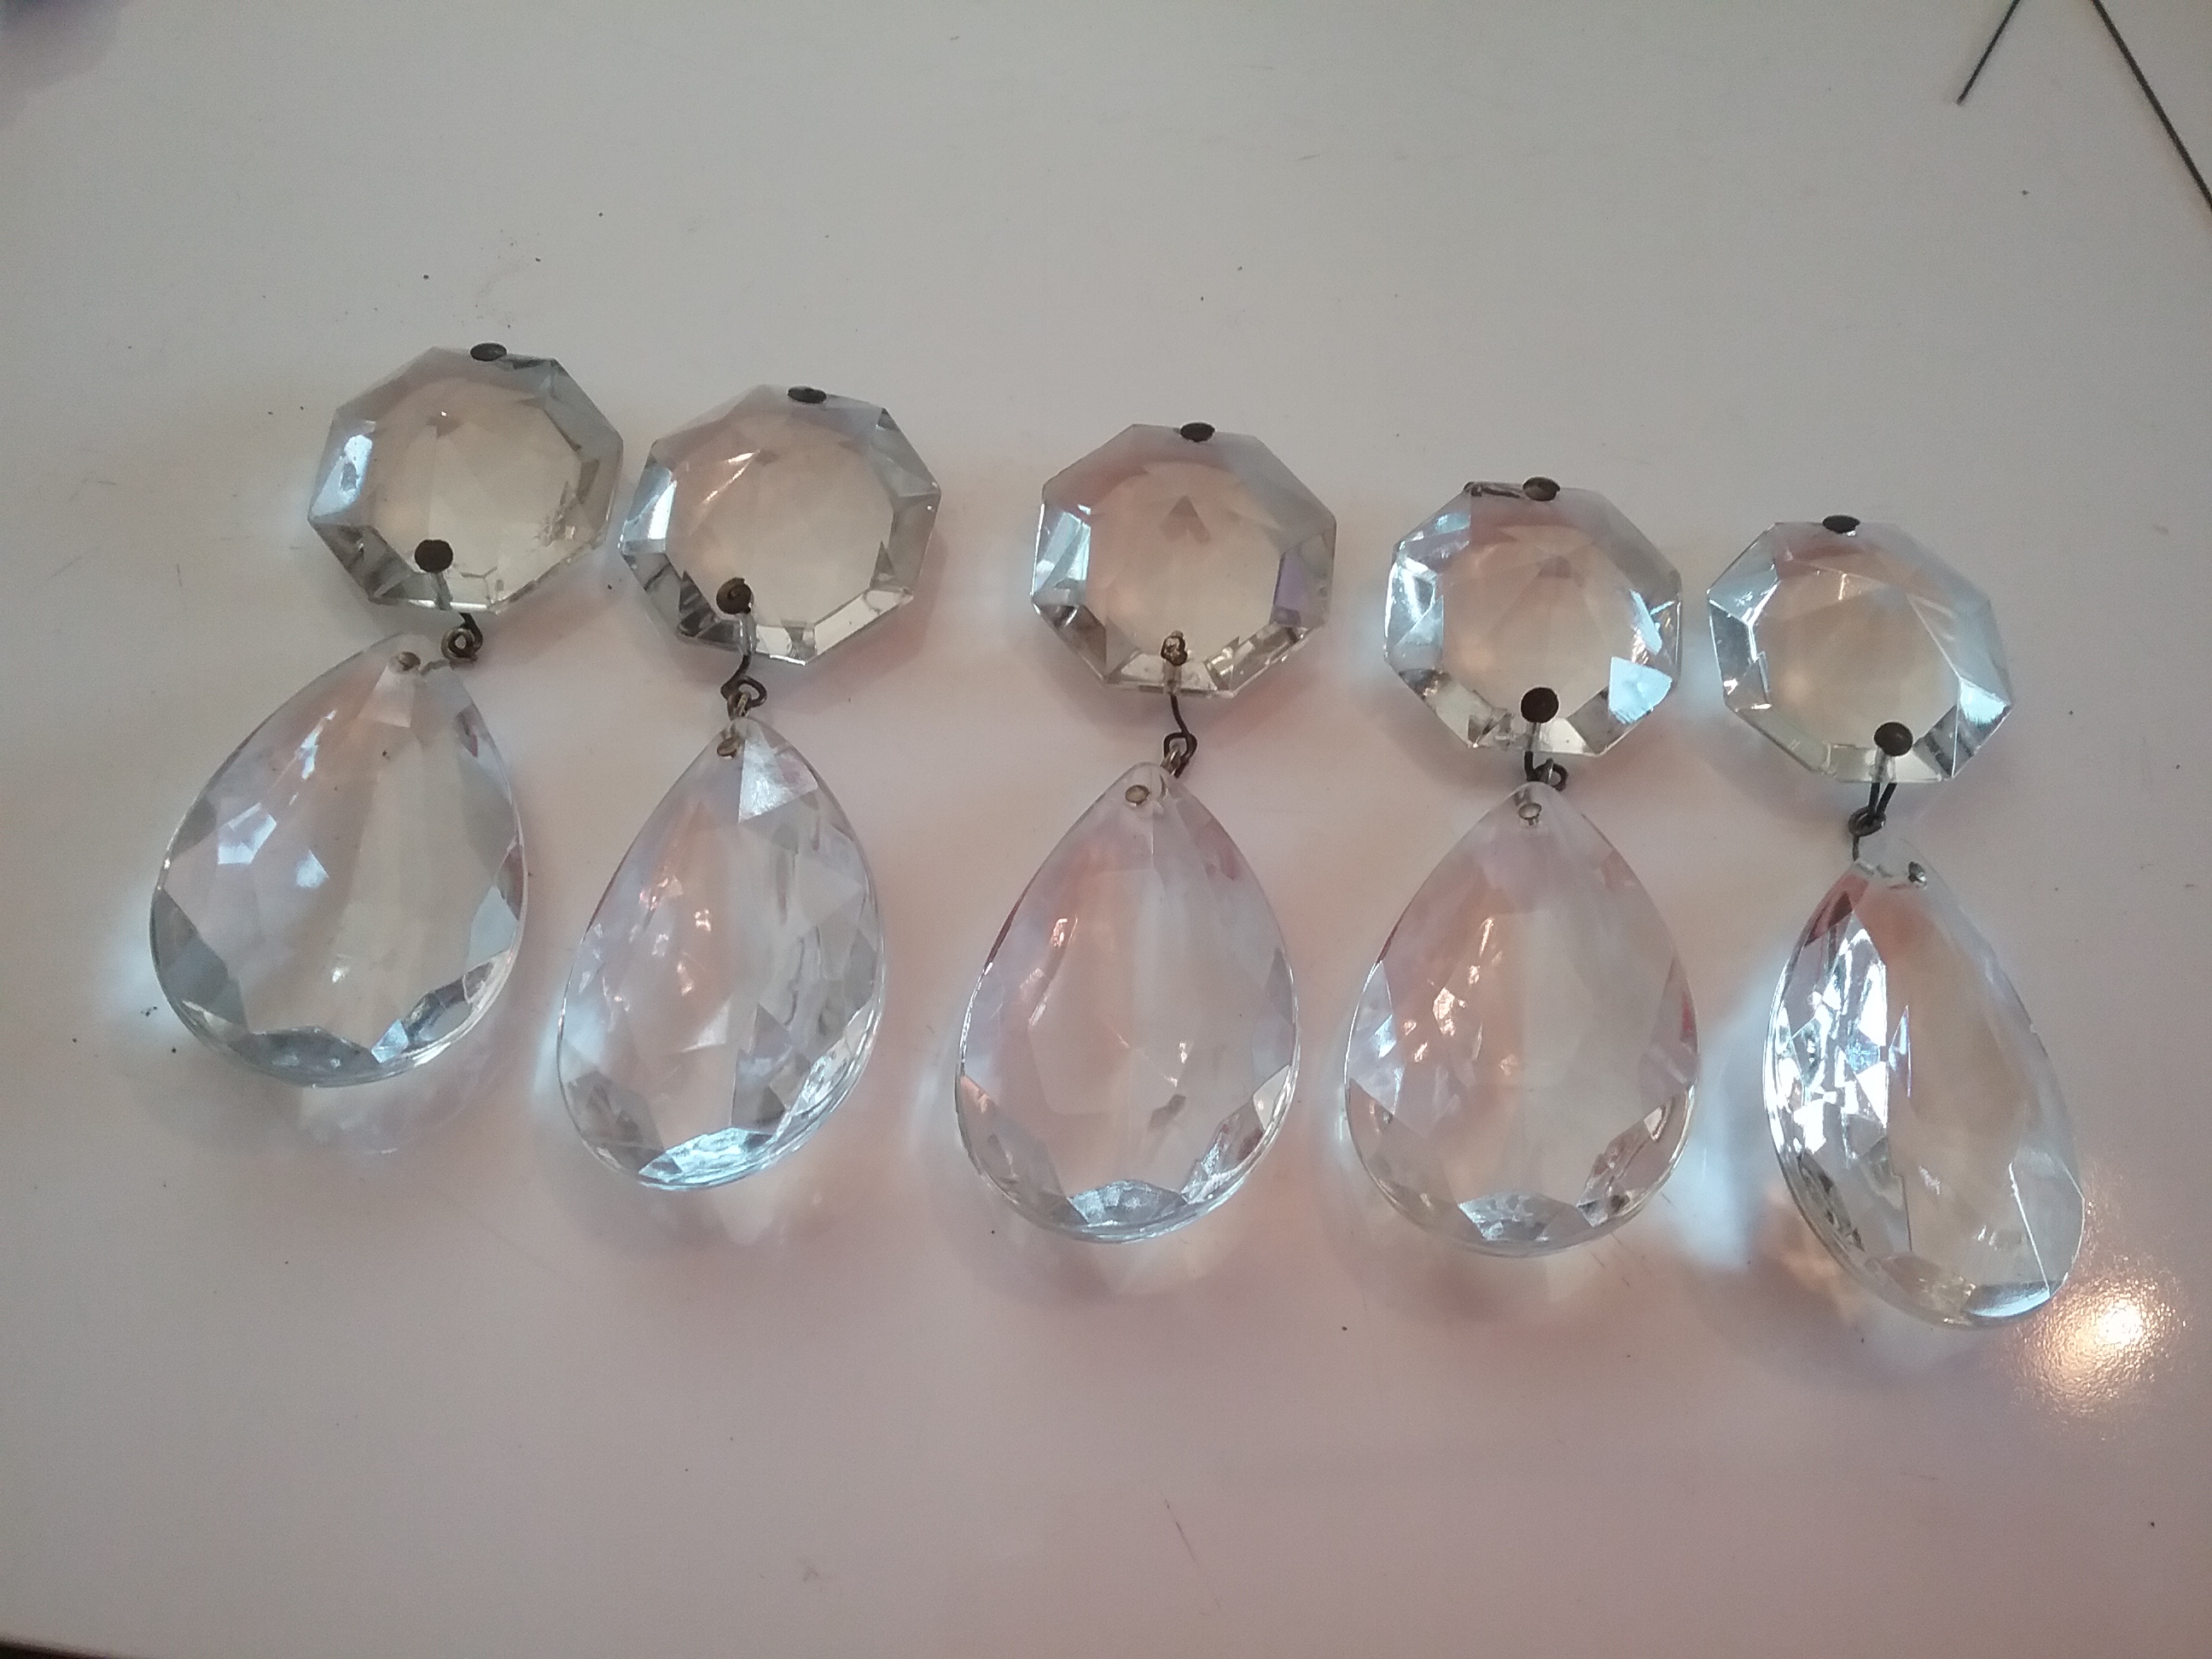
Large octagonal and teardrop crystals were used around the outside edge. I first tried jump rings to attach them, but didn’t like the way they looked. I ended up making a kind of “s” shaped hook, leaving the loop of the hook visible on top of the brass cap.
Wa-Laa!

I hope I’ve inspired a few of you to do your own garden chandelier making. If so, I hope you’re willing to share a picture or any helpful suggestions in the comment section, Thank You! I love hearing from readers!


