
No time for fall crafts this last month; the beautiful late summer weather motivated me to start a garden project I’ve been waiting to do. Although it’s a WIP, I’d like to tell you a bit about it before we get on to the etched window.
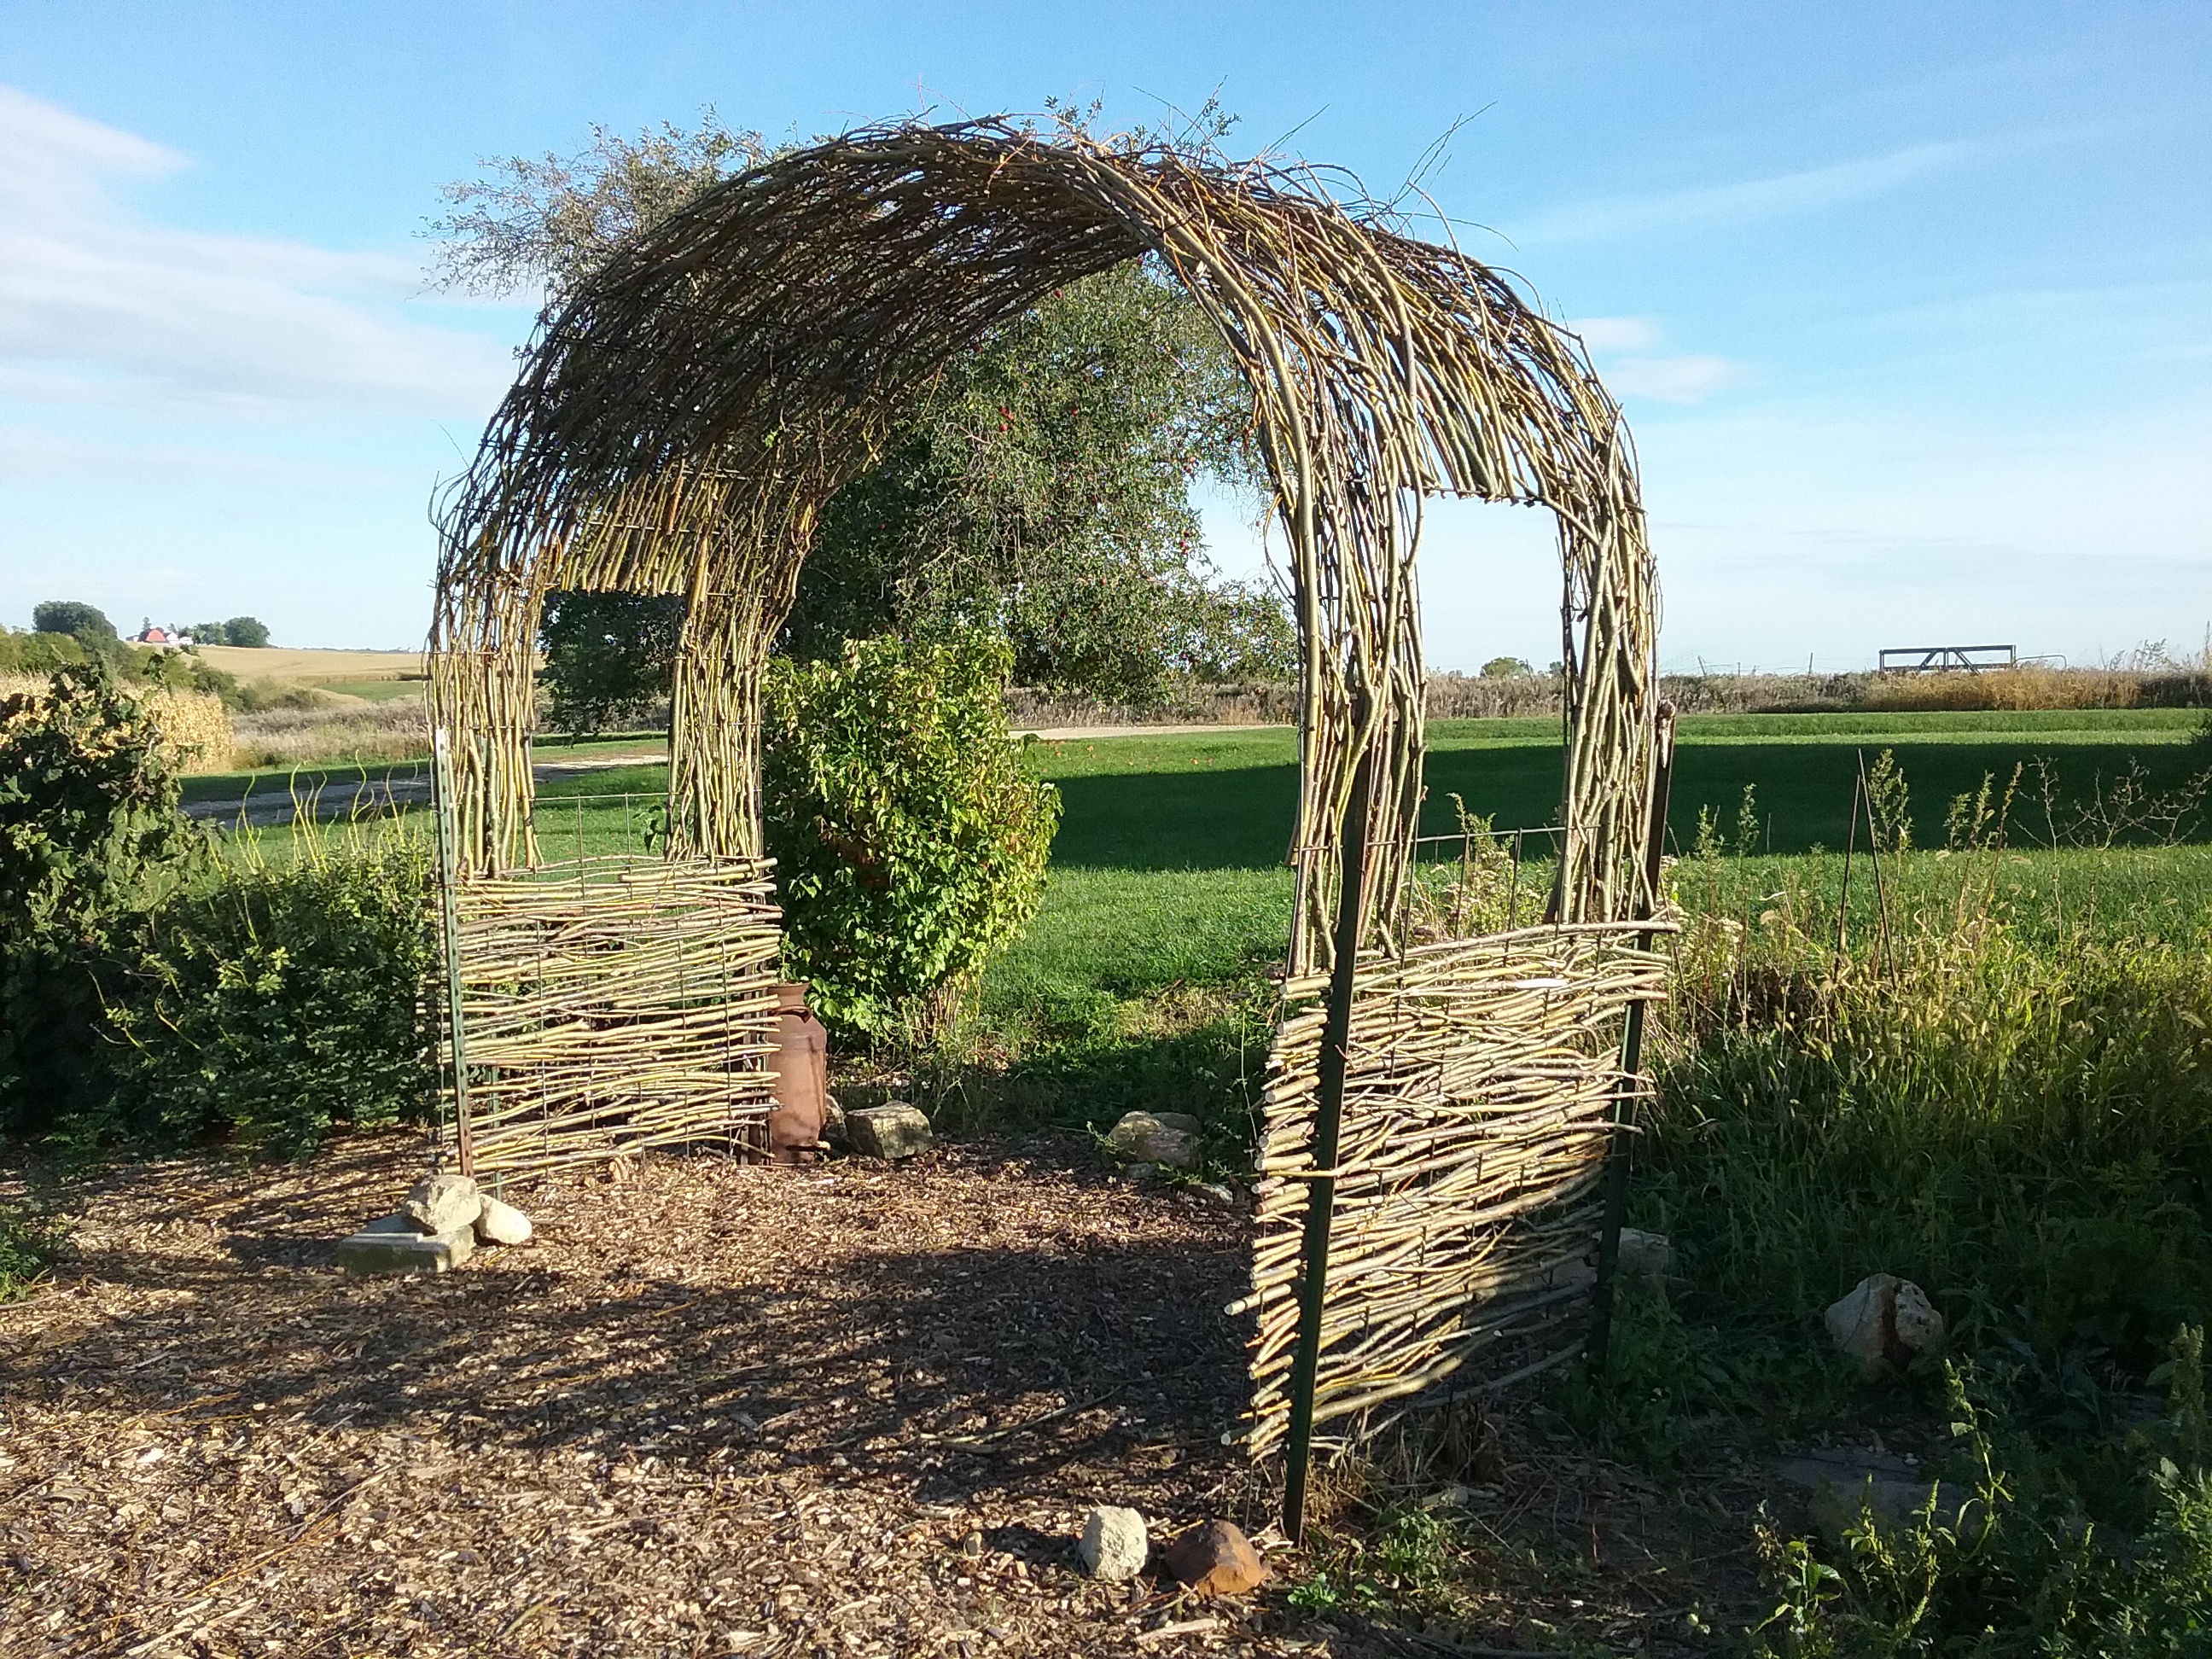
Last year, I got rid of the five year old trumpet vines on my garden trellis because new vines were popping up everywhere and taking over. Wanting the trellis covered, but not with vines again, I got the idea of weaving willow branches through the steel frame. Thanks to my niece and sister’s tree trimming, I was able to gather, and weave, two big batches of branches. It needs a lot more branches, but I’m very happy with the way it’s shaping up. I guess I’ll just have to be content for now, until next spring when the weather is more accommodating, and someone starts trimming again.
With the temperatures dropping and Halloween passed, I’m ready to shift straight into Christmas crafting mode.
The idea of reverse etching on old window panes came about after I noticed some little brass embossing stencils in my daughter’s scrap booking supplies. They were so cute! Out of curiosity, I laid one on the overhead projector just to see what it looked like in a larger scale, and that’s all it took, I wanted to get the designs on a window somehow.
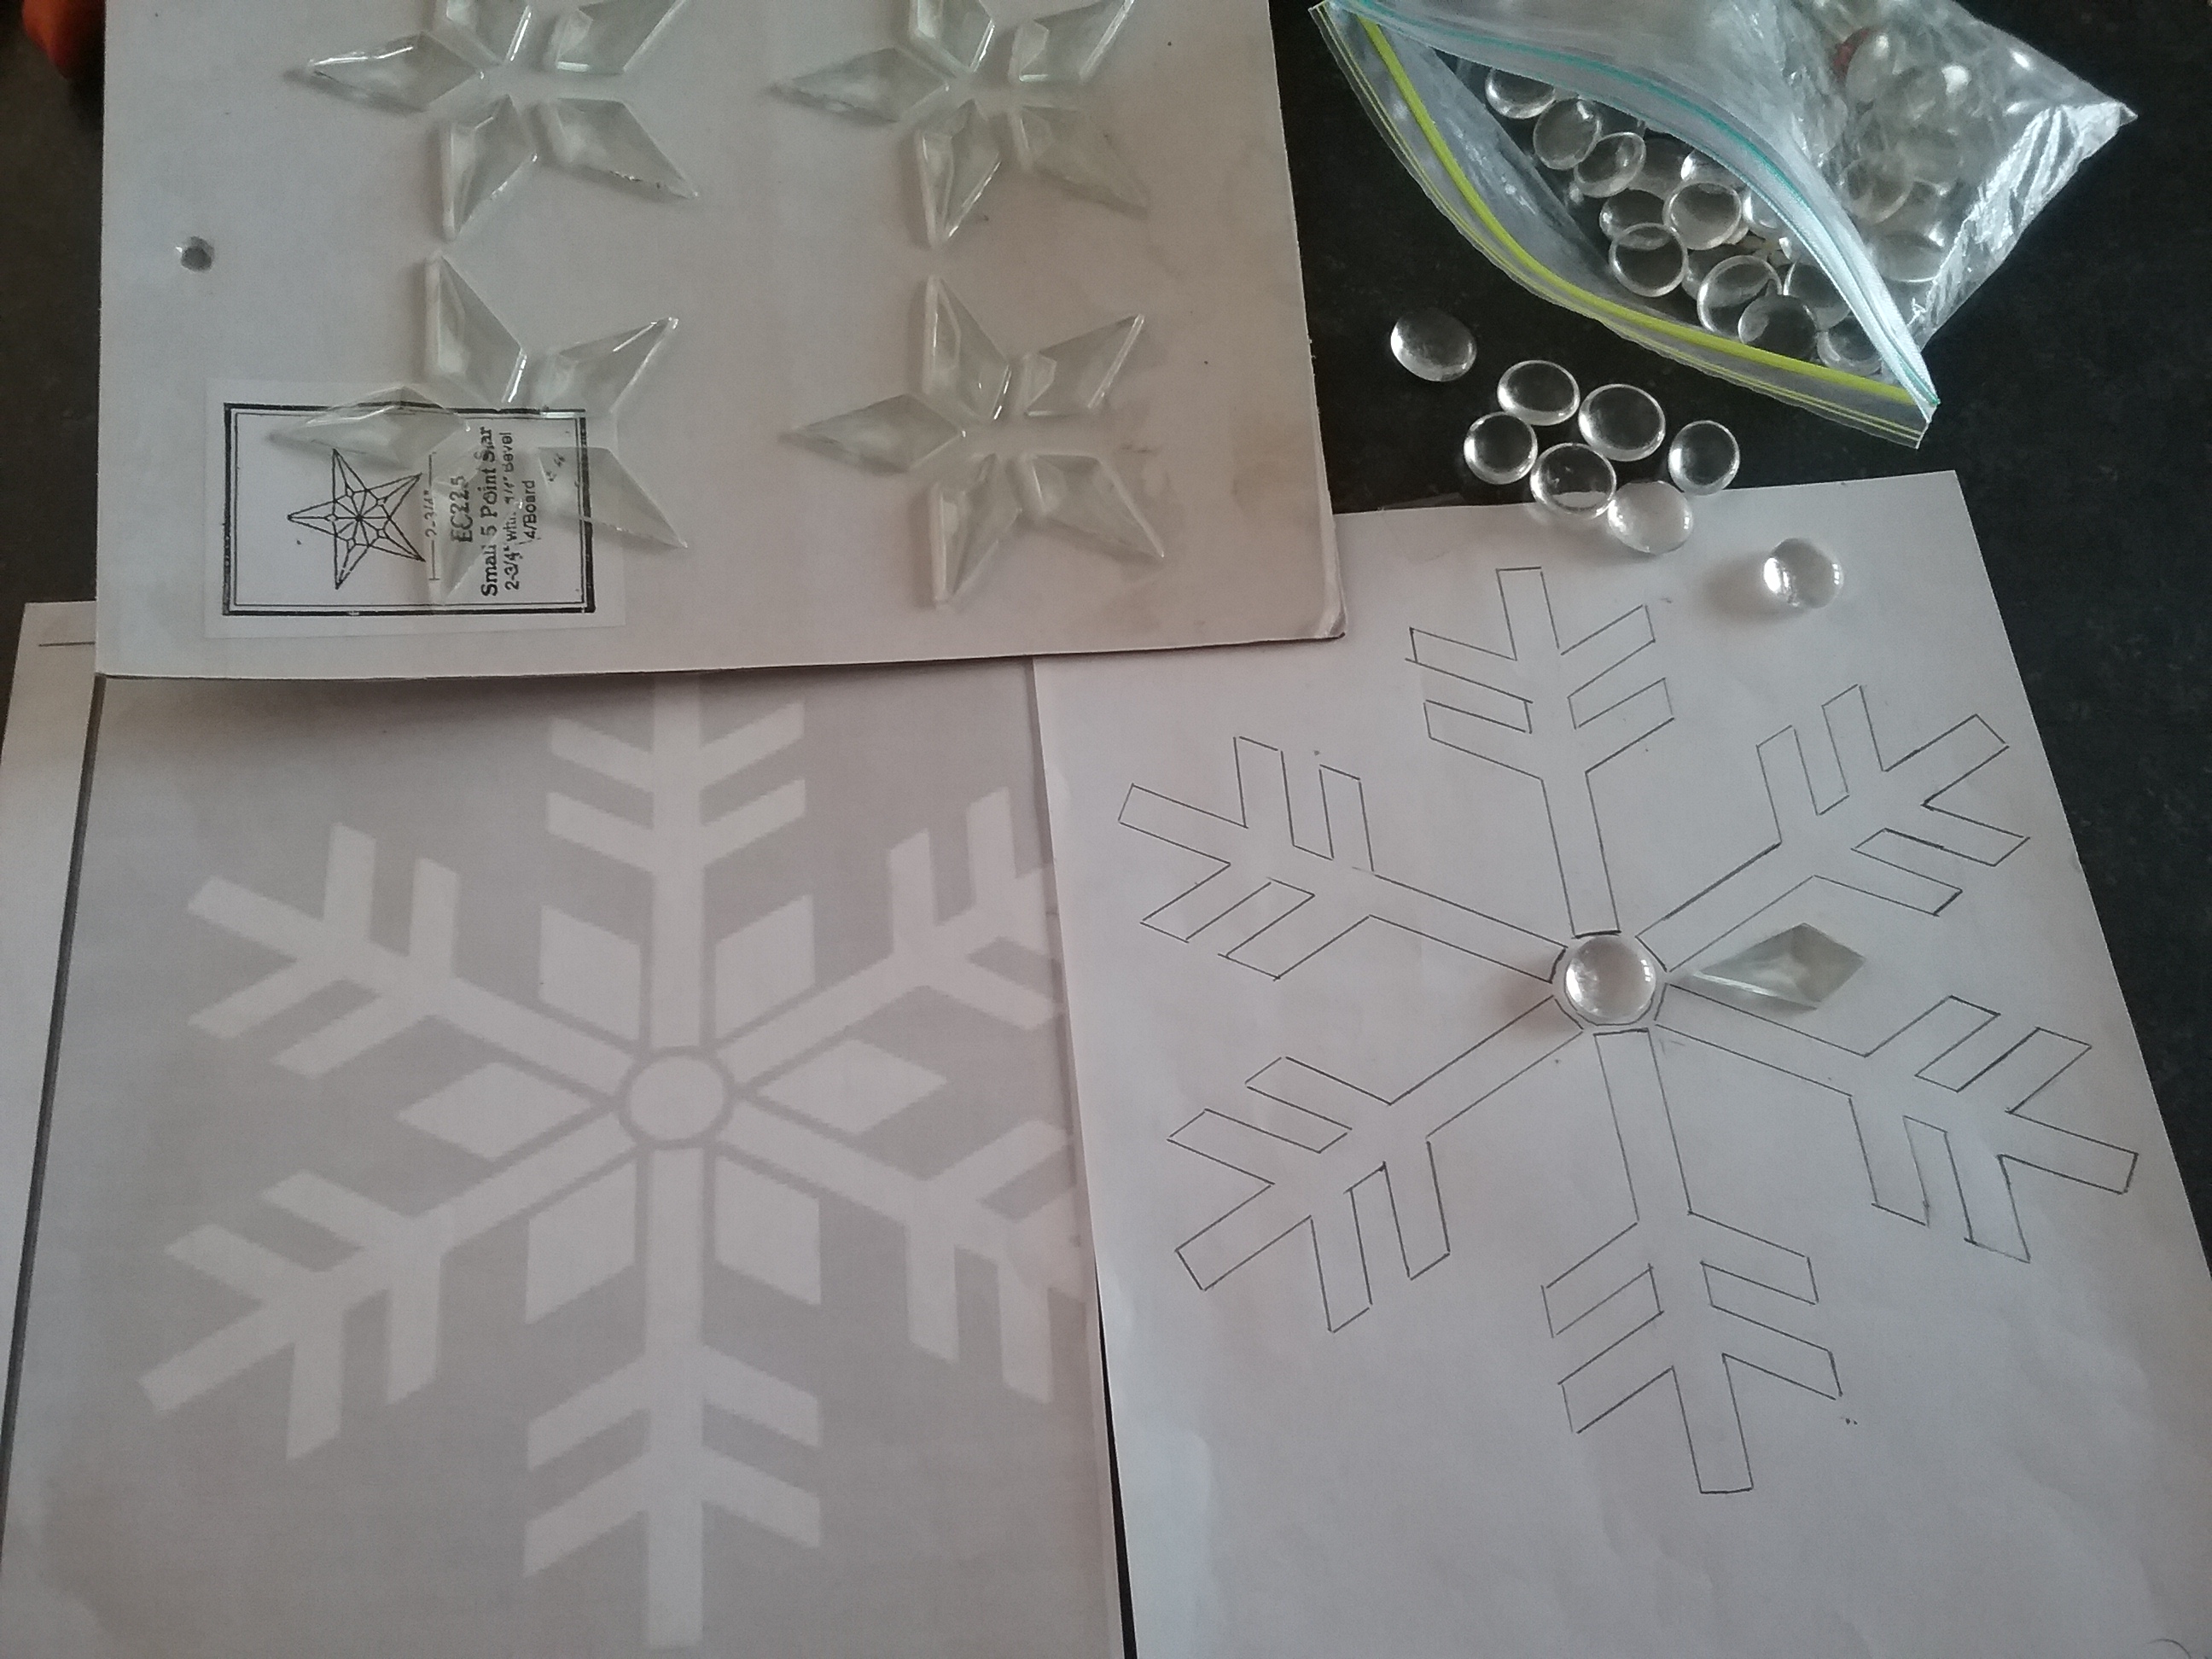
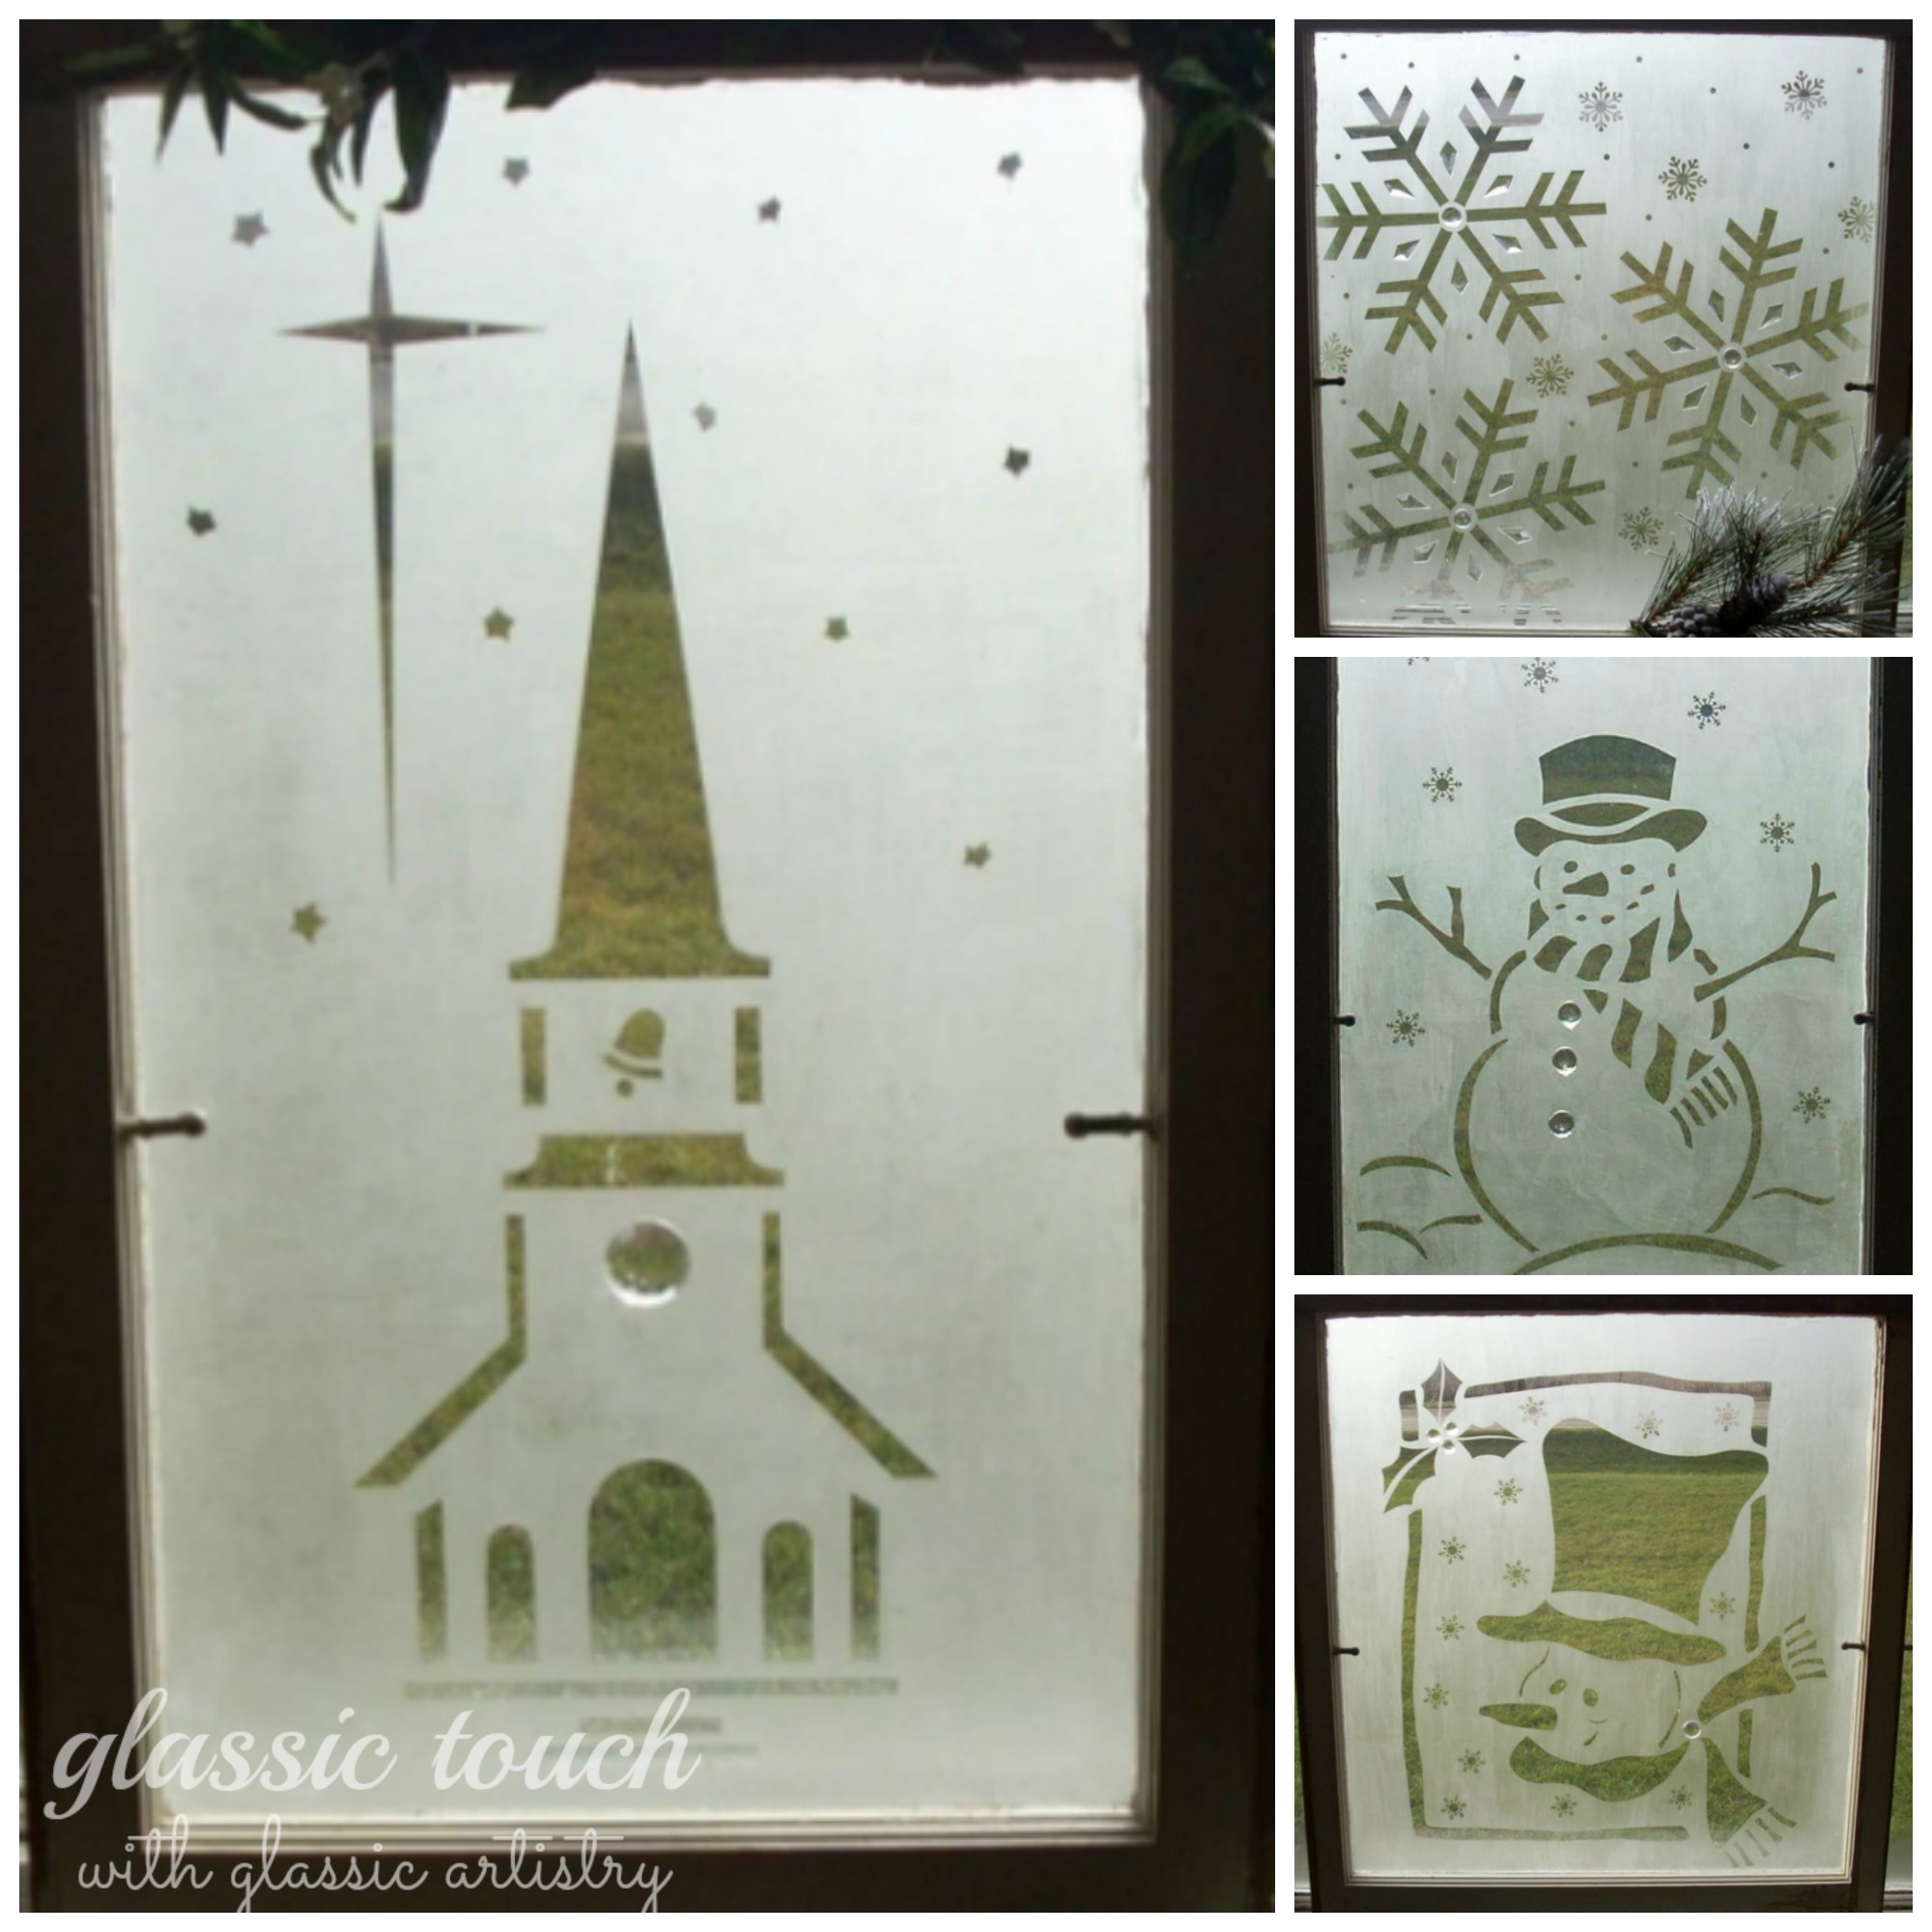
Easily a weekend project, they’re great for gift giving, vendor shows, or your own Christmas decor. I used an old window, an enlarged snowflake stencil pattern, small clear ruler, matte contact paper, exacto knife, template pencil, large snowflake paper punch, hole paper punch, 10 oz. Armour etching cream, 3″ wide chip brush, E6000, small beveled glass star sets, and clear glass globs. My pattern was planned around the small glass bevels I had on hand.
My window looked a little rough, so after giving it a good scrub, it got a couple coats of white paint.

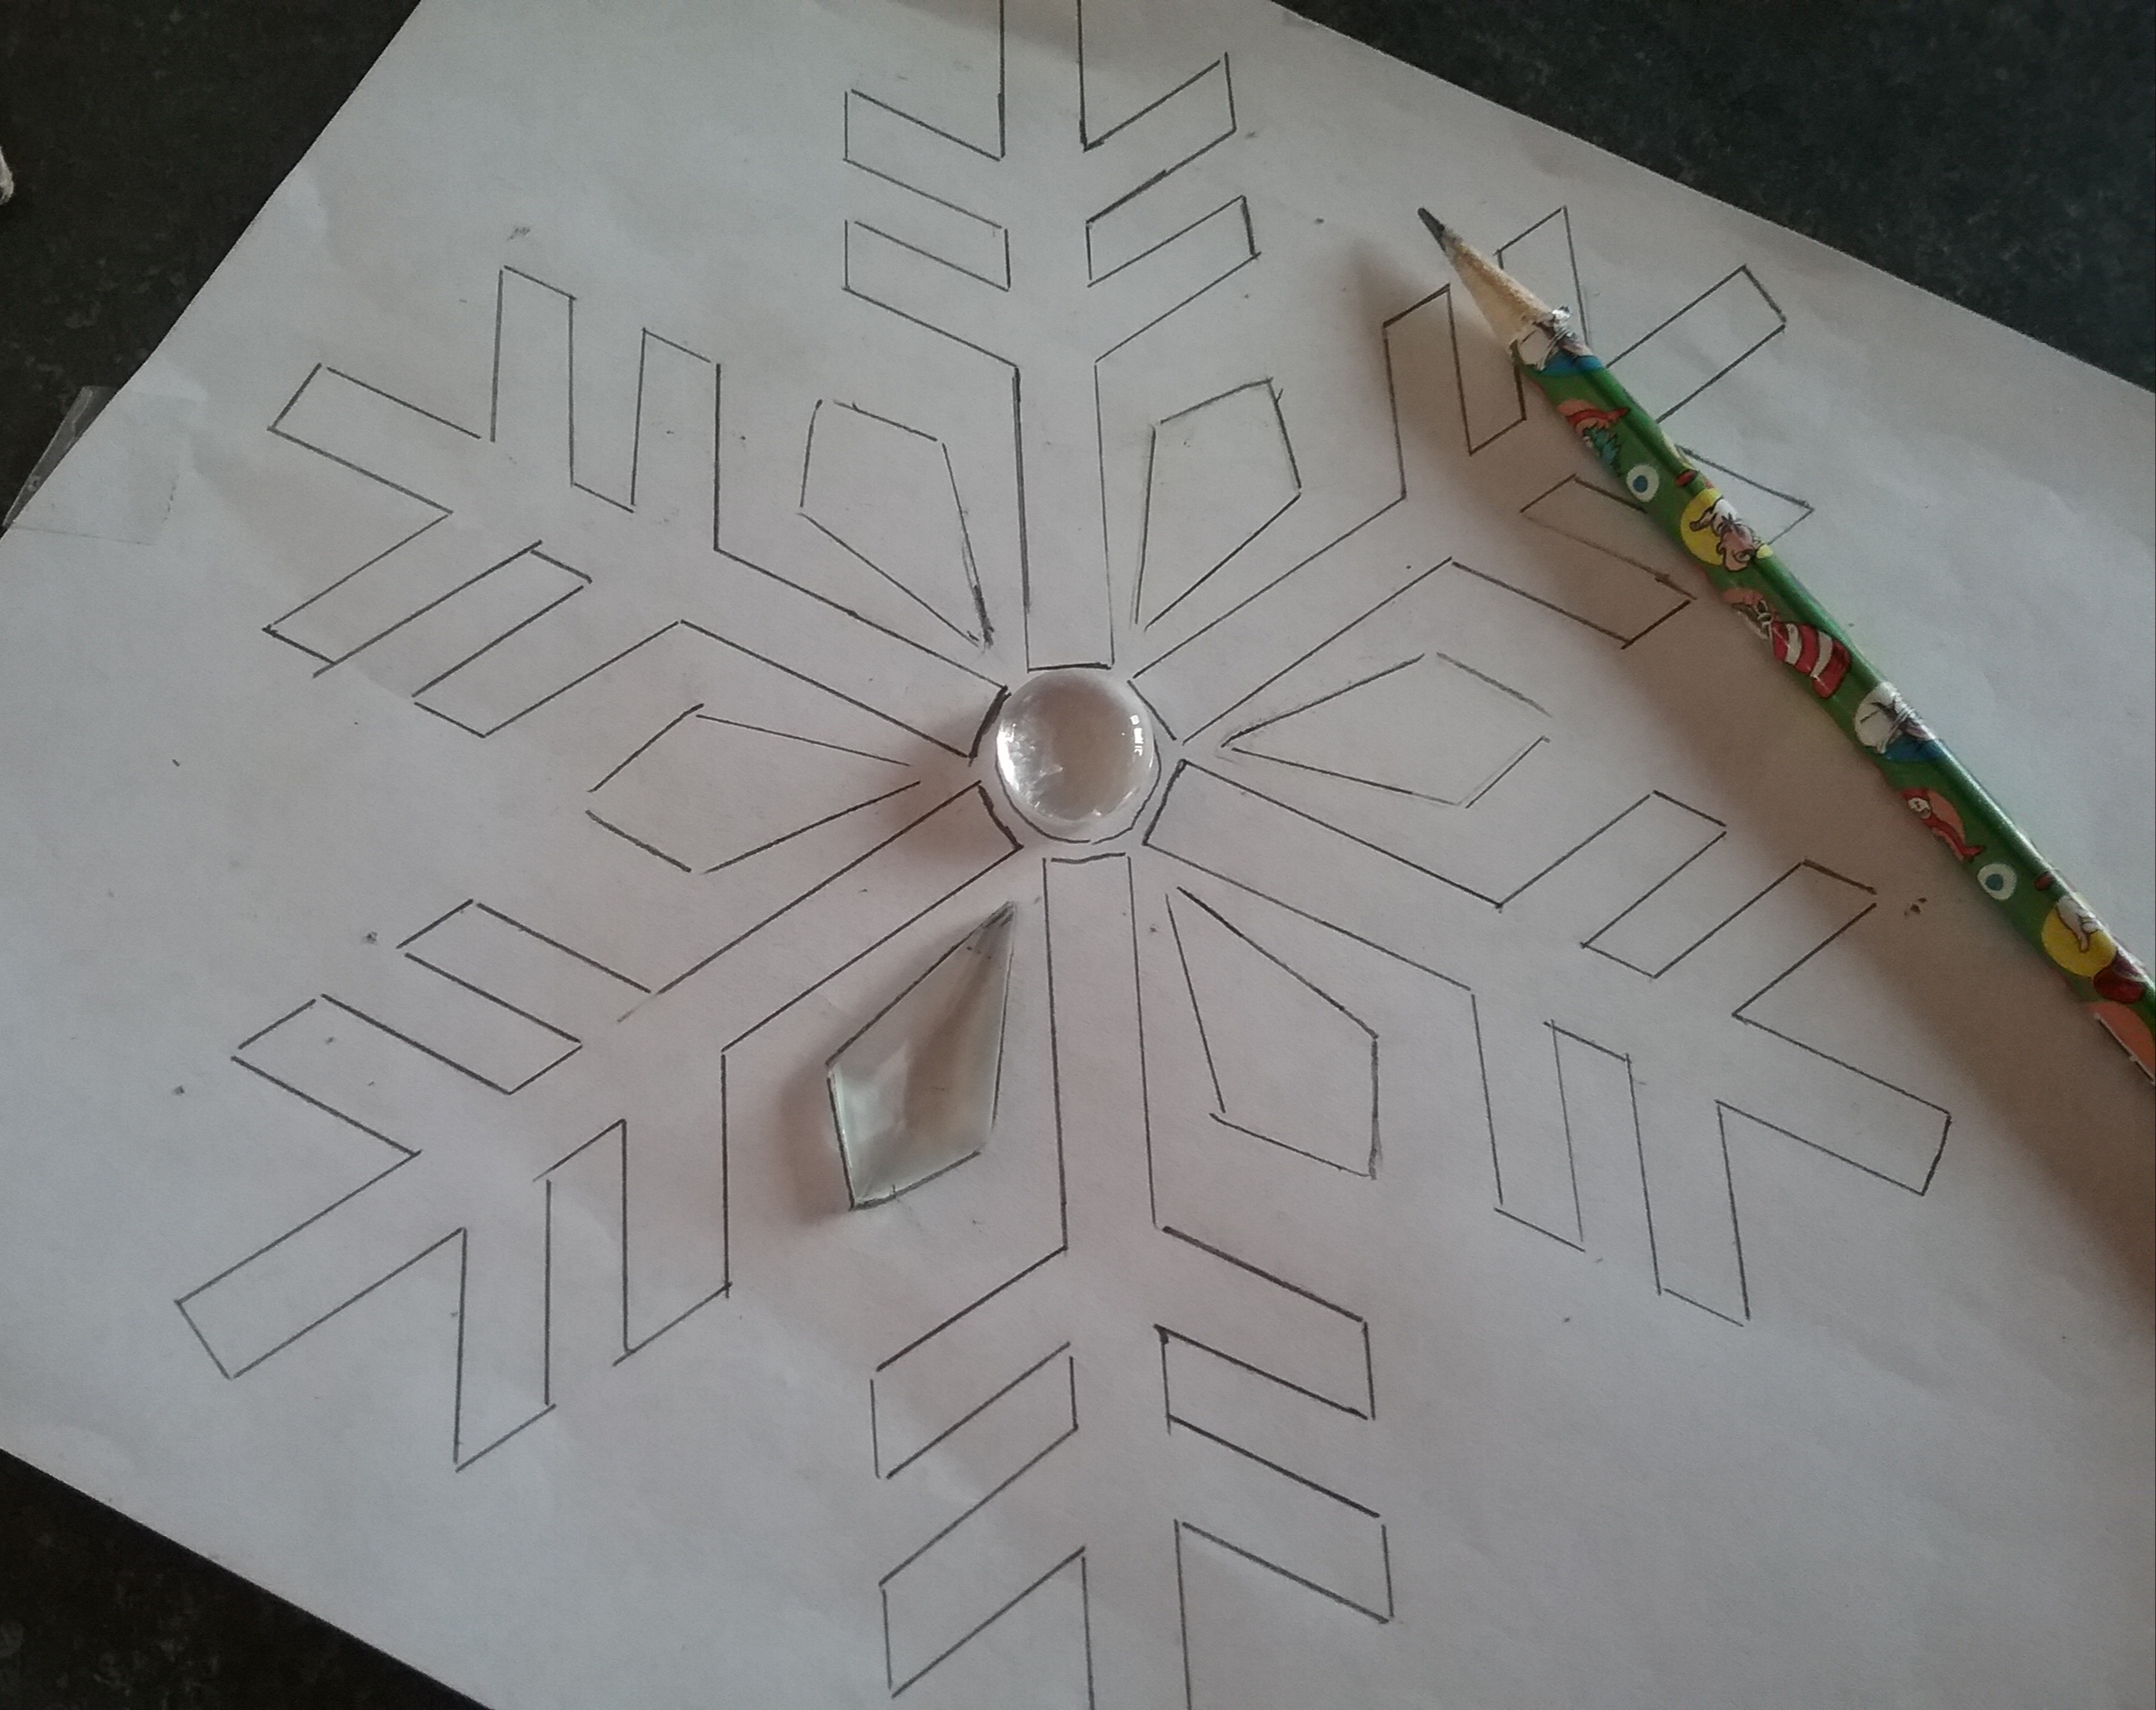
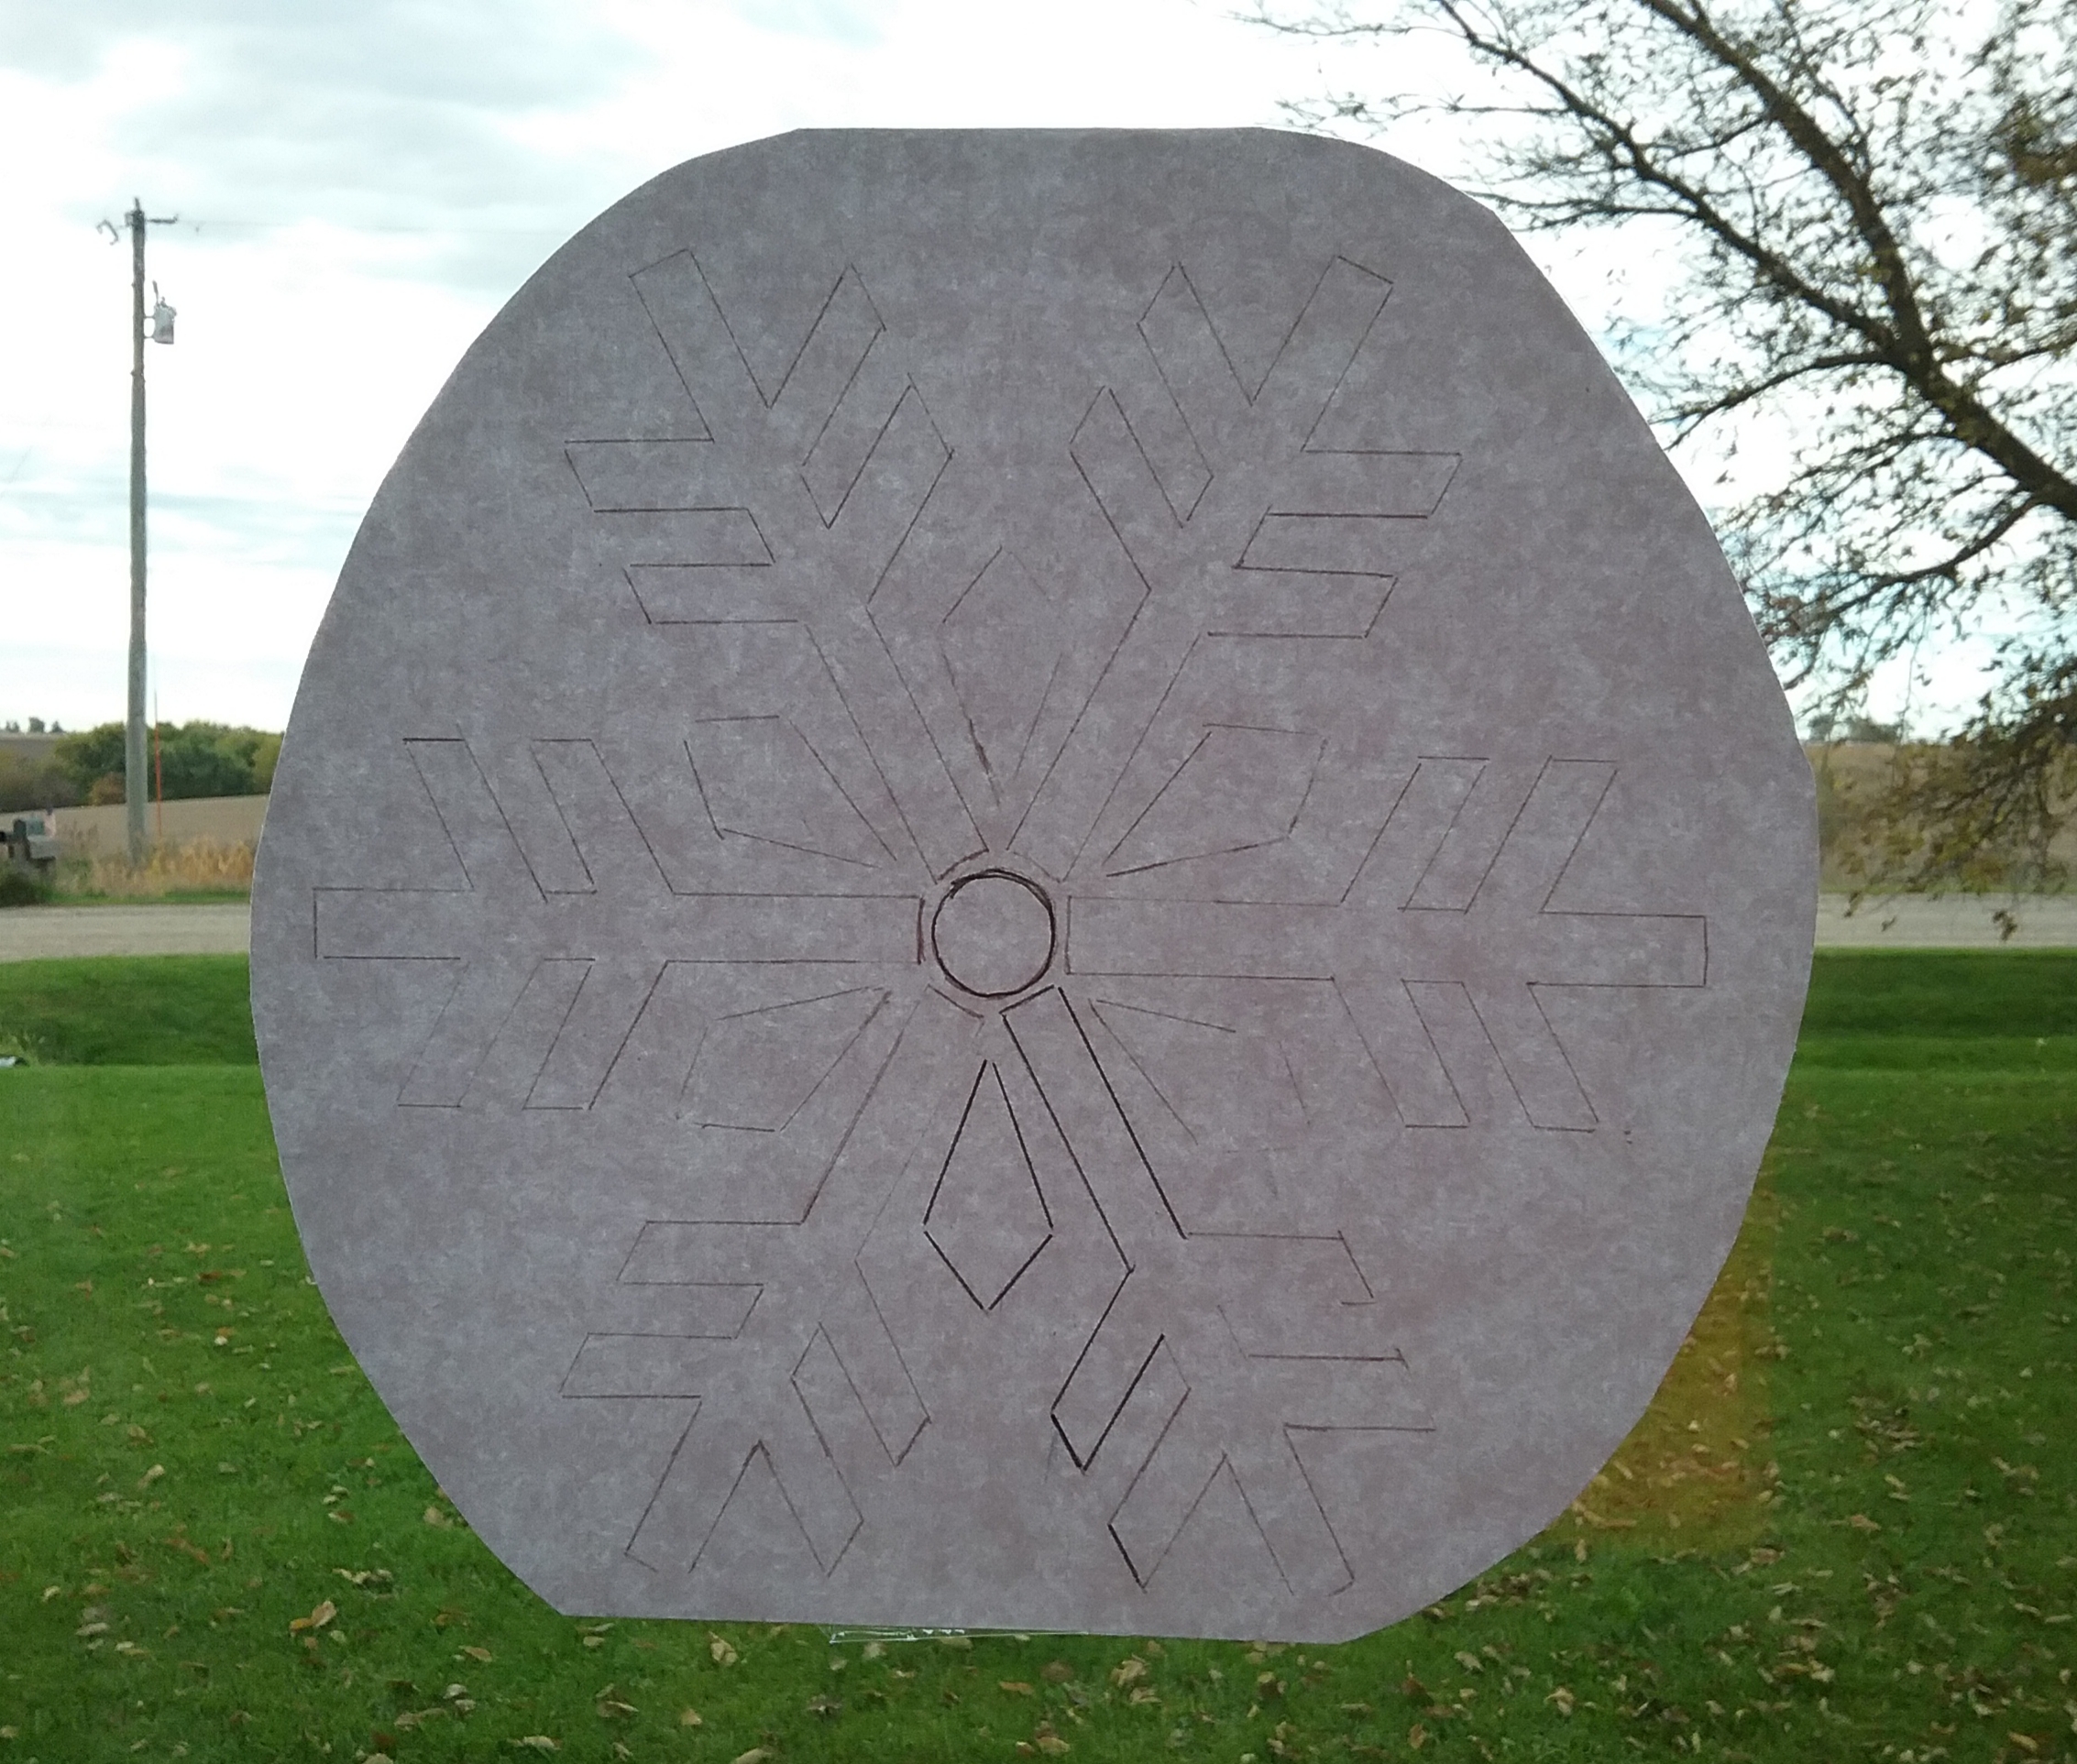
A snowflake pattern was used to redraw the design with the glass pieces I had to use.
Copies were made of the pattern, then a window was used as a light box to trace the patterns on their backside.
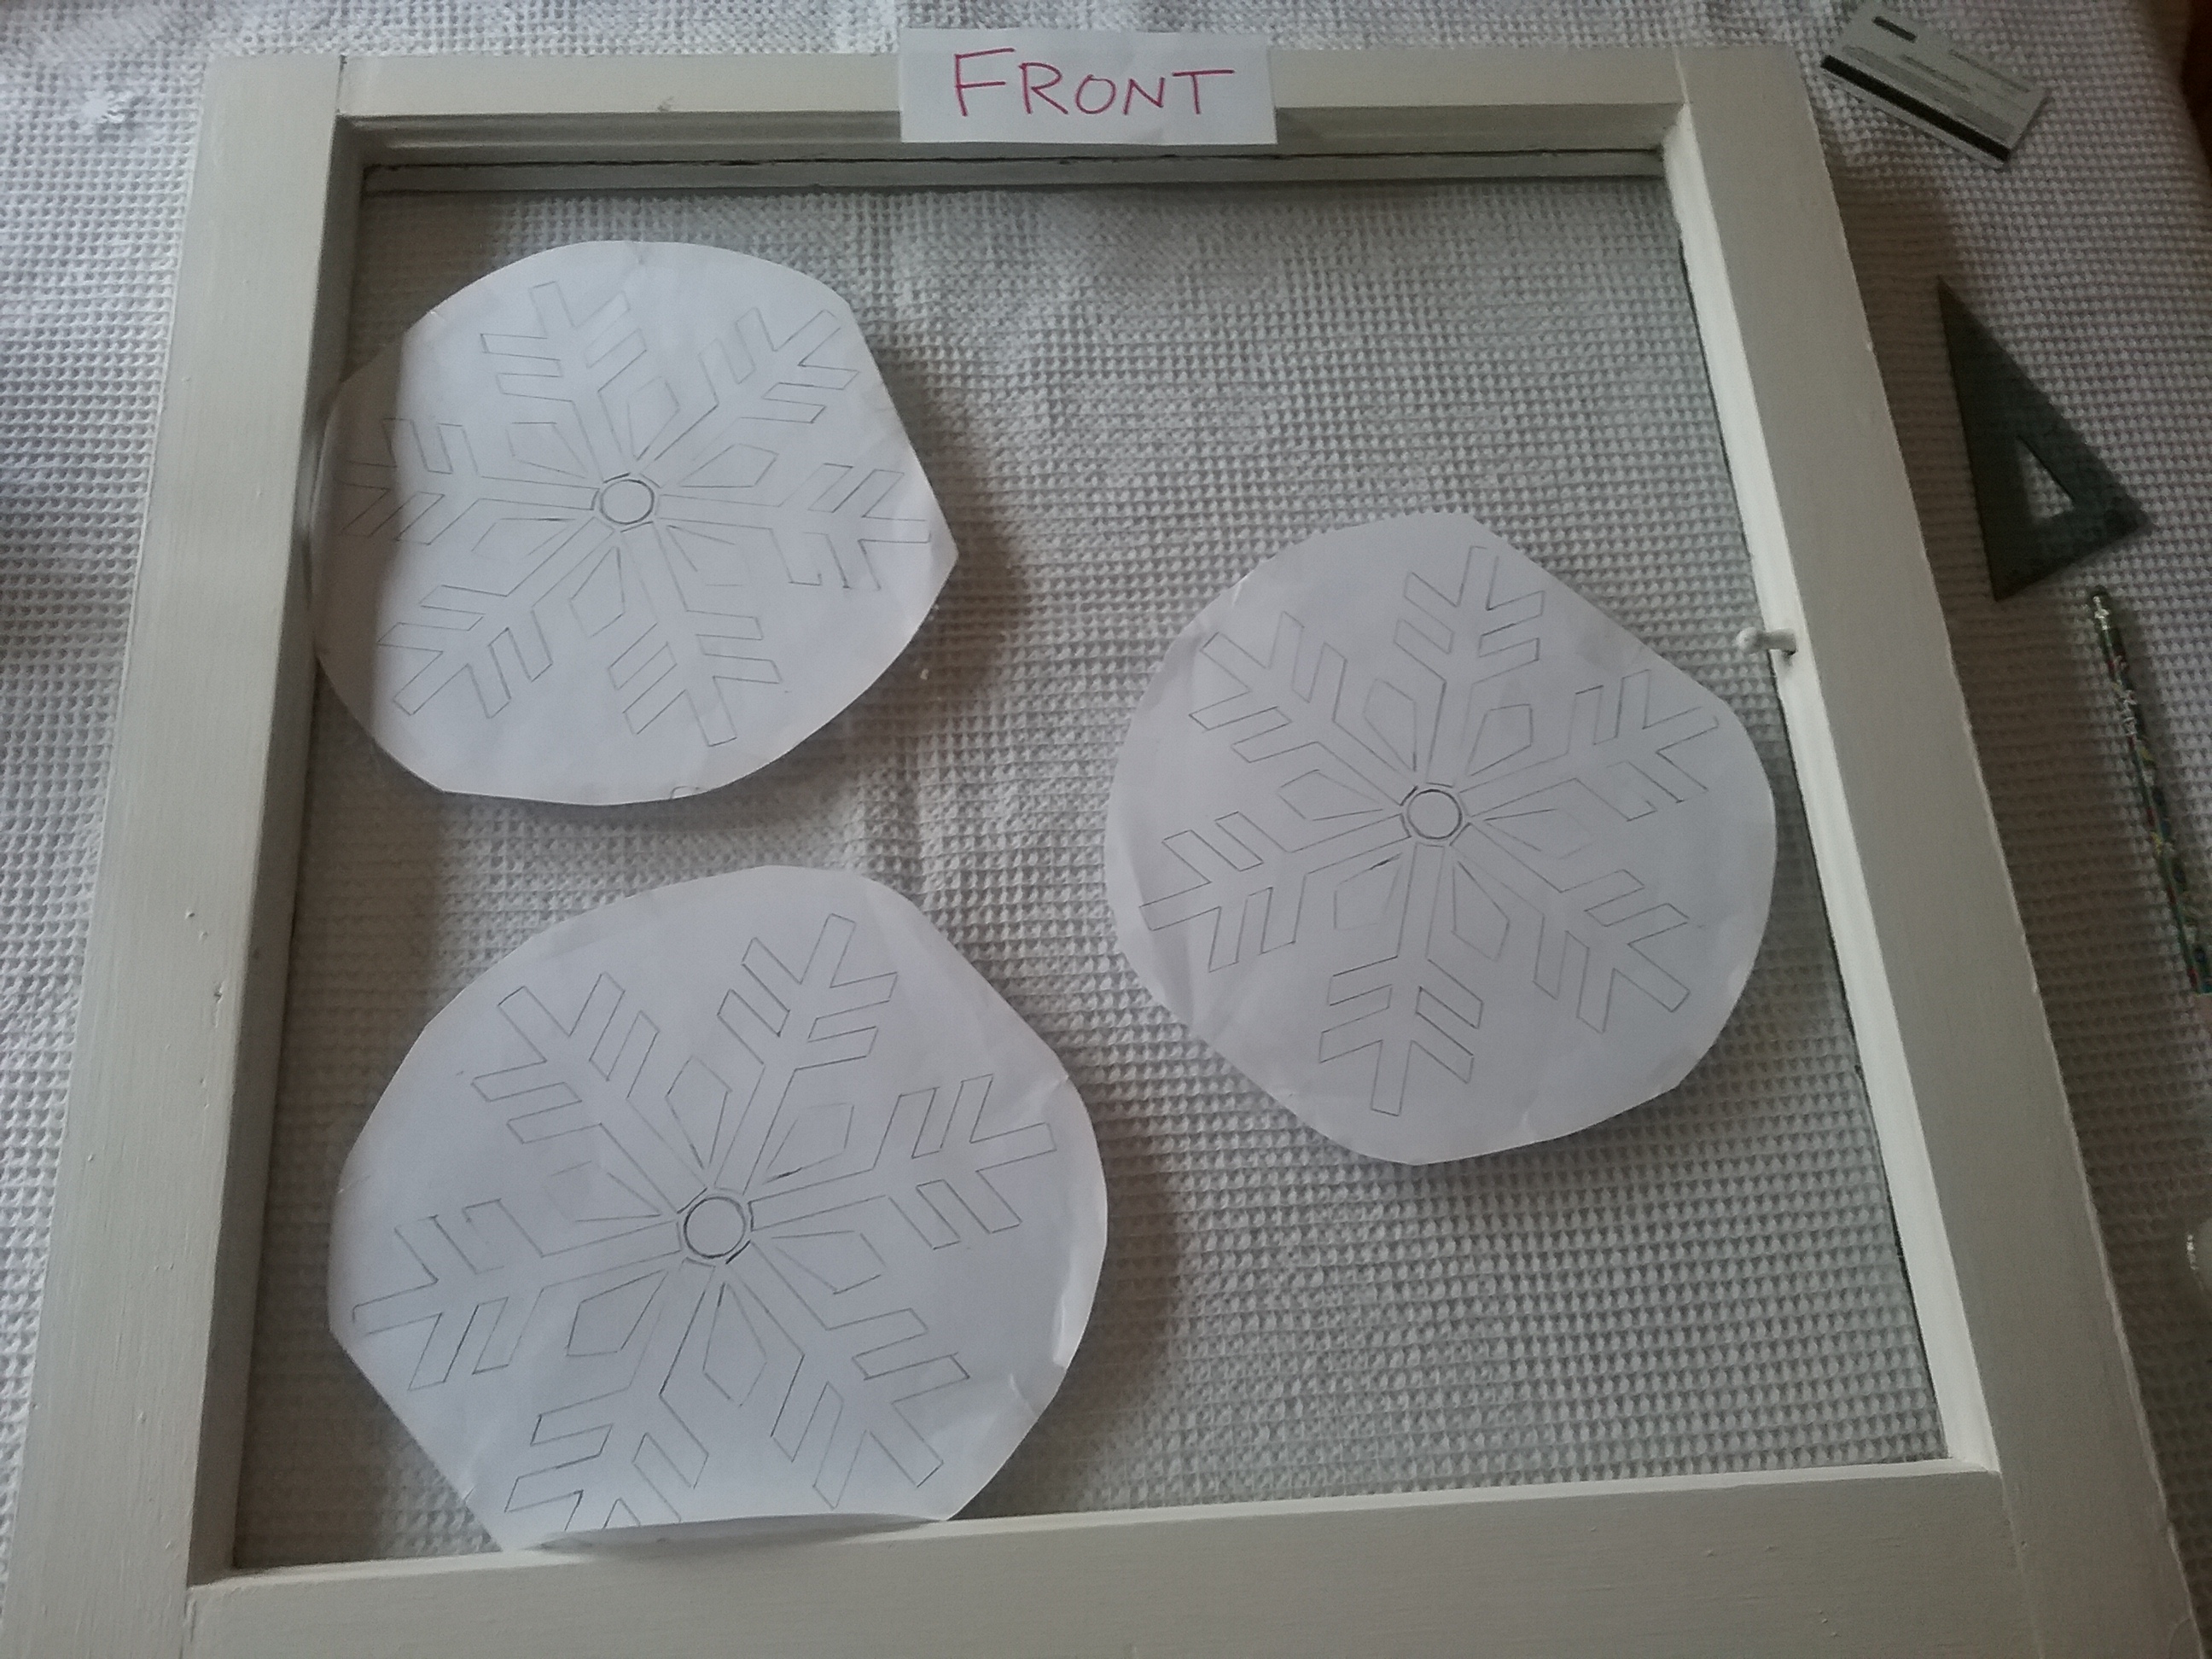
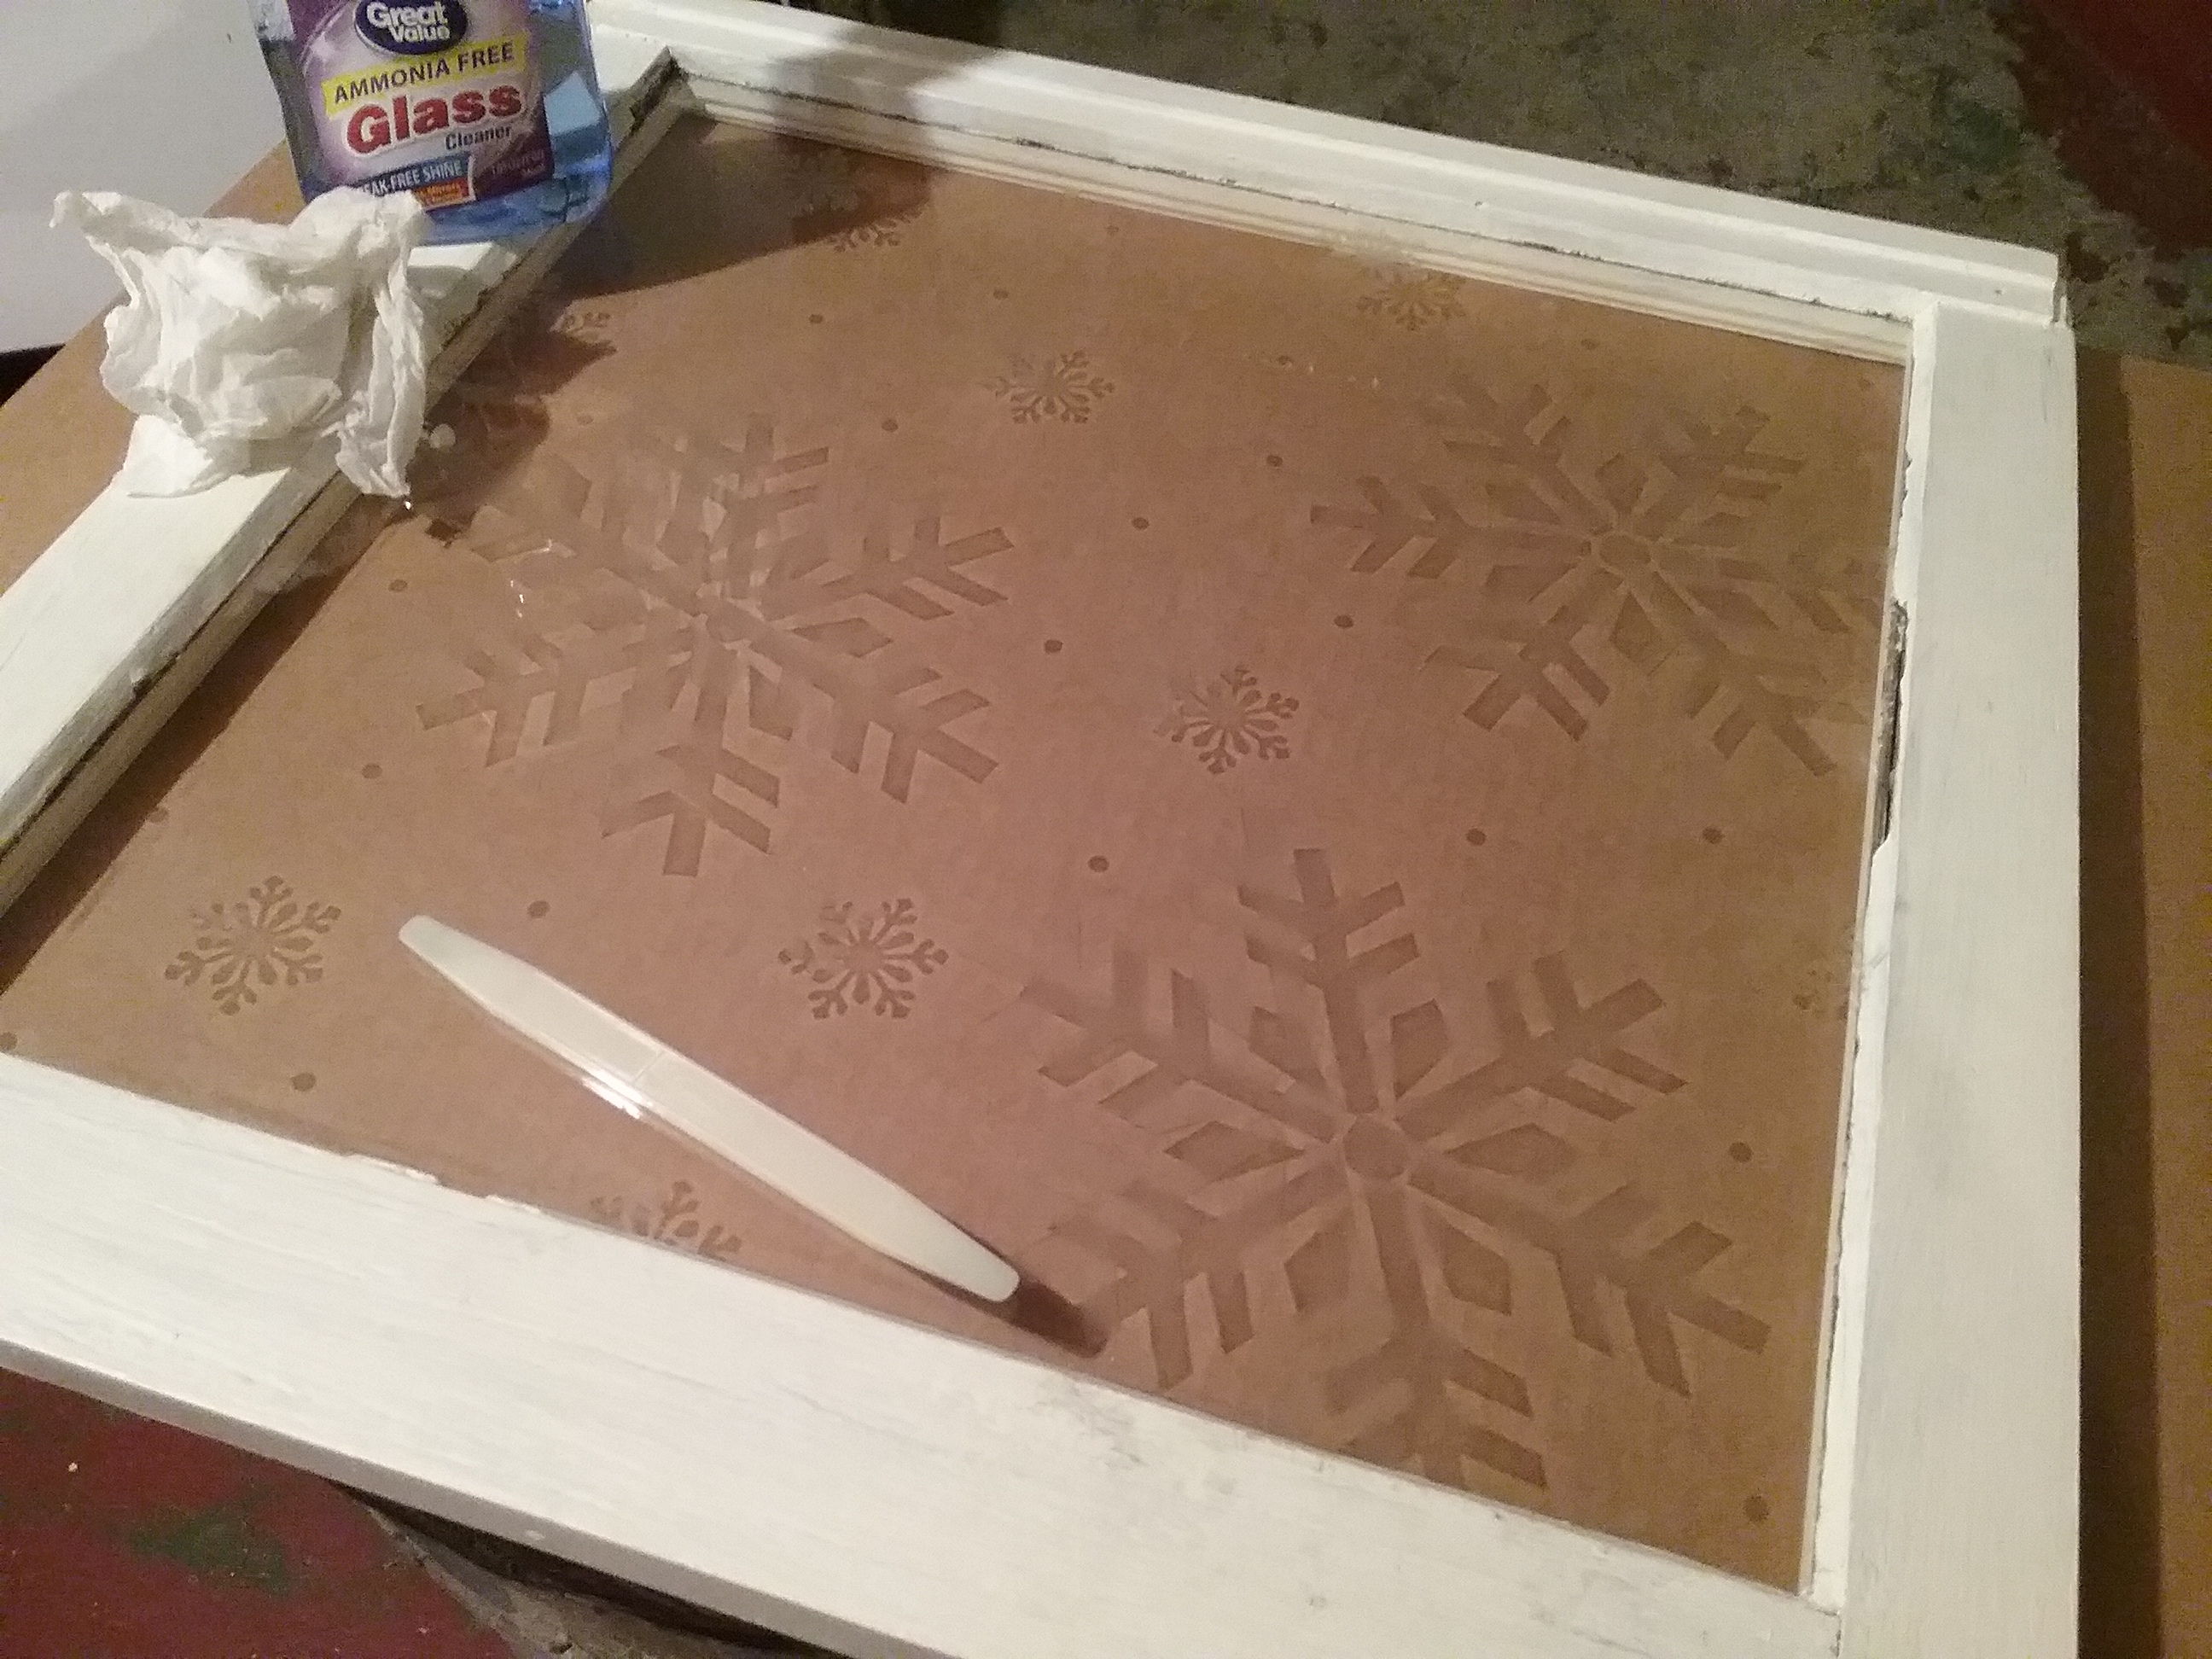
Arrange the patterns to your liking, on the front side of the window, and tape them into place.
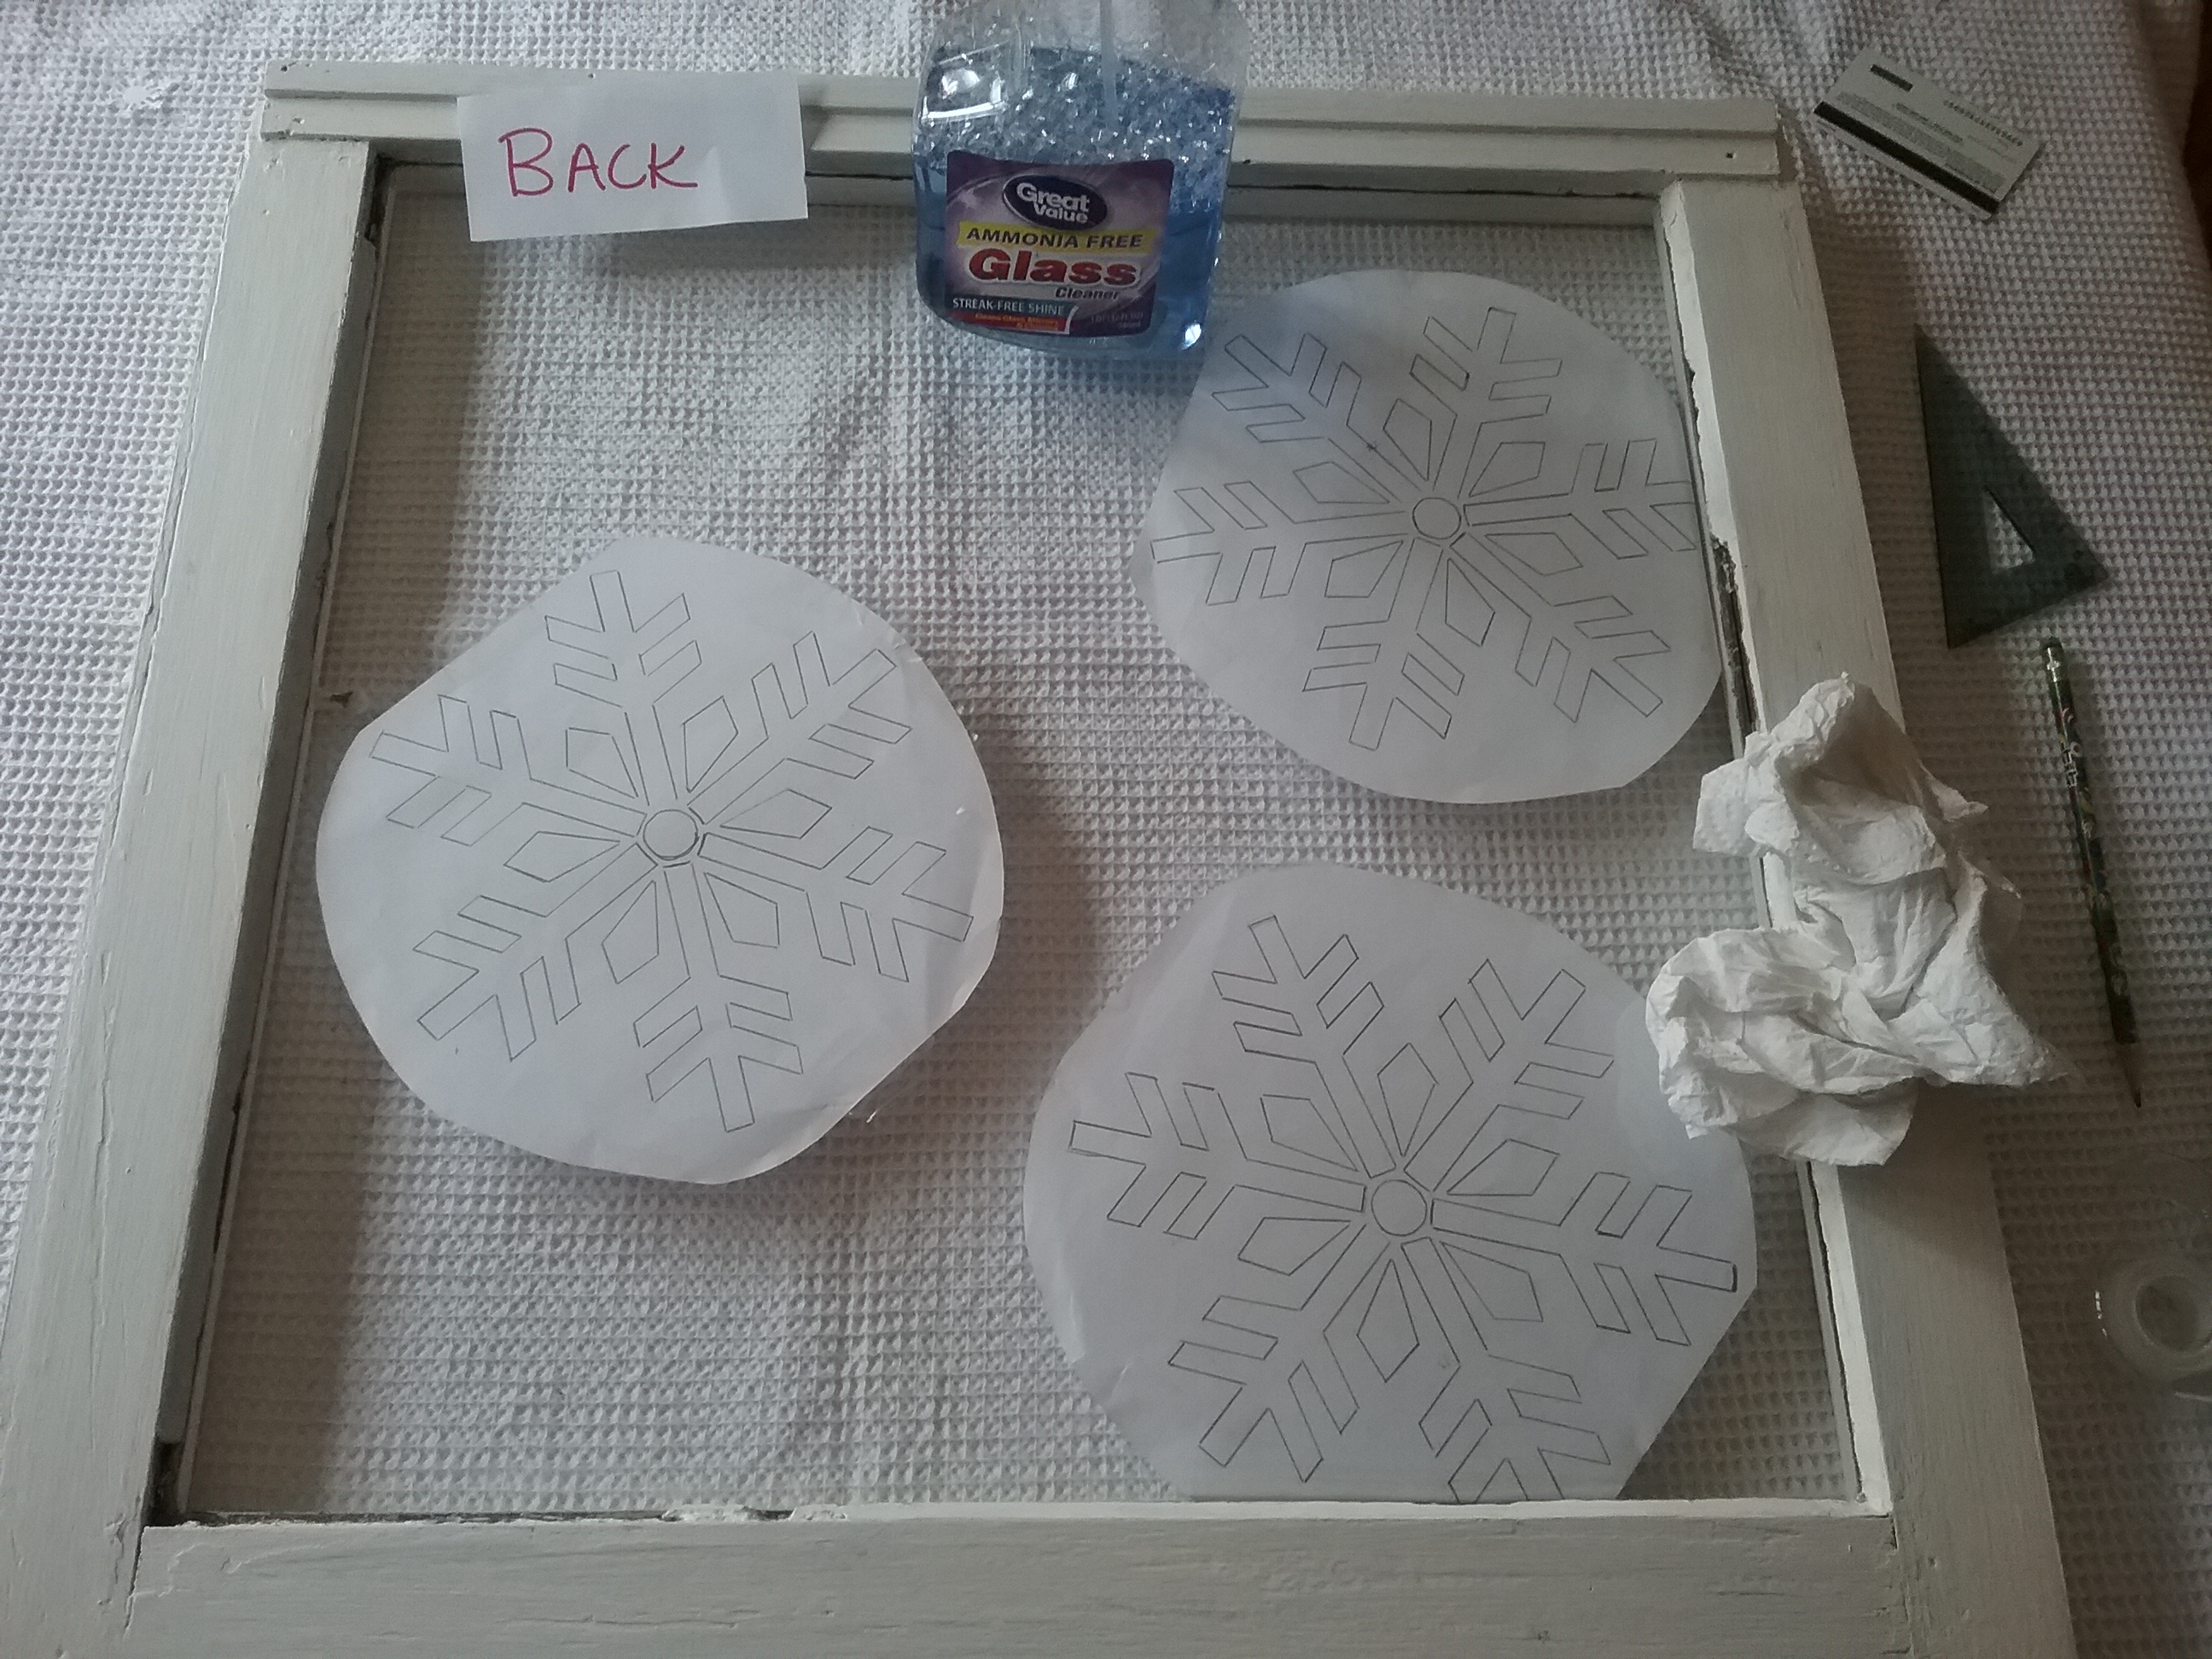
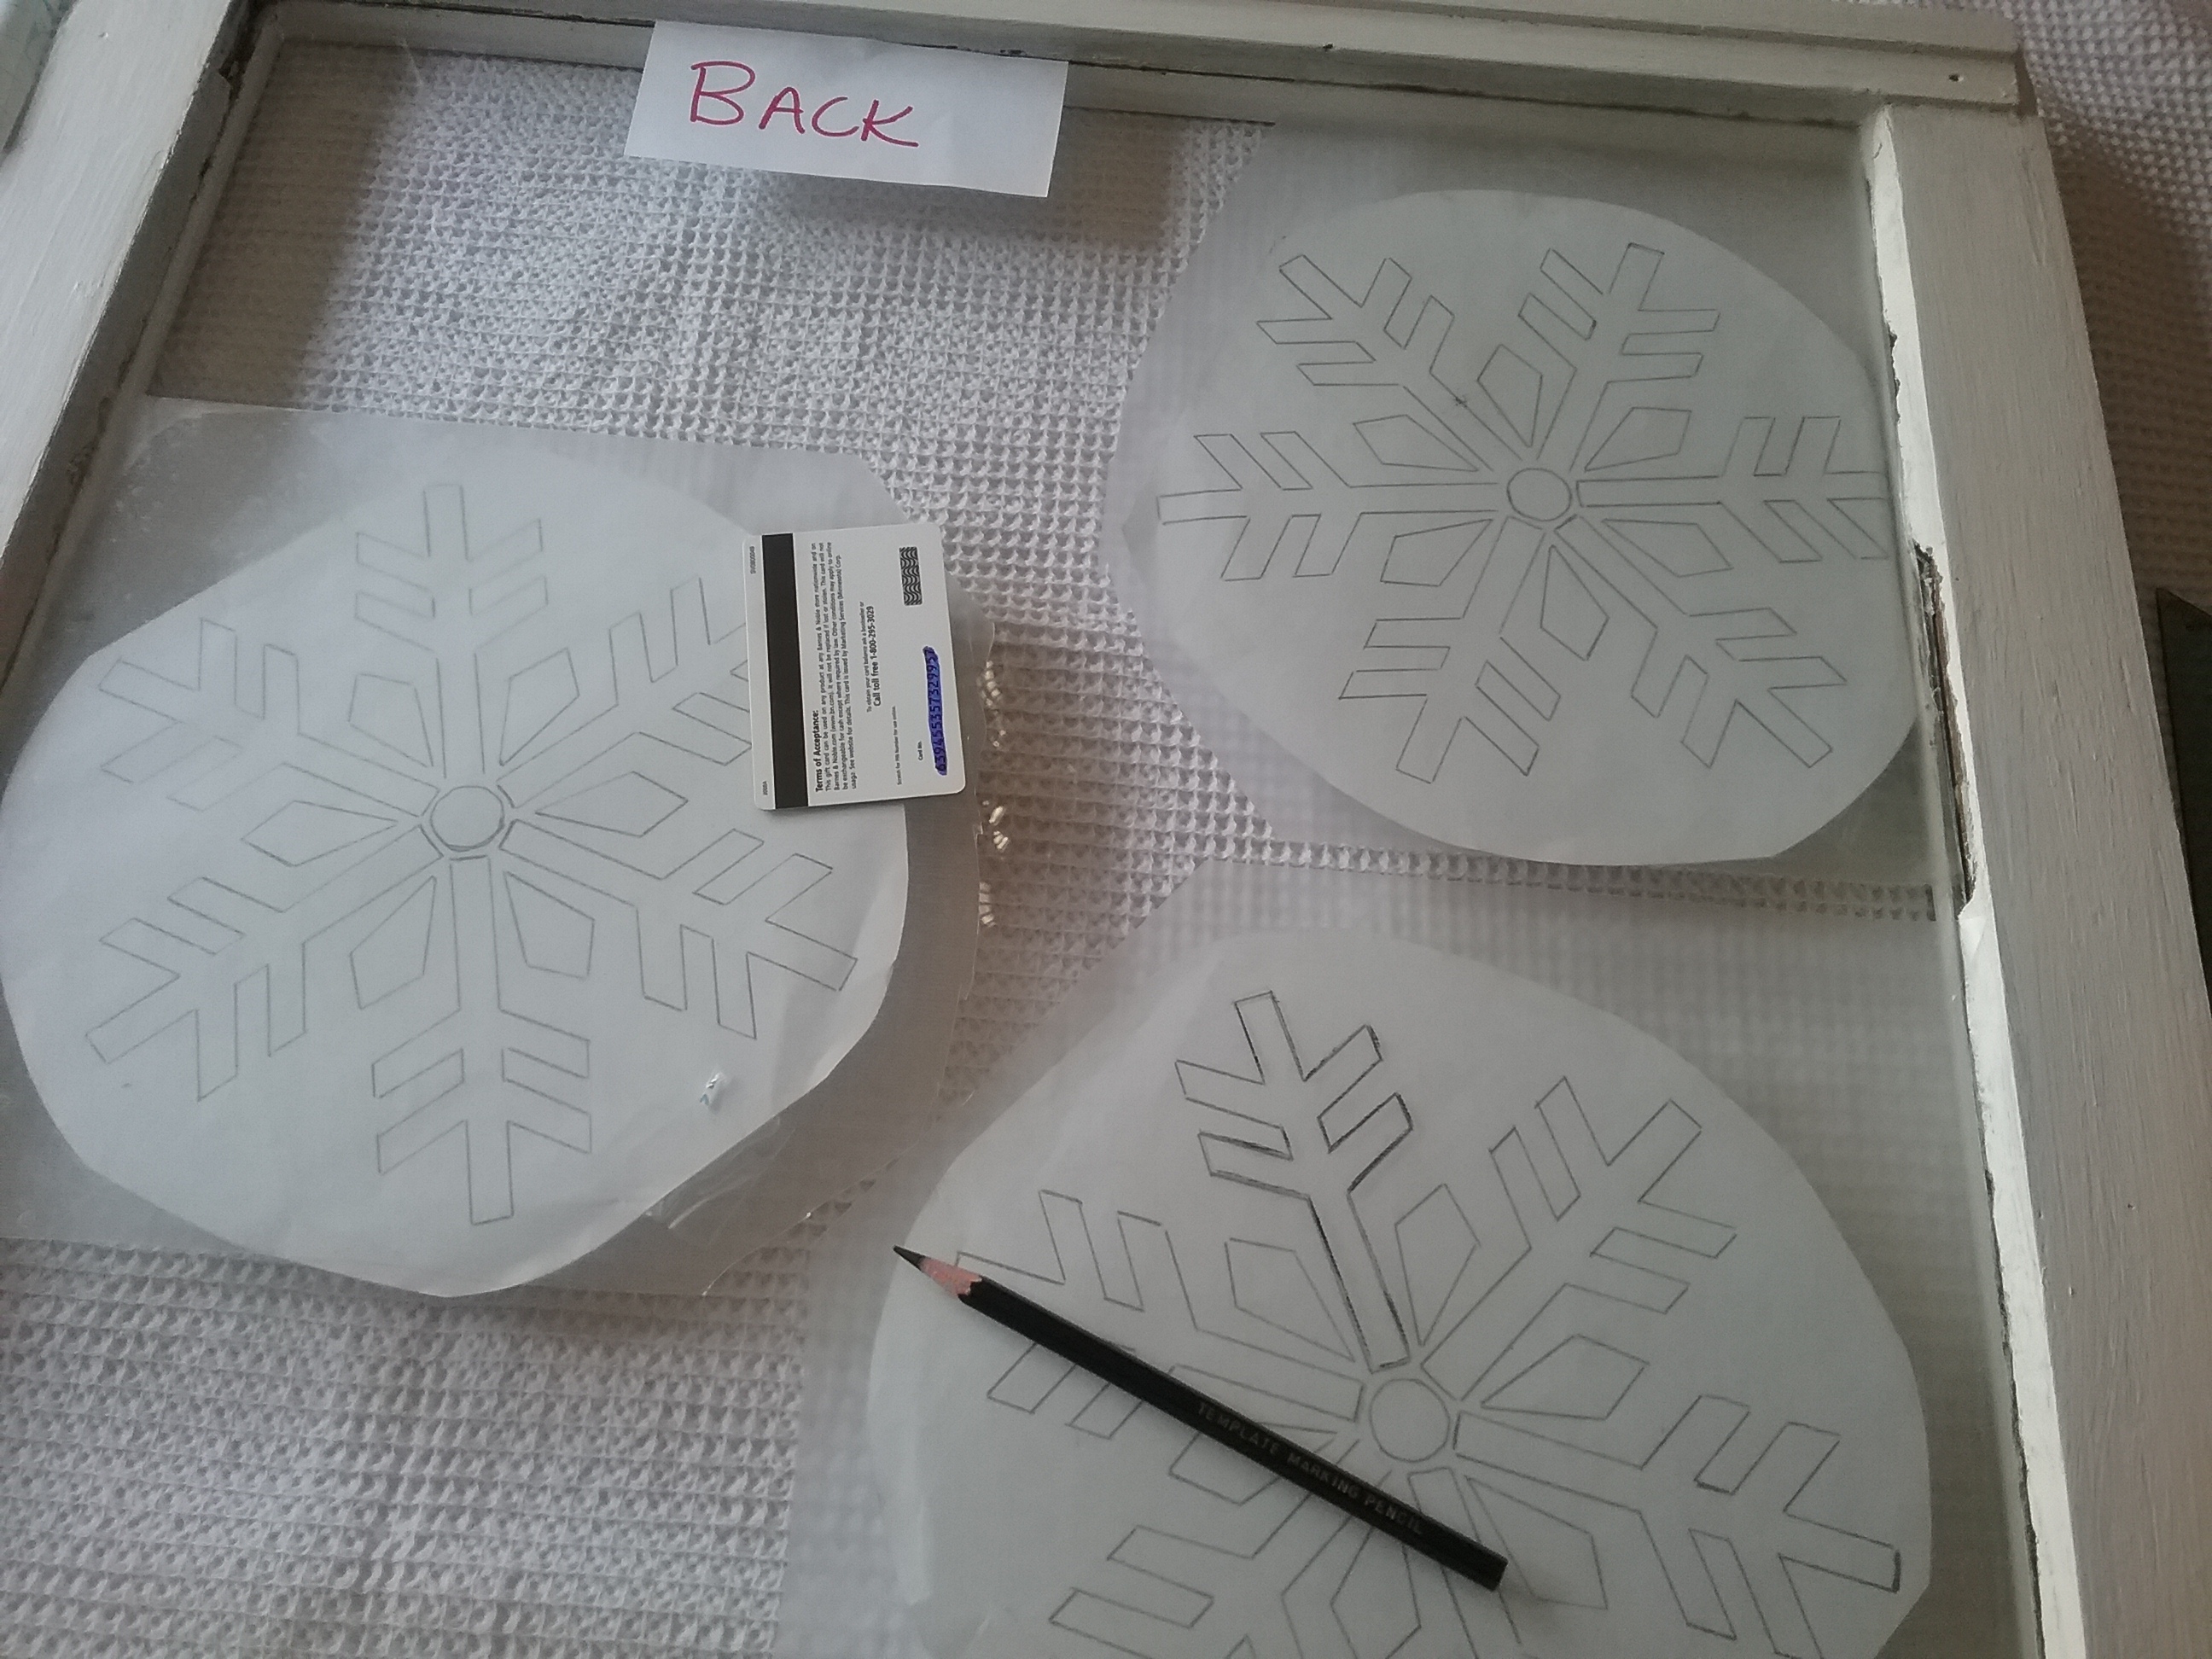
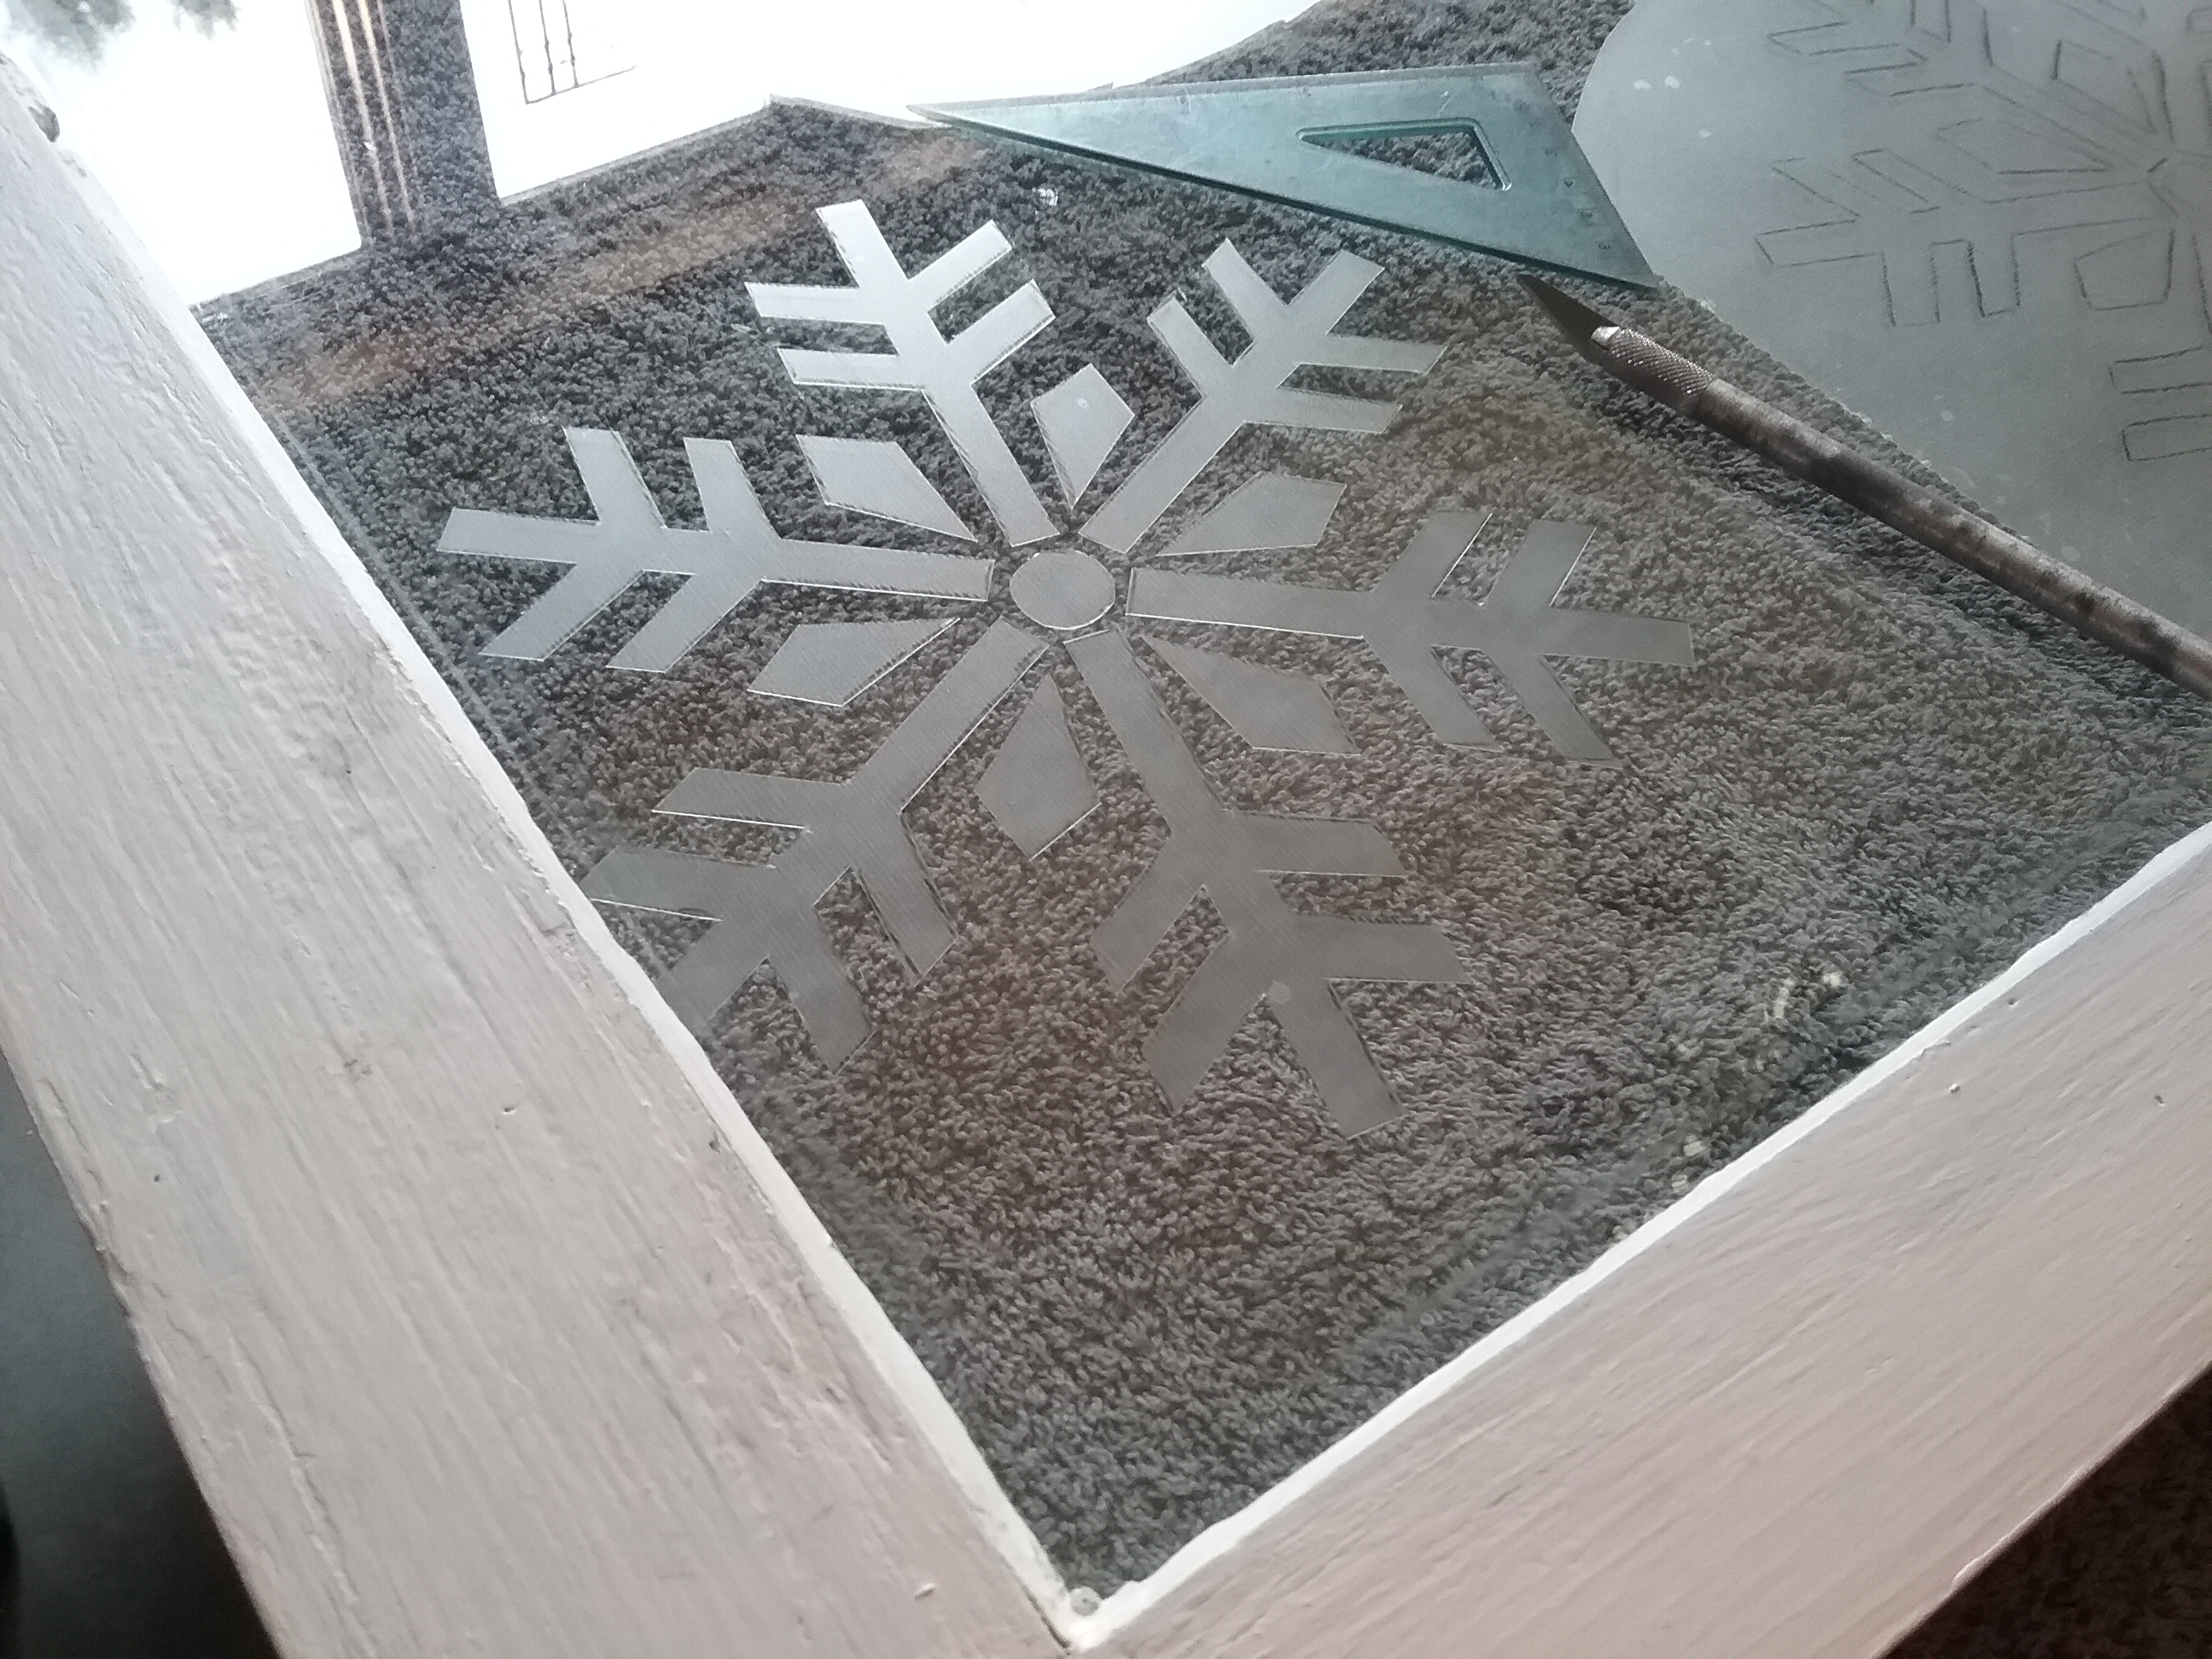
Flip the window face down. Clean the glass thoroughly. Apply matte contact paper down over your patterns. Use an old plastic gift/credit card to help apply it smoothly and work out any air bubbles. Trace the patterns on to the glass with a template pencil.
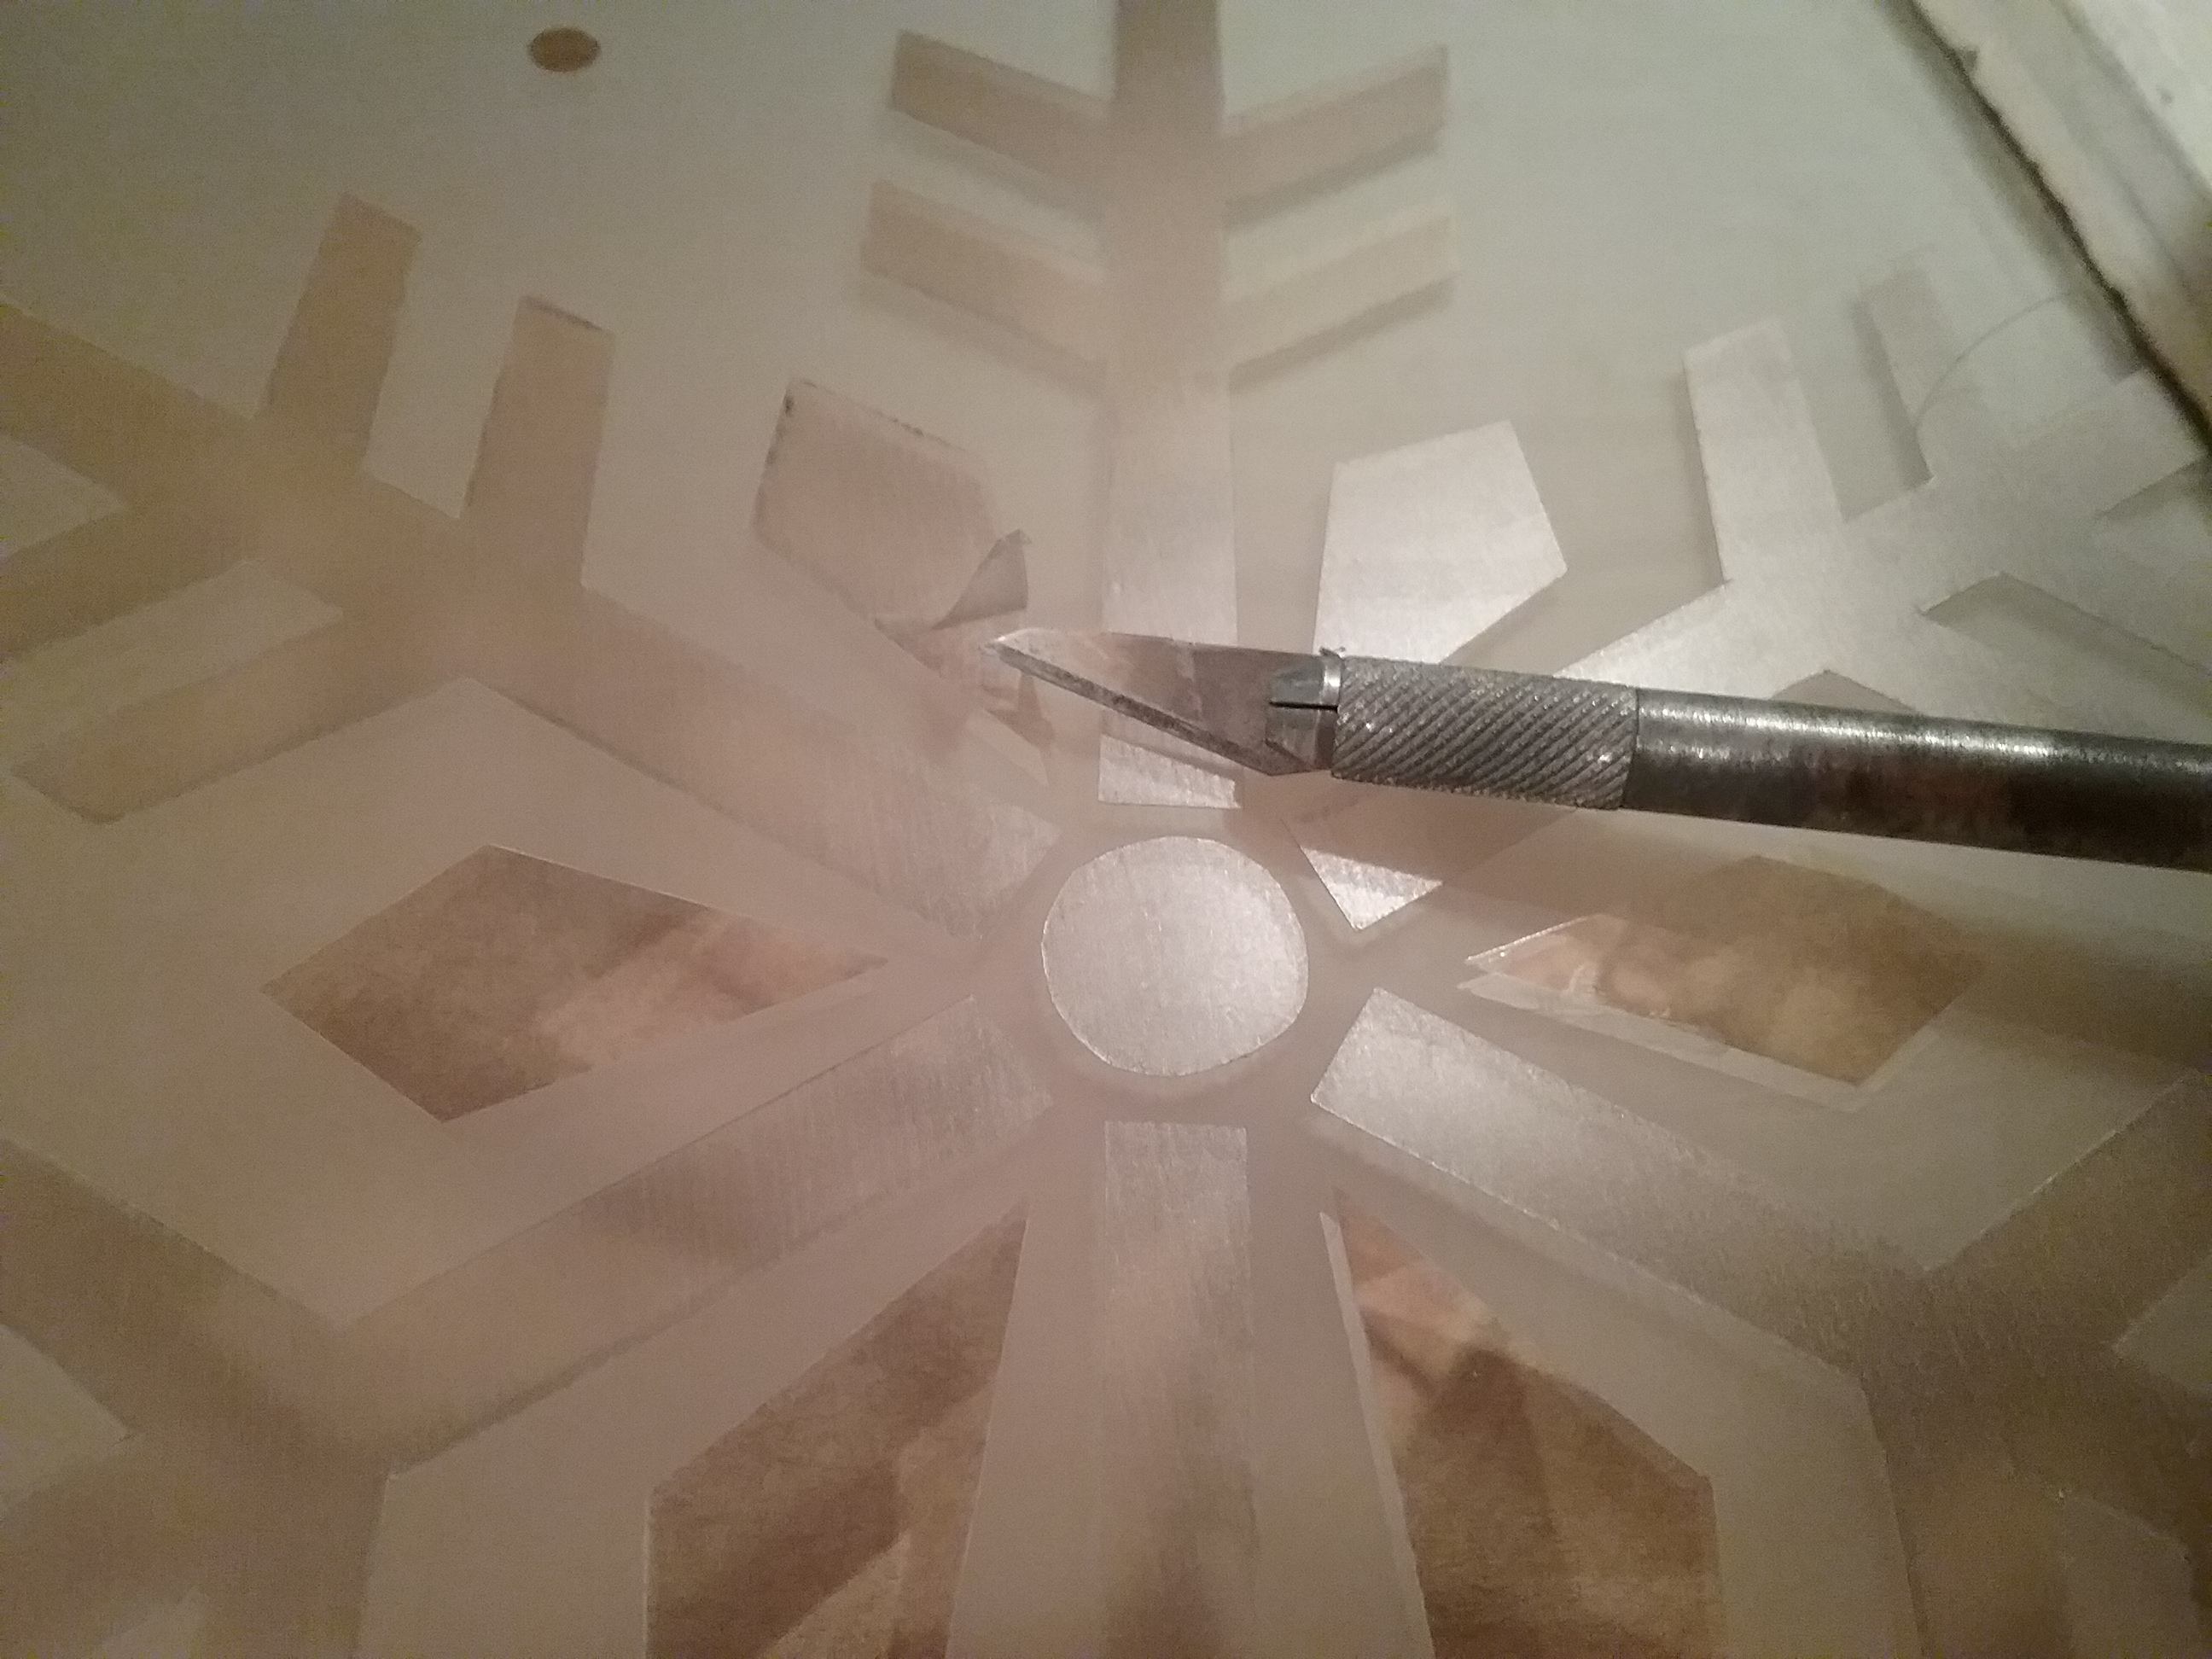
Remove the paper patterns from the front, then, use an exacto knife and a small clear ruler, or straightedge, to cut the snowflakes out of the contact paper.

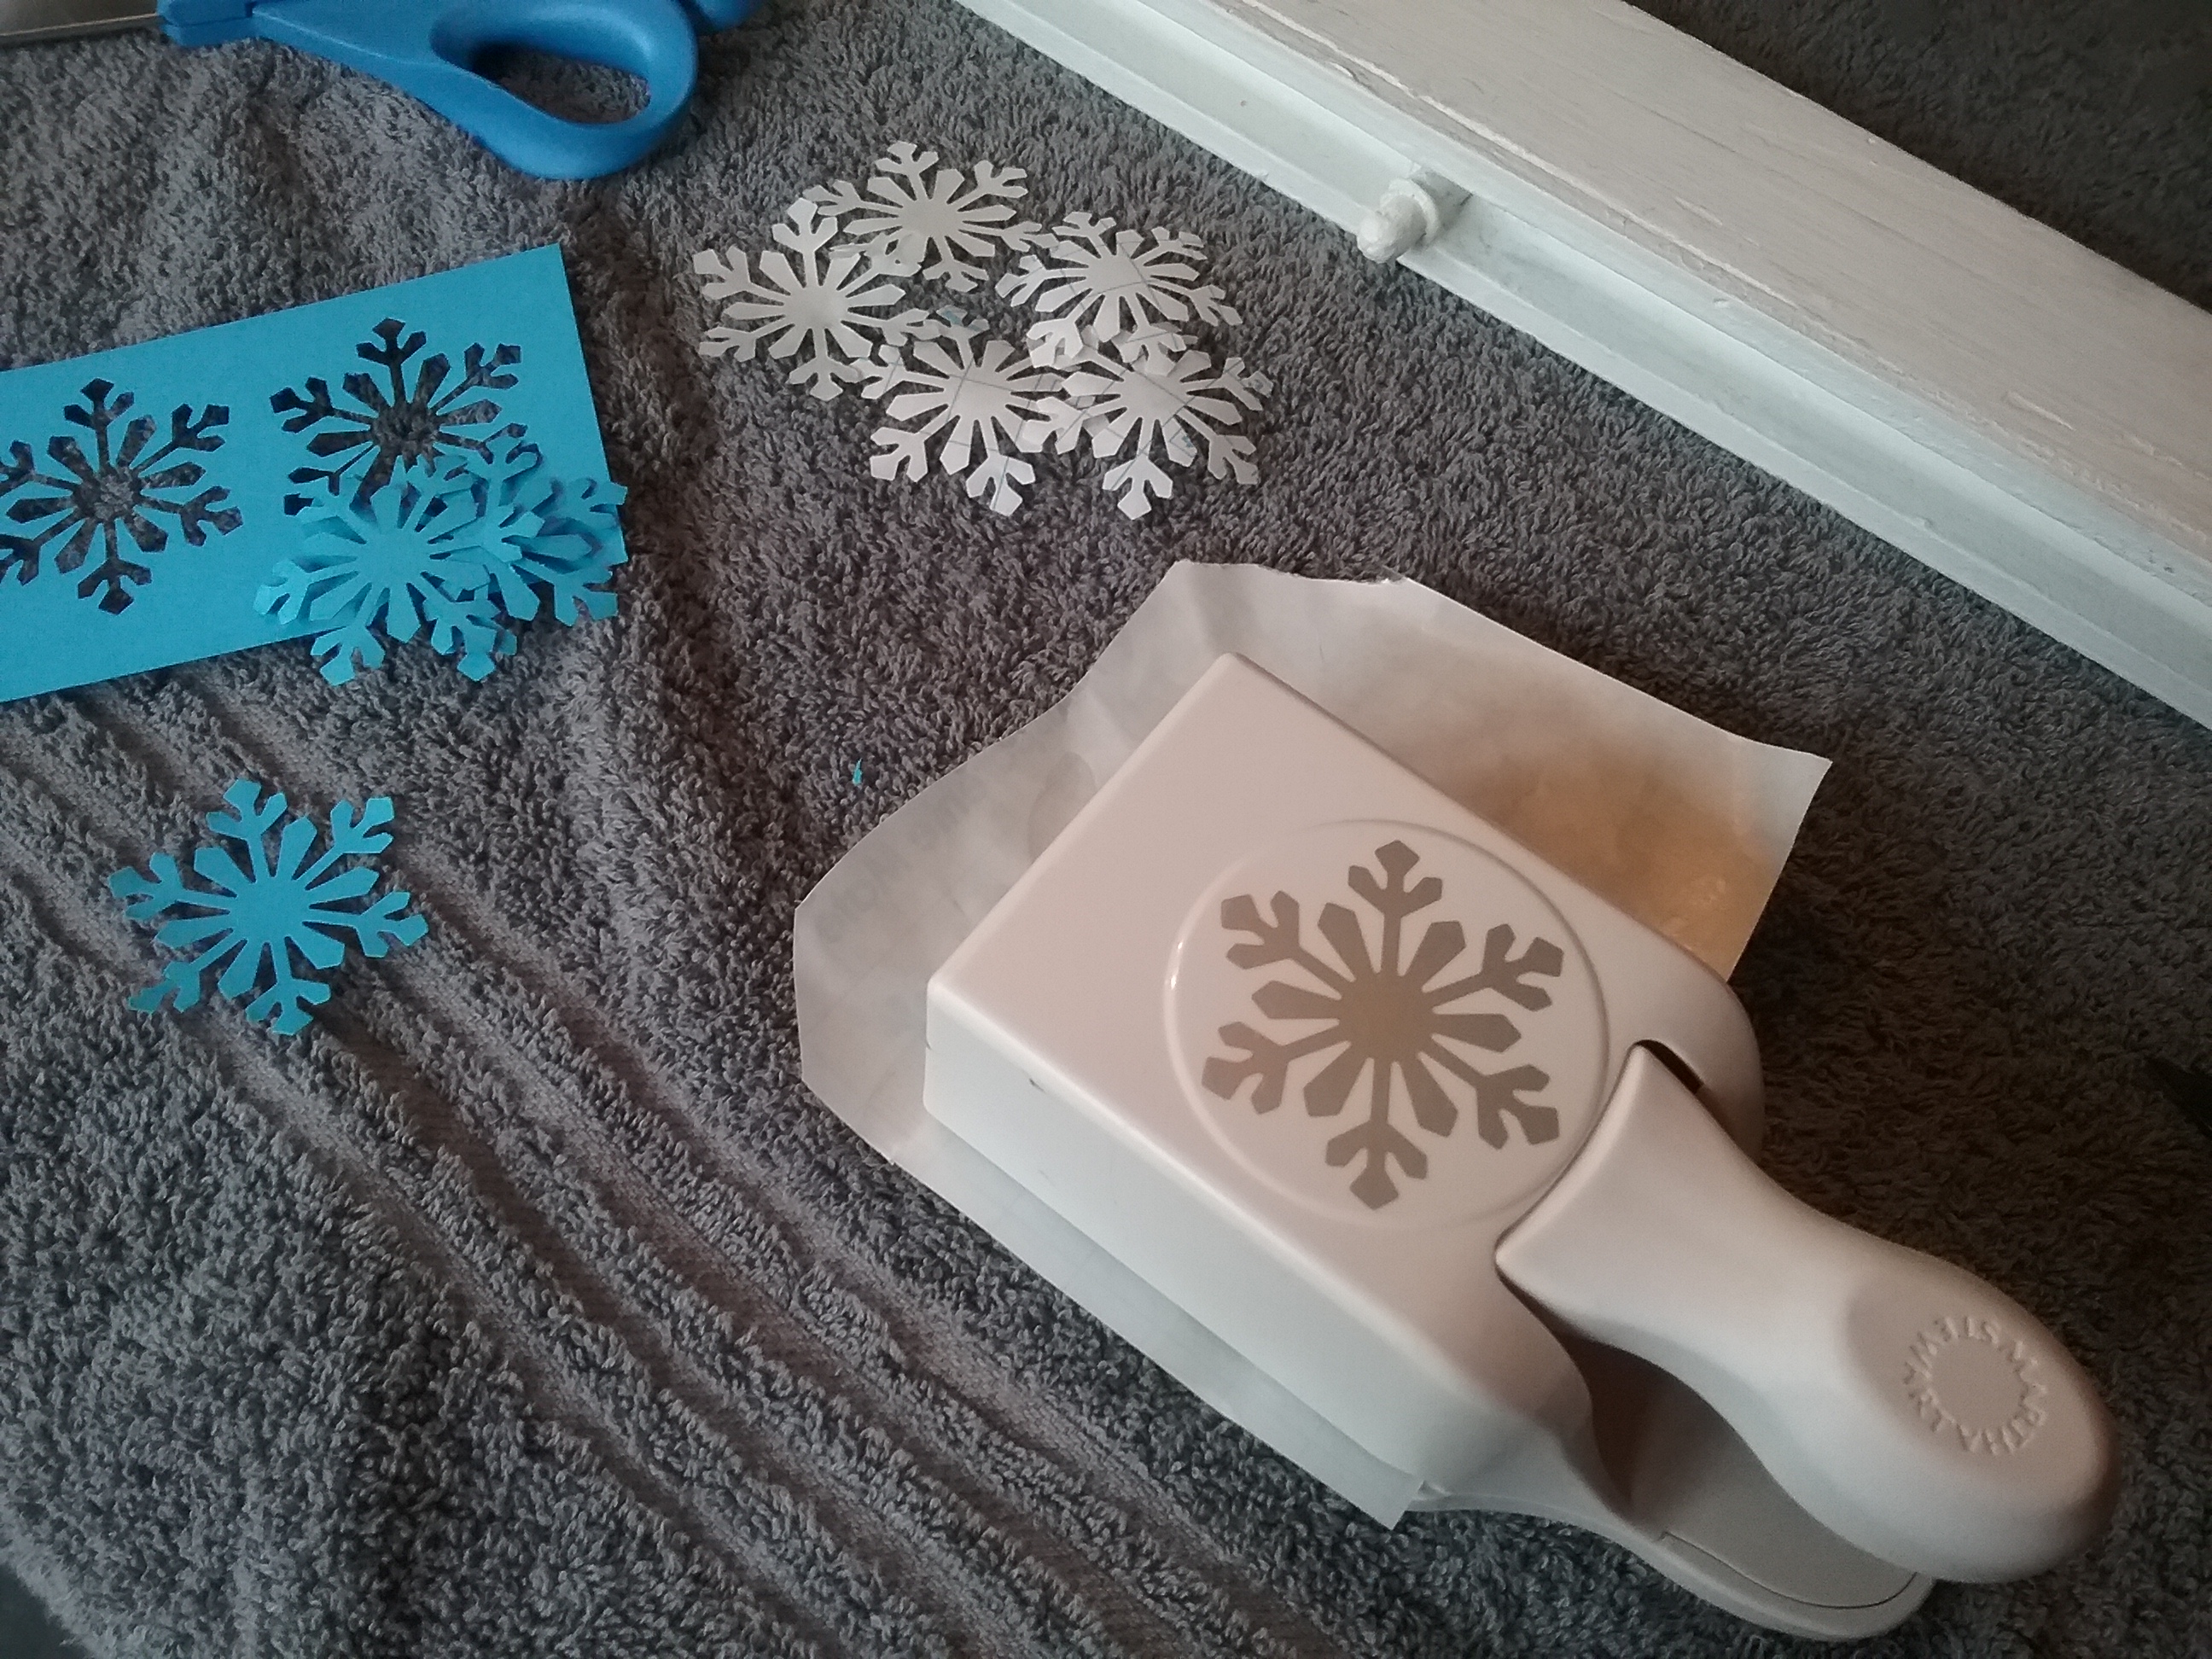
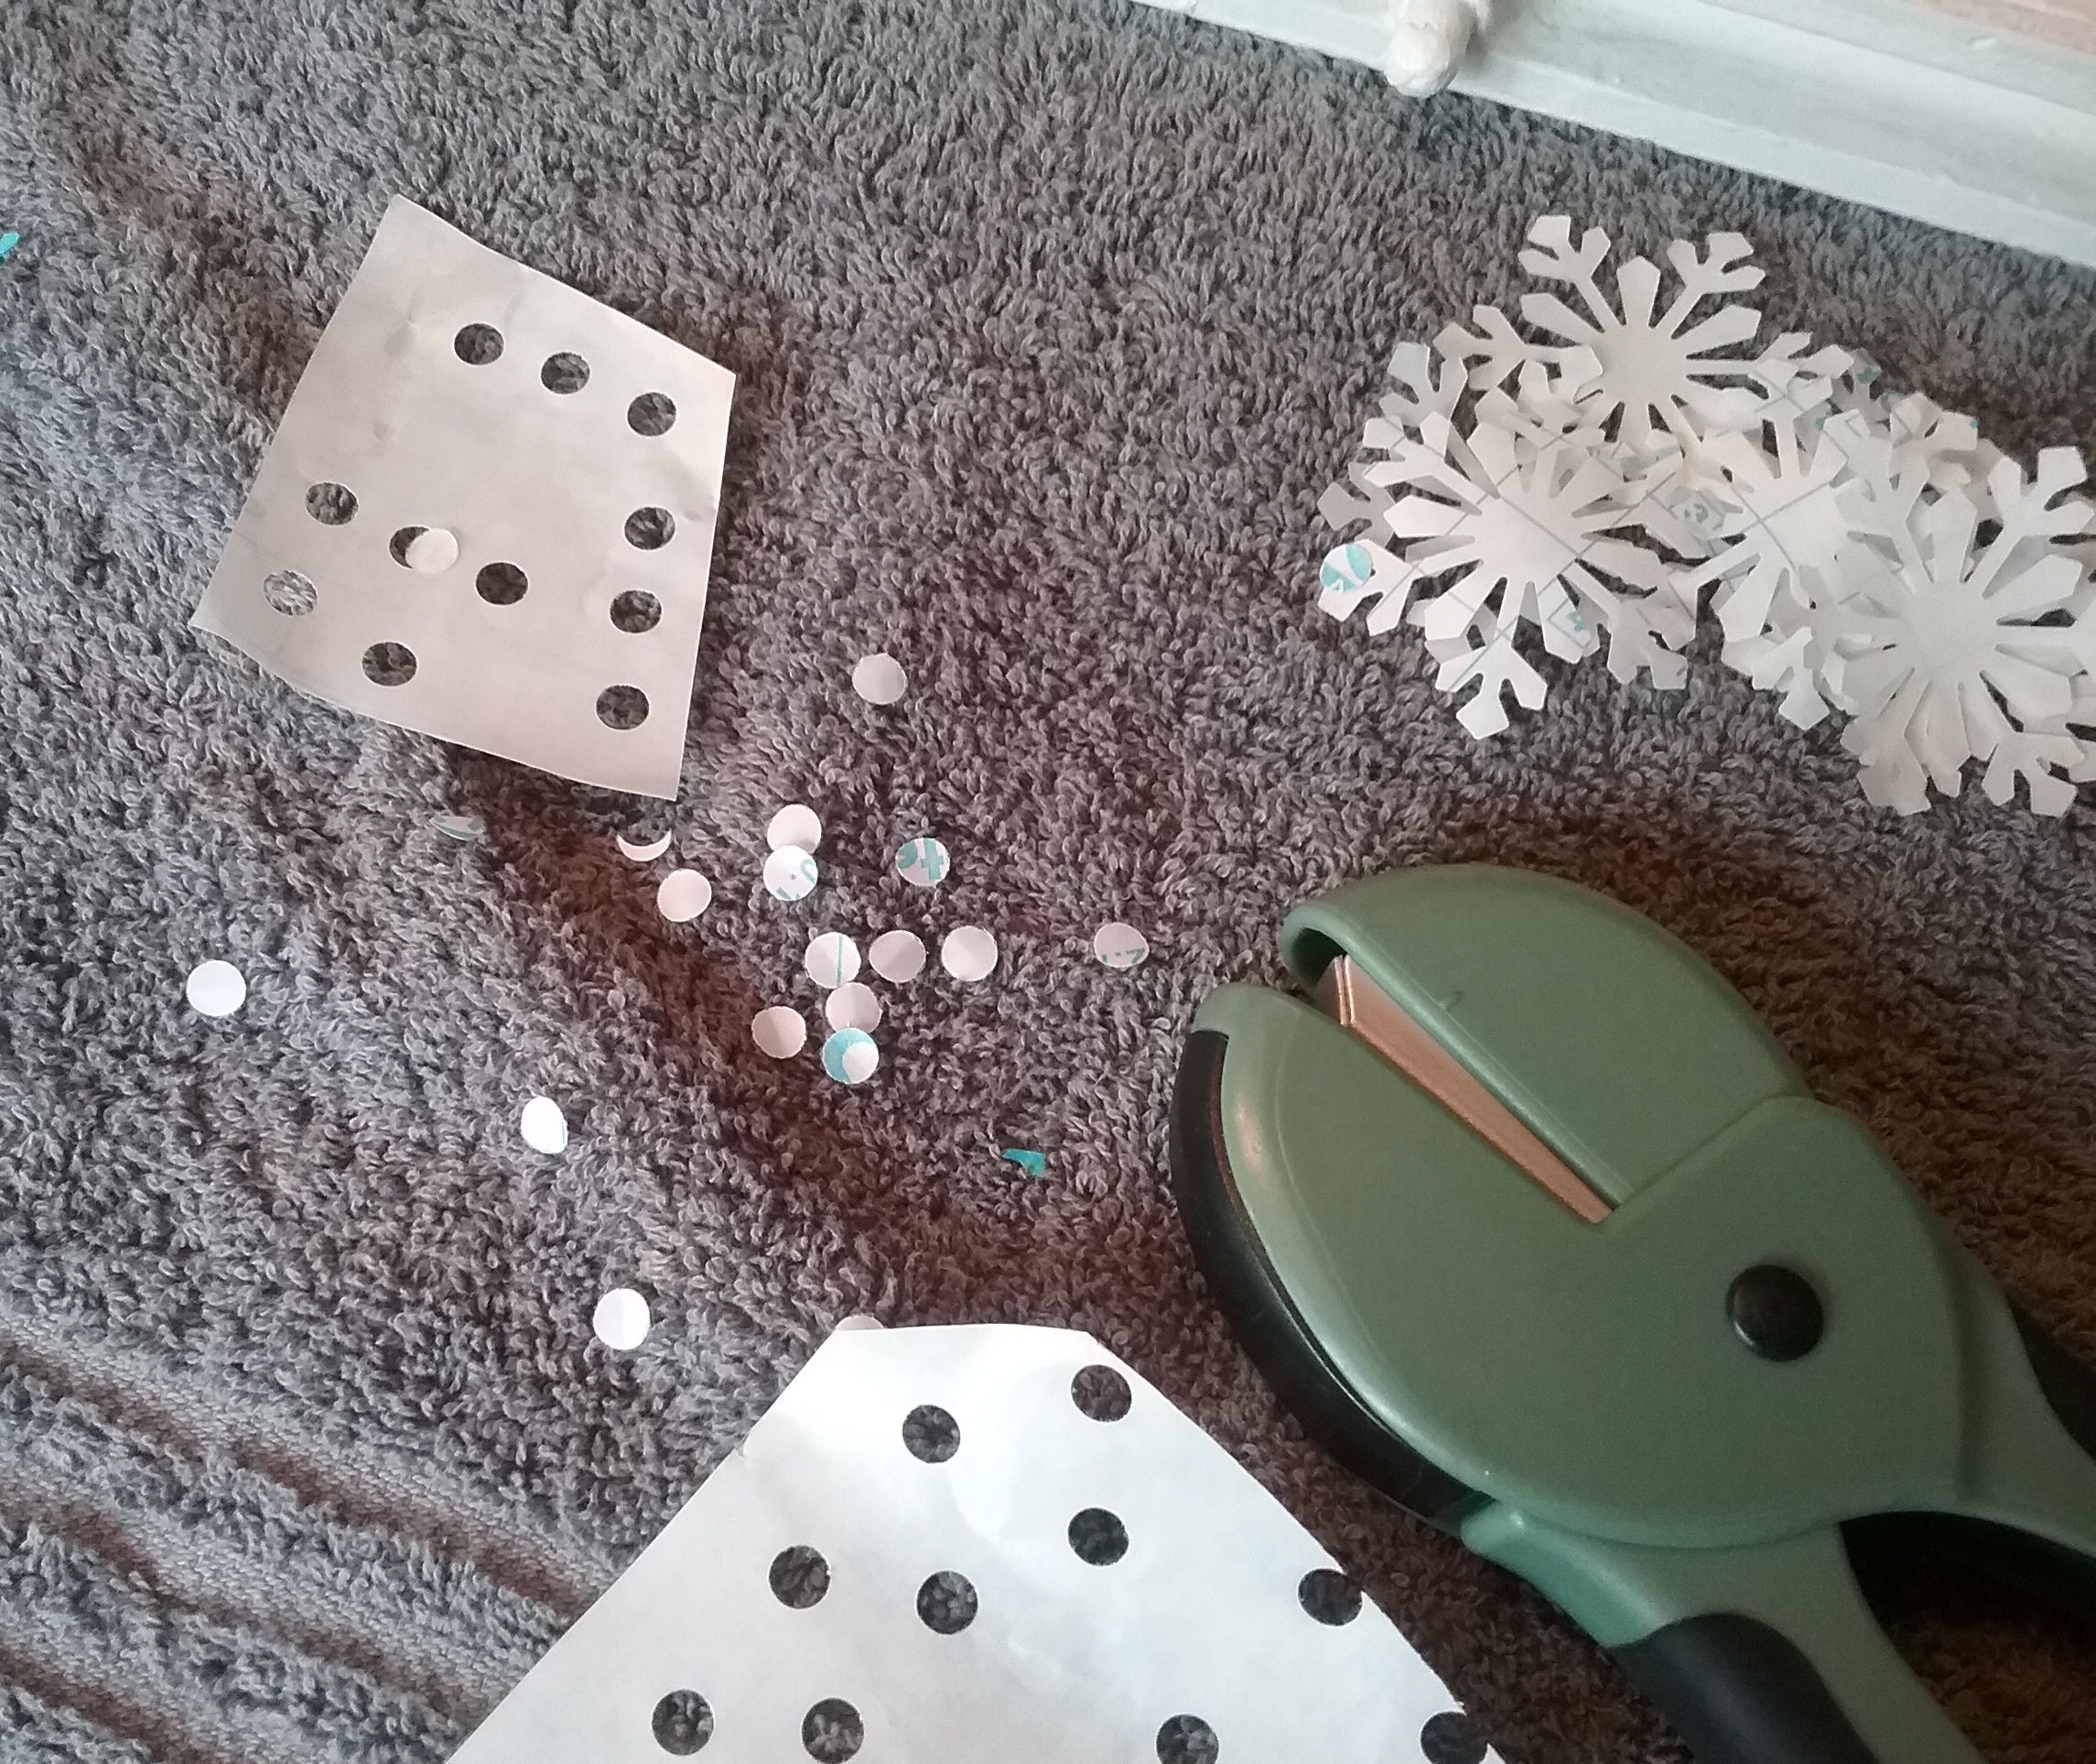
I used a large Martha Stewart Snowflake Punch and a regular hole punch to punch more shapes out of the matte contact paper. I found it worked best if the paper was inserted into the punch sticky side up. Card stock was punched a couple times in between each large snowflake to keep the punch from getting sticky and causing the contact paper to bind. My hole punch was pretty sharp so I didn’t have to punch the card stock much to keep it clean.
Peel the contact paper from the punched shapes and arrange them around the snowflakes.

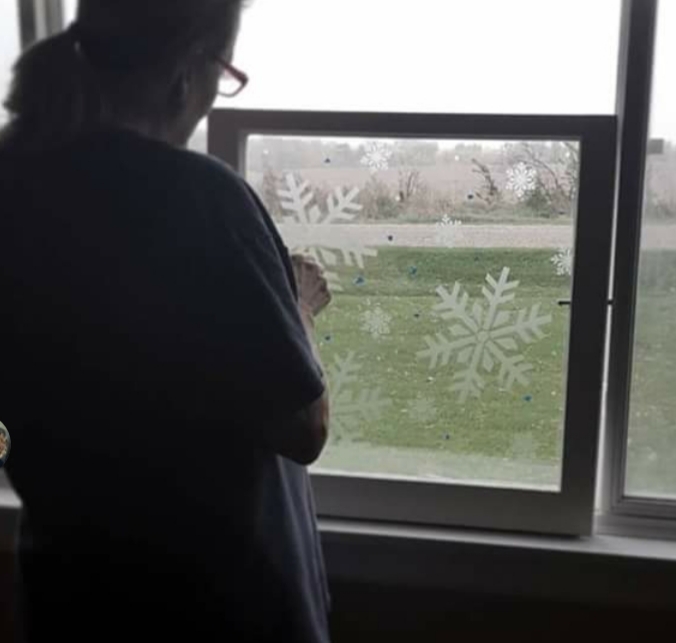
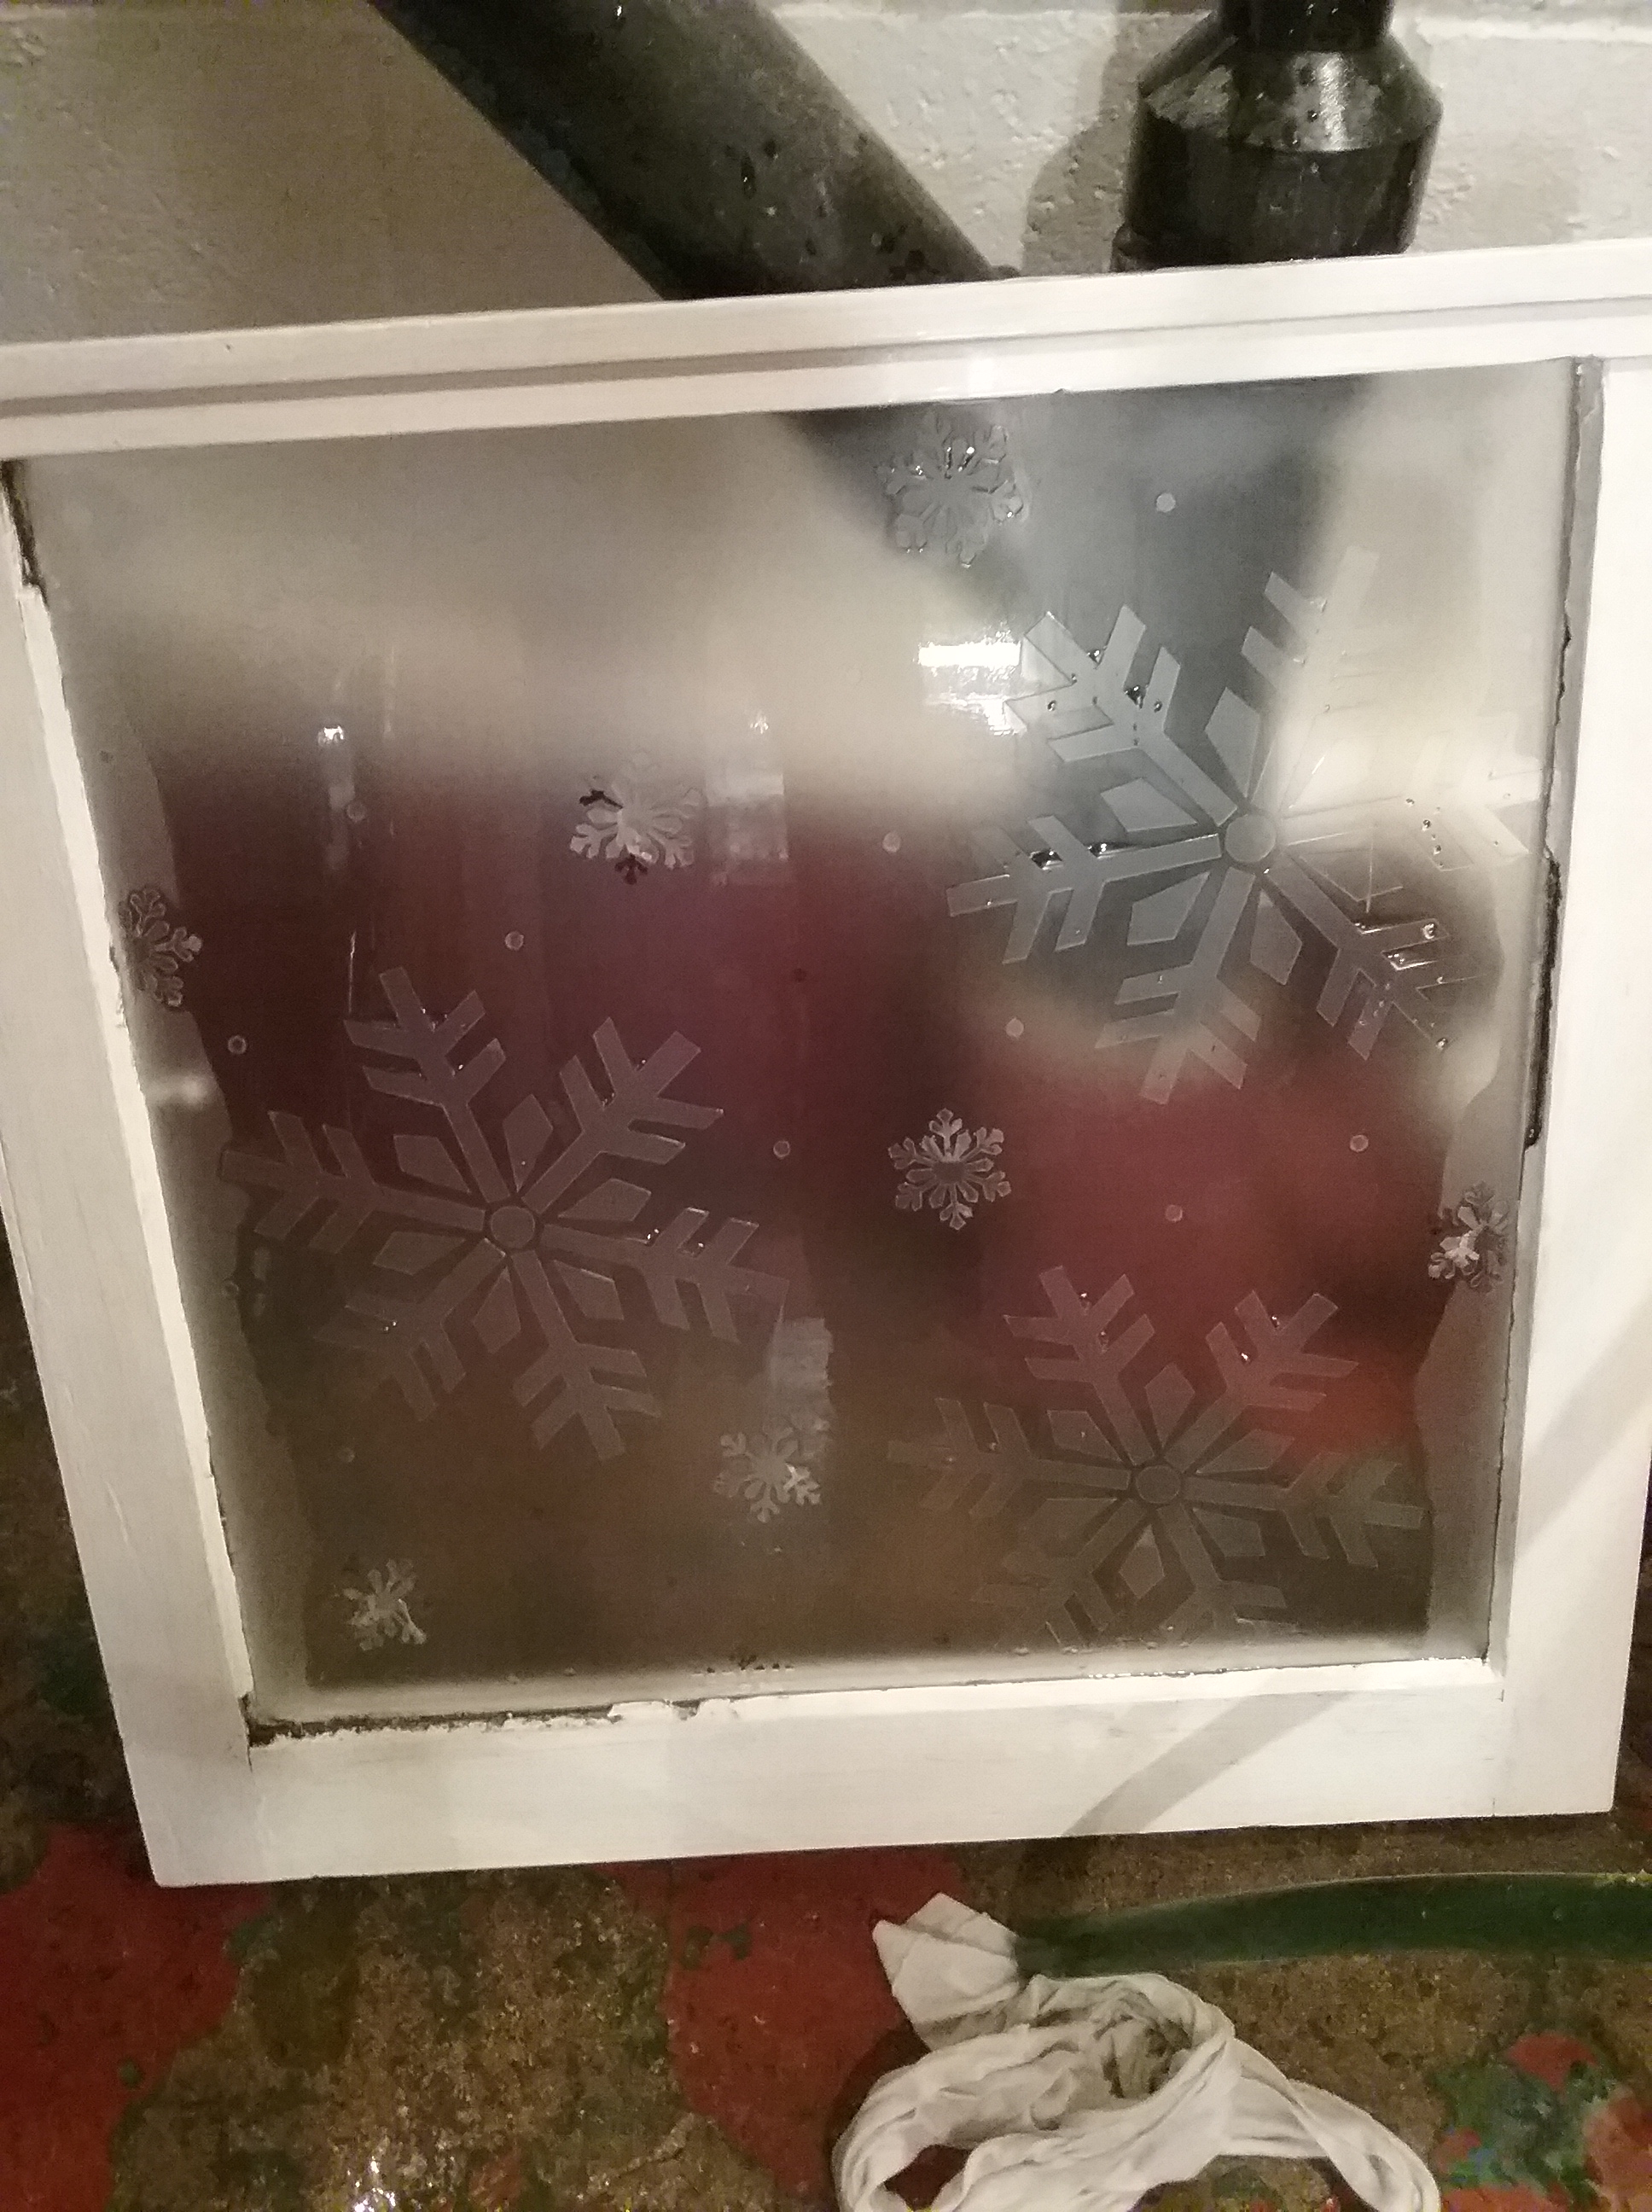
I stood my window up, in a window, to get a good look at it. Tiny pieces of painter’s tape marked where more dots were needed.
The etching process goes quickly. You will want to be near a water source where you can rinse the etching cream off easily. I hook a short length of garden hose to my sink faucet and rinse over the old drain in my basement, works like a charm.
Lay the window on a flat work surface. I usually lay a big piece of cardboard over a 33 gal trash bin, and use it as a table near my sink. With your fingers, or fid, make sure all your pieces are burnished down well. Spray a paper towel with glass cleaner and lightly wipe your window again to remove any fingerprints or sticky residue, especially around the edges of the contact paper shapes.
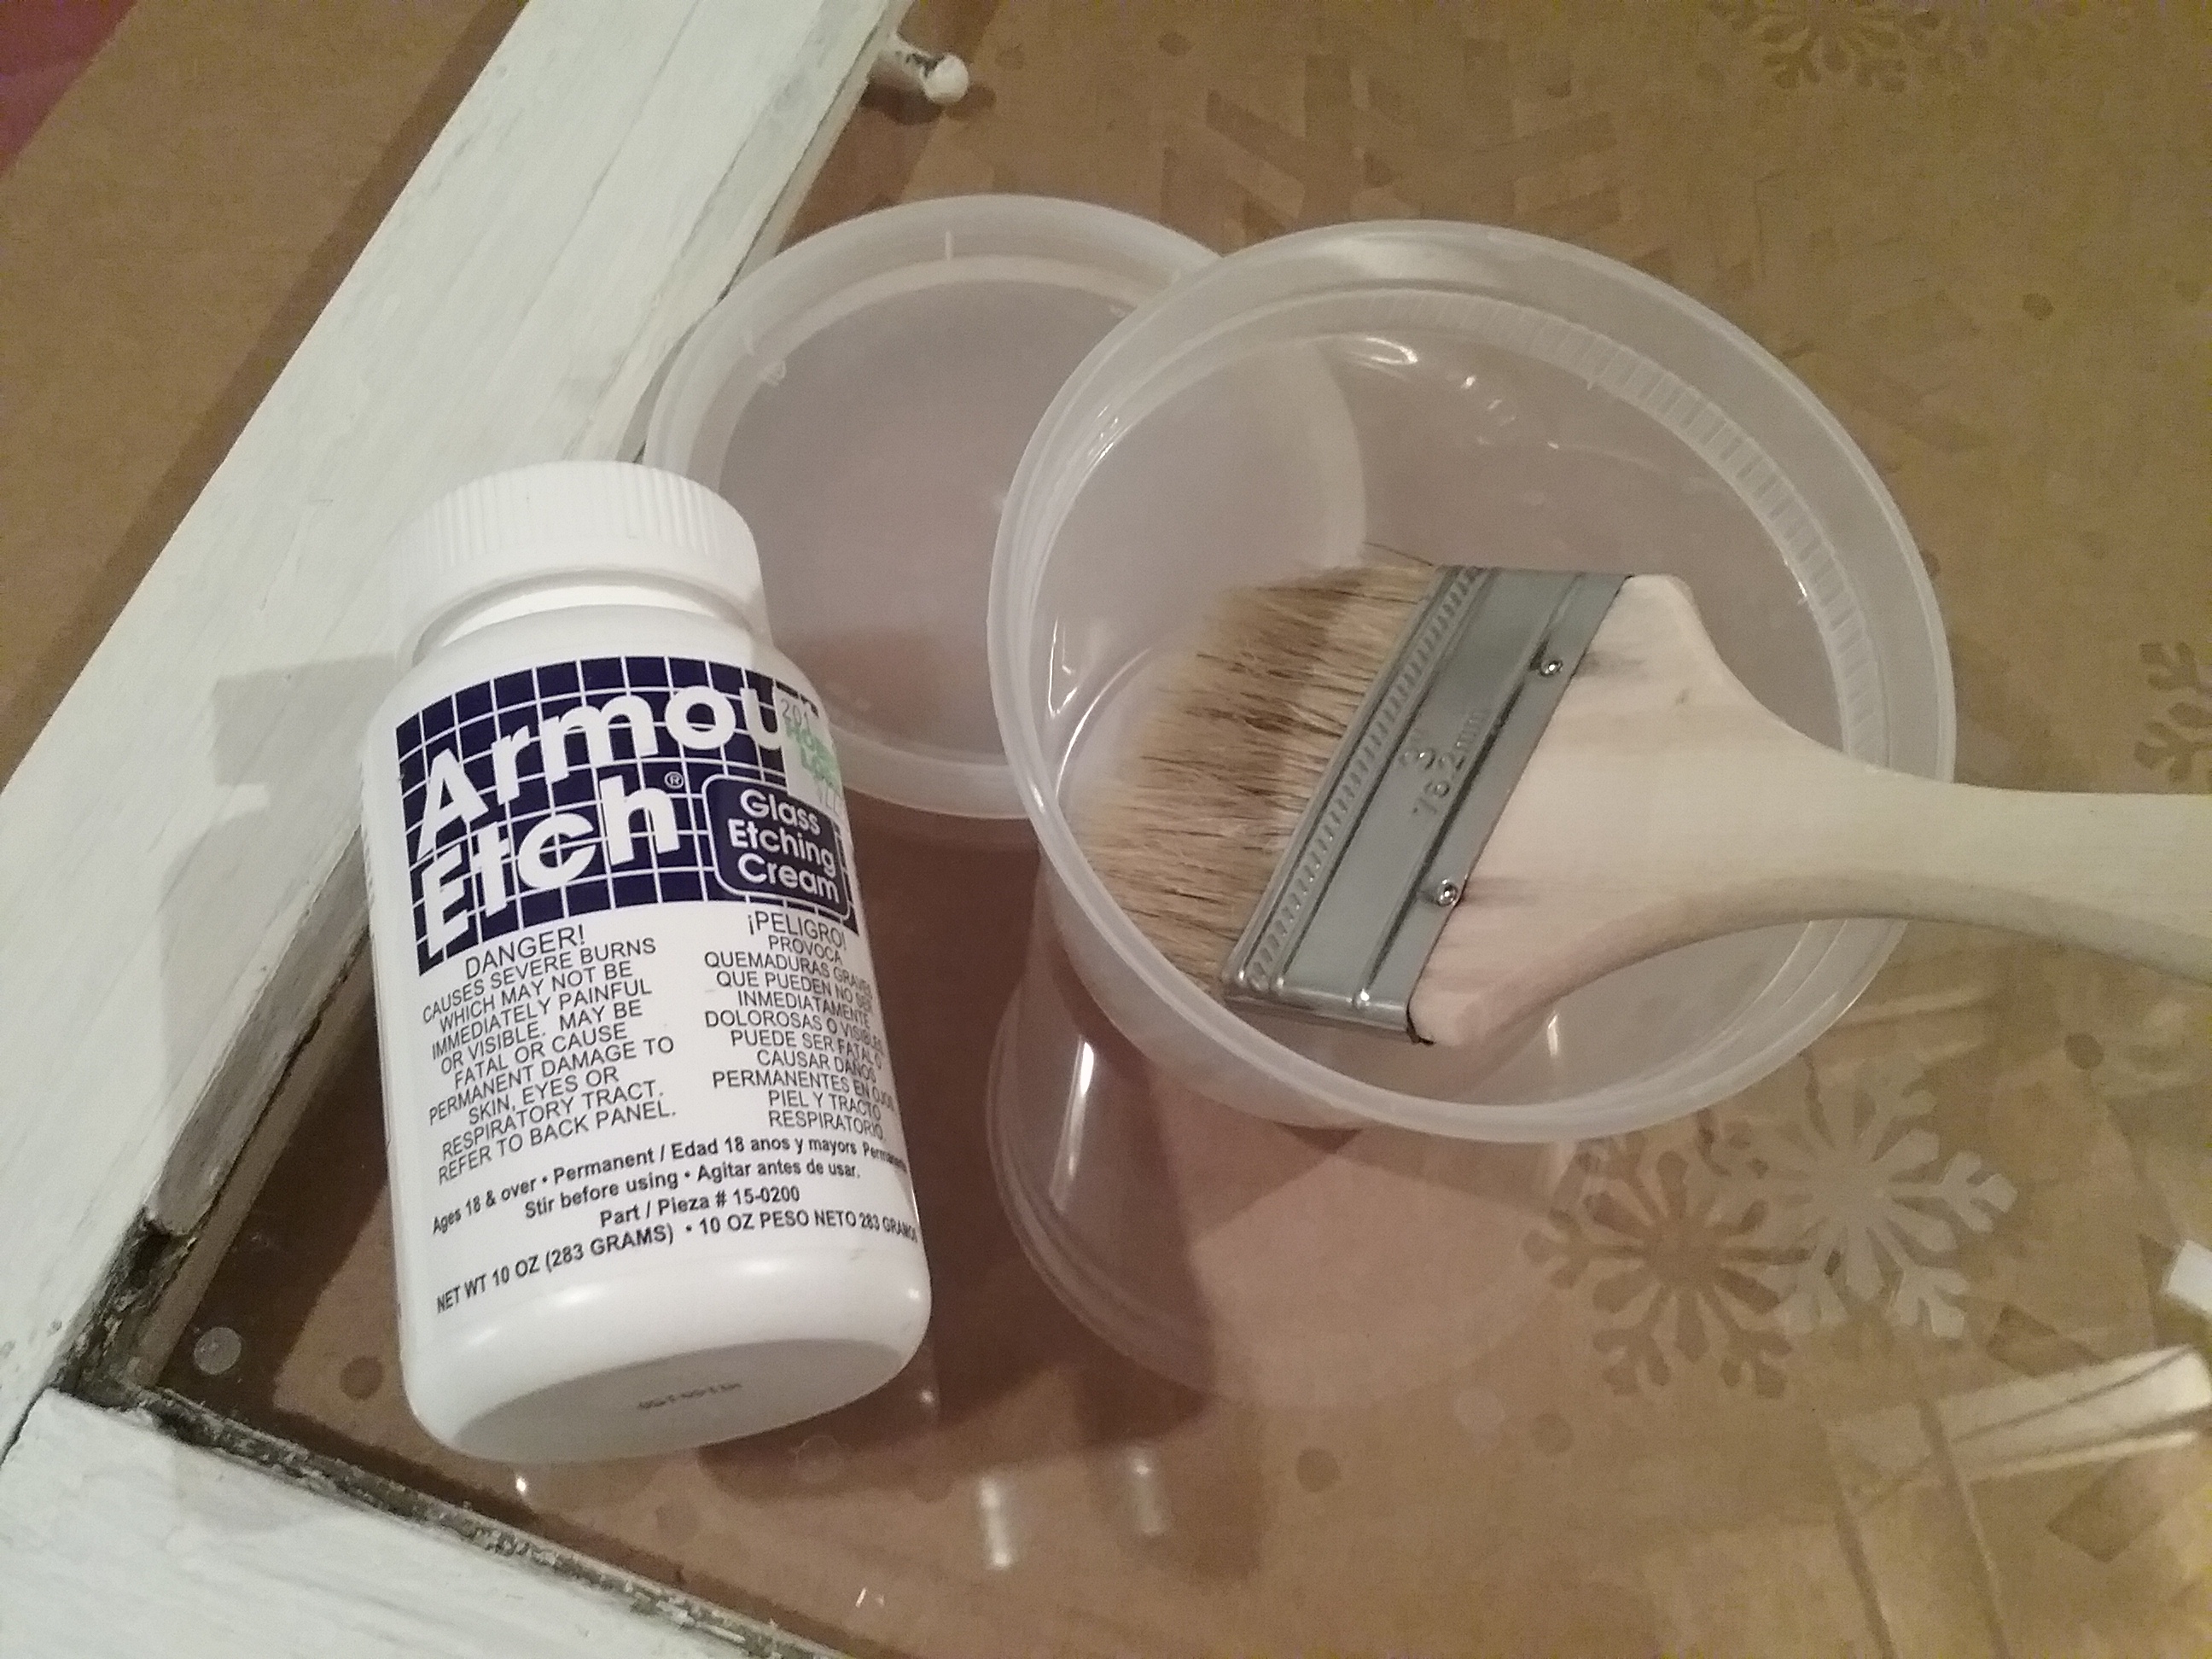
For good coverage, the etching will be done with two coats, one horizontally, one vertically. It doesn’t make any difference which one you do first. Use a soft, natural bristled 3″ paint brush. When working with etching cream, work in a well ventilated area, wear eye protection and rubber gloves.
Shake the etching cream well. If it has sit for a long period of time you may want to stir it first to make sure there is no sediment in the bottom of the bottle. Pour about half of etching cream into a wide mouth lidded container.
Brush on the first coat of etching cream over the contact paper shapes, horizontally, in long, straight, even strokes. Do not over brush. Let the etching cream set 2 minutes.
Rinse out the brush and wipe it dry. Cover the container so the remaining etching cream doesn’t dry out.
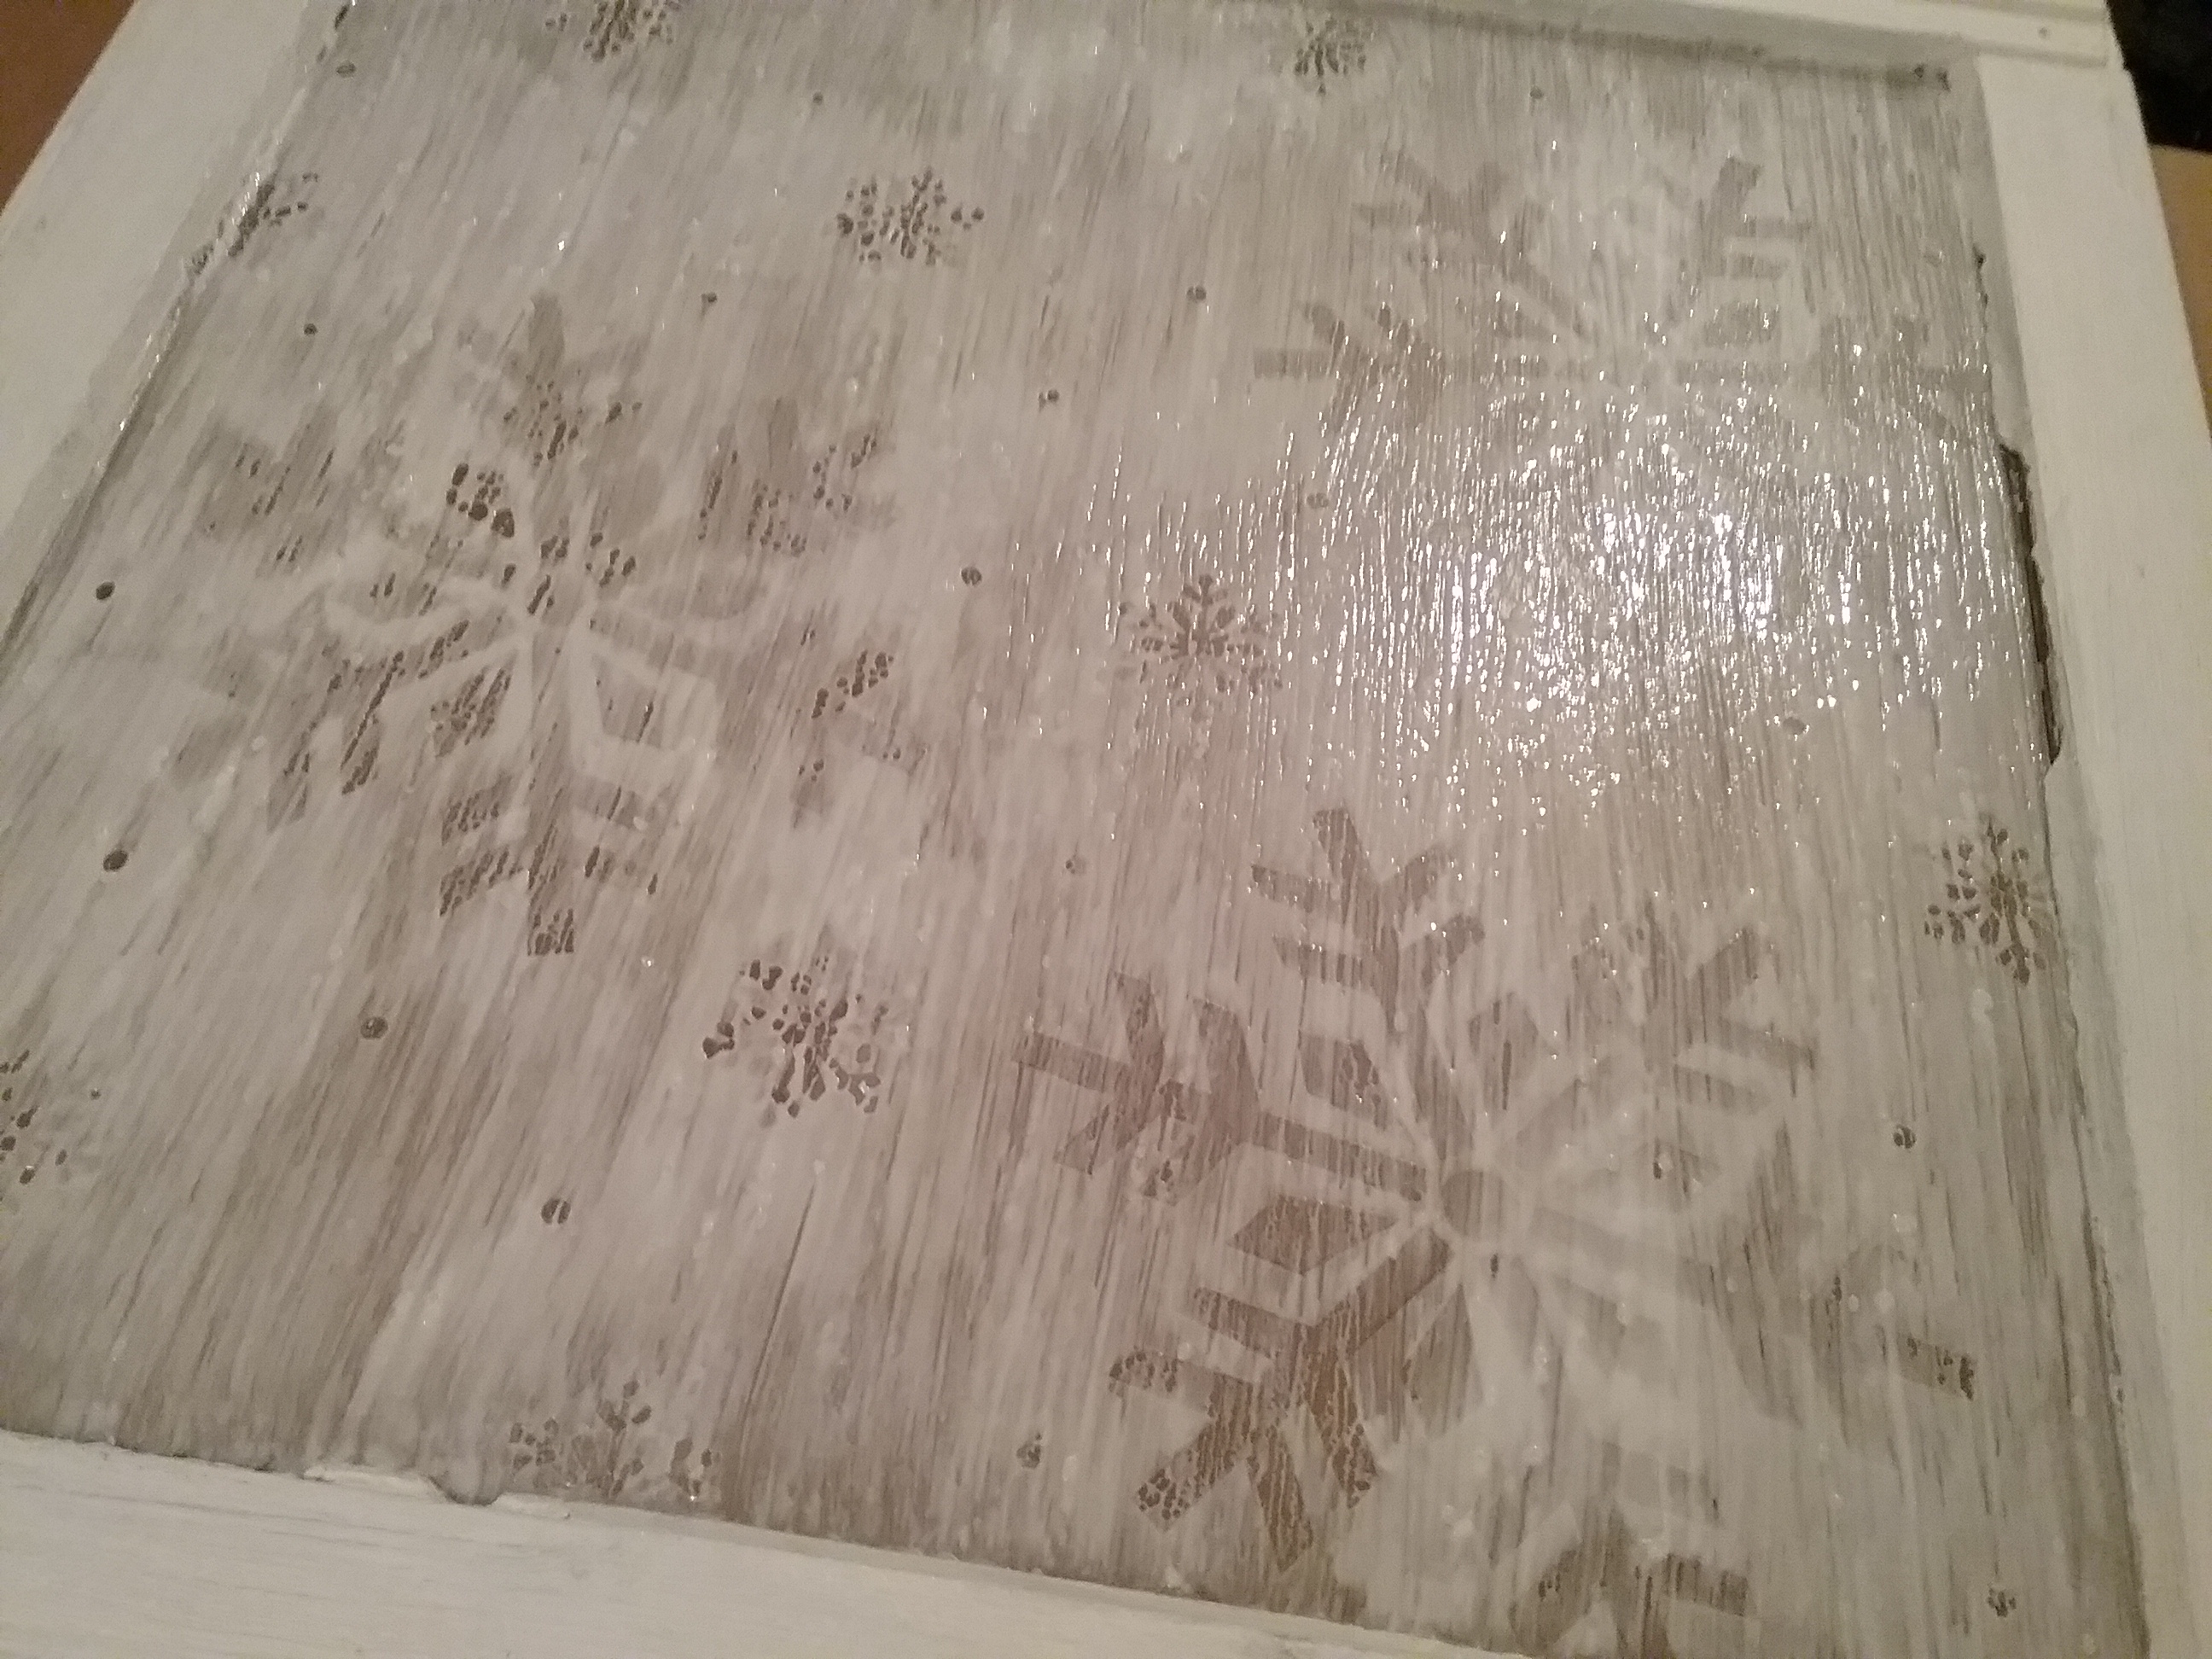
After 2 minutes, gently rinse the etching cream off of the window by running water over it as you rub very lightly with your hand. Don’t disturb the contact paper shapes. Let the window glass dry naturally, or put a fan on it for a few minutes.
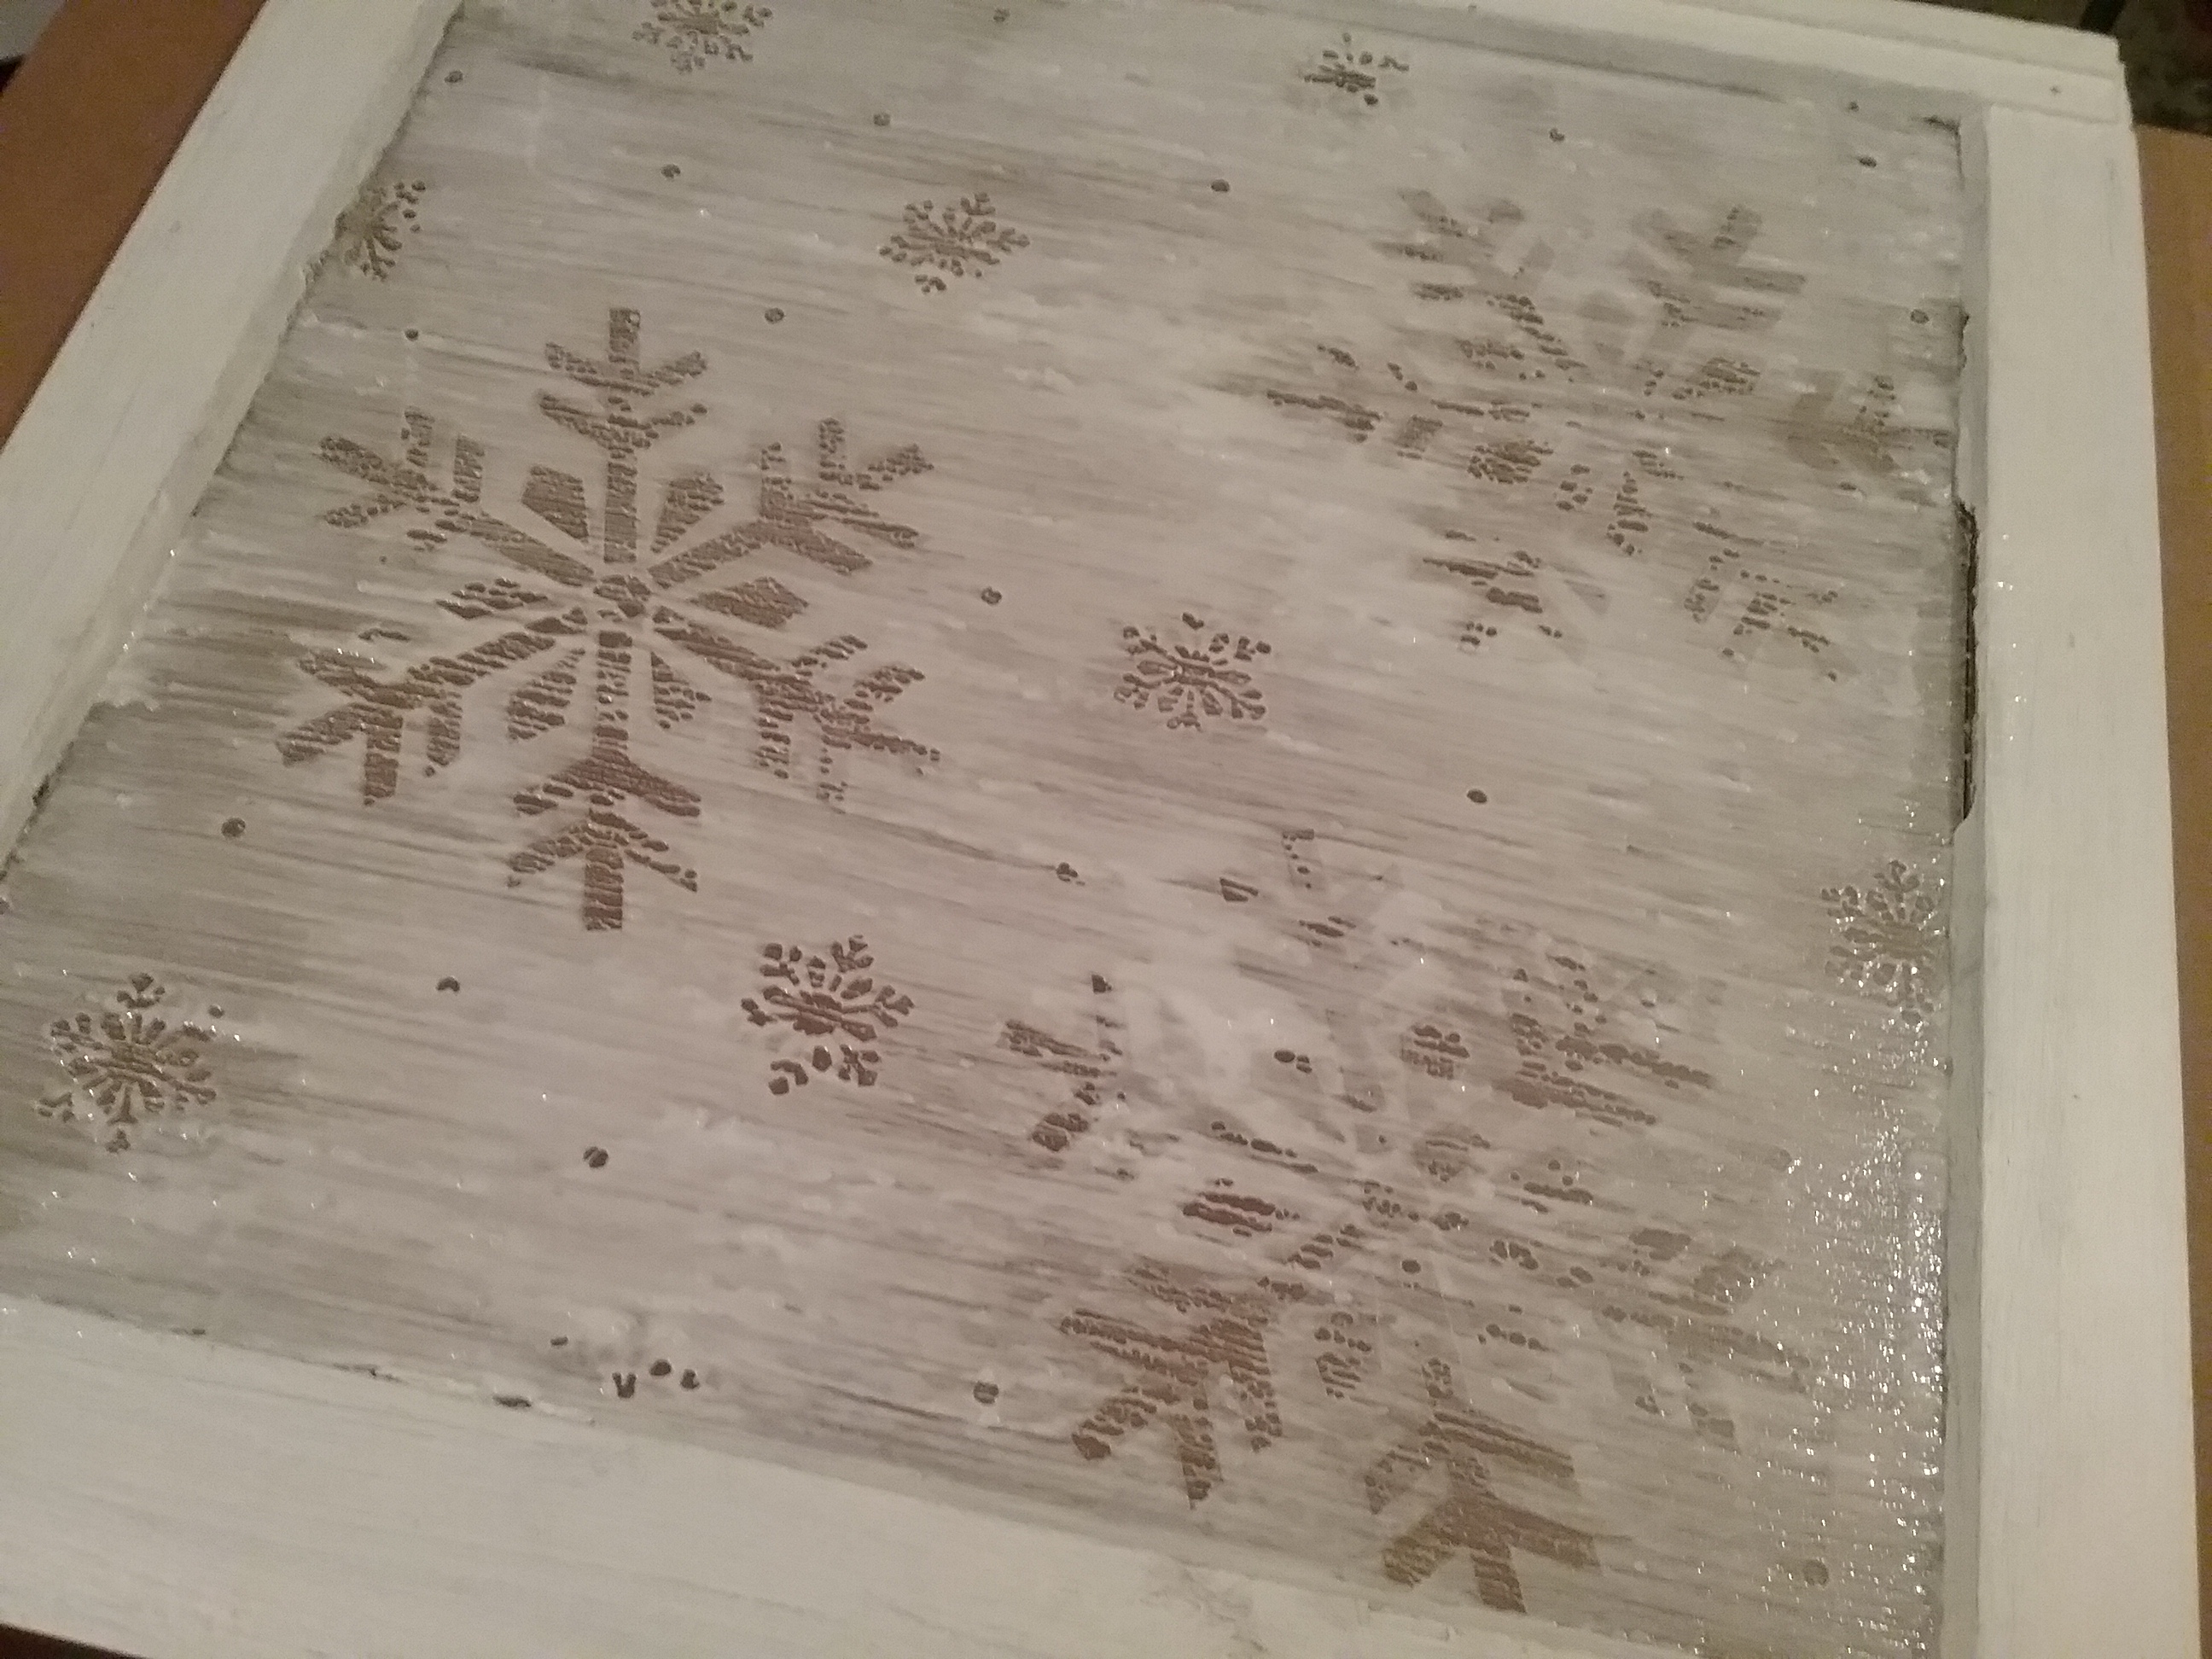
Lay the window flat again and apply the second coat of etching cream, vertically this time, in long, straight, even strokes. Let set 2 minutes, then rinse the window clean. Some of the contact paper shapes will probably start coming loose with the second rinse.
Put any remaining etching cream back in the bottle, wash the brush and container. For safety reasons, please remember to mark all your work containers and bowls, and keep them in a separate area far away from any food containers.
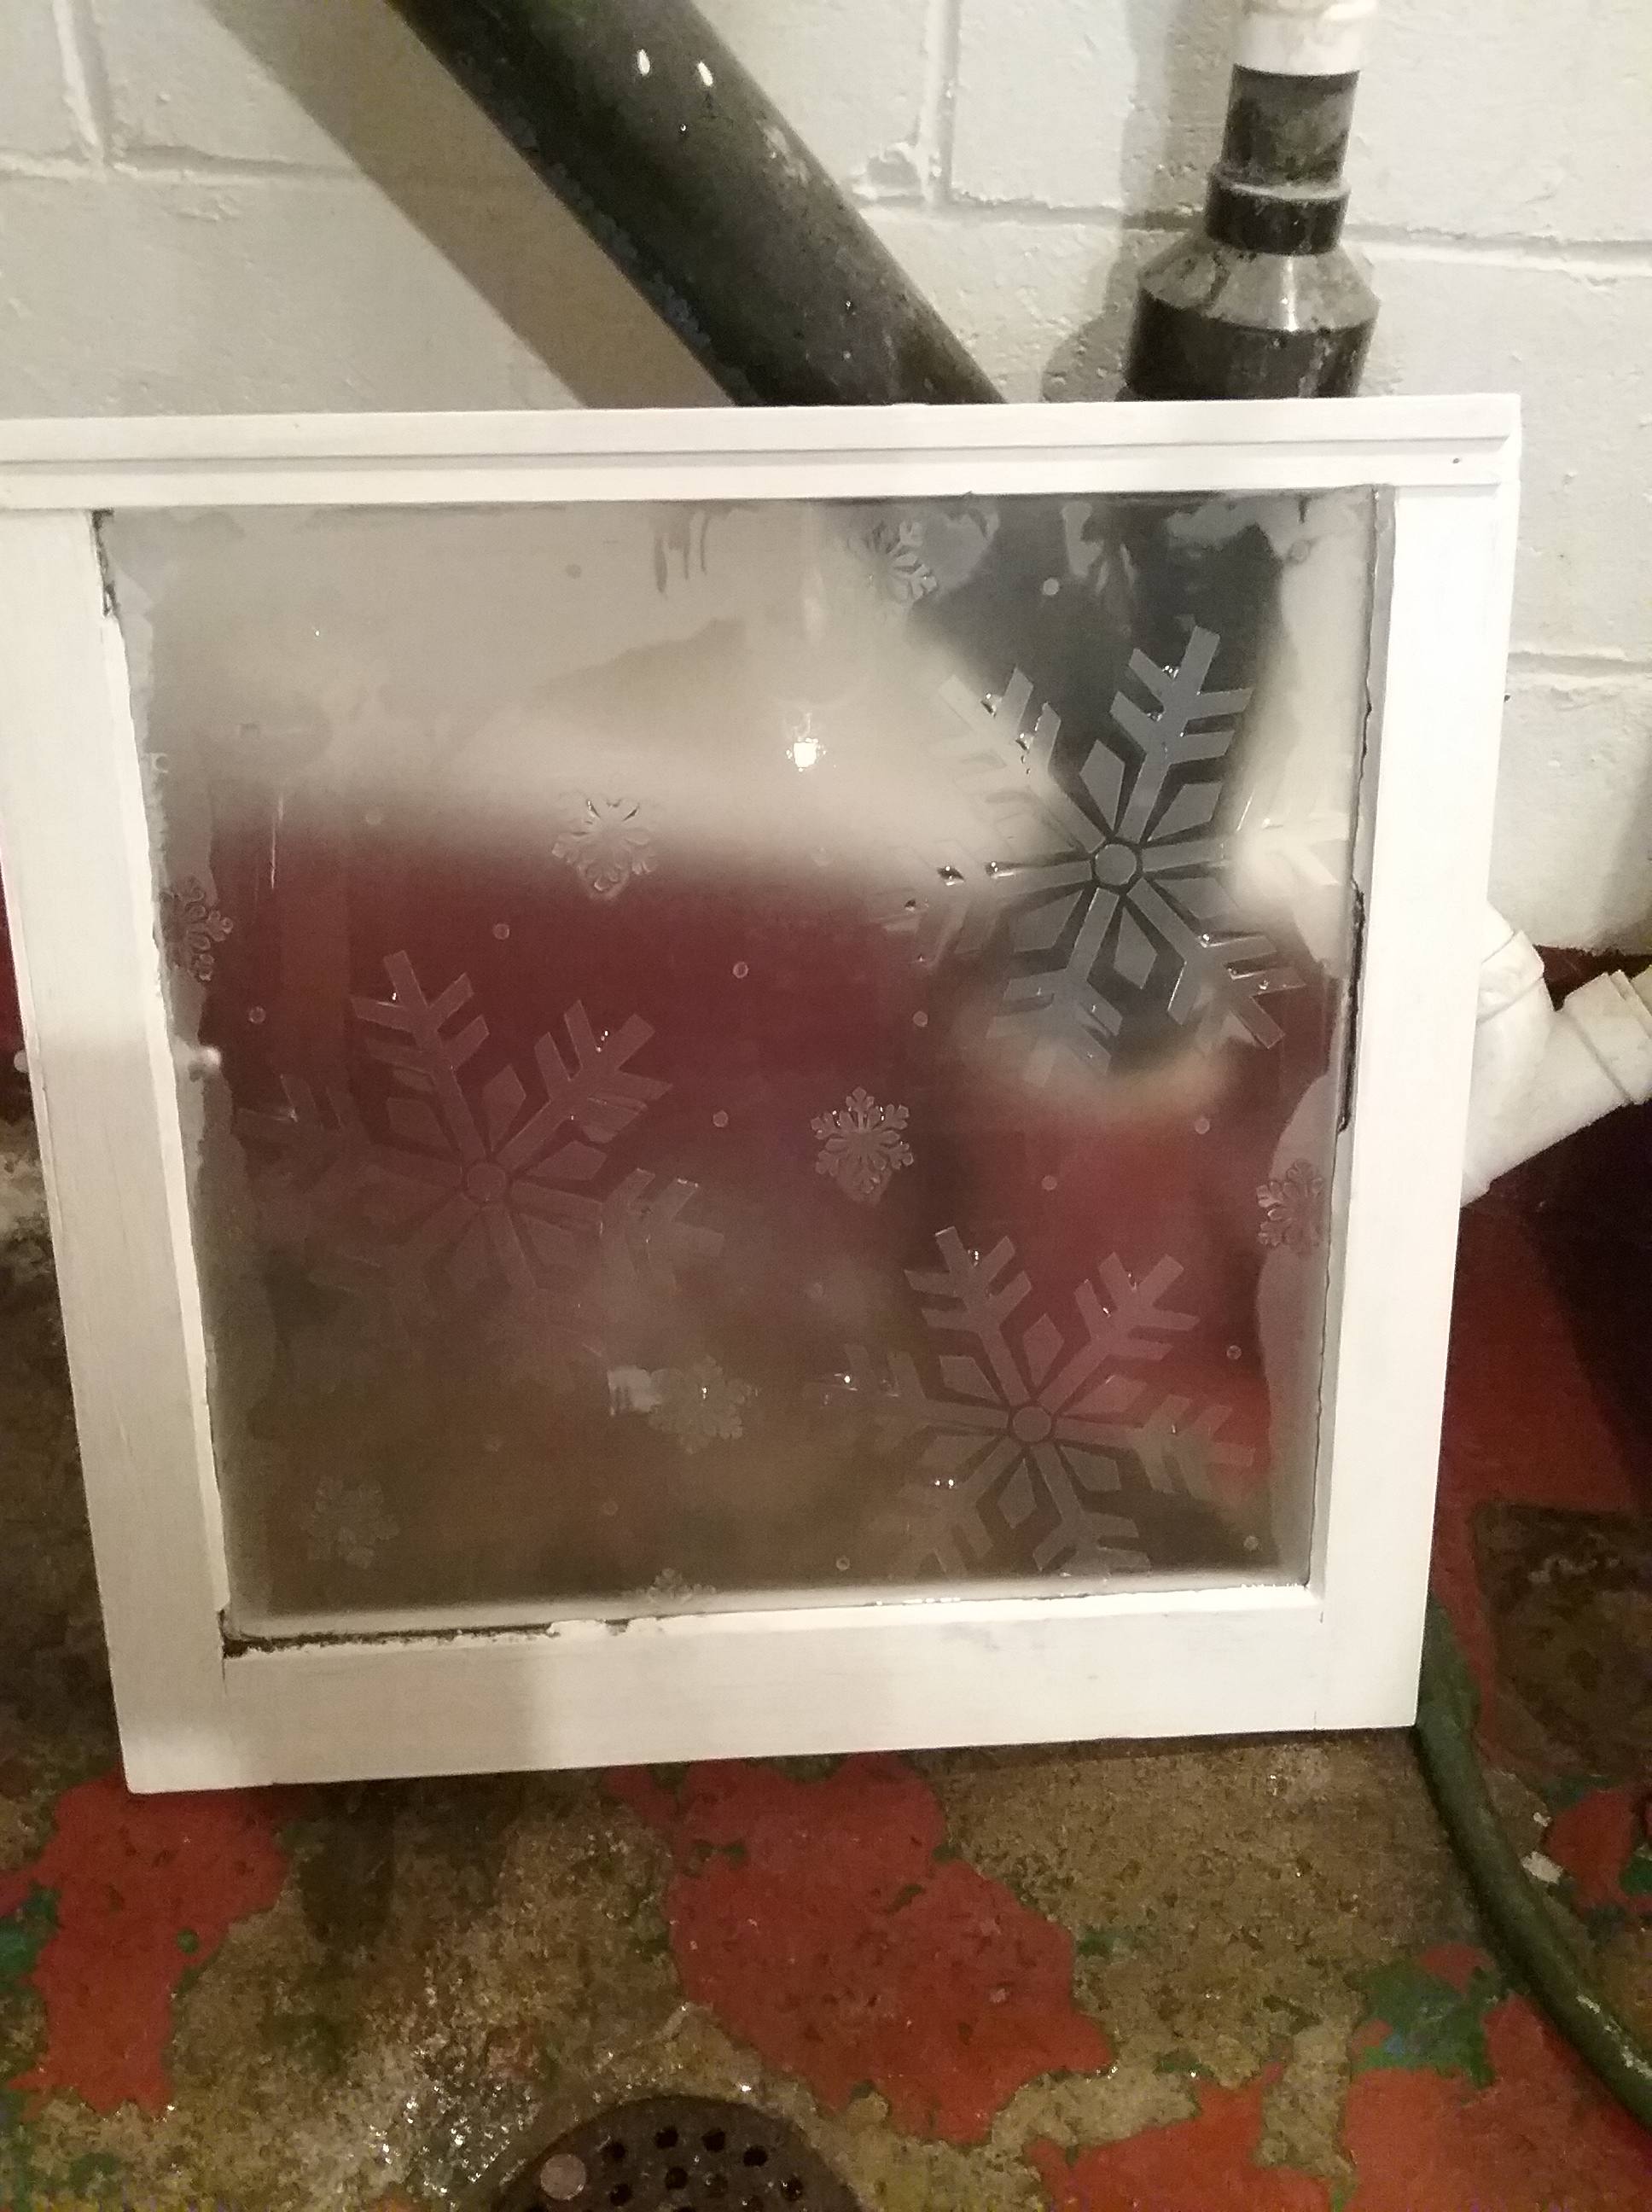
Peel off the contact paper to reveal your design. Use an exacto knife to carefully pry up stubborn edges if needed. After all the contact paper is removed, clean the window with glass cleaner. Repair any glazing if needed.
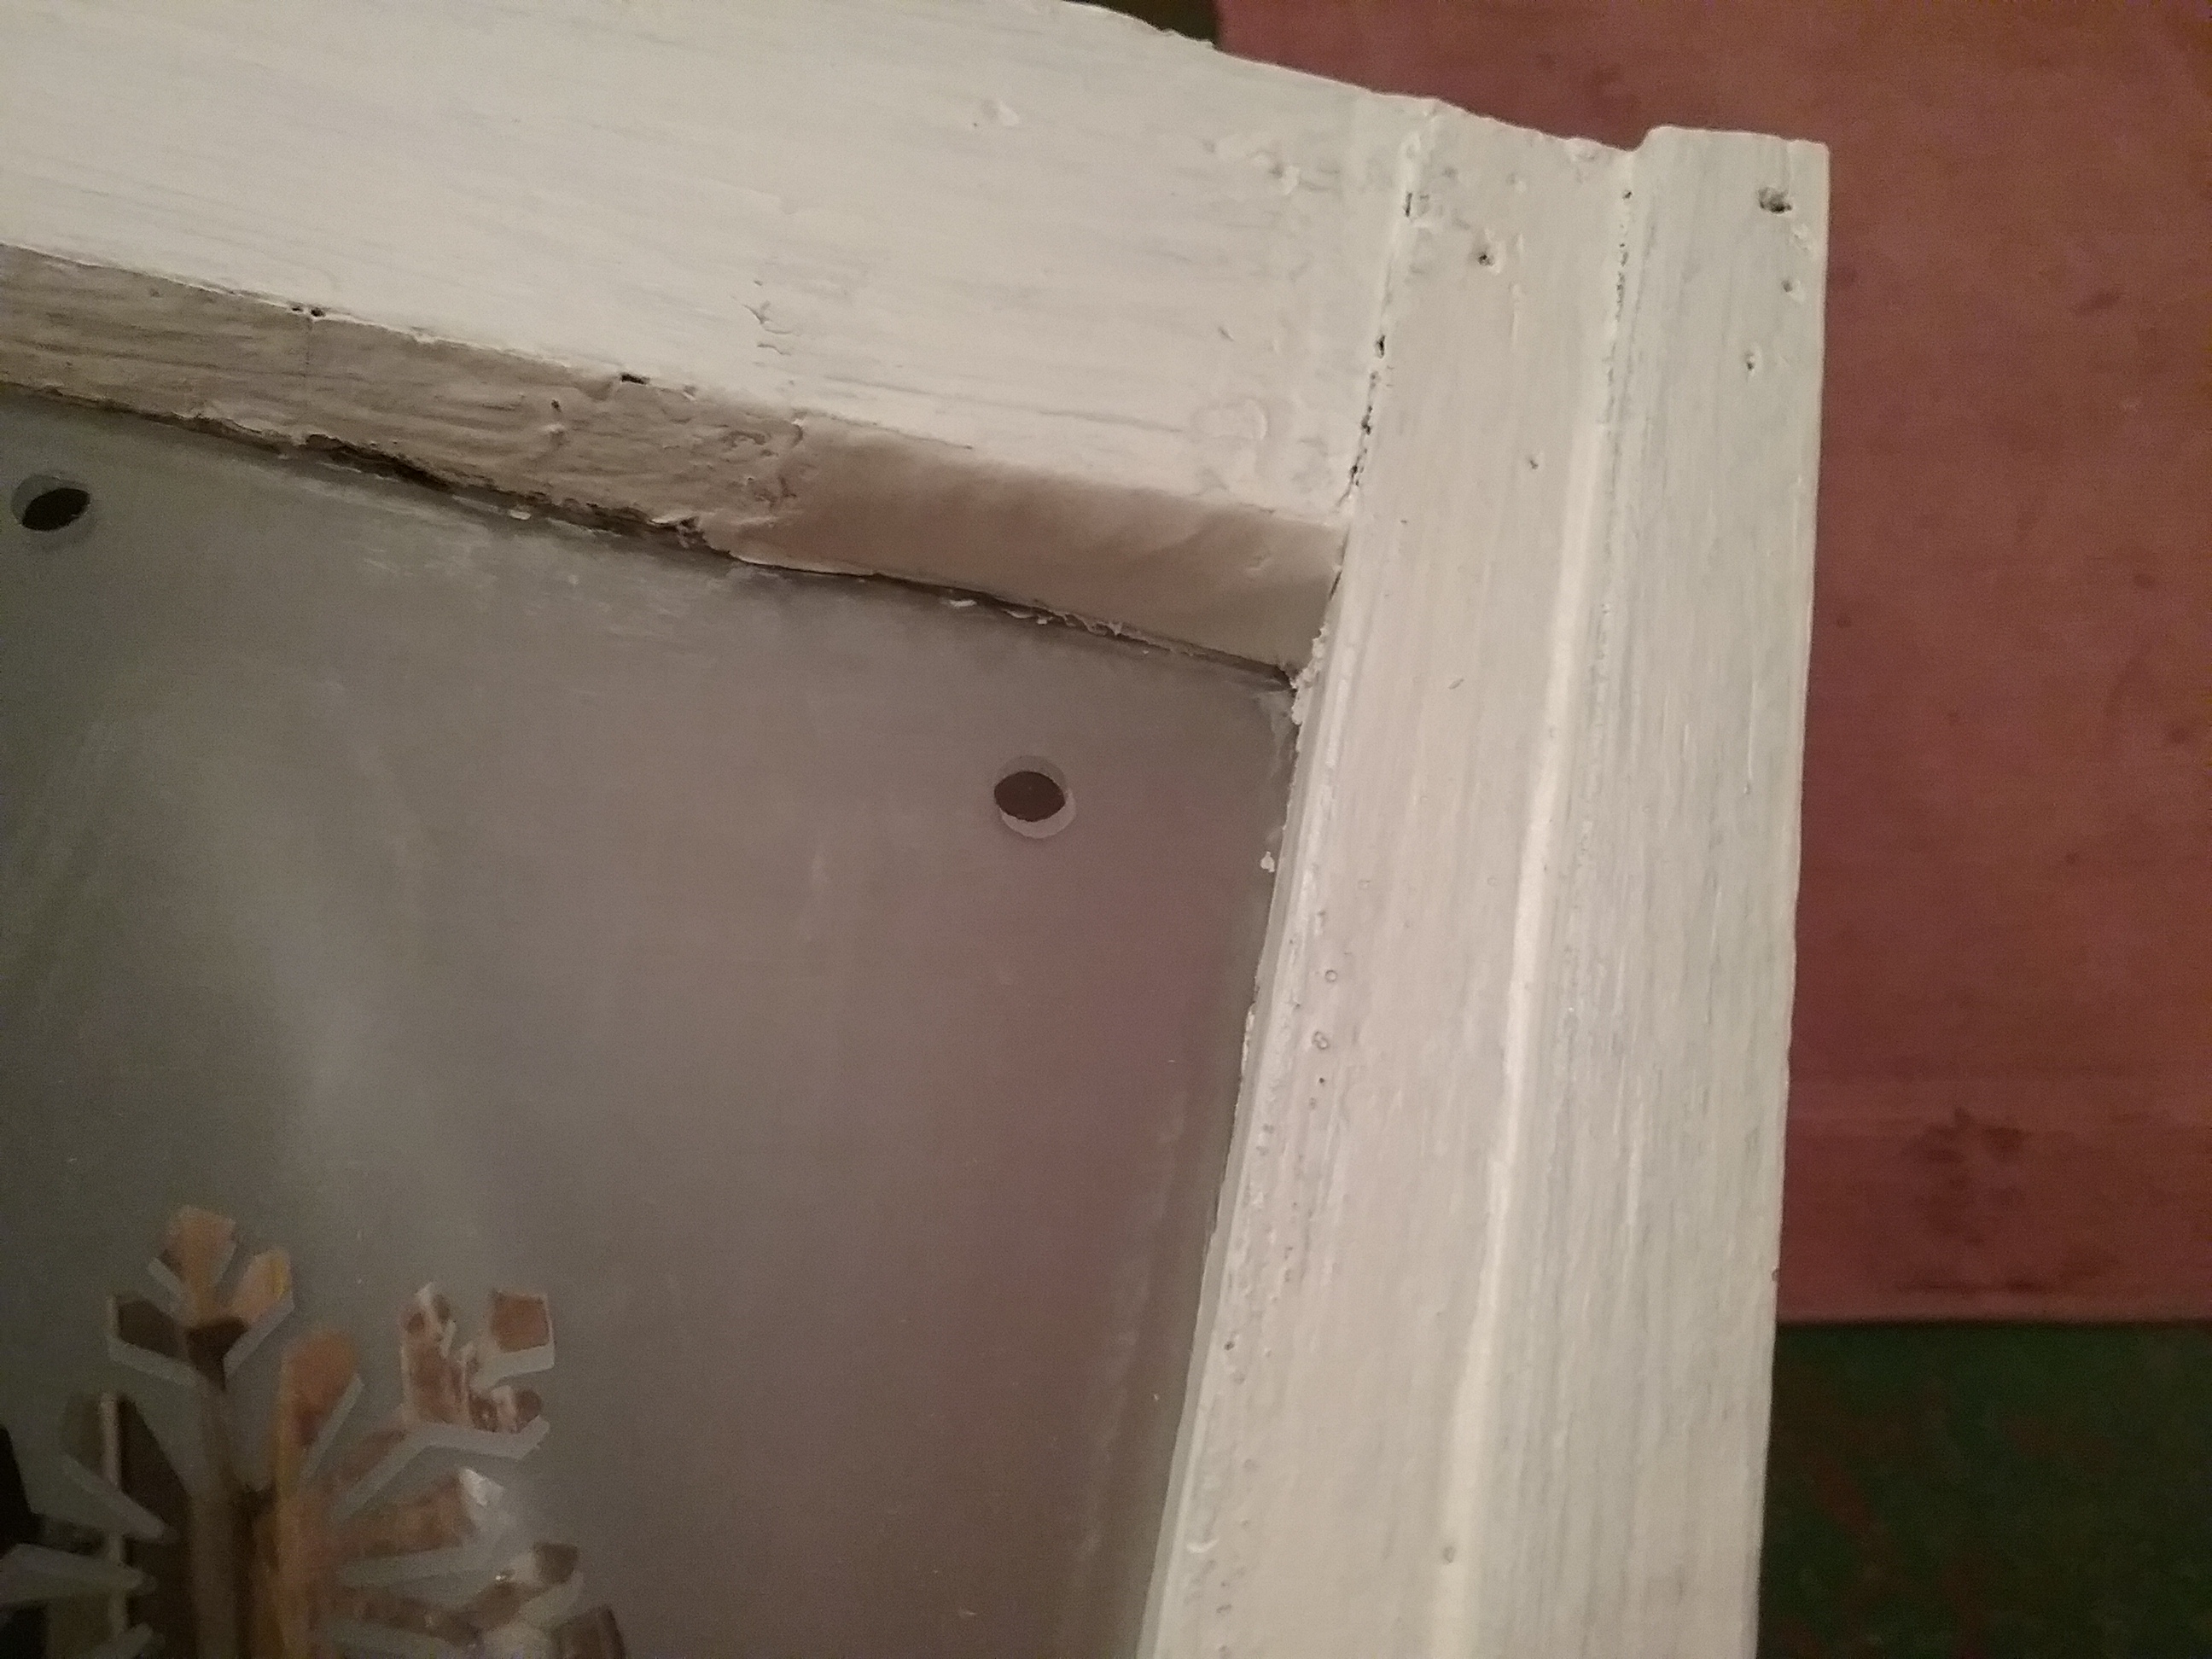
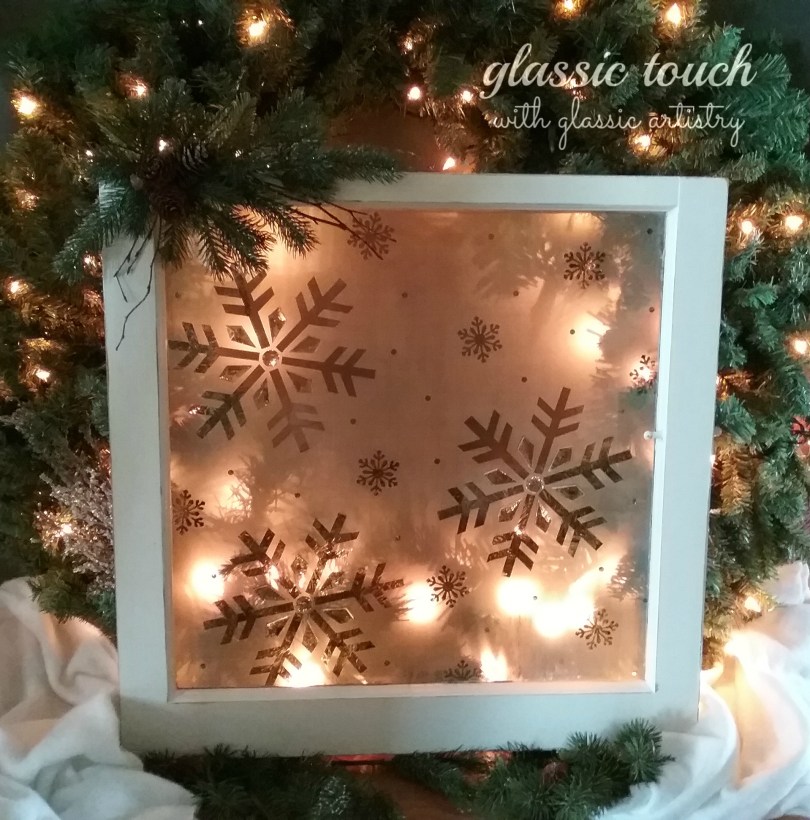
After lightly distressing the paint on the window edges (which I should have done when I painted the window), a hot glue gun was used to add some greenery and pine cones to the front, upper left corner. Lay the window flat, face up, to glue on the glass embellishments with E6000, matching them to the shapes in the snowflakes underneath. Let the glue dry at least 12 hours.
Eye hooks can be added to the top for hanging in a large window, but, I think they’re prettiest leaning in a lit Christmas display on a mantle, console, or buffet. You can decide.


I know Thanksgiving is not even that close yet, but, I’m really excited for Christmas. Our youngest daughter has returned home from teaching in South Korea for a year, which means we will have everyone home for the entire holiday season! I’m looking forward to crafting, playing games, holiday movie nights, shopping trips, and hopefully some snowman building.
Some pretty white owls caught my daughter’s eye at a craft store the other day, so we picked out a couple. It looks like we’ll be going with an out-doorsy, nature theme on our tree this year. In anticipation, hydrangeas have been hung to dry, and the grand kids and I have been foraging for materials. It’s going to be fun to see what we can make for the tree. I can hardly wait to get started!

[…] Source: Reversed Etching A Christmas Window DIY […]
LikeLike
This is a great addition to my holiday decor 🎄🎁❄
LikeLiked by 1 person