
I’d just about given up on getting something Christmasy posted. Etsy shop and ornament orders have been keeping my nose to the grindstone this last month. It’s been a lot busier than I expected, but it’s been a GOOD busy, and I’m very grateful. It makes me happy to think of all the little Santas, penguins, snowmen, etc., dangling in Christmas trees everywhere. I sure hope they make someone smile.
Remember the two big white owls I mentioned last month? They’re now prominately perched in our Christmas tree. When given the option, we opted for fun social activities over crafting time, so we didn’t use all the raw materials we foraged, which I’m sure saved me a lot of glitter clean up too. Our lengths of grapevine worked beautifully as a garland though, and the colors of the dried hydrangeas made it a perfect gap filler.
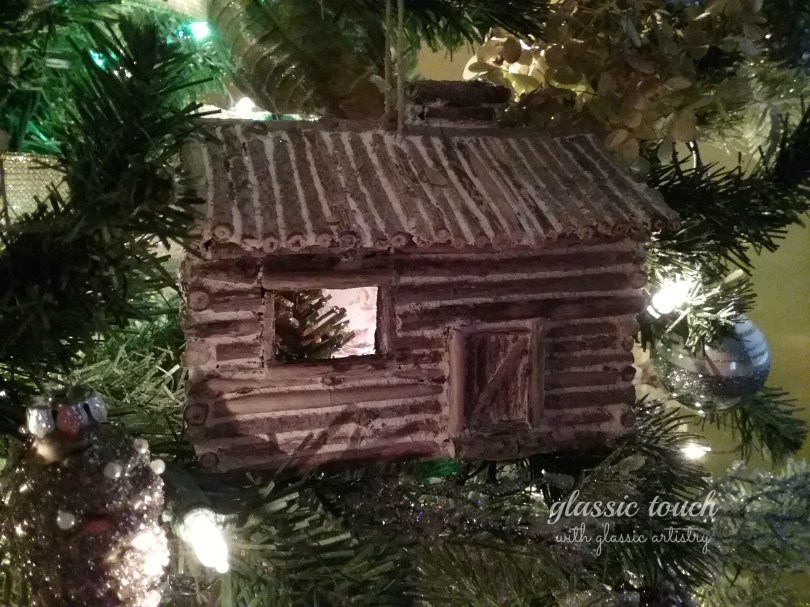
To me, a tree is just not complete without something fun for the little ones to see. Having always been intrigued by miniature houses, and still having a pile of twigs from our gatherings, I decided to try my hand at a log cabin ornament. Wouldn’t it be neat if you could peer inside of it too?
An empty Christmas light box looked like it was a workable shape and size. I checked out a few templates on Pinterest, then drew a simple one to fit my unfolded box. After cutting out the traced template, it was painted with gesso, then brown paint.


I used an exacto knife to cut a window and door where I thought I would like them. After looking at it some more, I decided I didn’t want the open door, and taped it back in.
A small piece of thin plastic was glued on the inside of the window. Let it dry.
A small hole was cut in the bottom for a Christmas light to fit up through.


A small piece of greenery was cut from a swag and shaped to make a mini Christmas tree. Clear fingernail polish and tweezers made it very easy to glue seed beads on it for ornaments.


A vintage picture was copied and glued to the inside back of the box, in the lower right hand corner. Fold the first corner of the box, on the left hand side, and secure with hot glue. Glue the finished tree where it will be seen through the window. For stability, I glued a small piece of foam down first, then the tree to the foam. Paint the foam brown.


Once the tree is in place, finish folding up the box, and secure it with hot glue. Use sharp nippers to trim your twigs, arrange, and hot glue them to the box.


Fold a scrap piece of the box to form a chimney and glue in on the roof. Paint it with gesso and brown paint. I used a nut pick to punch holes near the center top, then threaded a jute hanging string. I used a thin wire to help thread it through.

Finish covering the roof and chimney with twigs. I covered the sides all the way to the top.


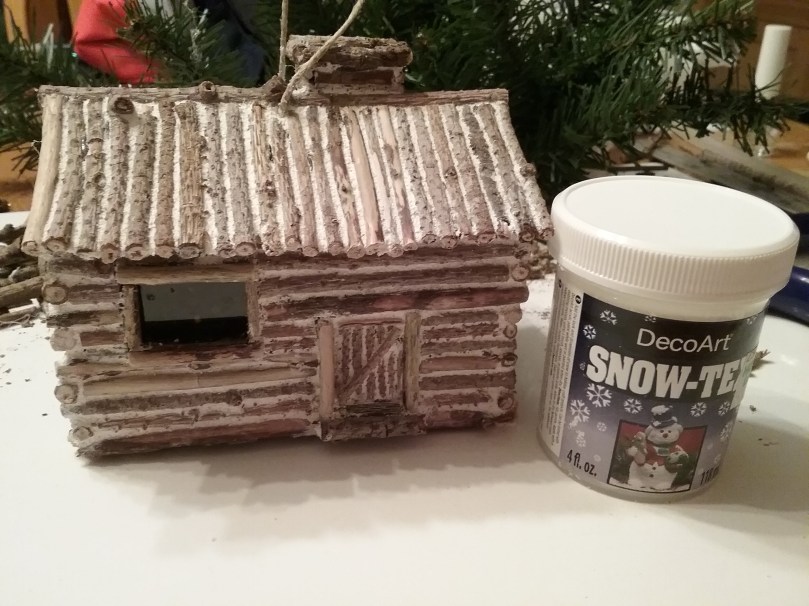
Working in small sections, brush on some DecoArt Snow-Tex to fill the gaps between the twigs, then wipe it off with a wet rag, to reveal the twigs. I found it helpful to use a small bucket of water, empty it, and refill it with clean water often. Just for caution, I emptied my water outside and not down the drains.
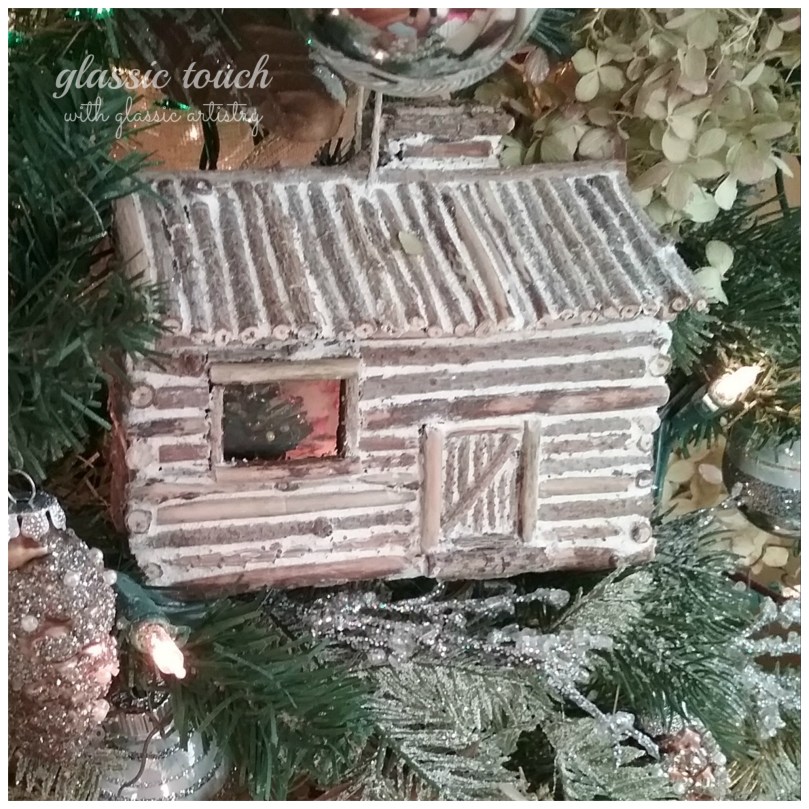
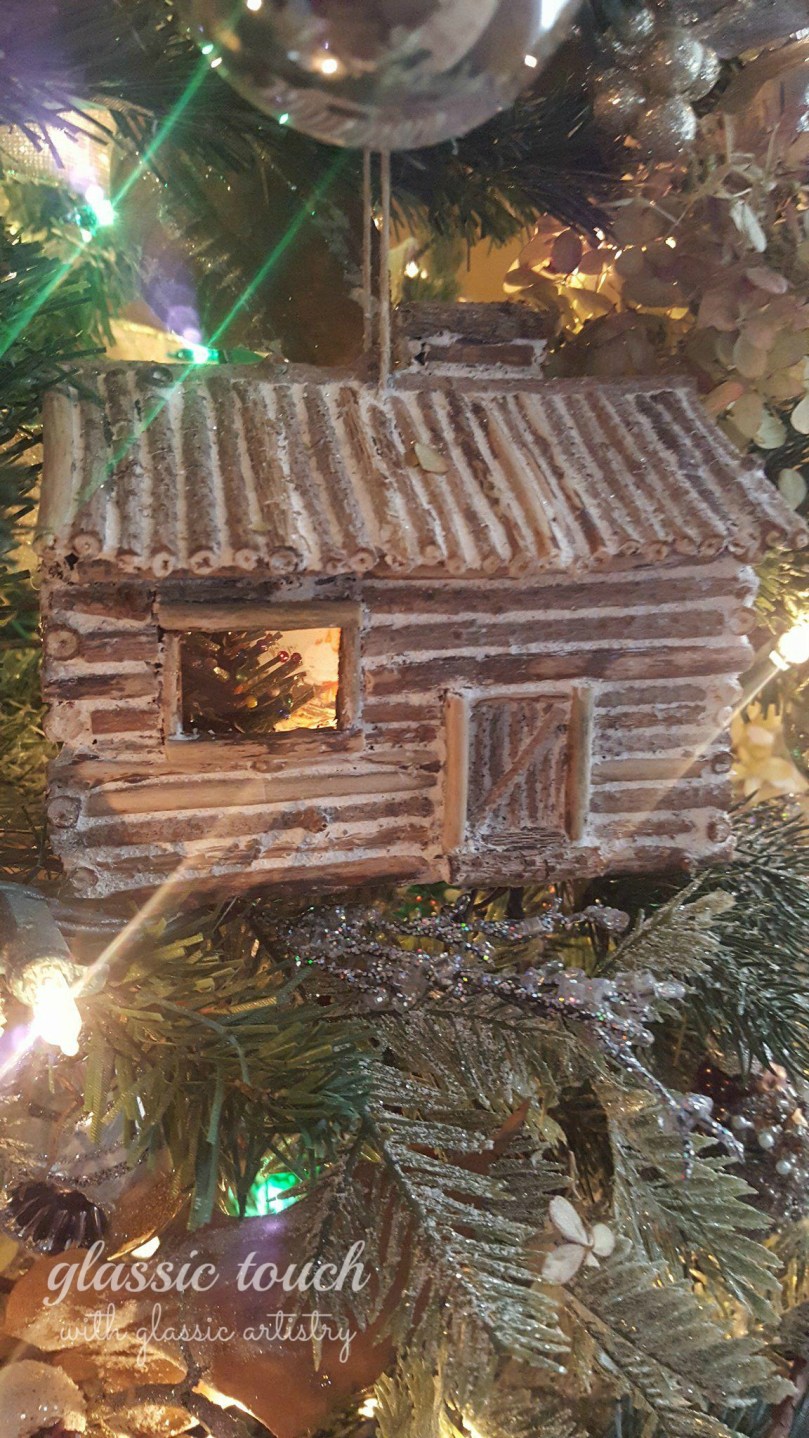
Ready for the tree!
I hope your Christmas is full of love, laughter, and merry making! Happy New Year!


Amazing,you are so creative! 🙂 ♥
LikeLiked by 1 person
Such a nice compliment, Thank You. My grand kids still look forward to this ornament at Christmas time.
LikeLiked by 1 person