Vintage Style Toilet Paper Storage

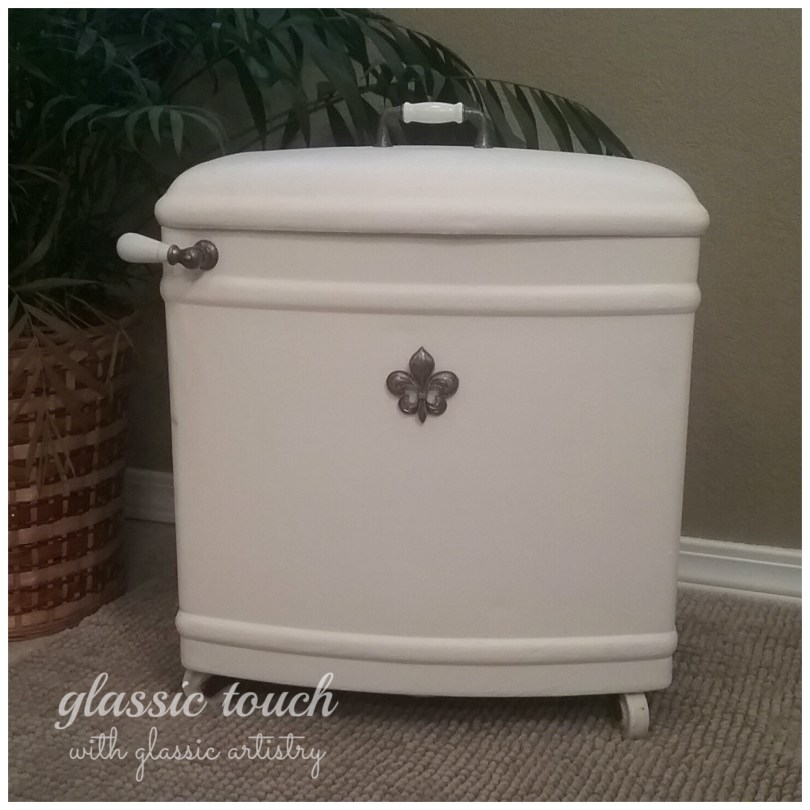
I finally thought of a useful purpose for the curious little copper piece I picked up at @gypsyalleyus last year. Some of you may remember seeing it on my Facebook page. I definitely remember the dumbfounded look on my husband’s face when I unloaded it from the back of my car. Once again, I didn’t have a clue as to what I was going to do with it either, but, recently, as I was looking for a cute way to store spare rolls of TP in the bathroom, the answer seemed obvious.

12604771_1068090996546224_4132676436179310669_o

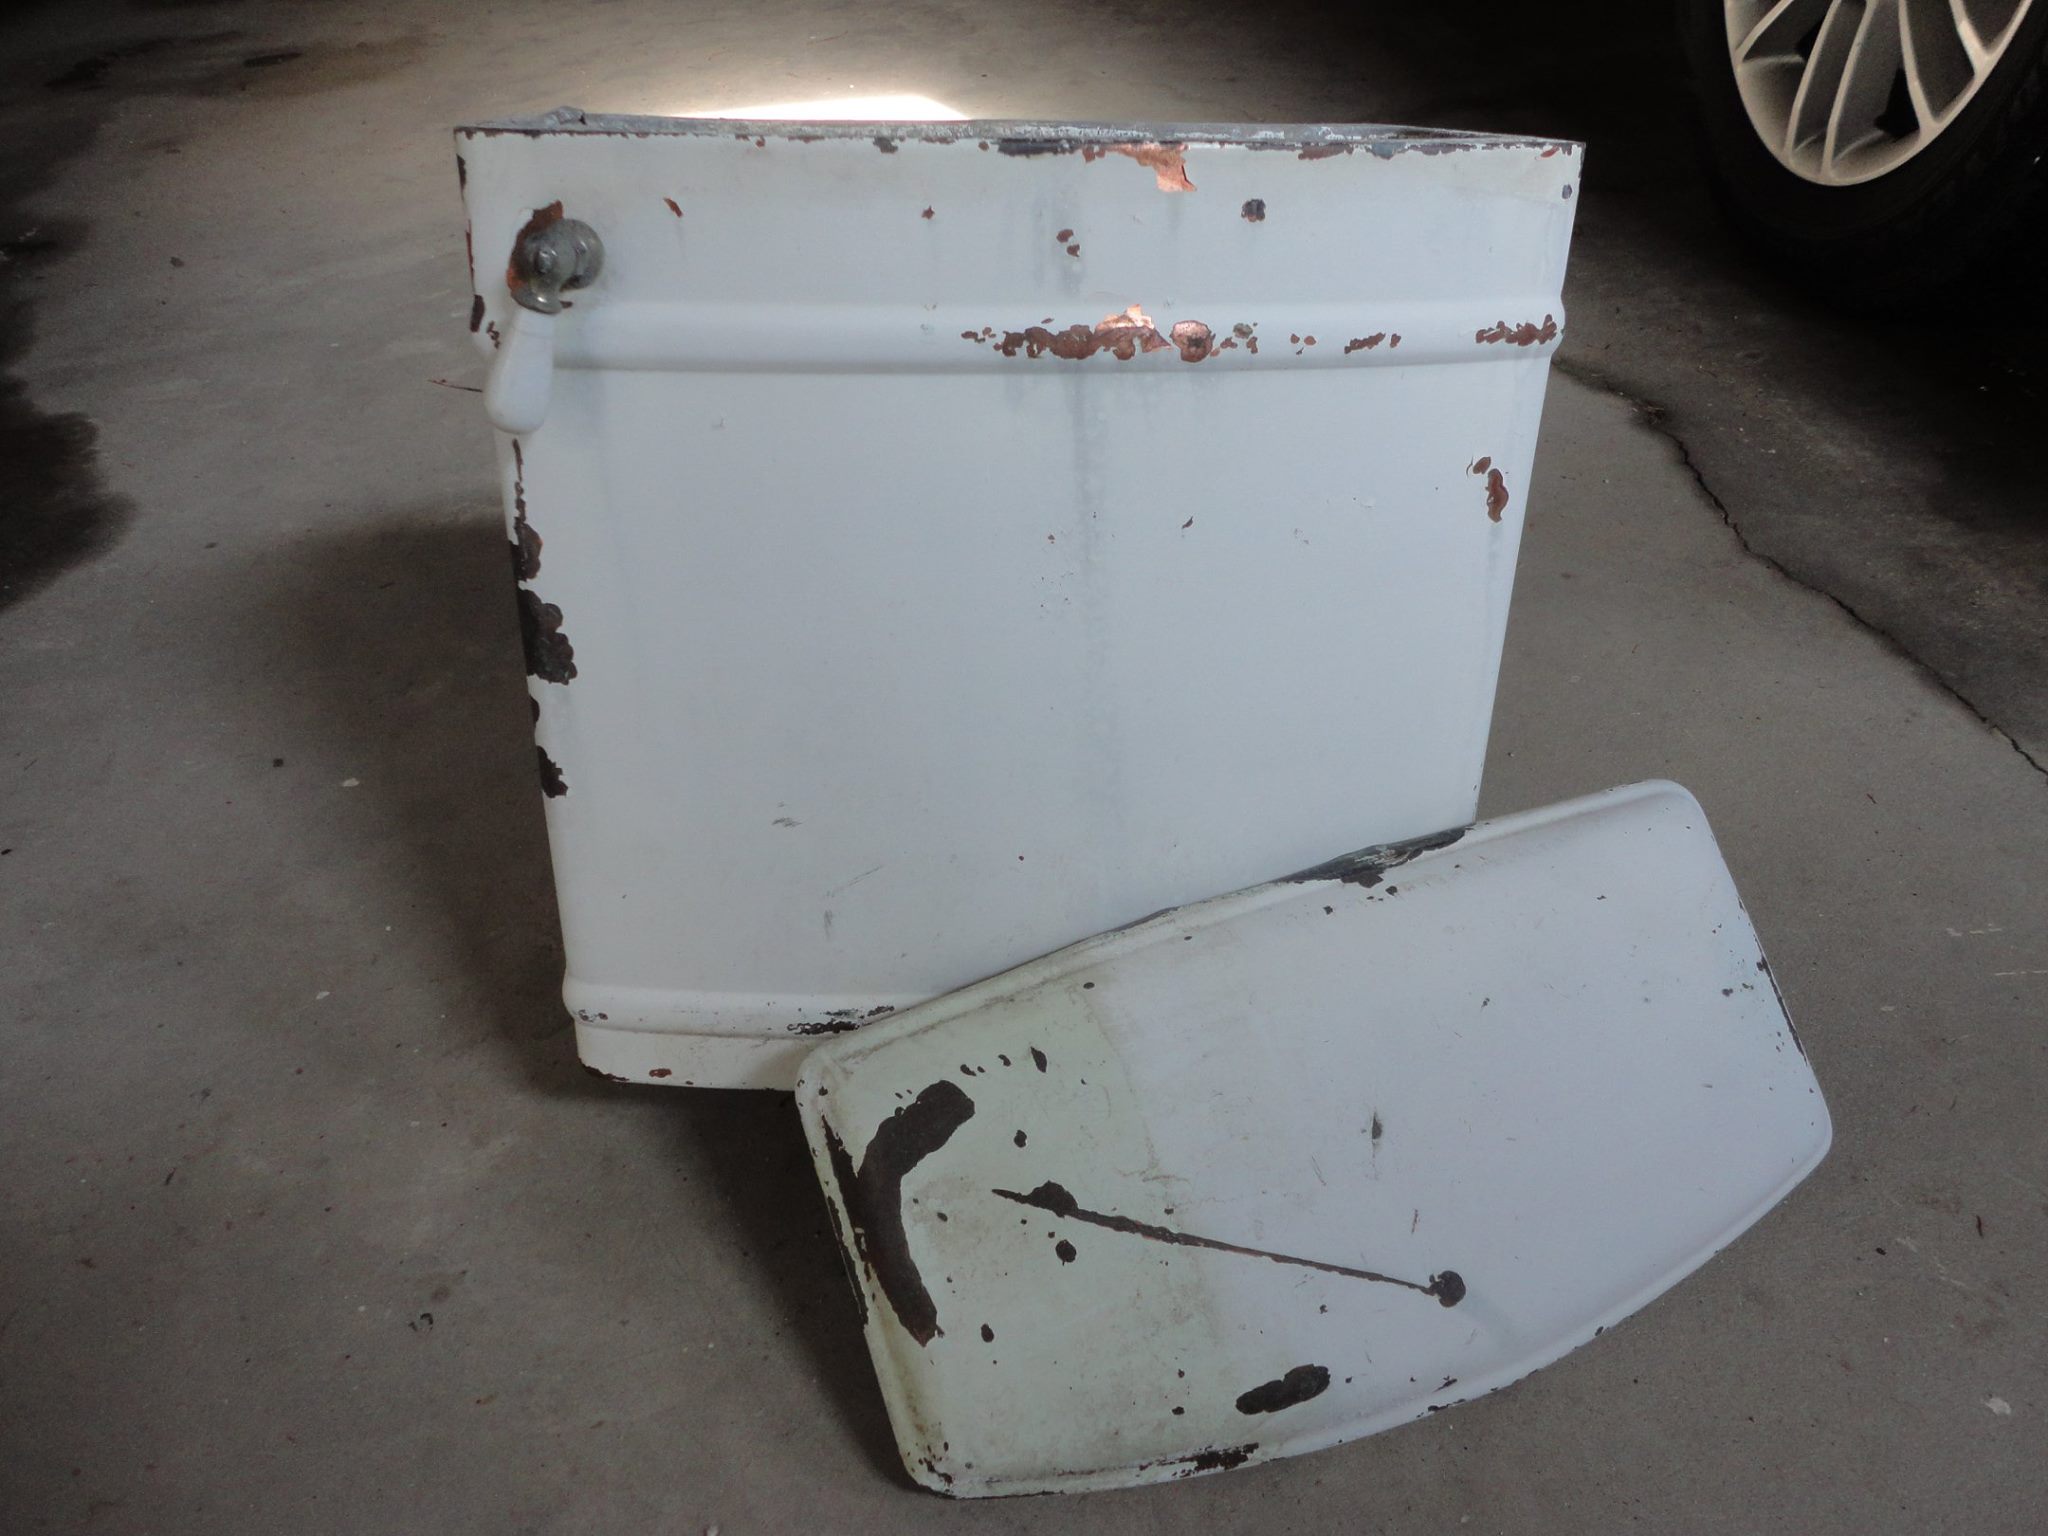
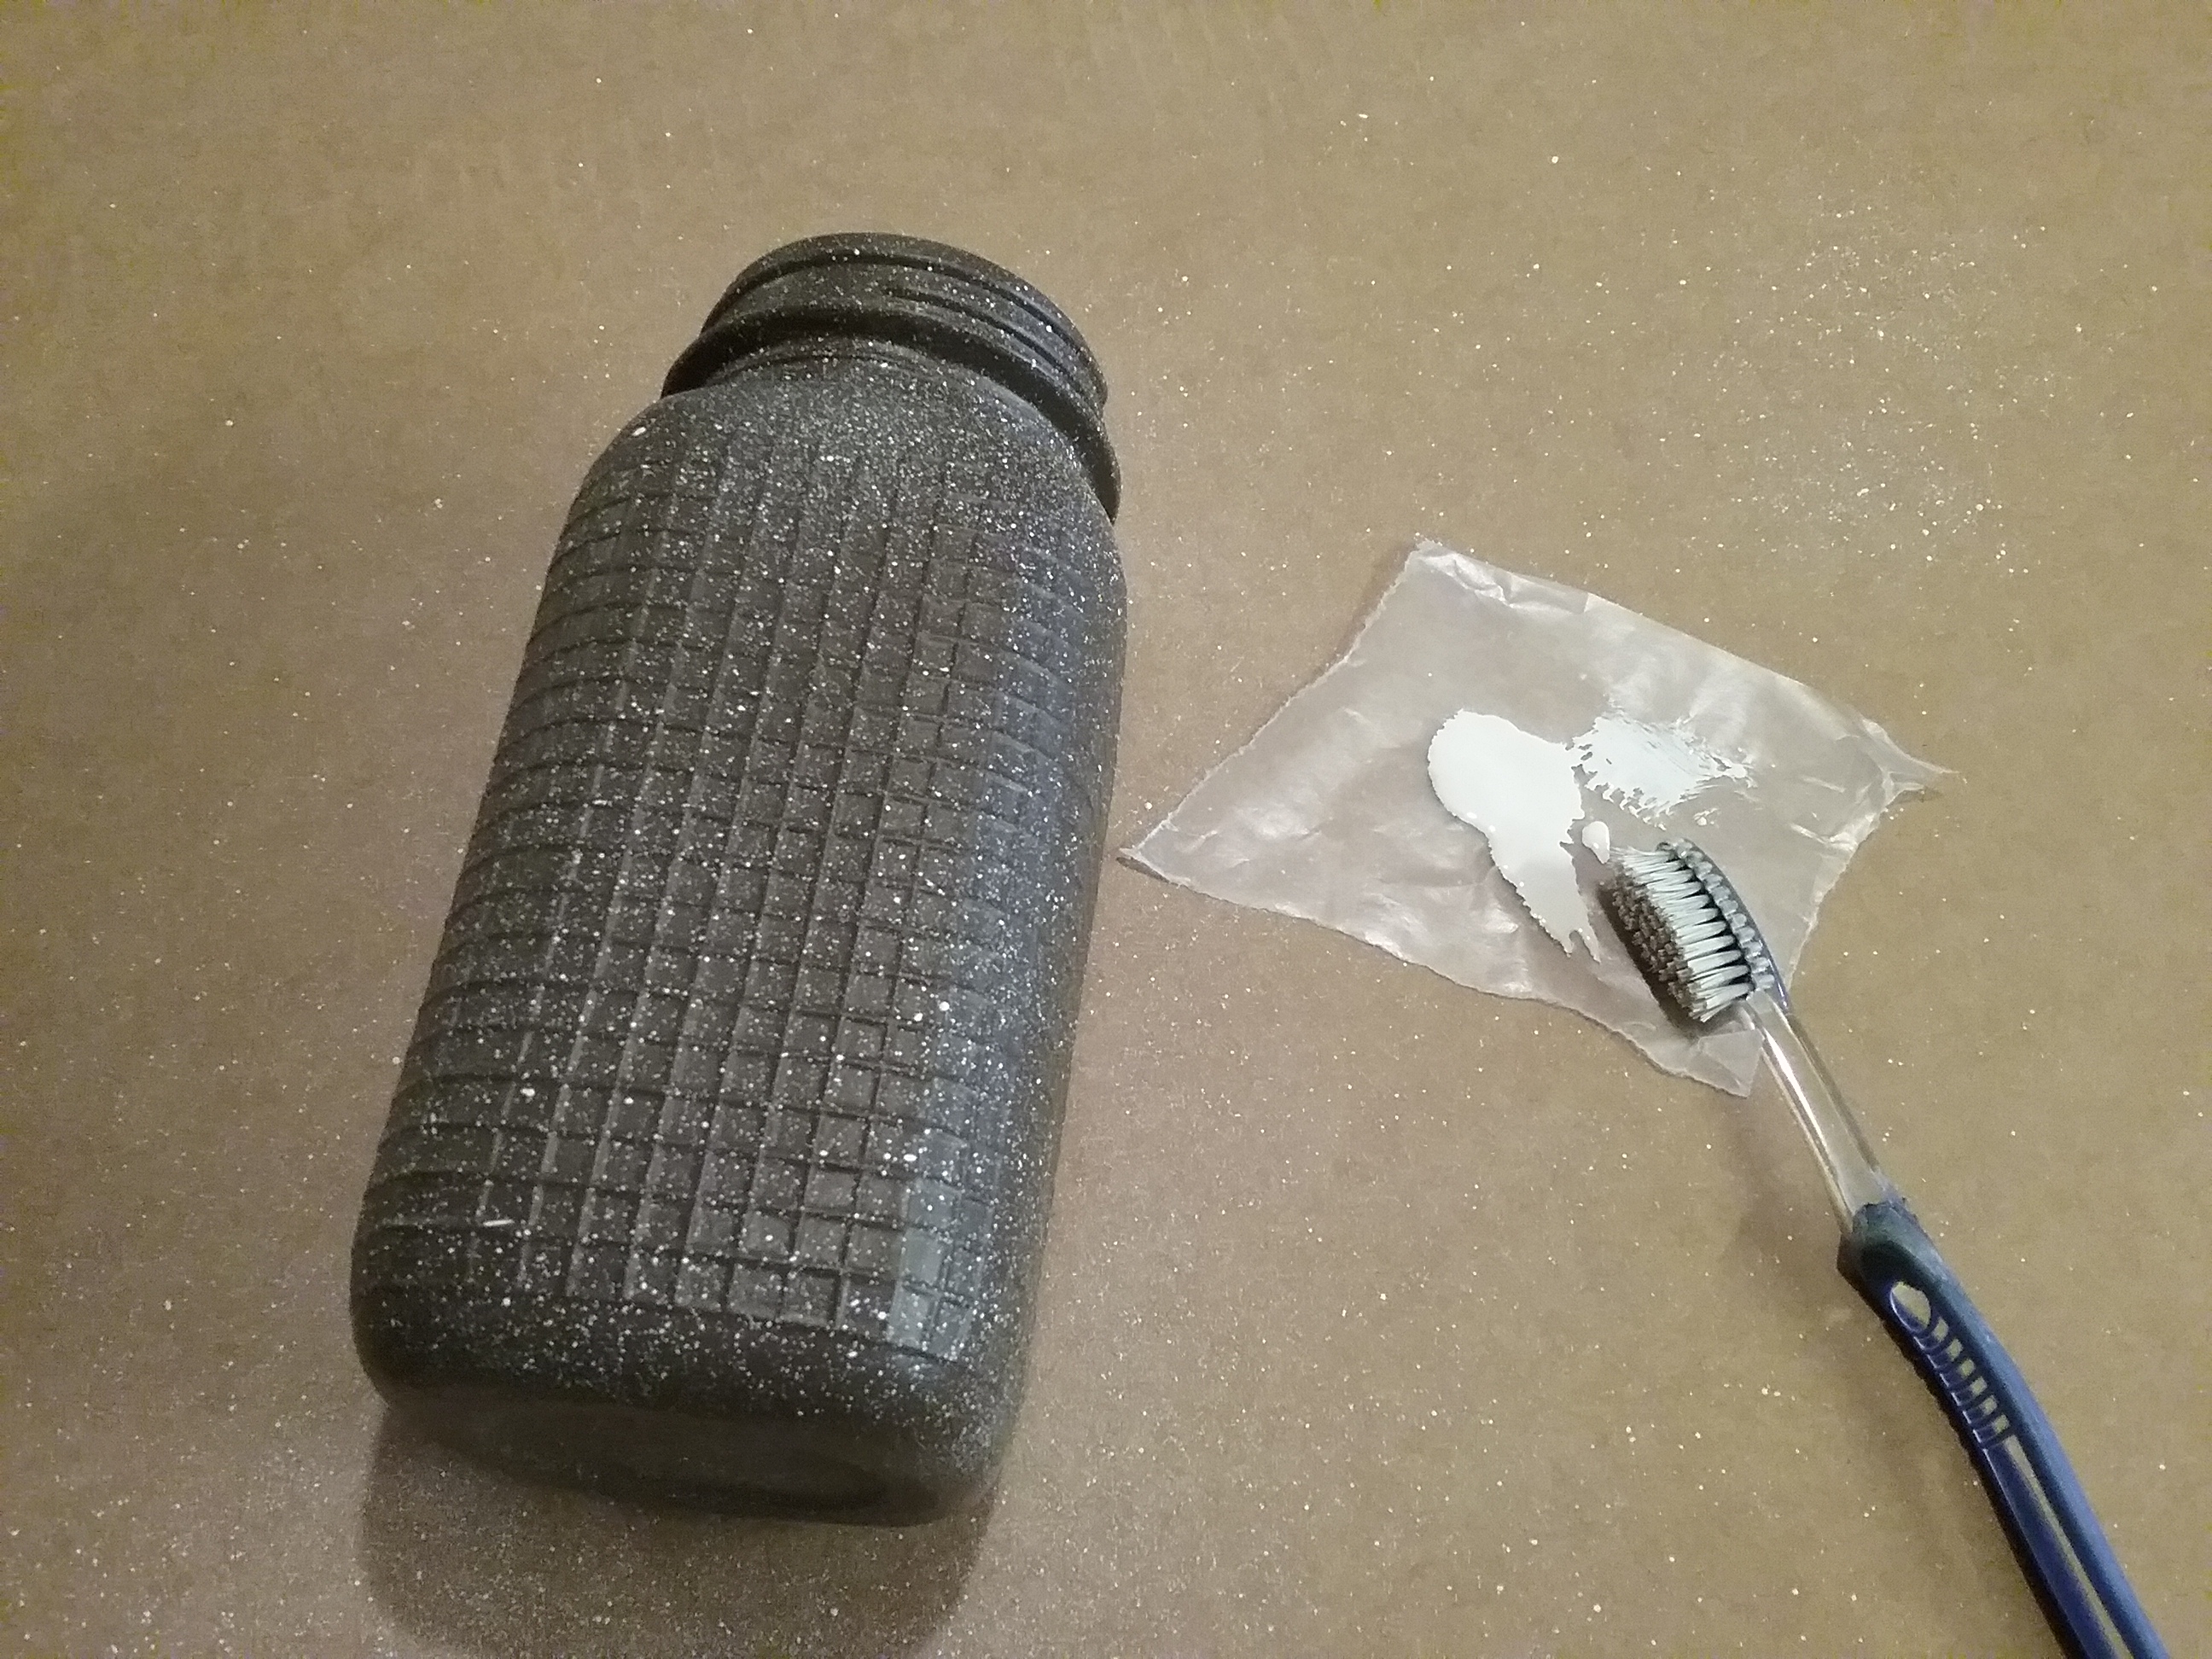
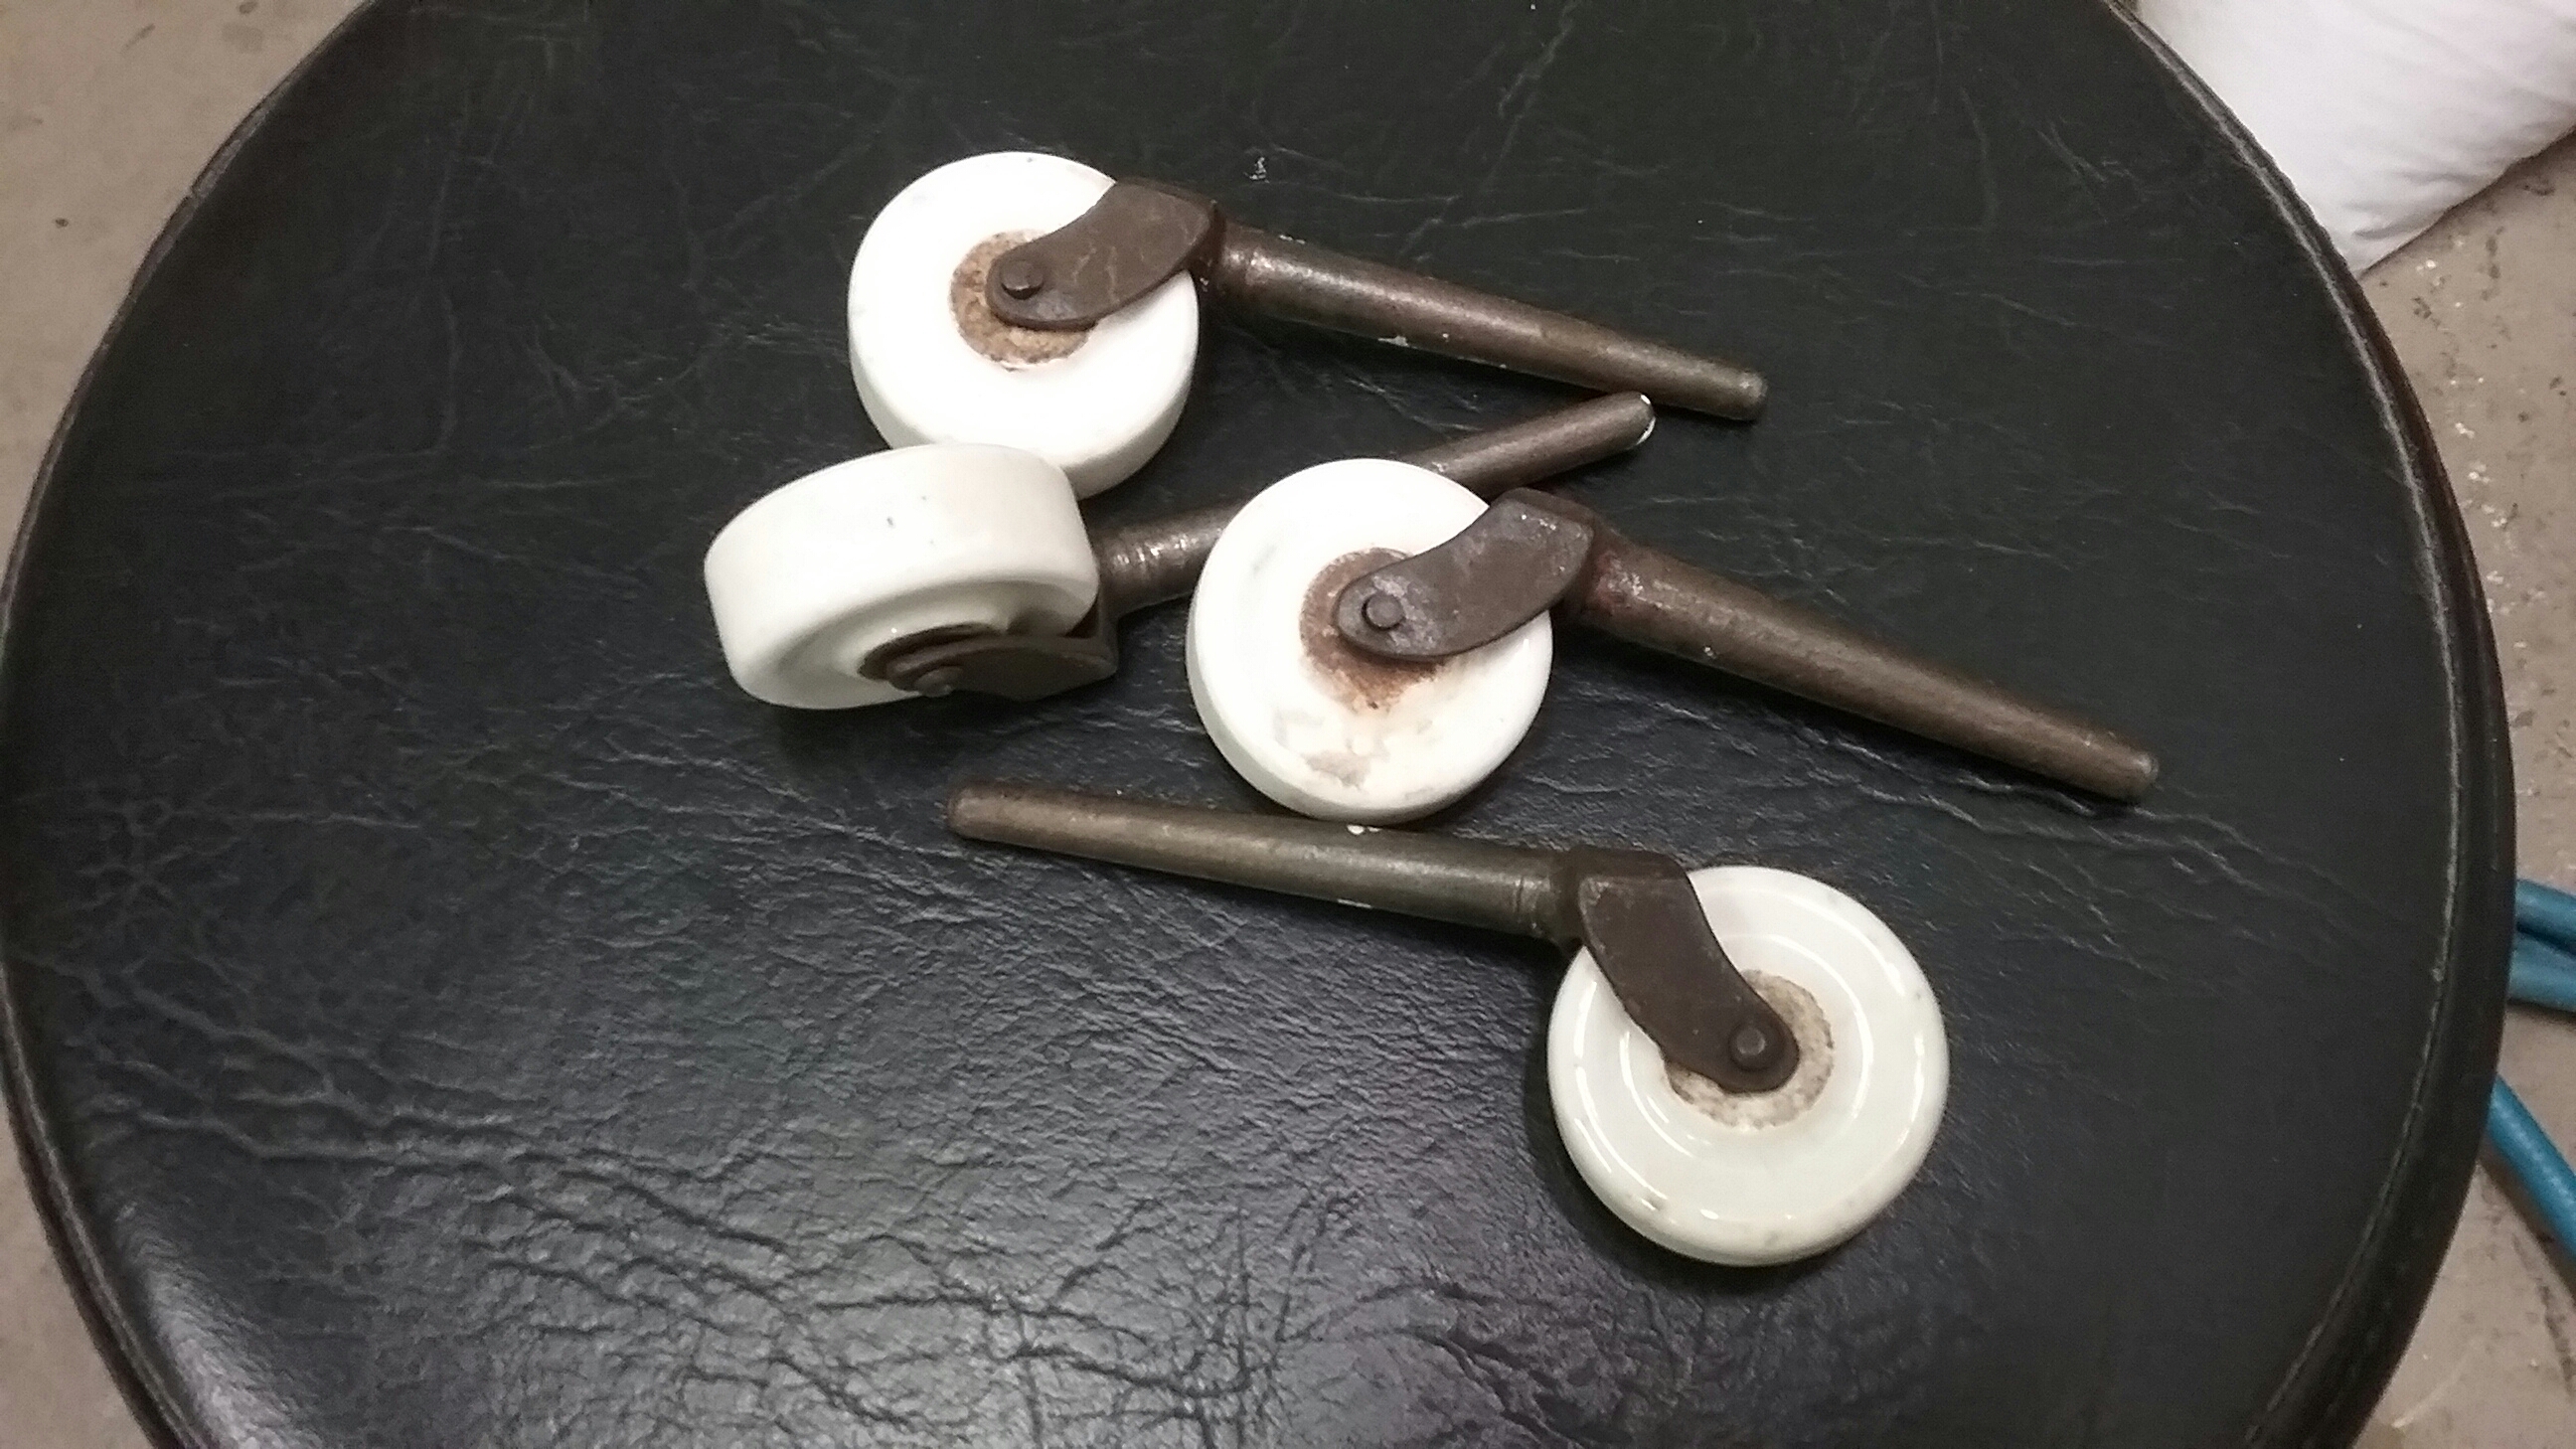
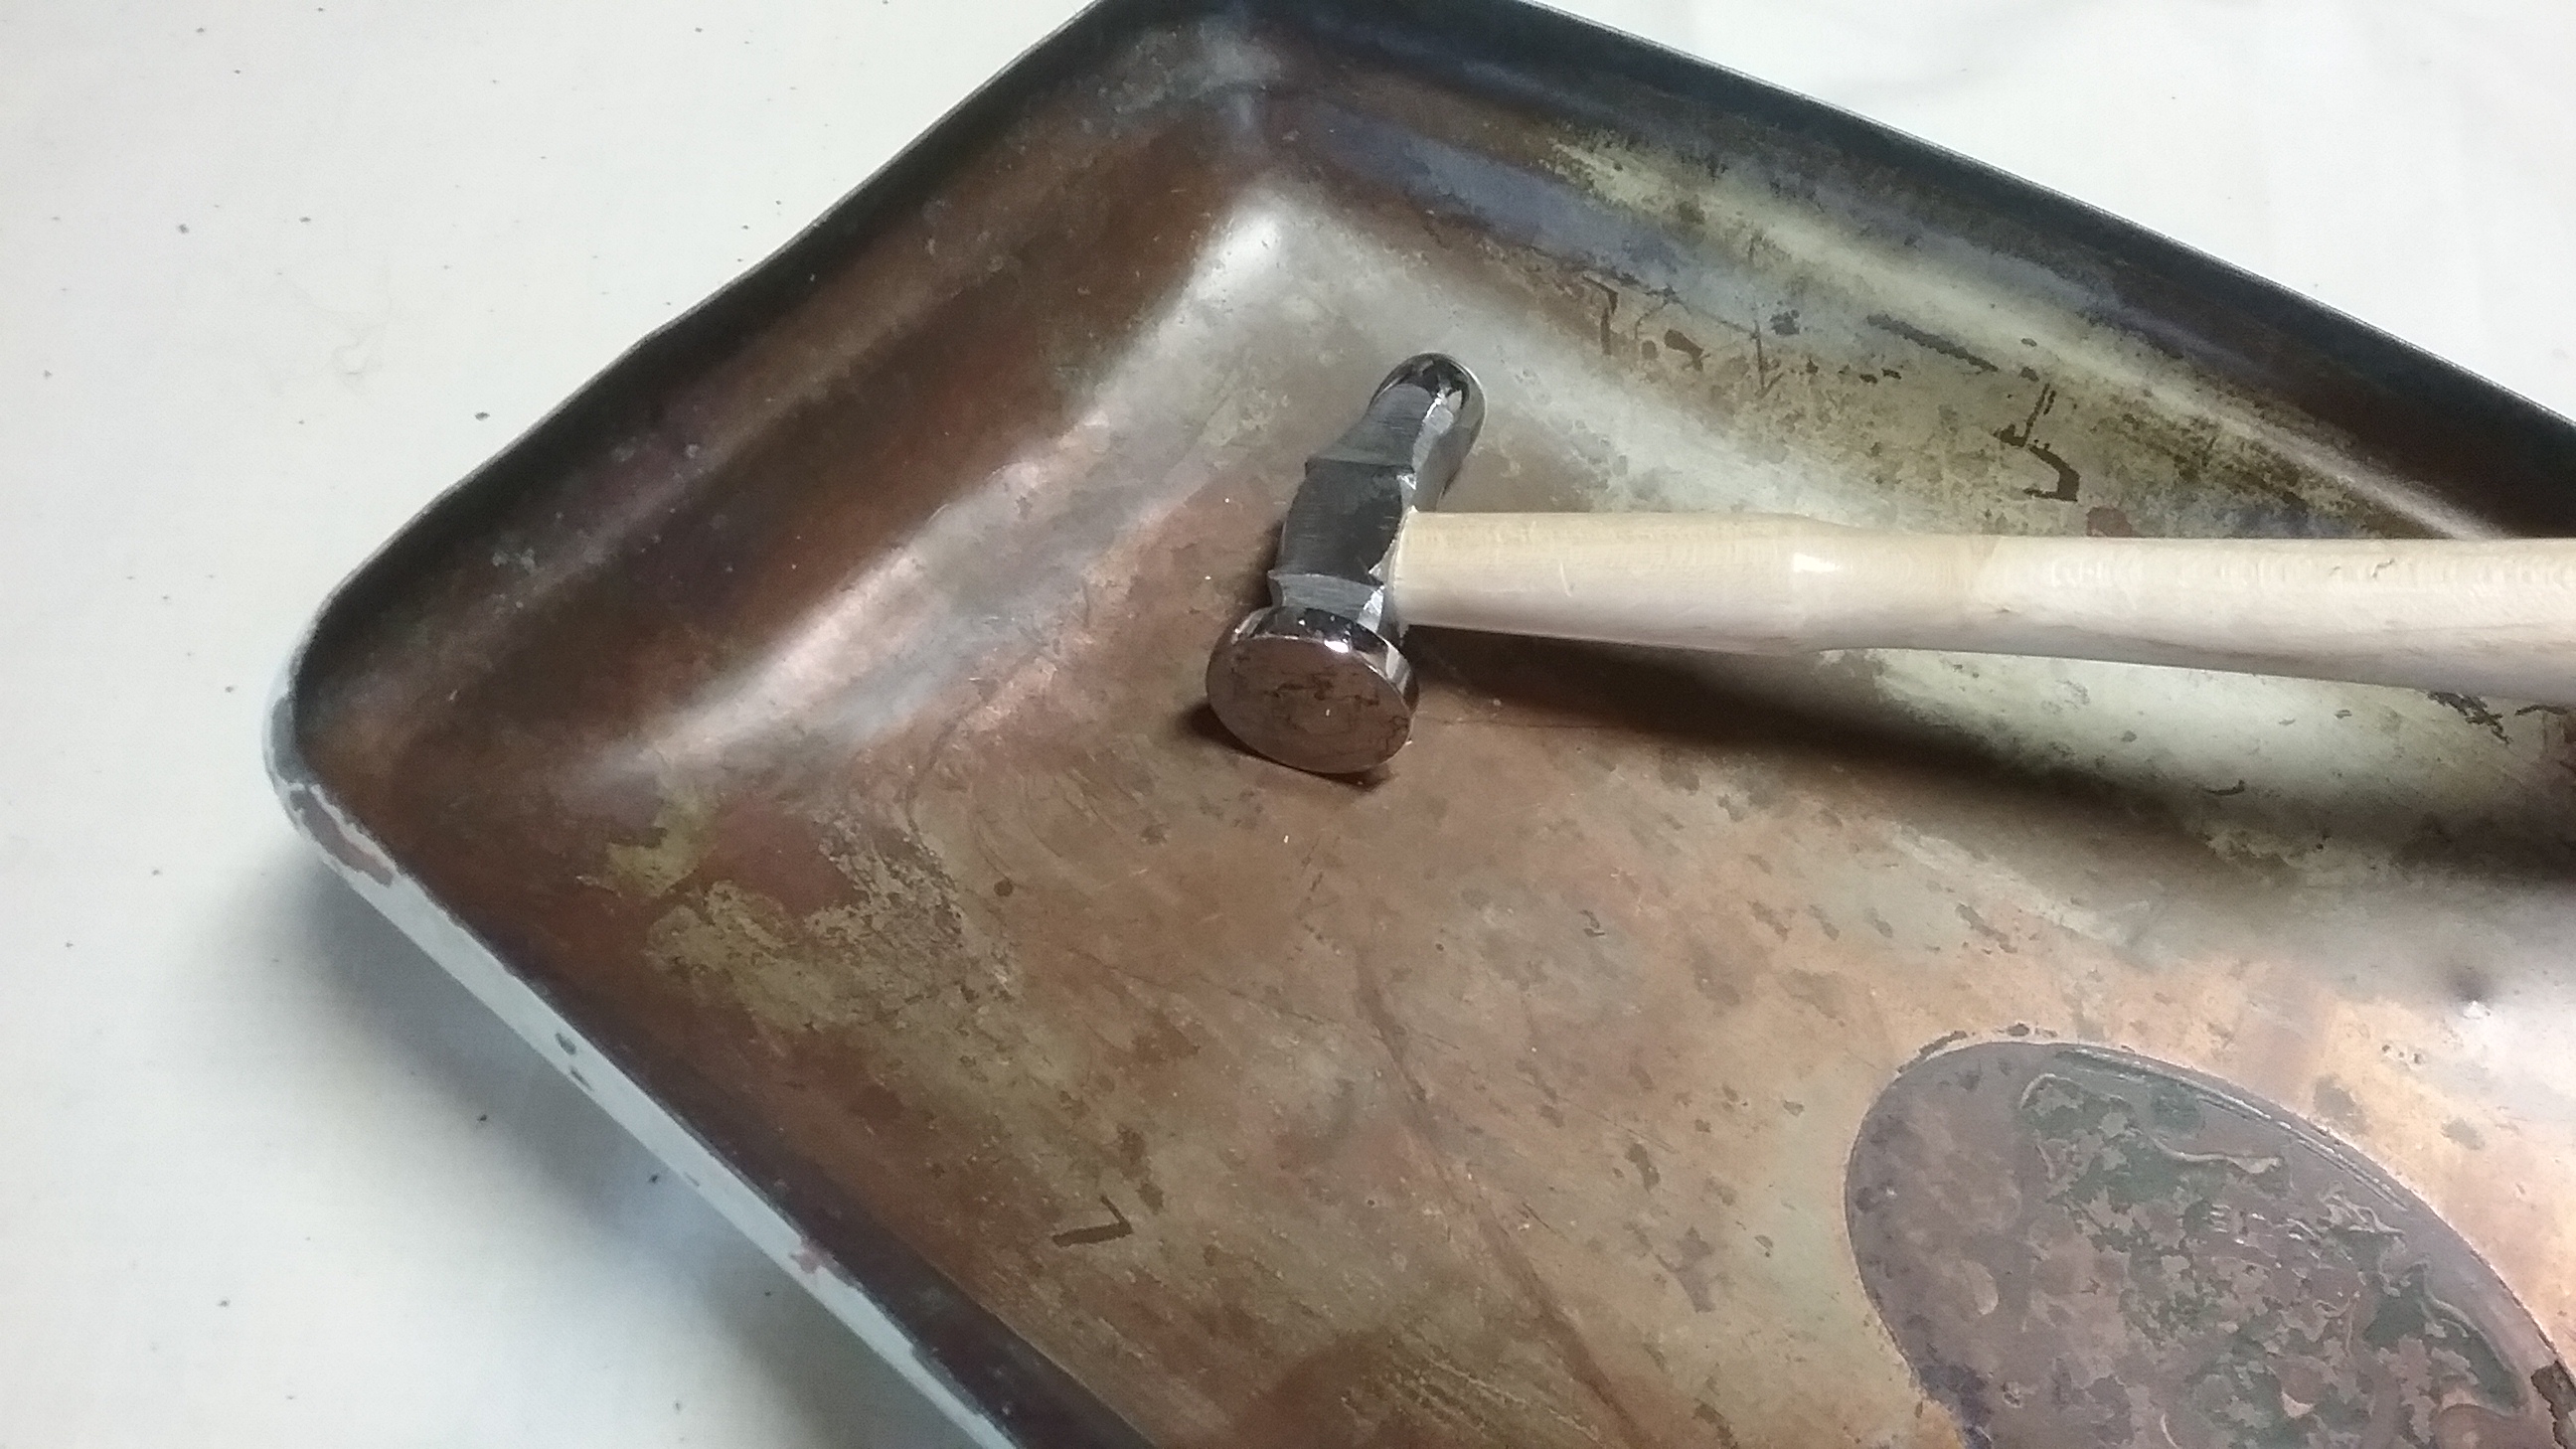
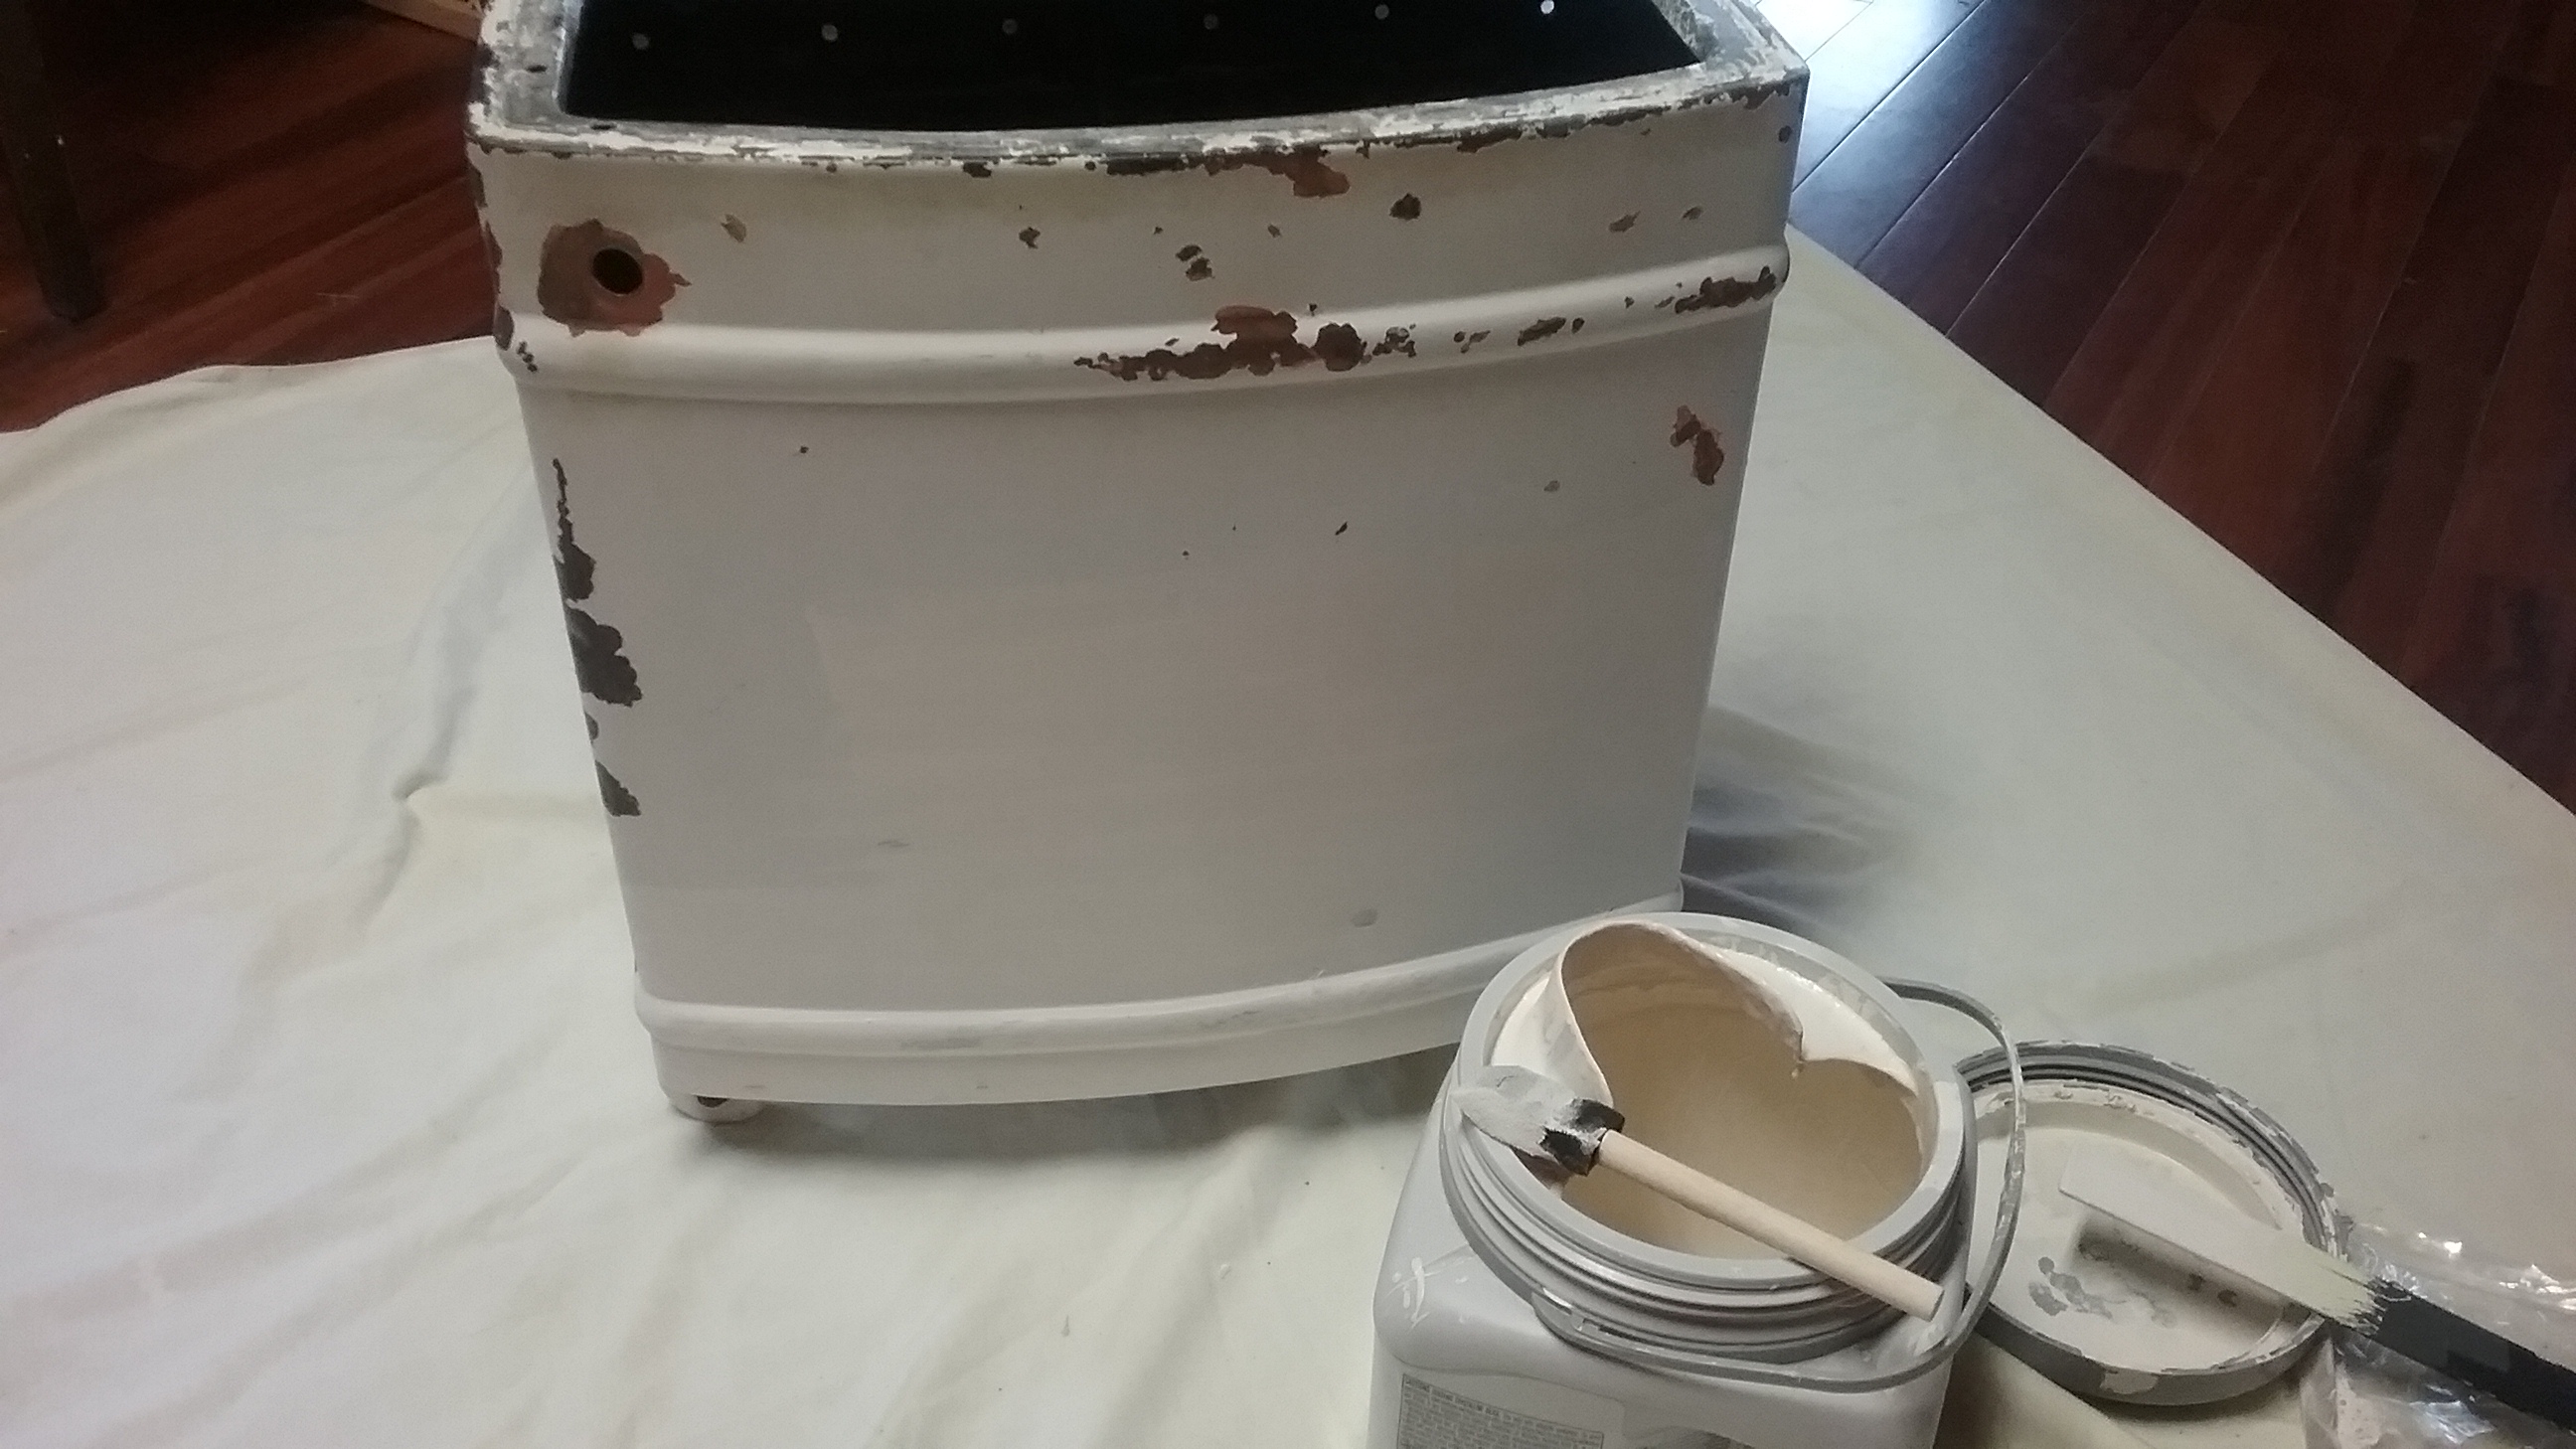
Before I could get started, all the plumbing was removed from the inside of the tank and it was given a disinfecting scrub. I had to find a set of four 1 1/2″ dia. vintage porcelain casters, eight large flat washers, and four cotter pins. I tried looking around locally for the casters, then got impatient and ordered some off of Ebay. A toothbrush and some Comet cream cleanser cleaned them right up.

20170216_105459

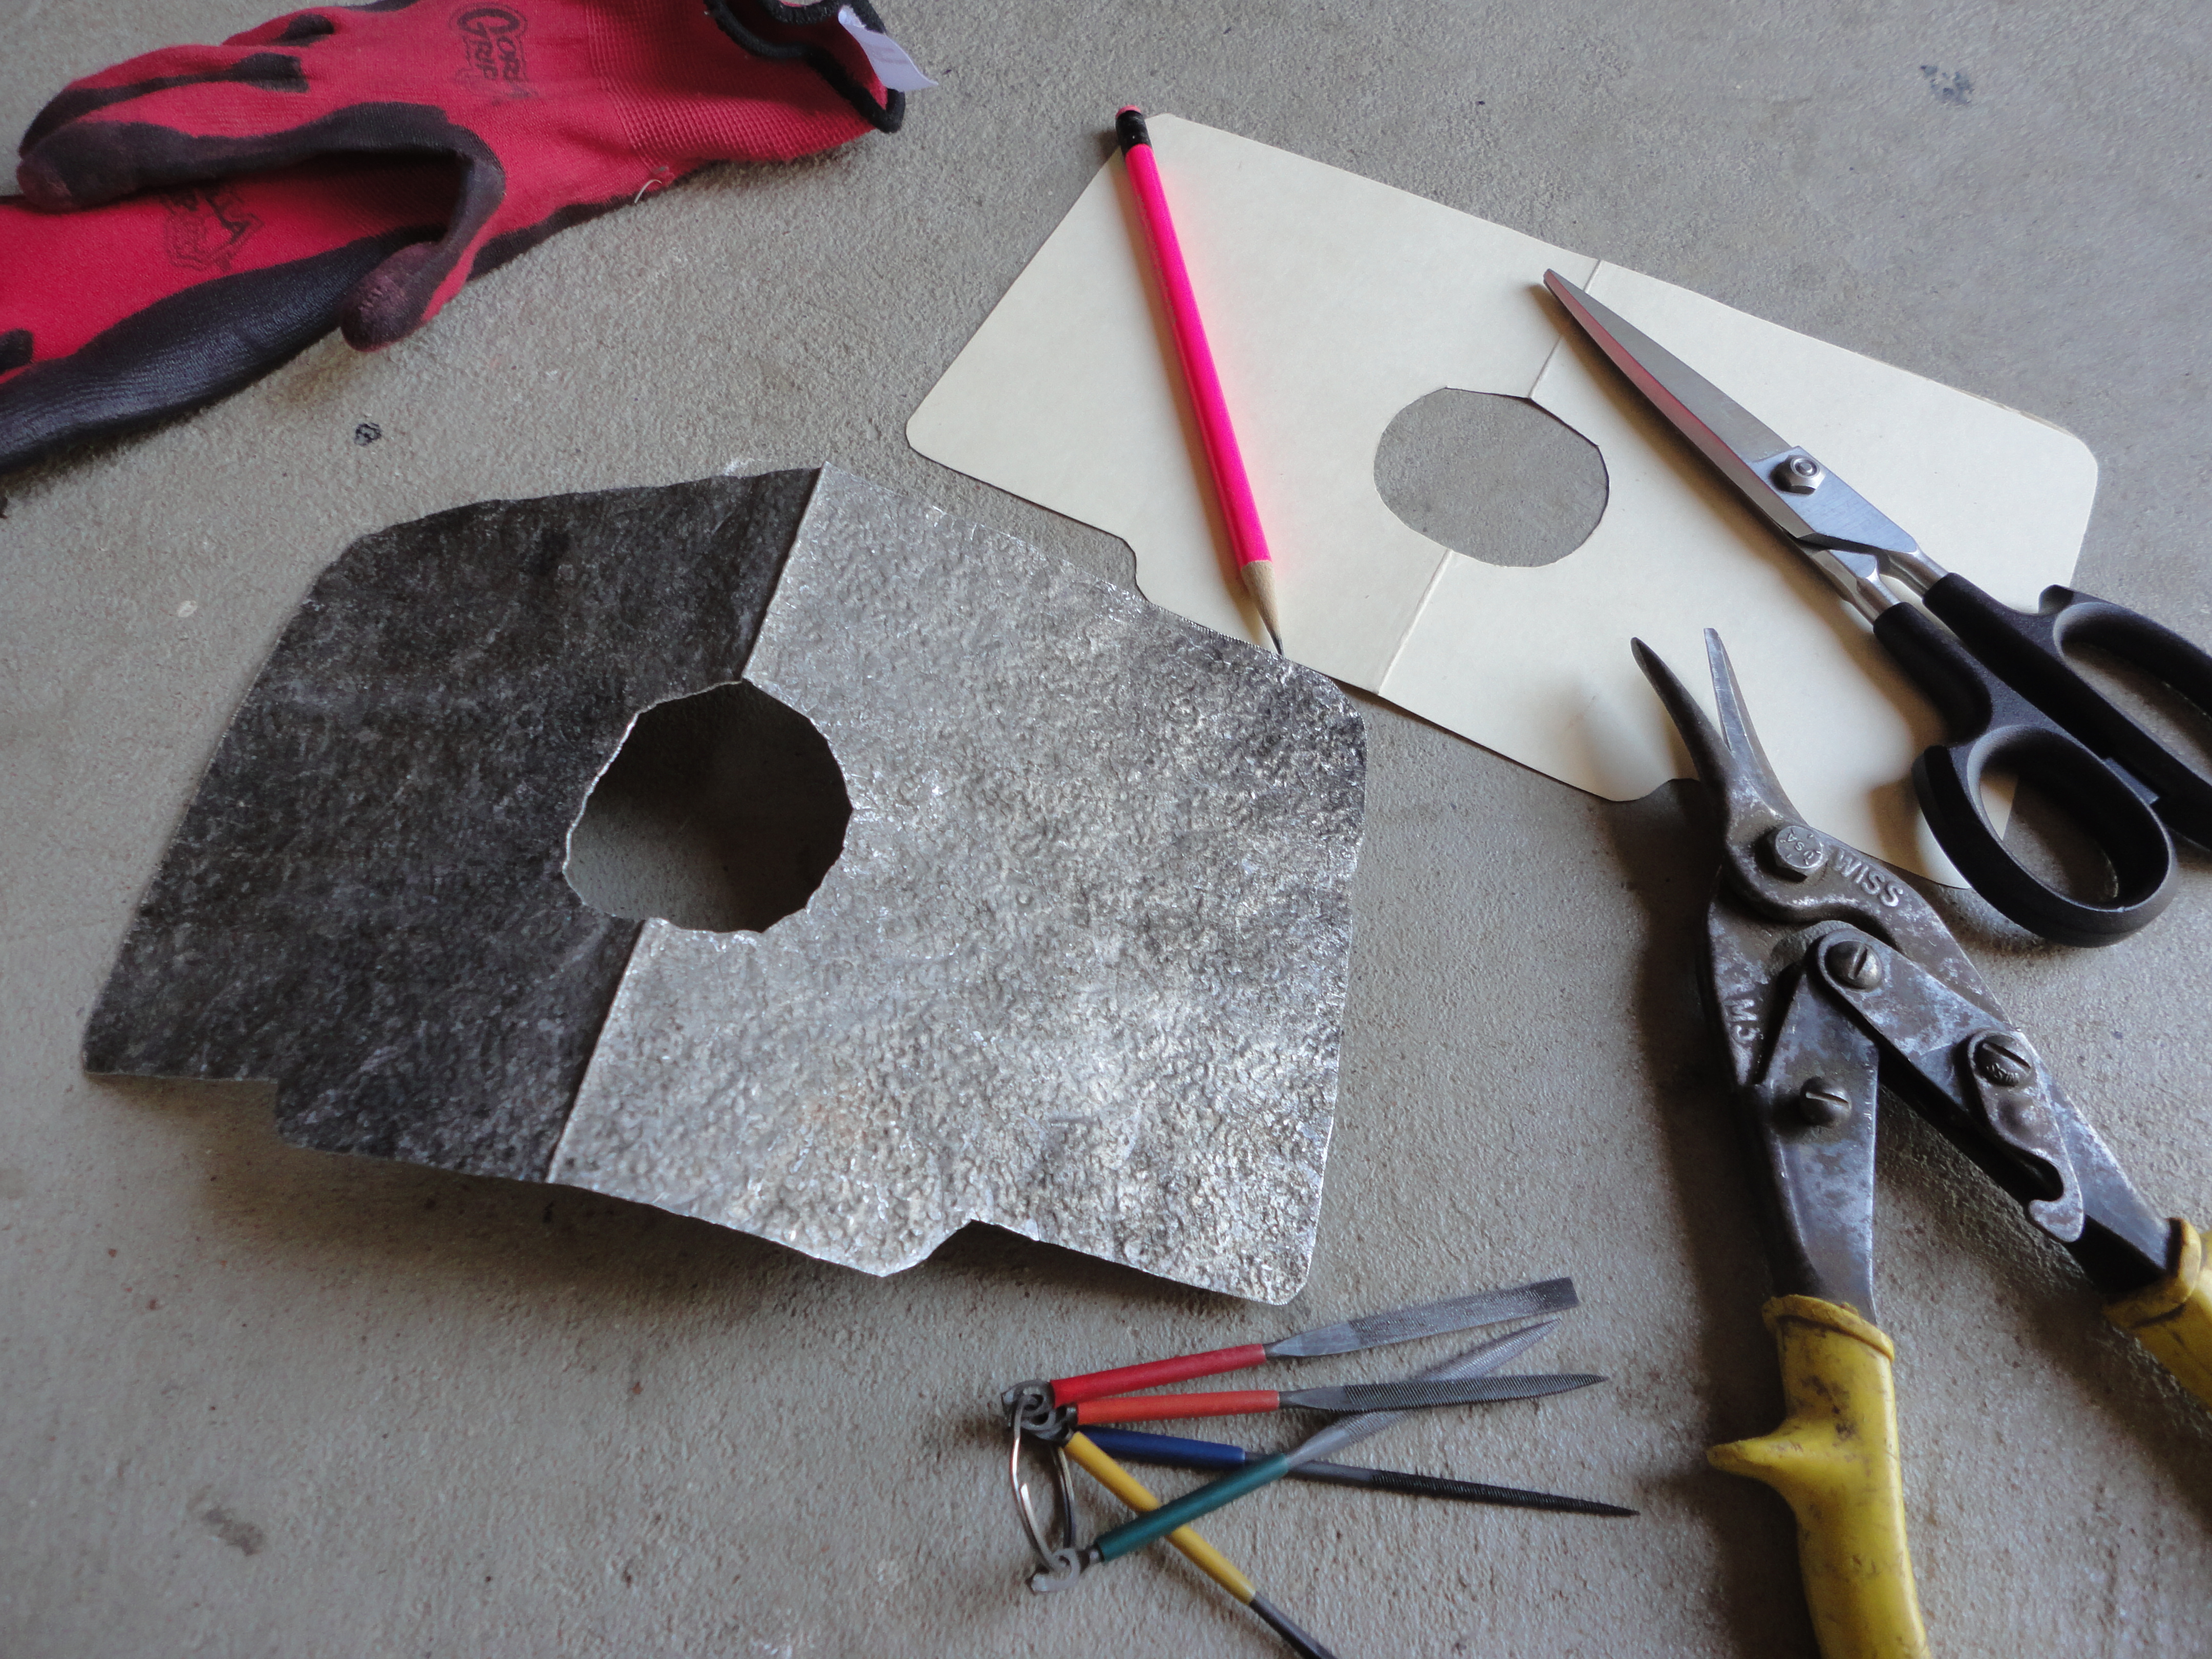
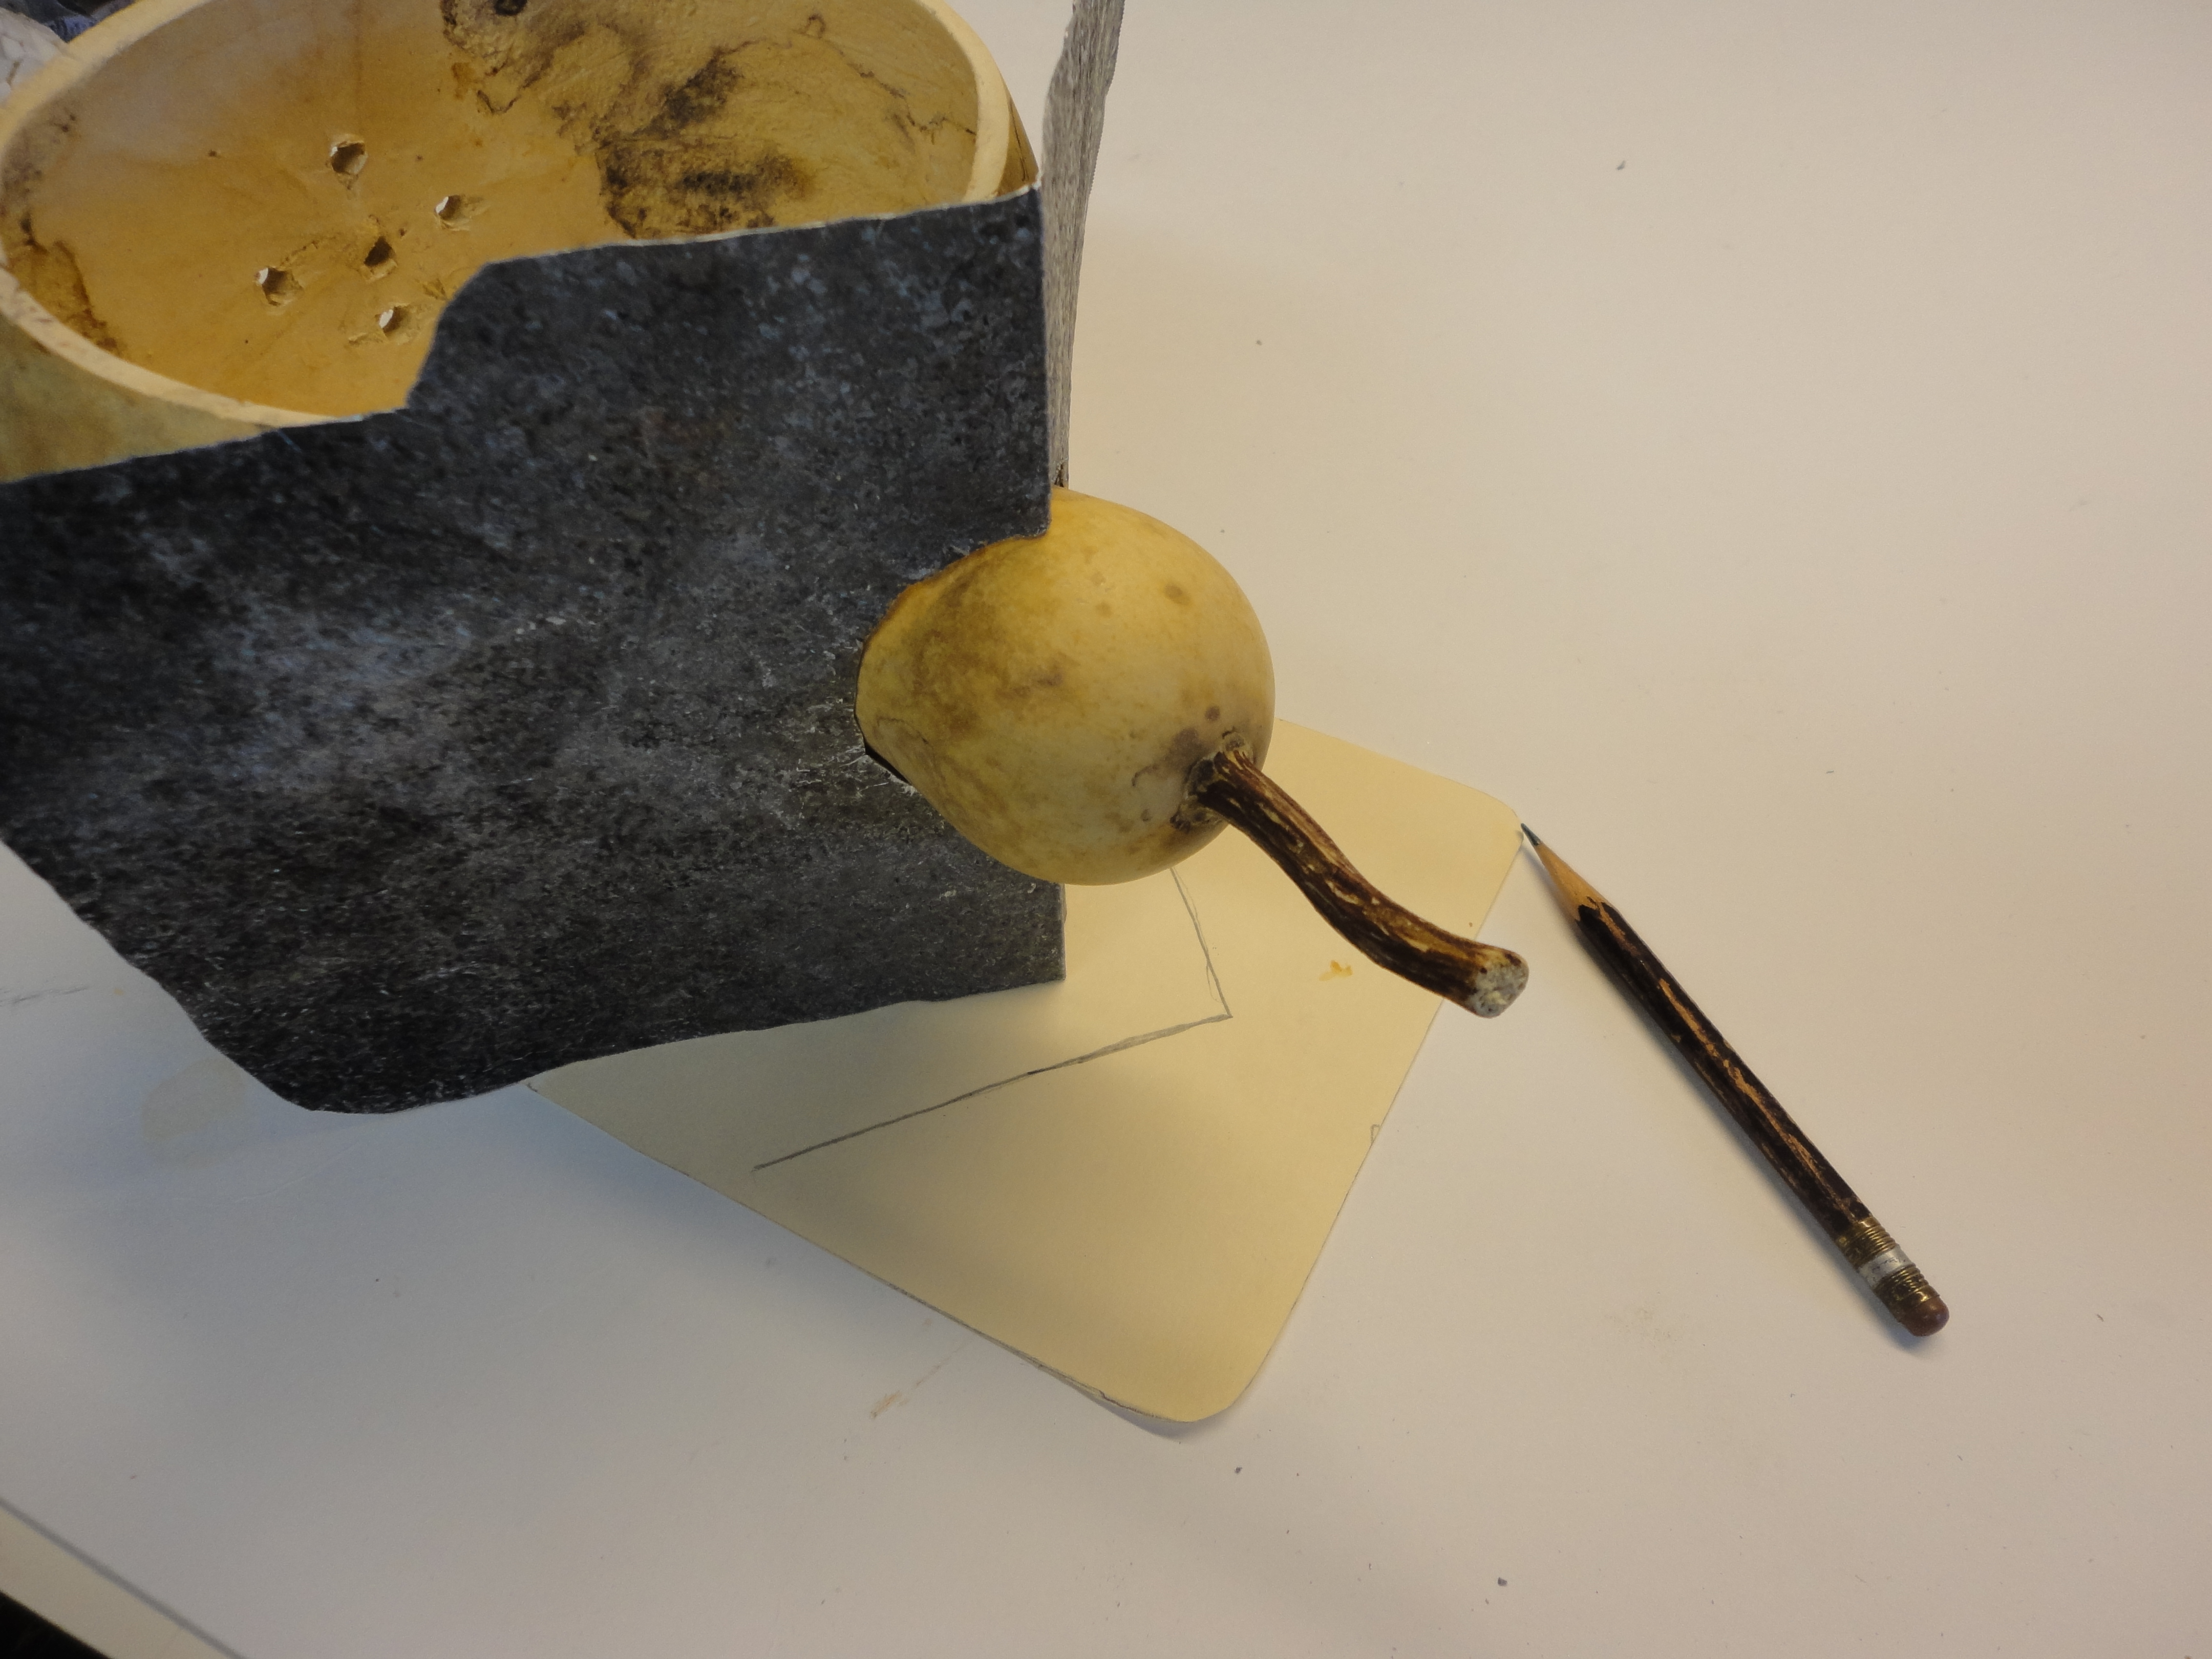
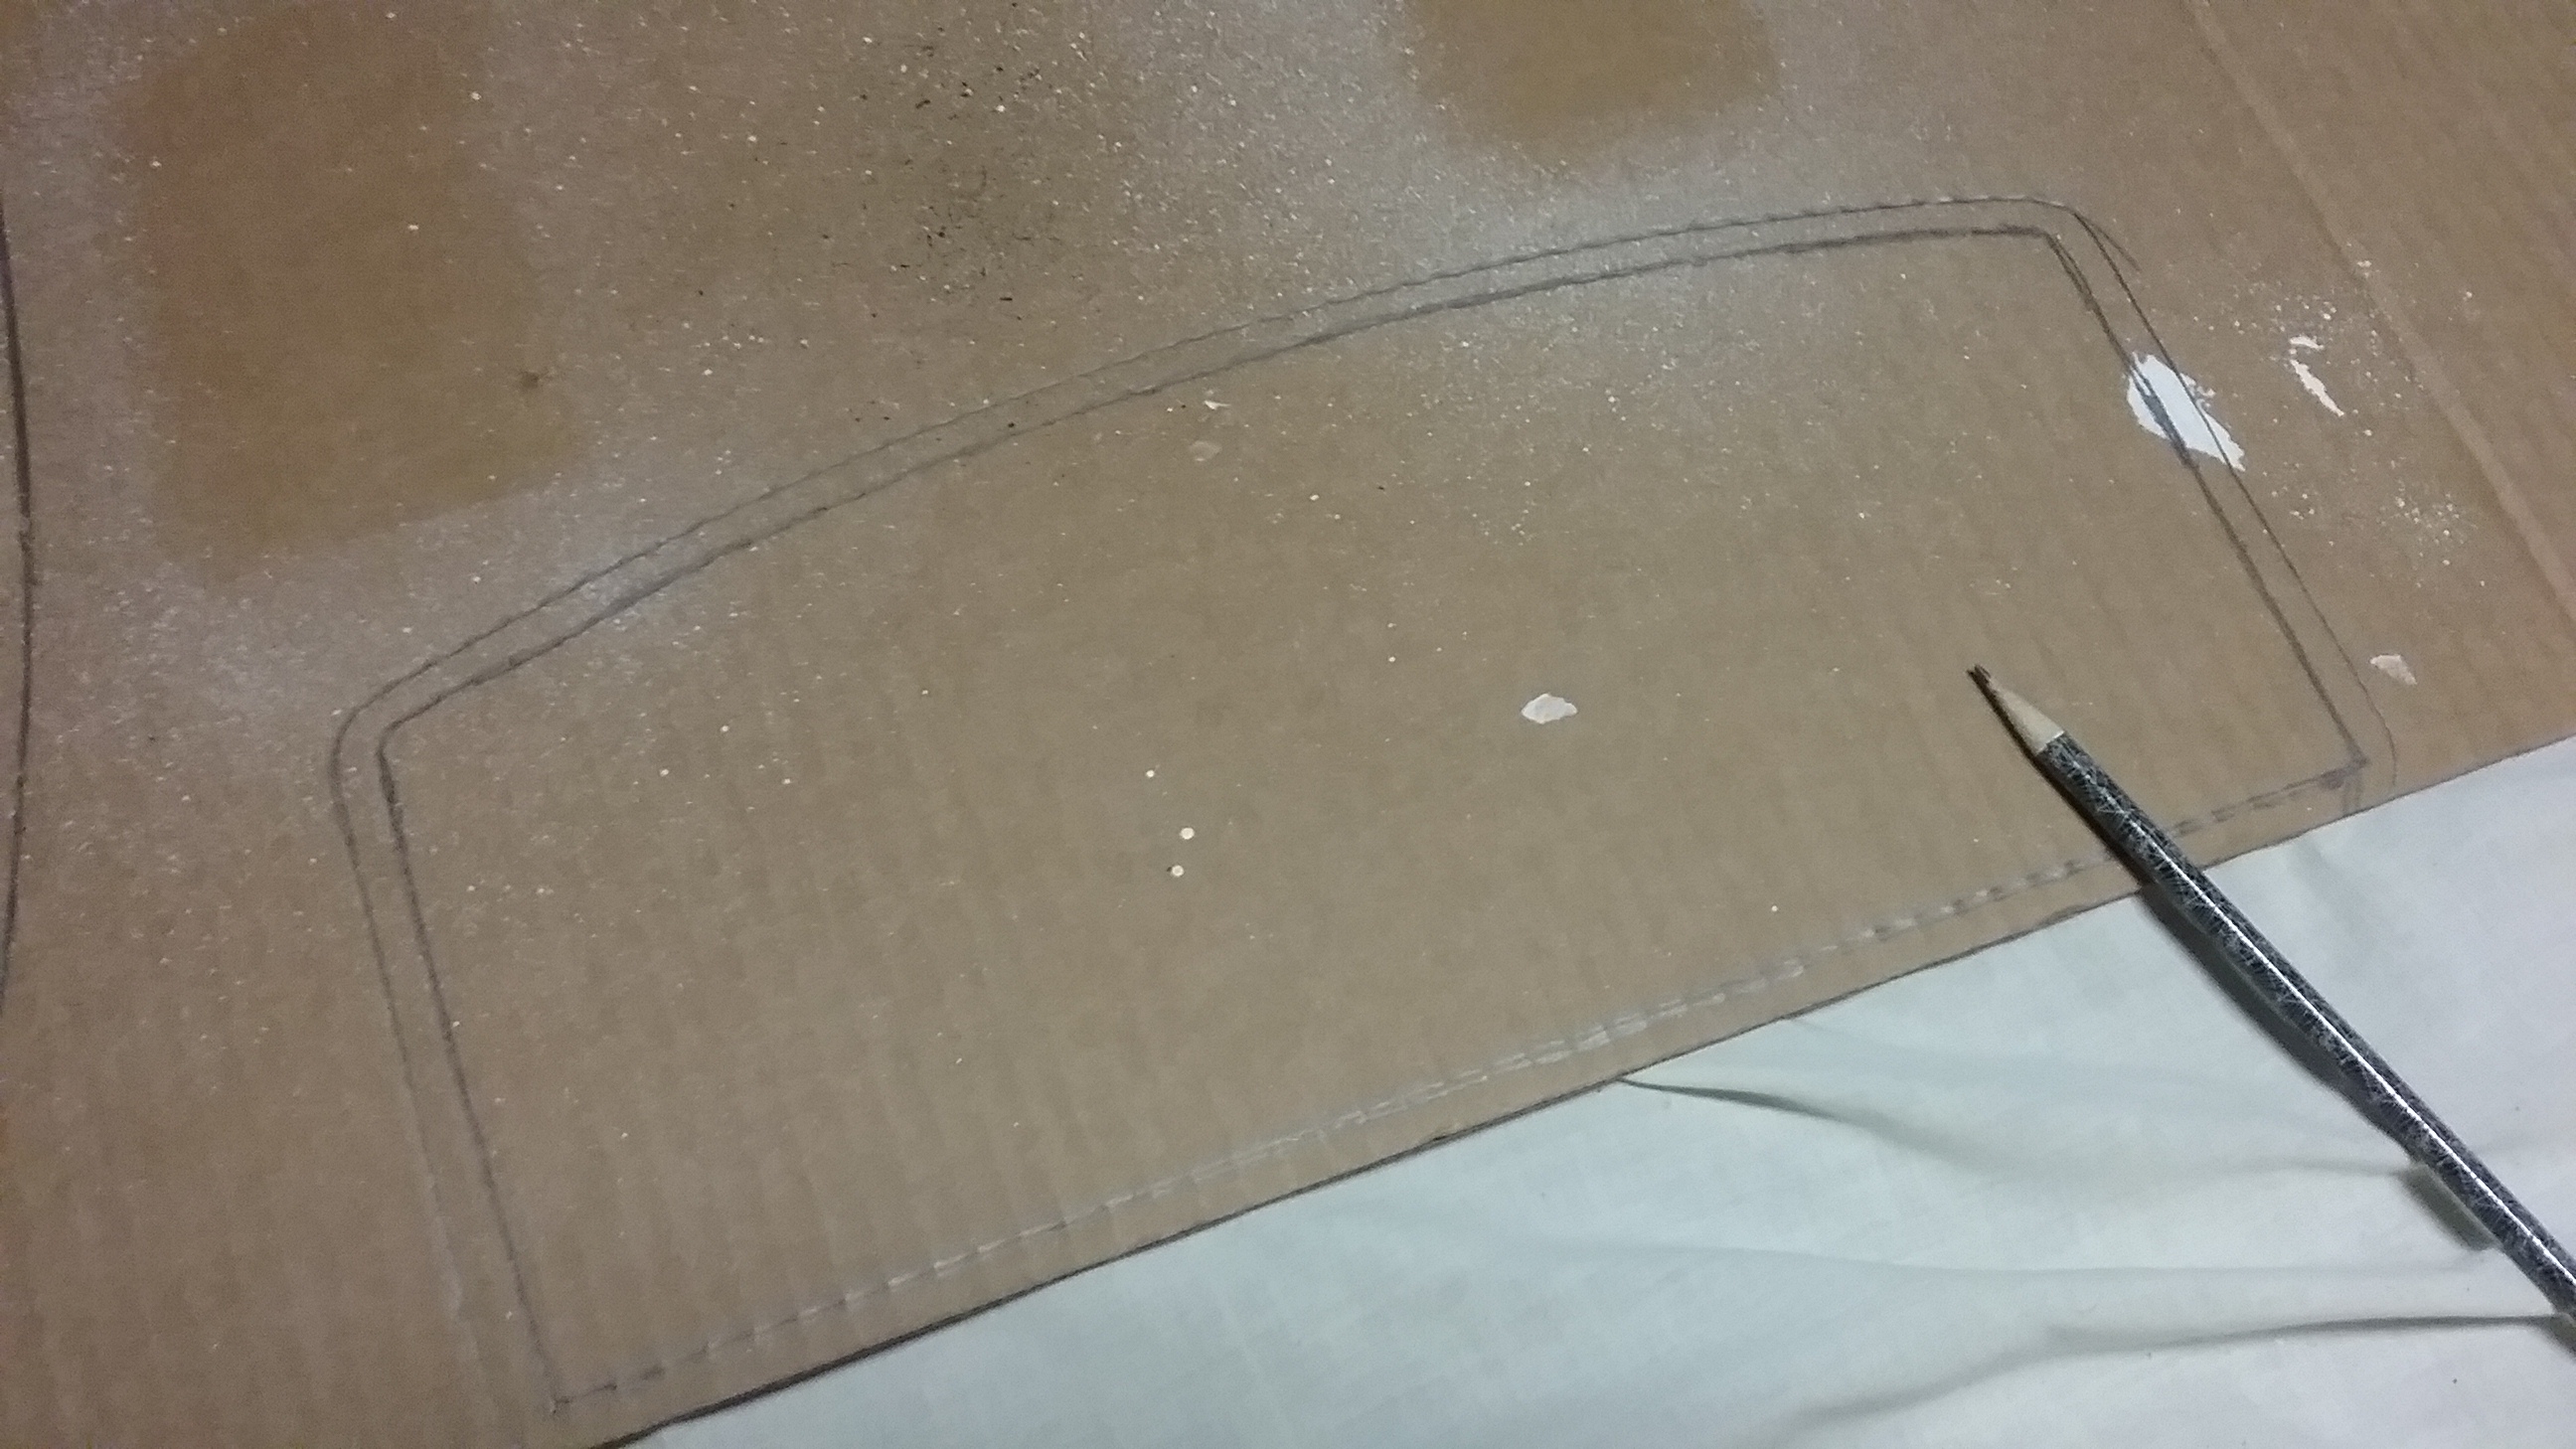
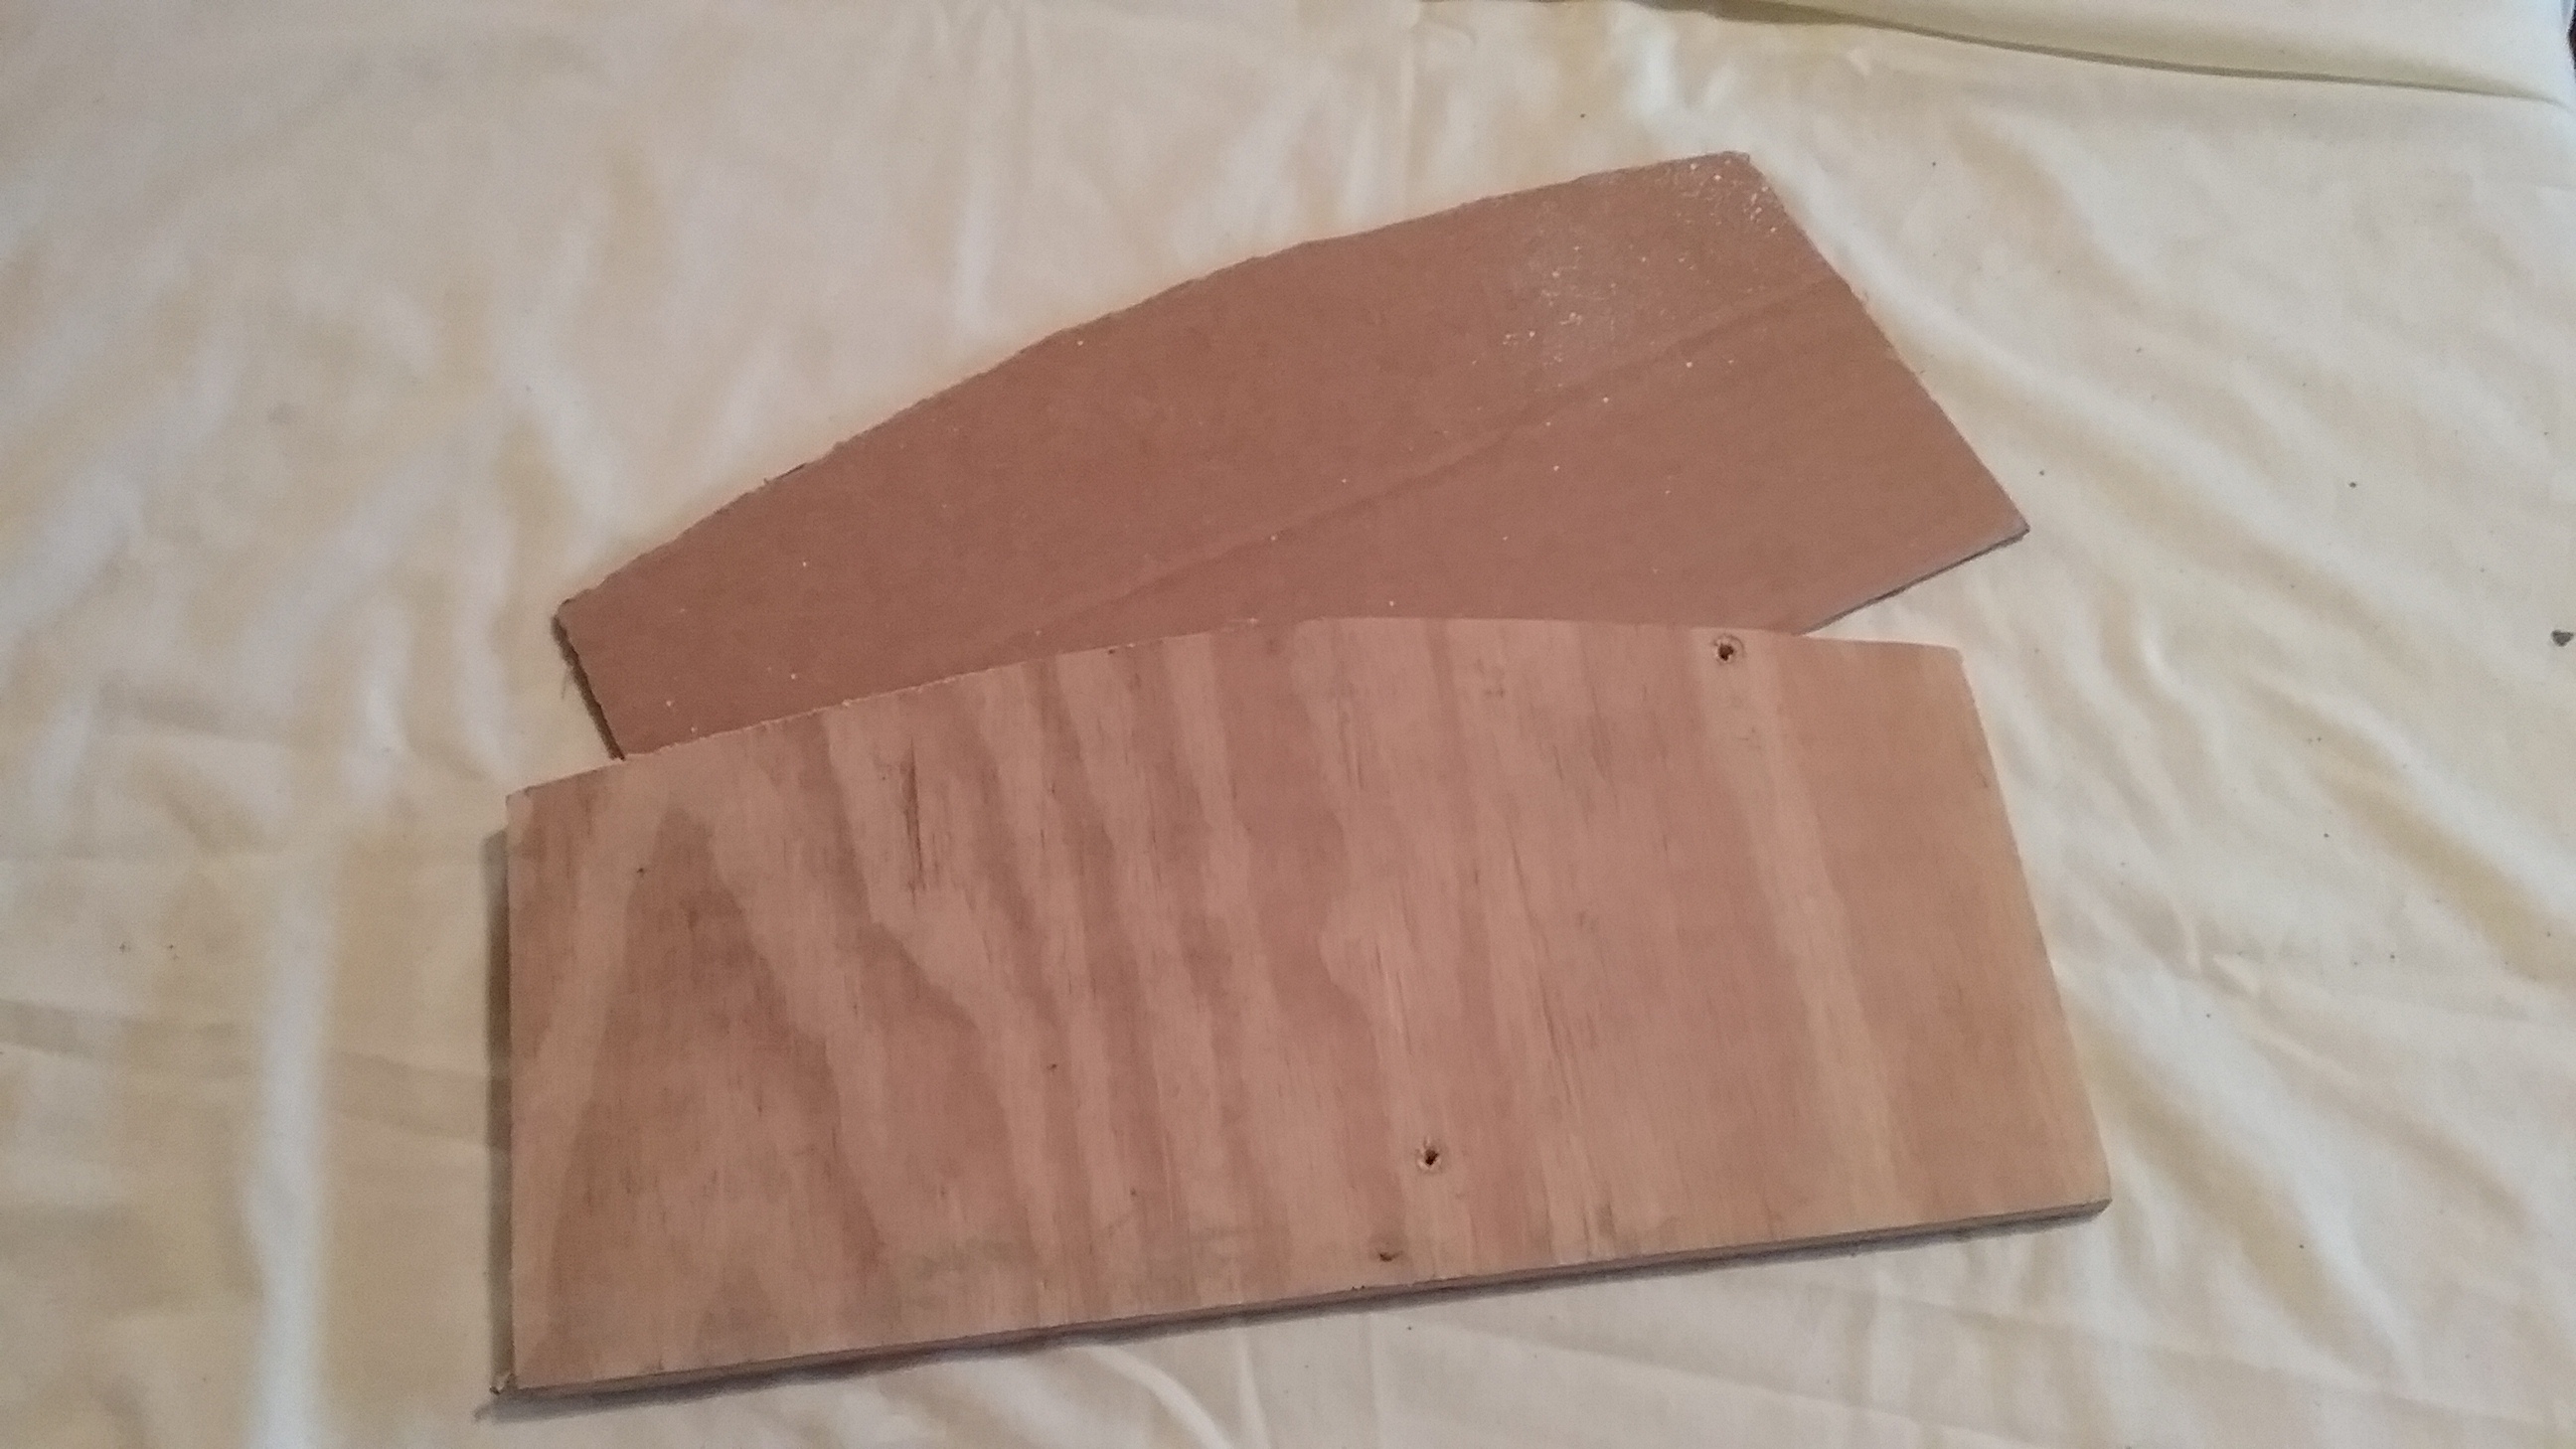
A piece of 1/2″ plywood had to fit in the bottom of the tank to help hold the wheels firmly. There was a lip on the edge of the tank opening, so, after tracing the top edge of the tank on cardboard, I reduced the template by 1/2″ all the way around, before transferring it to the wood. Cut and sanded the rough edges.20170106_150135  20170113_084338  20170113_085429

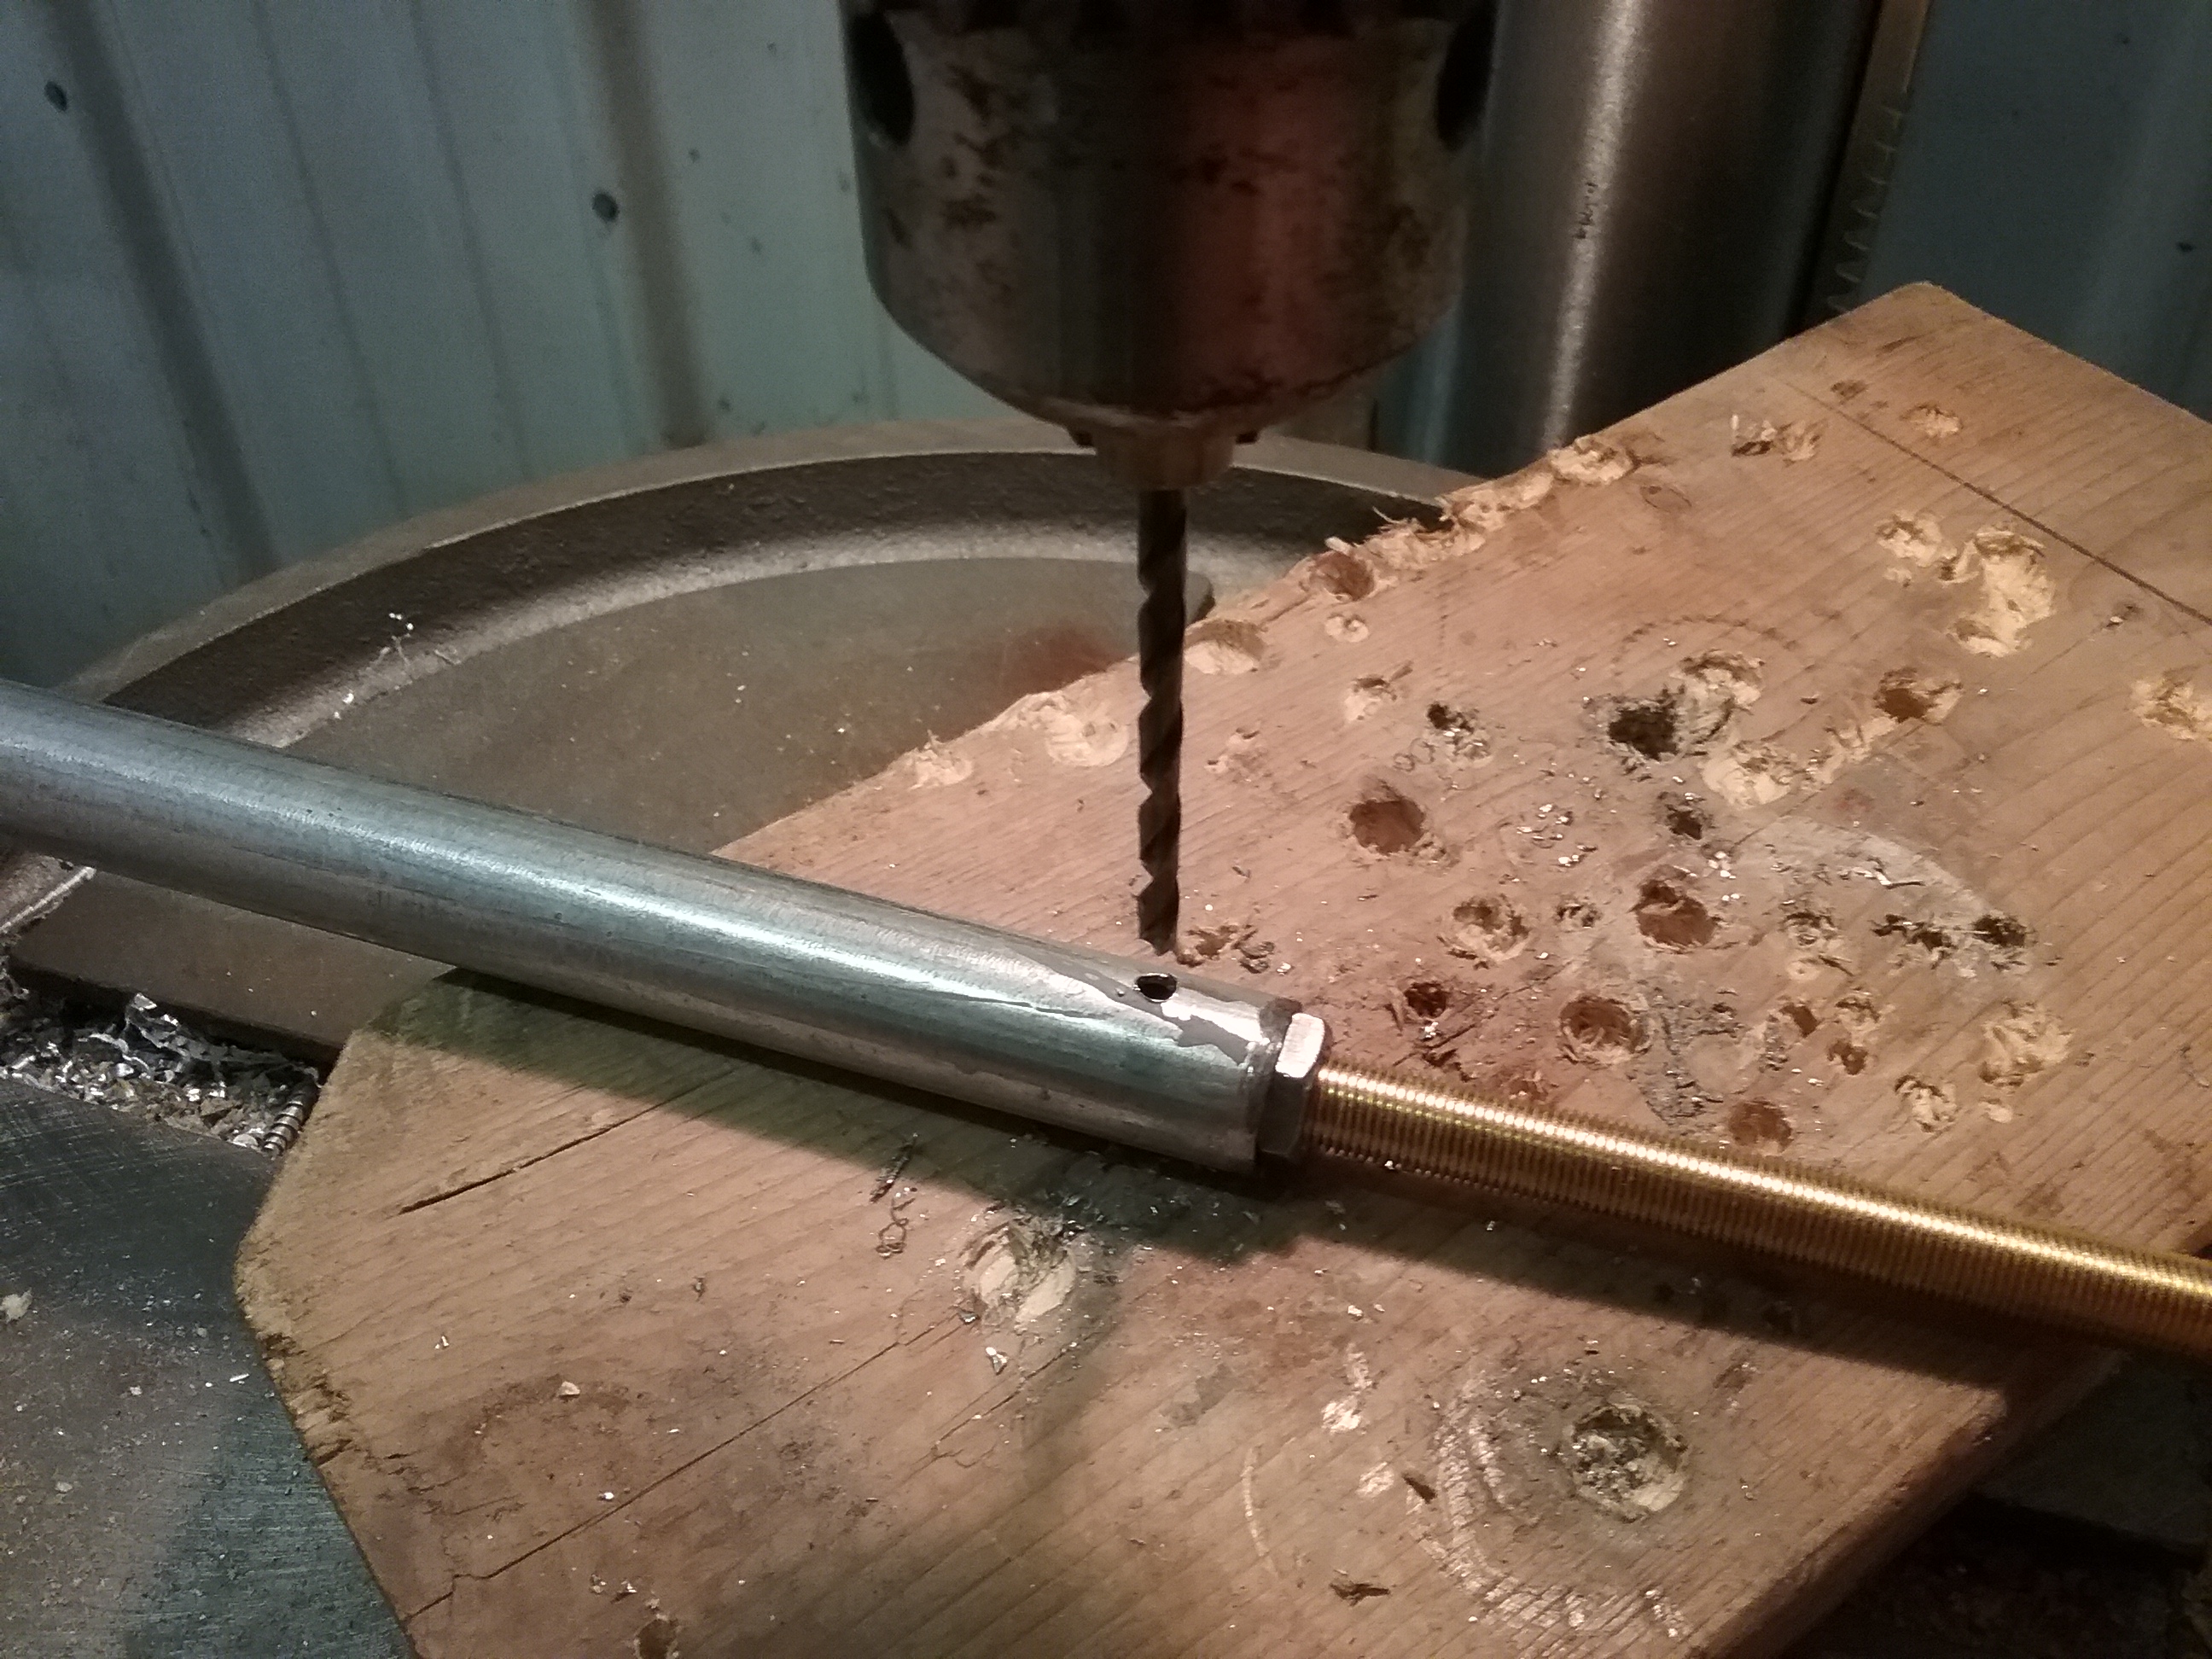
I used four of the large washers to determine and mark the placement of the casters.  For ease of drilling through the copper, a pilot hole was drilled first, then a 7/16″ hole to accommodate the size of the caster stem.

20170114_170546  20170114_171131  20170114_171442

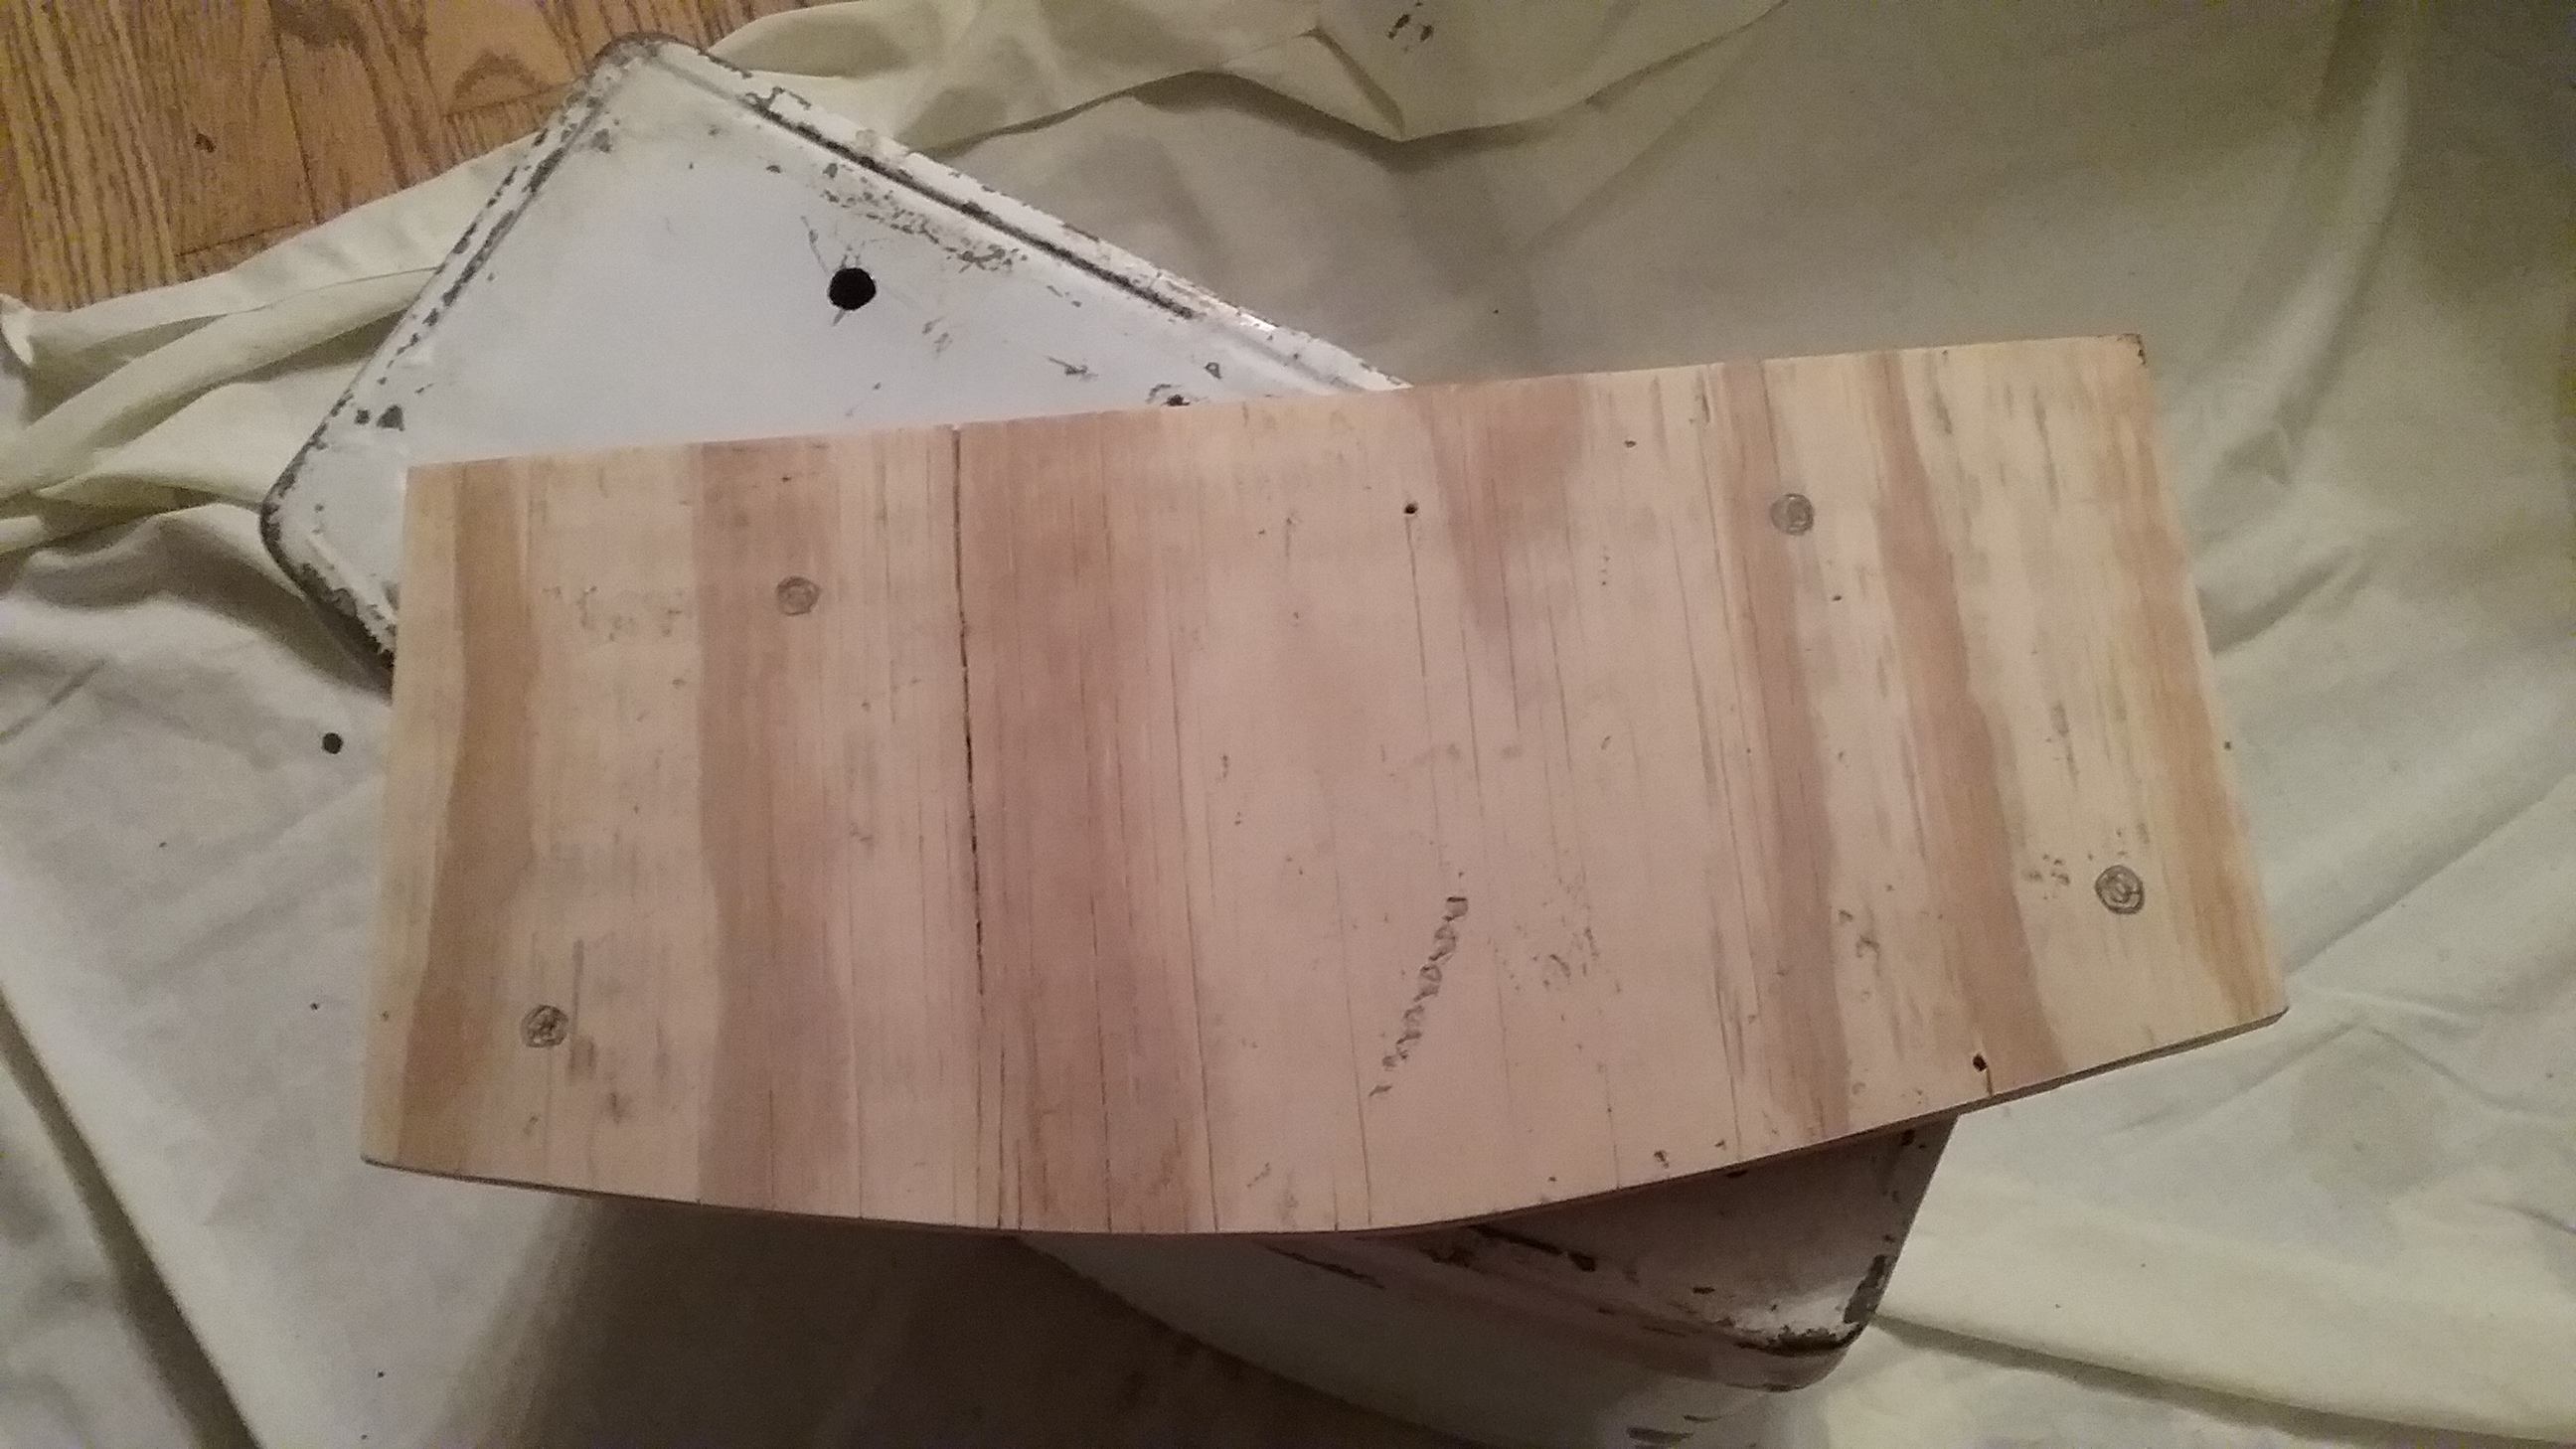
Hold the plywood firmly in the bottom of the tank to mark through the holes.  Drill 7/16″ holes in the wood and replace in the tank.

Put one washer on each caster stem and insert them through the holes on the bottom of the tank, up through the wood. Turn tank upright so its resting on the casters. Put another washer on each caster stem. Use a white paint pen to reach inside the tank and mark the caster stems at the top of the washer. These marks will be used to drill holes for the cotter pins.

20170114_172213  20170114_174311  20170114_174523

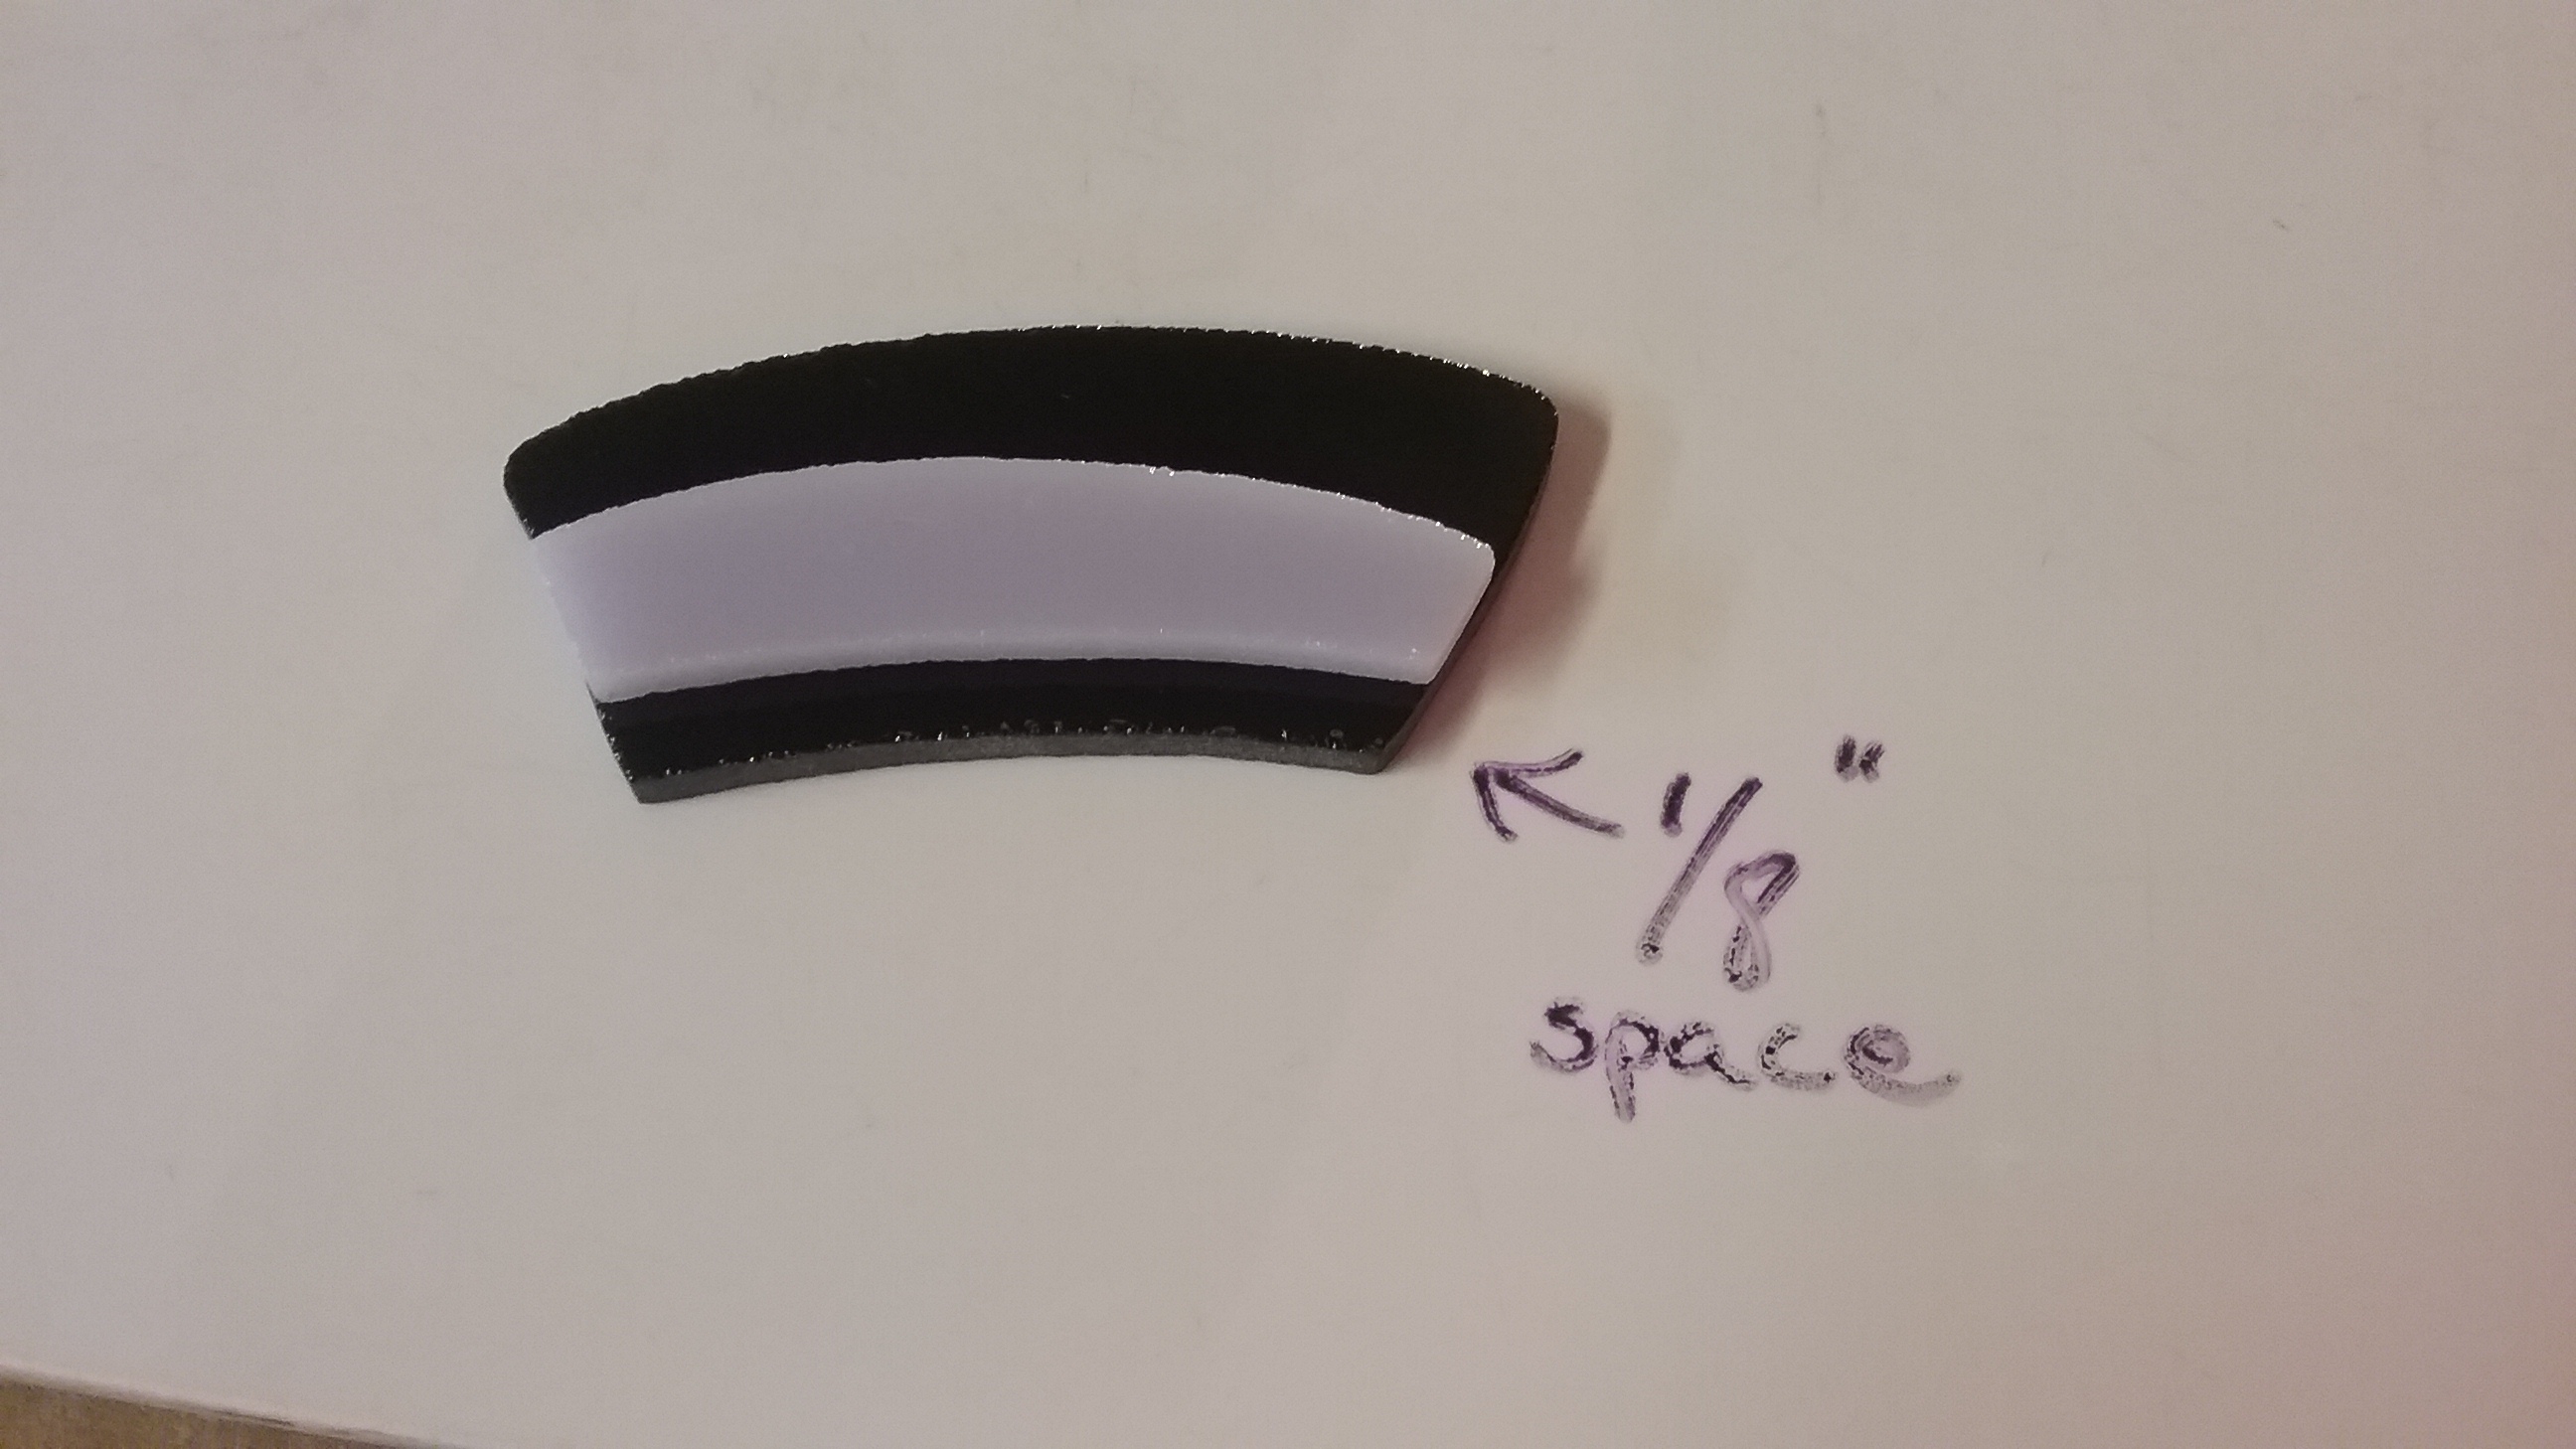
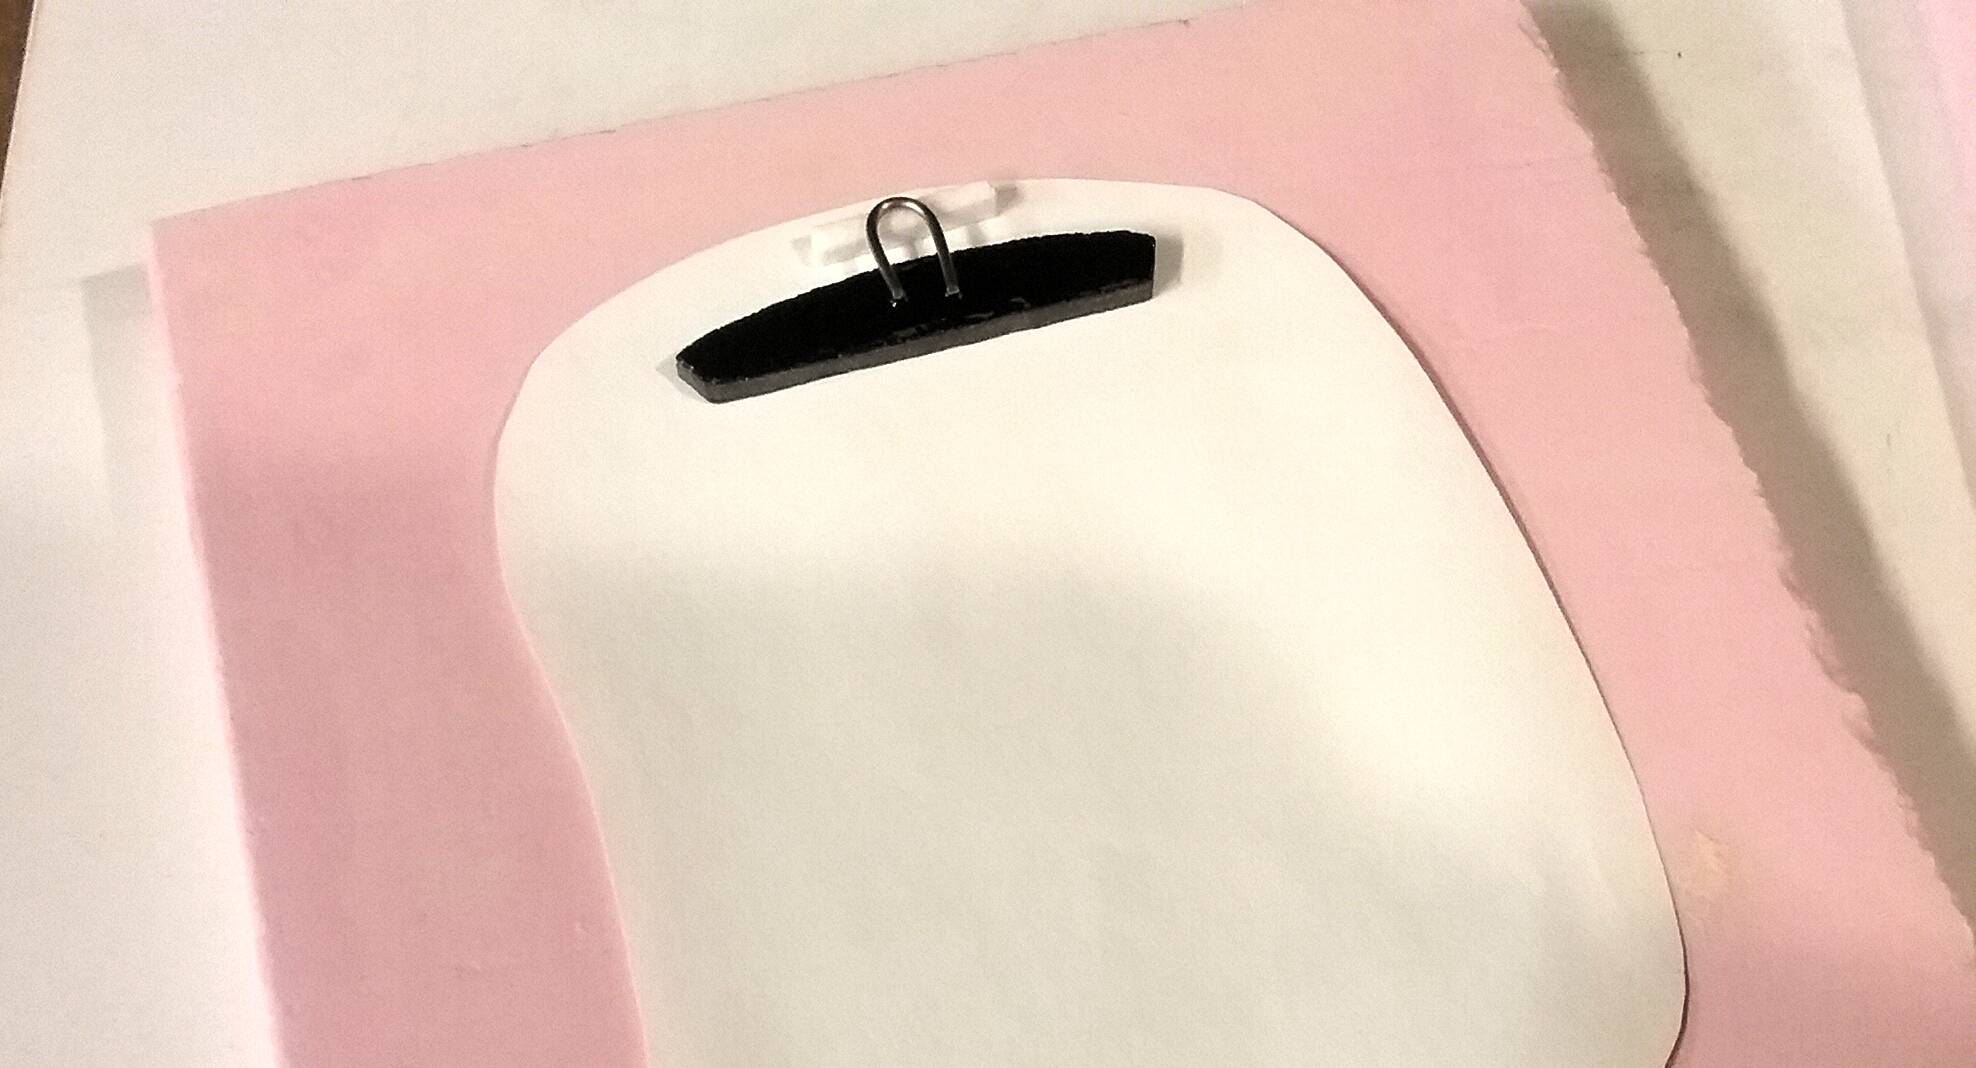
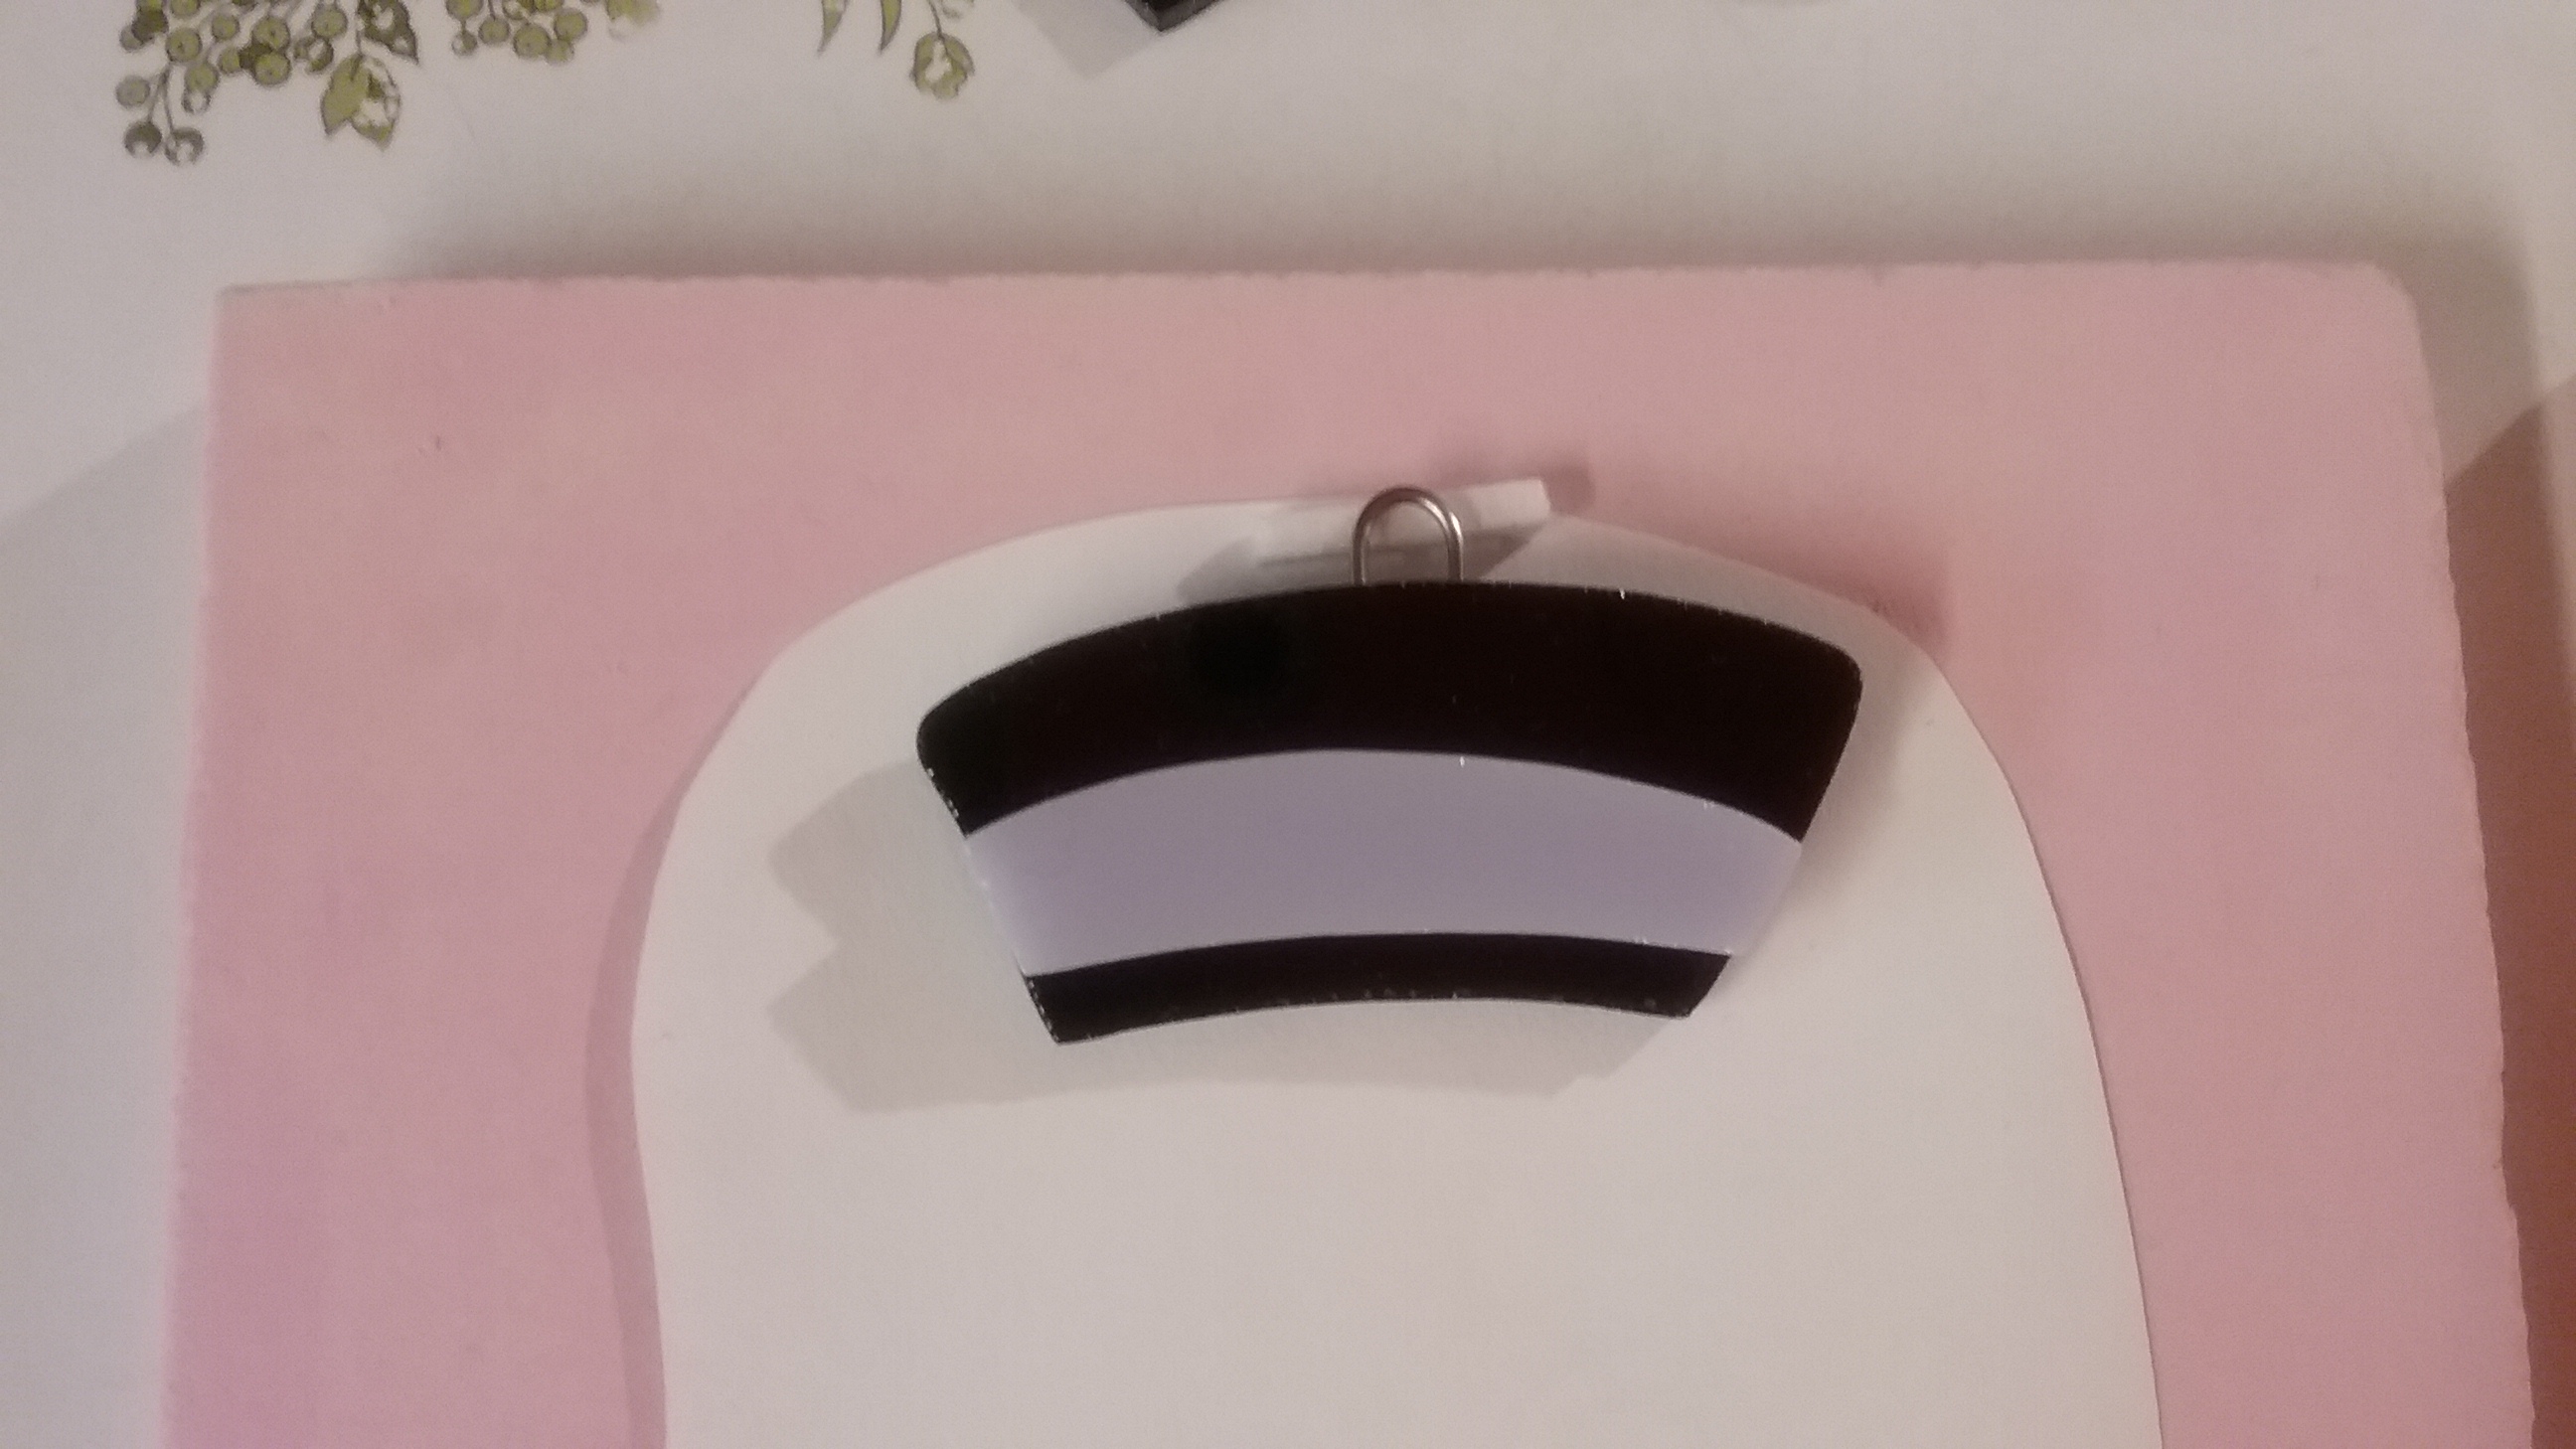
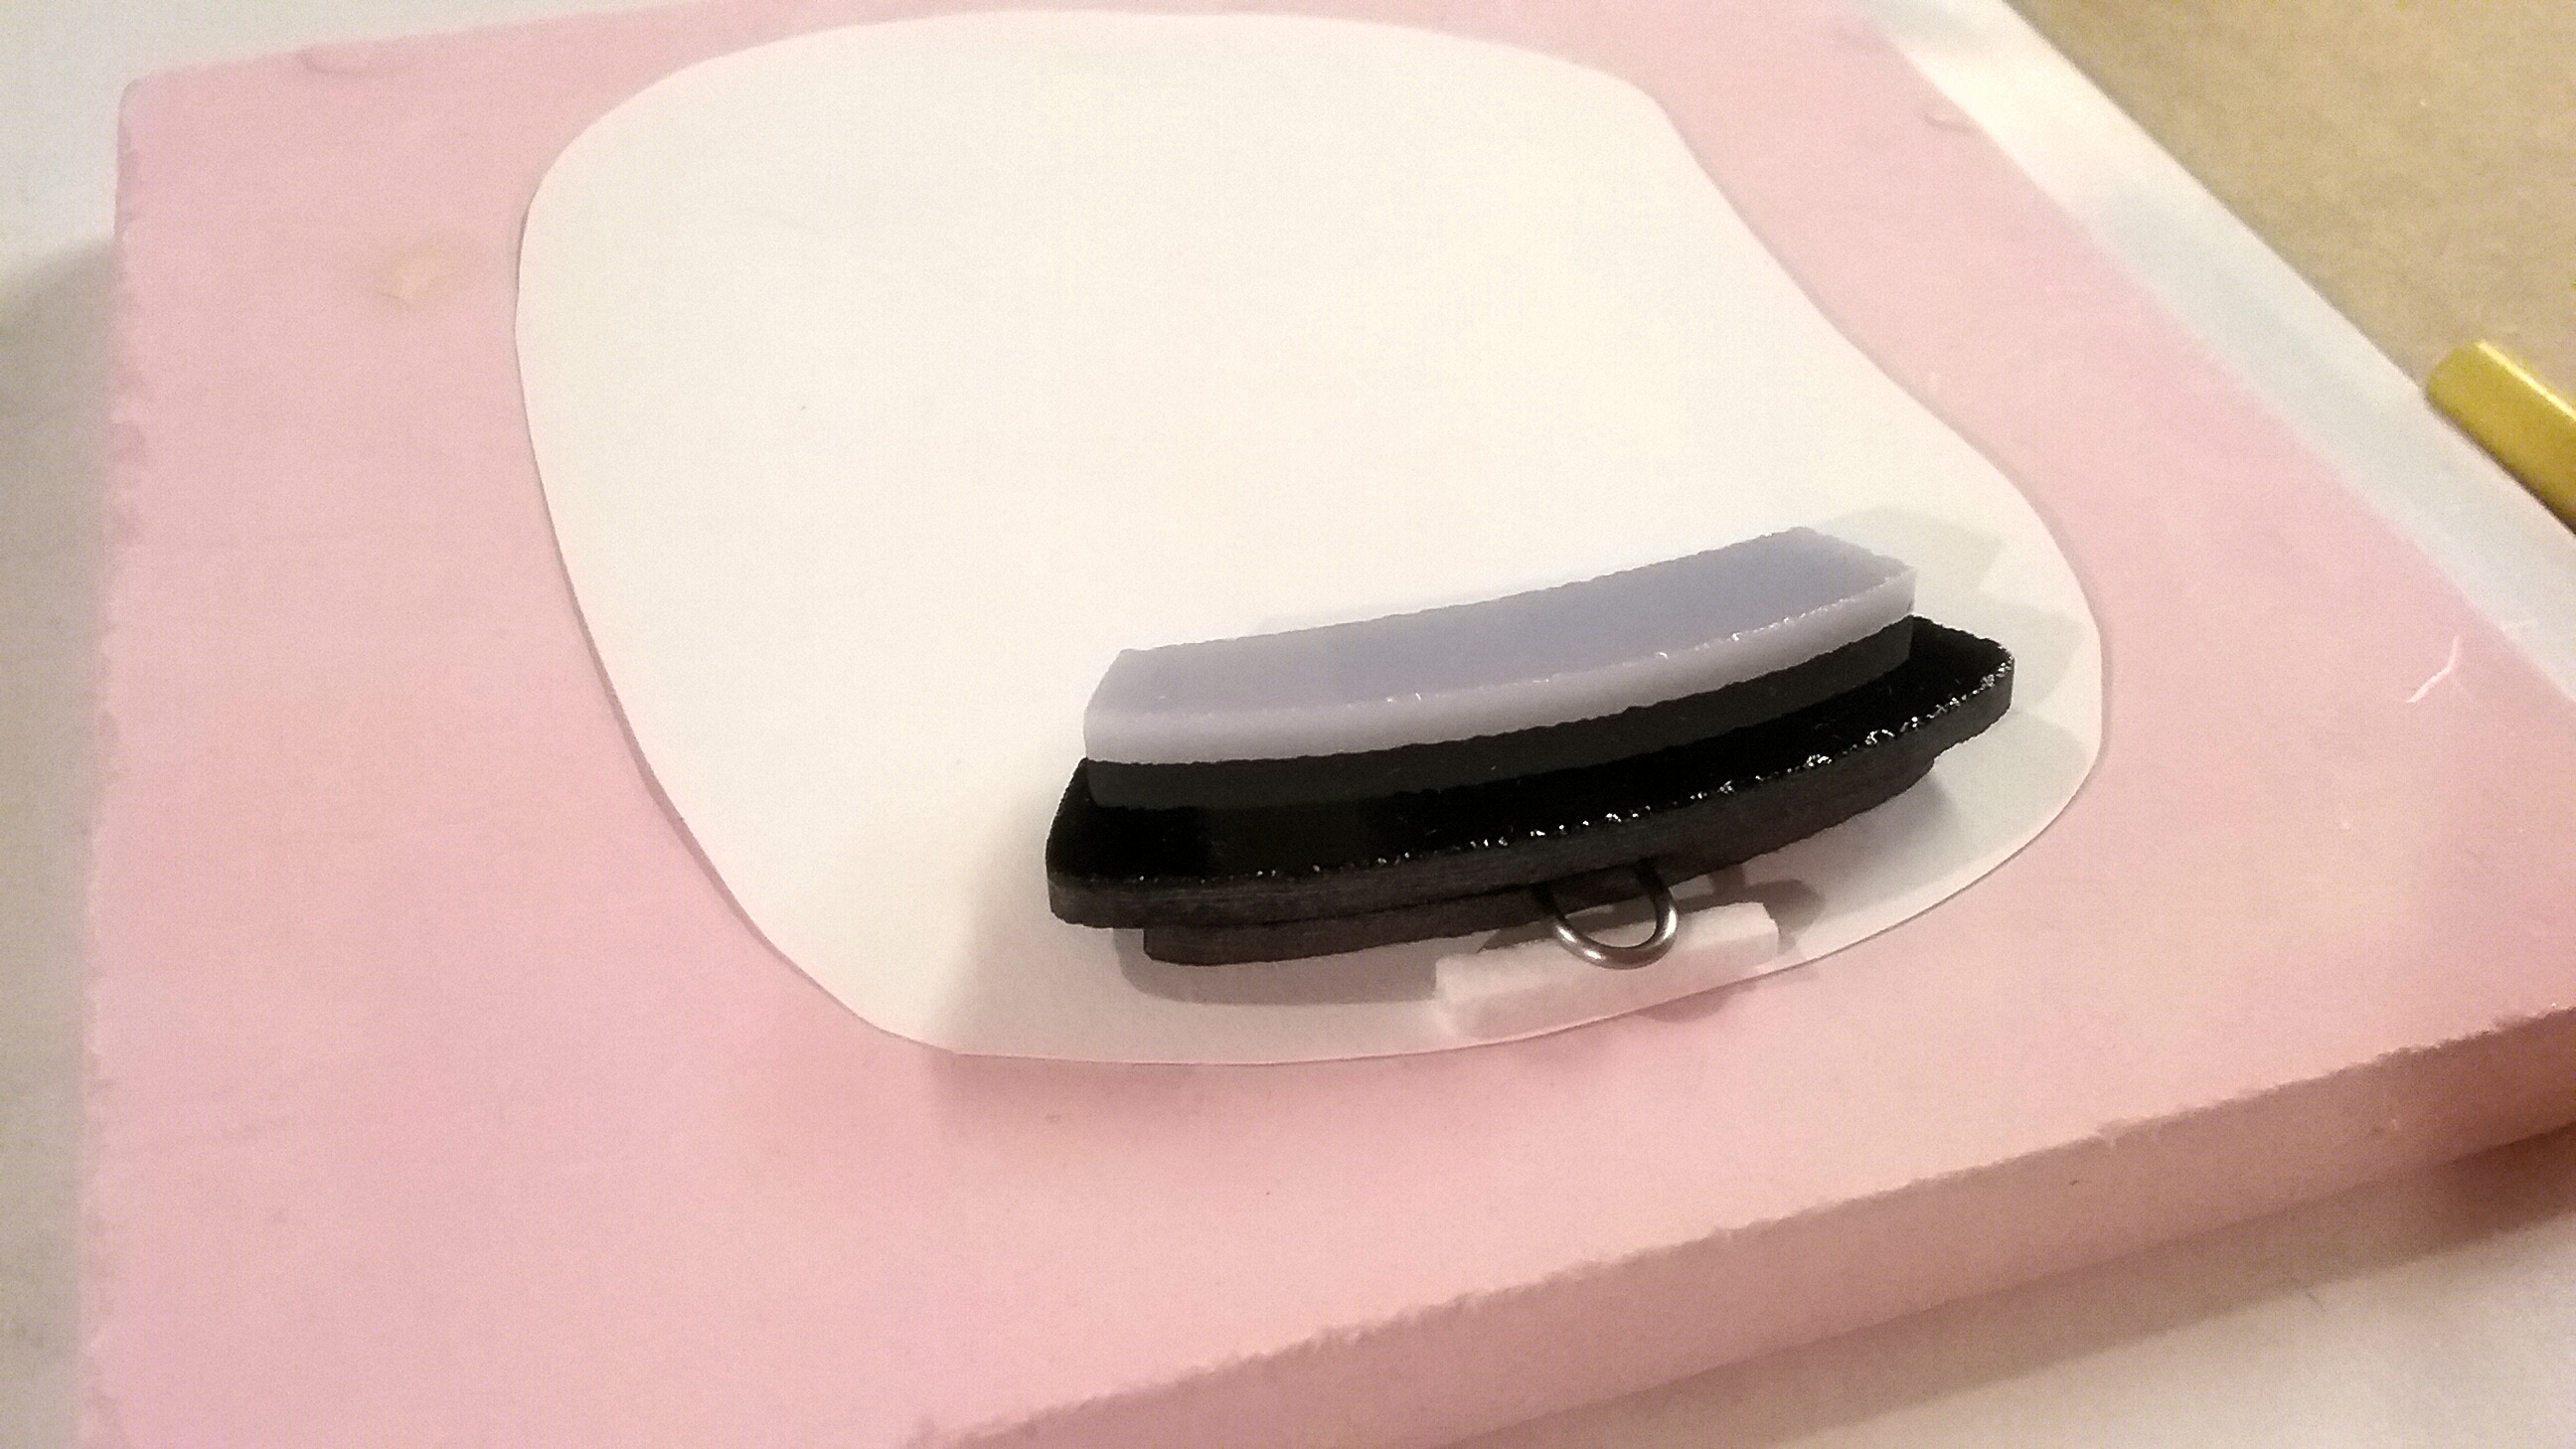
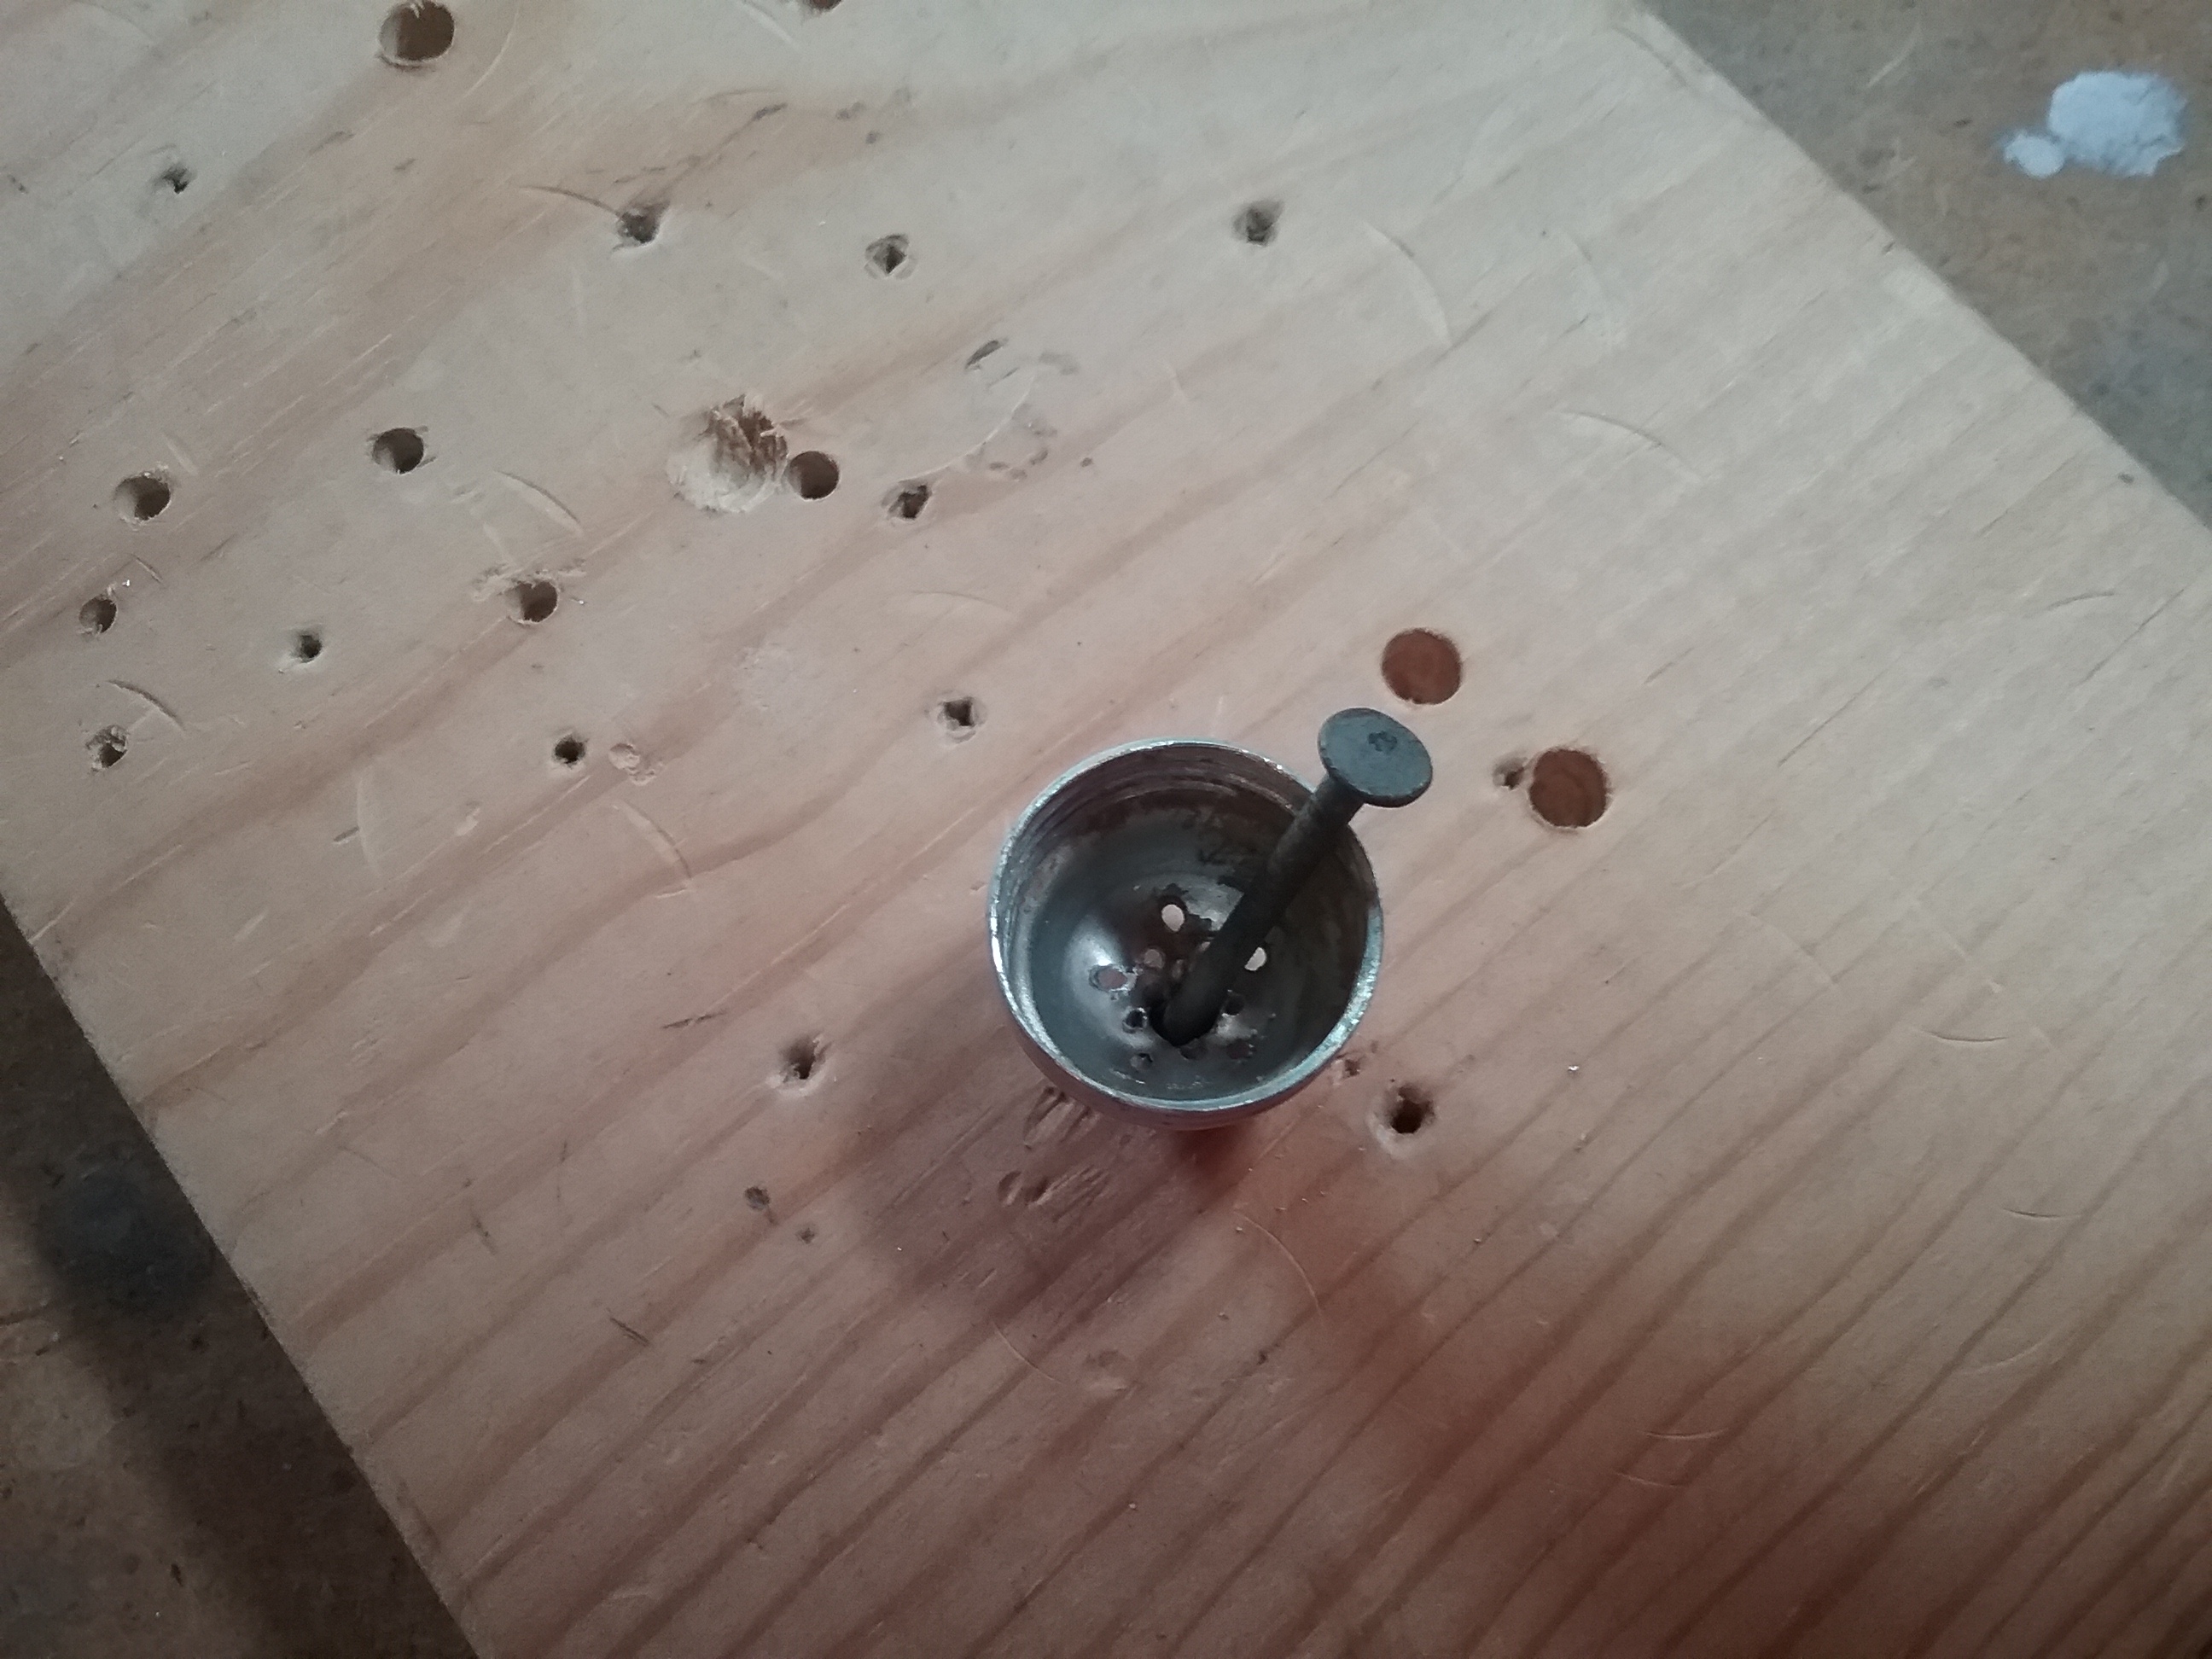
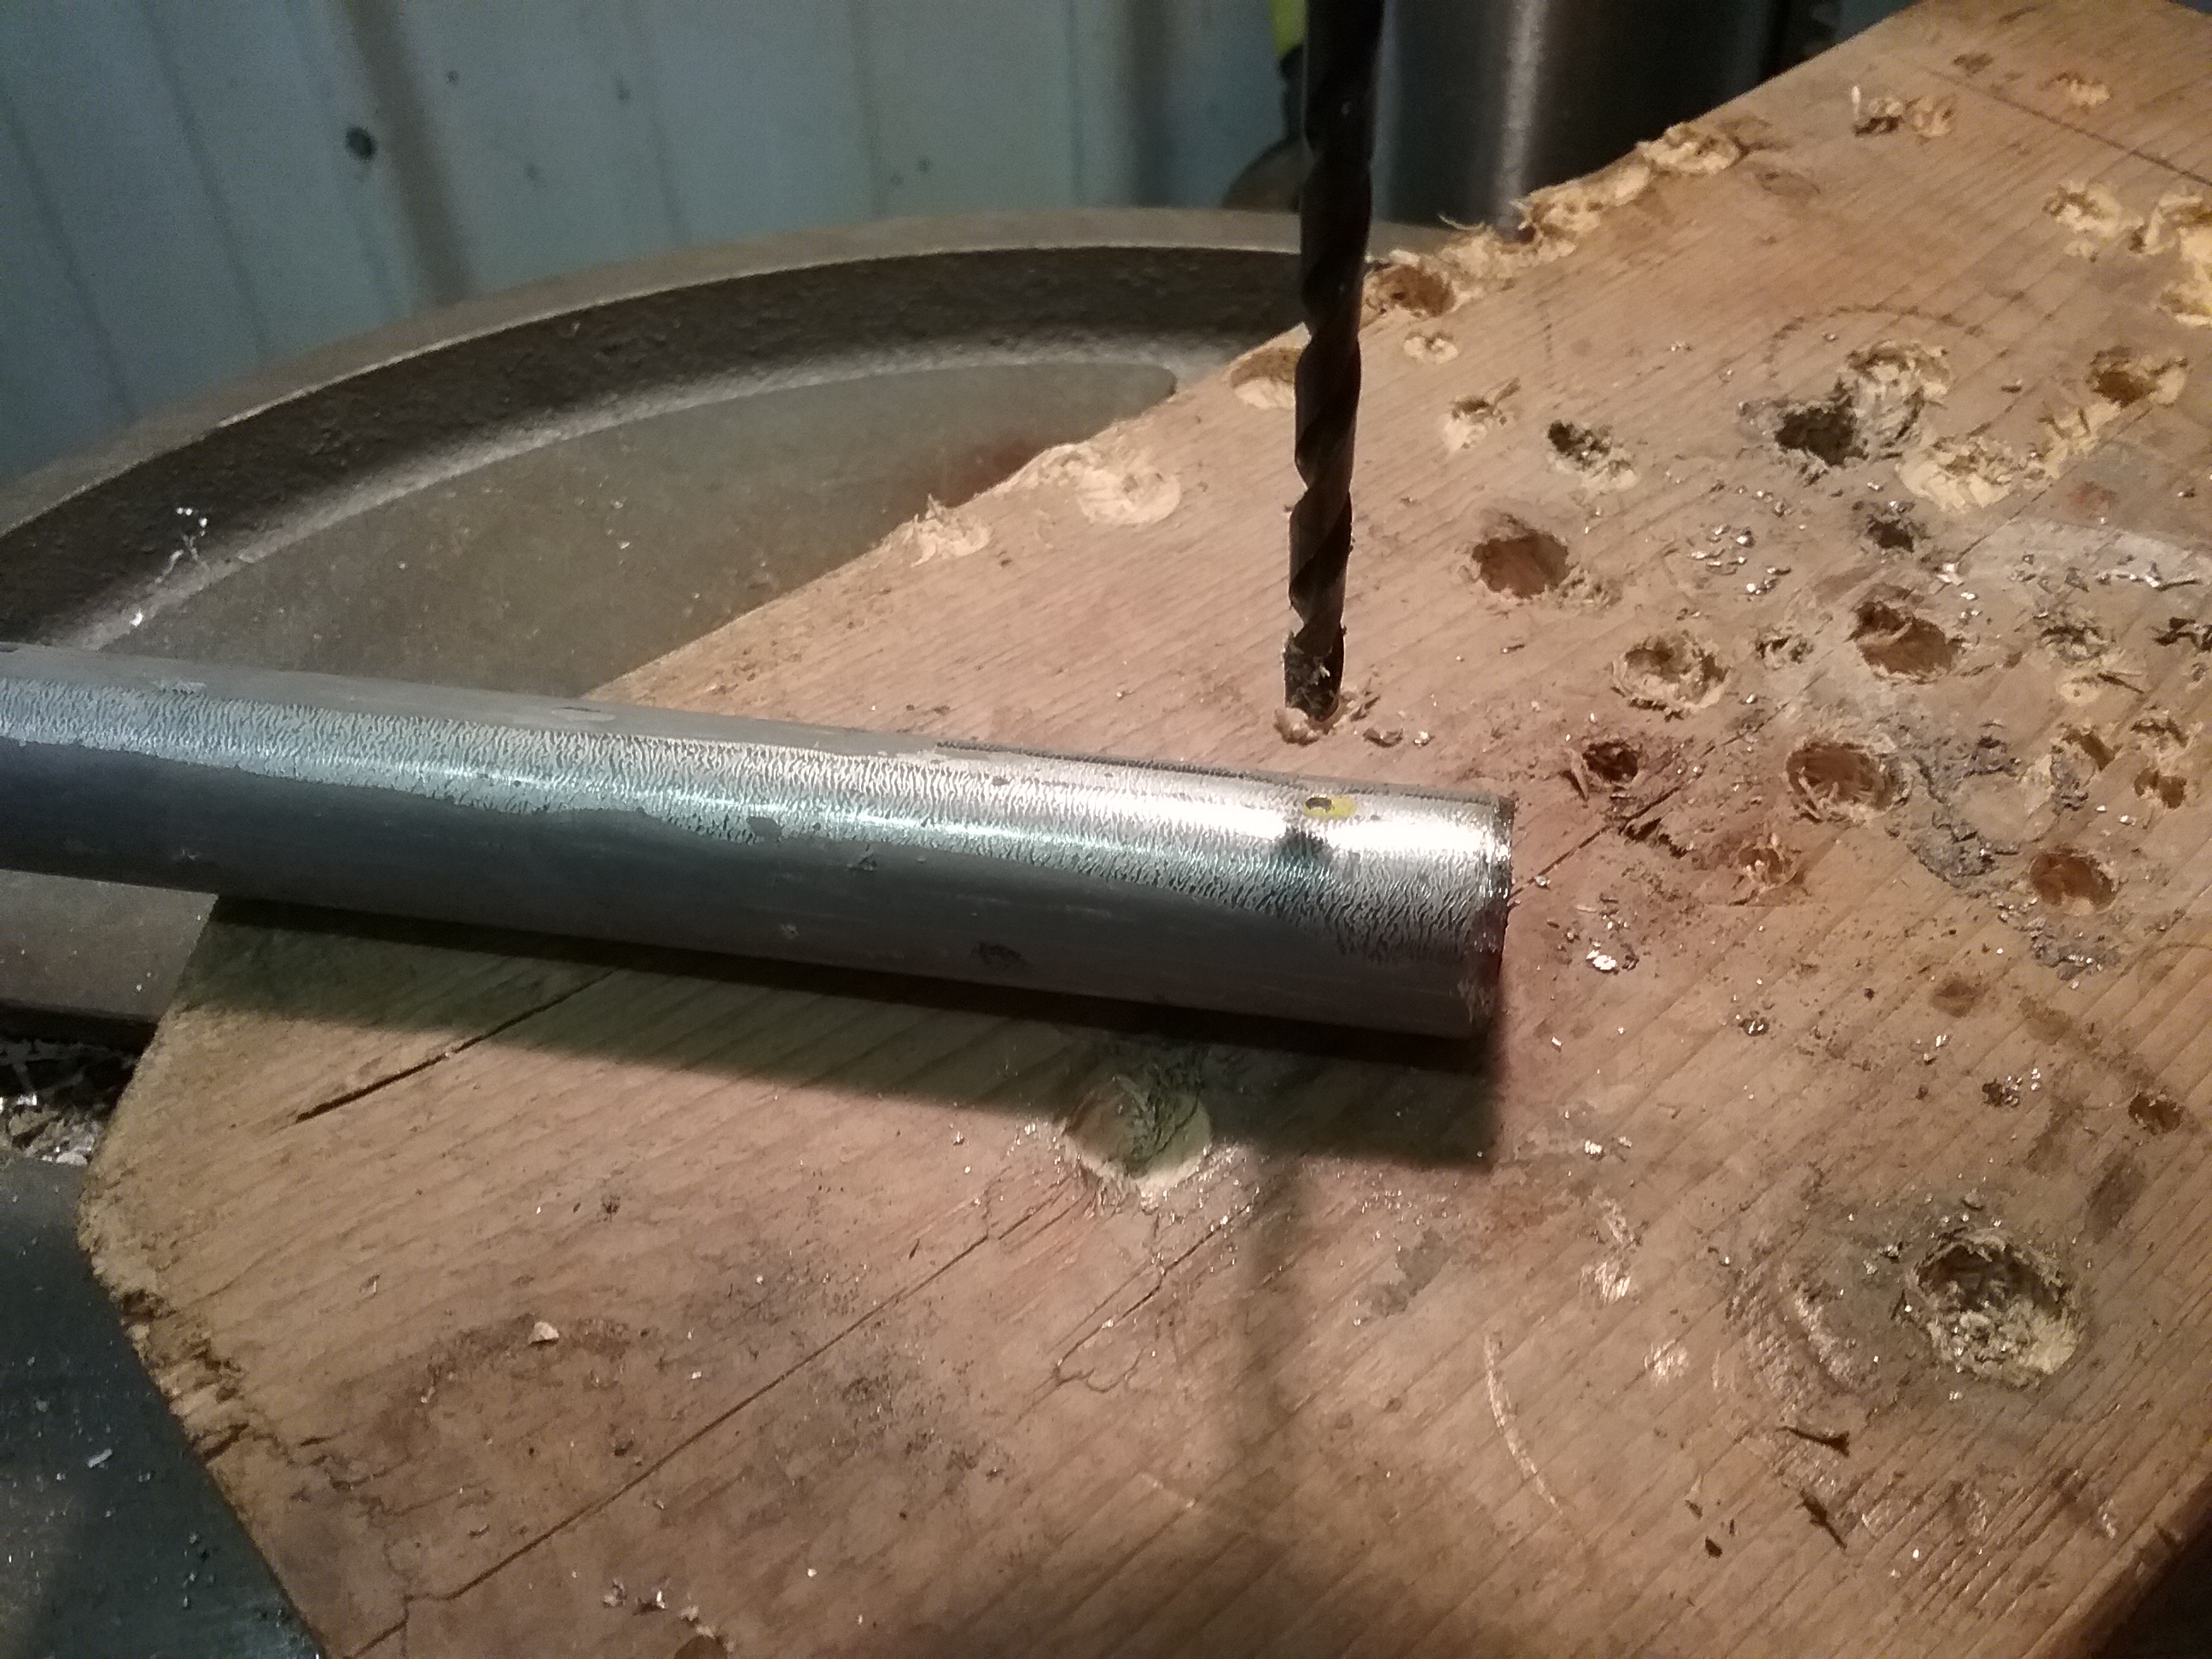
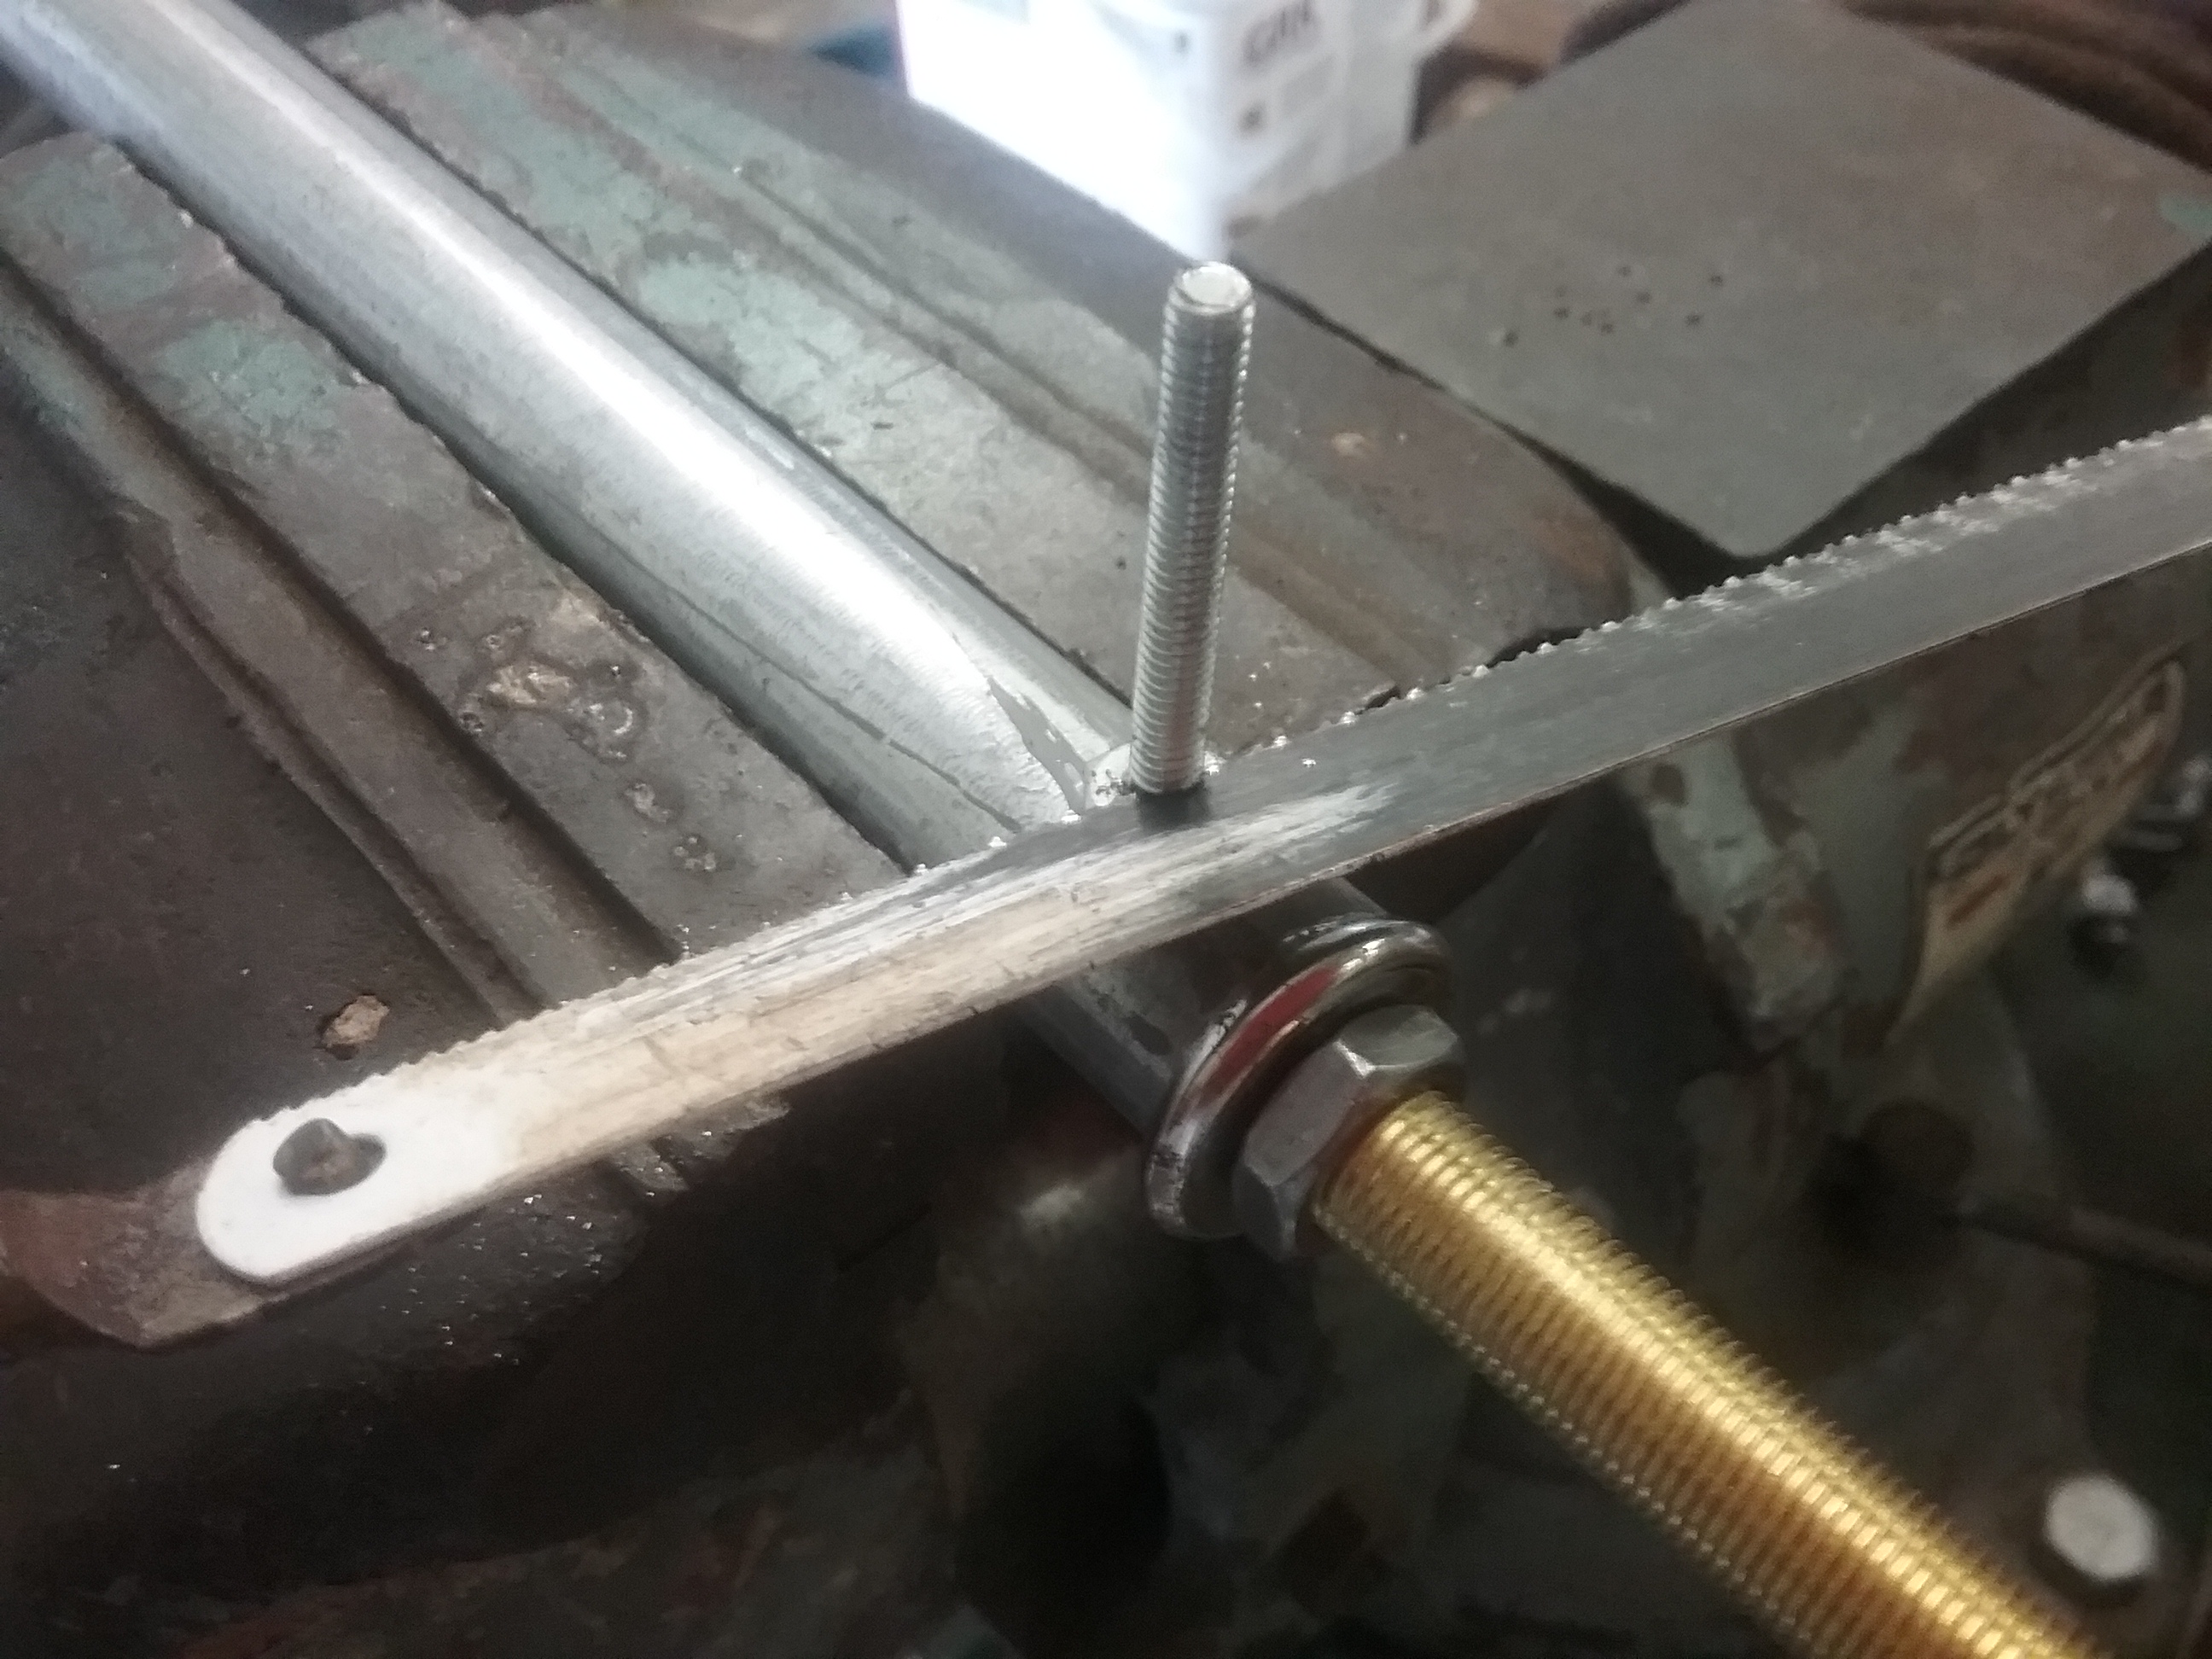
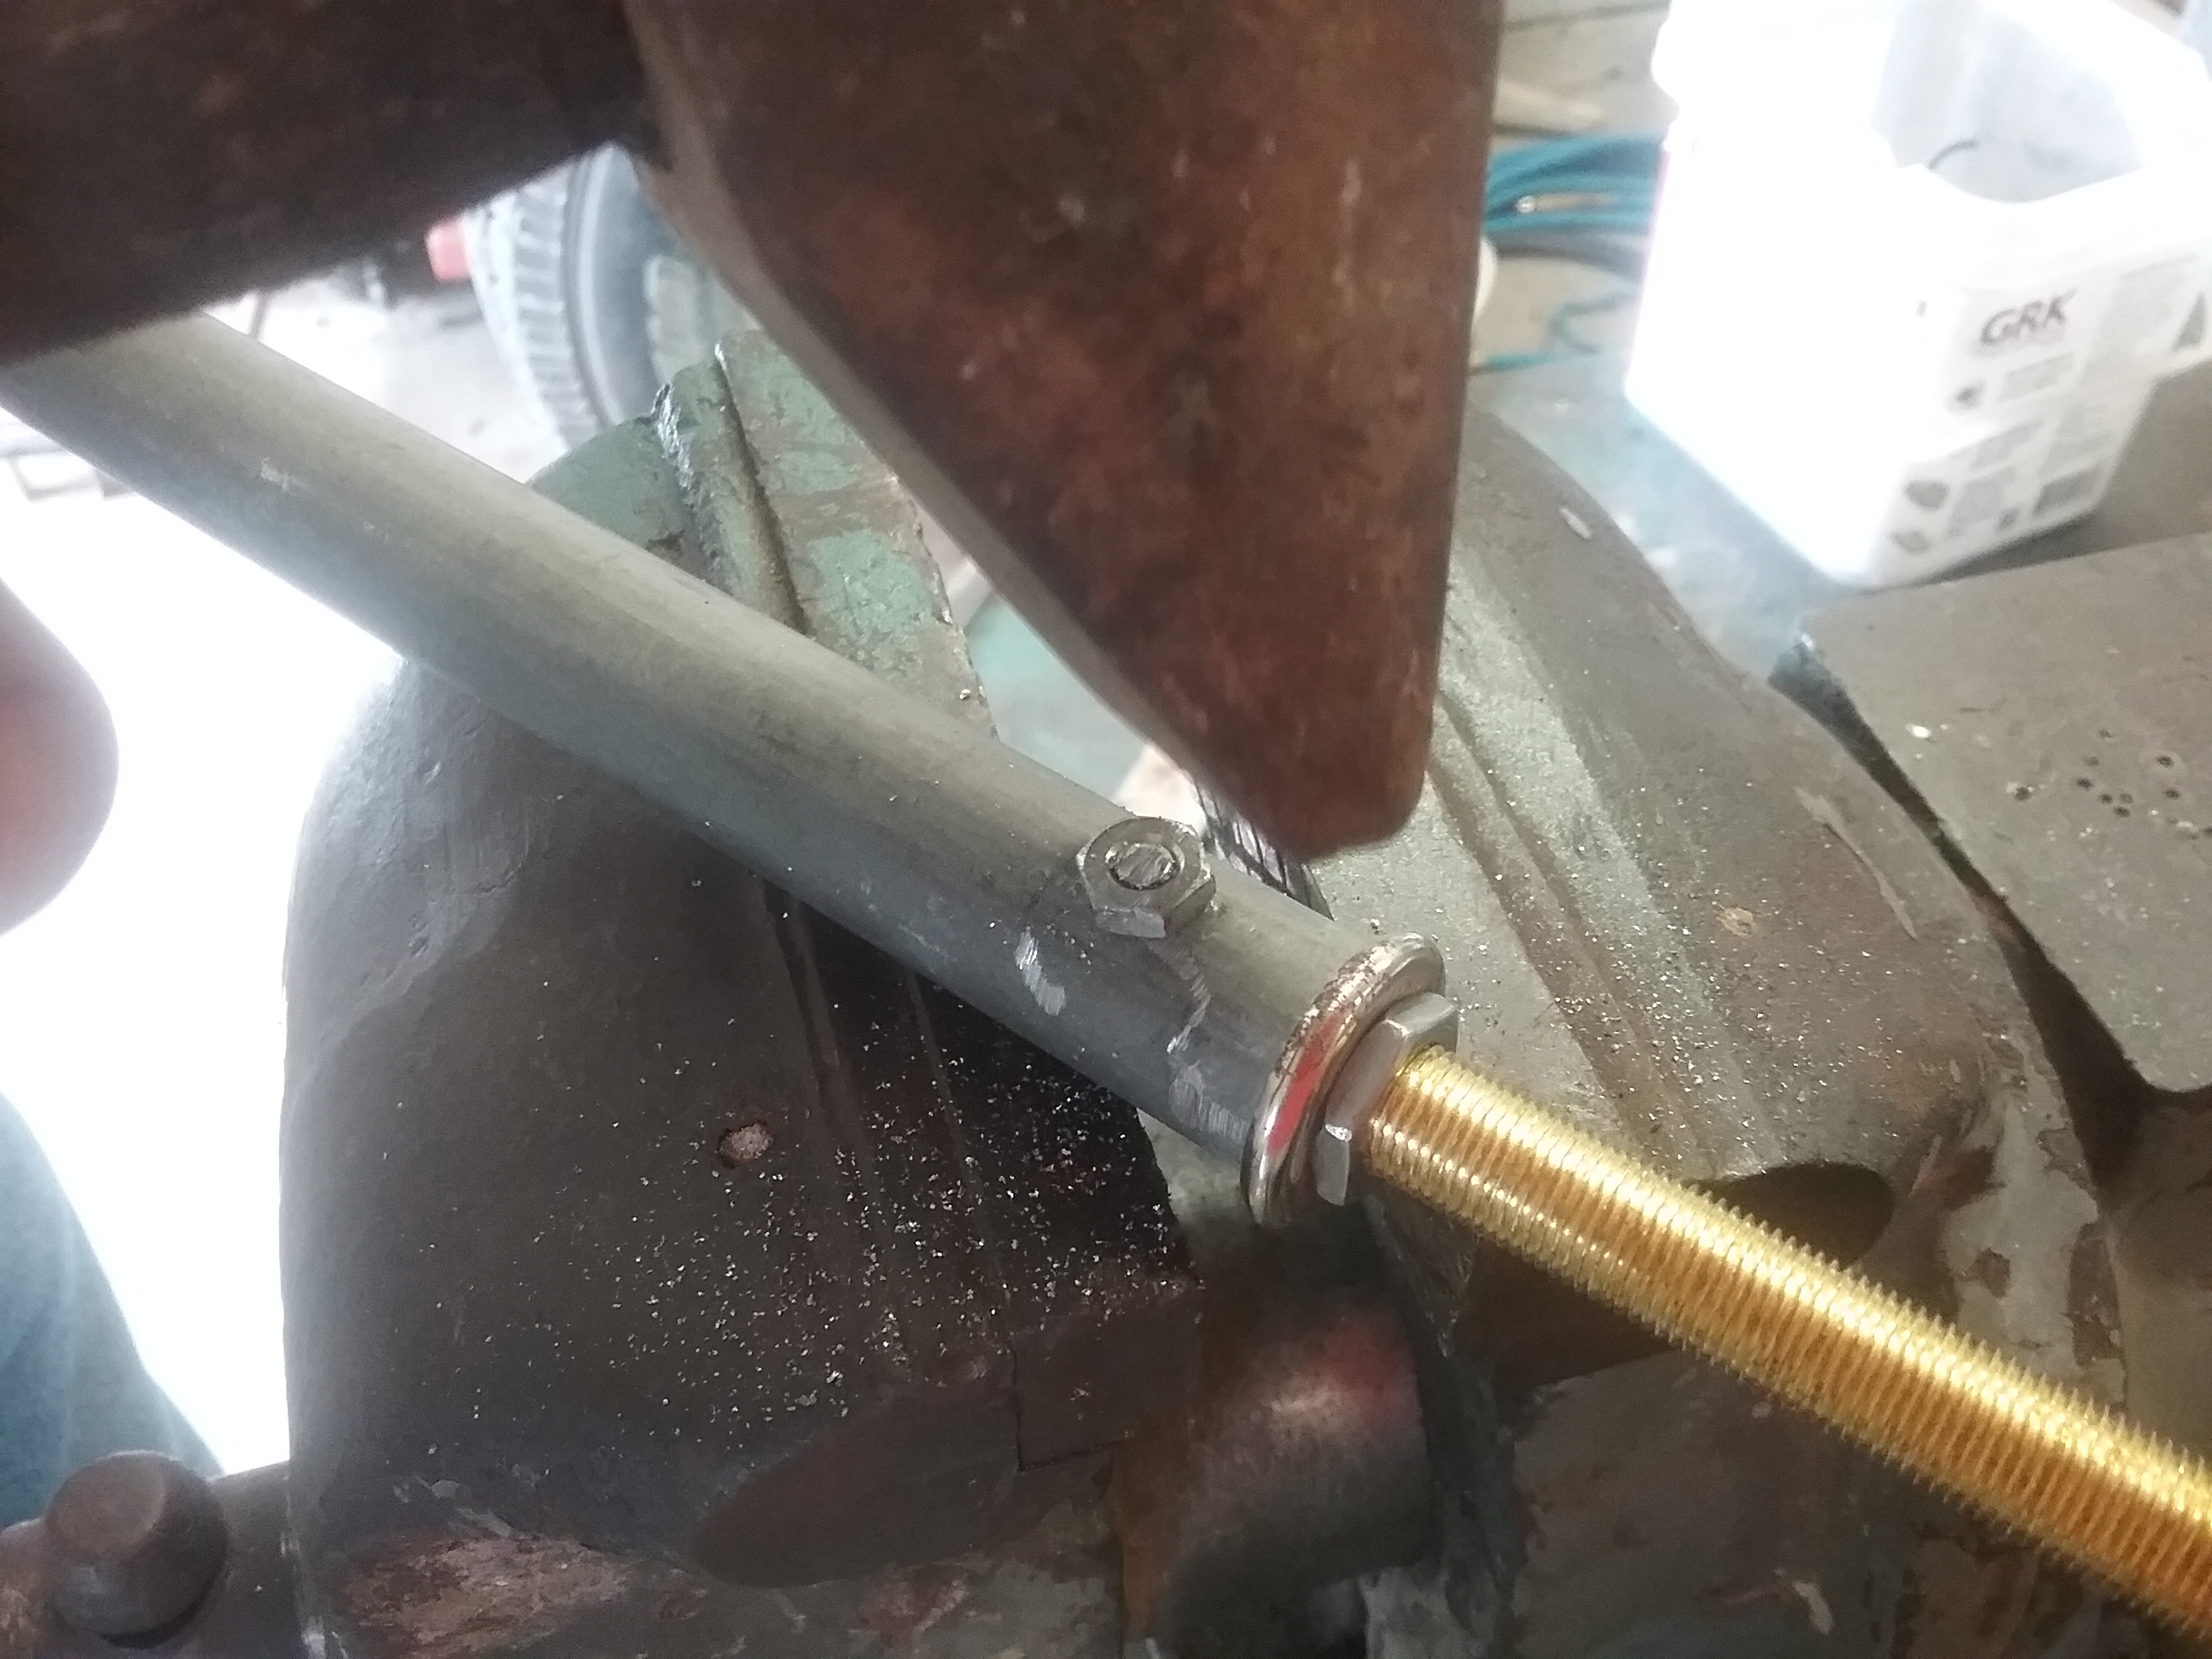
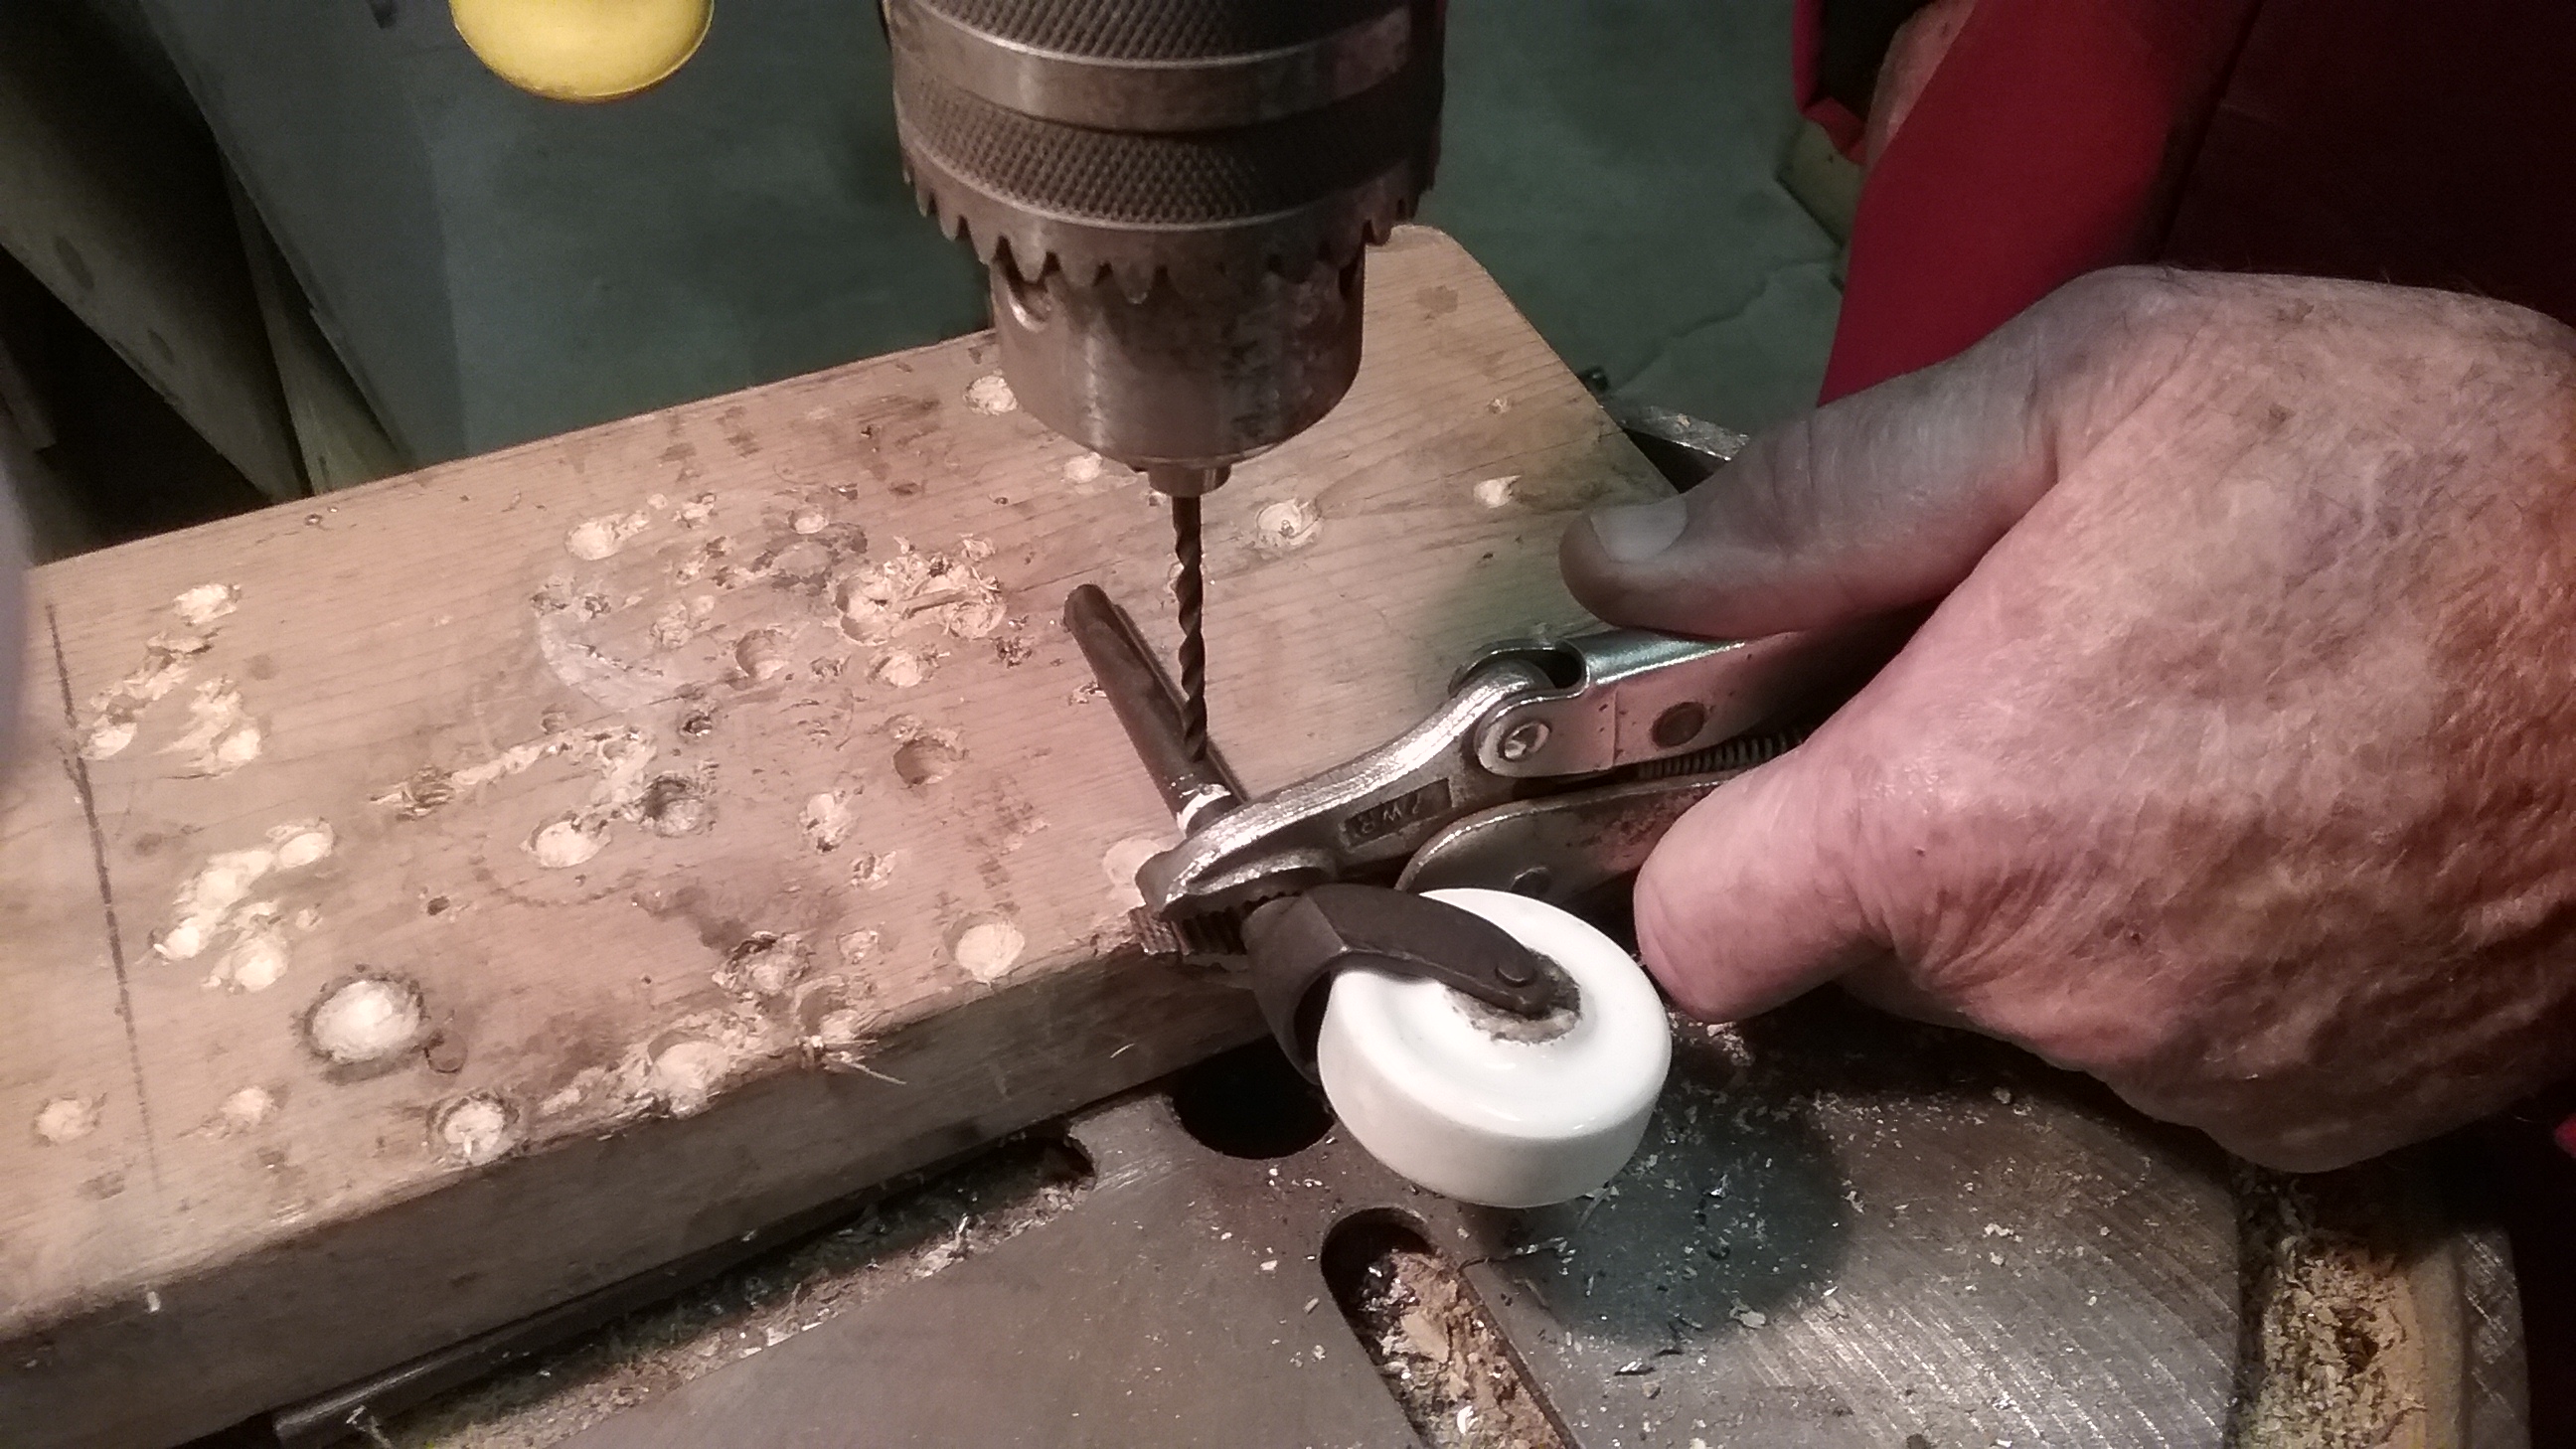
Center punch the caster stems on the white marking. At the drill press, hold the caster firmly with vise grips and drill an 1/8″ hole, on the center punch, through the stem.

20170114_180003  20170114_180846

Paint the plywood black. Paint the bottom of the tank. Let dry.

20170119_191534  20170119_163714

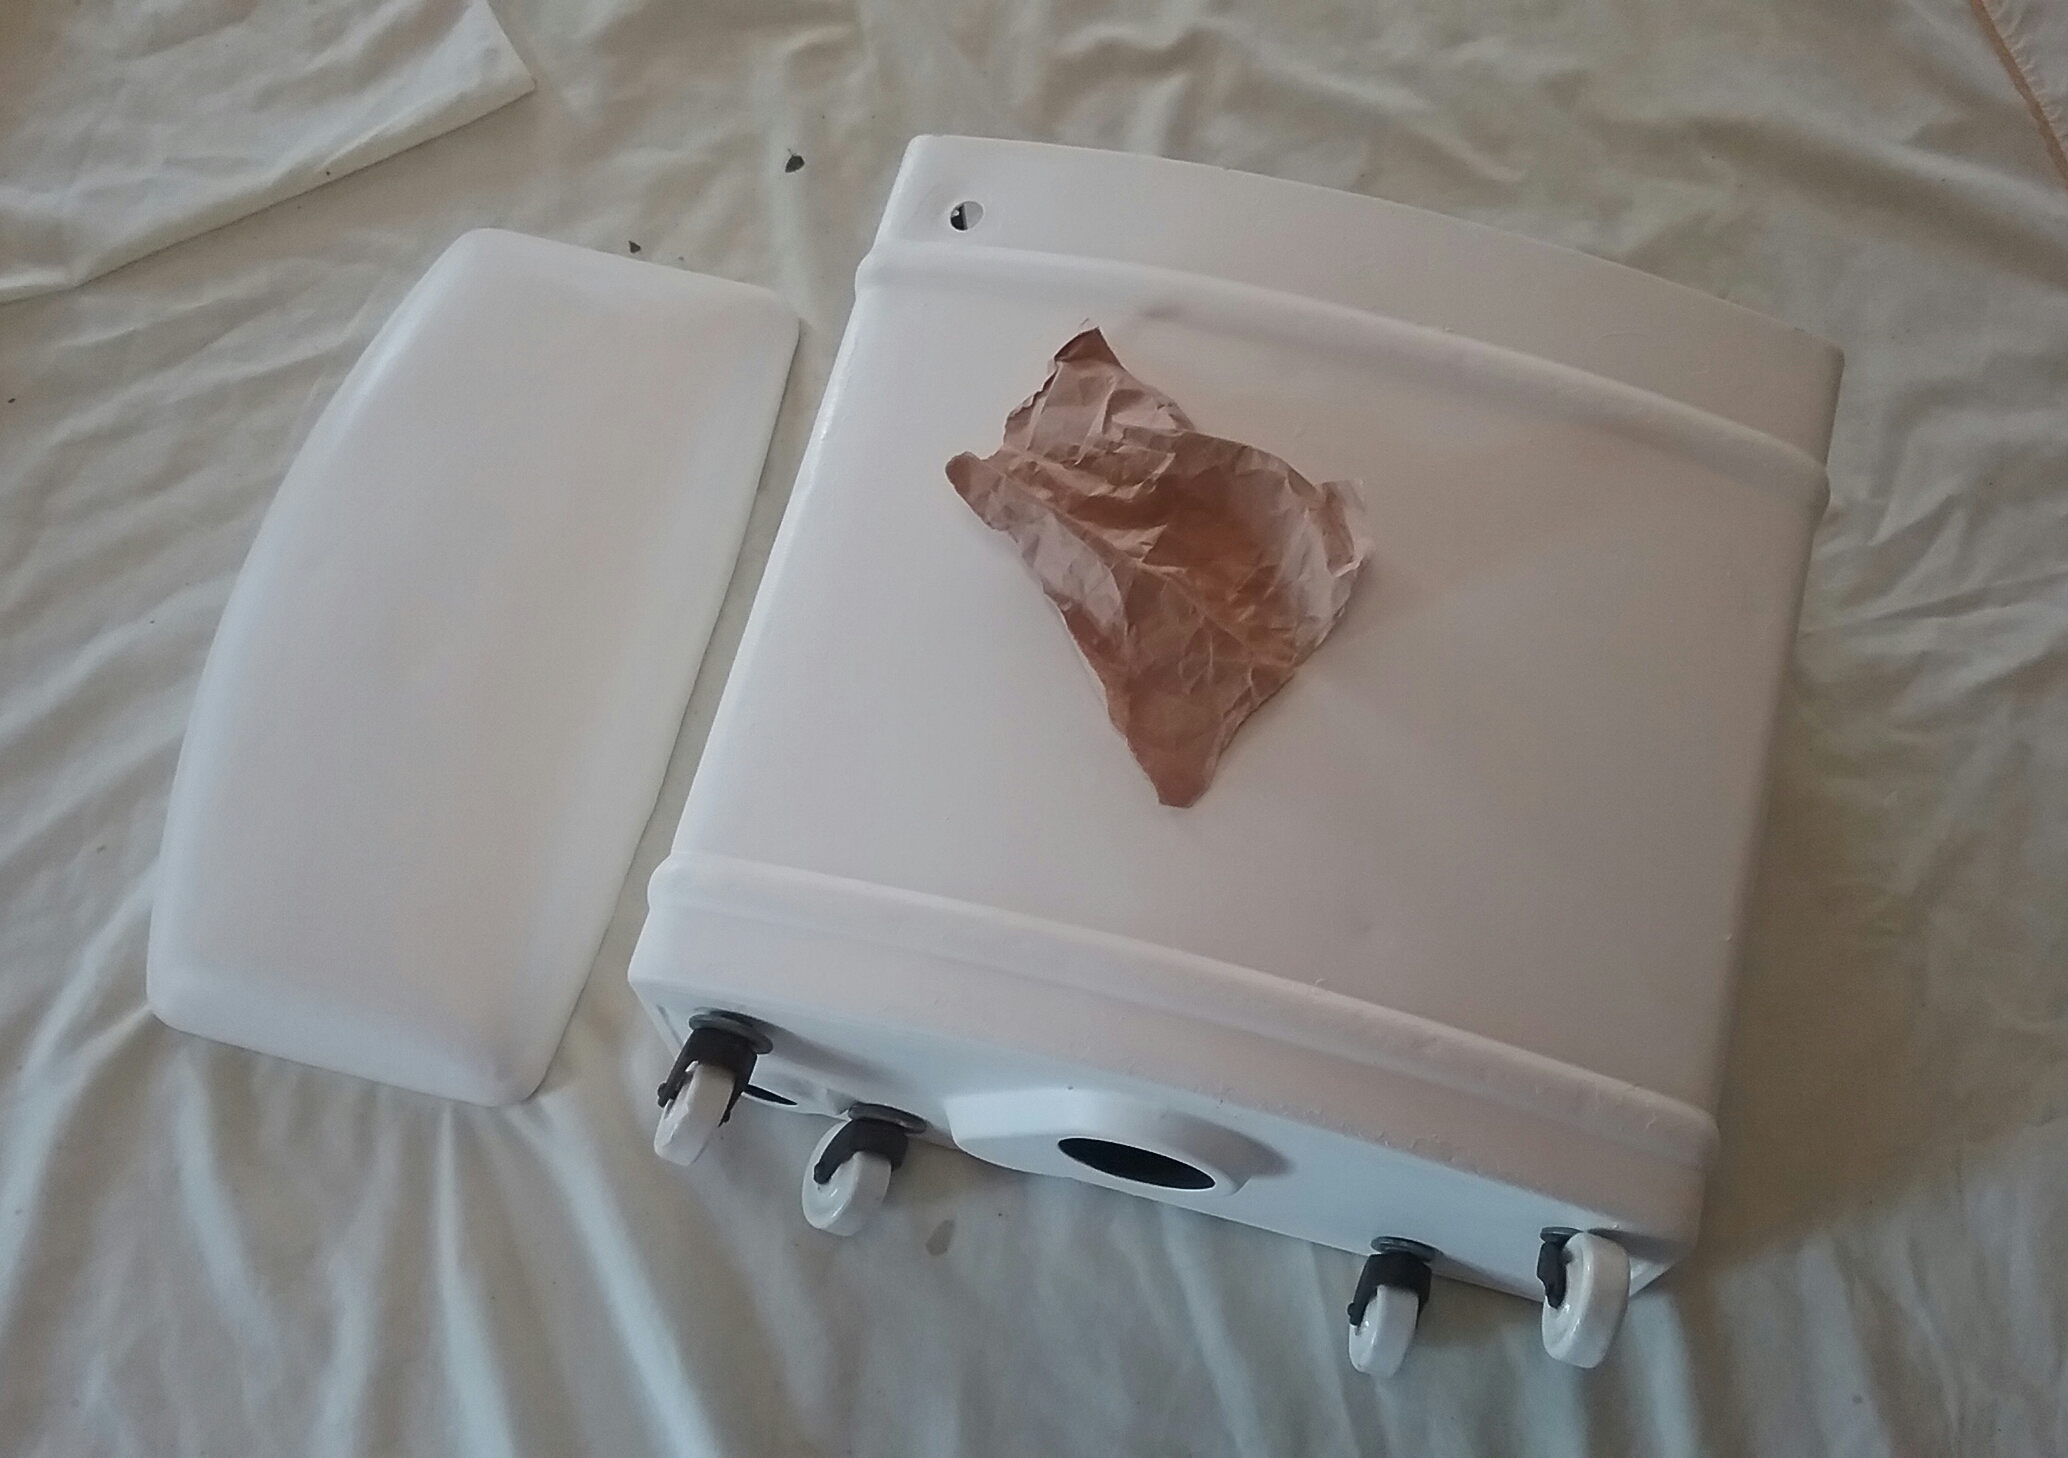
Put the plywood back in bottom of the tank and insert the casters again. Push the cotter pins through the drilled holes of the caster stem.

20170120_133710  20170120_134412

Paint the tank and lid. I beat a small dent out of the lid before painting. Lightly sand dried paint with a piece of wrinkled brown paper to smooth the finish.

20170123_125118  20170123_131654  20170216_143733

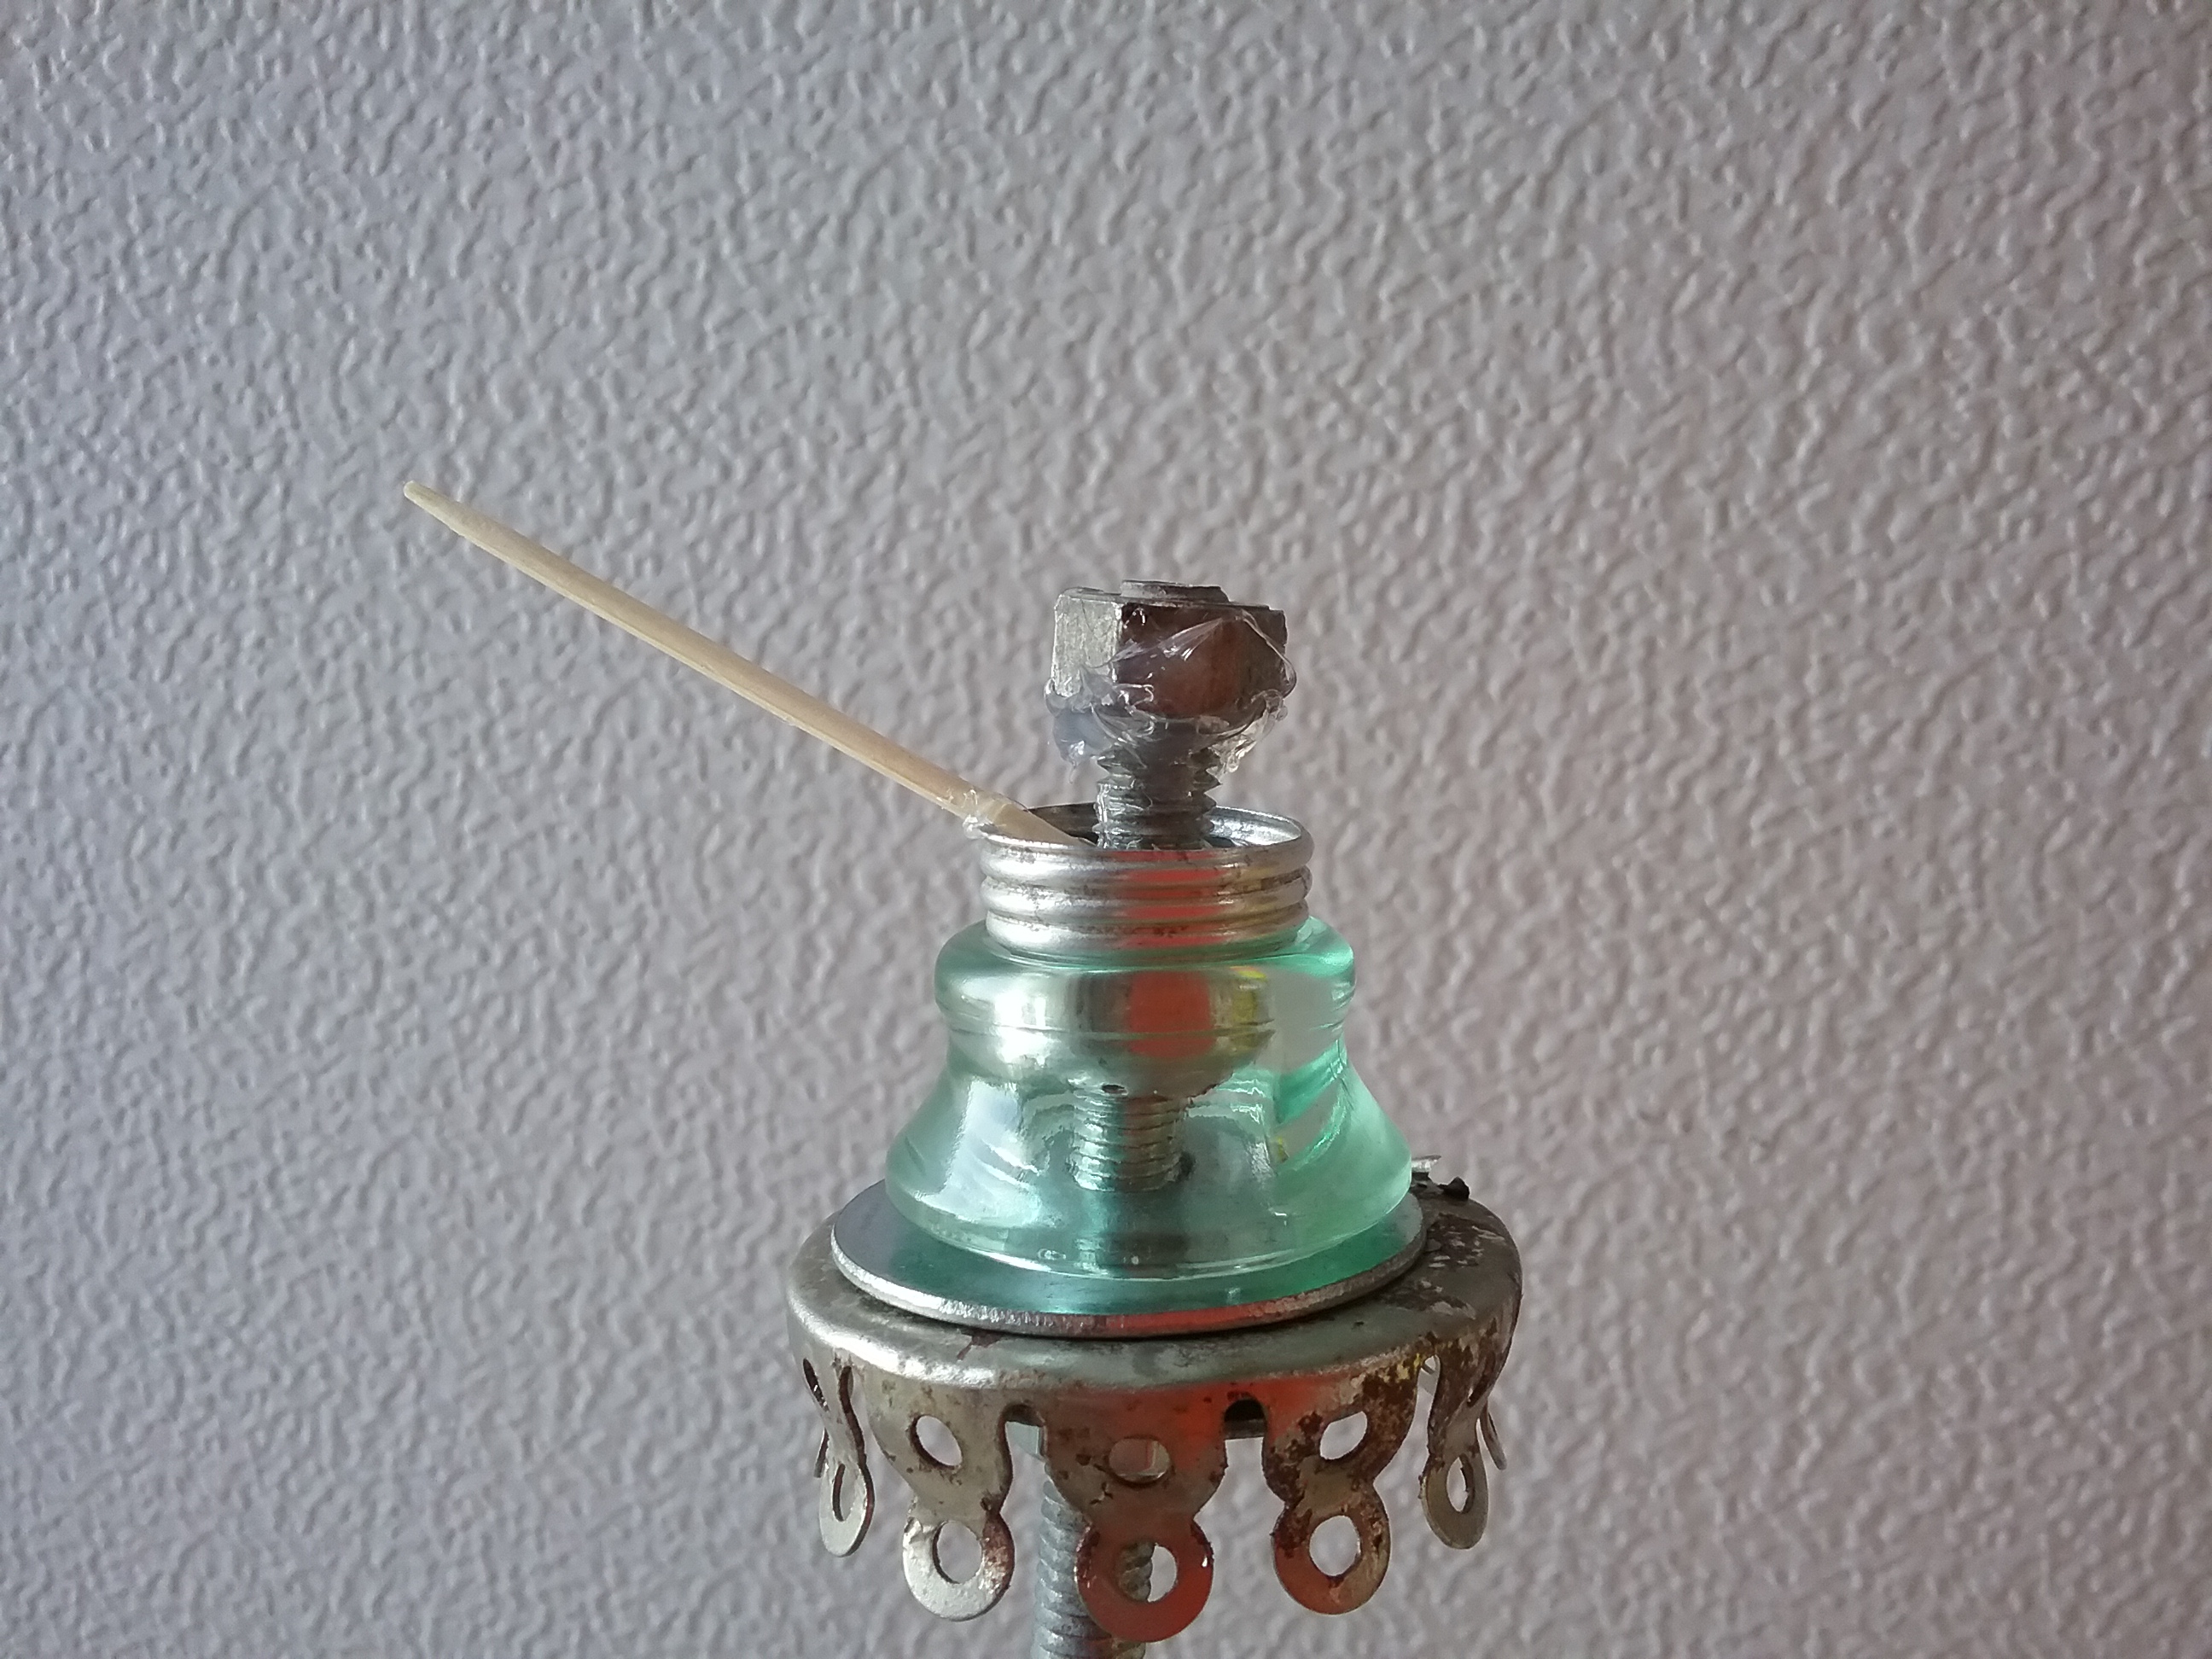
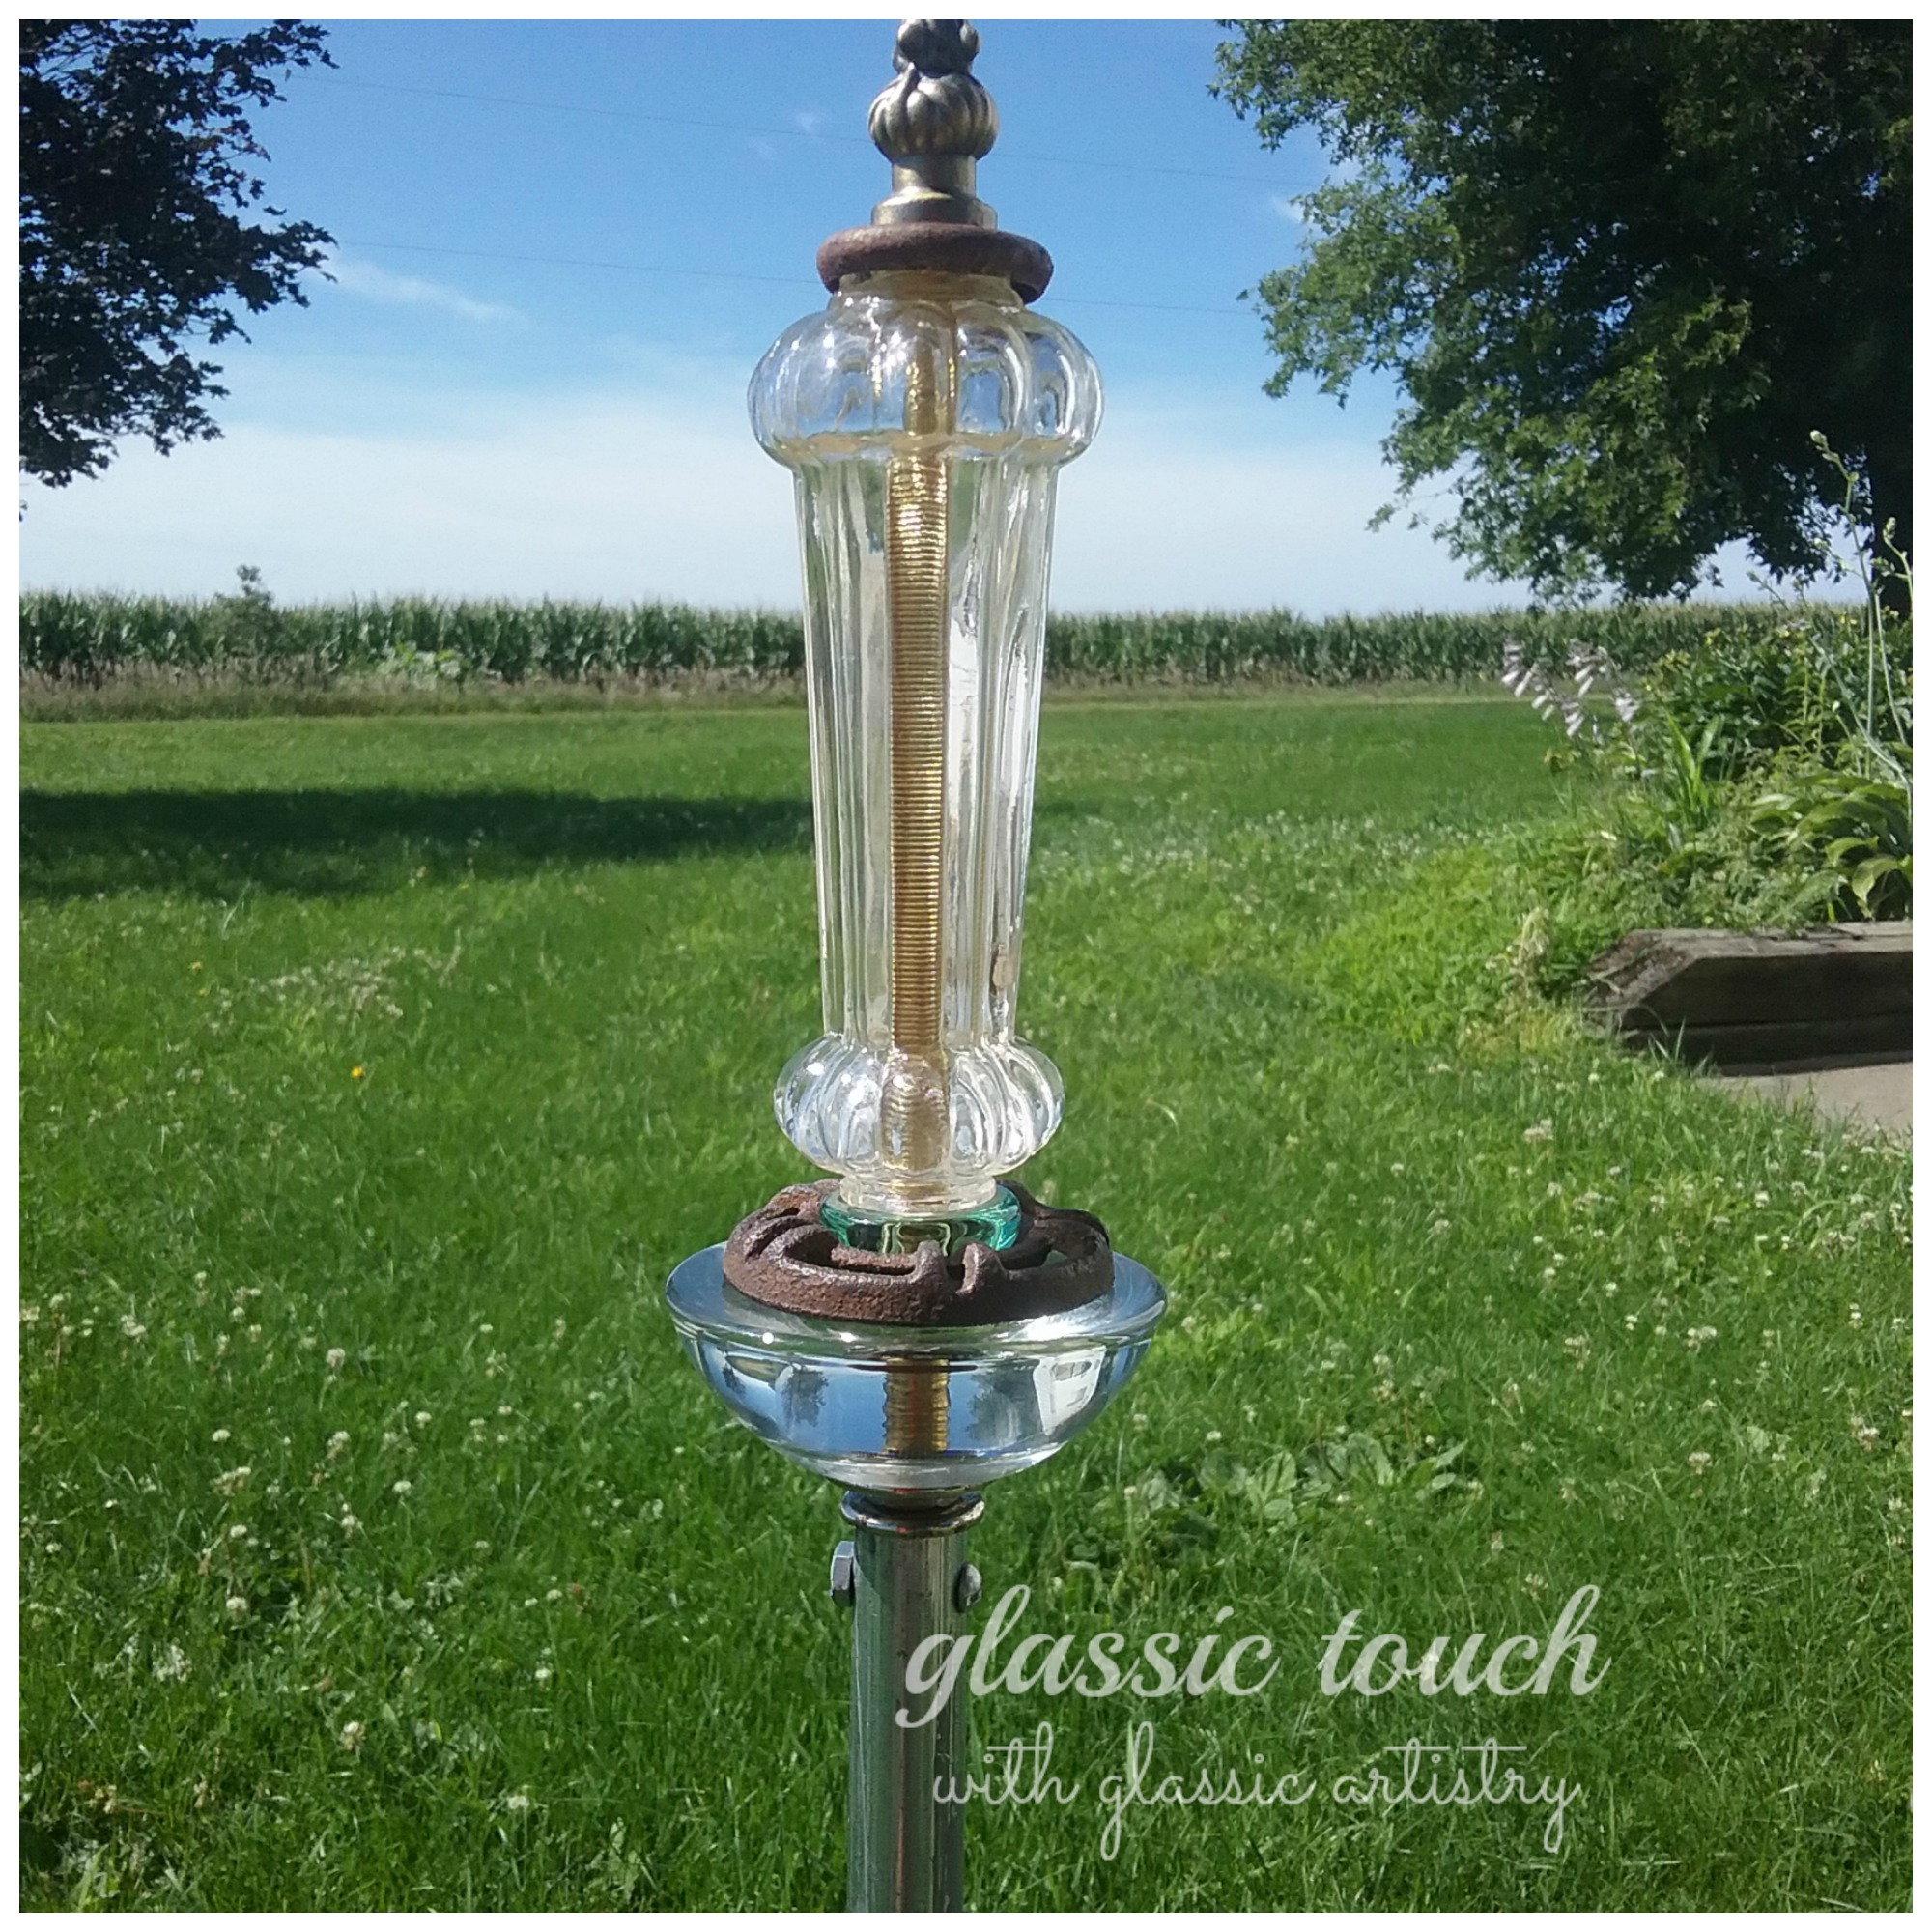
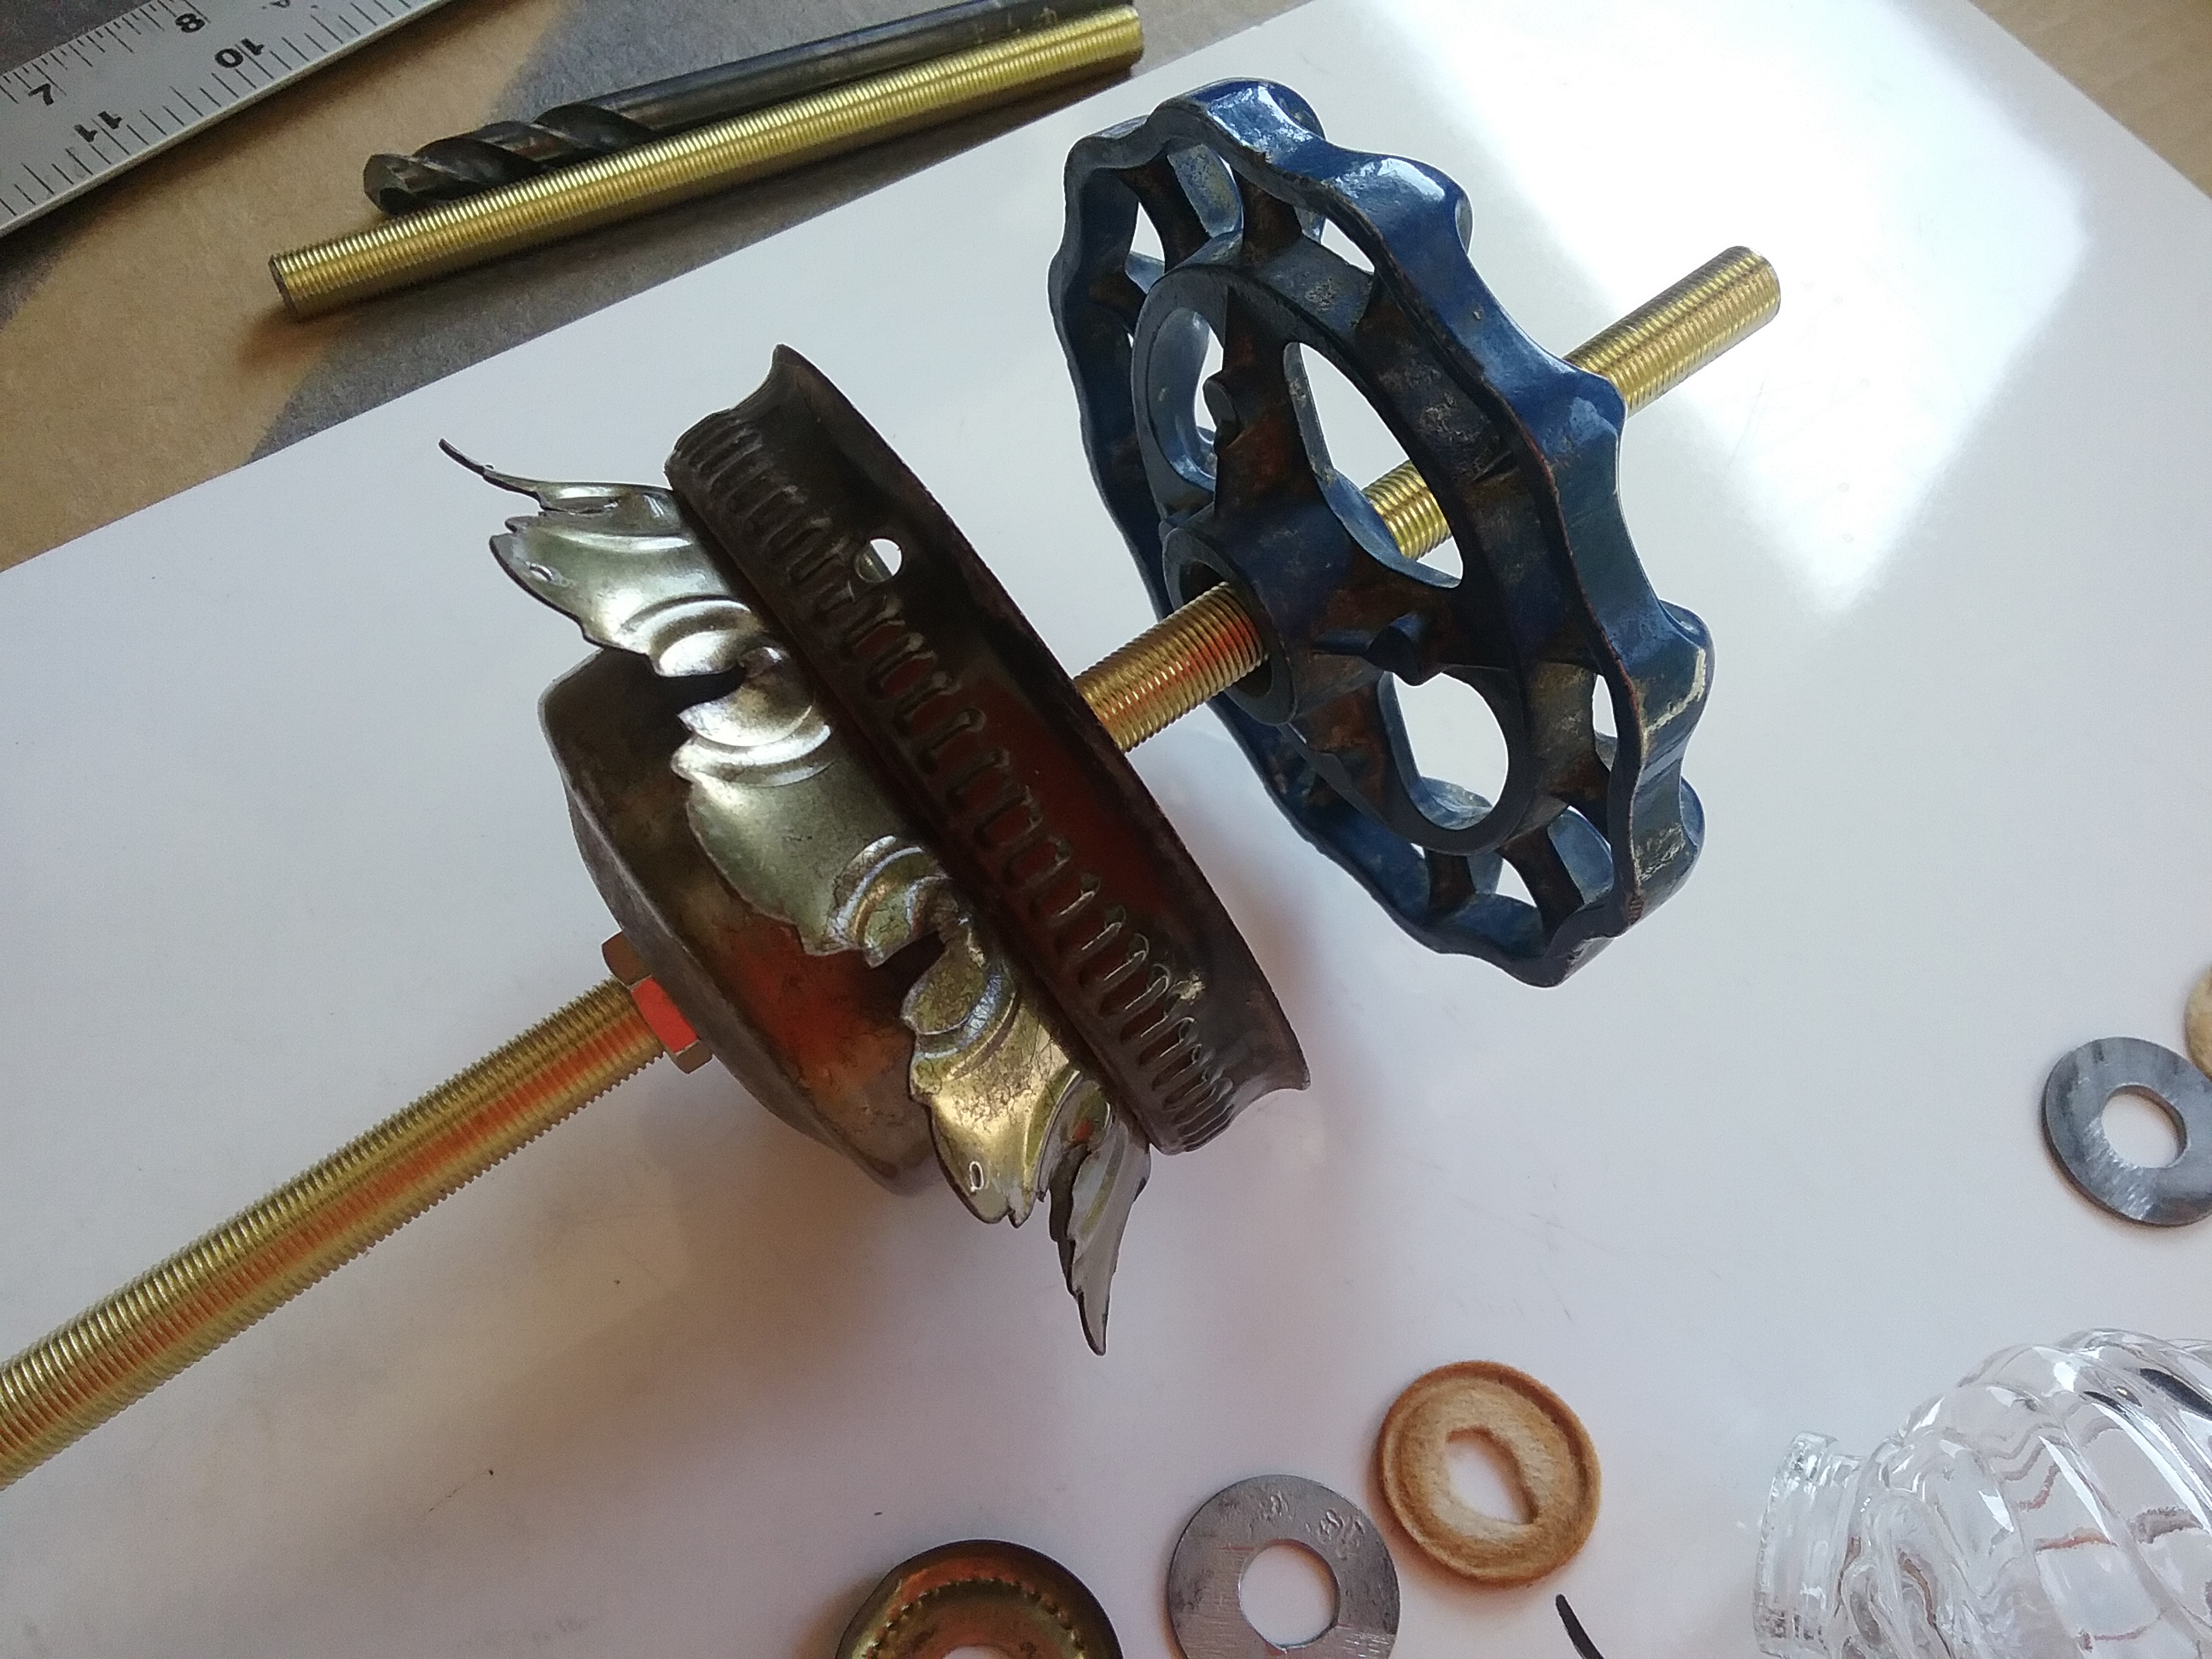
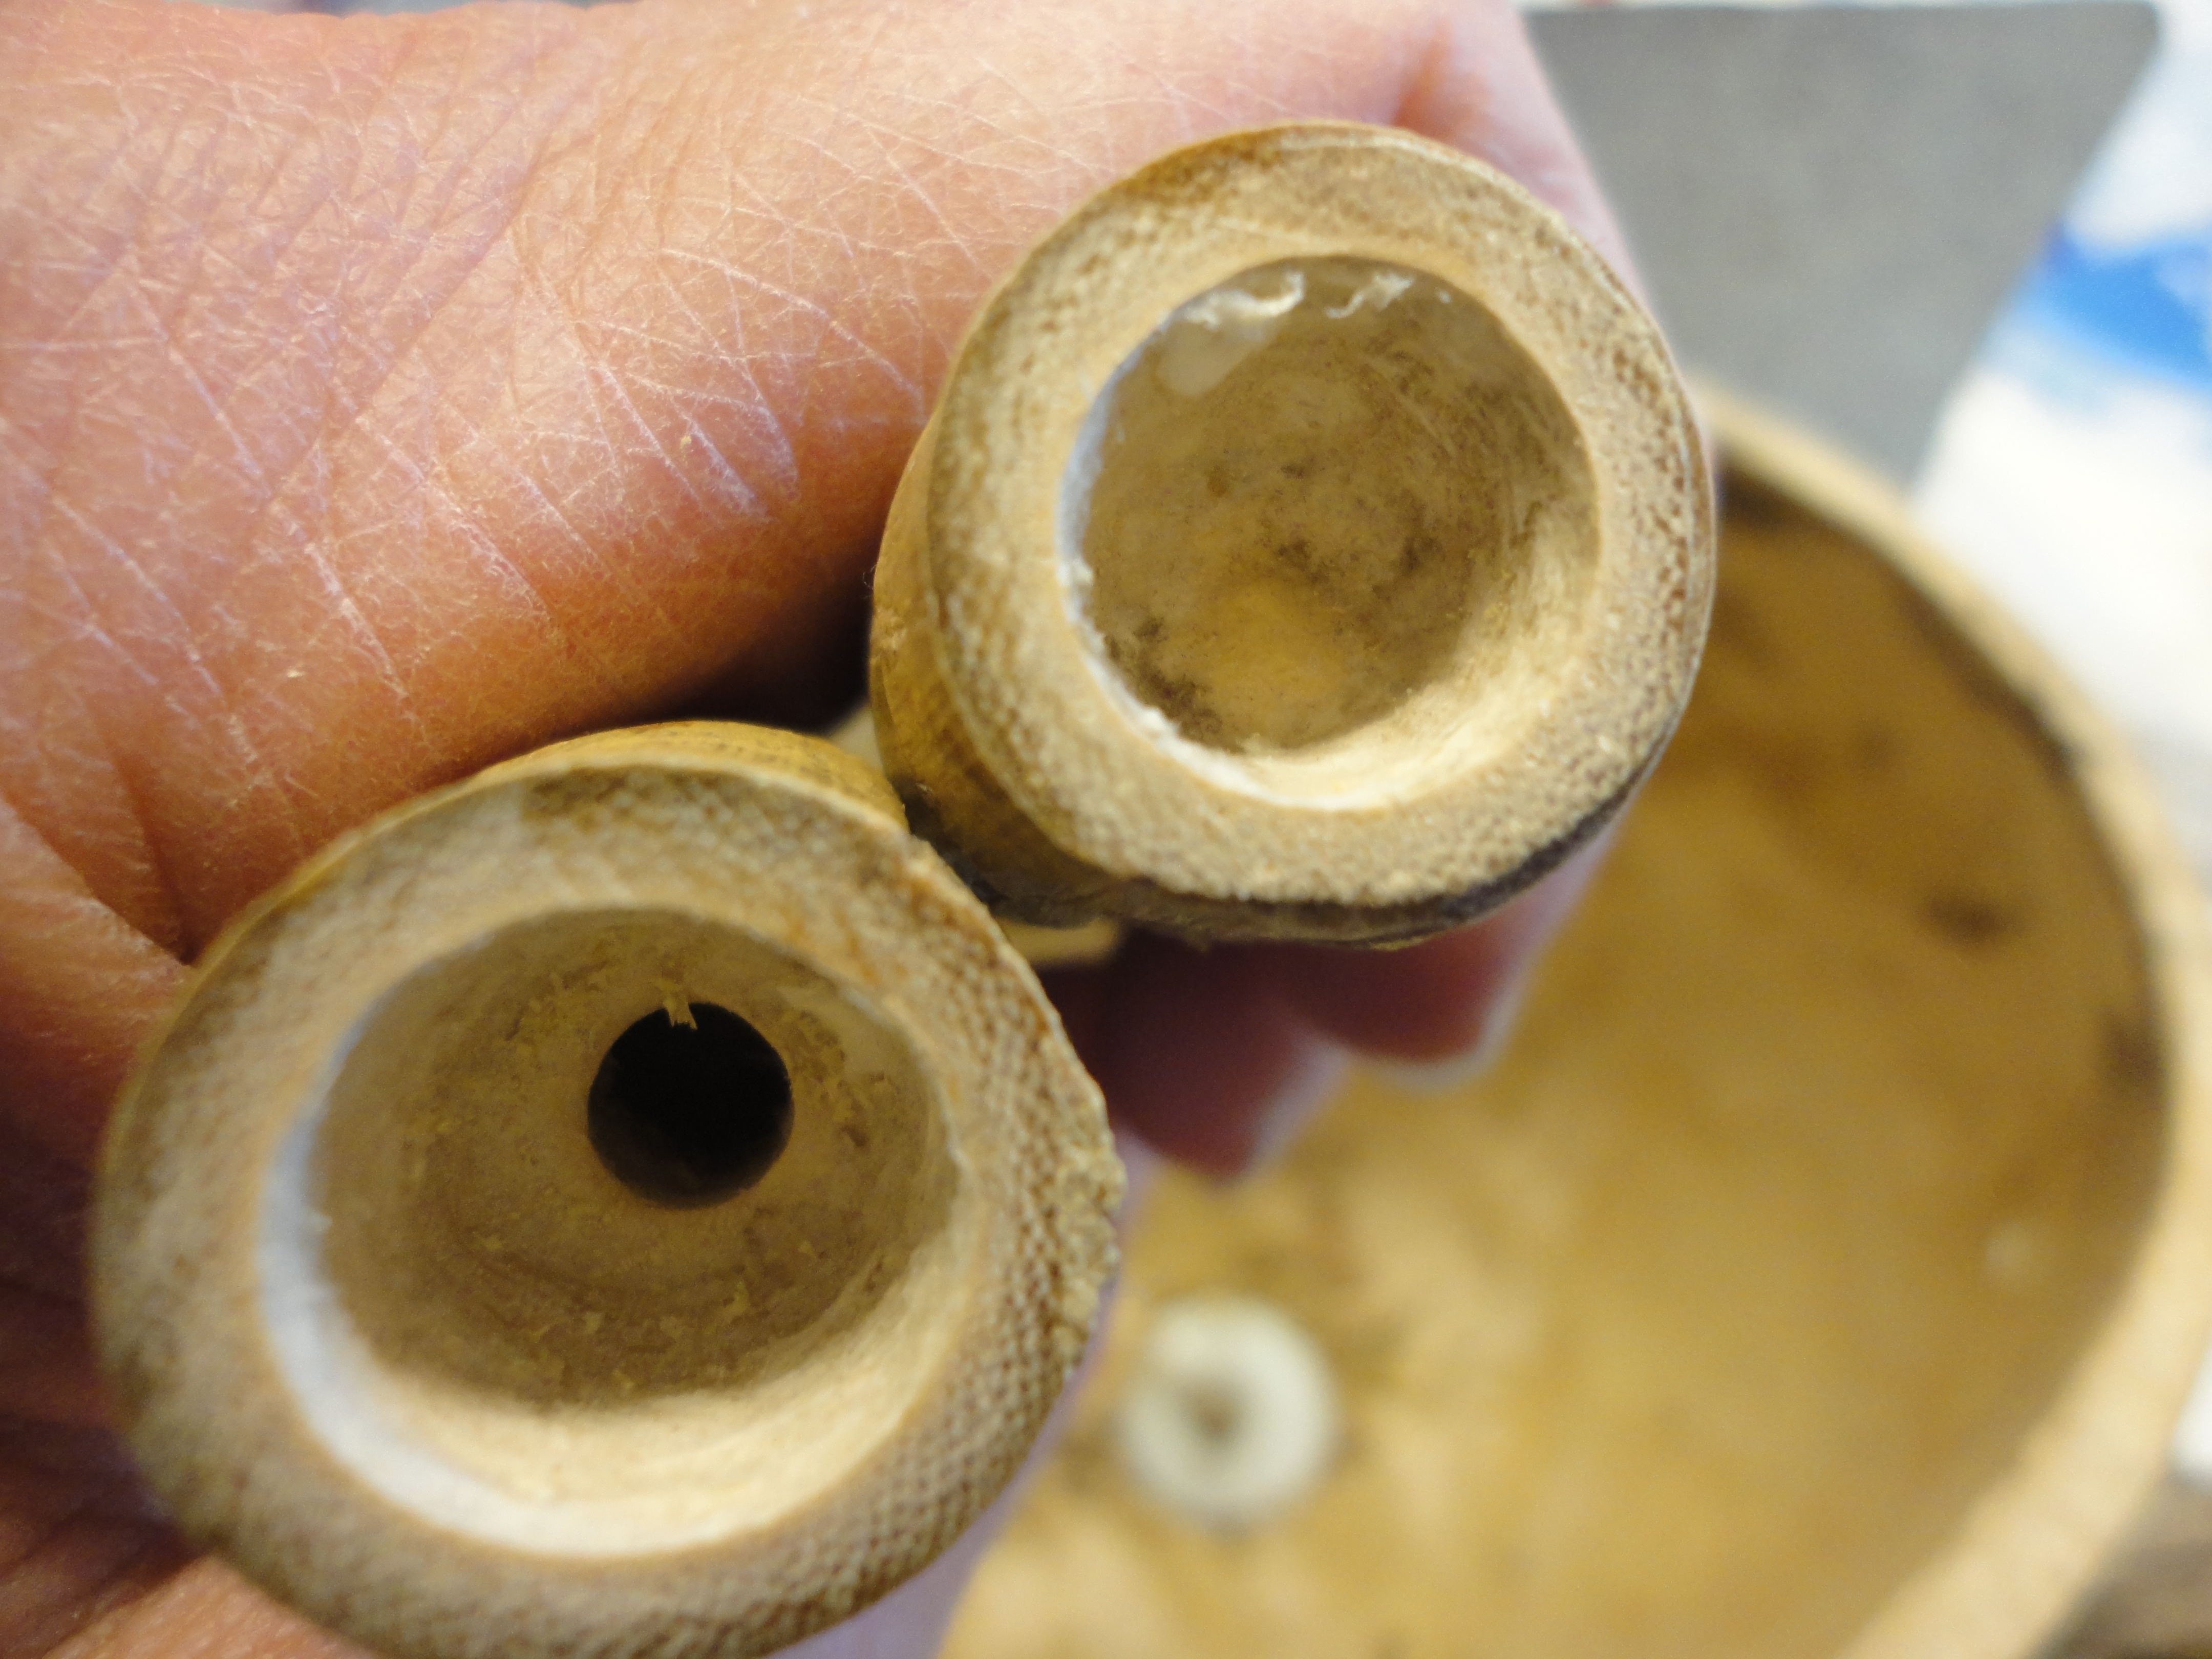
The porcelain handle was taken apart.

20170126_101515  20170126_102620

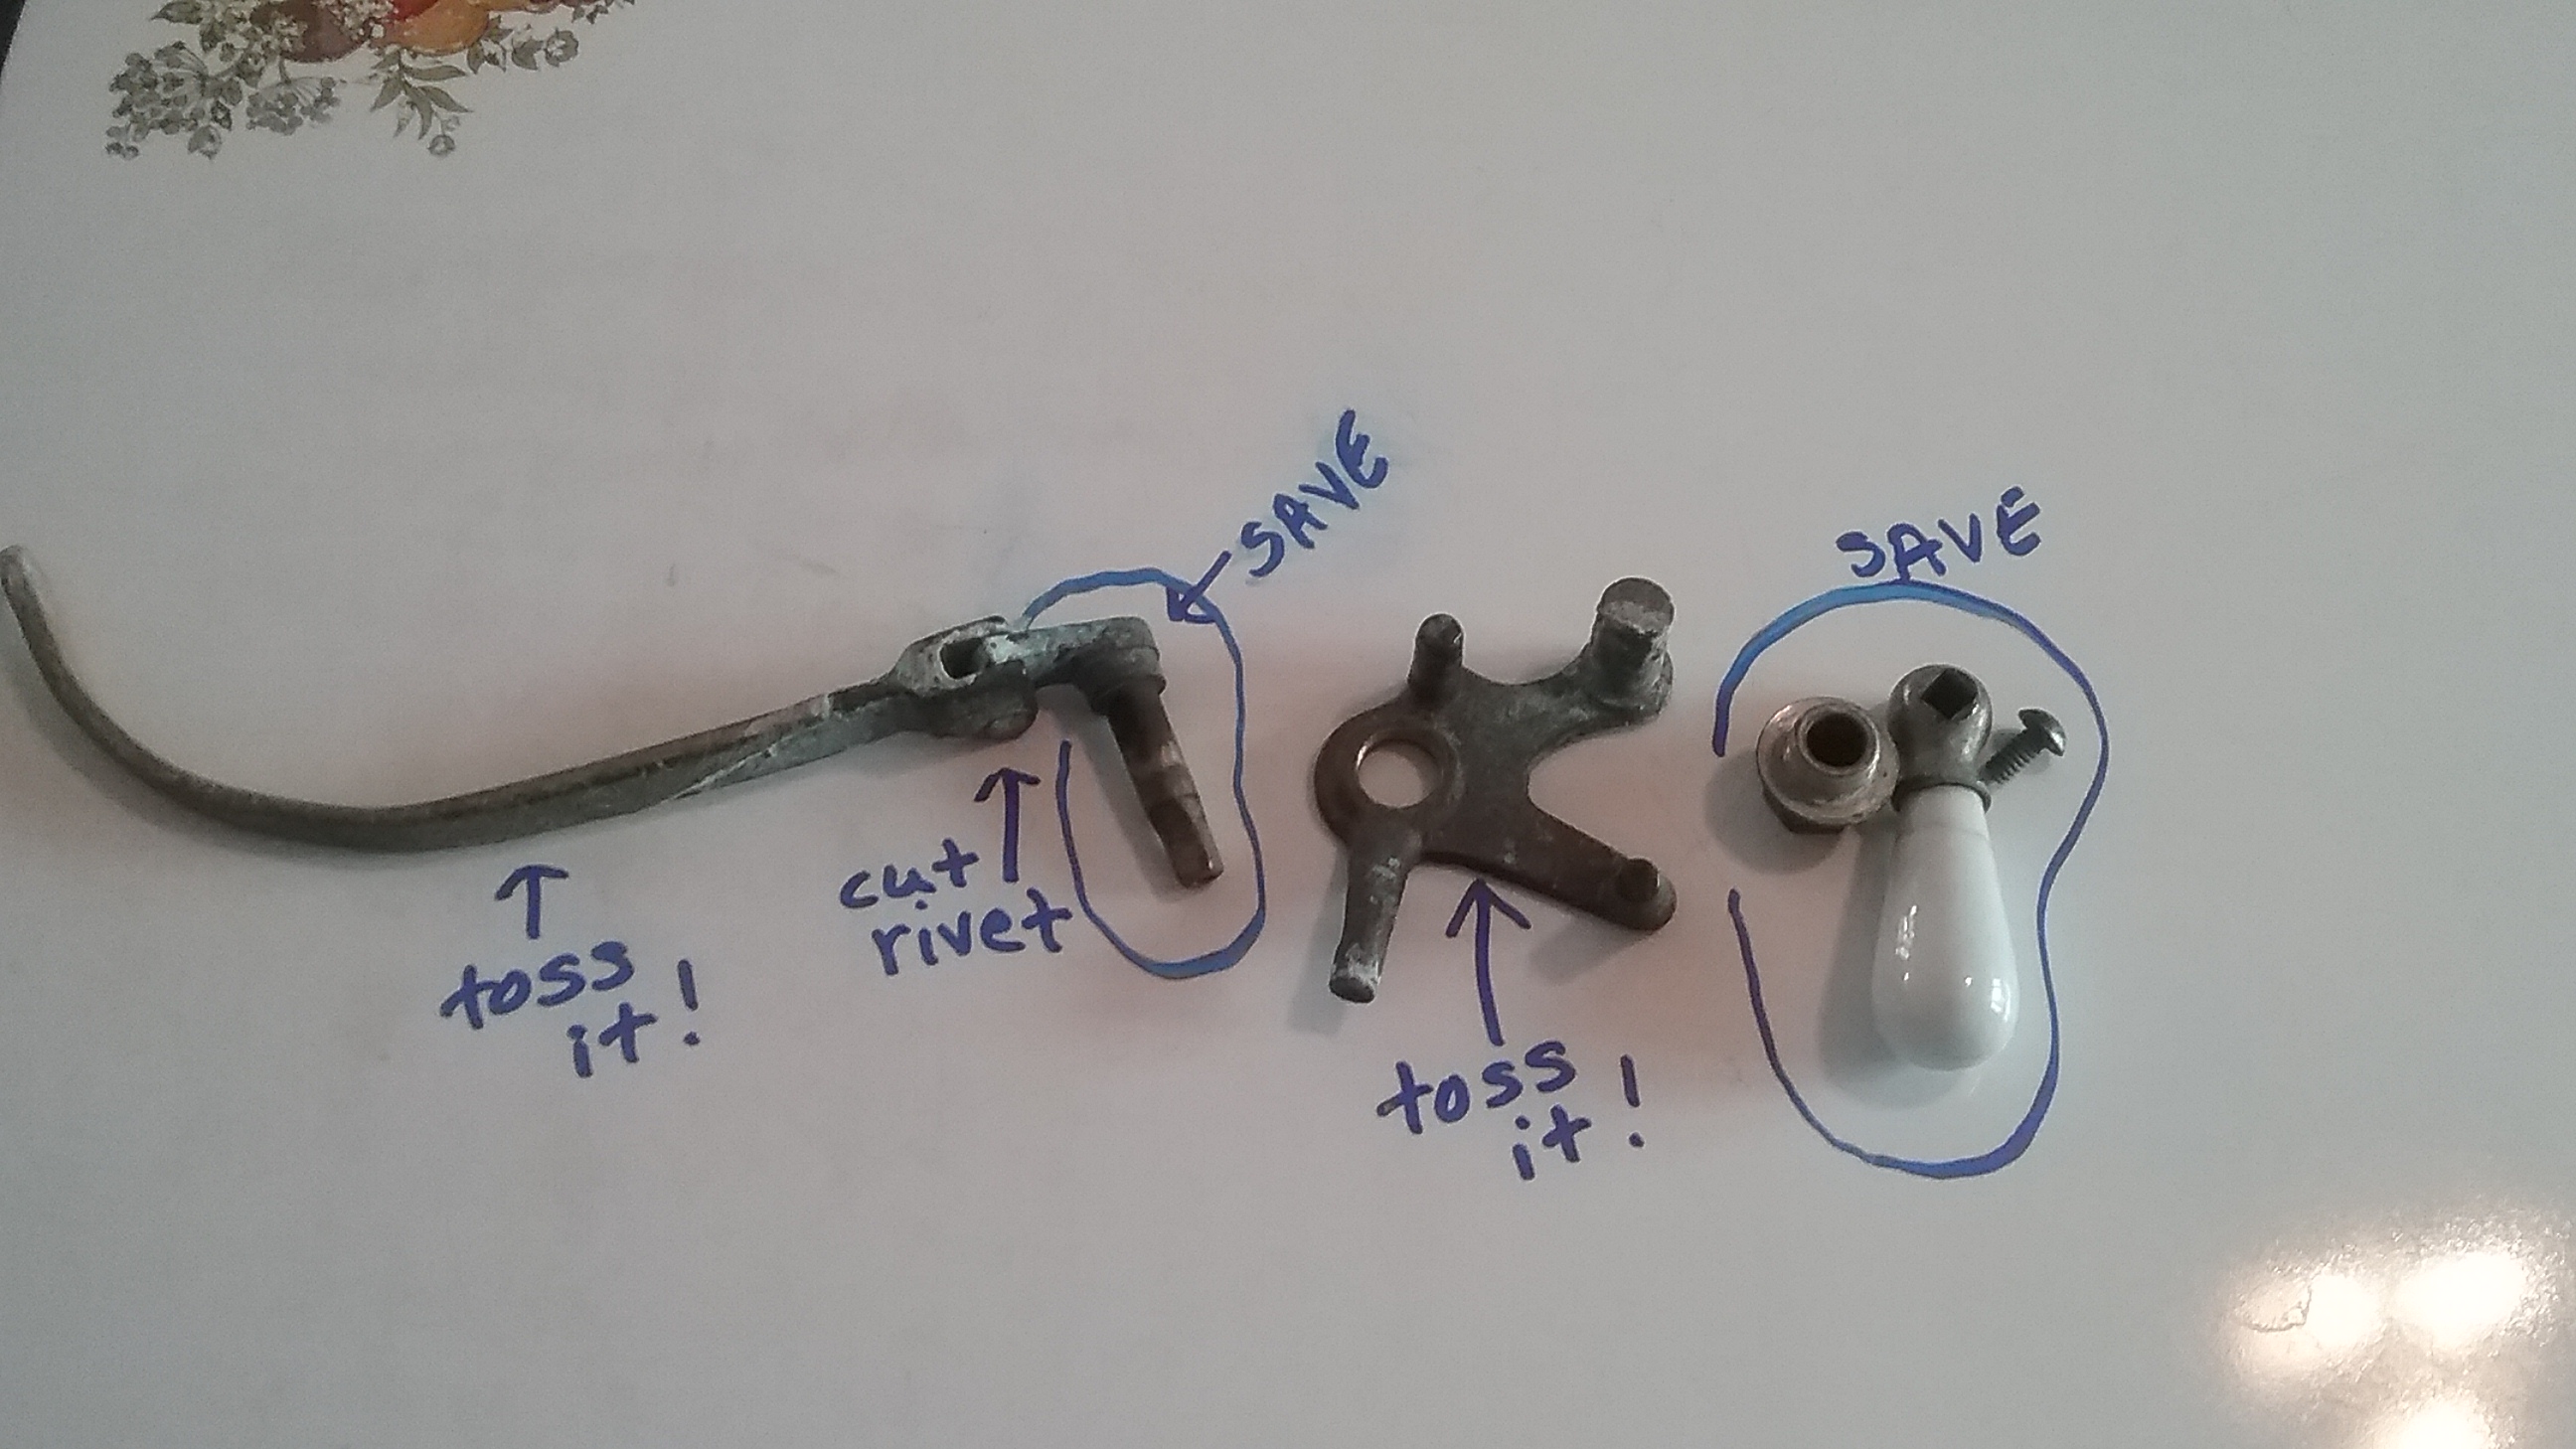
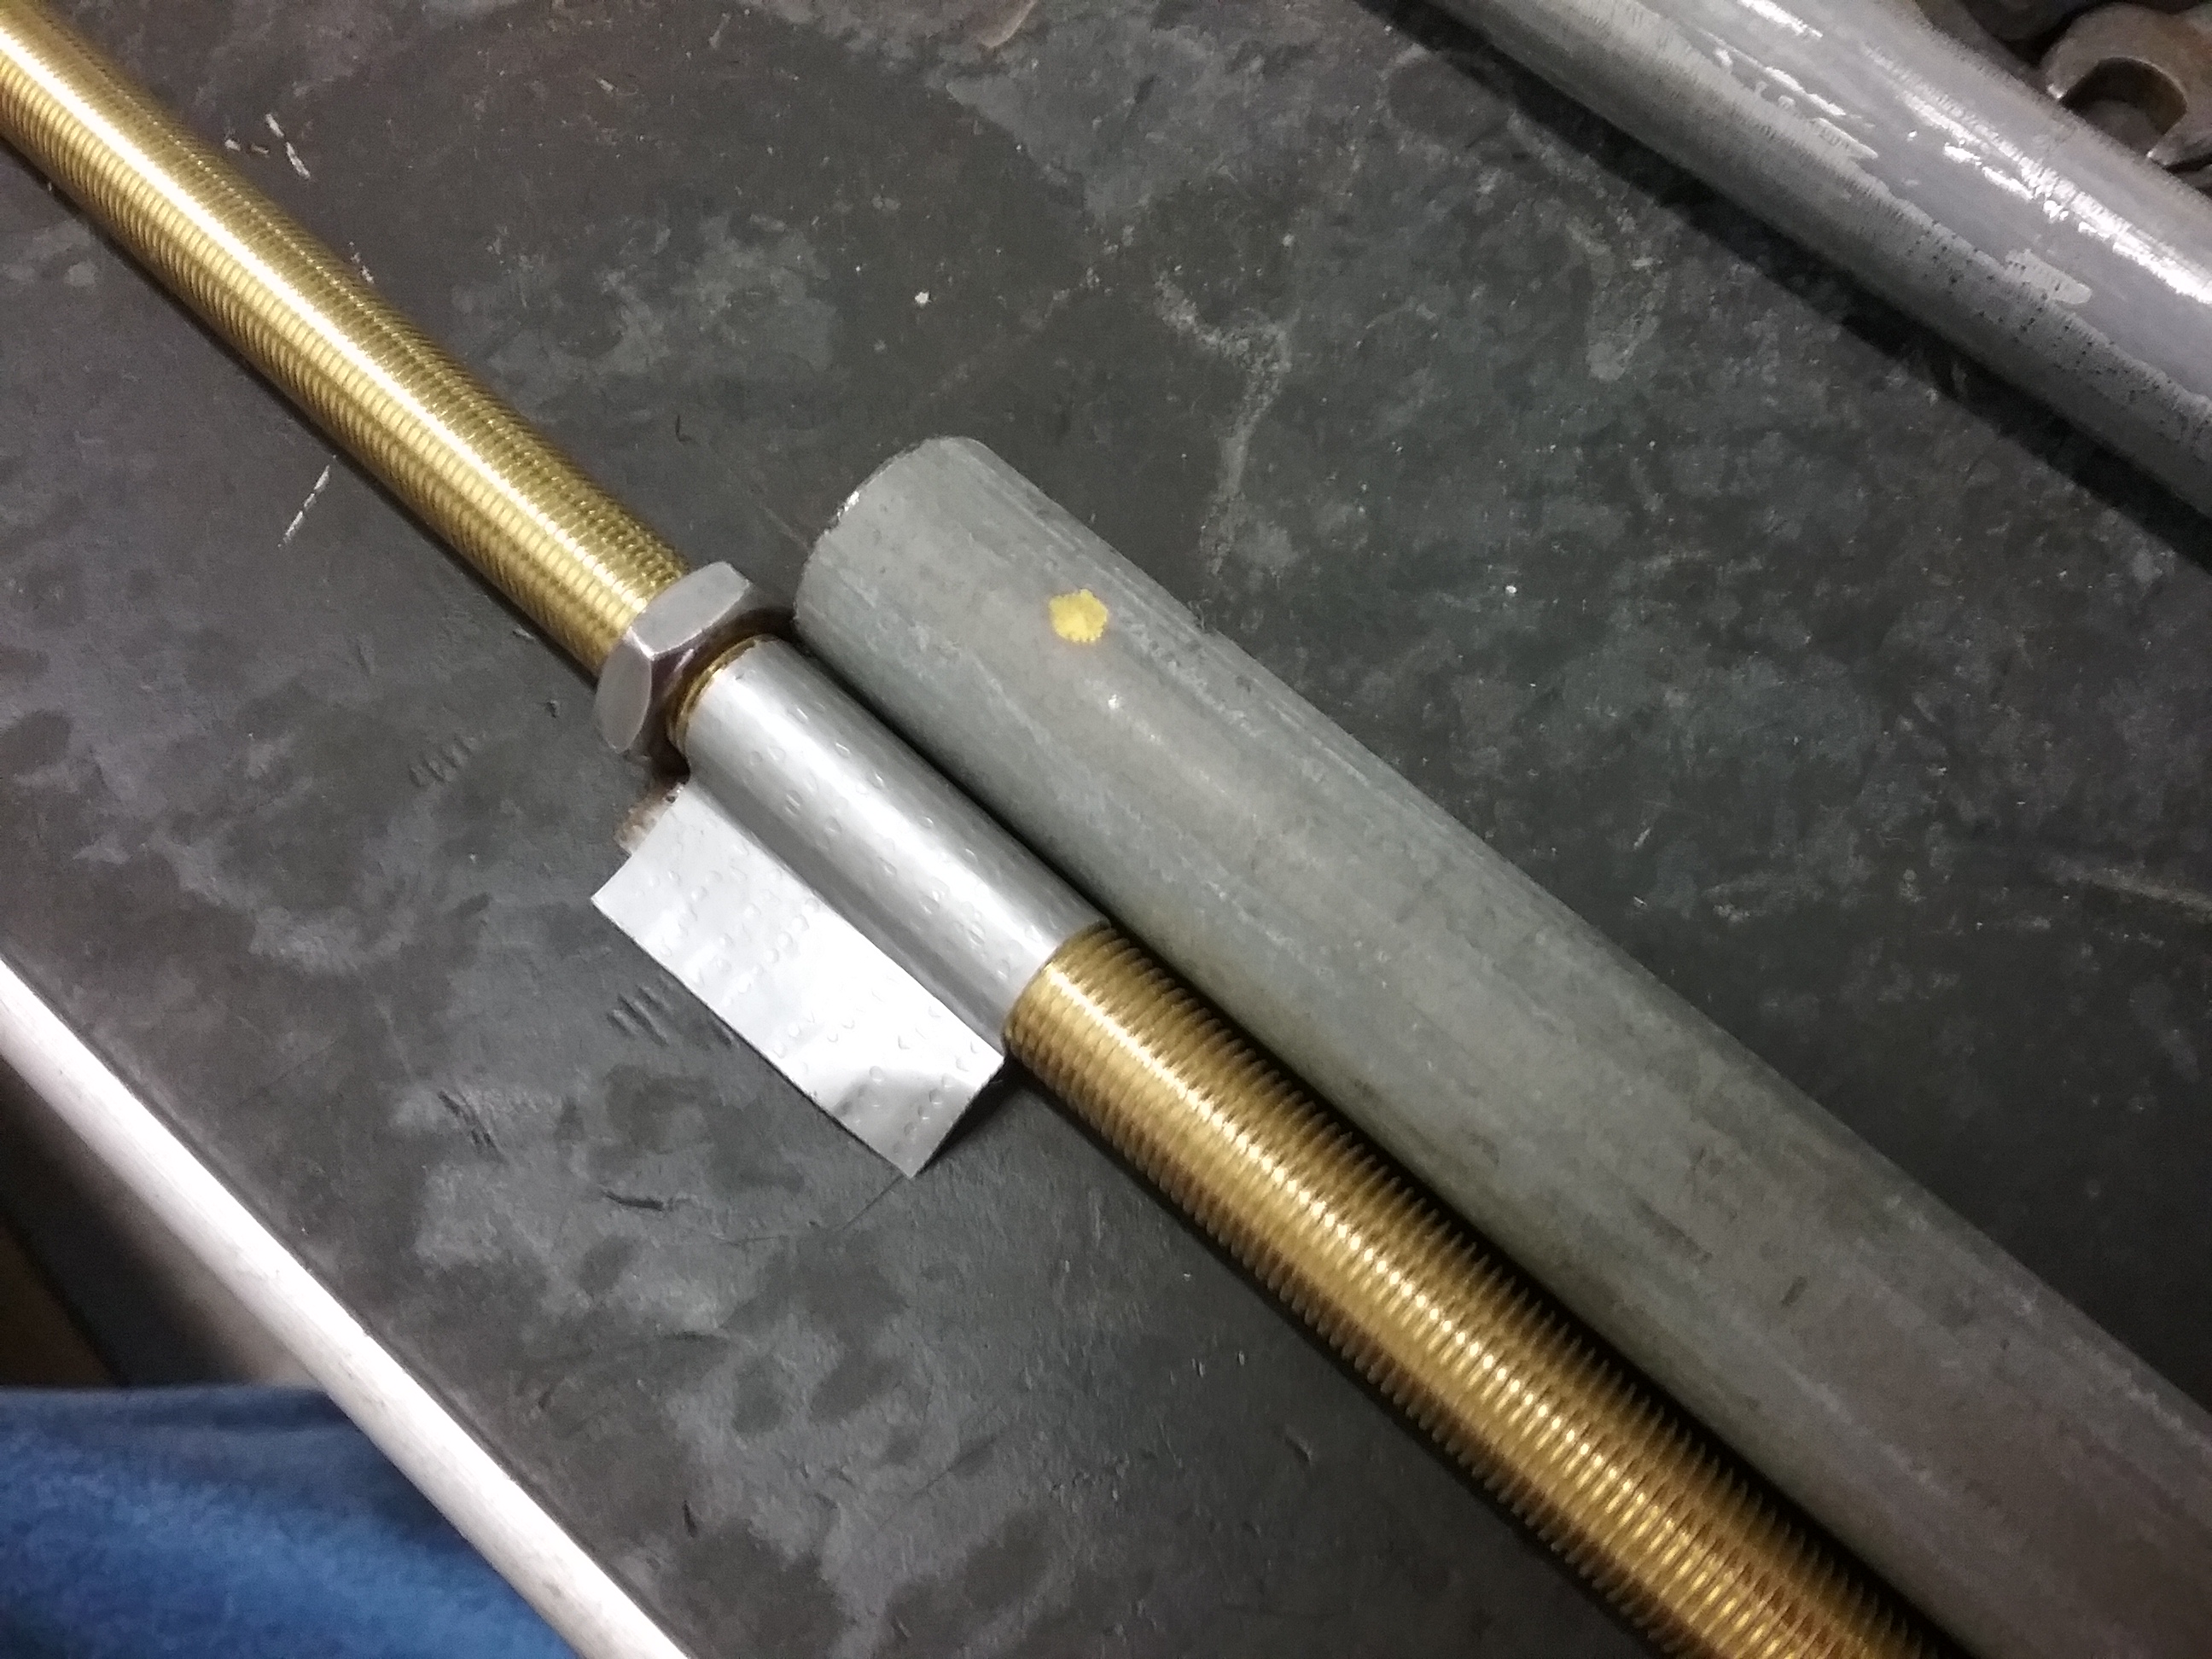
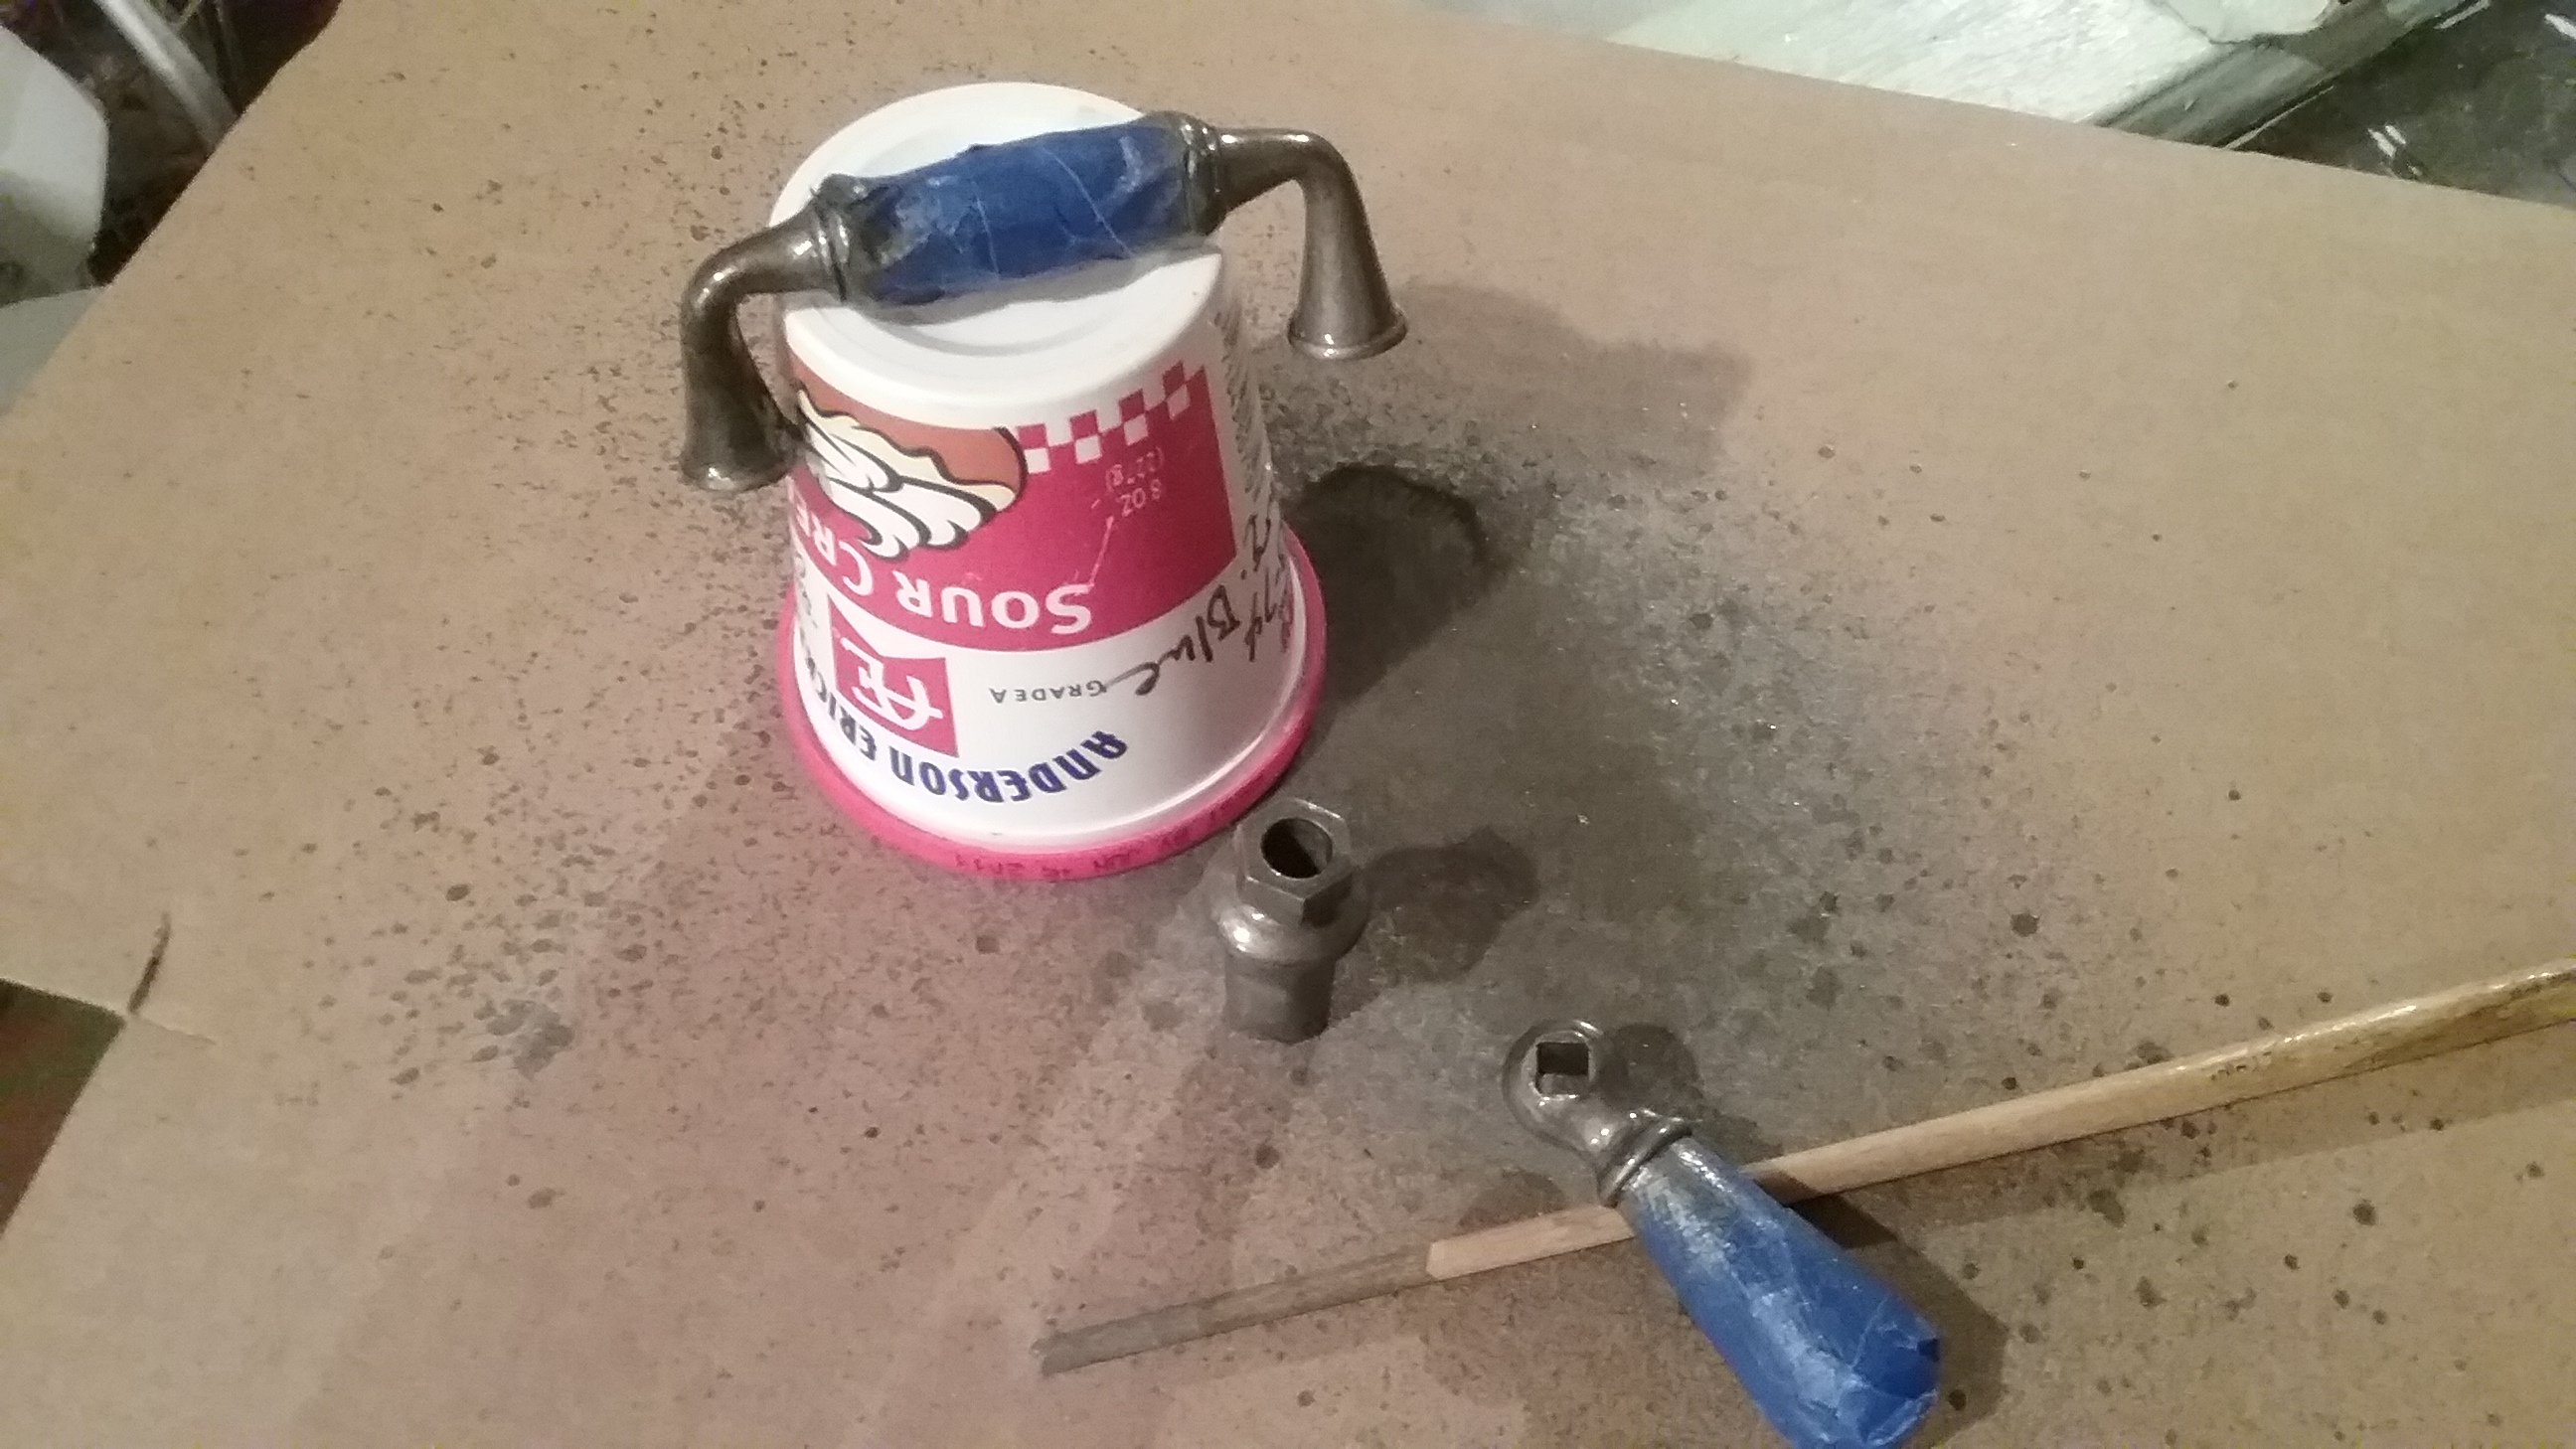
My husband helped me figure out a way to twist the handle back on firmly by customizing a 3/8″ coupling fitting.

20170128_090631  20170128_091432

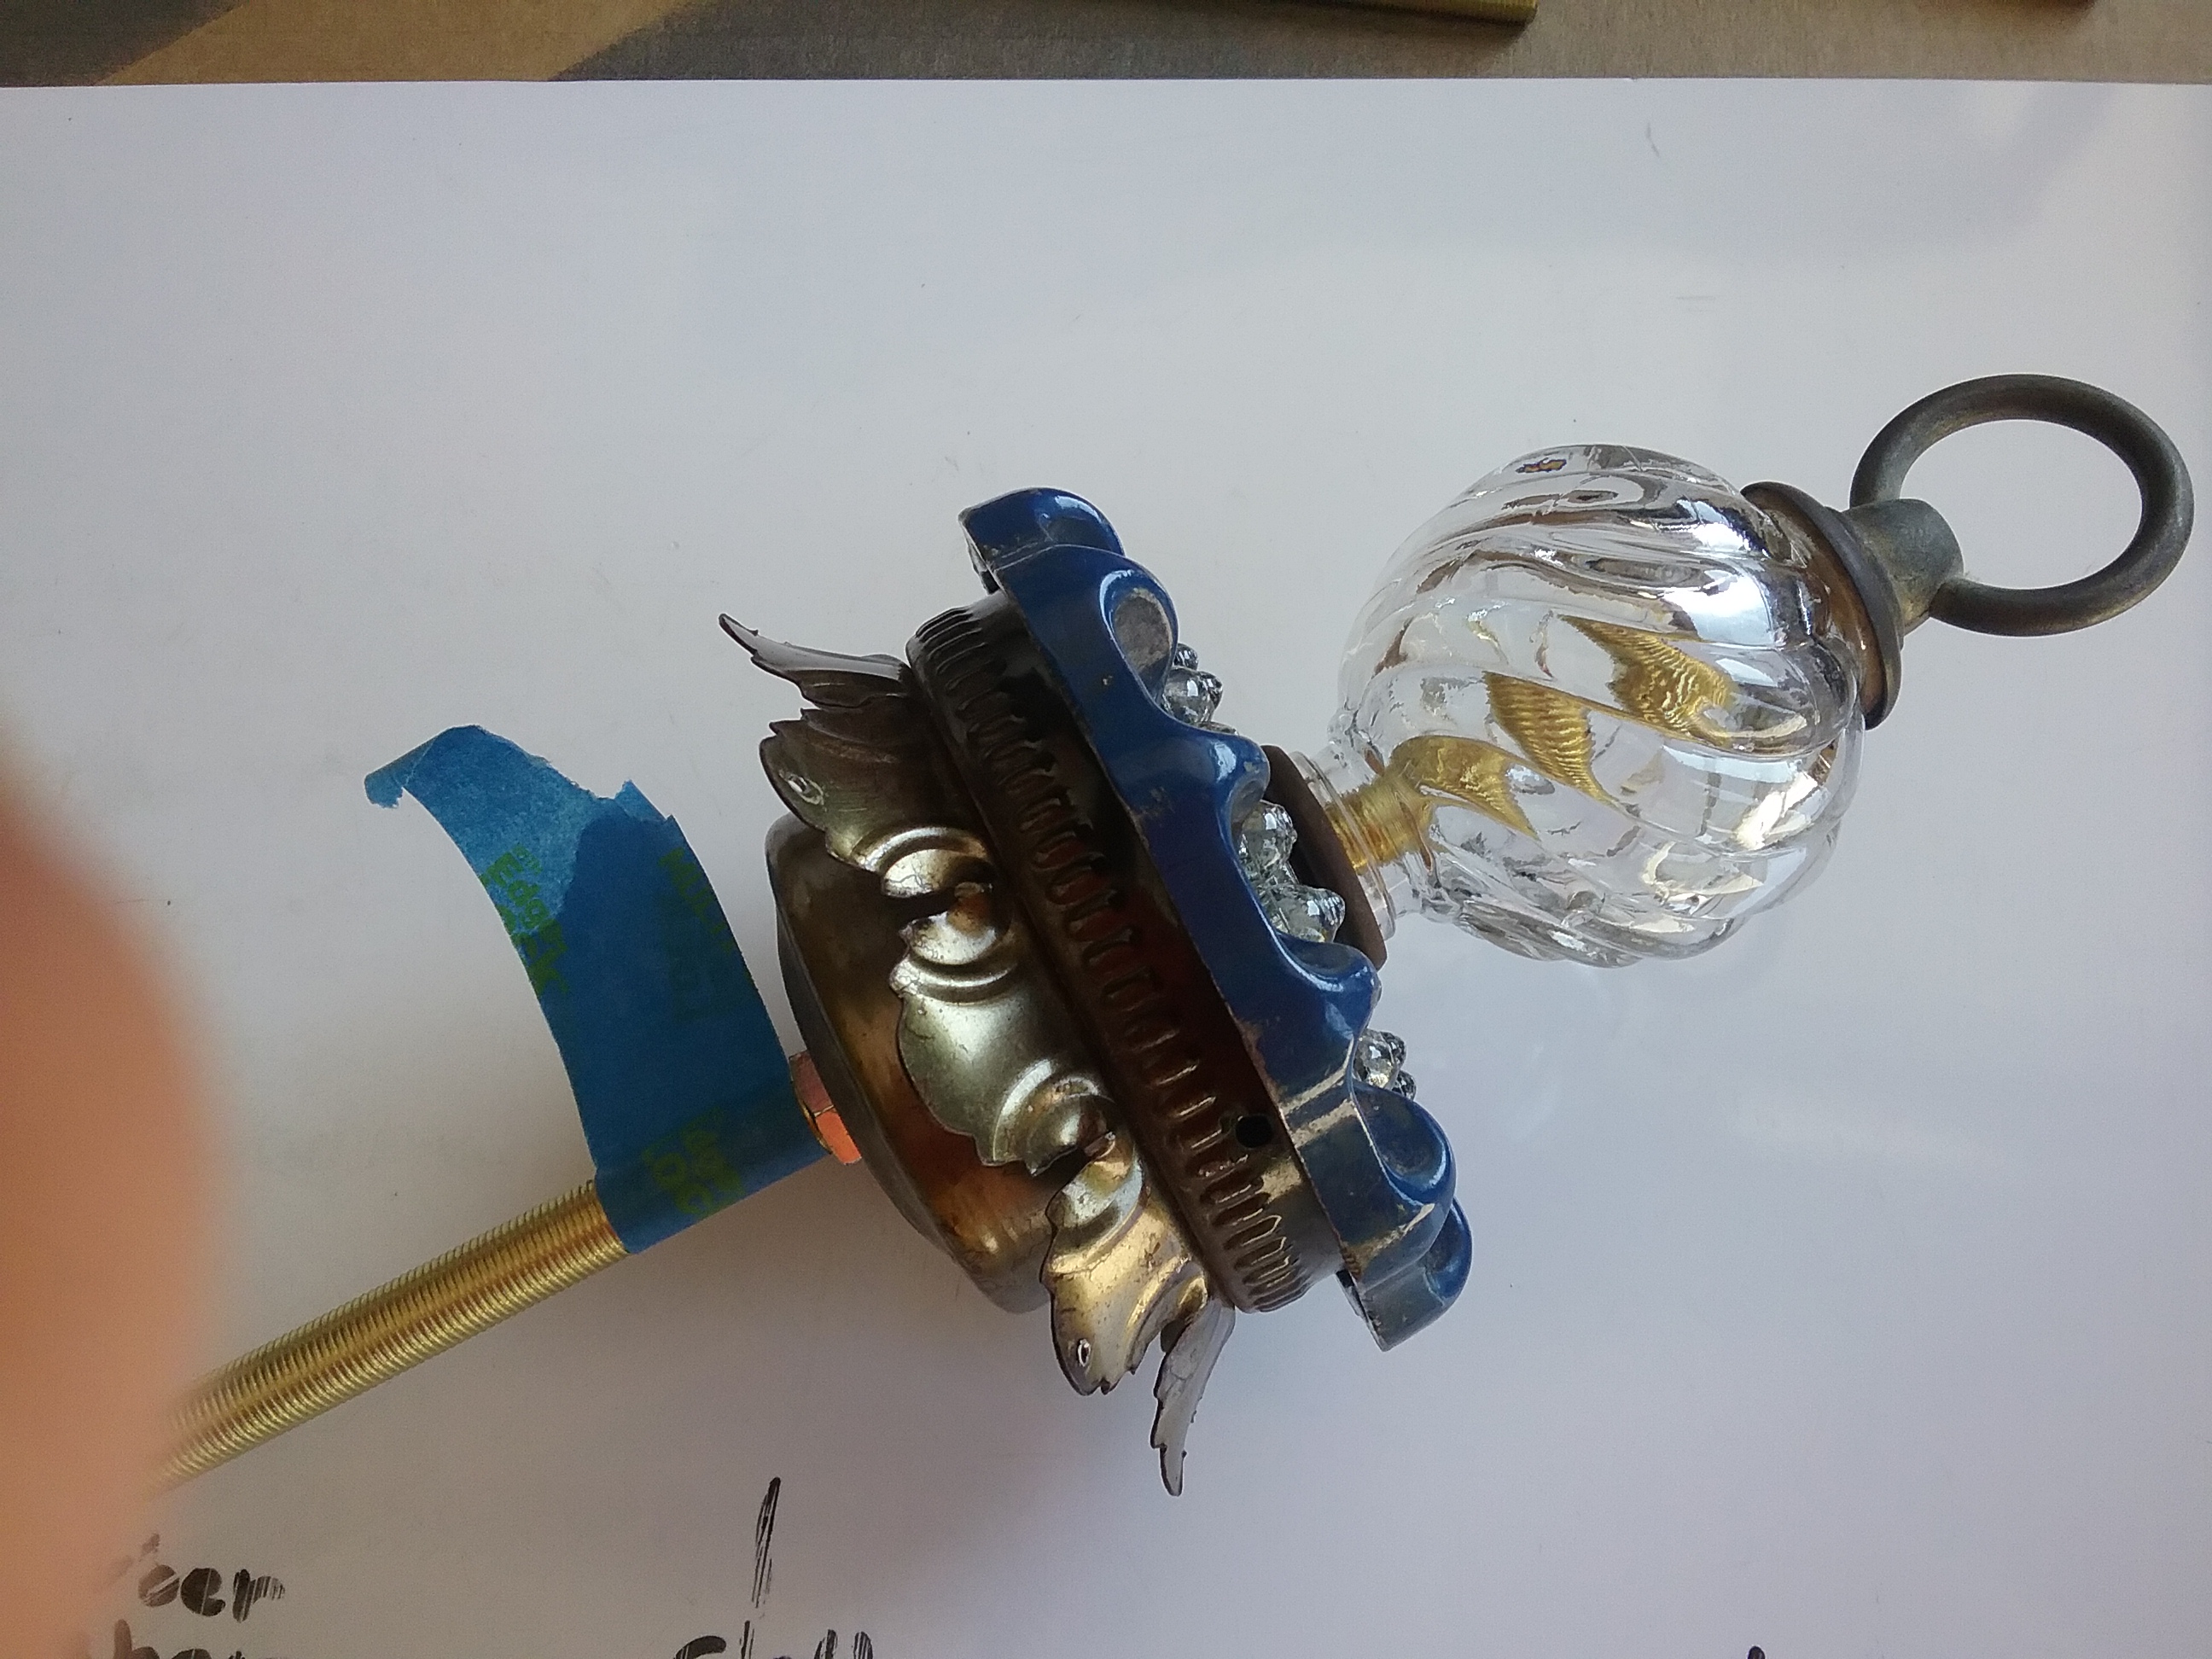
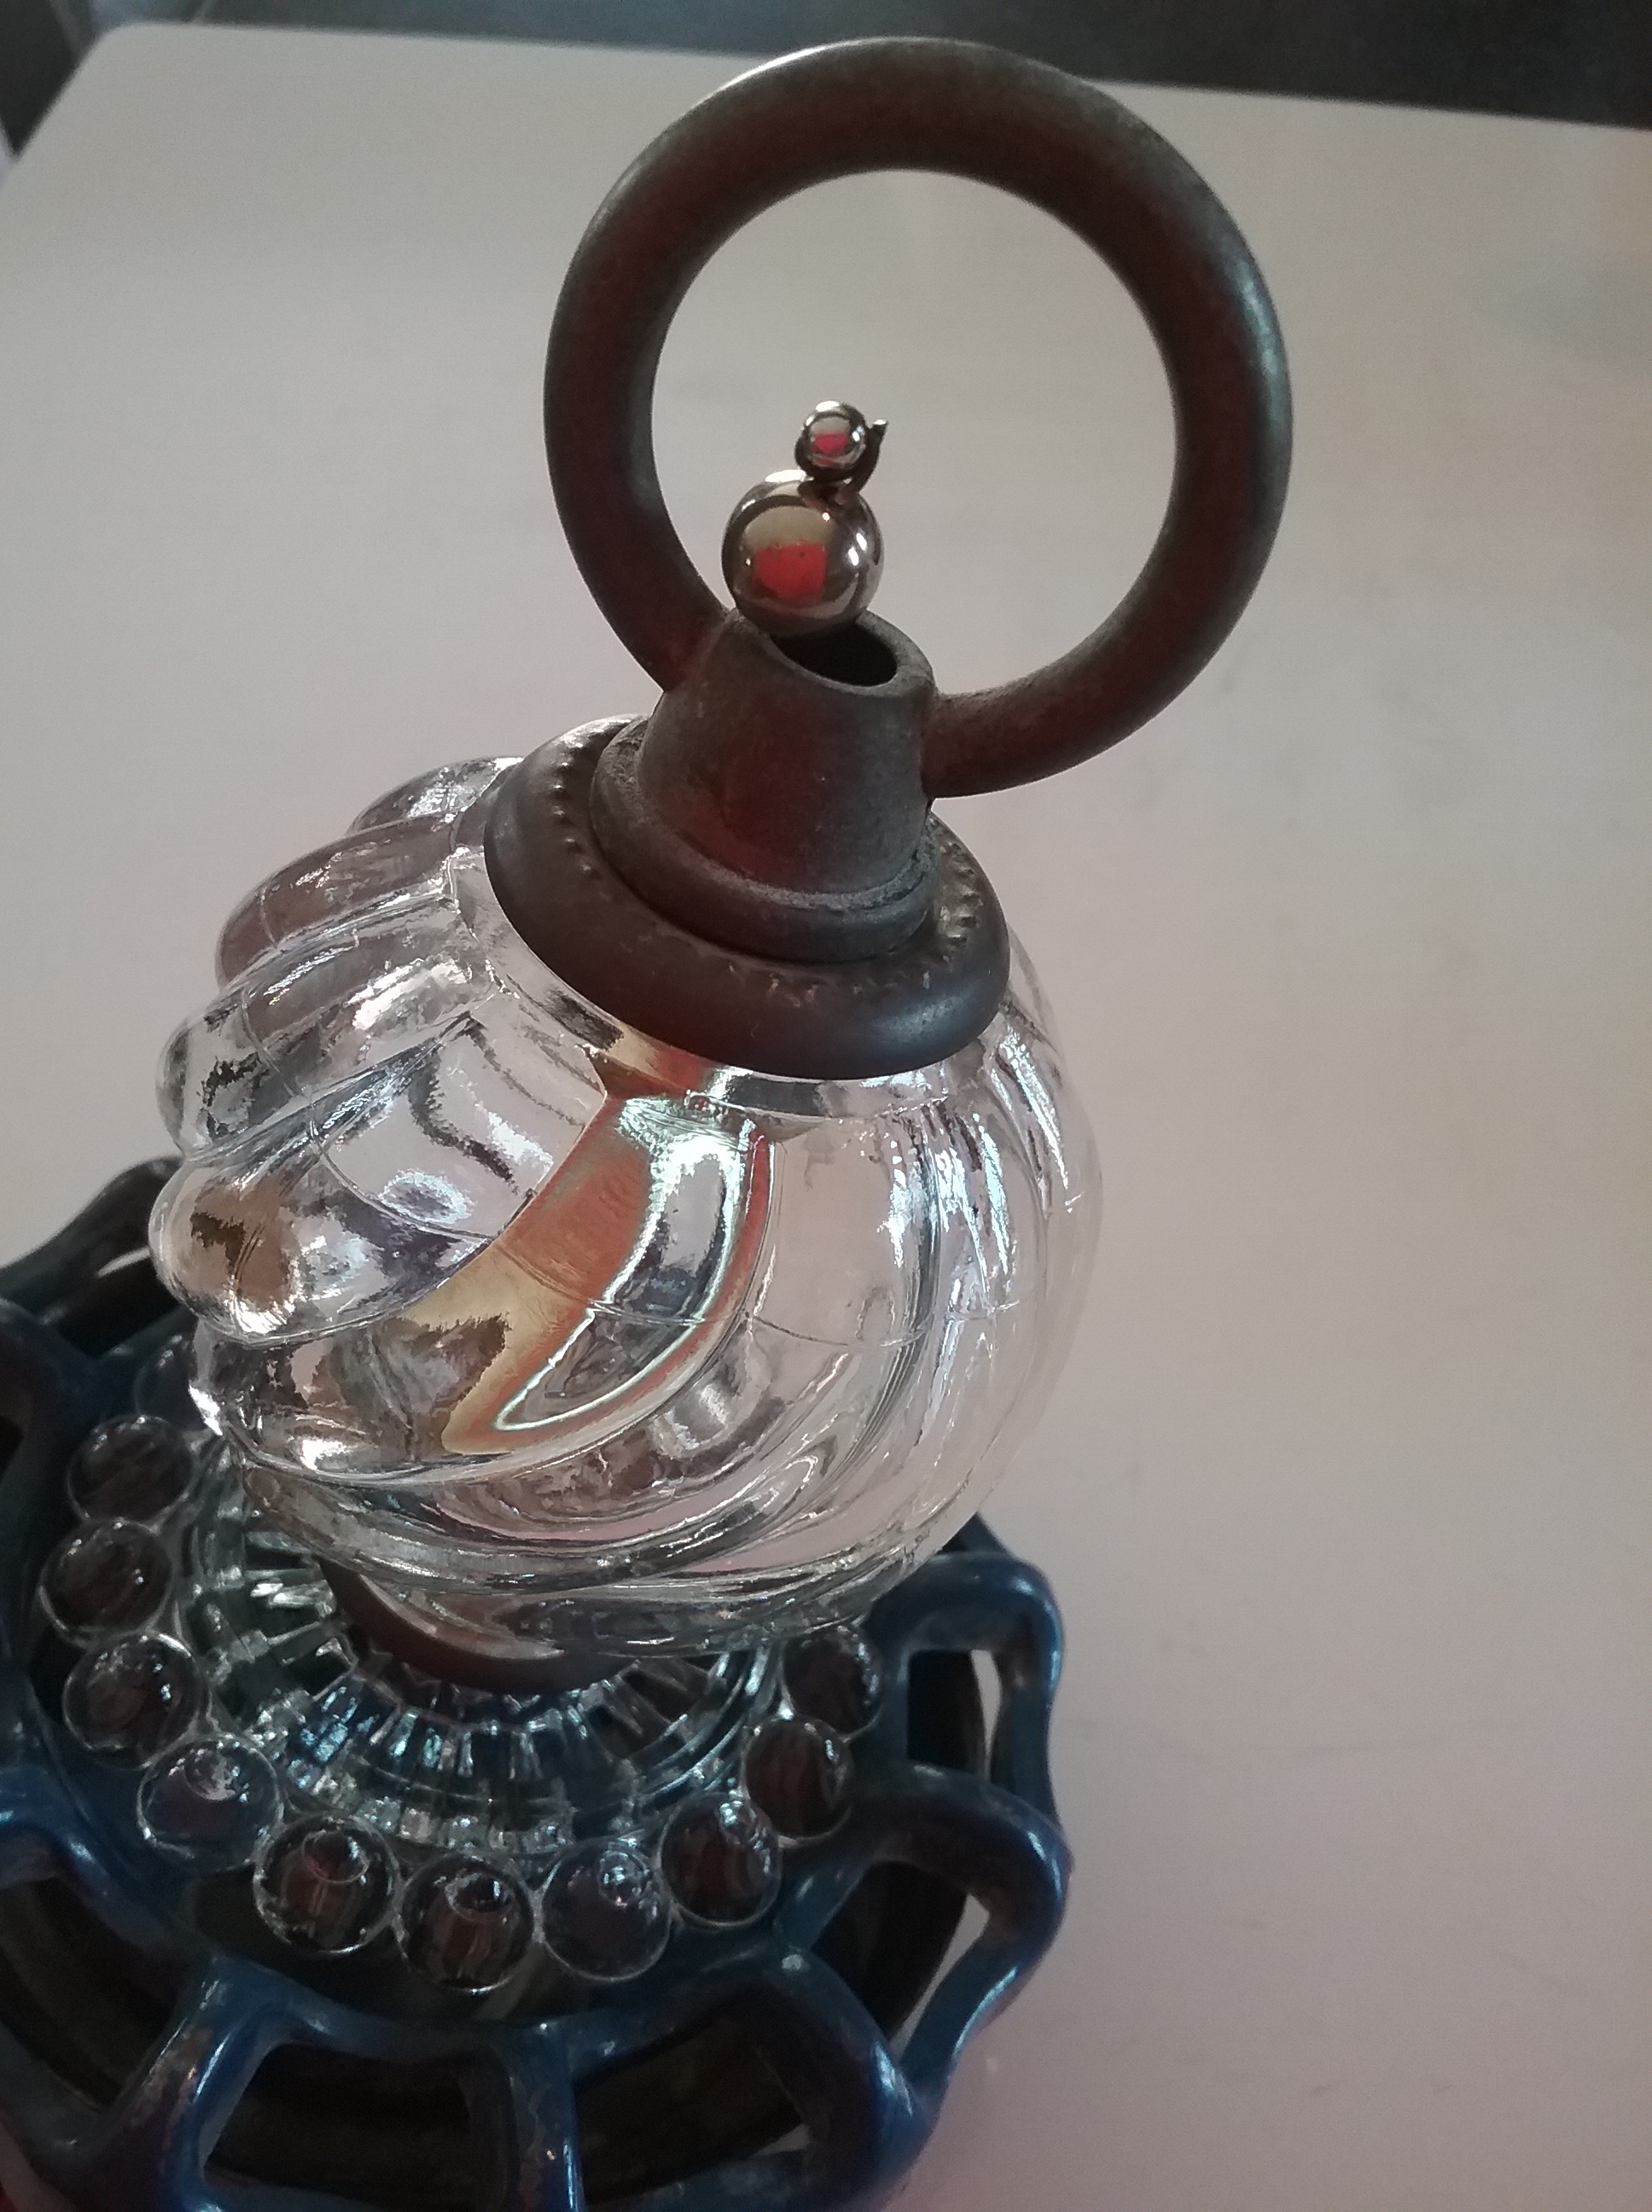
I found the perfect lid handle at the Habitat store for 50 cents. After taping off the porcelain parts, I sprayed the handles, and the handle pieces that would show, with a hammered metal paint. I used a q-tip with a little fingernail polish remover and a ceramic tool to clean up some paint bleeds before attaching the handles.

20170119_164820  20170126_182455

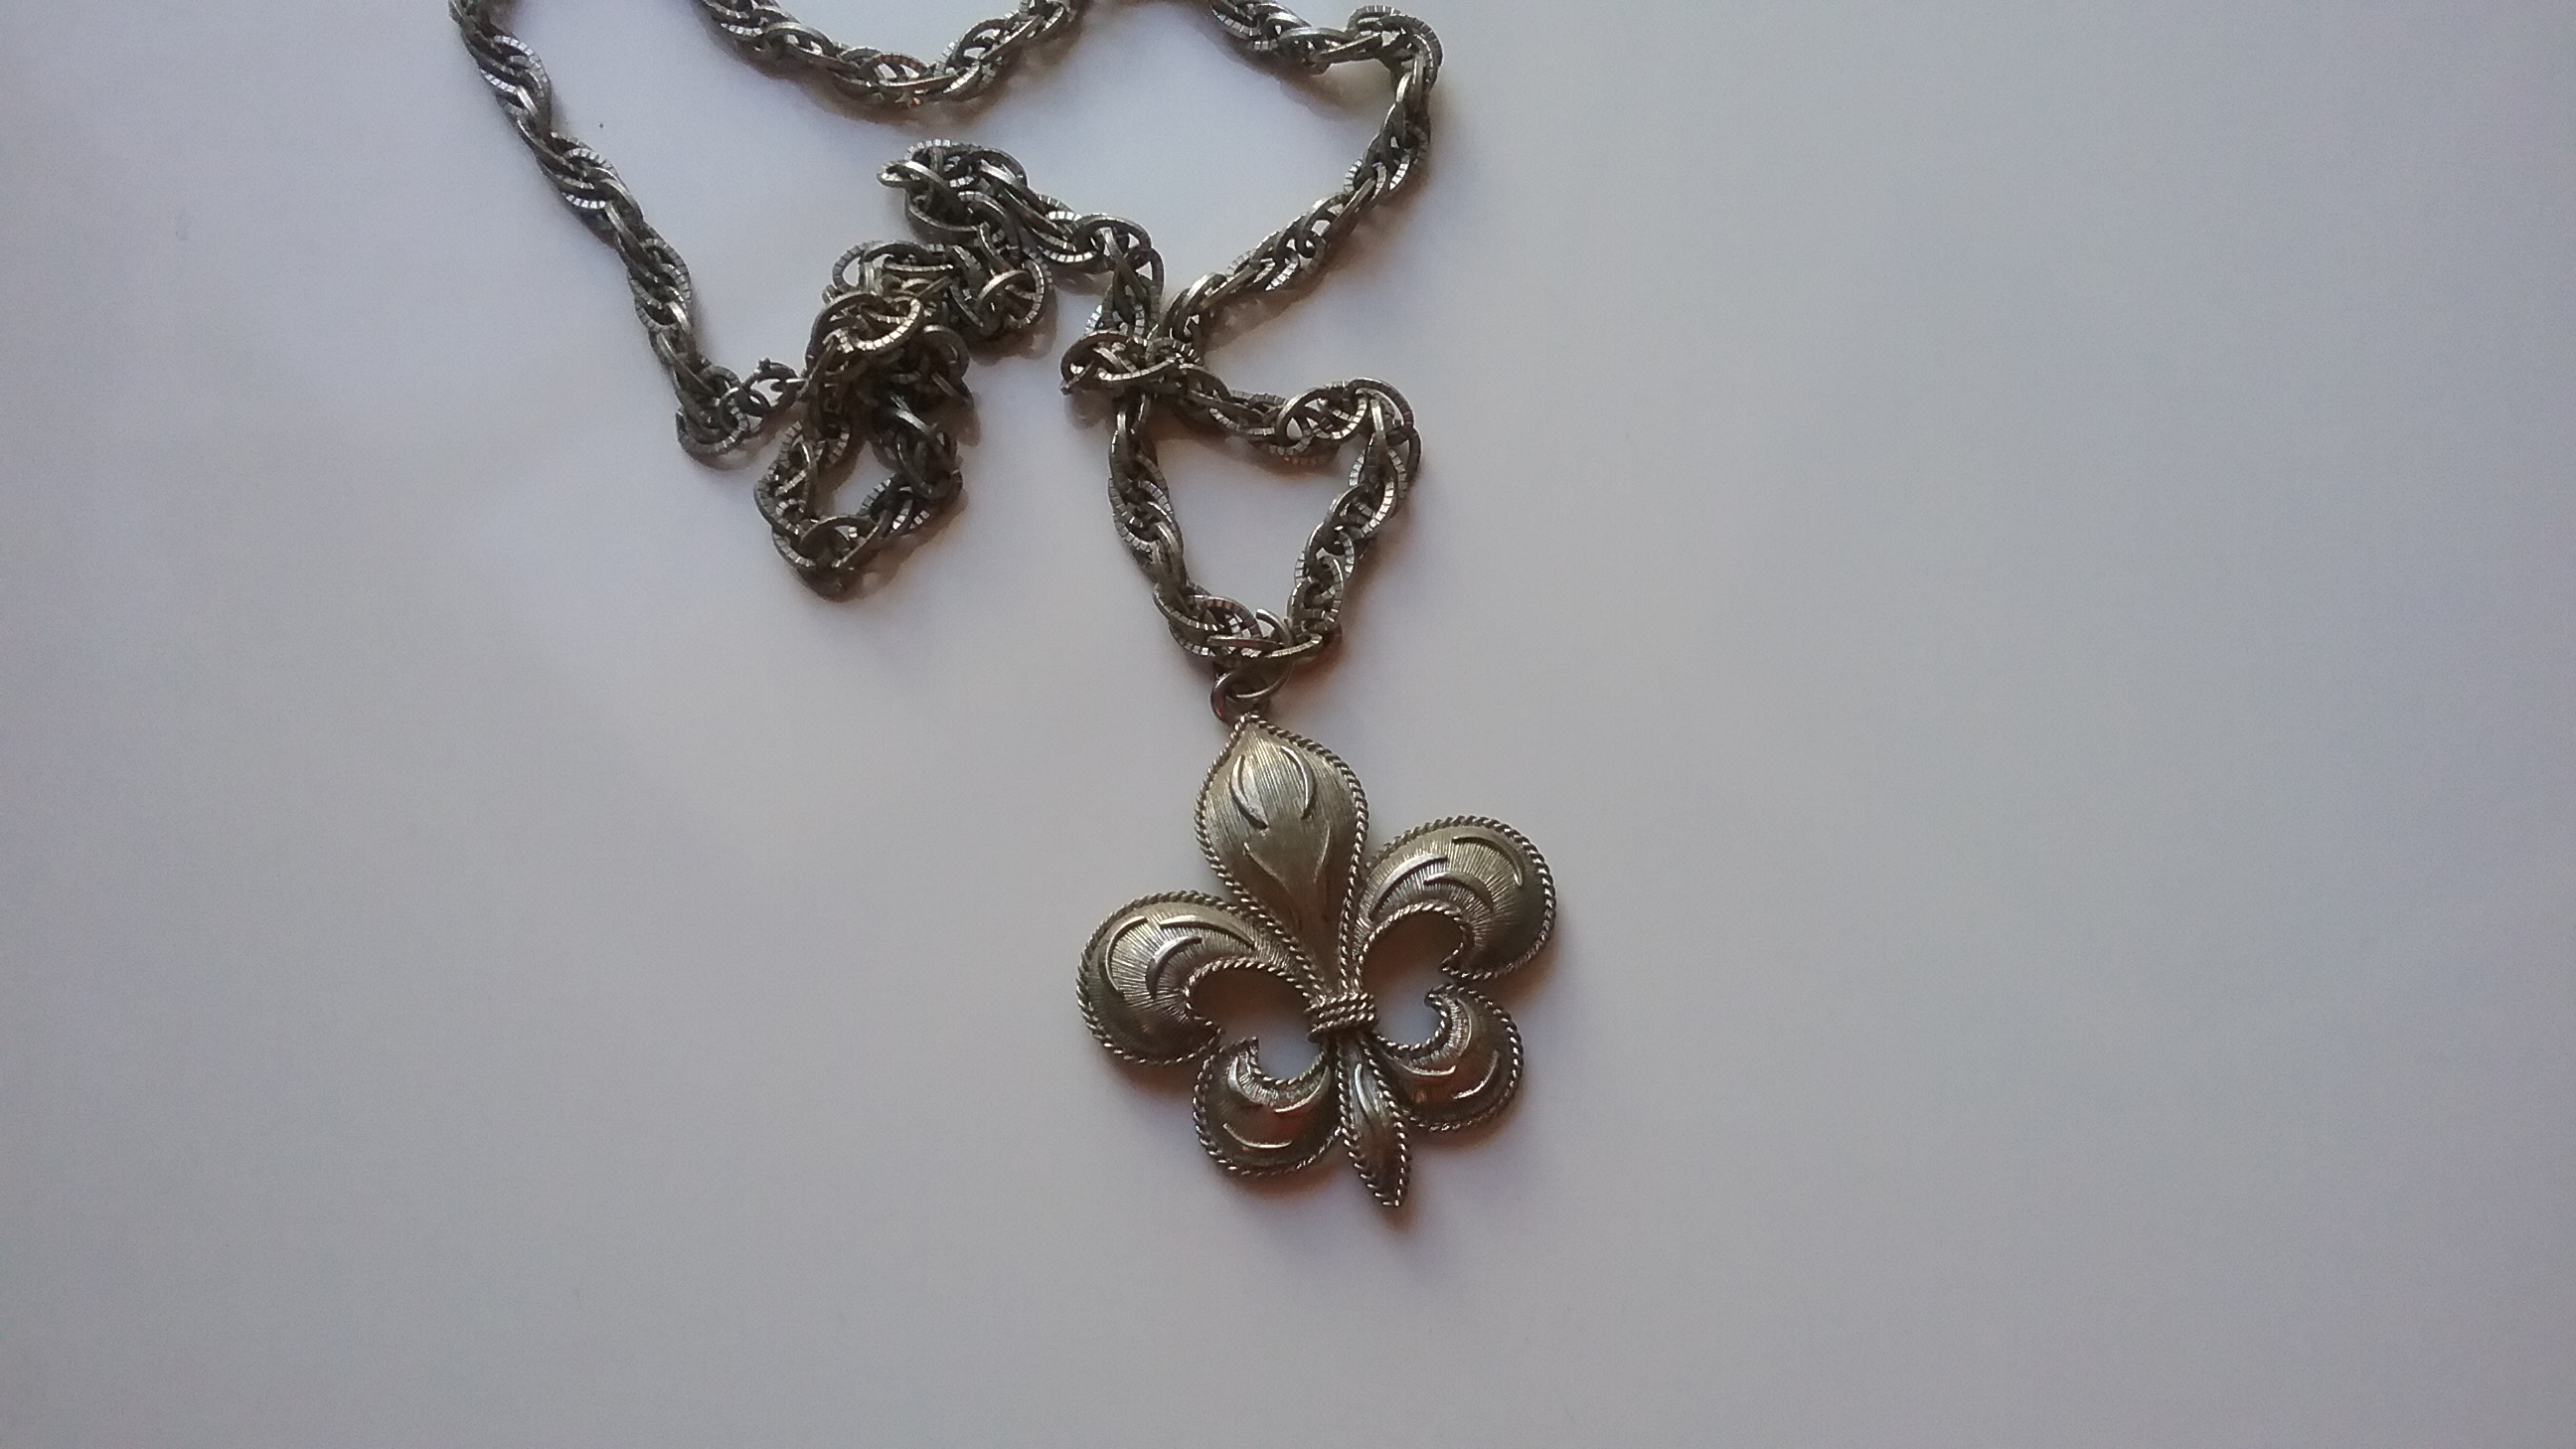
I’ve been saving an old necklace from my high school years because I liked the fleur-de-lis (never thought I’d be using it for something like this). The link at the top of the fleur-de-lis was pretty weak and bent right off without leaving any sharp edges. I sprayed it to match the handles and let it dry.

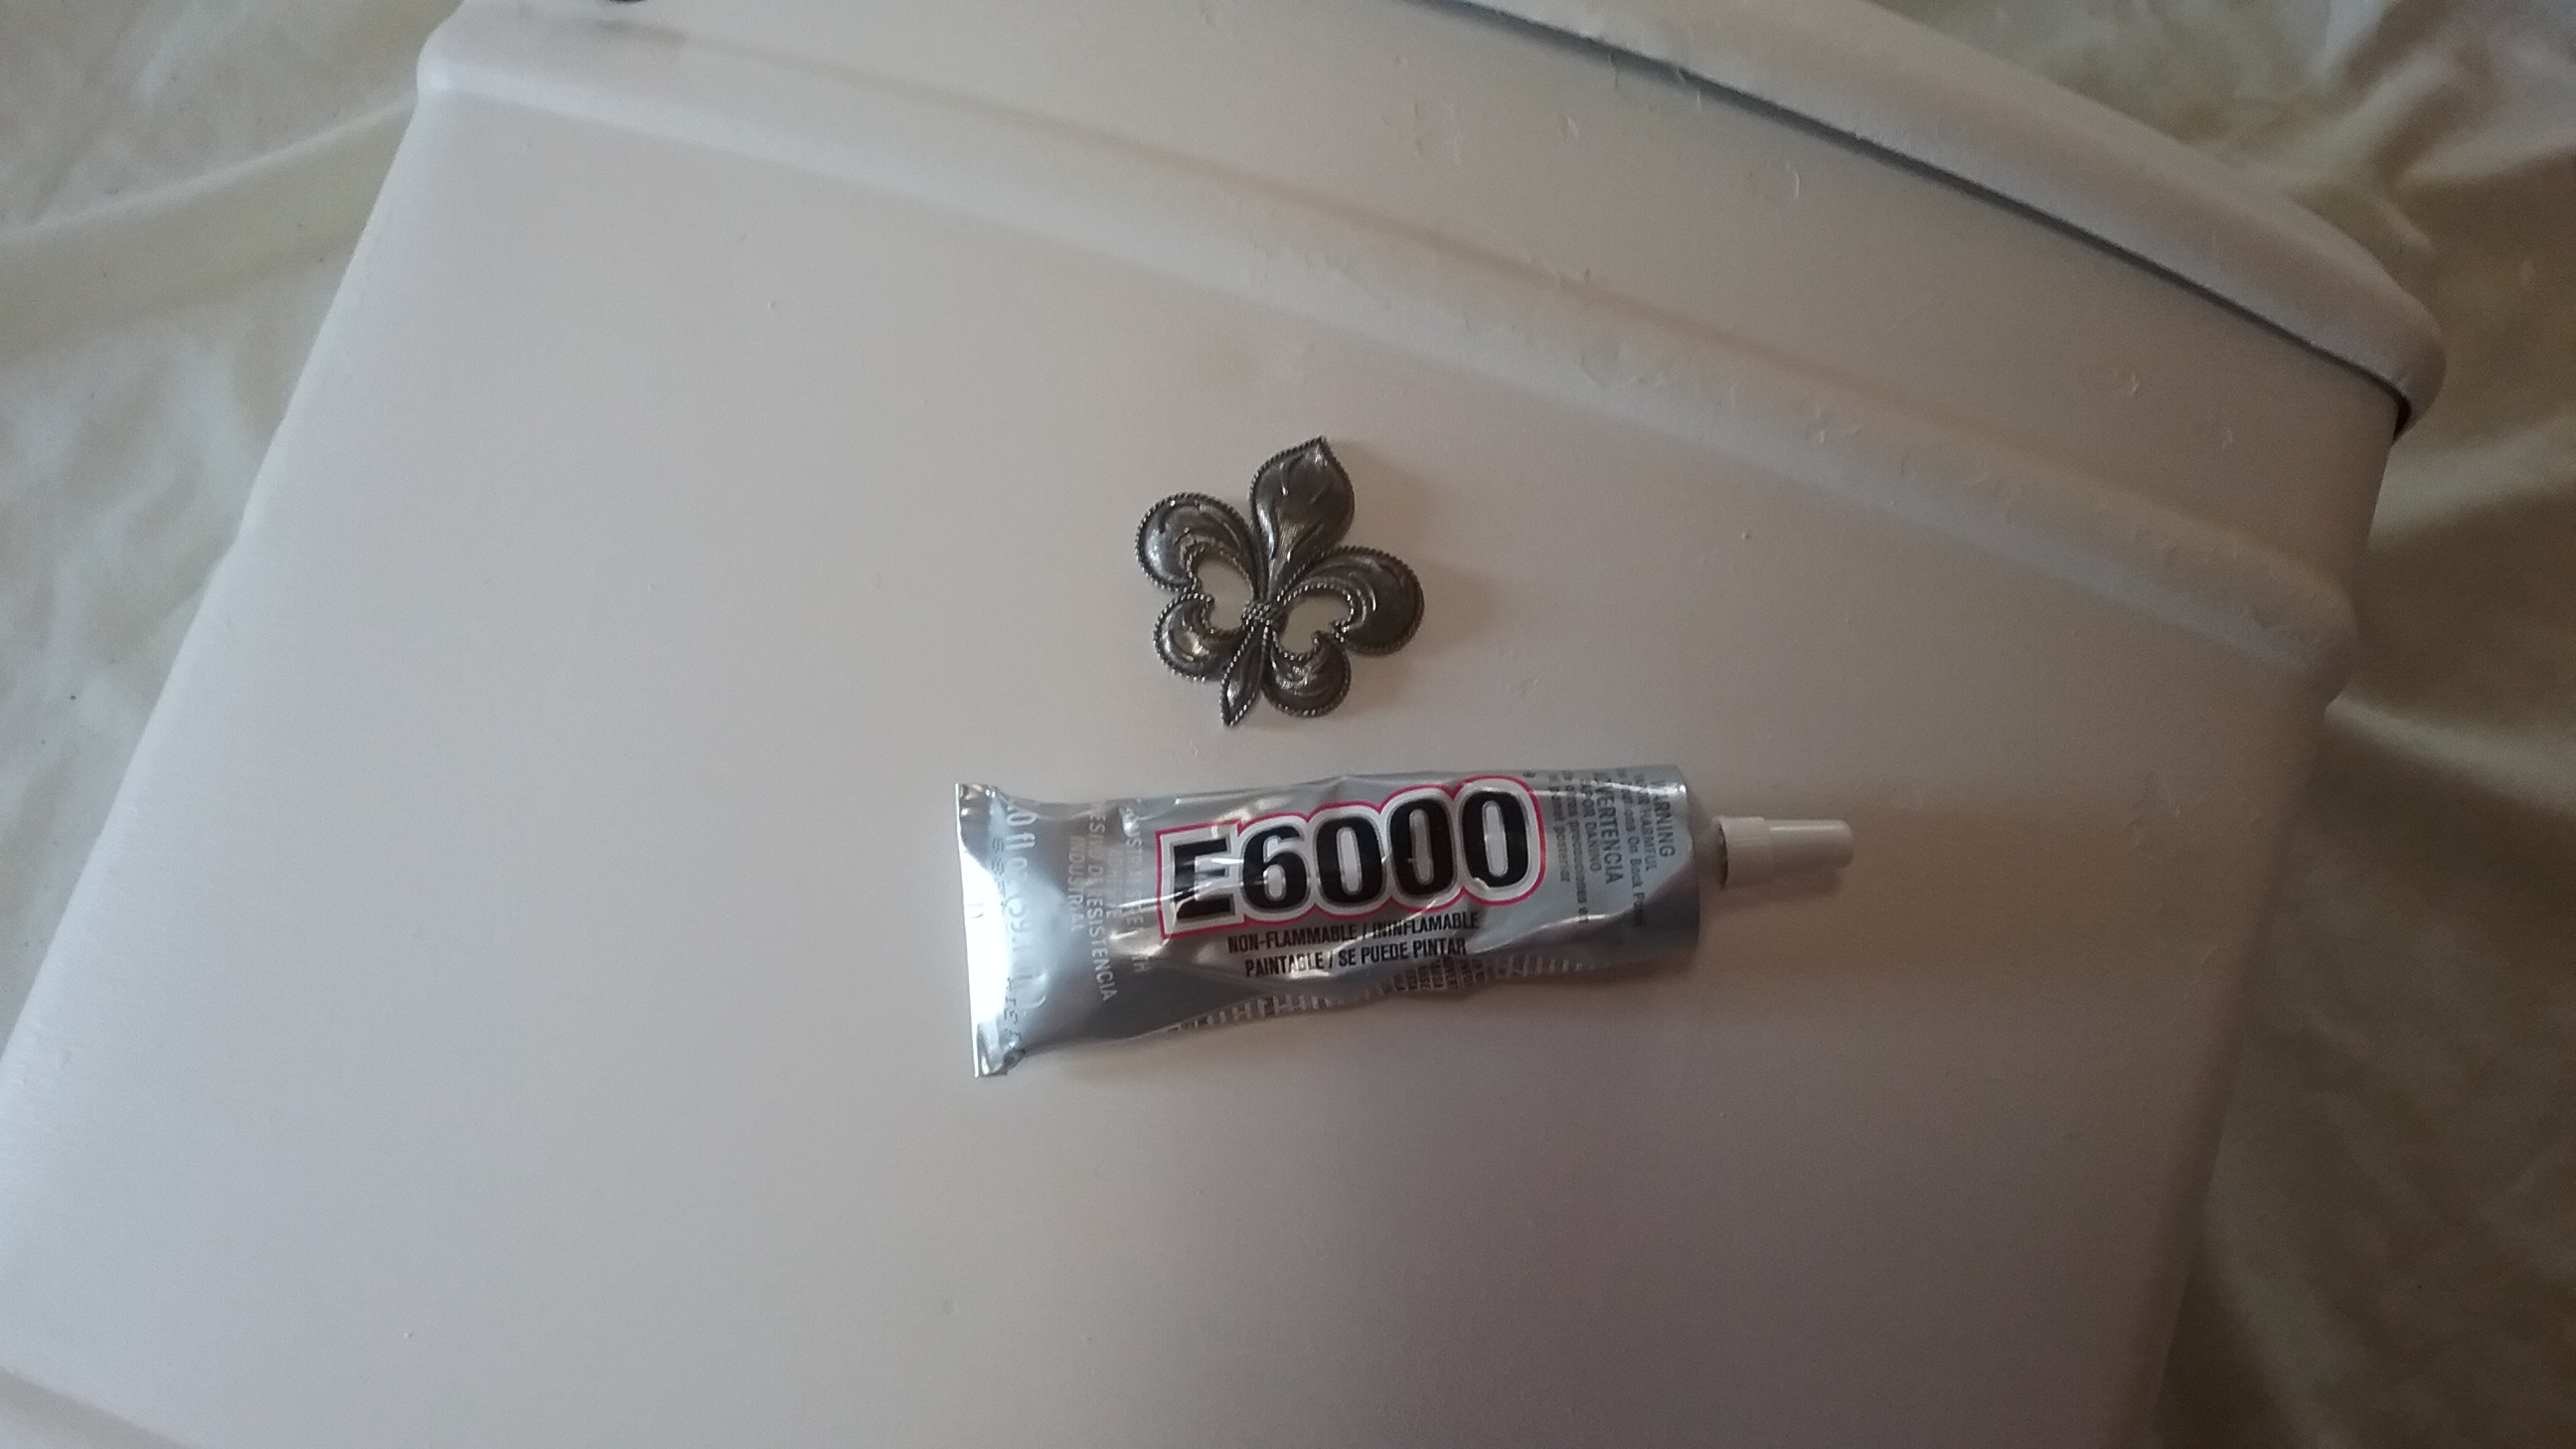
For good adhesion, I scrapped off a small bit of paint where I wanted to place the fleur-de-lis, then glued it on with a small dab of E6000.

20170205_113836  20170205_115514  20170206_093753  20170216_130715
This is a fun piece, I love it!  It’s sure to add a bit of vintage charm to my bathroom.

← Back

Thank you for your response. ✨

Warning
Warning
Warning
Warning

Warning.


Our Elfun Christmas Tree

This is just for kicks, and, I think, a fitting ending to the year.  I love seeing all the beautiful Christmas trees others post on line, so I thought I’d share mine.


I wanted to really brighten up the Christmas tree this year and make it more fun for the kids.  I had a few elves and some red and green lights in mind when I made a trip to town a couple weeks ago.  That was before my daughter, grand-kids, and I went into Hobby Lobby!  A decoration wonderland!!

With my grandson’s encouragement, I loaded my cart with garland, mesh ribbon, lights, and bright, funky sprigs. Oh yes, and elves, one large one and 8 small ones. All of our new treasures, along with some red, green, and white decorations from a couple years ago, would do our tree up just dandy.

20161126_190155  20161202_140643

Our elves got a little added sparkle with glitter gel pens, shiny metallic pipe cleaners, and bells on all their toes.

20161202_135848

Mr. Big Elf is in front for all to see, and there’s a little one playing peek-a-boo on a low branch of the tree.

20161209_131007   20161209_132823

There’s smiling elves, peeking out all over, as sprite as can be …

20161202_130623  20161202_134955

20161202_135232  20161202_223130

20161209_130919  20161209_132648

And even a silly one hanging upside down, from his knees.

20161202_135044

I wish you a Very Merry Christmas and A Happy New Year, and many blessings for a joyous holiday season!

← Back

Thank you for your response. ✨

Warning
Warning
Warning
Warning

Warning.


Fused Glass Snowman Ornament

Christmas orders have been keepin’ me busy, busy, this last month, and delayed progress on my other crafting projects.  Every year I tell myself I’m going to get a jump on things and get started in August, but, yeah, it never seems to work out that way. I guess maybe I’m just not disciplined enough to do it.

But, wanting to share something in the spirit of Christmas, I thought I’d show how I make my snowman ornament.  This little guy was my first ornament design. He’s been a good seller for me and I still offer him today.  I know there’s not much time before Christmas, but he’s pretty simple to make. Please feel free to make him for gifts for your family or friends. He is my original design, so I do ask that you do not make him for sale or profit, Thank You.

I had a client request a few snowmen in purple, so you’ll see the purple colors in this post, but, I’ve used a variety of colors as you can see in the feature picture.  I use Spectrum System 96 colors and a COE96 Uroboros 602502 red.

I like to get all my little embellishment pieces out of the way, so before I start ornaments, I make a batch of holly, carrot noses, and berries.

img_20161105_132629  20161204_100901  20161209_180512

After using my pattern pieces to cut my glass –

20161204_100805

there’s three steps I’m mindful of as I shape and grind –

#1 – I lay the hat brace on the backside of the hat piece to make sure it mimics the top shape of the hat, and will fit neatly behind it.

20161119_141837

#2 – Make sure the hatband fits nicely about 1/8″ up from the bottom edge of the hat.

20161119_142630

#3 – Shape the top curve of the hat brim to match the bottom curve of the hatband.

20161119_153130

Clean glass pieces thoroughly. Bend a short length of 17 gauge high temp wire to form a loop.  Glue it in place, in the center of the hat brace, propped on a small piece of kiln fiber, let dry.   I always use kiln shelf paper for my ornaments, but, to each their own..

20161119_135258  20161204_101343

While you have the glue out, glue the hatband on the hat and the end on the scarf.  Prop the scarf end with a scrap of glass until its dry.

20161204_102732

Once everything is dry, brush a little fusers glue along the bottom edge of the hat brace, and carefully lay the hat piece over it, covering it completely.  The hat will meld over it so its not seen after firing. Let glue dry well before brushing a little glue on the bottom edge of the hat, and laying the head in place, slightly overlapping. Let glue dry.

20161119_201634  20161204_113745  20161119_210142

Brush small line of glue along bottom edge of head, and lay the scarf in place, slightly overlapping, at neck.  Let dry.  Place hat brim on the shelf, separately, to fire.

20161119_210207  20161119_210736

I use a small tabletop kiln to fire my ornaments.  I start on medium, with the lid open a bit, until the temp reaches 1000 and the kiln paper is done burning, then close the lid and turn it to high. I like a sharp clean look, so I watch closely through the kiln lid window when the temp gets to around 1600 degrees, and shut the kiln off quickly once the glass edges have rounded smoothly .. most often at 1650 – 1700 degrees. After unplugging the kiln, flash vent to 1100 degrees, and shut the lid until the kiln is at room temp.

After completely cooled, glue the hat brim on with E6000.  I always prop the hat brim and/or lay the rubber ends of my small pliers across it to hold in place until dry.  Use a toothpick to help glue on nose, holly, and the berry.  To add the glass seed bead eyes, squirt a small amount of glue on waxed paper.  Hold the bead with tweezers, touch it in the glue, then put it on the glass.  Let glue dry. Clean away any unwanted glue, that is showing, with a craft knife or small ceramic tool.

Hope you have fun with him! Please contact me if you have any questions. I’d love to see what you create if you’re willing to share!

← Back

Thank you for your response. ✨

Warning
Warning
Warning
Warning

Warning.

My Cornucopia

I know, I’m really cutting it close with this post, only being 3 days out from Thanksgiving. It wasn’t really something I had planned, it just kind of happened.

I was snooping around at my sister’s garage sale, last month, and found a wicker cornucopia in the “free” box. It made me smile as I remembered how excited my grandson, Kyle, was when he learned about them in preschool a couple years ago. He really got a kick out of saying the word and used it as many times as he could in conversations. We all got the biggest chuckle out it. Anyway, I grabbed it, with him in mind.
I was thinking I’d just fill it with some tiny gourds and a little fall sprig, but just couldn’t get enthused about it. Then, as I walked past it on Friday (2 days ago), I thought about how my daughter loves to decorate for all the holidays. I decided to make it a gift. I’d snazz it up for her and fill it with treats for the kids. Now it had my attention ..

Not worrying about getting into all the nooks and crannies, it got a quick white paint job. After it was dry, I sanded it lightly with some coarse sandpaper to remove a little paint for a worn look. Not wanting to use a floral sprig, I opted for metal leaves that have been around here for ages. Looks like they originally came from Walmart, but I don’t know if that’s where I got them. The leaves were too shiny, so I rusted them. I love the way they turned out. I sprayed them with a clear sealer to protect their new patina.

20161119_110453  20161120_132743

I clipped off the top of a pine cone to make a small pine cone flower, then highlighted the edges by dry brushing it with a little white paint.

20161120_144855

To keep it simple I only used 2 leaves.  I trimmed back their wire stems, and wired them right to the wicker. A touch of hot glue holds the pine cone flower in place.

20161120_145123  20161120_150043

Yep, I think my daughter will be pleased with this, and I’m sure my two favorite little people are going to love the filling!

Happy Thanksgiving All!

← Back

Thank you for your response. ✨

Warning
Warning
Warning
Warning

Warning.


Embellished Painted Mason Jar Fall Decor

I’m so excited! There’s a big 3 day happening in Central Iowa this week-end.  If you like treasure huntin’ and junkin’, you won’t want to miss this one.  Check out @Back Roads Junk-it Trail to print off a map of all the wonderful places to go, and join in the fun!!

My Thanks to @Gypsy’s Alley, in Nevada, Iowa, for graciously accepting me as a new consignee recently so I can participate in the event.

I have a few gourd projects to finish up, and some cool junk pieces to load up too, but, stained glass leaf sun catchers, garden stakes, and garden chandeliers have already been delivered. Its a good thing I was in a hurry when I stopped by to make a delivery the other day.  The place was filled to the hilt with so many new things, and awesome displays, that I know I would have spent the whole morning there and surely brought home more than I took!

With re-purposed and painted Mason jars being so trendy these days, and with a little time to spare, I thought I’d make a little fun Fall decor to take too.

Last spring, I had saved some jars because they were embossed with a small checkered design on three sides, and had a smooth front, which I’m assuming was probably for a label.  I wasn’t sure what I was going to do with them, but I liked the texture, and remember thinking the front might offer a nice surface for a tiny mosaic.

After rethinking it a bit, I still liked the idea of a design on the front, but scratched the idea of a mosaic with grout, and choose to go with a fused glass tile instead.

I measured the smooth surface on the front to determine the size of the clear glass tiles I wanted, then drew a simple leaf pattern to fit on top of the tile piece.  My drawing skills are not what they used to be, so this was definitely the most difficult part of the project for me. You could also find a pattern to trace if you like.

I picked out some fall colors of glass, and cut and ground them to fit my pattern. I had three jars, so I changed the leaf colors around so they were not all the same. All of the pieces were cleaned, then fired in a tabletop kiln, up to 1700 – 1750 degrees, just until the edges were rounded.  My glass was all 96COE, but it doesn’t have to be.  The only pieces that need to be COE compatible would be the middle leaf and small brown dots, nothing else is fused together.

20160910_143910  20160915_133804

20160910_144110  20160910_162555

20160910_140347

Wanting my jars to be dark brown, I waited until I could take a piece of fired brown glass to town to match it.  A brown spray paint would work too, but I opted to have a small sample sized can mixed for about $3.00.

Each jar was washed and given a quick wipe of alcohol, then painted with a foam brush.  I did 4 coats for nice coverage. In between coats, I wrapped the end of the brush in a baggie and clipped it closed, so I only had to use one brush.  After the jars were completely dry, they were speckled white.  Once the speckling was dry, they were sprayed with clear matte sealer. Even though the paint is sealed, they may still scratch easily, so handle gently.

20160915_143930  20160915_144209

20160918_124024  20160923_130905

A fired leaf arrangement was traced inside the traced shape of a clear glass tile. Remove the leaves and replace the clear tile in it’s place over the leaf tracing. Following the traced pattern, glue leaf pieces in place with E6000.  Let dry completely.

20160922_130304  20160922_131032

Lay a dry tile on the front of the jar to determine where your leaves will be located before gluing. For the best adhesion, scratch off a very small amount of paint in the areas that the leaves will cover.  Put a small dab of E6000 on the scratched areas, lay the tile in place, and press down very lightly, obscuring the glue.  Be careful not to use too much glue or it will seep out beyond the leaf and be seen through the glass.  Let dry overnight.

20160923_131654  20160923_132631

Knot a length of raffia around the neck of the jar. Fill with fall flowers, a pretty napkin and tableware for an informal fall gathering, anything you like!

jars-2-feature

Gosh, I really like these colors … one of these may have to stay here …   Happy Fall!

← Back

Thank you for your response. ✨

Warning
Warning
Warning
Warning

Warning.


Salt Shaker Decorative Plant Stake

Okay, I couldn’t help myself, just one more. I don’t want to run a good thing into the ground, but this one is just so quick and easy I had to do it! I promise to move on after this …. really!

As I was cleaning up some of my latest messes, I came across this small pair of shakers. I picked them up at a garage sale somewhere along the way, thinking at the time that they would be cute on a small plant stake. So, since I had them in my hand, well, you know …..

20160719_160344

Nail a pilot hole in the lid. Drill a 1/4″ hole. Use small pliers to straighten out or bend jagged edges, just until a length of 5/16″ threaded rod will fit through it easily, you don’t want the hole any bigger than it has to be. My rod was a scrap piece, 20″ long, so I just left it that way.

20160719_161257  20160719_162116

20160719_162929  20160719_163039

I like to experiment quite a bit, and have a habit of throwing odd little pieces of glass in a kiln to see what they will do. It was in some of my trials that I found a wonderful pale green bottle spout, PERFECT!  I got to thinking about all the bags of pretty round, resin napkin rings I often see at sales, they might work in something like this. Might have to start giving them a second look.
Find two nuts that fit the rod threads, and run one a couple inches down the rod. On the rod, stack and arrange your gathered pieces as we did in my last two posts, until you have something to your liking.

20160719_172605  20160719_183206

20160719_184126

I found an awesome new glue last week. It looked like it would work great on a lot of the projects I do, so I grabbed a tube to try. Otherwise I would have used E6000 or another silicone glue.
Stack your design loosely on the rod. Stand the rod in a heavy bottomed bottle or a bucket of sand. With a toothpick, apply a liberal amount of glue inside the shaker lid tip and around the nut. Push the shaker lid up firmly over the nut.
Apply more glue to the threads of the lid and screw the glass shaker on solidly. Gently push the rest of the pieces up to the shaker and tighten the nut. Leave to dry overnight. Don’t worry about getting everything lined up perfectly at this point, the important thing is for the glue to dry. After it’s dry, you can loosen the bottom nut a bit to center things up if needed.

20160719_183442 (1)  20160719_184325

20160719_184718  20160719_185219

20160719_185615

There! Enough of the garden stakes, for this year anyway. Thanks for bearing with me as I worked through my obsession.
Just a reminder, glass and metal expand and contract at different temperatures, so please store them indoors during cold winter months. I stand mine in a bucket of sand, in the garage, through the winter so they don’t get iced over.
Now, moving on …..

← Back

Thank you for your response. ✨

Warning
Warning
Warning
Warning

Warning.


Chandelier Garden Stake

There’s no doubt about it, the old world charm of the crystal garden chandeliers has me totally captivated! I’m not sure if its the beautiful results or the fun of making something so unique and striking with reclaimed and repurposed materials, but whatever it is, I’m hooked.

stk5 mrk

After last month’s post, I was anxious to try a chandelier garden stake. After laying out all of my glass and lamp pieces to see what there was to work with, I noticed several glass pieces were votive/candle holders, small saucers, and odd pieces without a hole. Playing around with stacking the pieces is the funniest part of this project, so I decided to grab the drill and 1/2″ diamond core bit to drill holes in pieces before getting started.
There’s a bunch of videos readily available on You Tube or Pinterest about drilling holes in glass. It is pretty simple really, just a little time consuming. Besides being very mindful of safety issues with water and electricity, the most important thing to remember is to keep the glass wet and cool so it doesn’t overheat and break.

20160712_202611

Although the pieces are different, the garden stake is stacked and made on a lamp pipe following the same steps as in last month’s post, with one exception. Instead of marking it with tape and cutting it off, mark it with tape, add 8 inches, then mark it with tape again for cutting. The added length will fit into a piece of conduit.

20160724_150314

Because of the crystals dangling, I wanted the stake to have some height, so I cut a piece of scrap 1/2″ conduit, four foot long.
Approximately 1 inch from the top of the conduit, mark a spot for drilling. With a center punch, make an indentation on the spot. Drill a hole through the conduit with a 5/32″ bit.
Insert the 8 inch added length of lamp pipe into the conduit until you meet the hex nut. With the lamp pipe and conduit held firmly, drill through the conduit holes again. This step works best with two people, one to hold the conduit and one to hold the lamp pipe, as you drill through the second time. Run a small bolt through the holes and tighten on a nut.

20160724_151310  20160724_151532

20160724_151811  20160724_152105

I noticed the hex nut didn’t cover the opening of the conduit pipe completely. I could have left it, but, didn’t like the look, so I added a flat, rounded edged lamp piece between the hex nut and conduit opening.
While holding the conduit in a vise, cut off the excess bolt length. Remove it from the vise, lay on a solid surface, and hit the cut bolt end with a hammer a few times to rivet it on.

20160724_155949  20160724_160427

20160724_160734

Replace your stacked pieces to the top of the lamp pipe, tightening when you screw on the finial. Once together, I found it helpful to stand the stake in a bucket of sand when adding the crystals. Pretty! Pretty!
No crystals? No problem! Garden Stakes can have a character and style all their own without the bling!

stk 1 watermrk  stk2 wtrmrk

If you like this post or found it helpful, please click on the “like” button below, or leave a comment.  I love hear what readers are thinking.

Thanks for visiting glassic touch!

← Back

Thank you for your response. ✨

Warning
Warning
Warning
Warning

Warning.


Crystal Garden Chandelier

Whoa! This summer is going by way too fast! Between enjoying Grandma/Grandpa daycare activities, a couple of week-end road trips, and participating in a few market events, I must admit, I’ve selfishly been neglecting my blog a little. Okay, maybe more than a little ..
I haven’t been totally sloughing off though, so, while relishing in an unusually quiet week-end, I thought it would be a great time to try to catch up and get back into the swing of sharing in the blogging world.
Pretty reclaimed crystals, dangling on small garden chandeliers, seem to be popping up all over lately. They’re so darn cute!

Of course, I had to give one a go!

I had plenty of crystals. I remembered a blue faucet handle in the garage, then, sorted through a box of old lamp parts to find a couple small, clear glass pieces, a brass base, and all the nuts and washers I thought I’d need. I chose a finial with a hole in it so it would be easier to add a wire for the center crystals.
What I didn’t have was a long threaded lamp pipe. You can find them in a home improvement store for under $3.00. Sweet!

20160624_104052

Larger holes had to be drilled through the faucet handle and some of the washers to accommodate the rod. Holes were cut bigger in some cloth pads too.
In preparation to hang the crystals, small holes were drilled in every other petal of the brass globe lamp cap.  Sand, or grind the holes smooth after drilling.

20160624_103944  20160709_153131

I stacked the collected pieces in an arrangement I liked, then, removed each piece, laying them in a line, in the order they were stacked.
Run a hex nut down the threaded pipe. Put on the brass lamp cap, upturned, with the petals down. Add the faucet handle and other pieces in the order you have them laid out. If you happen to run out of rod before all the pieces are on, just run the hex nut a little further down the rod for more room. Hang on to the finial and screw the hex nut up on the rod to tighten things up. Once tightened, mark the rod with a piece of tape. Remove your pieces, once again laying them in order, and cut the rod to the length you need. Sand, or grind any sharp edges on the rod. Reassemble the piece.

20160624_105106-1  20160624_111105

20160624_110640  20160624_111634

I like to use small 19 gauge, black annealed wire when working on projects like this. It can be hard to find in craft stores. I have my best luck finding it at Theisen’s.  Other Farm & Home stores may have it, or a hardware store.
I was able to cheat a bit when it came to wiring the crystals. Most of mine were already attached together with the original head pin wires. If not, I robbed a wire from another one.
I wrapped a tiny silver bead on the end of a length of wire, and threaded it through a larger silver bead that was bigger than the hole in the finial, so it would not slip through. Insert the wire down through the finial. Trim the wire off leaving enough length for a small loop to attach your crystals.  A rectangle and large teardrop crystal were used in the center.

20160624_120521  20160624_121048

20160624_130537

Large octagonal and teardrop crystals were used around the outside edge. I first tried jump rings to attach them, but didn’t like the way they looked. I ended up making a kind of “s” shaped hook, leaving the loop of the hook visible on top of the brass cap.

20160624_135428  20160701_135628

Wa-Laa!

garden chime wtrk

I hope I’ve inspired a few of you to do your own garden chandelier making.  If so, I hope you’re willing to share a picture or any helpful suggestions in the comment section, Thank You! I love hearing from readers!


← Back

Thank you for your response. ✨

Warning
Warning
Warning
Warning

Warning.


Gourd Bee/Bug House

After replacing several last spring, I was very happy to find all of my perennials up and thriving when I took a little meander through my garden a couple weeks ago. It felt so good being in the garden again and thinking of plans for yard and garden projects.

There’s a big sand pile, with climbing rocks, in one corner of the garden. While a garden hose trickles, my grandson enjoys creating rivers, and mixing faux cement in a wheel barrow during warm summer months. And, like every other youngster, he’s very curious, and notices every bug and worm too.

Many wonderful Pinterest posts on bee and bug houses have peaked my interest lately.  I thought it would be fun to make one so we could observe what settles in and maybe learn something in the process.

I was able to rummage up everything I needed except for the bamboo, which I found in the garden center of a couple Home Improvement Stores, making the total cost of this project about $5.00.
Over the last month, I’ve been scrubbing dried gourds in preparation for a Farmer’s Market event, so I chose one of them as the structure for my first habitat abode.
My gourd measured 7 1/2″H x 6 1/2″W.  Rubber gloves provided grip while sawing off the front with a hack saw. Dried pulp and seeds were scraped from the inside. Sand the inside lightly to remove attached debris. Always wear a mask or bandanna over your mouth and nose when sanding gourds or cleaning out dried pulp and seeds. The dust and dried particles can irritate nasal passages and lungs.

Seal the outside of the gourd with Thompson’s Water Seal. Let dry. Drill five holes in the bottom of the gourd, at the lowest points, for drainage. Try to keep the holes within a 2″ pattern. Seal the inside of the gourd with a good layer of thinned interior/exterior wood glue. Let dry.

DSC01111  DSC01116  DSC01123

Fold and cut a hole in a piece of heavy paper, slip over stem to make a roof pattern. I extended the roof out a bit in front so it would cover the bamboo openings.

DSC01132

A few more holes may be needed for ventilation.

DSC01174  DSC01177

I have an old piece of burnt aluminum siding that I like to go to when I need a rustic piece of metal sheeting. Cut off the approximate size needed and flatten with a car body hammer before tracing and cutting out the roof pattern. My roof measured 10 1/4″W x 6″Deep with a 2 1/8″ dia. hole.

DSC01136  DSC01141

Small files worked well to smooth the sharp edges of the roof, but I found a large round file to smooth and shape the hole so it fit easily over the gourd. The roof has to be flat to fit over the gourd, then bent to shape. With the roof in place, lay the gourd on it’s back and trace the roof line on a piece of heavy paper. This pattern will be used to cut a small piece of wood as a brace under the roof peak when a shelf is made.

DSC01146  DSC01166  DSC01156

Initially, I planned to hang the gourd with a wire, or dowel, through the stem, but I read that Mason bees preferred a stable home over one swinging in the breeze, so it will go on a barn board shelf, which I think actually adds a lot of character to the piece. My board was 5 1/2″W. The back was cut 15 1/2″ long. A 2″ dia. hole was drilled in the 5″ long shelf and it was screwed on from the back. The roof line pattern traced earlier was used to cut a small triangular brace for the metal roof. Hold the roofed gourd on the shelf to determine where to place the brace. Use finishing nails to attach brace to board. Seal shelf with Thompson’s Water Seal.

An extra set of hands came in handy for stapling the roof. Hold the gourd firmly with roof resting on the brace. Staple roof to the top of brace. Drill a hole in back of gourd and secure it to the board with a screw and fender washer.

DSC01160  DSC01179  DSC01184  DSC01187

Adding the bamboo was a little tricky and took some time. I used a small tabletop scroll saw to cut the bamboo and drilled through any closed bamboo joints. Save all the trimmins! They’ll make cute little beads or embellishments for future projects.

DSC01212  DSC01238

Start in the middle with a bundle of 5″ lengths wrapped with rubber bands. To make a more level surface, I cut old corn cobs lengthwise, broke them in half, and surrounded the base of the bundle.

DSC01249  DSC01252

Mark bamboo and cut to surround the bundle. Hold in place with tape. When nearing the side, tuck in some small pine cones to fill in the curves, and maybe provide shelter for a few ladybugs. Things started to shift a bit as I added more bamboo, so I stuffed a cloth in the empty side and top to hold the bamboo in place. Pull the cloth out, a little at a time, as you fill in with bamboo. (Sorry, didn’t get a picture of this).

DSC01259  DSC01264

Scrap bamboo pieces quickly filled in as I neared the top, go back and cut them to fit. Dried Teasel stems were inserted into gaps to keep the bamboo snug and secure. You may want to wear gloves or use tweezers when working with Teasel, they are stickery.  If bamboo pieces slide down, use small pliers to gently pull them back out flush. Trim off Teasel stems.

DSC01278  DSC01300  DSC01303

I felt a little something was needed, so I made a simple bee with a couple glass beads, leaving a couple inches of wire at the bottom to wrap around a Teasel stem, before pushing it in.

final 2 watermark
It’s ready for permanent occupancy as soon as I round up a post to attach it to and get it set in a patch of Bee Balm in my garden. Or, I could wire to one of my apple trees in the grove, Hmm?
It’s recommended that the house faces southeast for the warmth of the morning sun, be at least 4 feet above ground, and protected from wind and weather. Mud is also needed for bees to seal in their eggs. I think all the water activities in my sand pile address any mud concerns. 🙂


What new spring projects are you working on?  Please share ……

← Back

Thank you for your response. ✨

Warning
Warning
Warning
Warning

Warning.


A Little Wire Easter Basket

While out snooping around sales last summer, I paid a whole quarter for an old, wire downspout guard. It was a little bent, but the wire was good and not brittle from rust. I’m always attracted to, and compelled to buy wire objects and it looked like something I thought I needed.

DSC00920

I caught a glimpse of the dusty and forgotten object on a shelf in my workroom last week. With Easter right around the corner, I thought it would be fun to make a little basket for my “gathering” buddy, Jean. She’d get a kick out of it.

I cut the wires down about 1 1/2″, except for two (opposite each other) which I left for handle arms.

The cut wires were coiled down to form a basket rim. The long wires were bent, about 1/4″ down, to form L shapes and then wired securely in place.

DSC00937  DSC00991  DSC00995

A short piece of weathered, 1/4″ wooden dowel was cut for a handle. Drill a small hole in the center of each end of the dowel piece, at least 1/4″deep. Age the fresh cut wood ends with thinned, gray paint, and sanding. Hook dowel between the handle arms.

DSC00965  DSC00975

You could simply leave the basket it’s original color here. I would suggest touching up any plier scratches and marks with a black patina.

I chose to lightly dry brush my basket with white, craft paint, then gave it a sanding.

DSC01021  DSC01027

I had a gorgeous vintage twist on earring and I couldn’t resist adding some bling to cover the knot of the tea stained strip of vintage fabric tied under the coiled rim.

I waxed, then speckled, a small dried egg gourd to nestle in the shredded, brown paper beside a small, metal, bunny candy mold.

Done!  I can’t believe how easy this project came together .. a quick afternoon upcycle if you have all your supplies handy.

1061 watermark

Happy Easter!

← Back

Thank you for your response. ✨

Warning
Warning
Warning
Warning

Warning.