Chandelier Garden Stake

There’s no doubt about it, the old world charm of the crystal garden chandeliers has me totally captivated! I’m not sure if its the beautiful results or the fun of making something so unique and striking with reclaimed and repurposed materials, but whatever it is, I’m hooked.

stk5 mrk

After last month’s post, I was anxious to try a chandelier garden stake. After laying out all of my glass and lamp pieces to see what there was to work with, I noticed several glass pieces were votive/candle holders, small saucers, and odd pieces without a hole. Playing around with stacking the pieces is the funniest part of this project, so I decided to grab the drill and 1/2″ diamond core bit to drill holes in pieces before getting started.
There’s a bunch of videos readily available on You Tube or Pinterest about drilling holes in glass. It is pretty simple really, just a little time consuming. Besides being very mindful of safety issues with water and electricity, the most important thing to remember is to keep the glass wet and cool so it doesn’t overheat and break.

20160712_202611

Although the pieces are different, the garden stake is stacked and made on a lamp pipe following the same steps as in last month’s post, with one exception. Instead of marking it with tape and cutting it off, mark it with tape, add 8 inches, then mark it with tape again for cutting. The added length will fit into a piece of conduit.

20160724_150314

Because of the crystals dangling, I wanted the stake to have some height, so I cut a piece of scrap 1/2″ conduit, four foot long.
Approximately 1 inch from the top of the conduit, mark a spot for drilling. With a center punch, make an indentation on the spot. Drill a hole through the conduit with a 5/32″ bit.
Insert the 8 inch added length of lamp pipe into the conduit until you meet the hex nut. With the lamp pipe and conduit held firmly, drill through the conduit holes again. This step works best with two people, one to hold the conduit and one to hold the lamp pipe, as you drill through the second time. Run a small bolt through the holes and tighten on a nut.

20160724_151310  20160724_151532

20160724_151811  20160724_152105

I noticed the hex nut didn’t cover the opening of the conduit pipe completely. I could have left it, but, didn’t like the look, so I added a flat, rounded edged lamp piece between the hex nut and conduit opening.
While holding the conduit in a vise, cut off the excess bolt length. Remove it from the vise, lay on a solid surface, and hit the cut bolt end with a hammer a few times to rivet it on.

20160724_155949  20160724_160427

20160724_160734

Replace your stacked pieces to the top of the lamp pipe, tightening when you screw on the finial. Once together, I found it helpful to stand the stake in a bucket of sand when adding the crystals. Pretty! Pretty!
No crystals? No problem! Garden Stakes can have a character and style all their own without the bling!

stk 1 watermrk  stk2 wtrmrk

If you like this post or found it helpful, please click on the “like” button below, or leave a comment.  I love hear what readers are thinking.

Thanks for visiting glassic touch!


Crystal Garden Chandelier

Whoa! This summer is going by way too fast! Between enjoying Grandma/Grandpa daycare activities, a couple of week-end road trips, and participating in a few market events, I must admit, I’ve selfishly been neglecting my blog a little. Okay, maybe more than a little ..
I haven’t been totally sloughing off though, so, while relishing in an unusually quiet week-end, I thought it would be a great time to try to catch up and get back into the swing of sharing in the blogging world.
Pretty reclaimed crystals, dangling on small garden chandeliers, seem to be popping up all over lately. They’re so darn cute!

Of course, I had to give one a go!

I had plenty of crystals. I remembered a blue faucet handle in the garage, then, sorted through a box of old lamp parts to find a couple small, clear glass pieces, a brass base, and all the nuts and washers I thought I’d need. I chose a finial with a hole in it so it would be easier to add a wire for the center crystals.
What I didn’t have was a long threaded lamp pipe. You can find them in a home improvement store for under $3.00. Sweet!

20160624_104052

Larger holes had to be drilled through the faucet handle and some of the washers to accommodate the rod. Holes were cut bigger in some cloth pads too.
In preparation to hang the crystals, small holes were drilled in every other petal of the brass globe lamp cap.  Sand, or grind the holes smooth after drilling.

20160624_103944  20160709_153131

I stacked the collected pieces in an arrangement I liked, then, removed each piece, laying them in a line, in the order they were stacked.
Run a hex nut down the threaded pipe. Put on the brass lamp cap, upturned, with the petals down. Add the faucet handle and other pieces in the order you have them laid out. If you happen to run out of rod before all the pieces are on, just run the hex nut a little further down the rod for more room. Hang on to the finial and screw the hex nut up on the rod to tighten things up. Once tightened, mark the rod with a piece of tape. Remove your pieces, once again laying them in order, and cut the rod to the length you need. Sand, or grind any sharp edges on the rod. Reassemble the piece.

20160624_105106-1  20160624_111105

20160624_110640  20160624_111634

I like to use small 19 gauge, black annealed wire when working on projects like this. It can be hard to find in craft stores. I have my best luck finding it at Theisen’s.  Other Farm & Home stores may have it, or a hardware store.
I was able to cheat a bit when it came to wiring the crystals. Most of mine were already attached together with the original head pin wires. If not, I robbed a wire from another one.
I wrapped a tiny silver bead on the end of a length of wire, and threaded it through a larger silver bead that was bigger than the hole in the finial, so it would not slip through. Insert the wire down through the finial. Trim the wire off leaving enough length for a small loop to attach your crystals.  A rectangle and large teardrop crystal were used in the center.

20160624_120521  20160624_121048

20160624_130537

Large octagonal and teardrop crystals were used around the outside edge. I first tried jump rings to attach them, but didn’t like the way they looked. I ended up making a kind of “s” shaped hook, leaving the loop of the hook visible on top of the brass cap.

20160624_135428  20160701_135628

Wa-Laa!

garden chime wtrk

I hope I’ve inspired a few of you to do your own garden chandelier making.  If so, I hope you’re willing to share a picture or any helpful suggestions in the comment section, Thank You! I love hearing from readers!


A Little Wire Easter Basket

While out snooping around sales last summer, I paid a whole quarter for an old, wire downspout guard. It was a little bent, but the wire was good and not brittle from rust. I’m always attracted to, and compelled to buy wire objects and it looked like something I thought I needed.

DSC00920

I caught a glimpse of the dusty and forgotten object on a shelf in my workroom last week. With Easter right around the corner, I thought it would be fun to make a little basket for my “gathering” buddy, Jean. She’d get a kick out of it.

I cut the wires down about 1 1/2″, except for two (opposite each other) which I left for handle arms.

The cut wires were coiled down to form a basket rim. The long wires were bent, about 1/4″ down, to form L shapes and then wired securely in place.

DSC00937  DSC00991  DSC00995

A short piece of weathered, 1/4″ wooden dowel was cut for a handle. Drill a small hole in the center of each end of the dowel piece, at least 1/4″deep. Age the fresh cut wood ends with thinned, gray paint, and sanding. Hook dowel between the handle arms.

DSC00965  DSC00975

You could simply leave the basket it’s original color here. I would suggest touching up any plier scratches and marks with a black patina.

I chose to lightly dry brush my basket with white, craft paint, then gave it a sanding.

DSC01021  DSC01027

I had a gorgeous vintage twist on earring and I couldn’t resist adding some bling to cover the knot of the tea stained strip of vintage fabric tied under the coiled rim.

I waxed, then speckled, a small dried egg gourd to nestle in the shredded, brown paper beside a small, metal, bunny candy mold.

Done!  I can’t believe how easy this project came together .. a quick afternoon upcycle if you have all your supplies handy.

1061 watermark

Happy Easter!


A New Concrete Boot Scraper

It was a few wet days, last month, that spurred an unexpected project. After admiring many creative and inspiring concrete/hypertufa boards on Pinterest, I was so dreaming of designing garden pathways and stones, as my first concrete endeavors, but instead… it was a boot scraper.

DSC07822

Our old boot scraper was already settled comfortably by the back door when we moved to the family farm over 25 years ago.

DSC07611

It found it’s way here in a load of salvage long before our arrival.  It has scraped many boots and shoes, propped boards to be painted, secured papers, and dog leashes.  No one ever gave it much thought until we were trying to wipe mud from our shoes, in wet grass, before entering on the other side of the house. That’s when I said, “We should make one of those mud scrapers for over here.”  My husband replied, “Wouldn’t take much, just a box of concrete and a piece of steel.”  It took me a minute to absorb…. “Hey!  I think I got something we can use!”

I’ve always had a tendency to save pieces and scraps when remodeling or updating, like the wainscoting used to build our bird feeder, in my previous post.  I find it fun to integrate the old with the new.  It’s like letting something catch it’s breath to start a whole new story.

A cast aluminum “K”, from one of the first doors we replaced, has rested on a nail in my garage for a very long time.  I’ve often looked at it as I pulled in, and thought, “I’m gonna find a good place for you someday.” That day finally came … it was the perfect “glassic touch”.

DSC07809

We began by tracing the inside rim of the aluminum piece on 1/2″ plywood, and cut it out with a band saw.

DSC07484DSC07477

Box sides were cut from 1″x10″ pine boards, mindful that the wood grain ran horizontally on the end that the handle would be inserted in, so it can easily be split off later.

A length of 1/4″ steel rod was bent around a 5″ dia. pole, then put in a vice to trim off the ends with a hack saw. Once handle is shaped, mark the wood for placement and predrill holes. Make sure it slides in easily and fits snugly.DSC07531DSC07533DSC07540DSC07545

With a chop saw, or hack saw, cut a scrap piece of 1/8″ thick steel.  Ours was 3″ wide and approximately 13″ long.

Center and attach the circle of plywood to the inside front piece of wood, then screw the box together. Its important to keep the top edges of the box even, so the concrete can be leveled off after its poured.  Attach a piece of scrap plywood to the bottom of the assembled box, and give the inside a coat of diesel fuel to prevent the concrete from sticking.  Putting a large piece of cardboard under the box will catch any leaking concrete, and make it easier to move around, if needed.

DSC07559DSC07659

You’ll appreciate an extra pair of hands, and something sturdy to stir with, when mixing up an 80 lb. bag of Quikrete.  We used about 1 1/4 gal. of water and mixed it well.

Scoop the concrete in the box.  Use whatever you stirred with, or a paint stick, to tamp and work it down as you fill, especially around the outside edges, to help obtain a smooth finish on the sides when it has dried.

DSC07568DSC07573

After filling and tamping, slide the edge of a paint stick across the top to level.  Insert the handle into the predrilled holes.

Wait about 20 minutes, level top again with paint stick, and slowly push in the piece of steel, upright.  Let it sit approximately another 30 minutes, then brush the top lightly with a 2″ chip brush. Times will vary depending on how wet the concrete is.DSC07585DSC07590

NOTE: Before mixing concrete, you may want to spray and prepare a few small containers or molds to quickly use up any excess.  Waste Not, Want Not.

DSC07840DSC07617

After 24 hours, tip the box and brace it while removing the bottom. Sit it back up on the plywood, sideways, to dry another 12 hours.  Remove all the screws and tap sides off gently.  On the handle end, tap a wood chisel gently into the wood, first from the sides, then across the middle. Repeat until it splits easily; remove. Lightly sand top outside edge of concrete.

DSC07626DSC07628DSC07631DSC07635DSC07640DSC07656

Trace your circle pattern on your choice of glass.  Cut and grind to fit inside the aluminum circle. Dab silicone glue on the backside of the “K”, insert glass, and weigh down to dry.  Run a thin bead of silicone around the backside edge of the glass. I also glued on two 3/8″ resin beads to help brace the glass against the concrete.  Let dry.DSC07664DSC07676DSC07677DSC07734DSC07740DSC07754

Run a thick bead of silicone around the inside circumference of the concrete circle and set the aluminum piece in place.  Dry over night.

Using a baggie, pipe in an initial layer of interior/exterior sanded gray grout to fill the gap between the aluminum and concrete.  Then apply a top layer with a putty knife.  Let it dry a minute, then smooth and clean with a damp cloth. DSC07770DSC07764

Let dry 12 hours and seal with grout sealer.

DSC07830

There it is.. this little “K” is once again greeting people at our door!  What do you think?

I’m thinking the time for garden projects has come to an end for the year. Its time to start thinking Fall and Christmas!

Barn Bird Feeder with Mini Barn Quilt

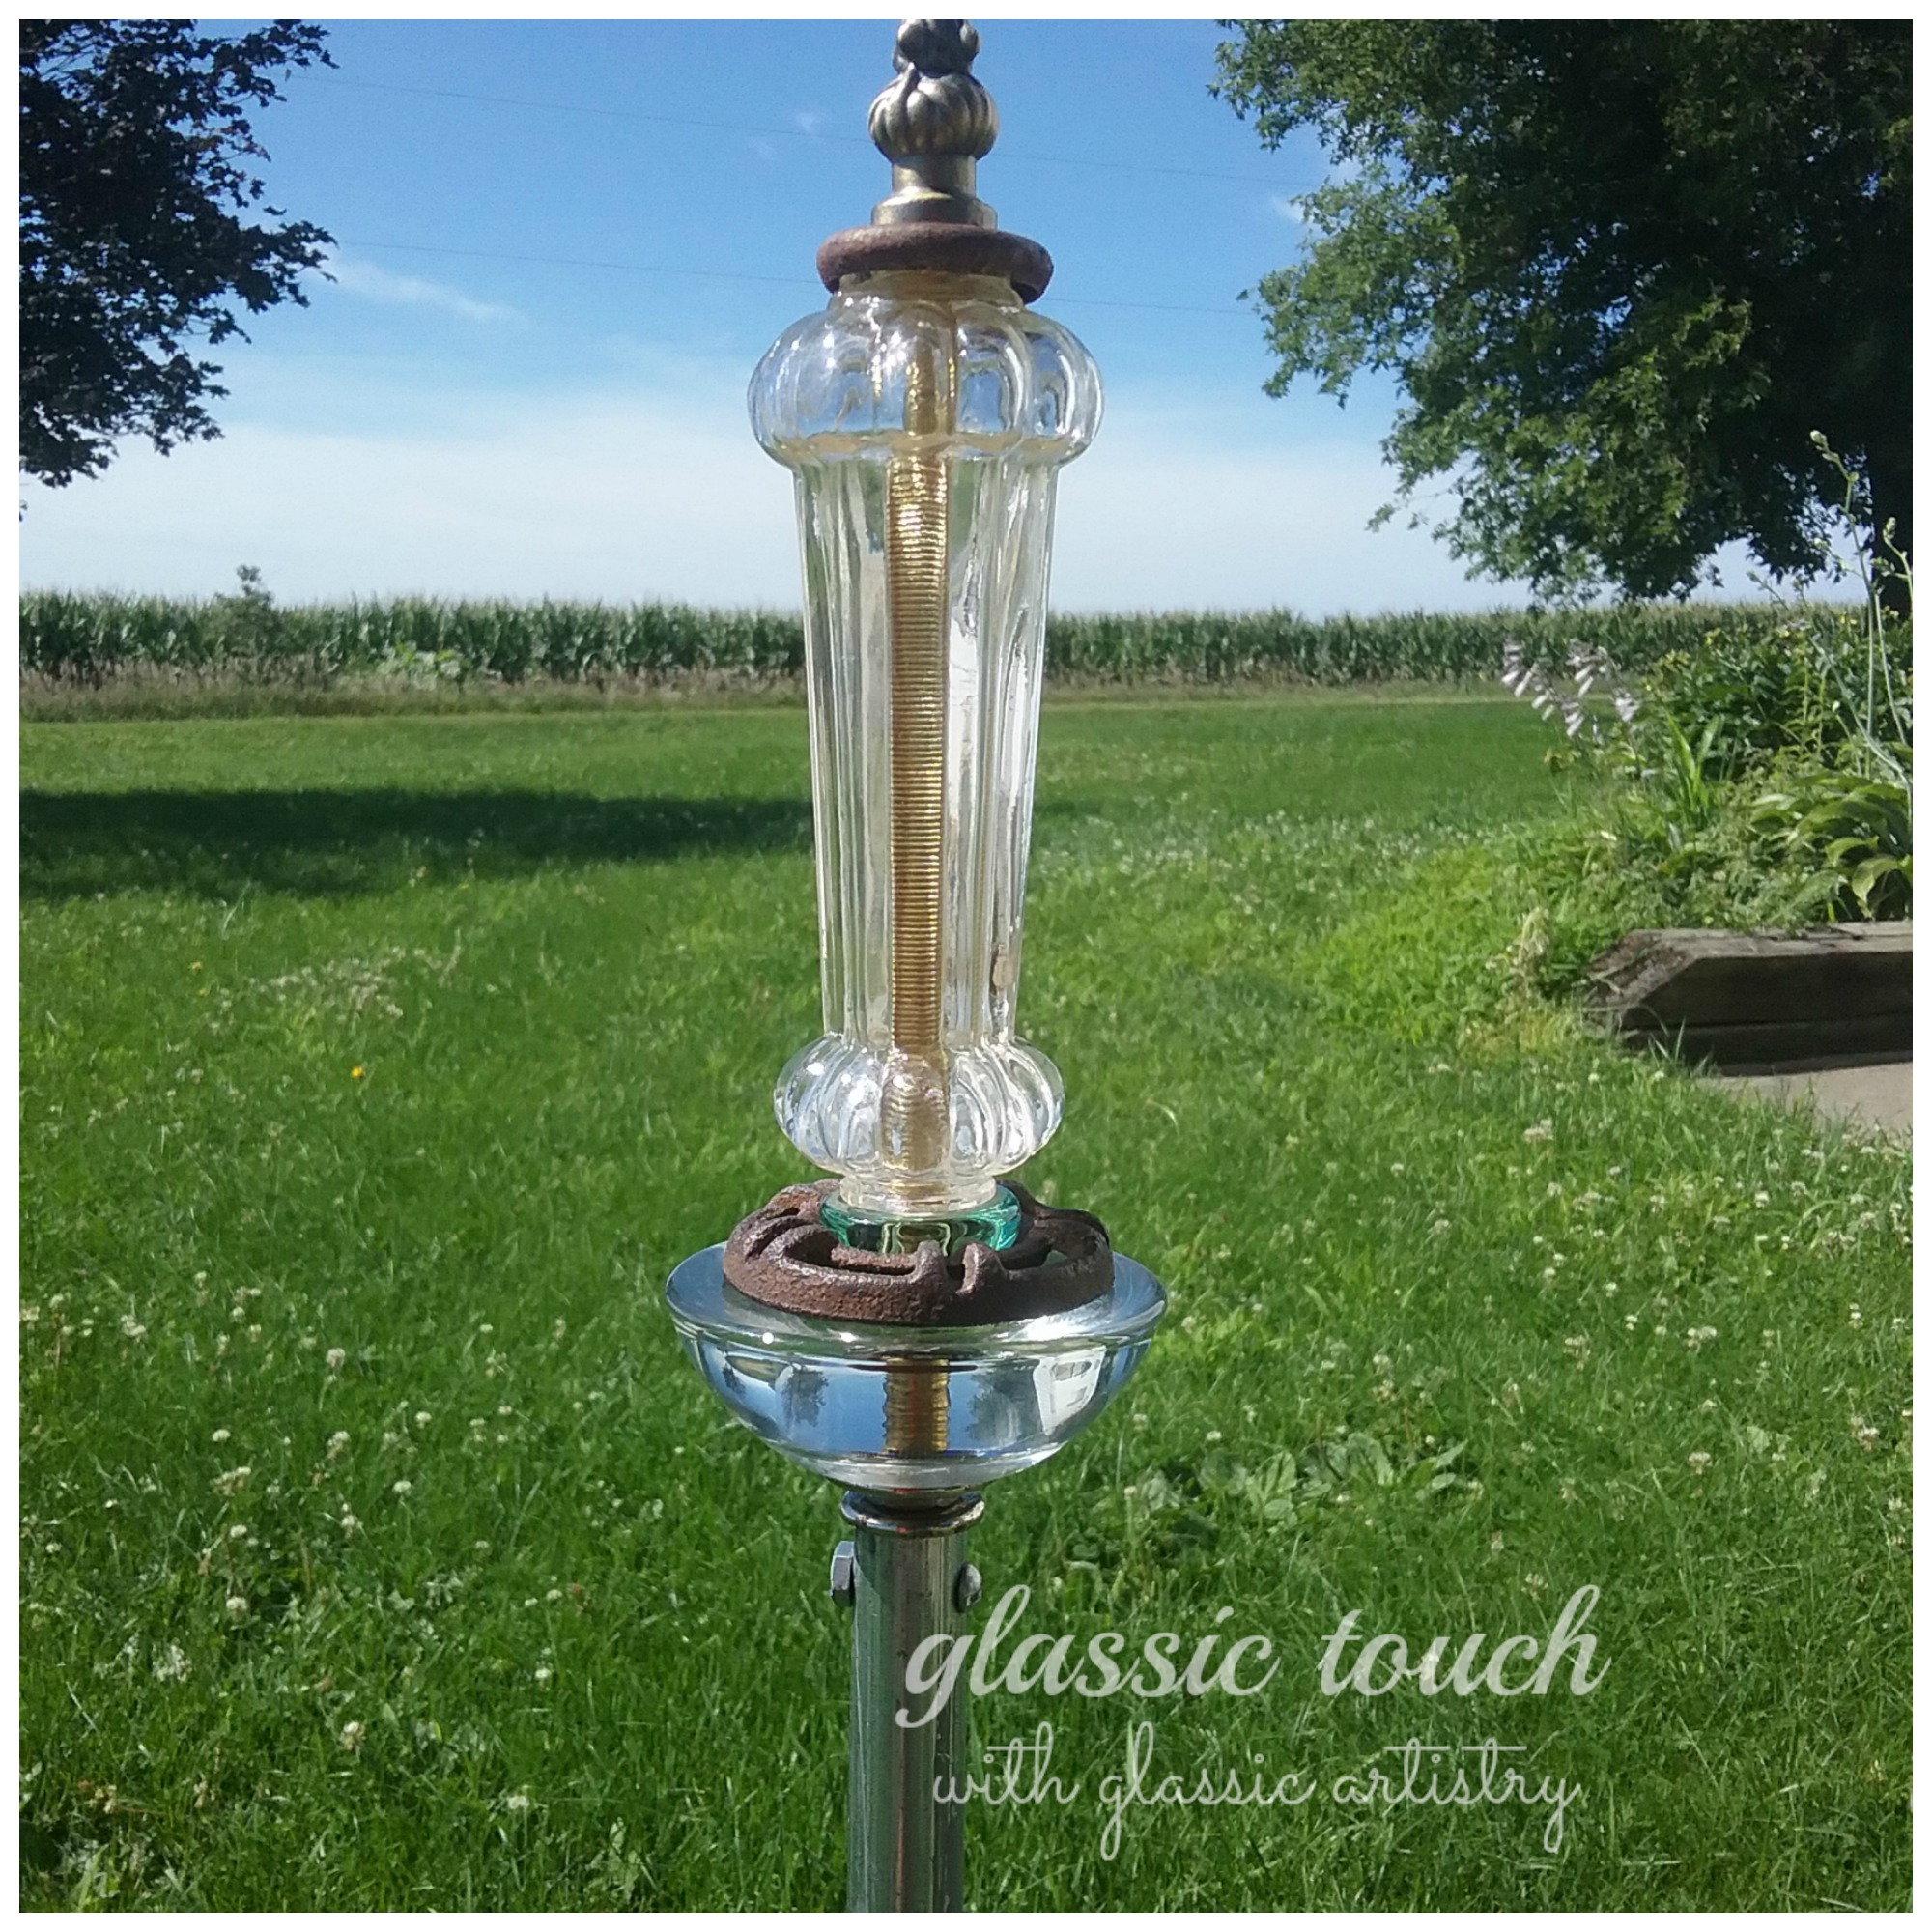
Welcome to glassic touch!

I’ve been eager to start my own blog for a long time, and to join the ranks of all those wonderful people who are willing to share their ideas and techniques with the world. My lack of computer savvy and a fear of not knowing what I’m doing has always held me back. Well, we can’t have anymore of that! They say “you learn by doing”, so I’m going to jump in with both feet and see how it goes!

I have a huge enthusiasm for using reclaimed items, recycled materials, glass, and wire to create unique pieces for the garden or home. For me, the most challenging and funnest step, in designing a piece, is figuring out that little touch of something special or unexpected to make it my own…. I like to call it the “glassic touch”.

We were completing a project when I decided to start my blog, and I’d like to share it with you as my first post. I hope you find it interesting and inspiring.

I came across a small pile of mismatched forgotten boards, while sorting through “my stuff” in the garage, and instantly recalled the image of an old rustic barn birdfeeder I had admired in a garden magazine several years ago. Although the boards were a mix of old narrow wainscoting and wide tongue and groove, it looked achieveable. After sketching out my idea and deciding the layout, my husband offered to help me build it.

DSC07238

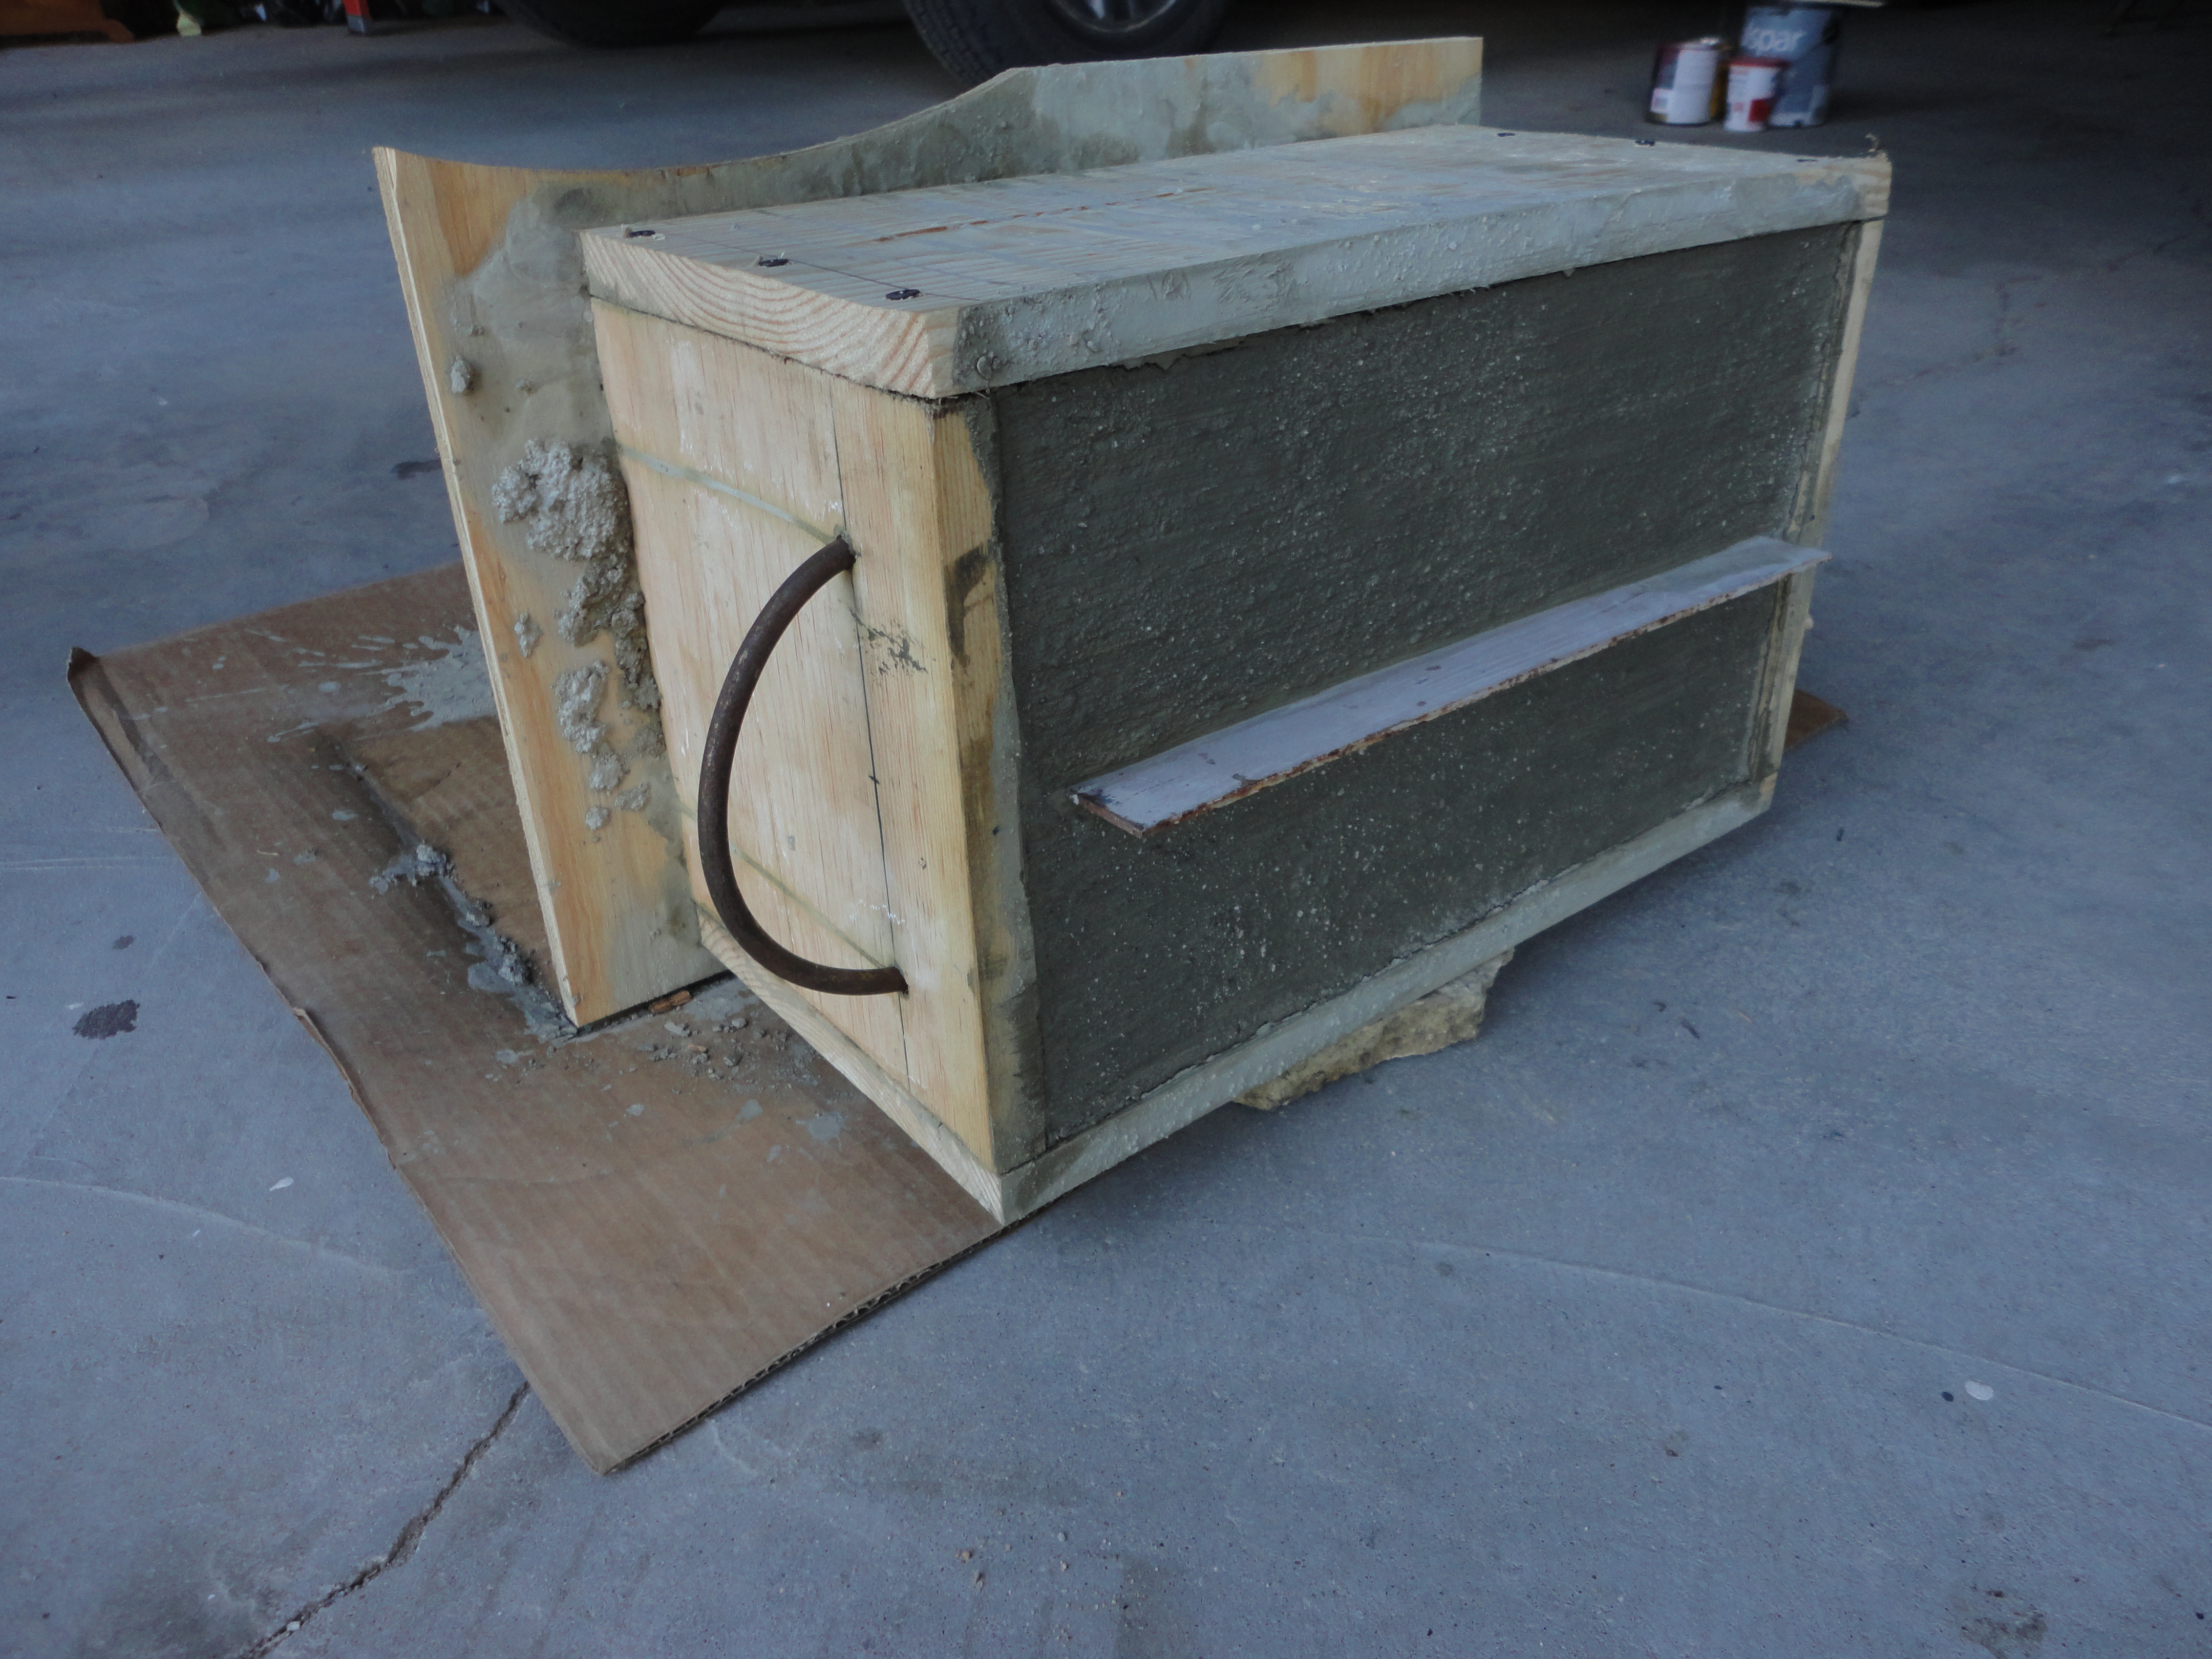
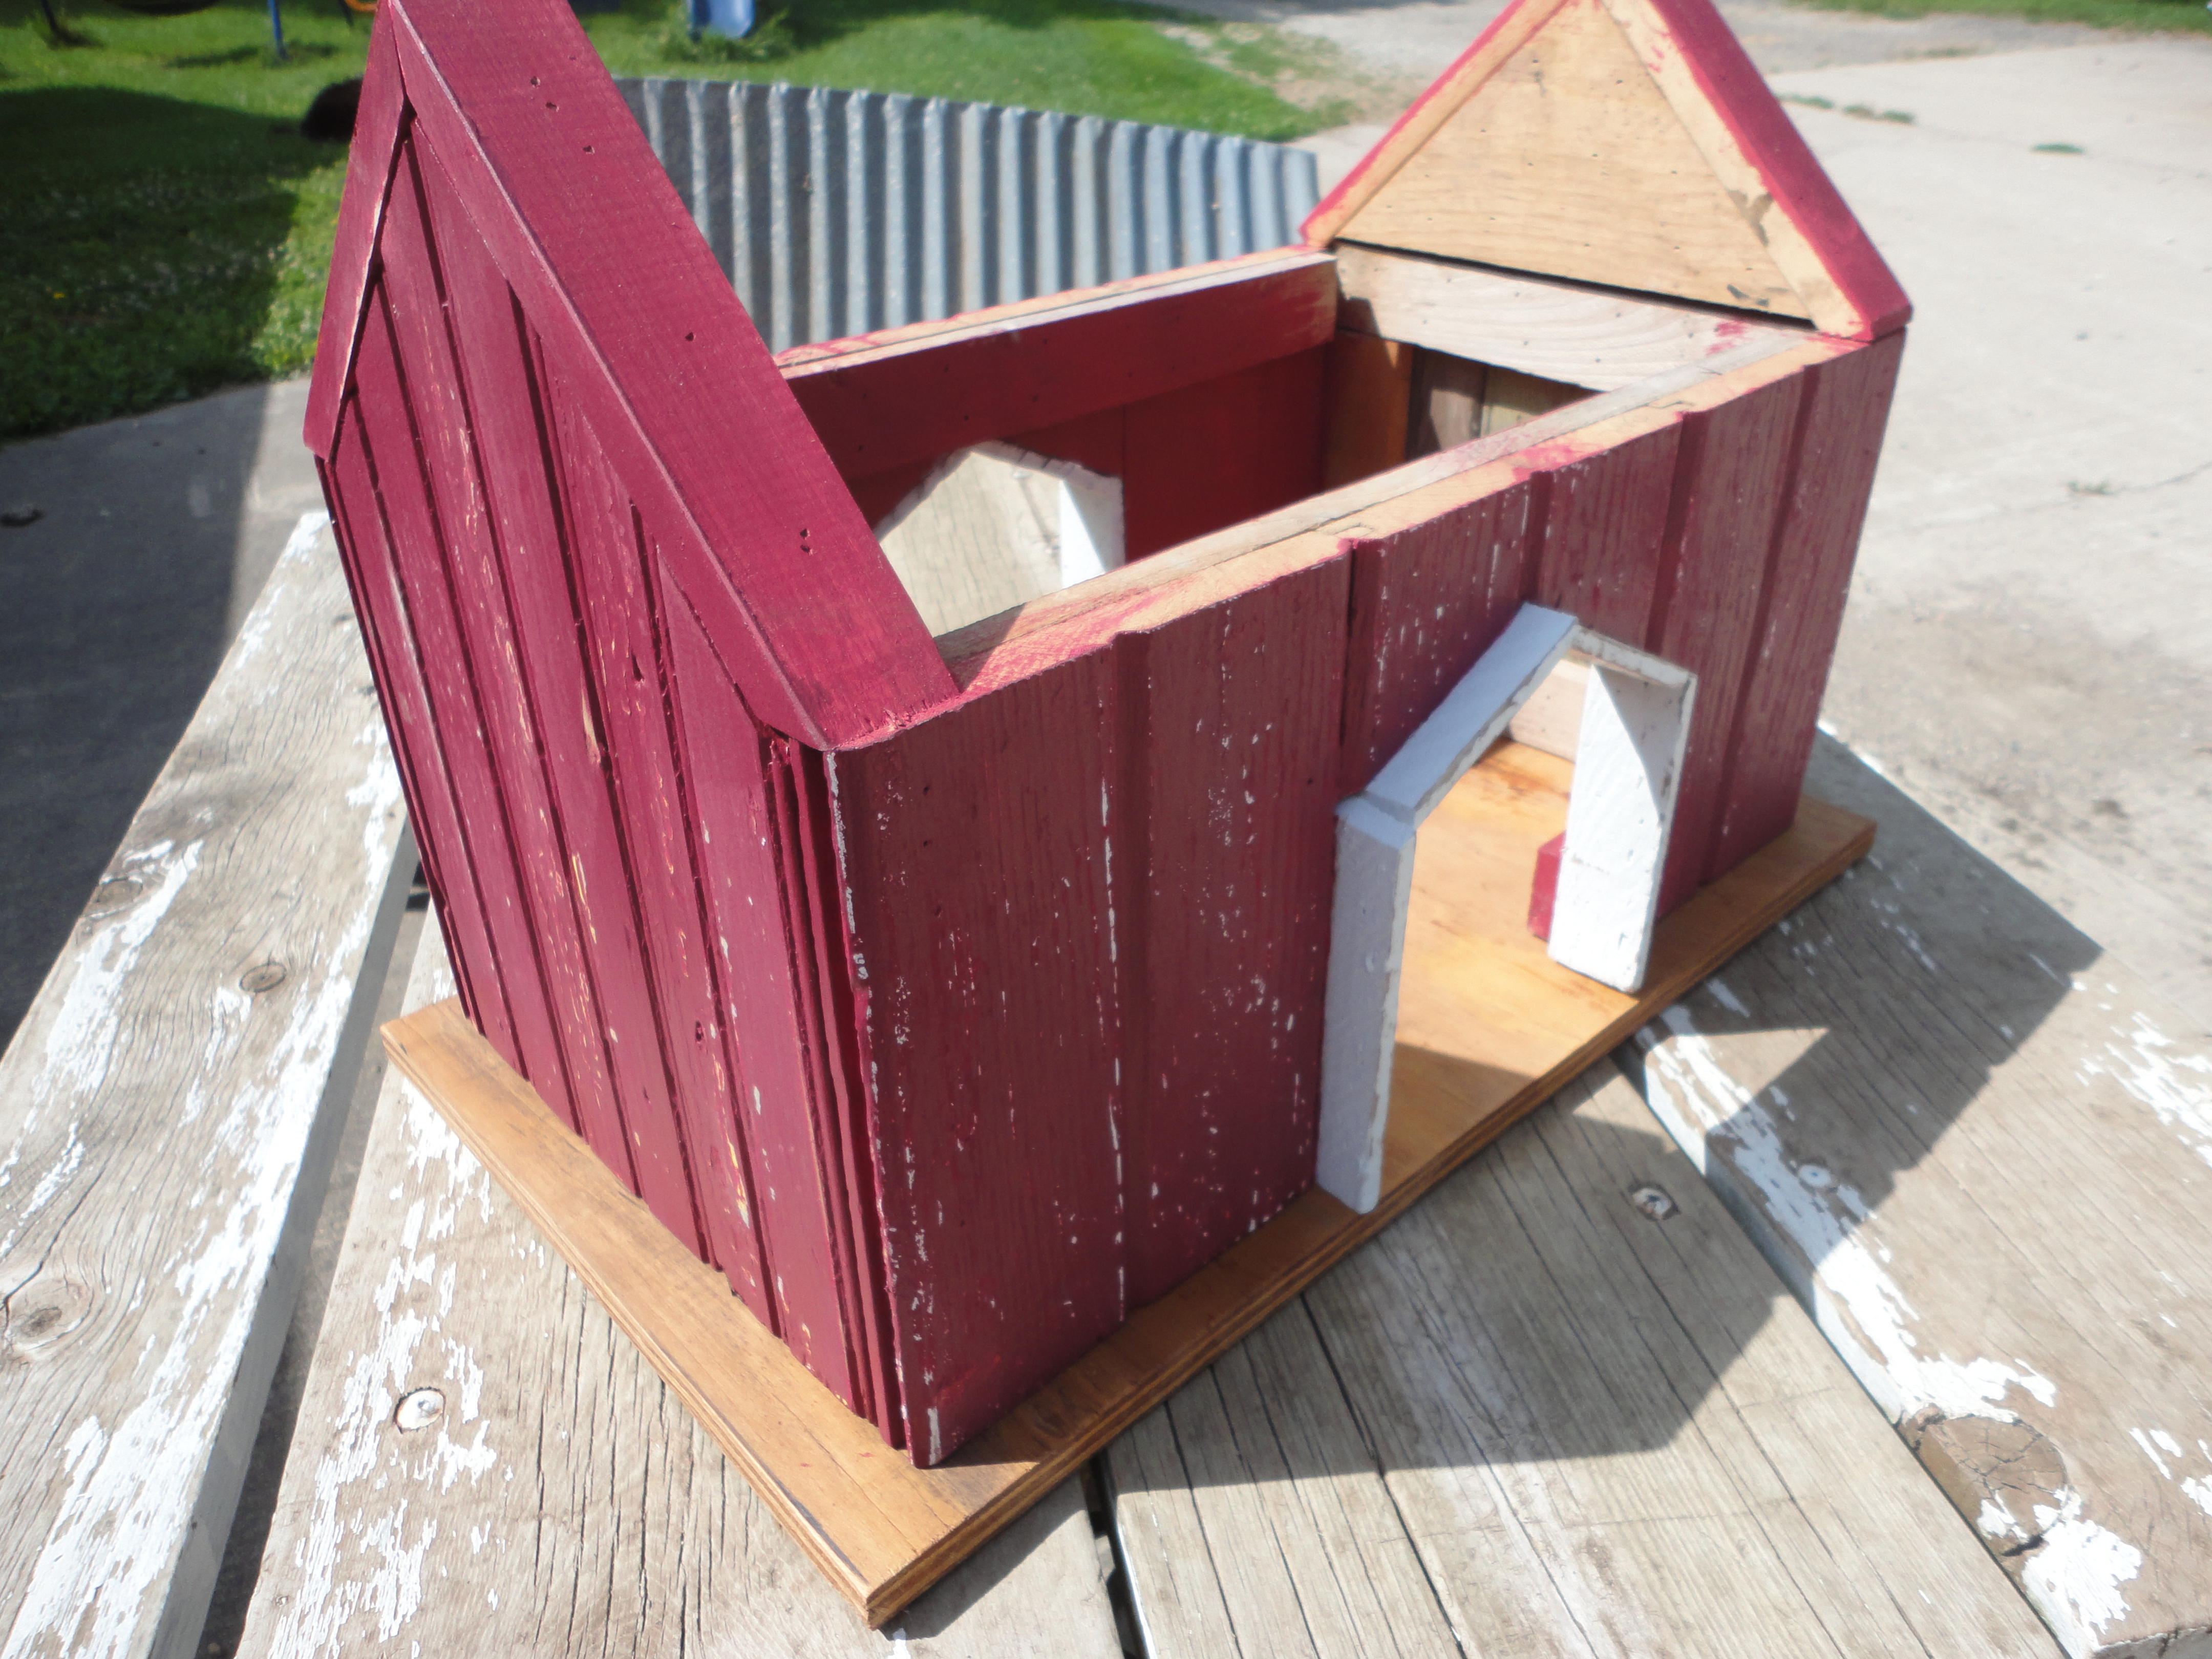
The size of our feeder was determined by the boards we had available. We used the narrow wainscoting for the sides and the wide for the front and back. A simple frame was built from scrap lumber and the boards were attached with a brad nailer, painted red, then lightly sanded. I rescued a 1 1/2″W x 1/4″ thick piece of rough shipping crate lath from the trash bin to trim out the side entries. The trim pieces were cut, attached, and painted white. My completed barn measurements, without a base, are 20 1/2″L x 11 1/2″W. The side peaks are 14 1/2″H.

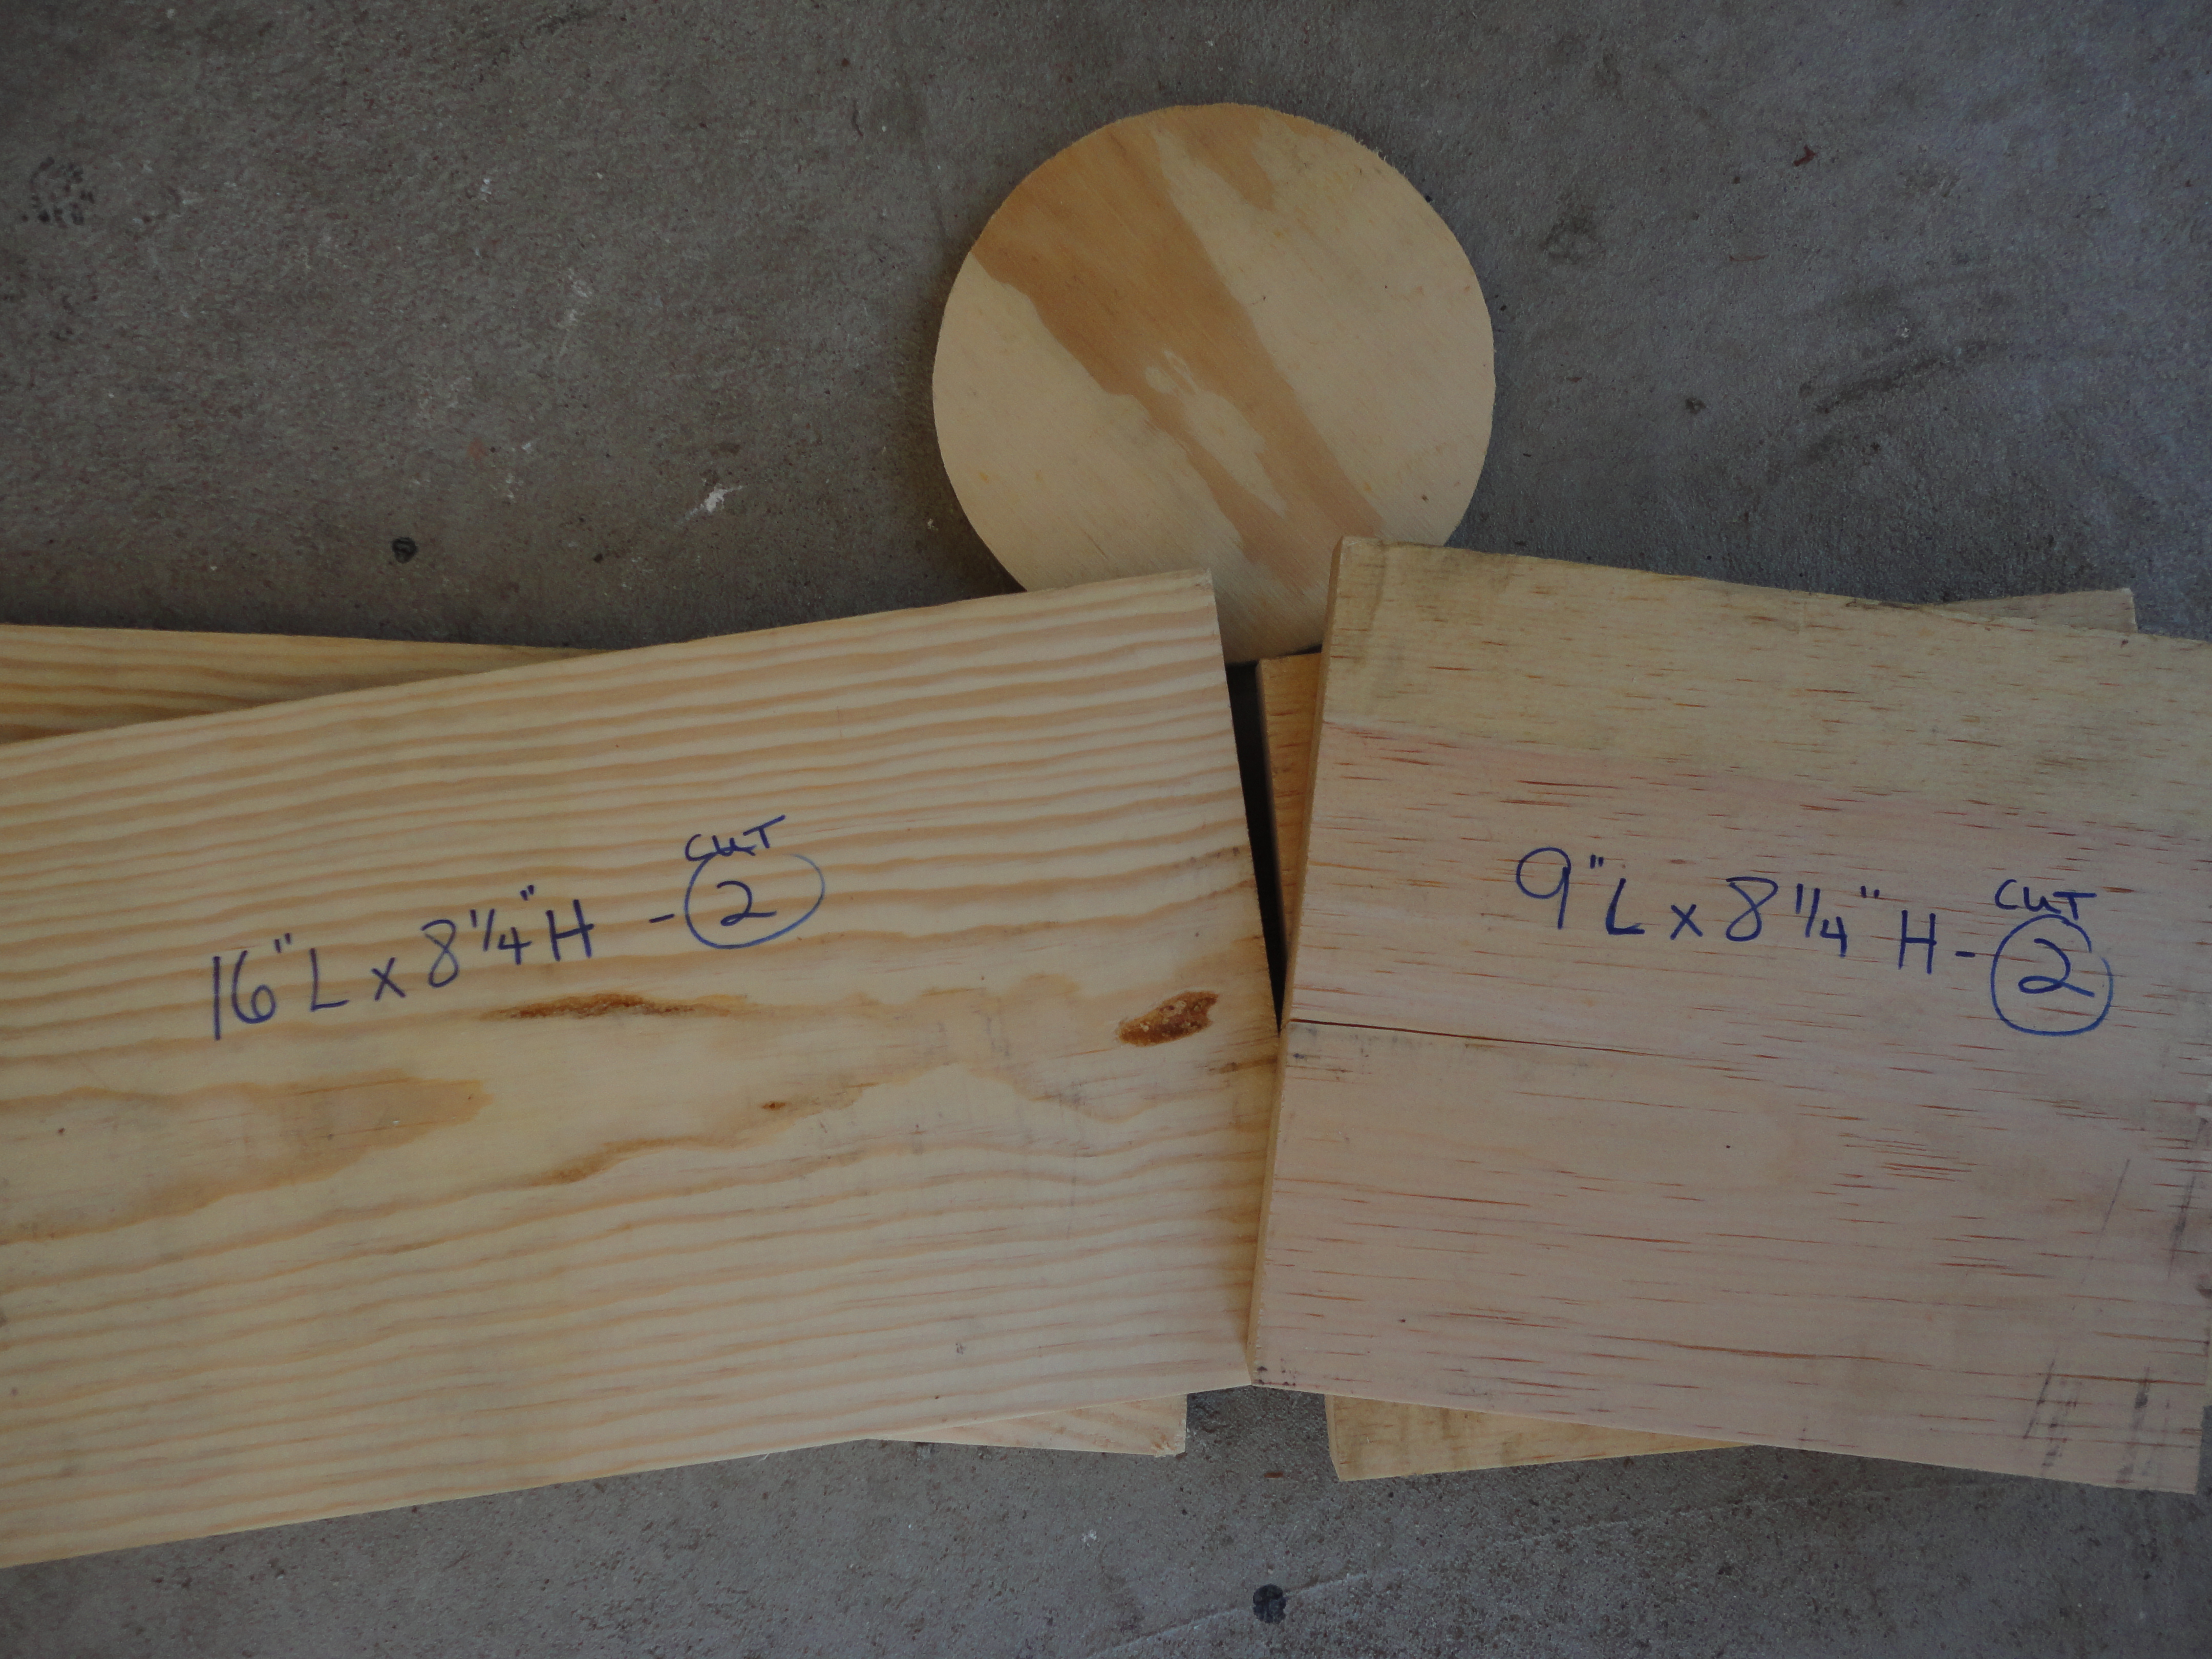
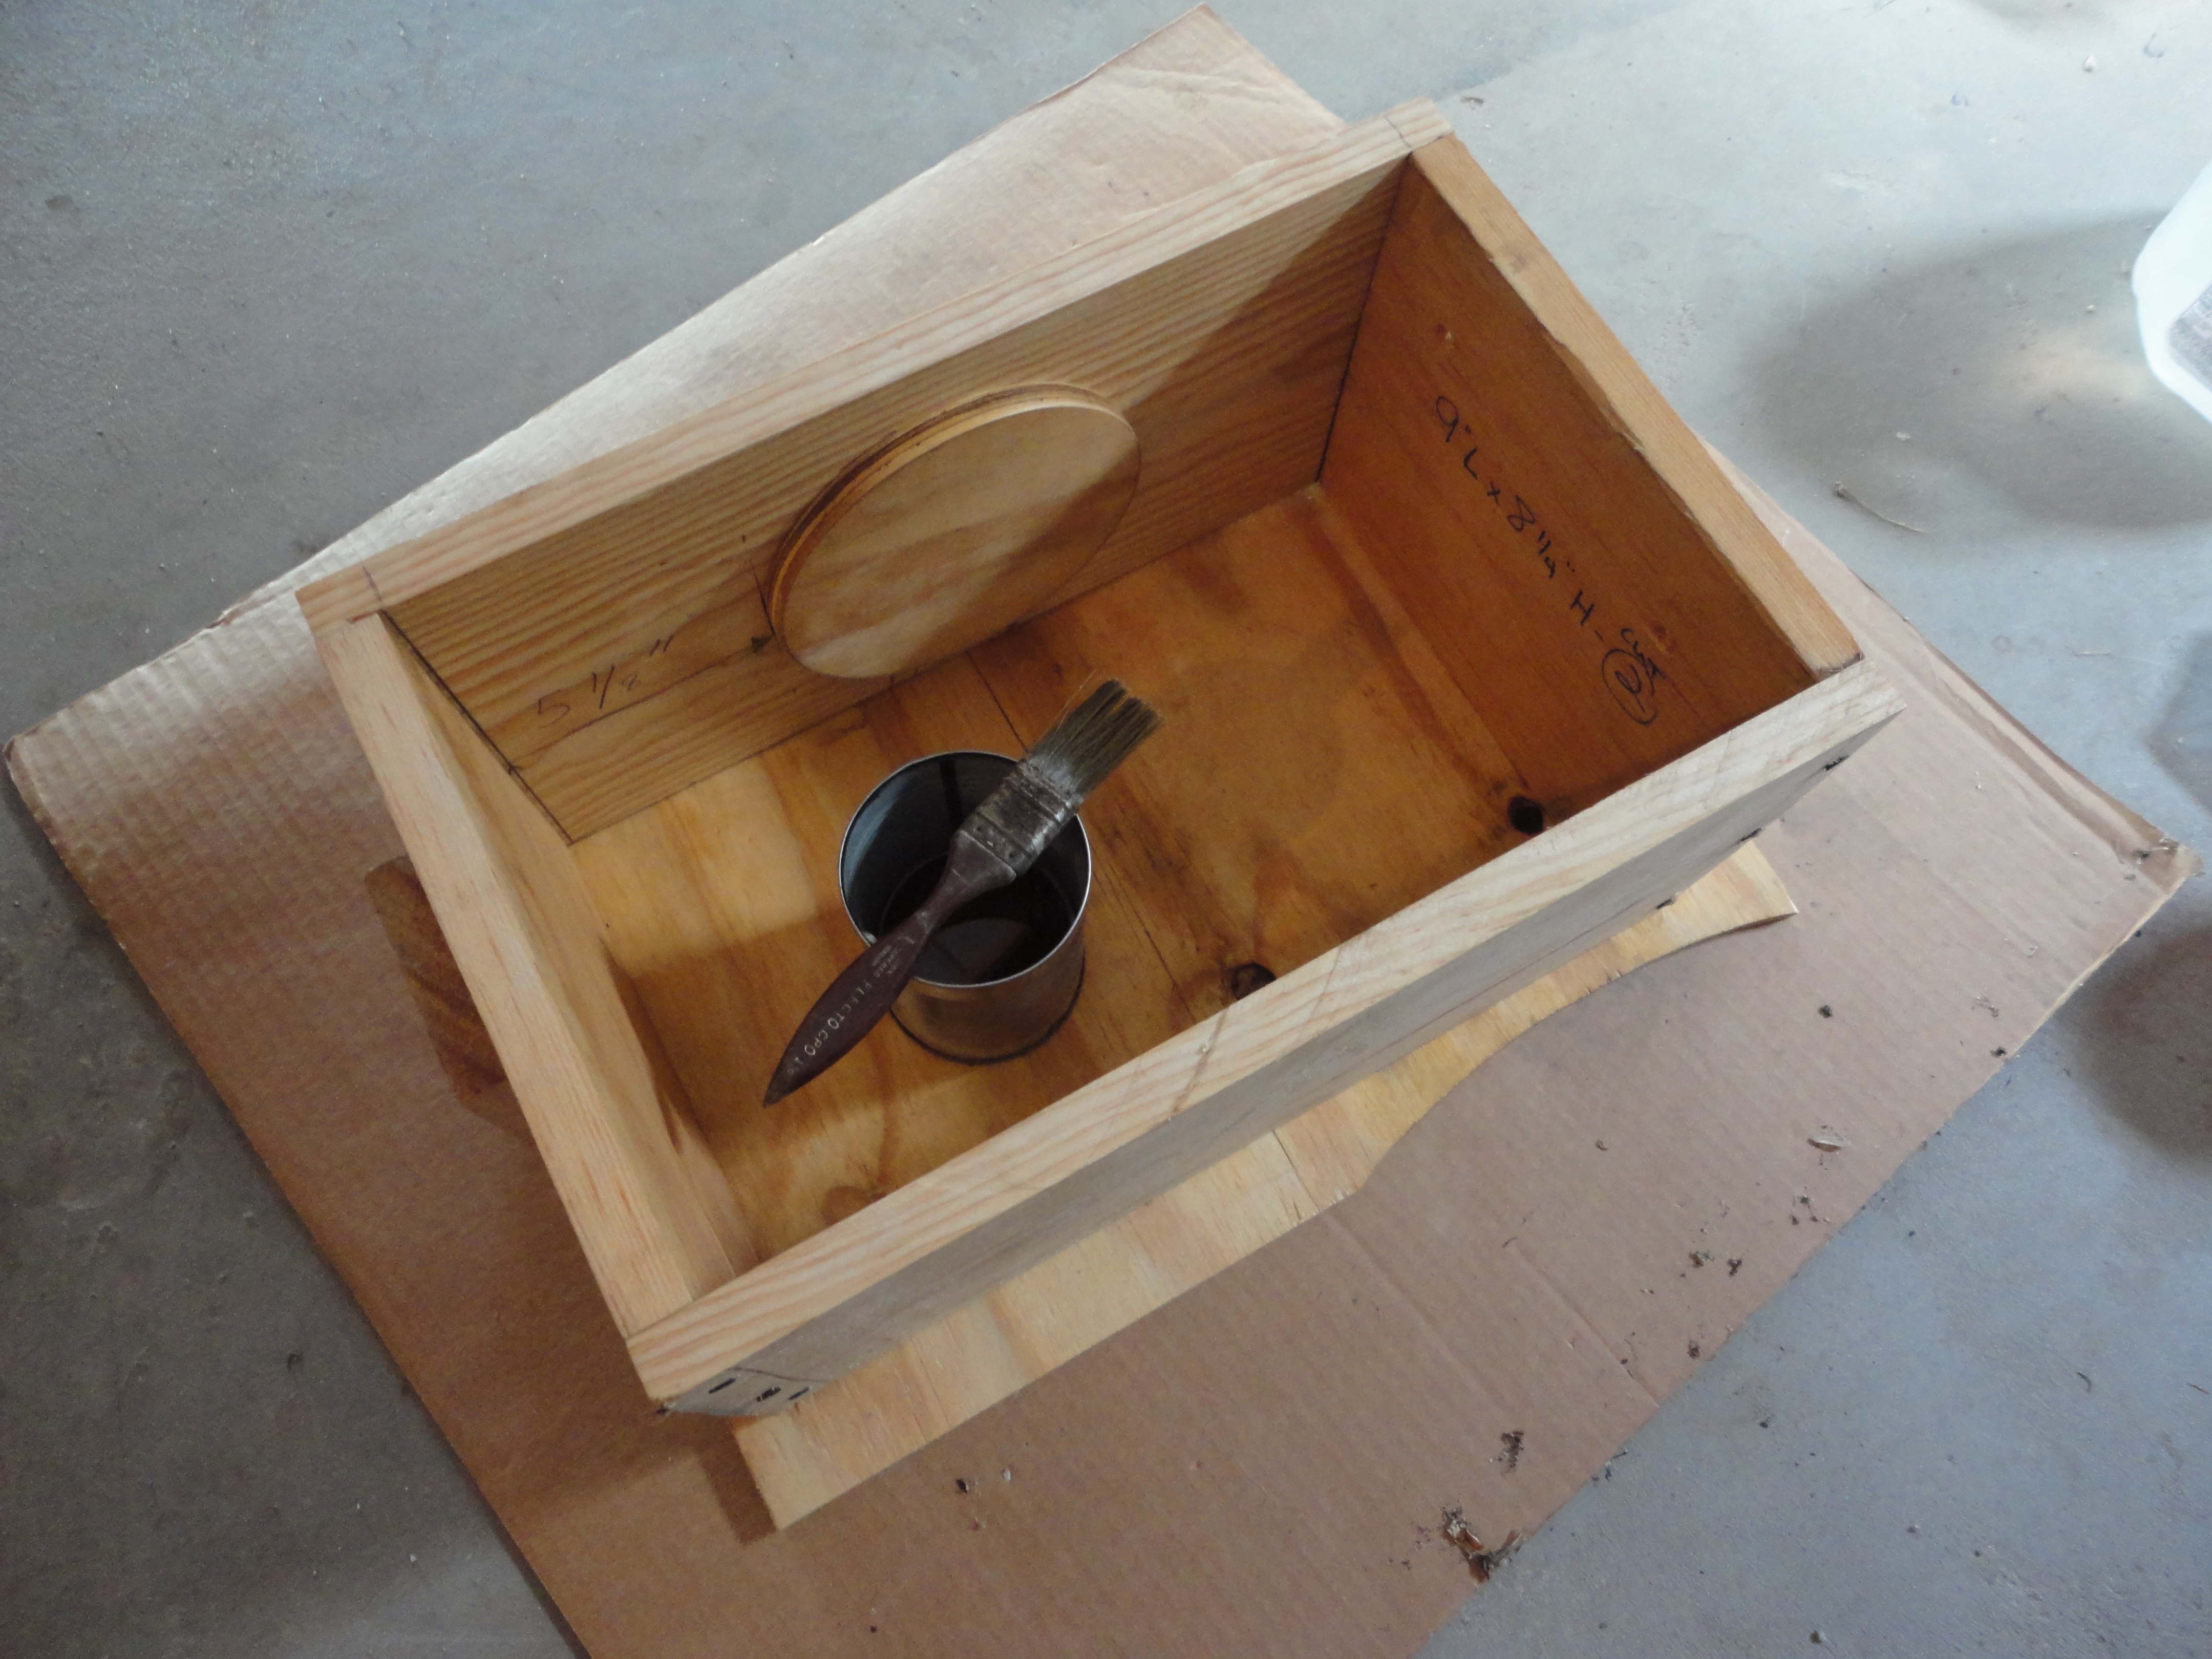
For the base, we used a piece of 3/4″plywood, cut 22 1/2″L x 13″W and a 1 1/2″thick plank cut 20 1/2″L x 11″W. Both were sanded and treated with Thompson’s Water Seal.

DSC07185DSC07160

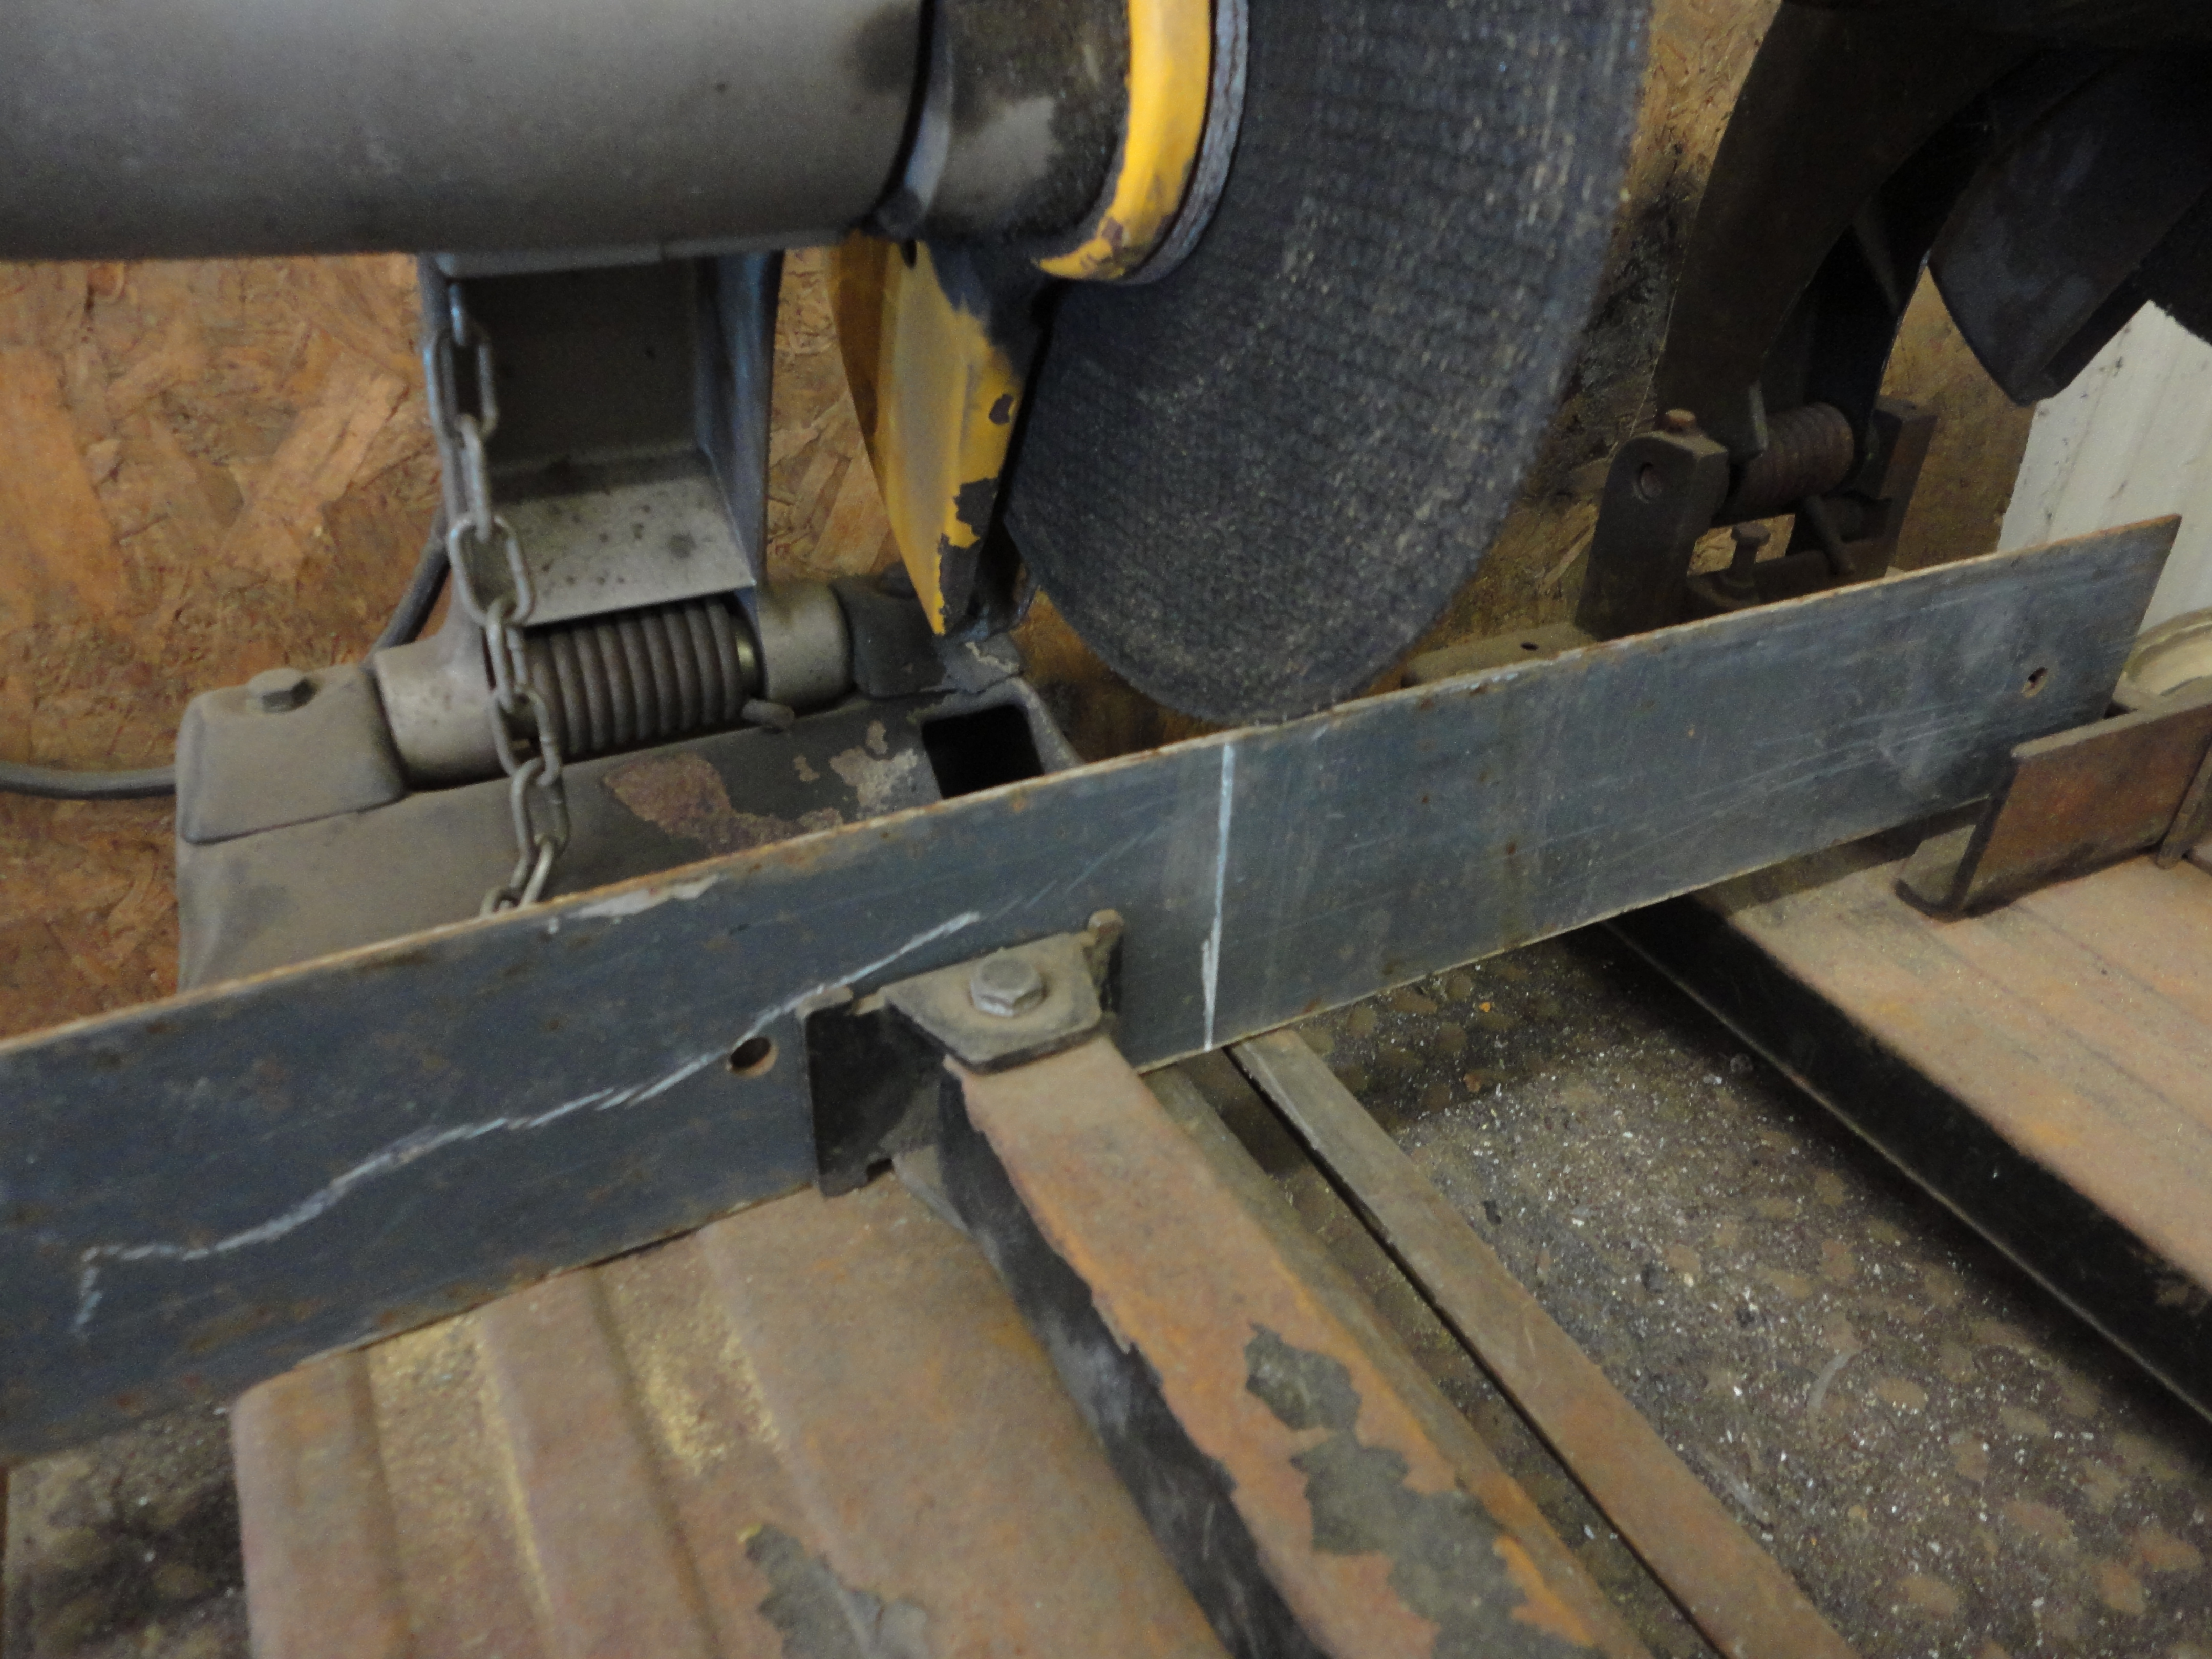
Please be careful with this next step, cut steel edges are very sharp and jagged! You may want to wear gloves. Using tin snips, cut a piece of corrugated steel, with furrows running lengthwise, 20″L x approximately 23 1/2″W. For a neater appearance, cut the steel so the sides are matching. For example, I needed the roof to be 23 1/2″W, but went a bit wider so I was at the top of a furrow on each side. I was lucky on this step and had a scrap of steel that was in very good condition on one end and I only had to make 2 cuts. Cutting up the side, along a furrow, may be difficult. We found it helpful to bend it back as we cut and take your time.

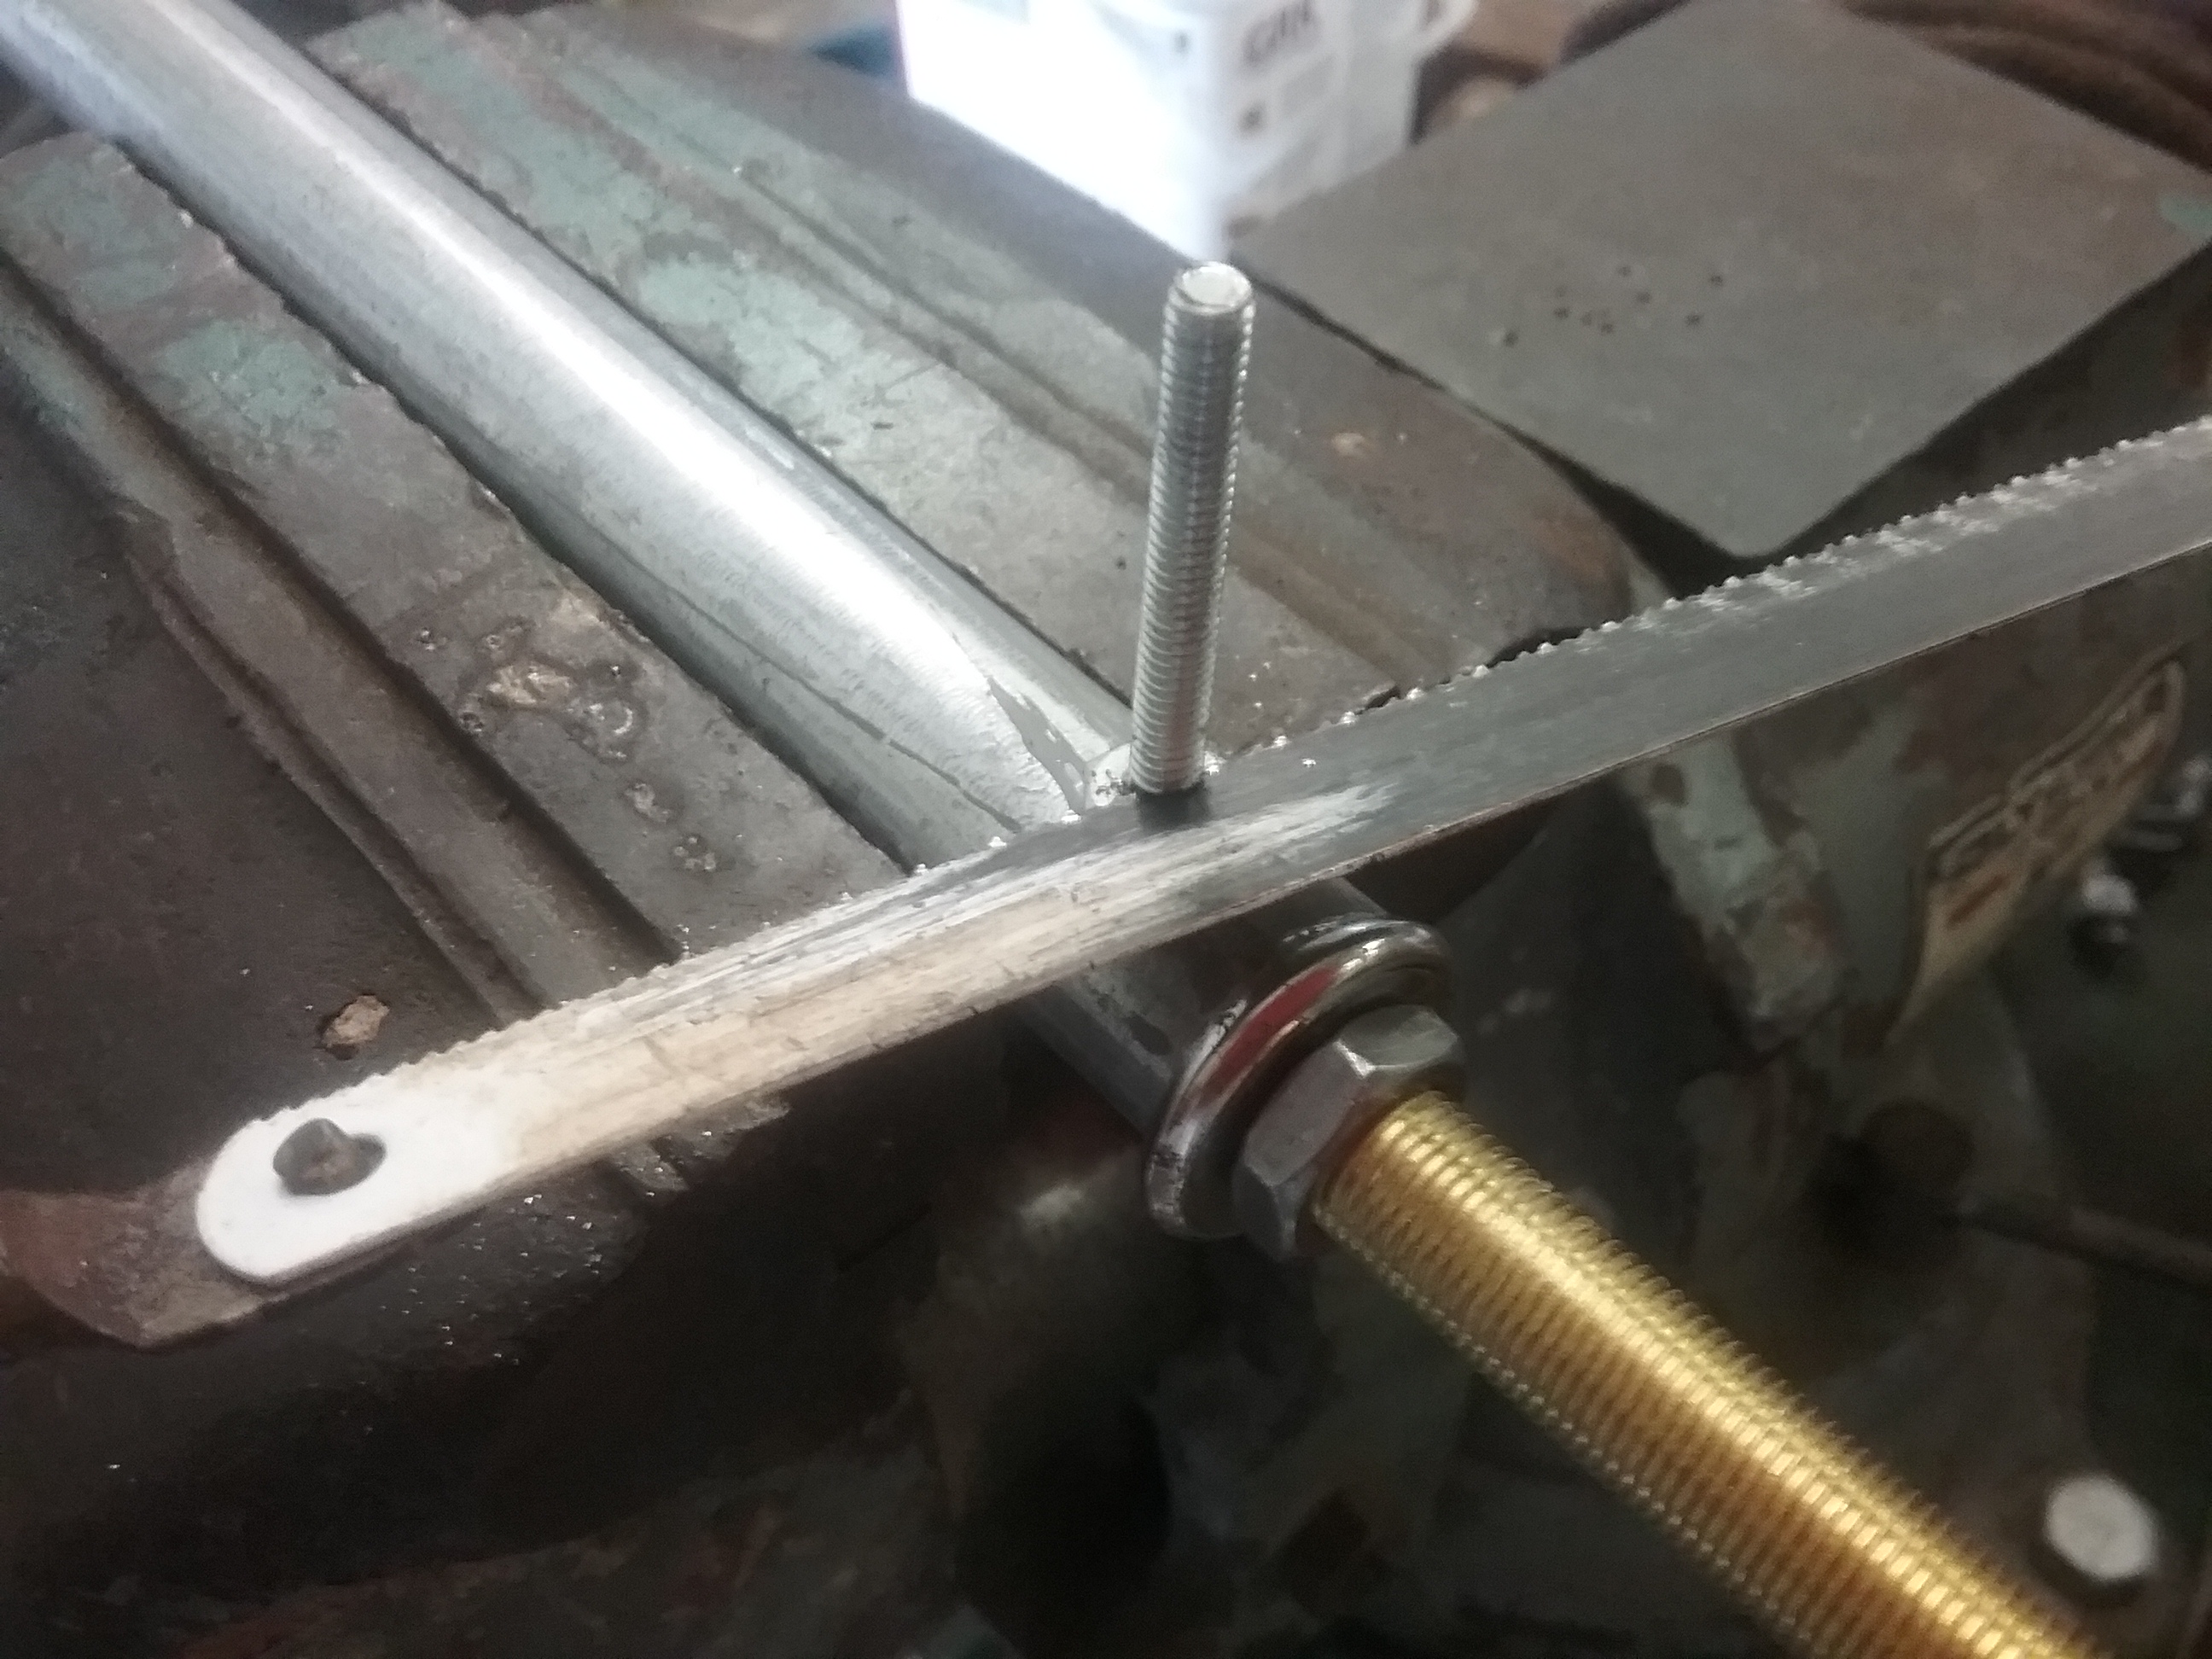
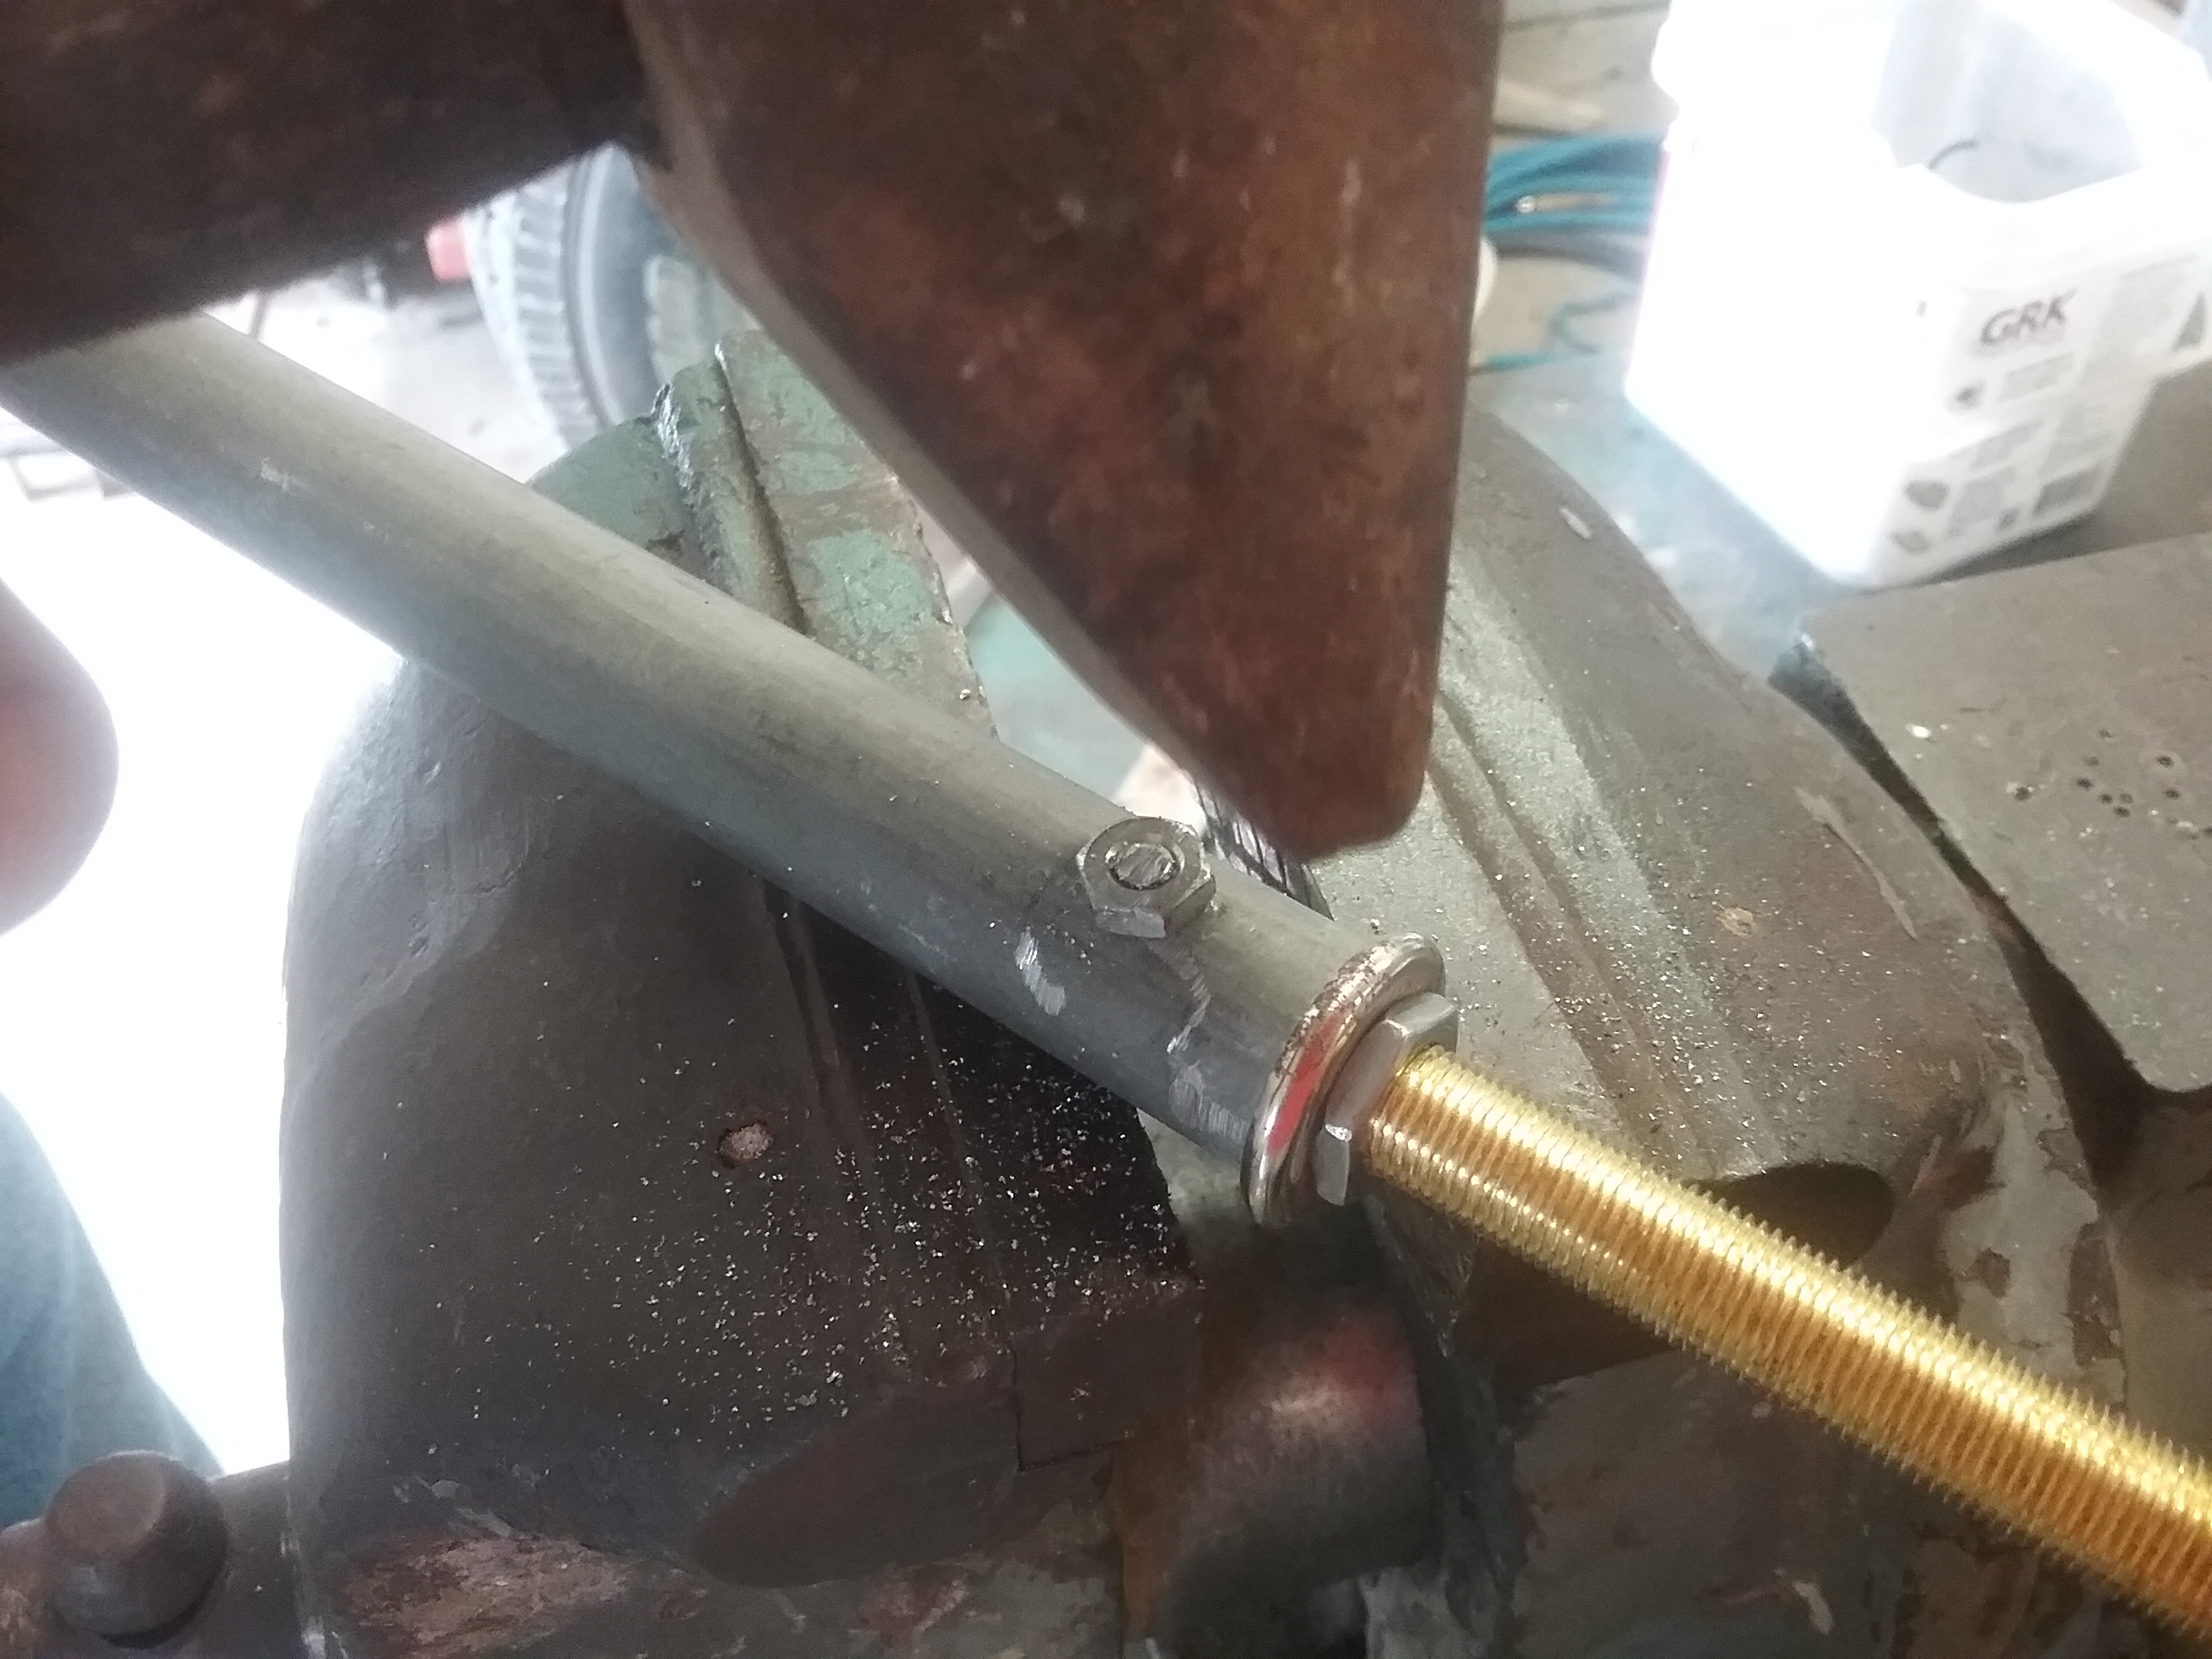
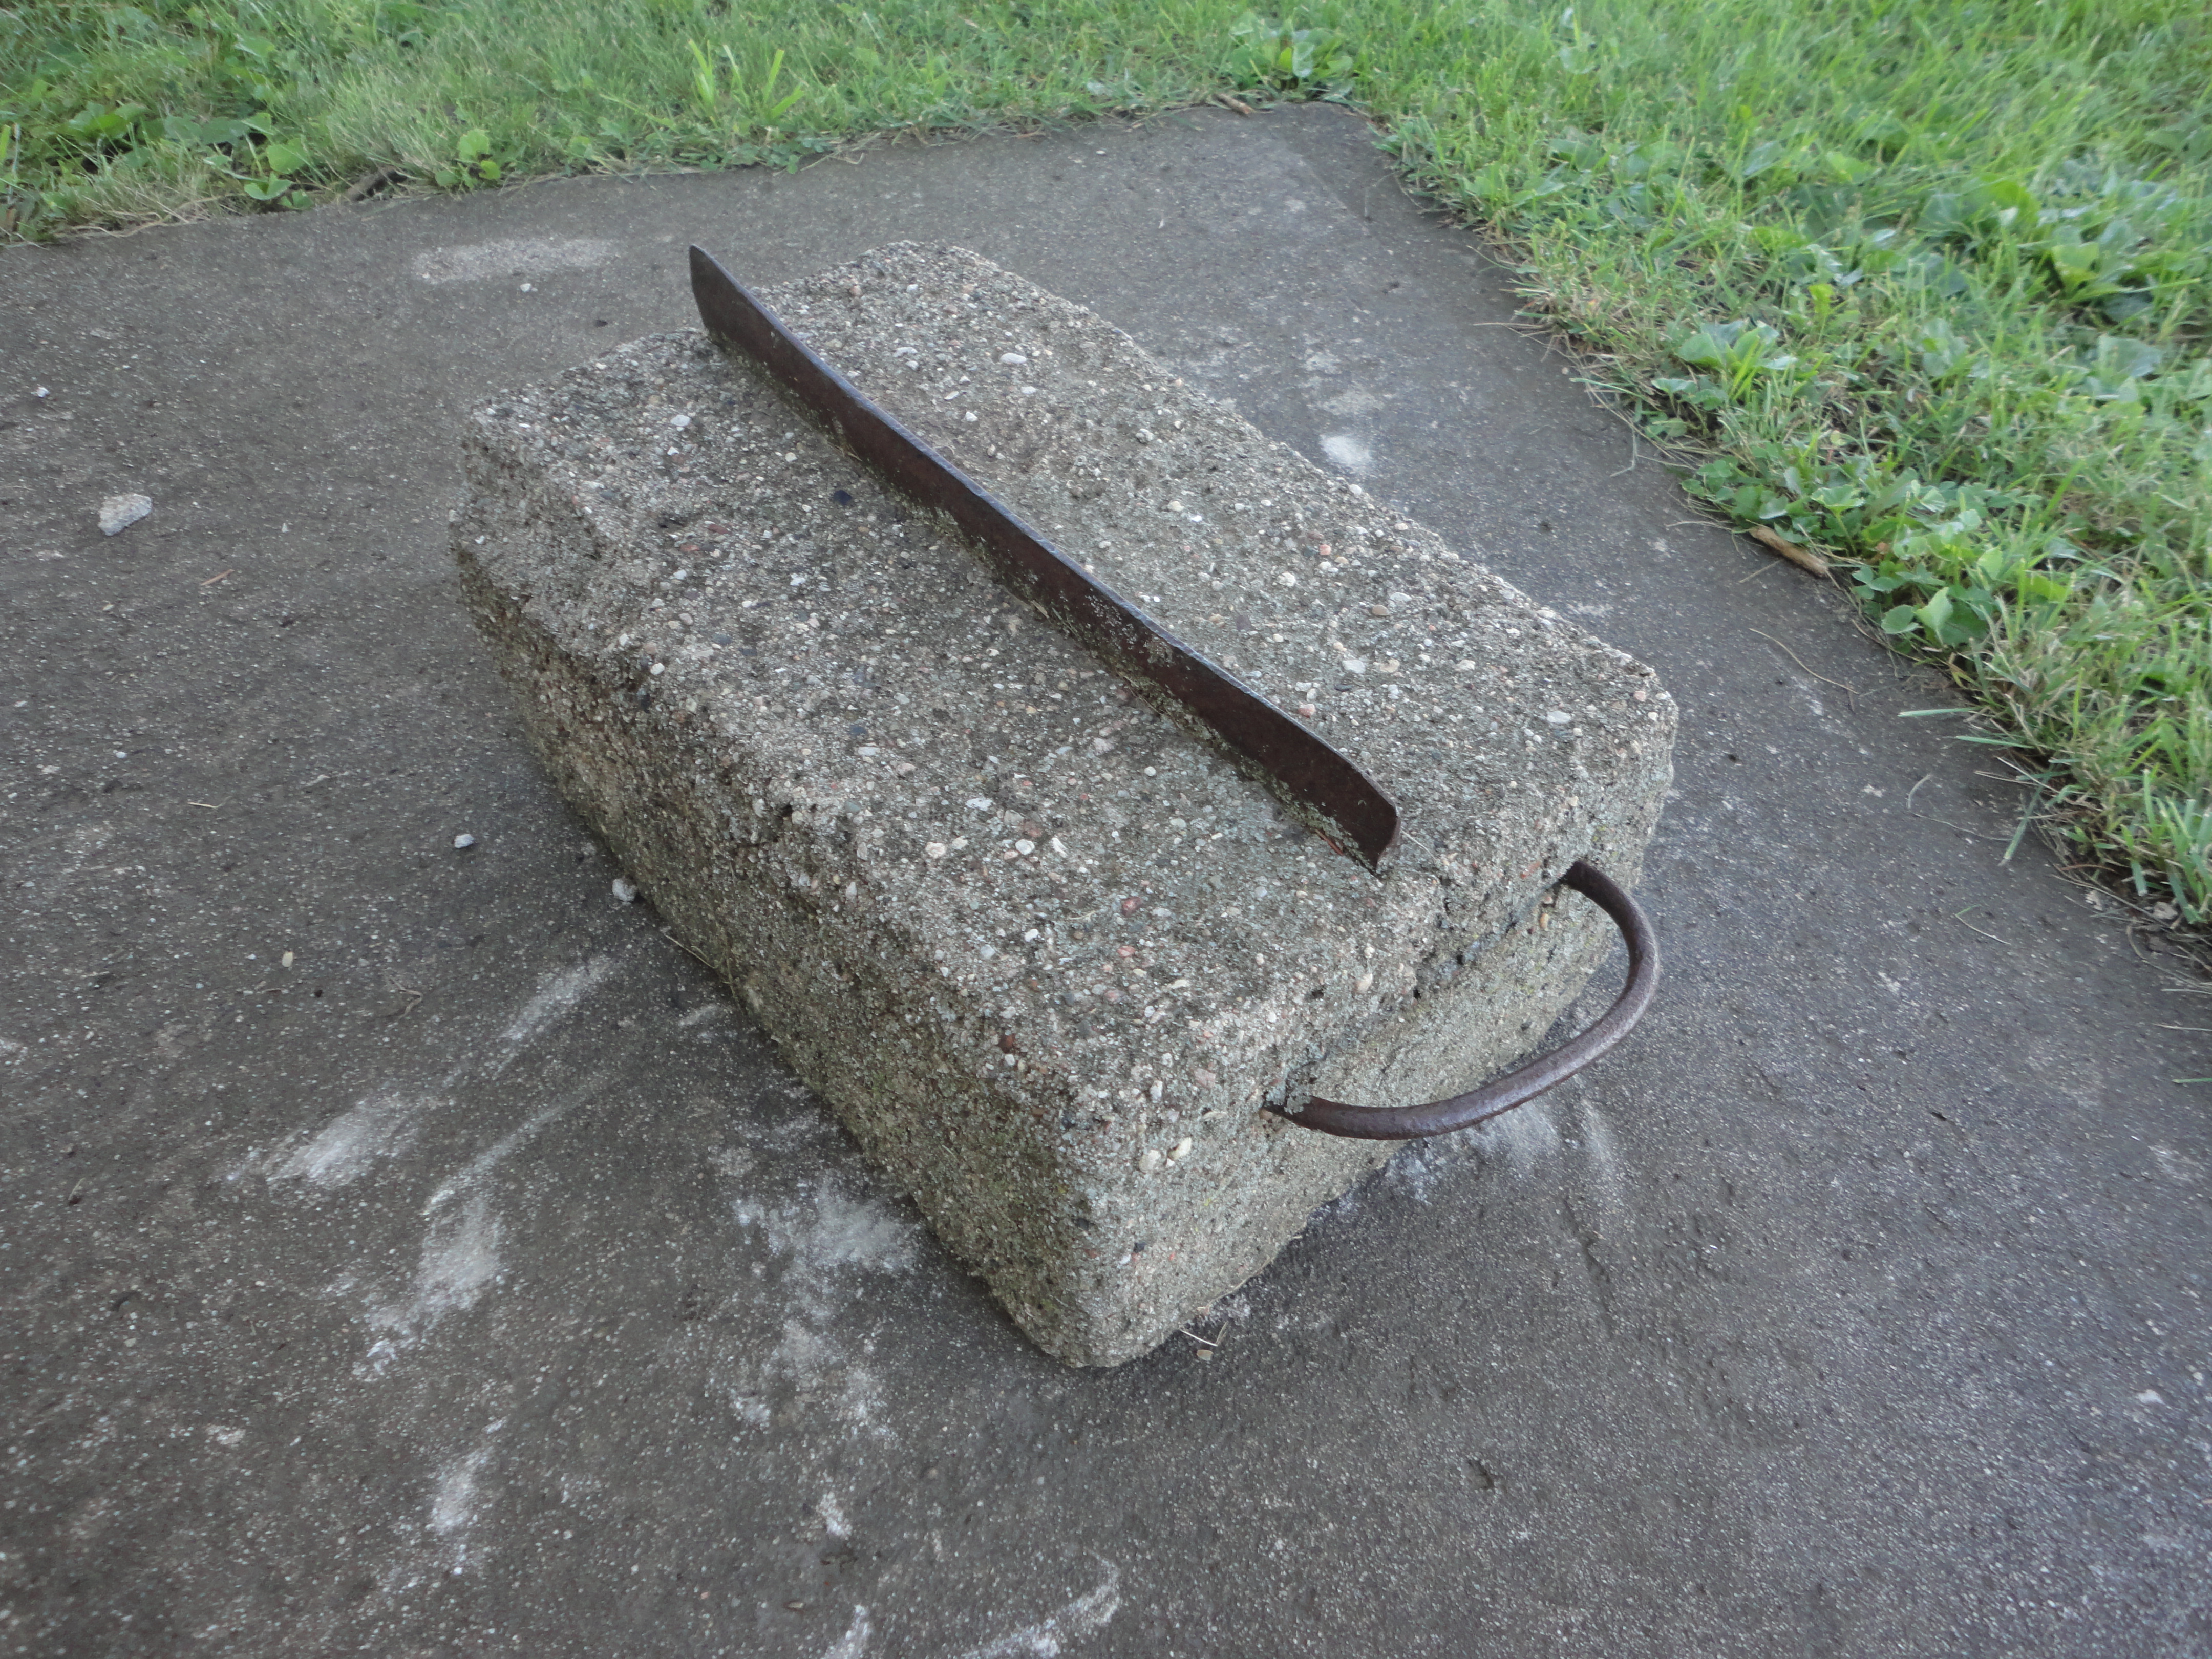
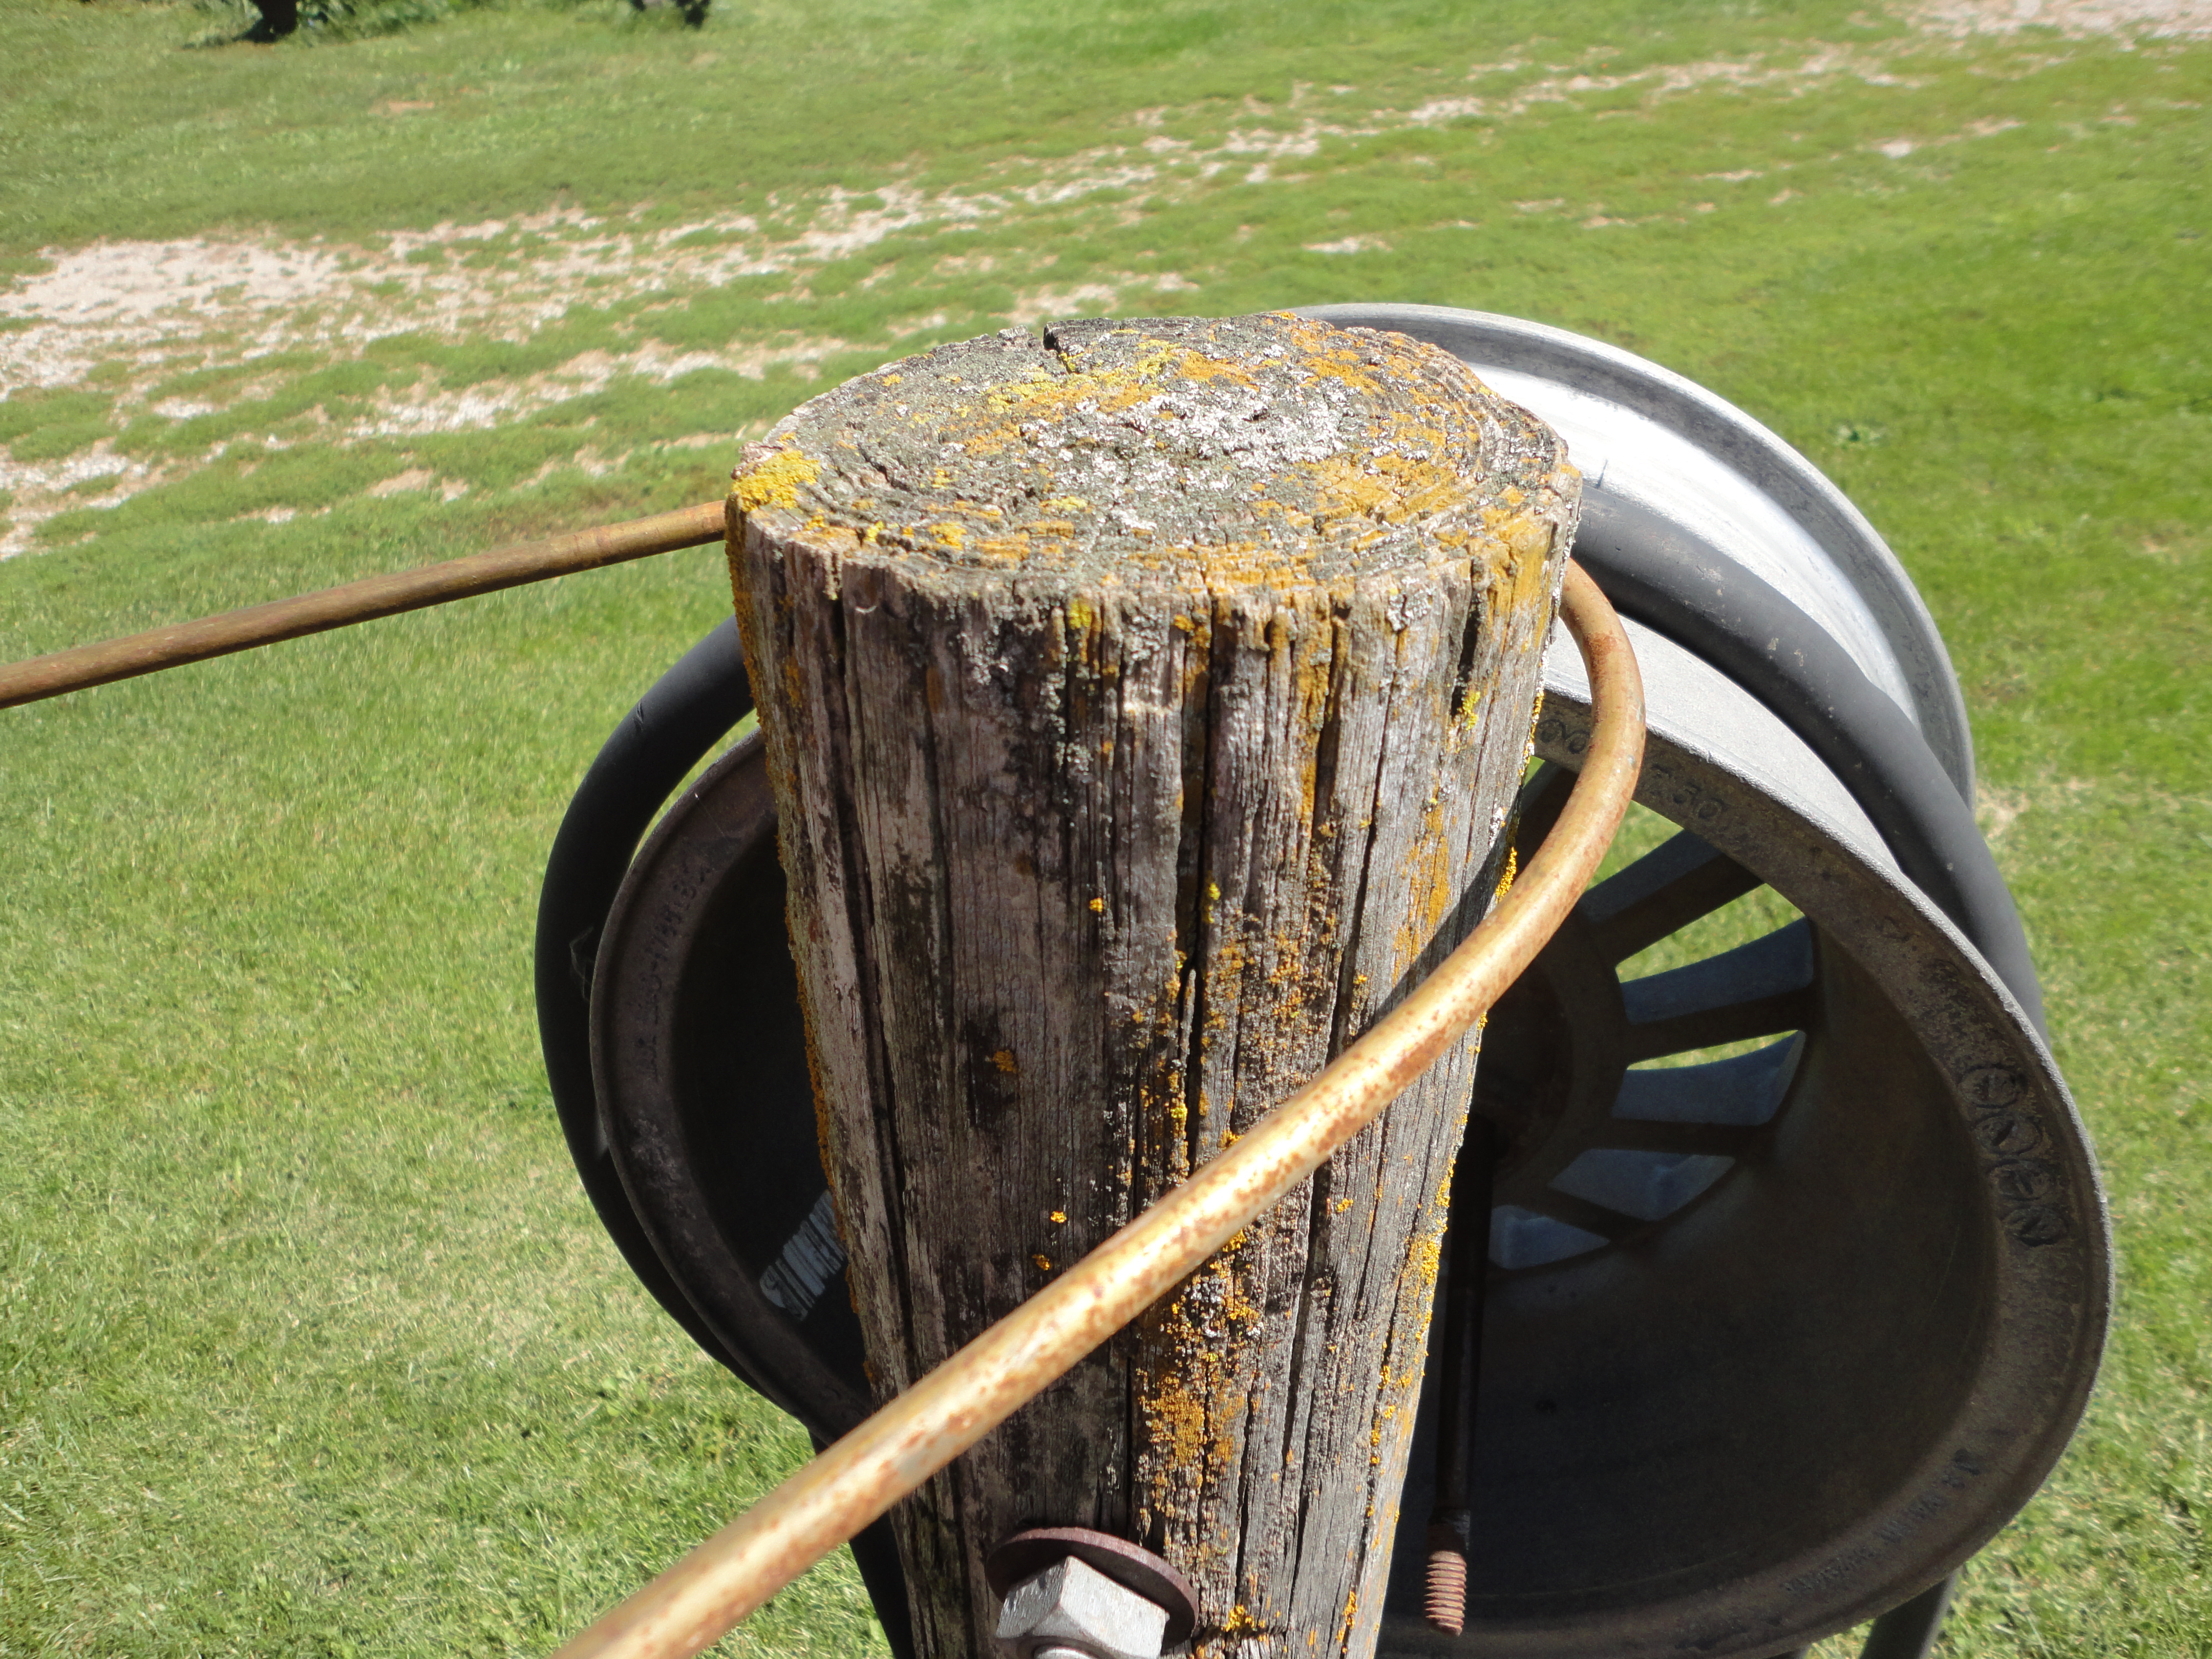
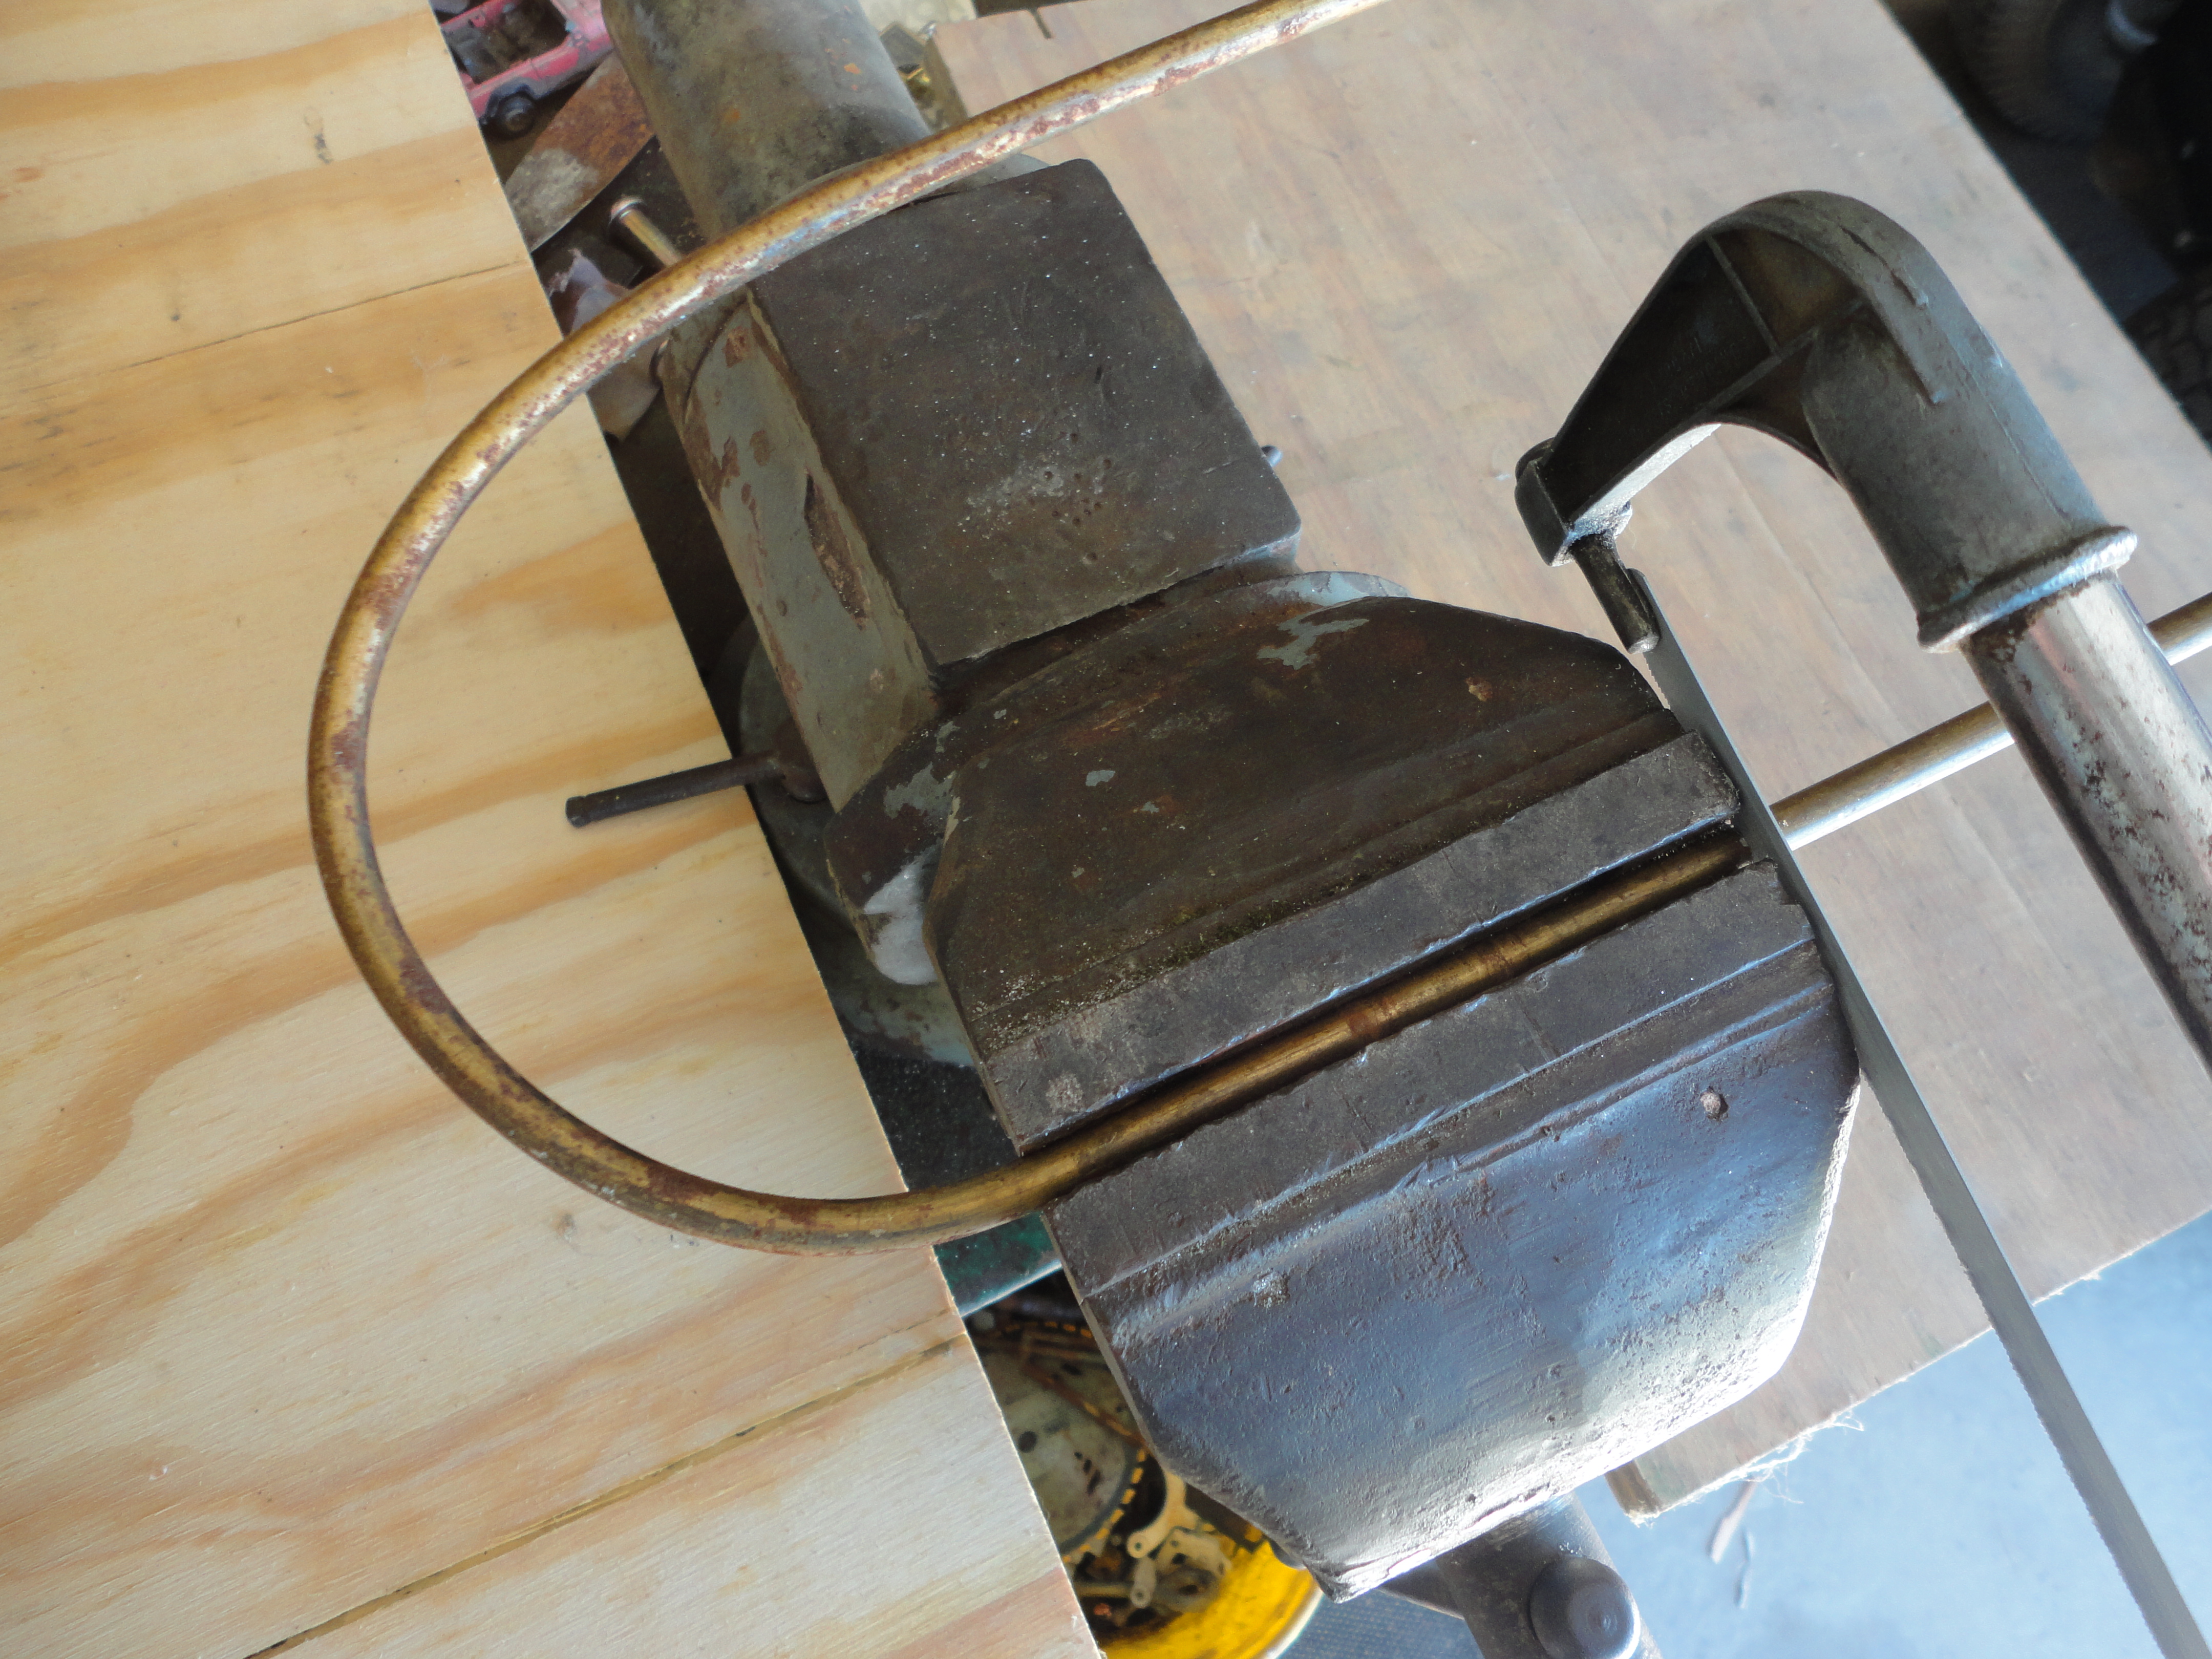
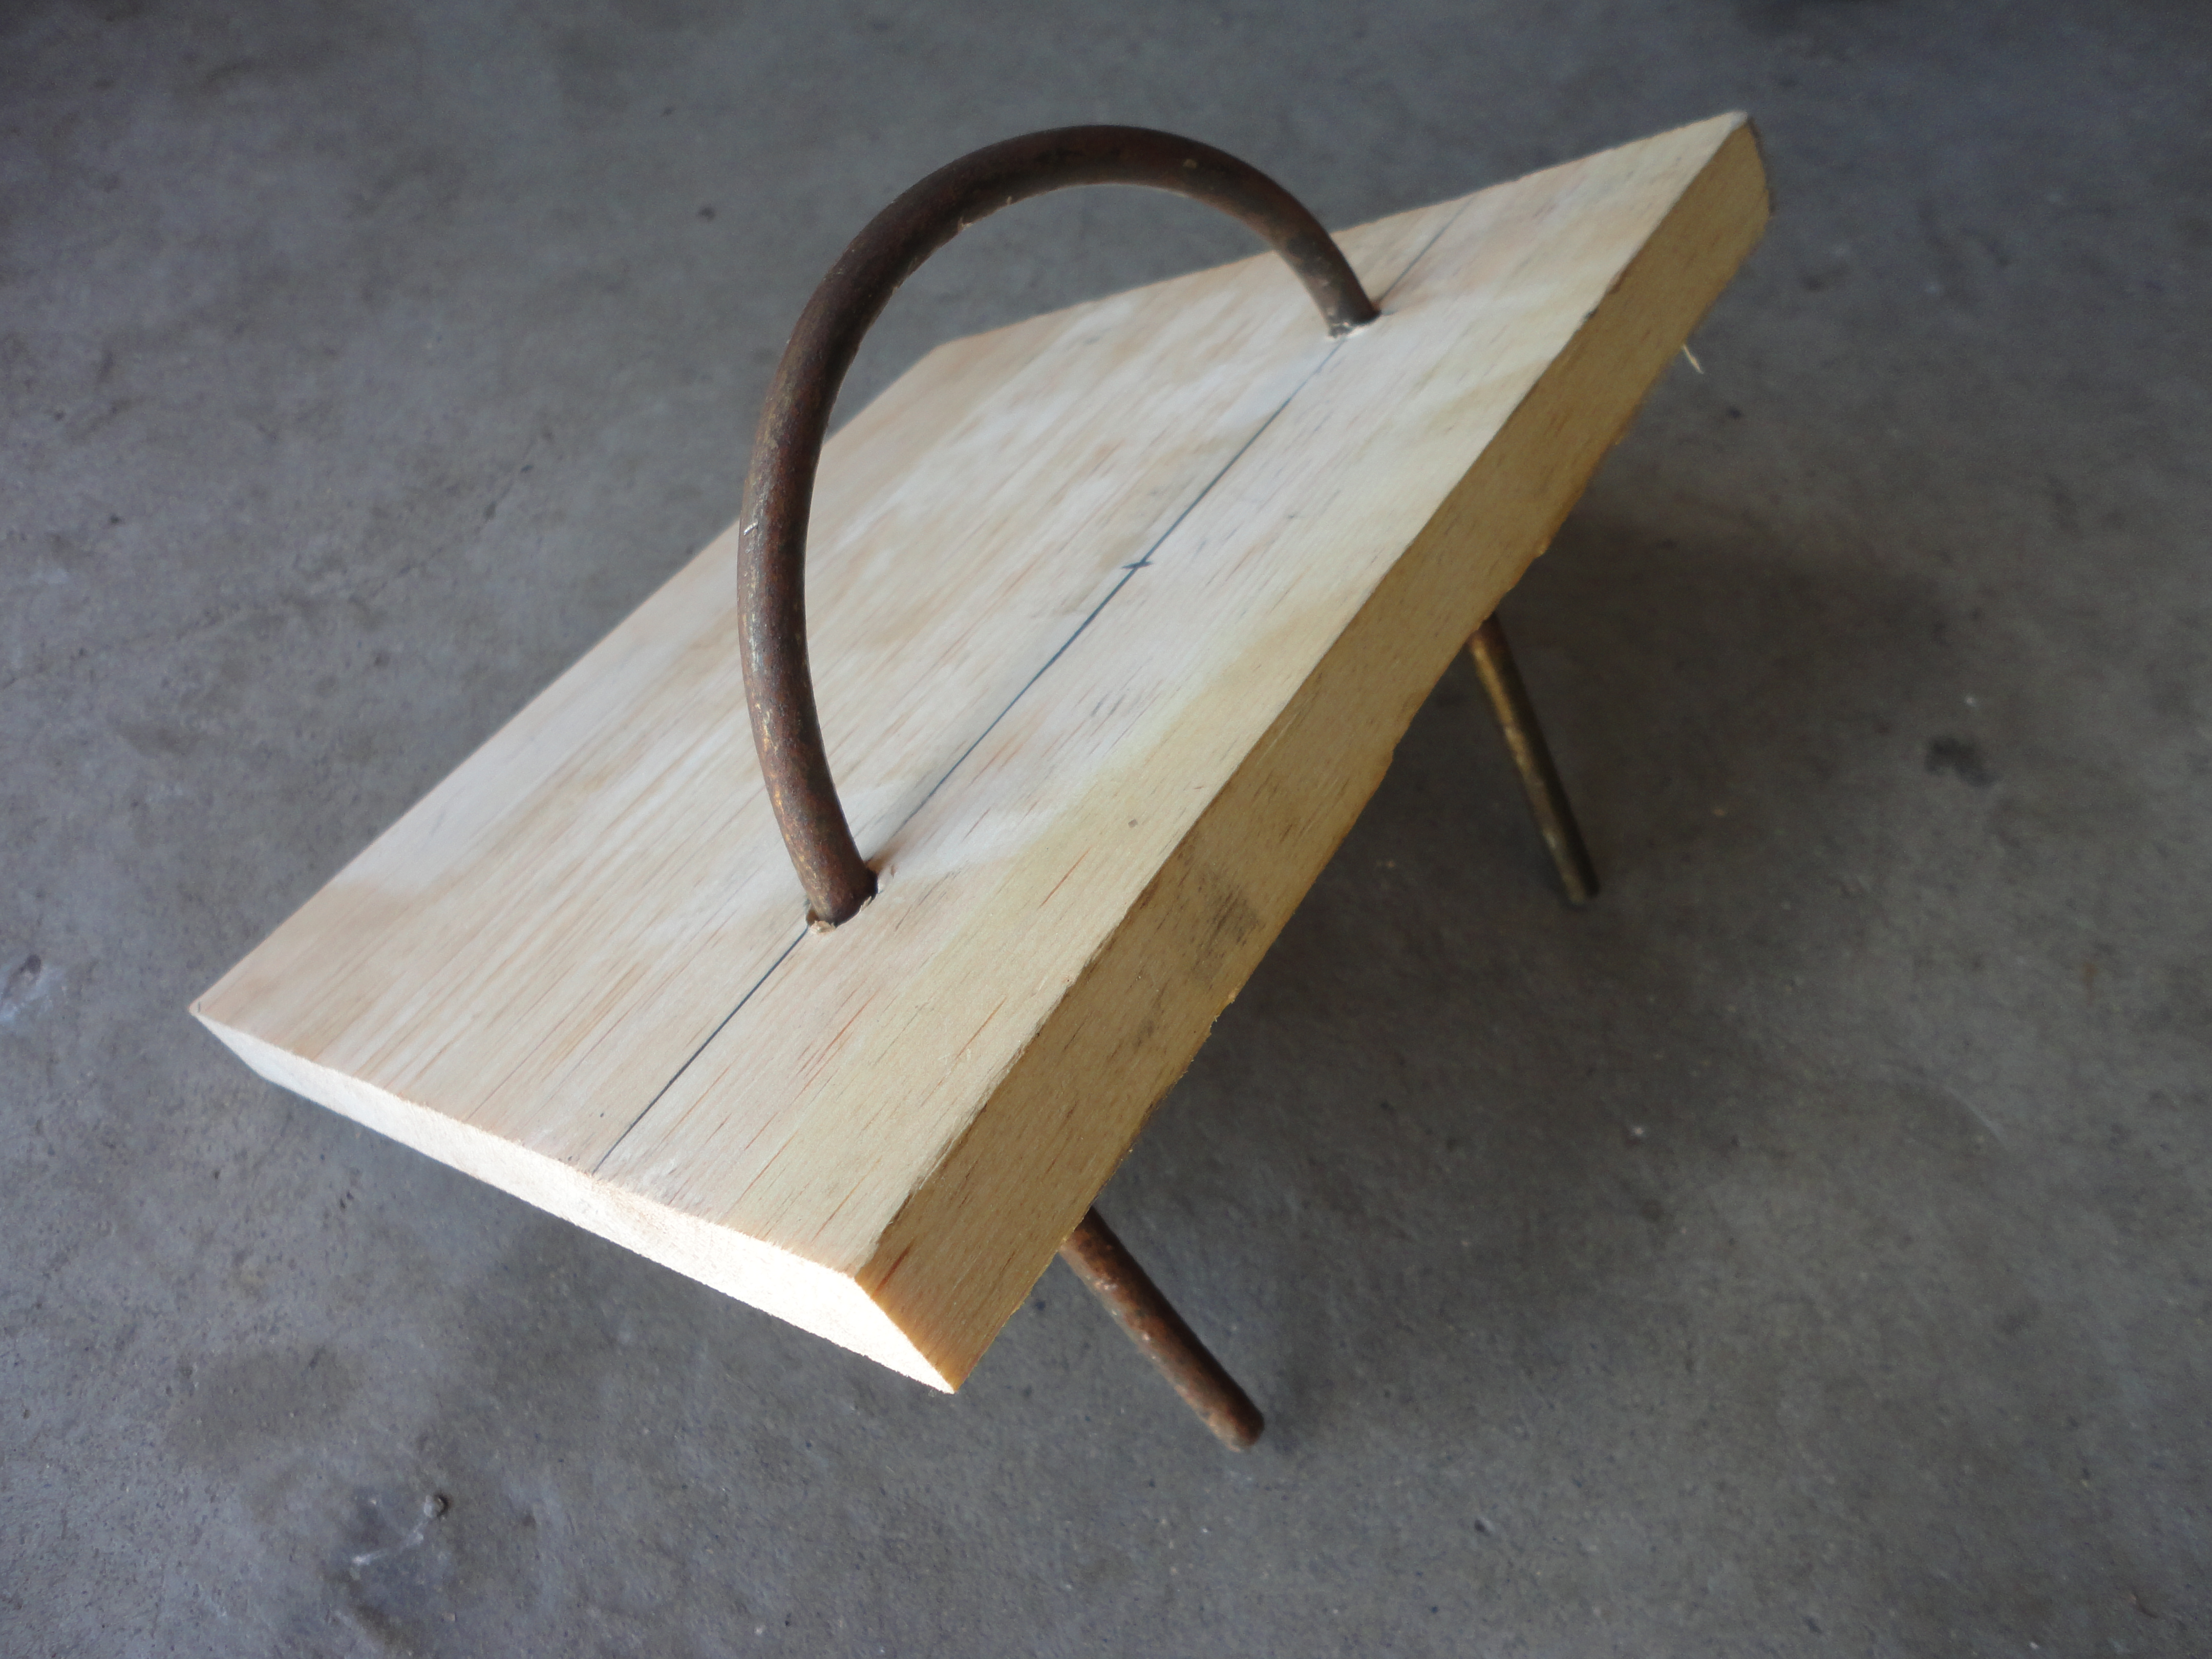
My husband clued me in on a very helpful tip for bending the steel. Once cut, lay it flat, topside down (we were working on concrete). Pencil mark in the middle where you want it to bend. Lay a steel rod on the mark and hold it down firmly.. I stood on one end while my husband held the other. Hammer on the rod to collaspe the furrows down. When done, keep the rod in place and slowly raise up one side of the steel, bending it evenly towards the rod. Easy Peasy!

DSC07153DSC07180

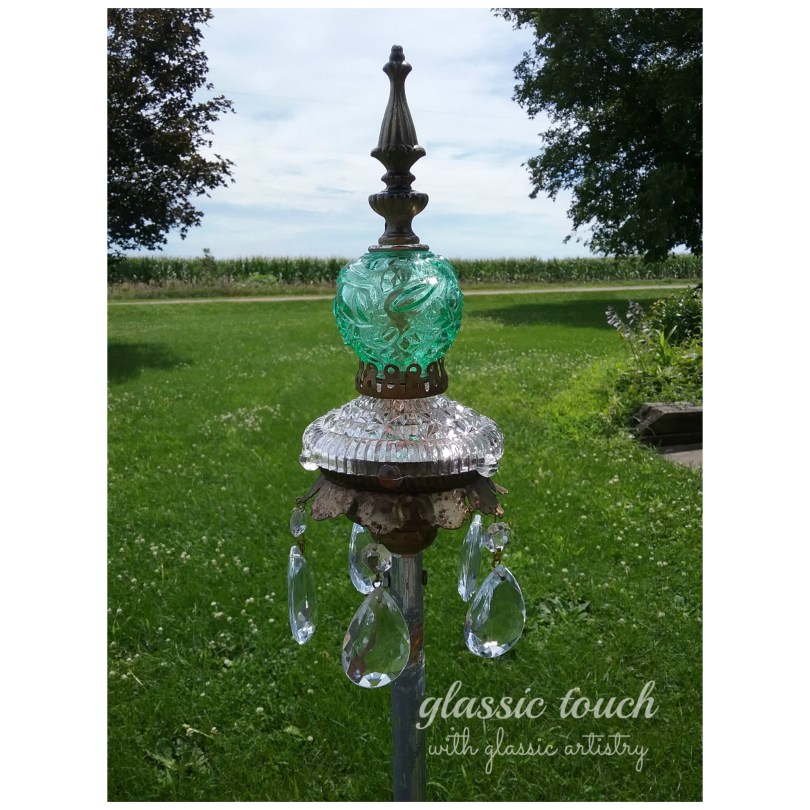
Disappointingly, my bird feeder sit in pieces for the last two couple of months while I debated on what I wanted to add to the top. I remembered that the one in the magazine had something protruding from the top.. a little metal weathervane, I think. Regardless, I needed something and nothing I had was really clicking. My problem was solved a few weeks ago when my sister declared she was not leaving a 75% off junk booth until she found something. After digging around a bit she popped up with a mini lightning rod on an upside down v-shaped brass holder. TA-DAA! Six Dollars!!  It was perfect!  I’m so glad she didn’t want it, that could have been a problem.

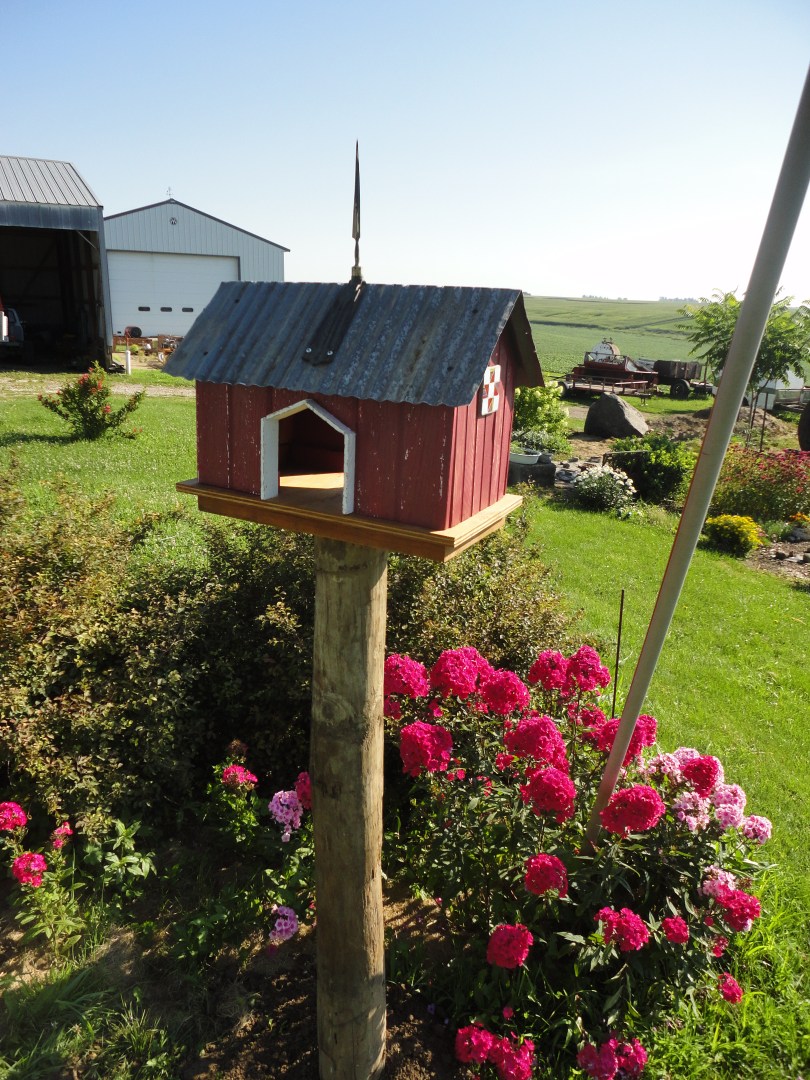
So, finally, we were ready to set my feeder in place. We enjoy bird watching, so it was positioned close to the house, amid a patch of red garden phlox, and turned at an angle so there was a view through the sides.

Coming up from the bottom, so screws wouldn’t show, the feeder was attached to the plywood. Screw on roof and lightning rod. Set your post. Attach the plank to the wooden post with lag screws. Sit barn with plywood on the plank, and attach with long screws through the bottom of the plank, again so screws are hidden. Note – Screw tips may protrude through the plywood so place screws towards the side ends of the feeder so you maintain a clean view through the side entries.

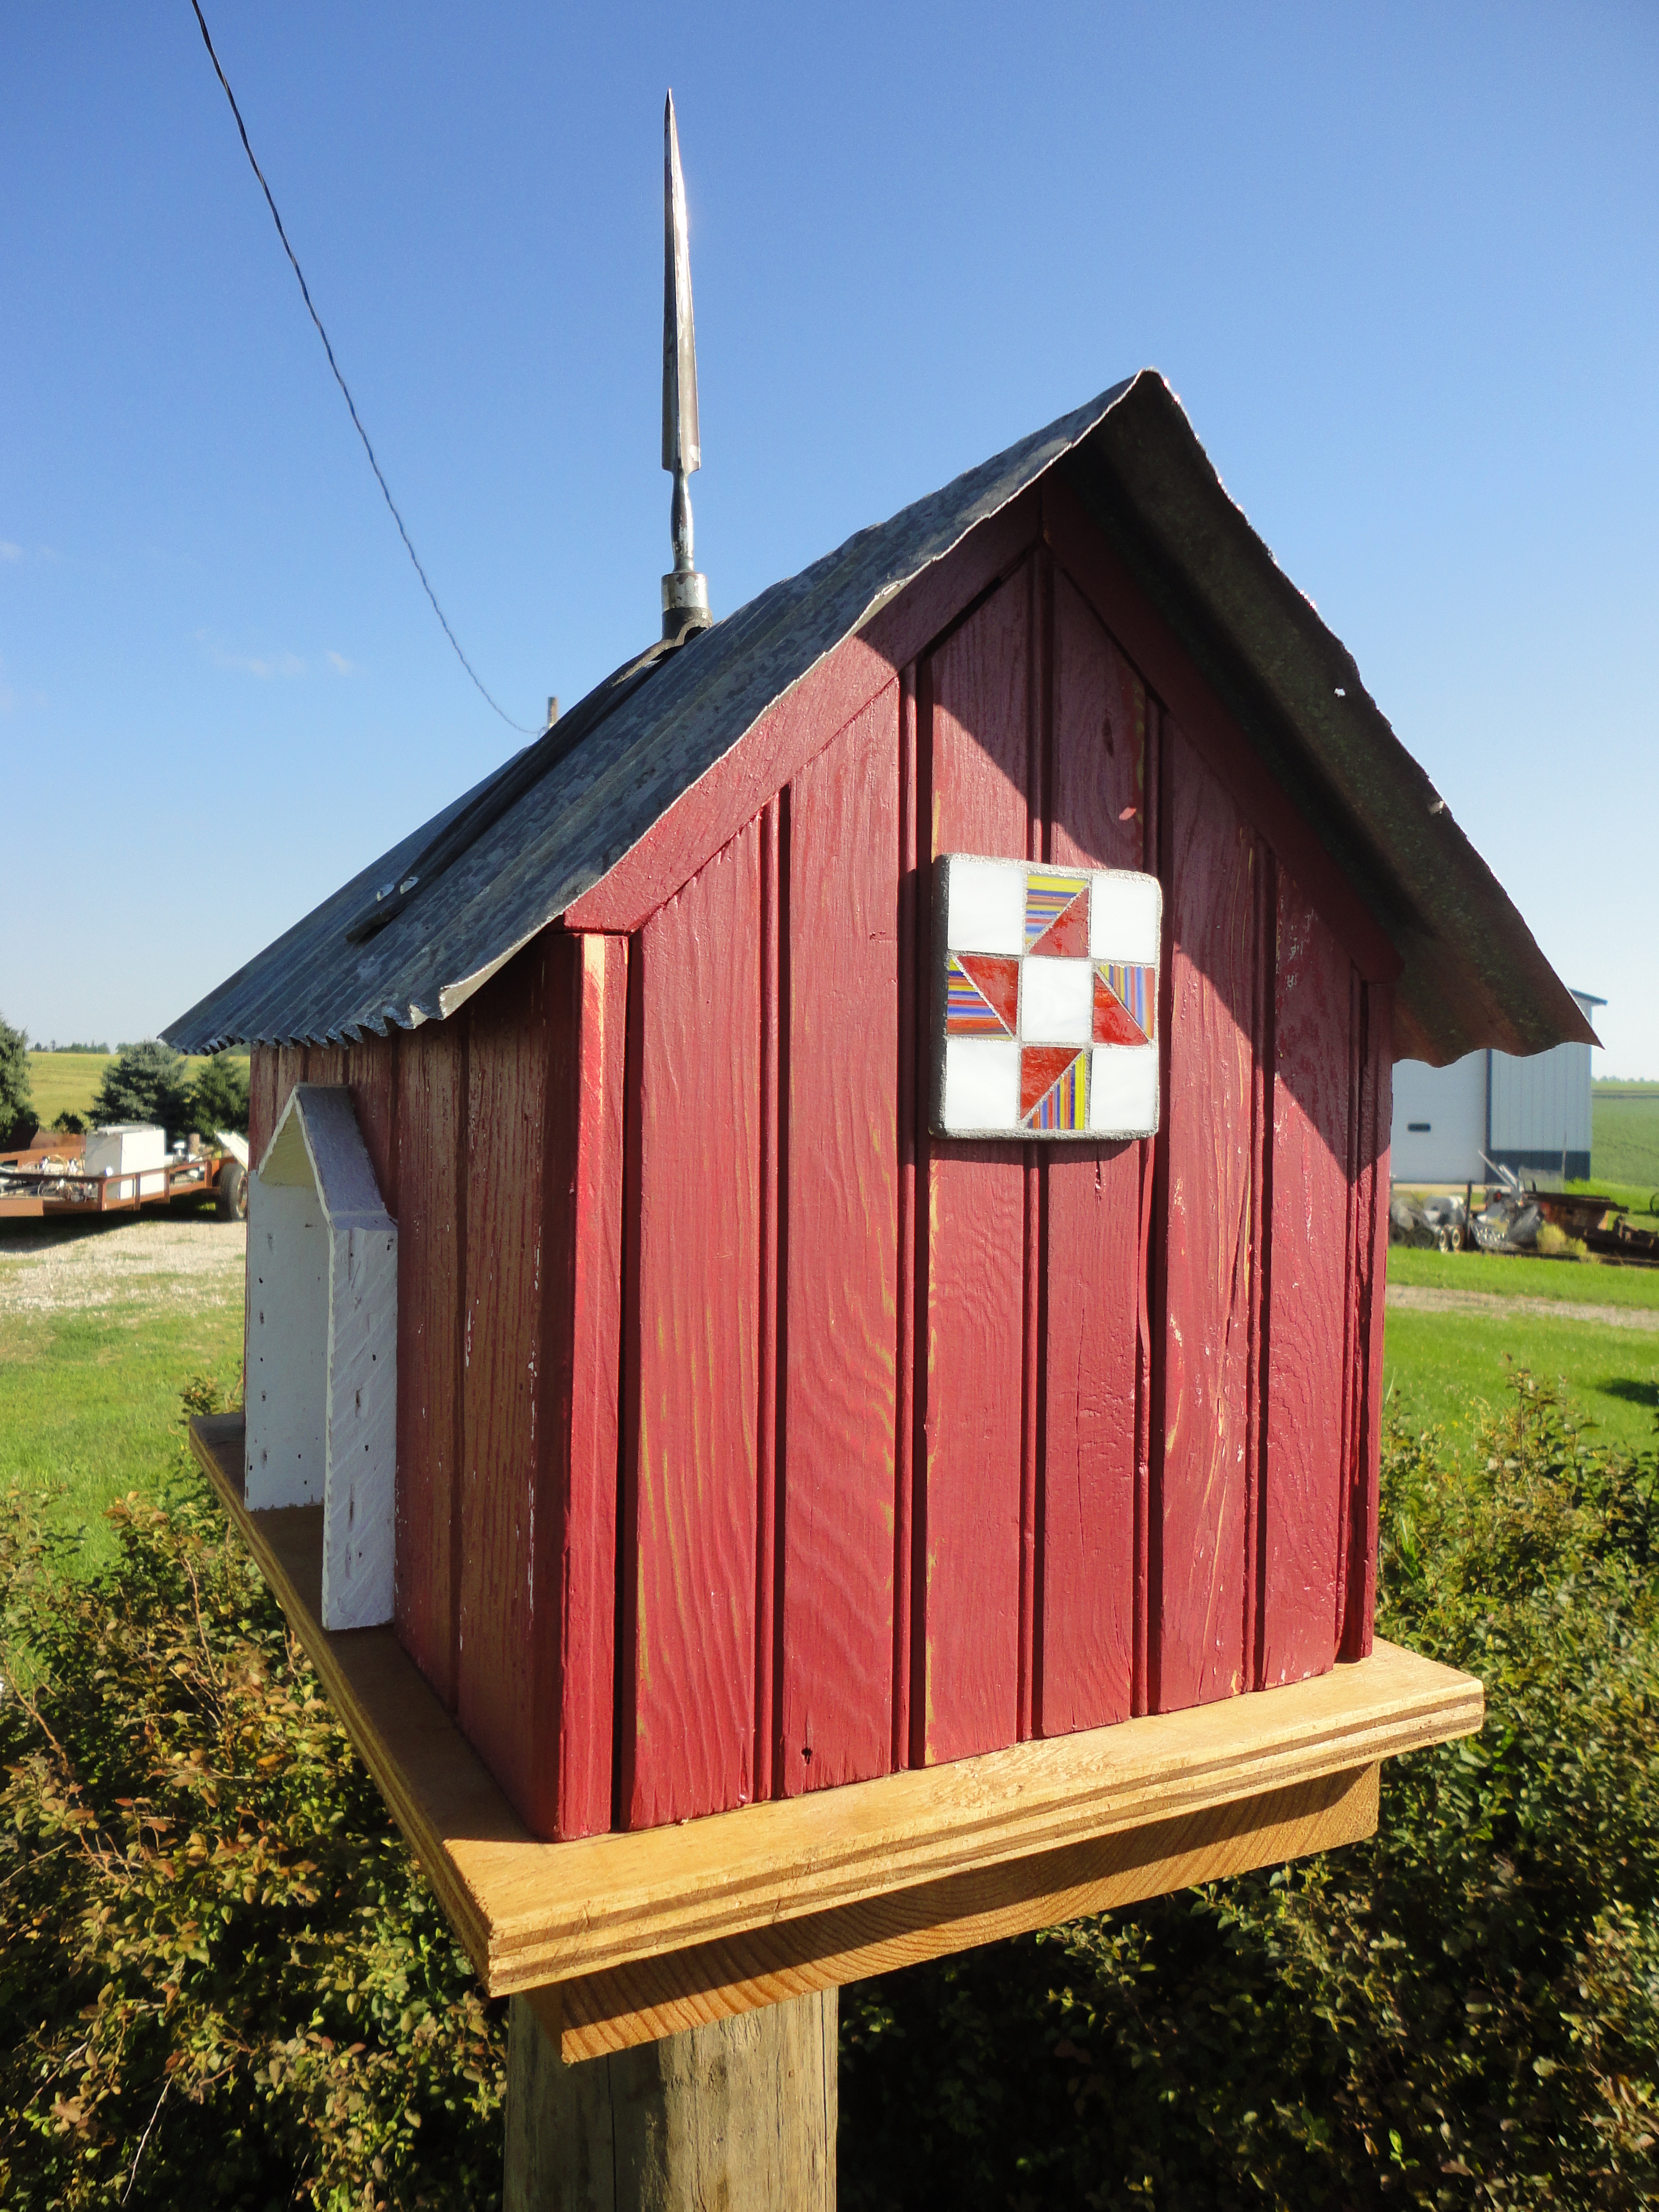
And for “the glassic touch“?  What’s a barn without a barn quilt?!

DSC07206DSC07282

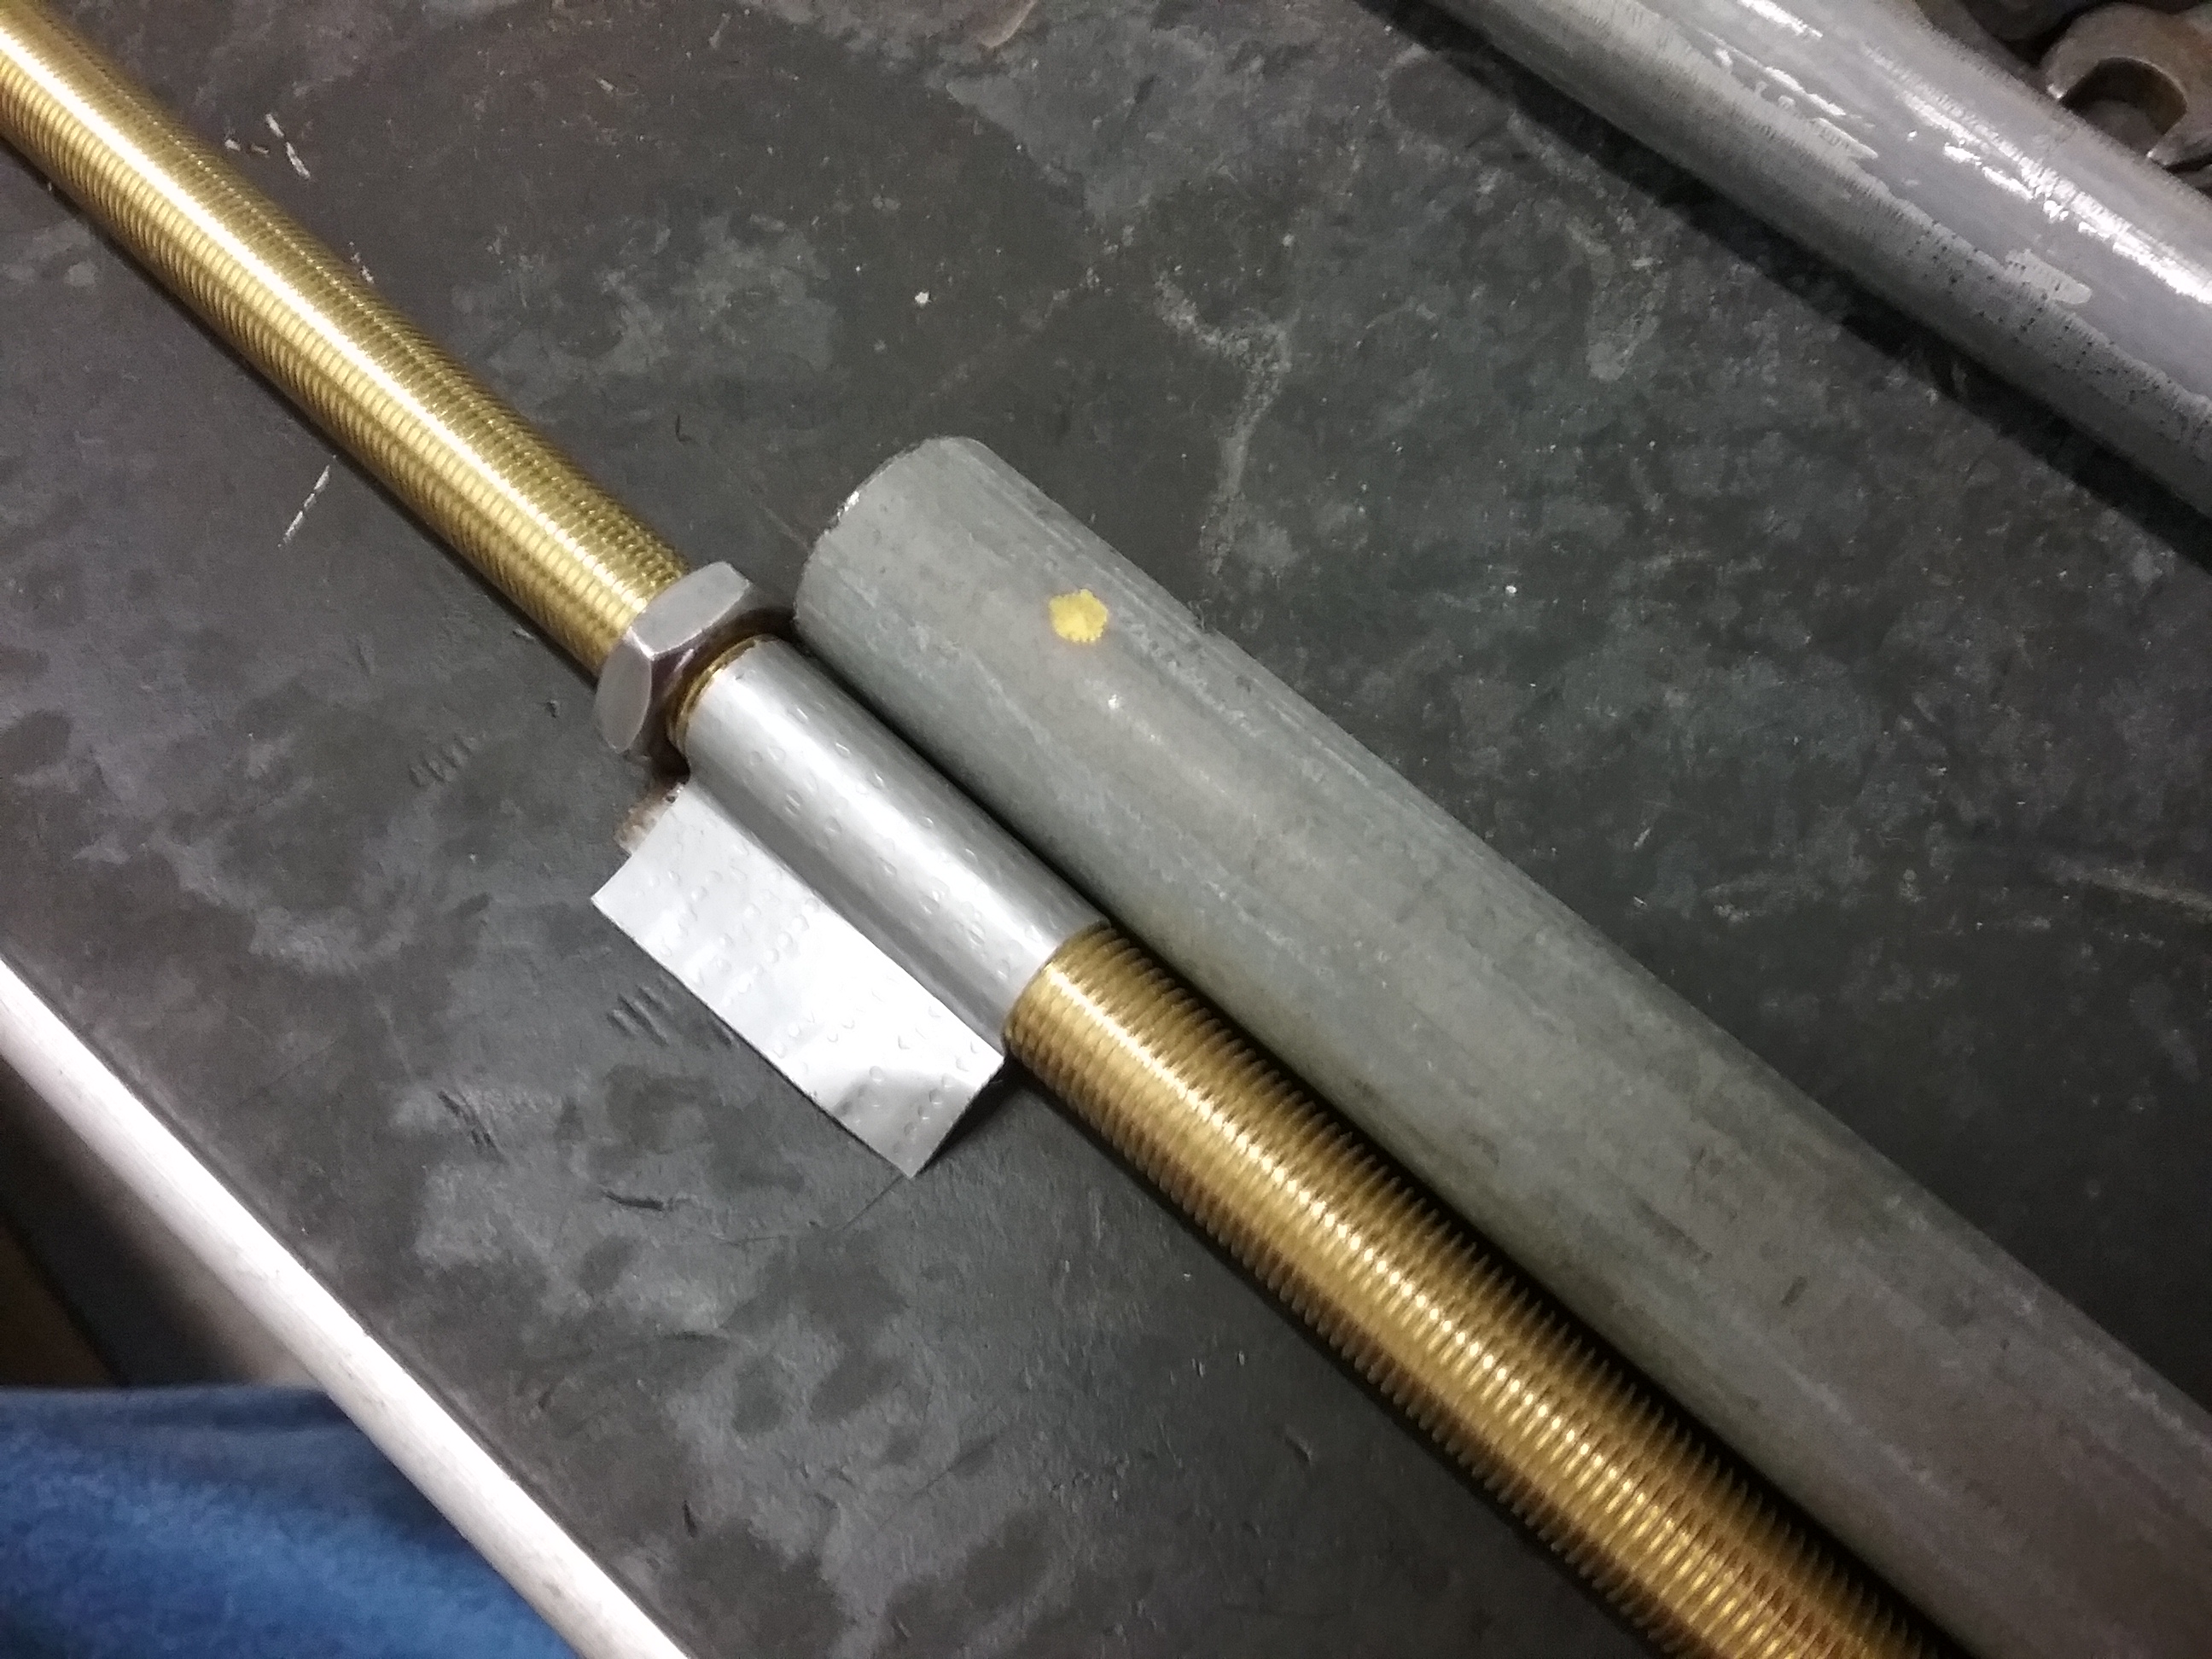
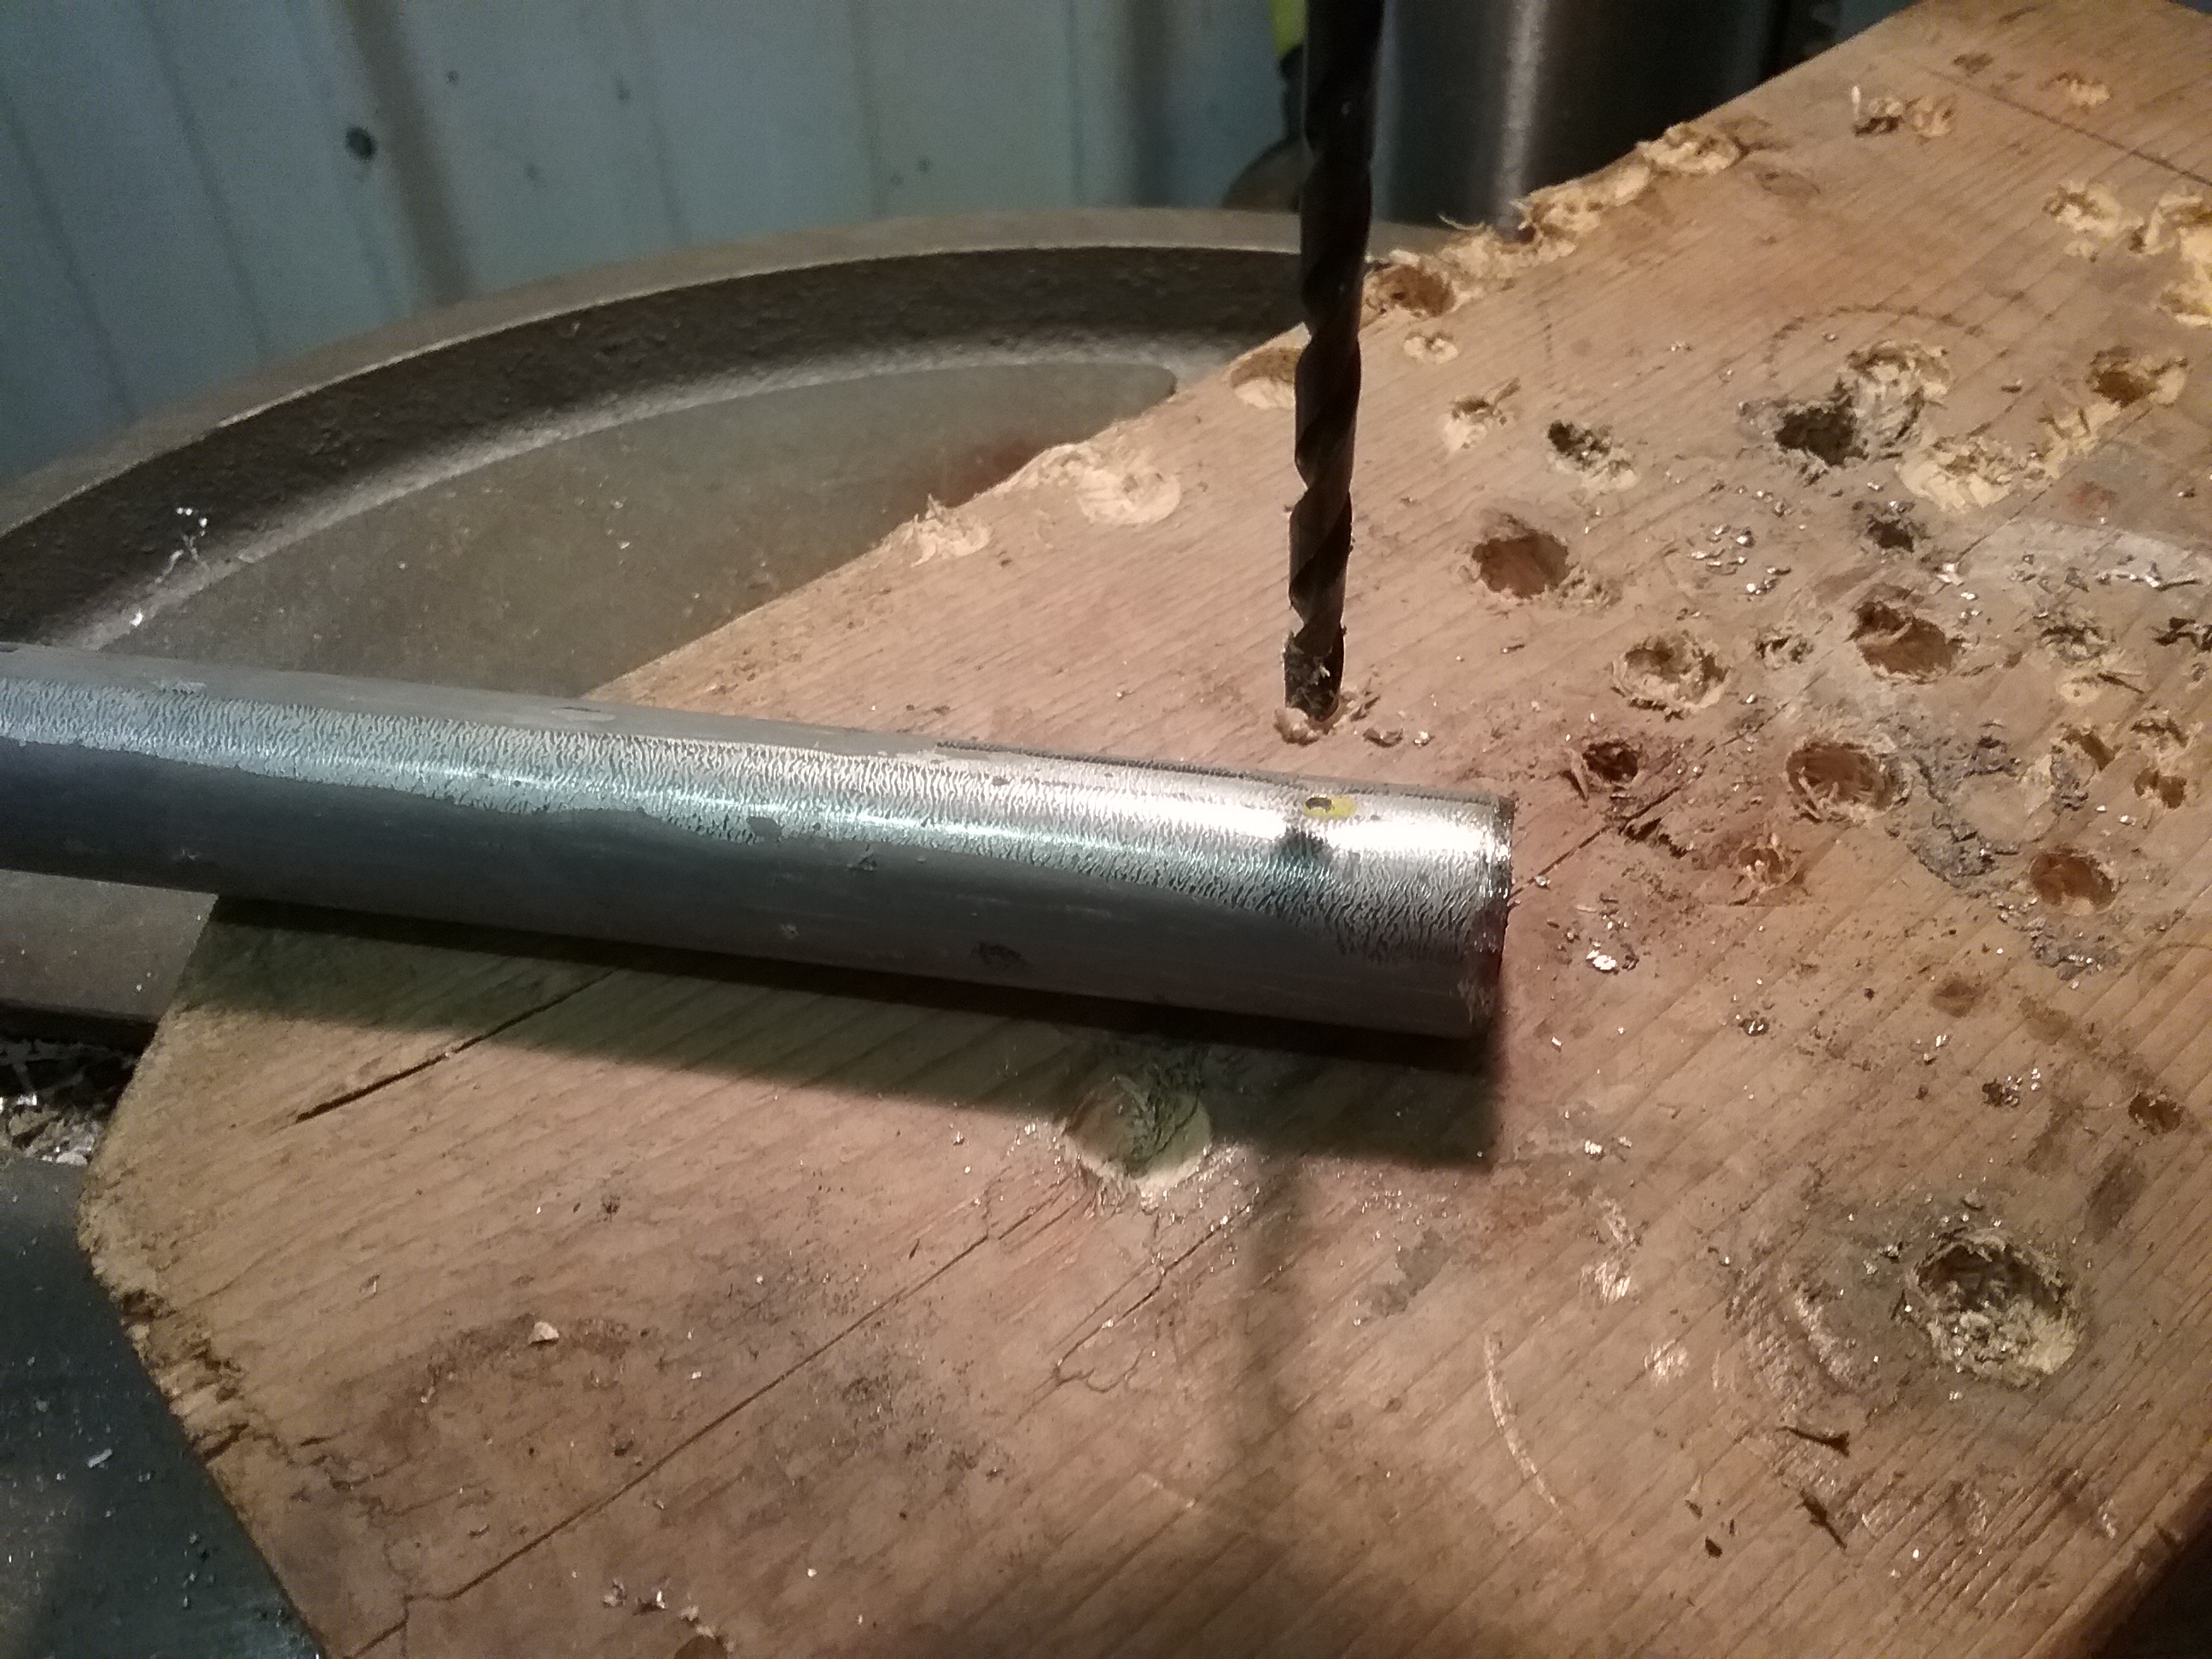
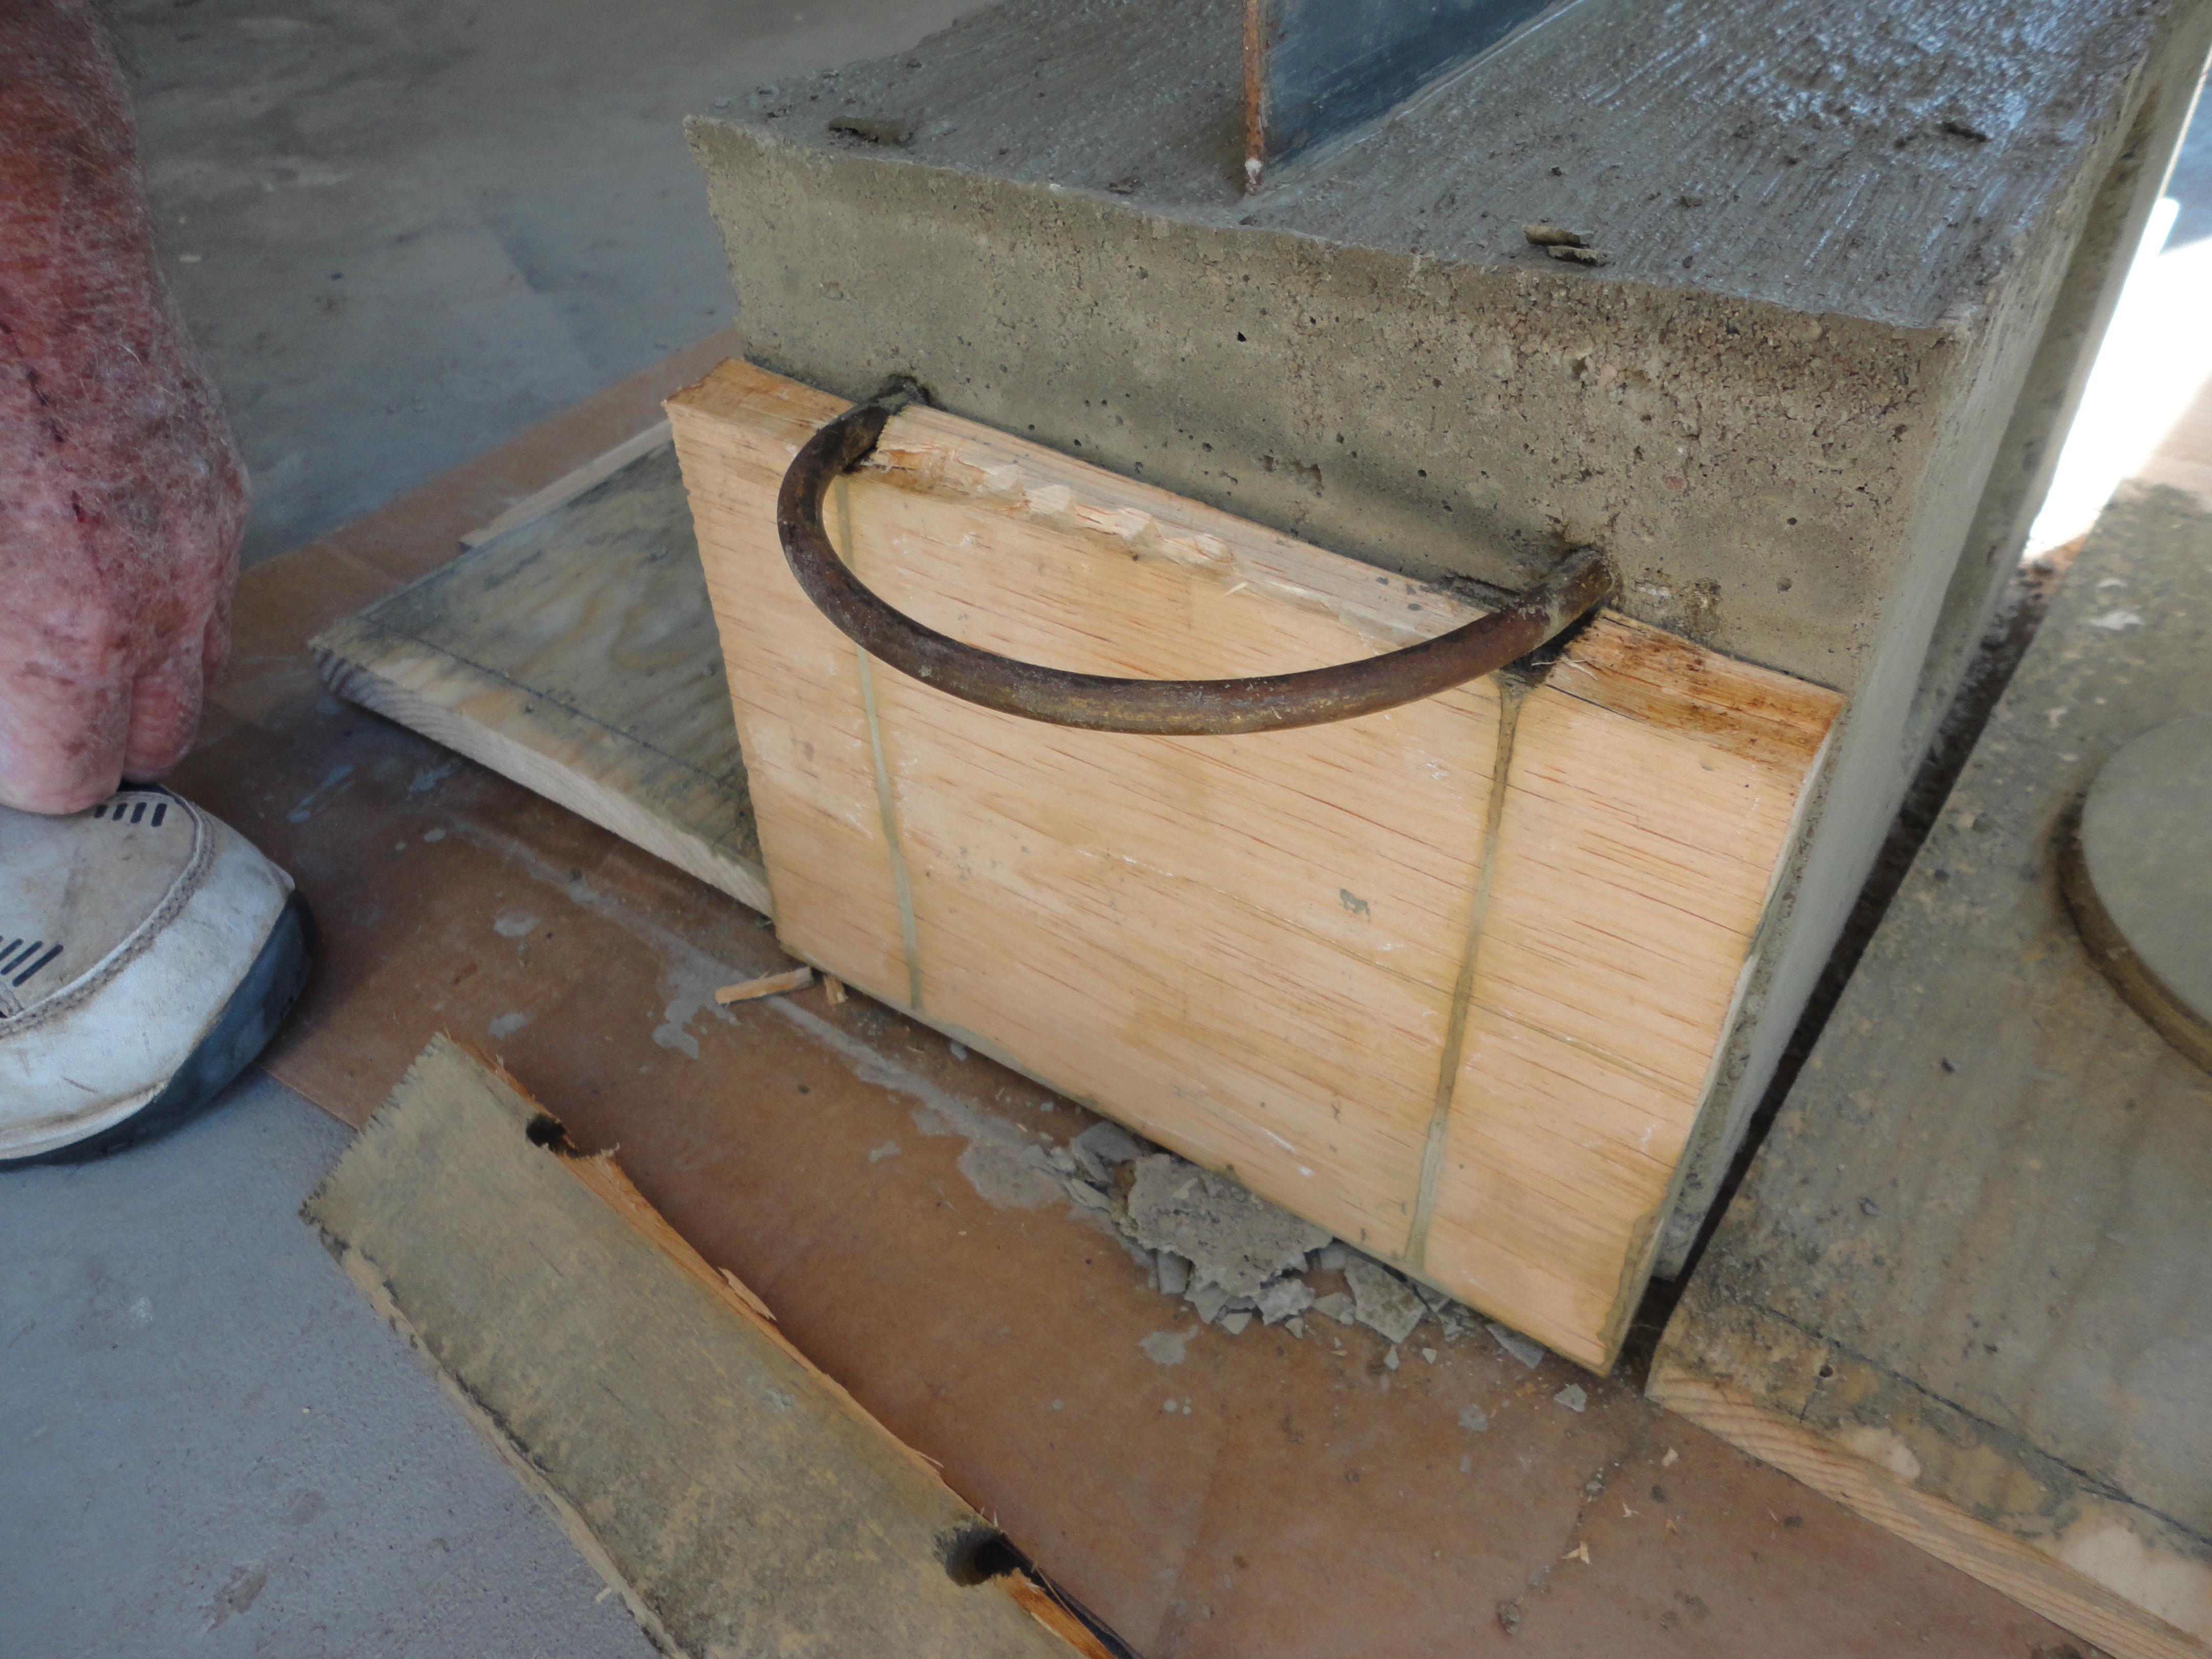
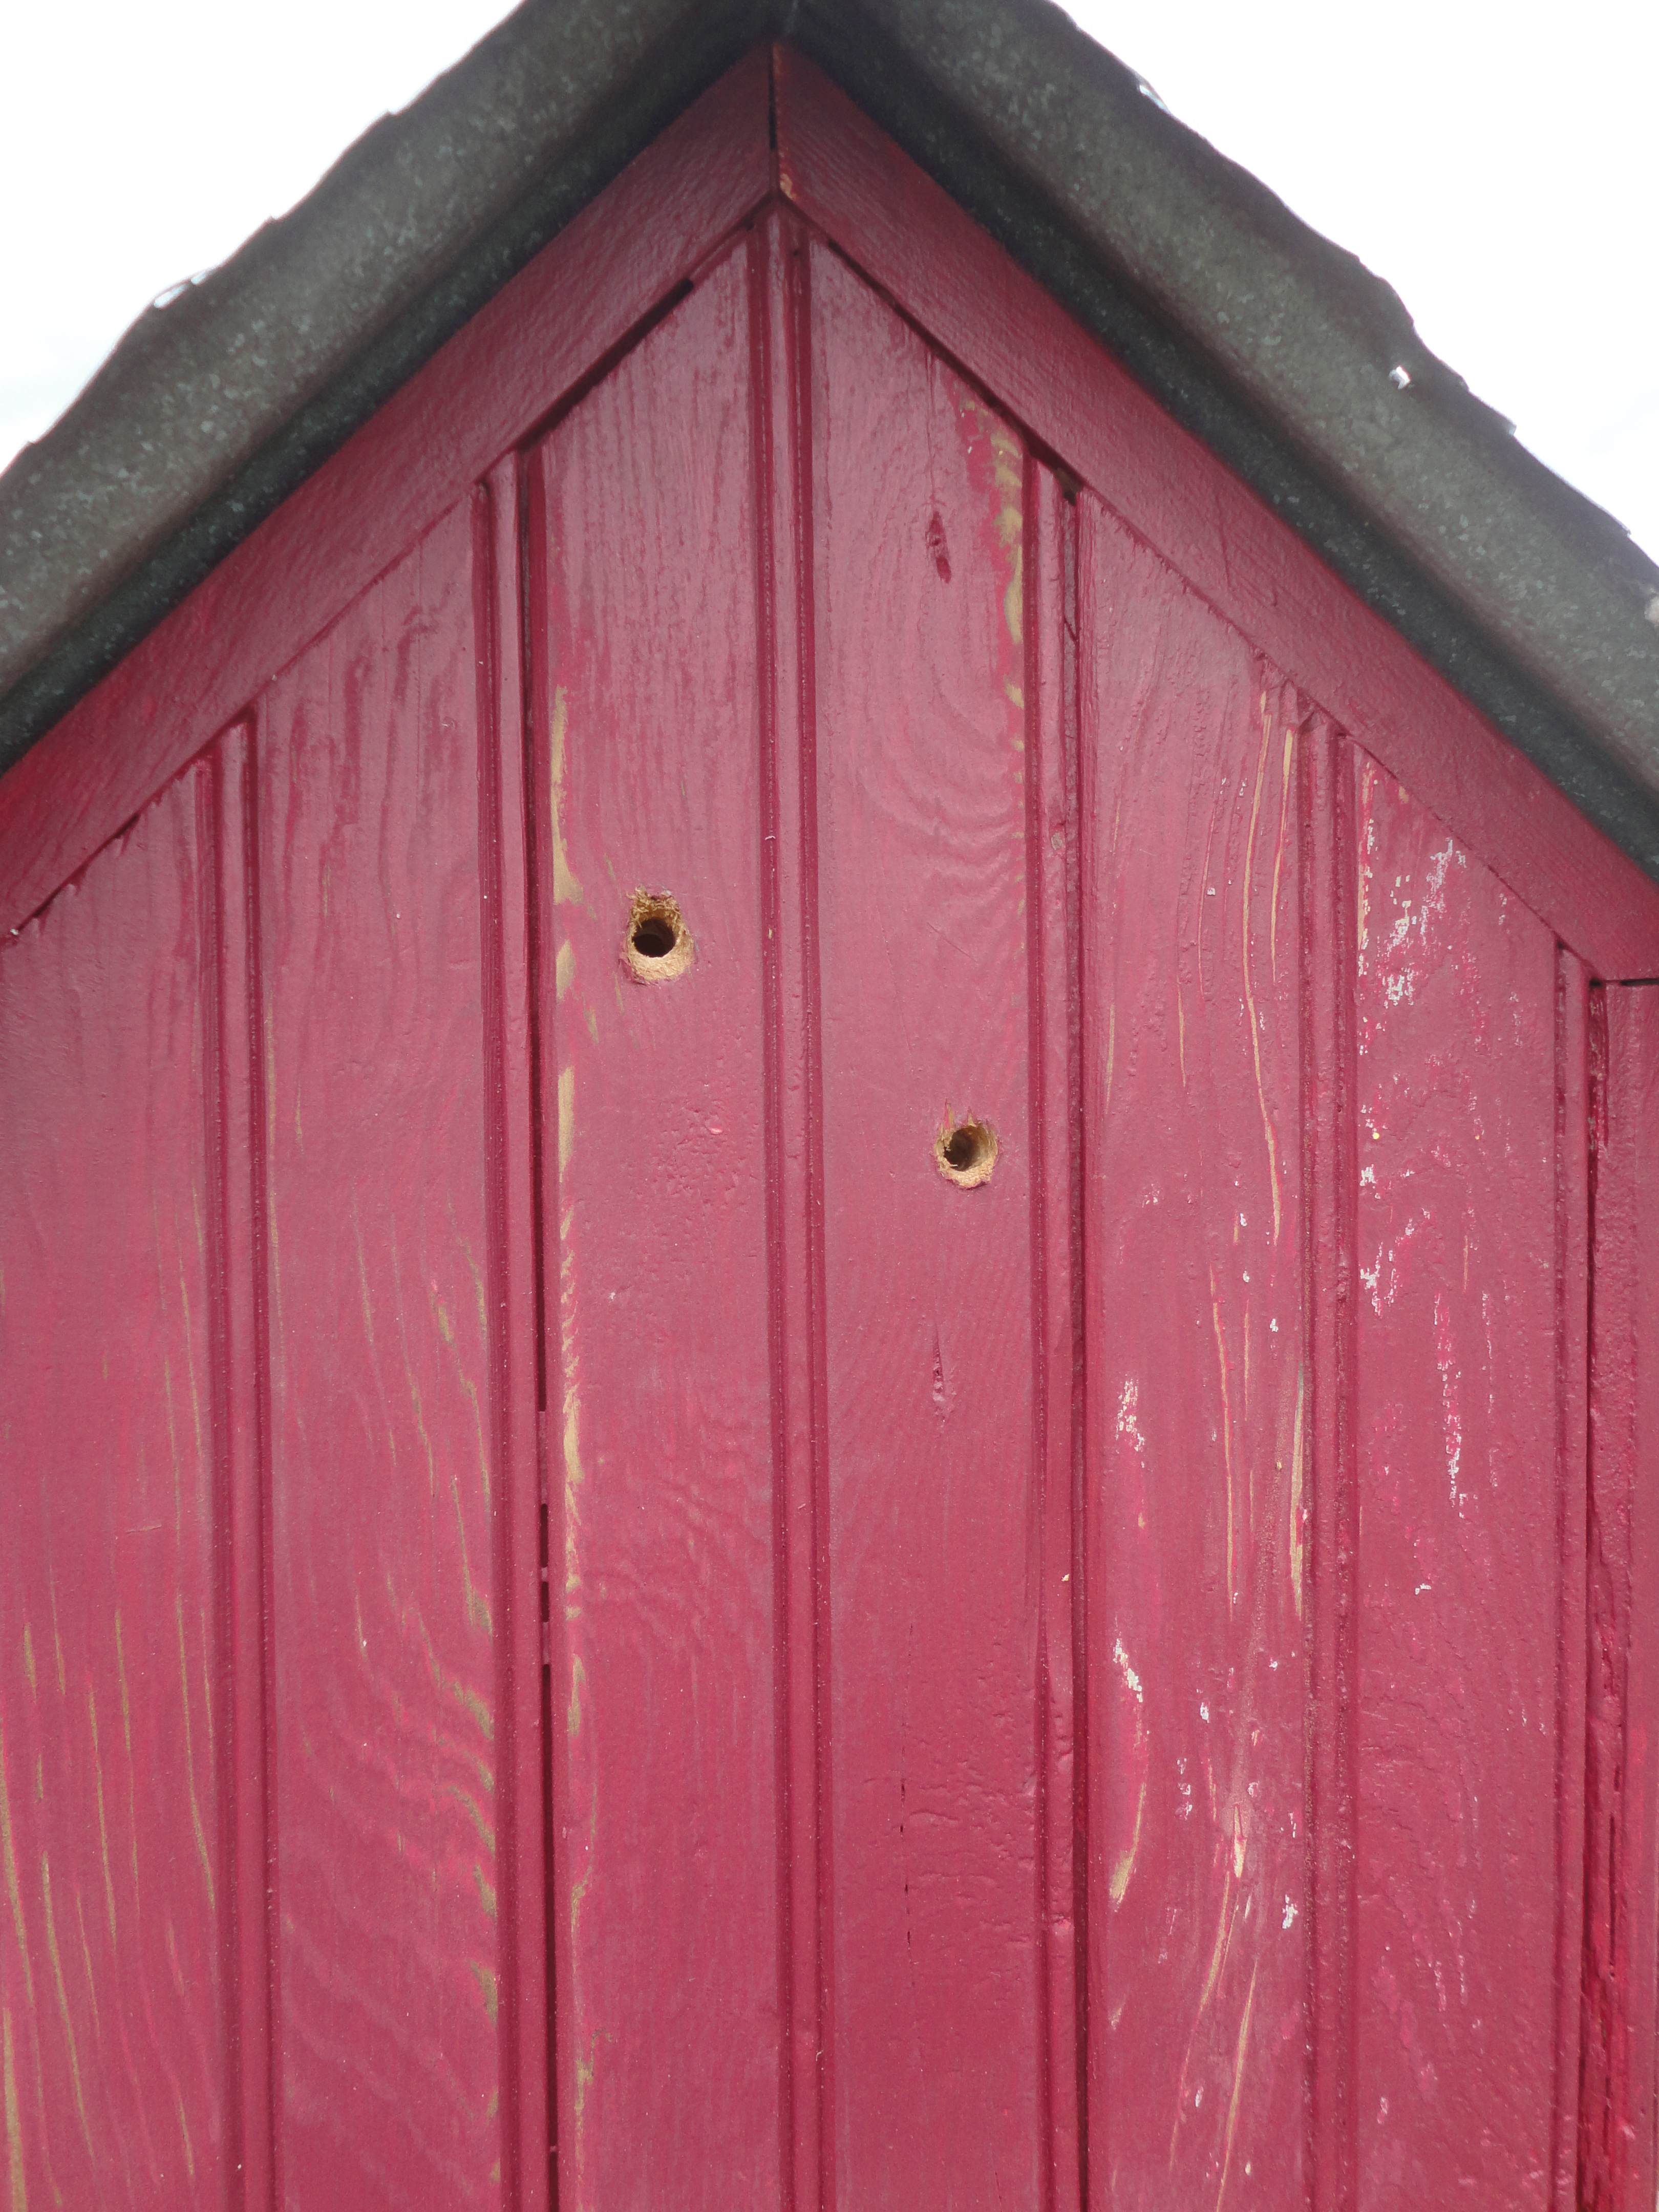
Before adding the roof, I drilled two holes, in one side, in preparation to hang a miniature mosaic glass barn quilt. The wooden frame was thick so reaming out the holes on the inside was necessary to accommodate the screws and nuts being used.

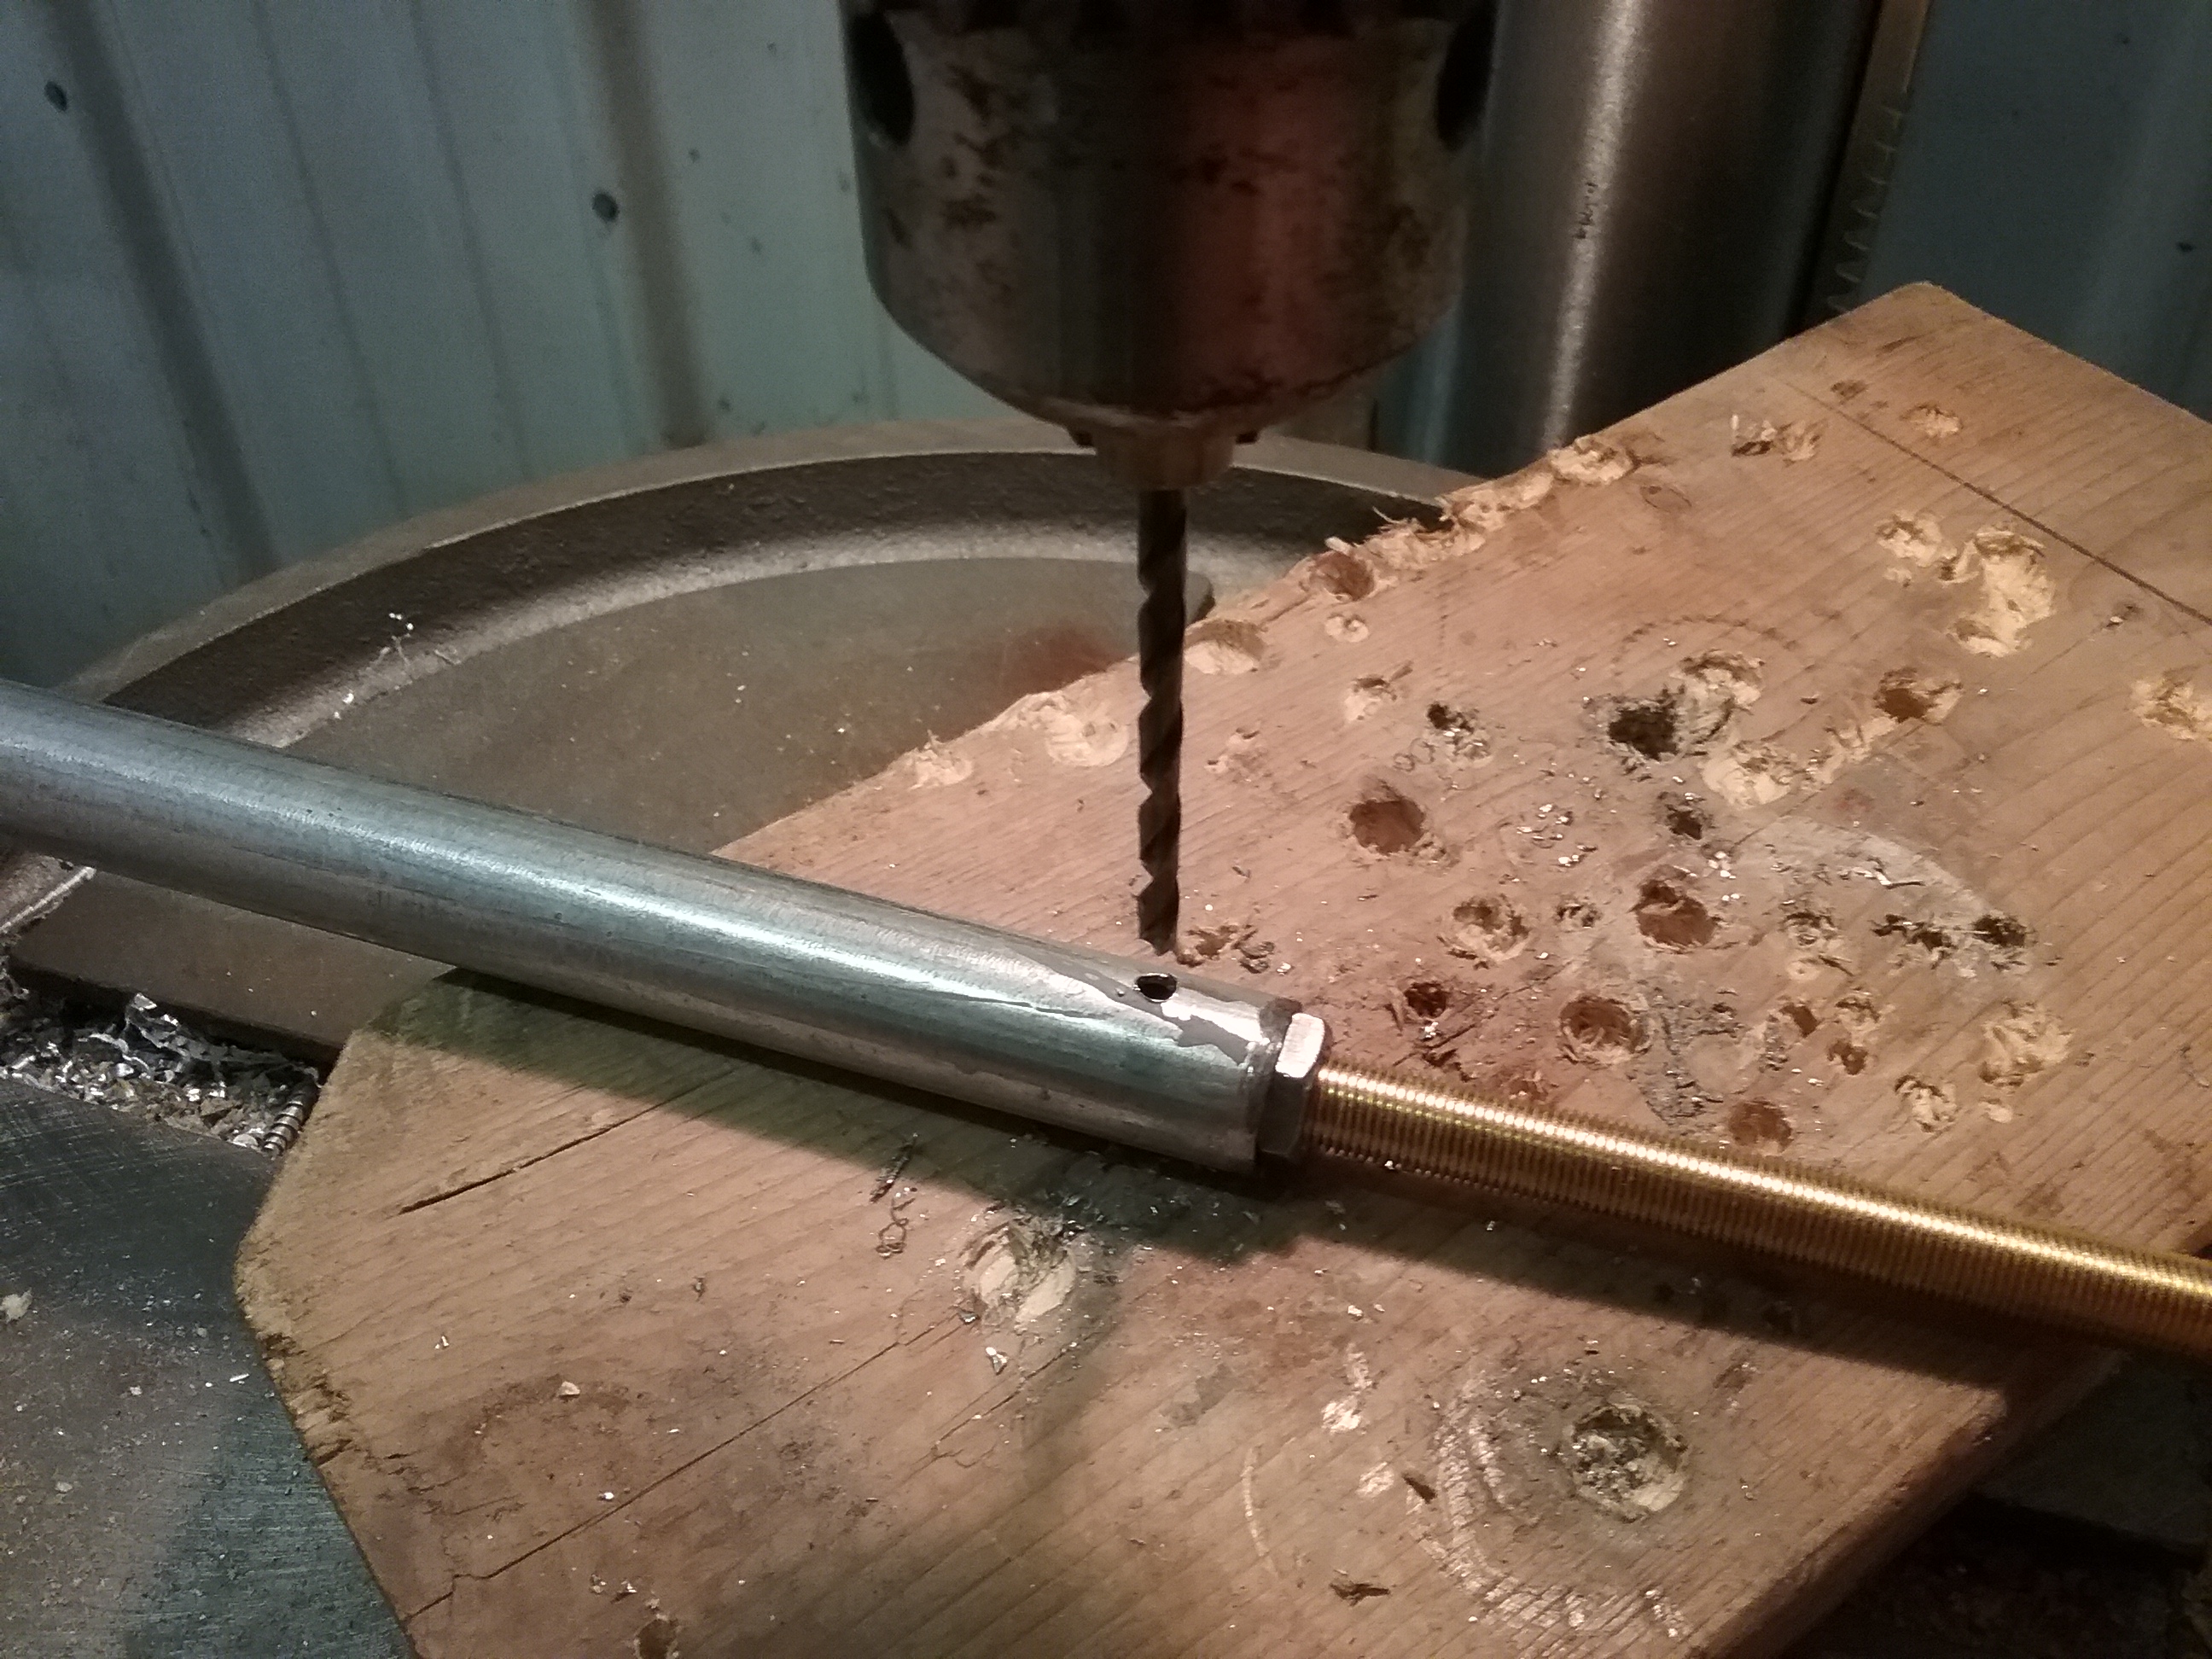
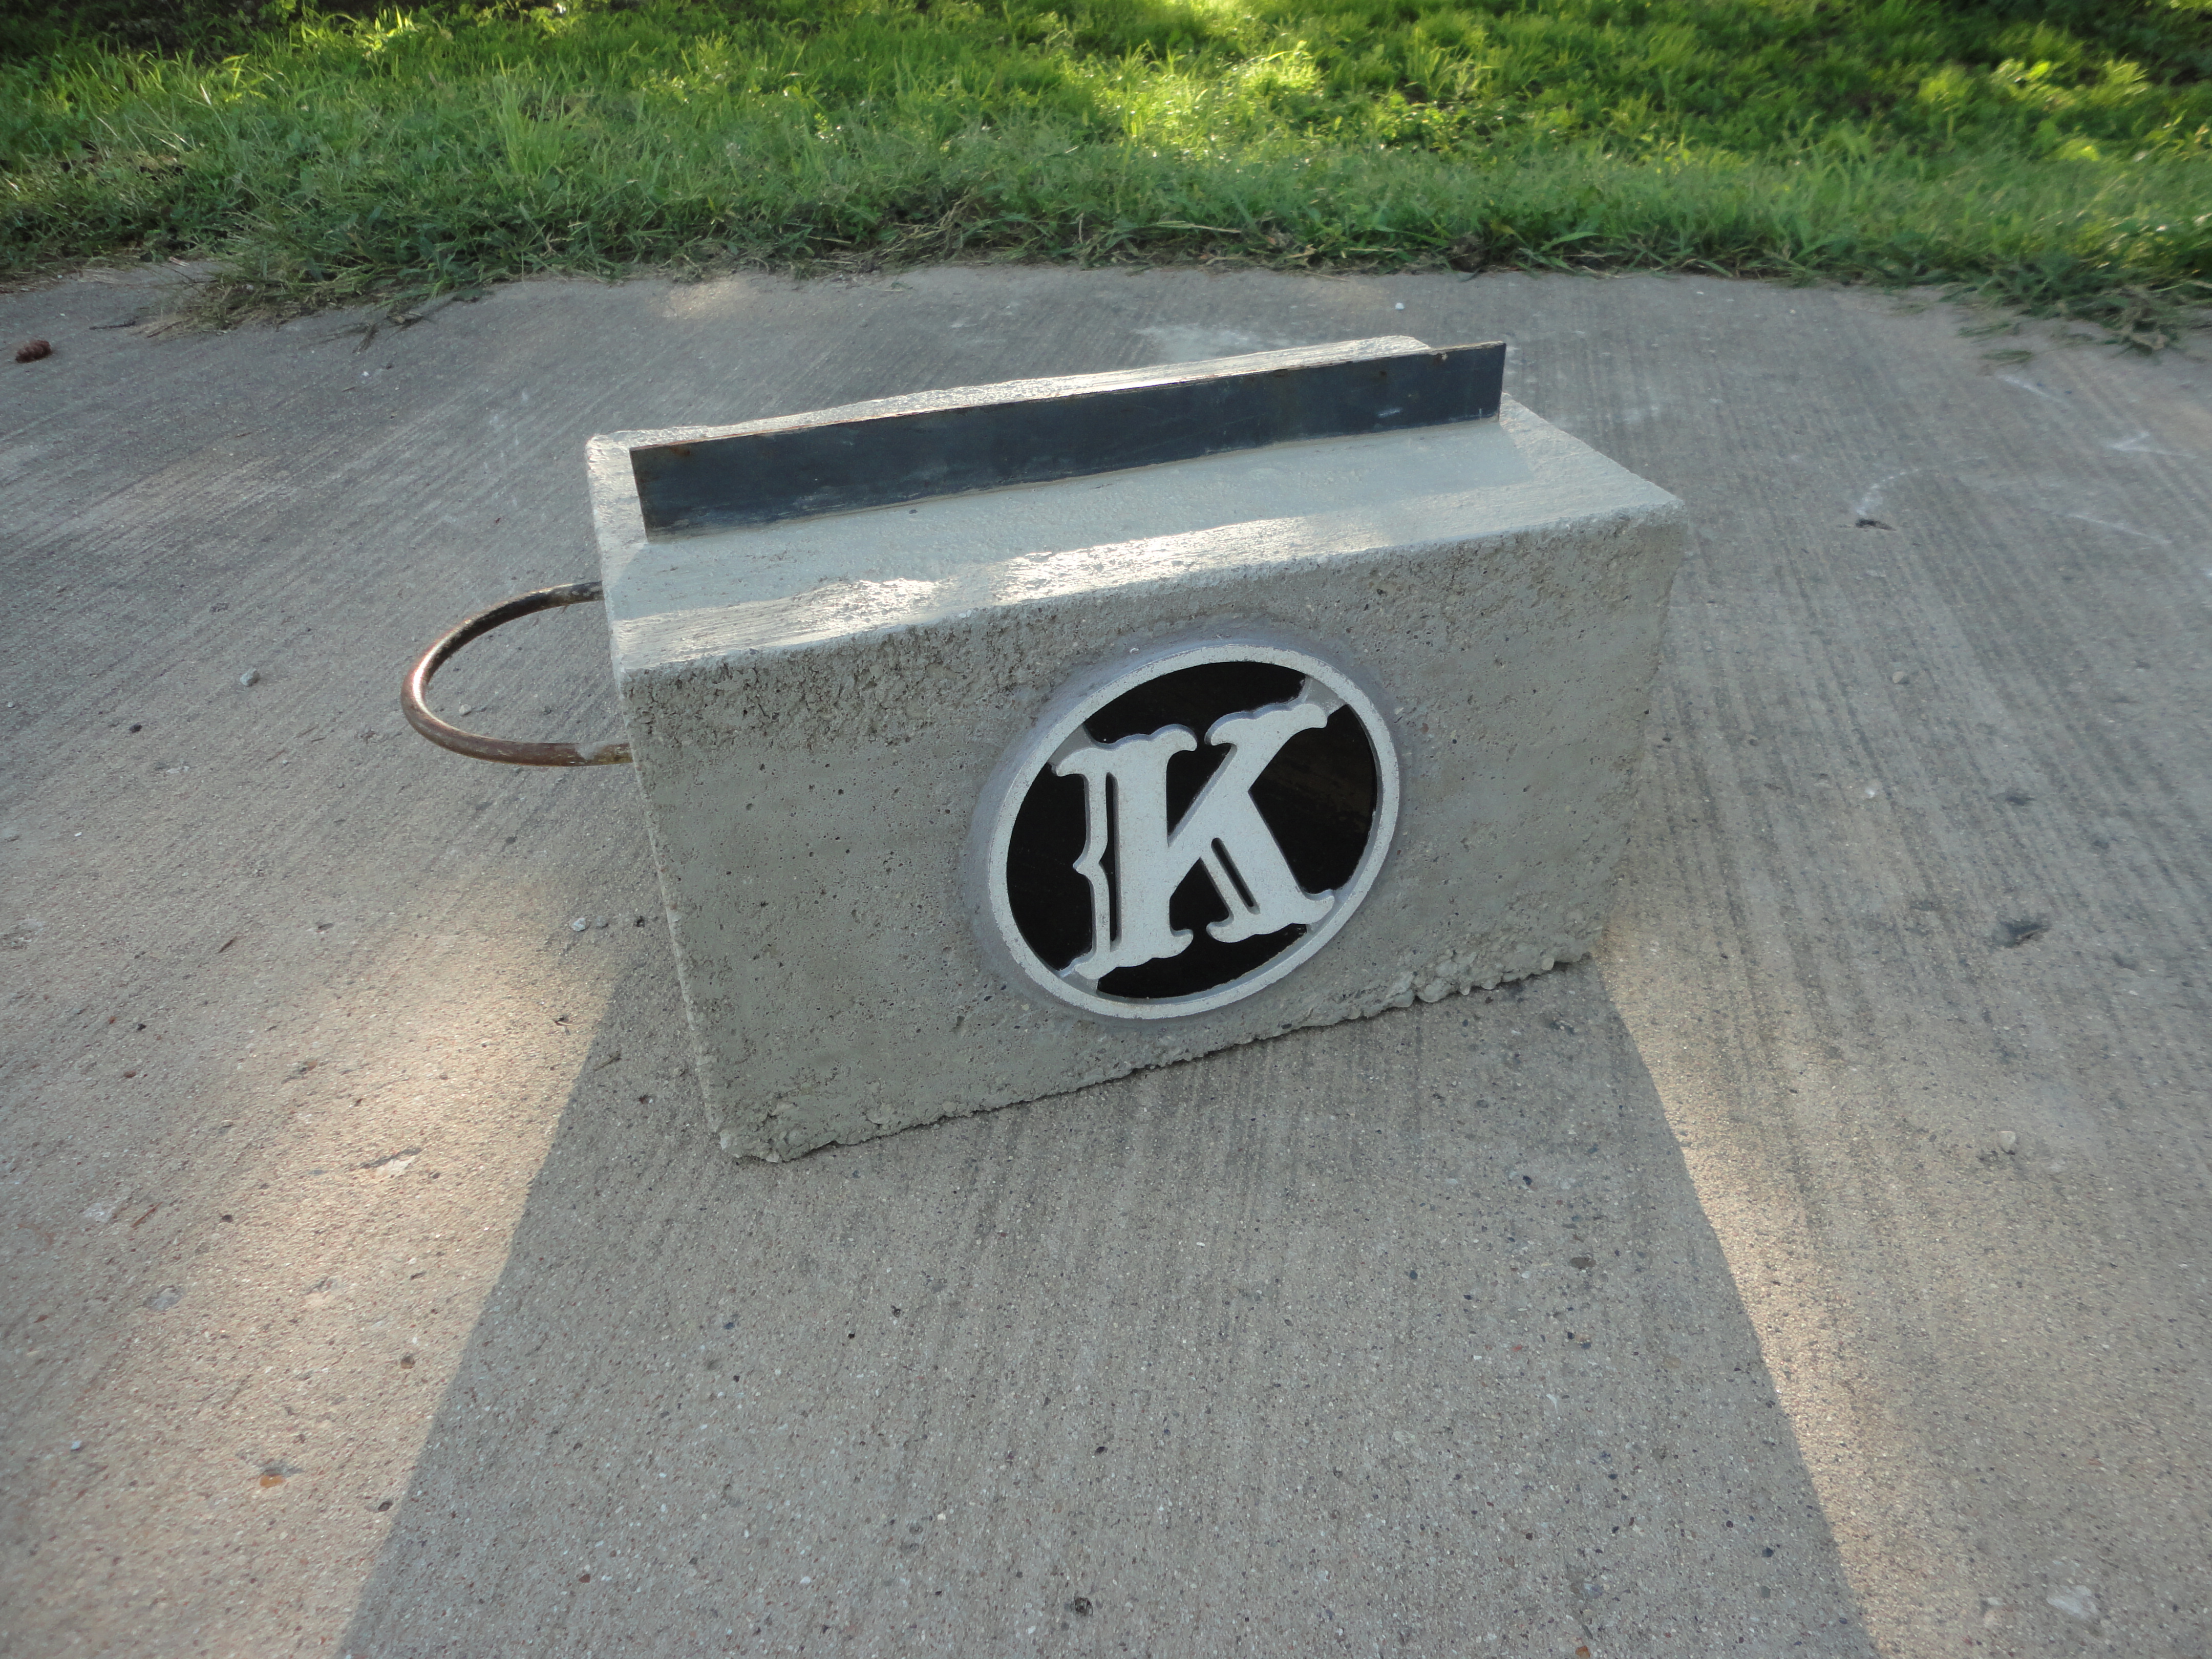
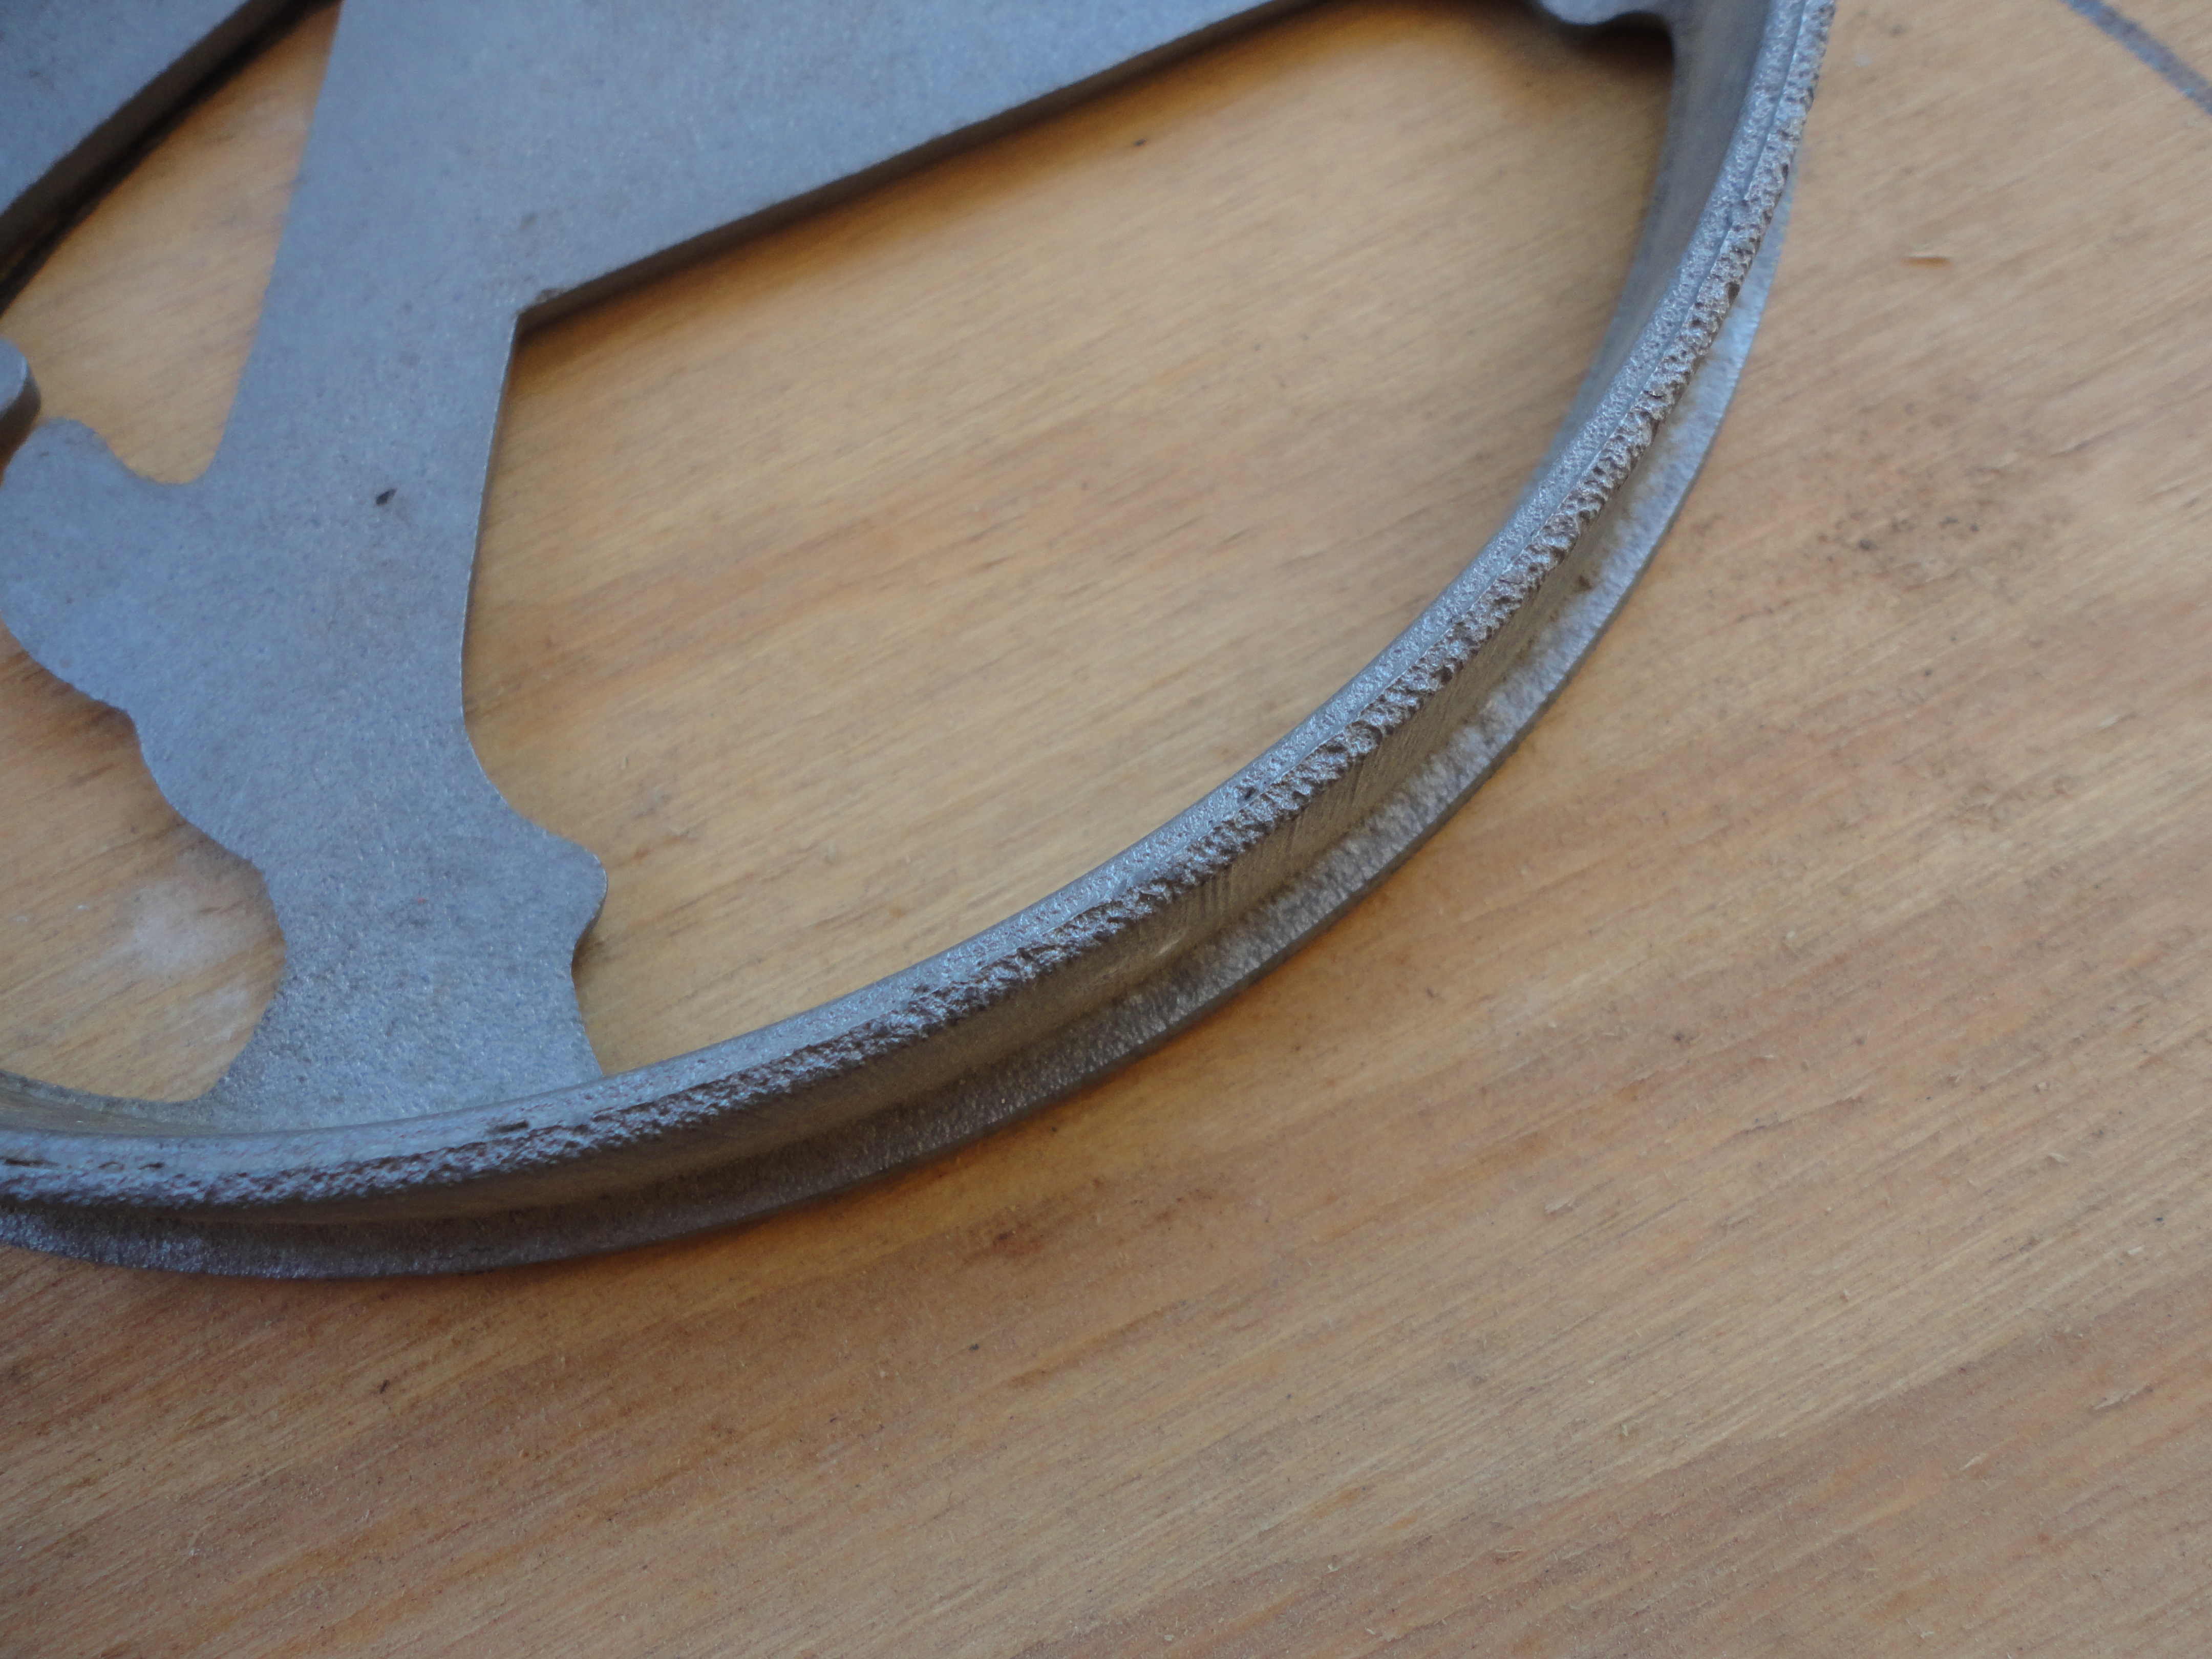
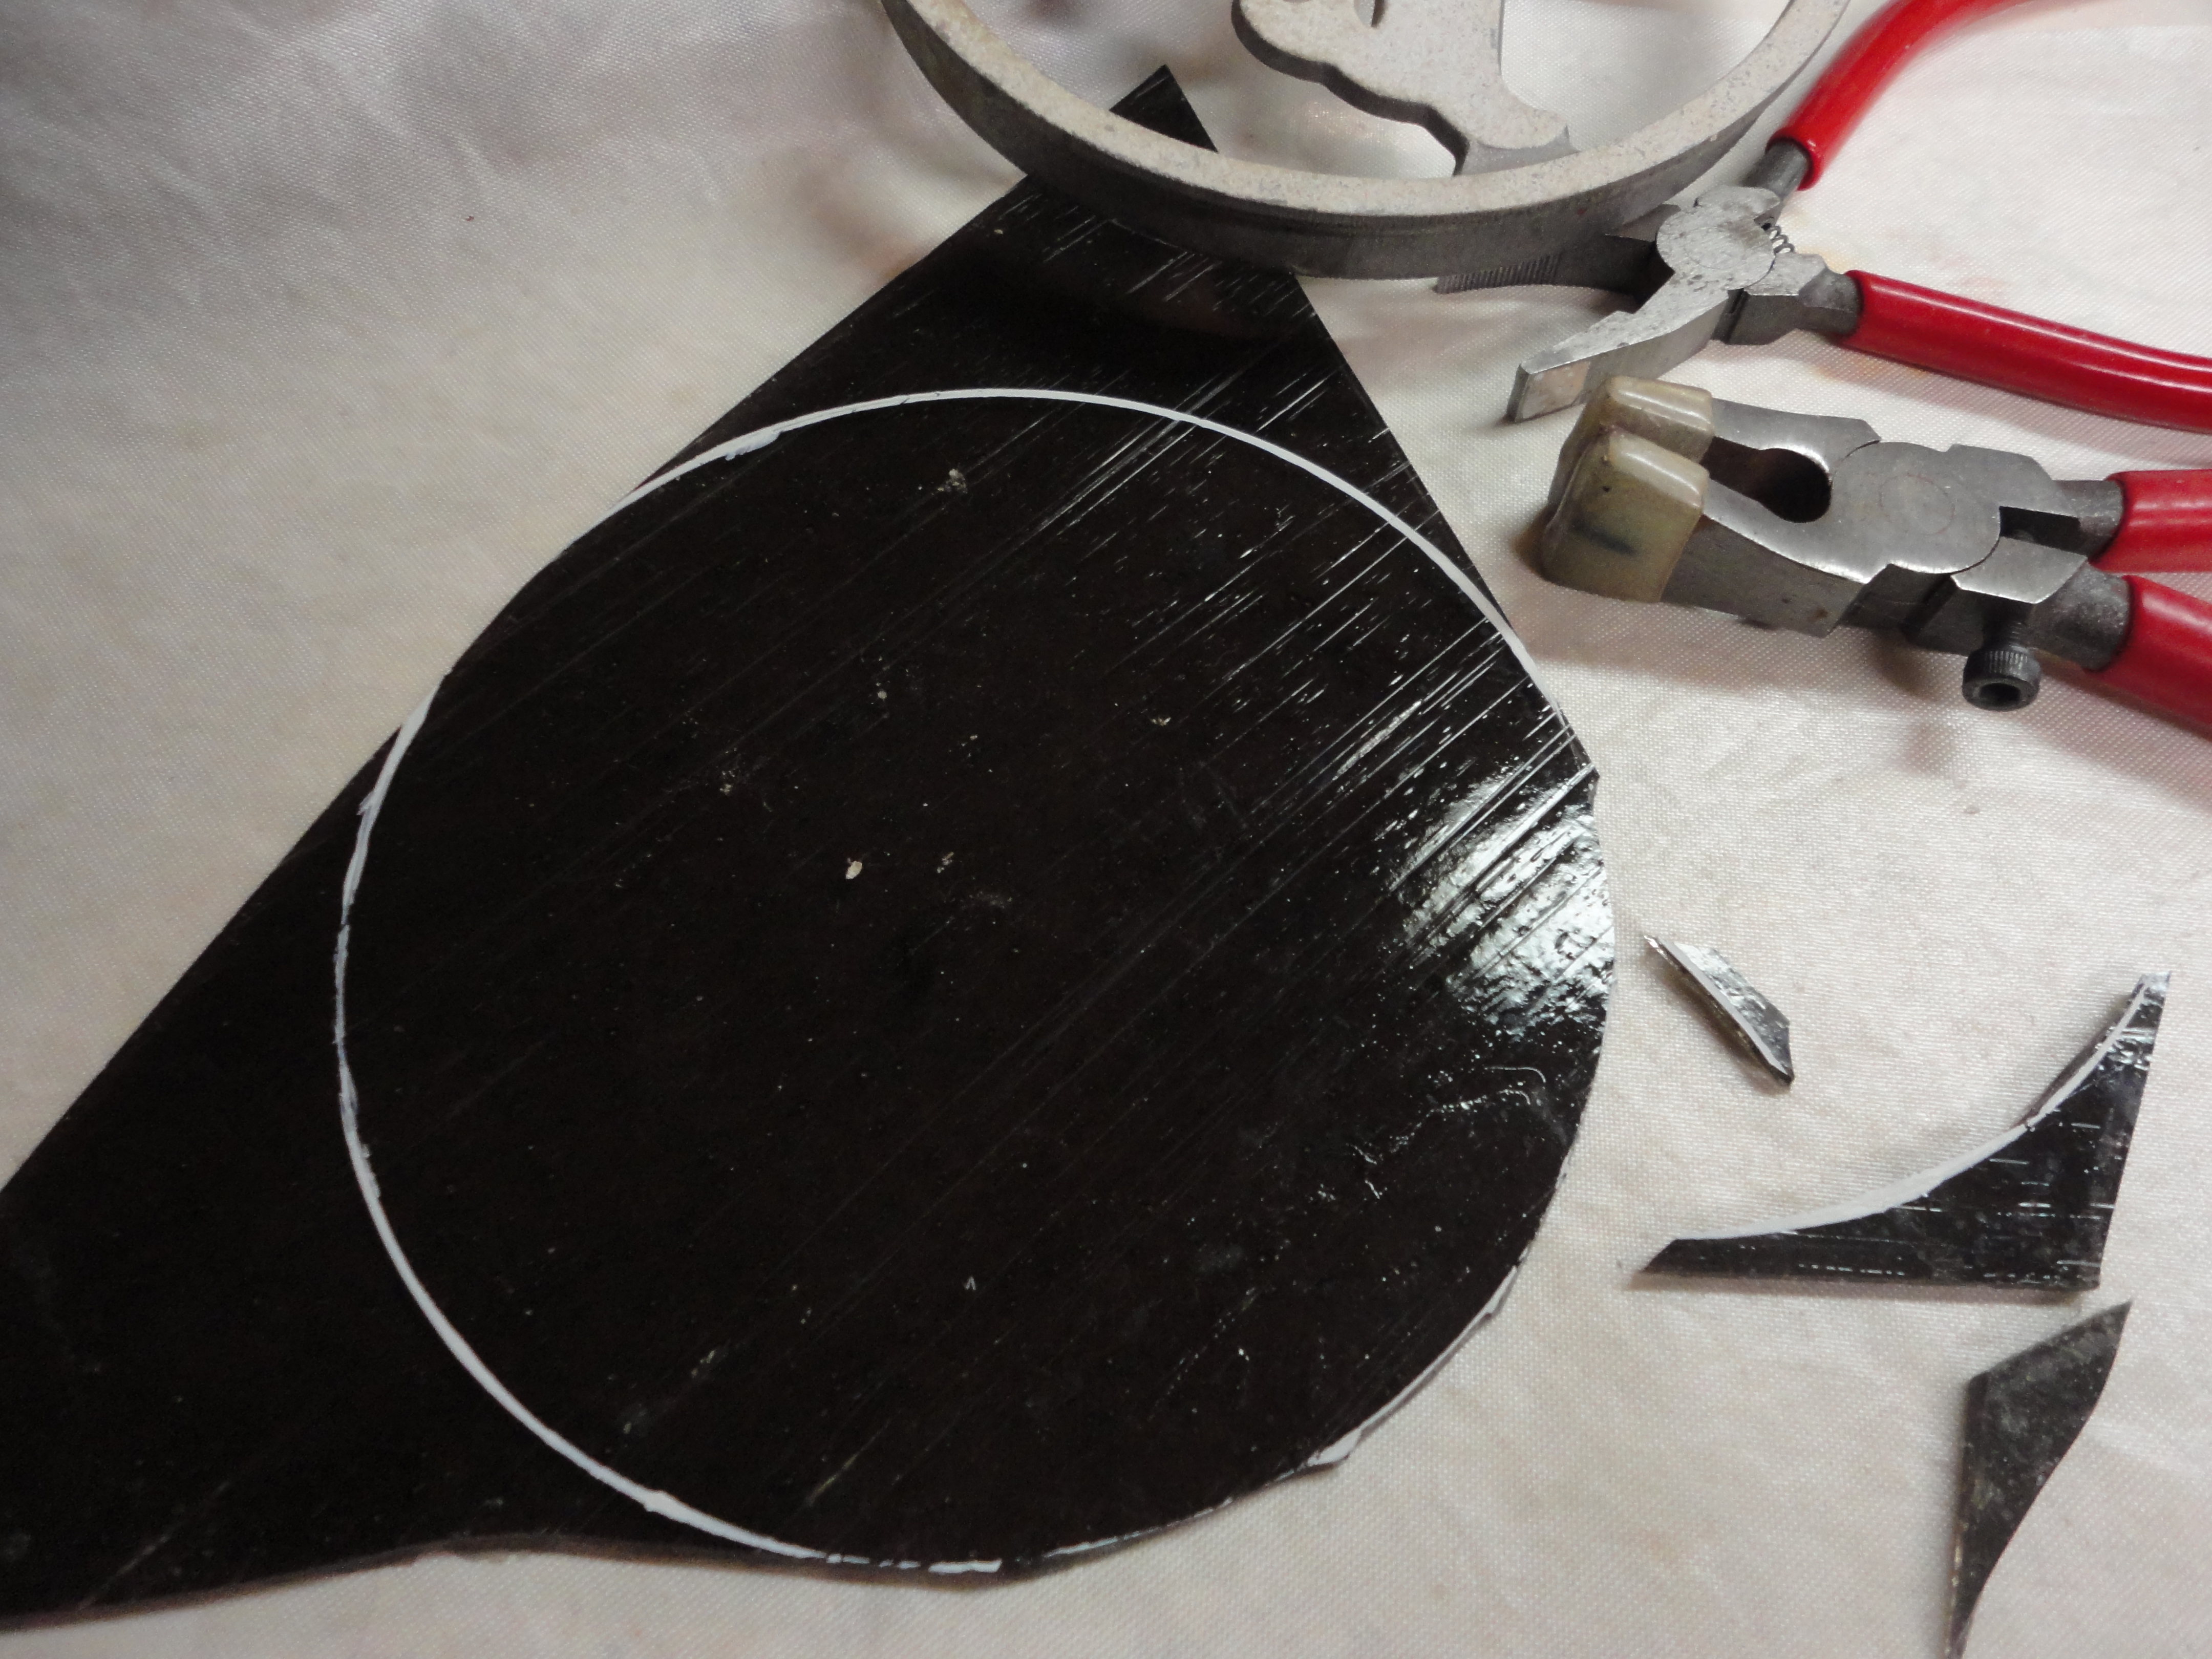
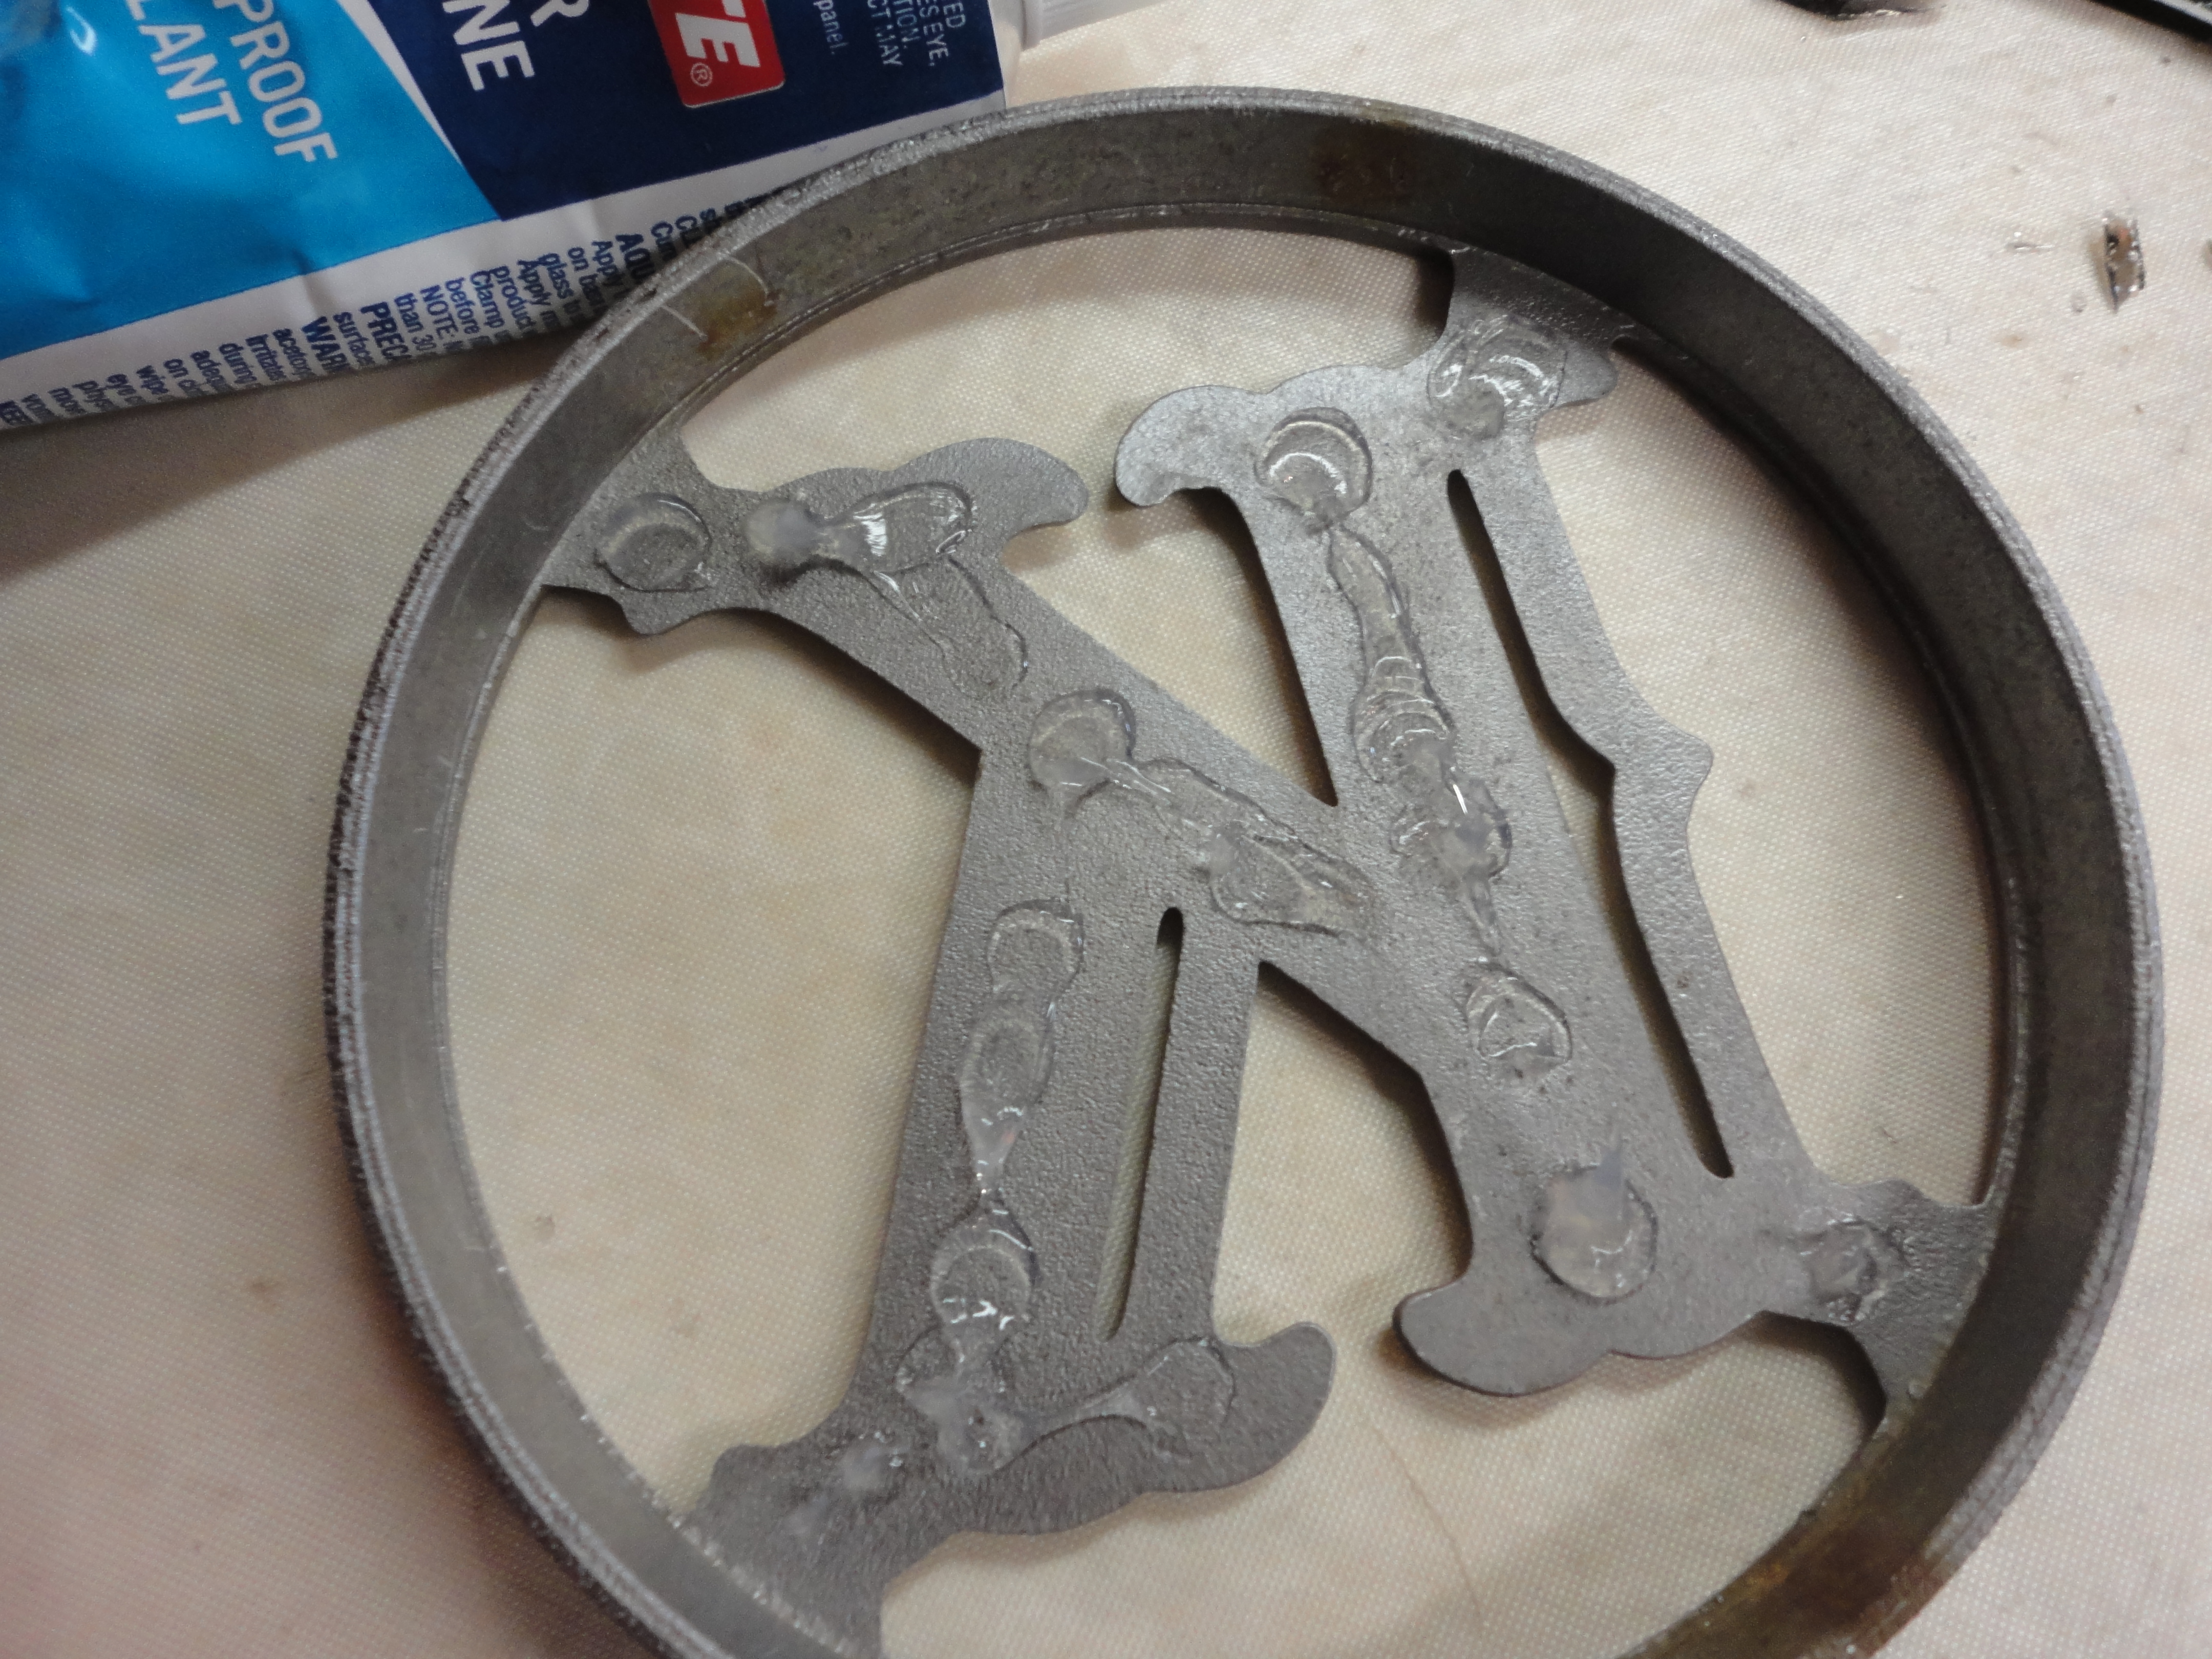
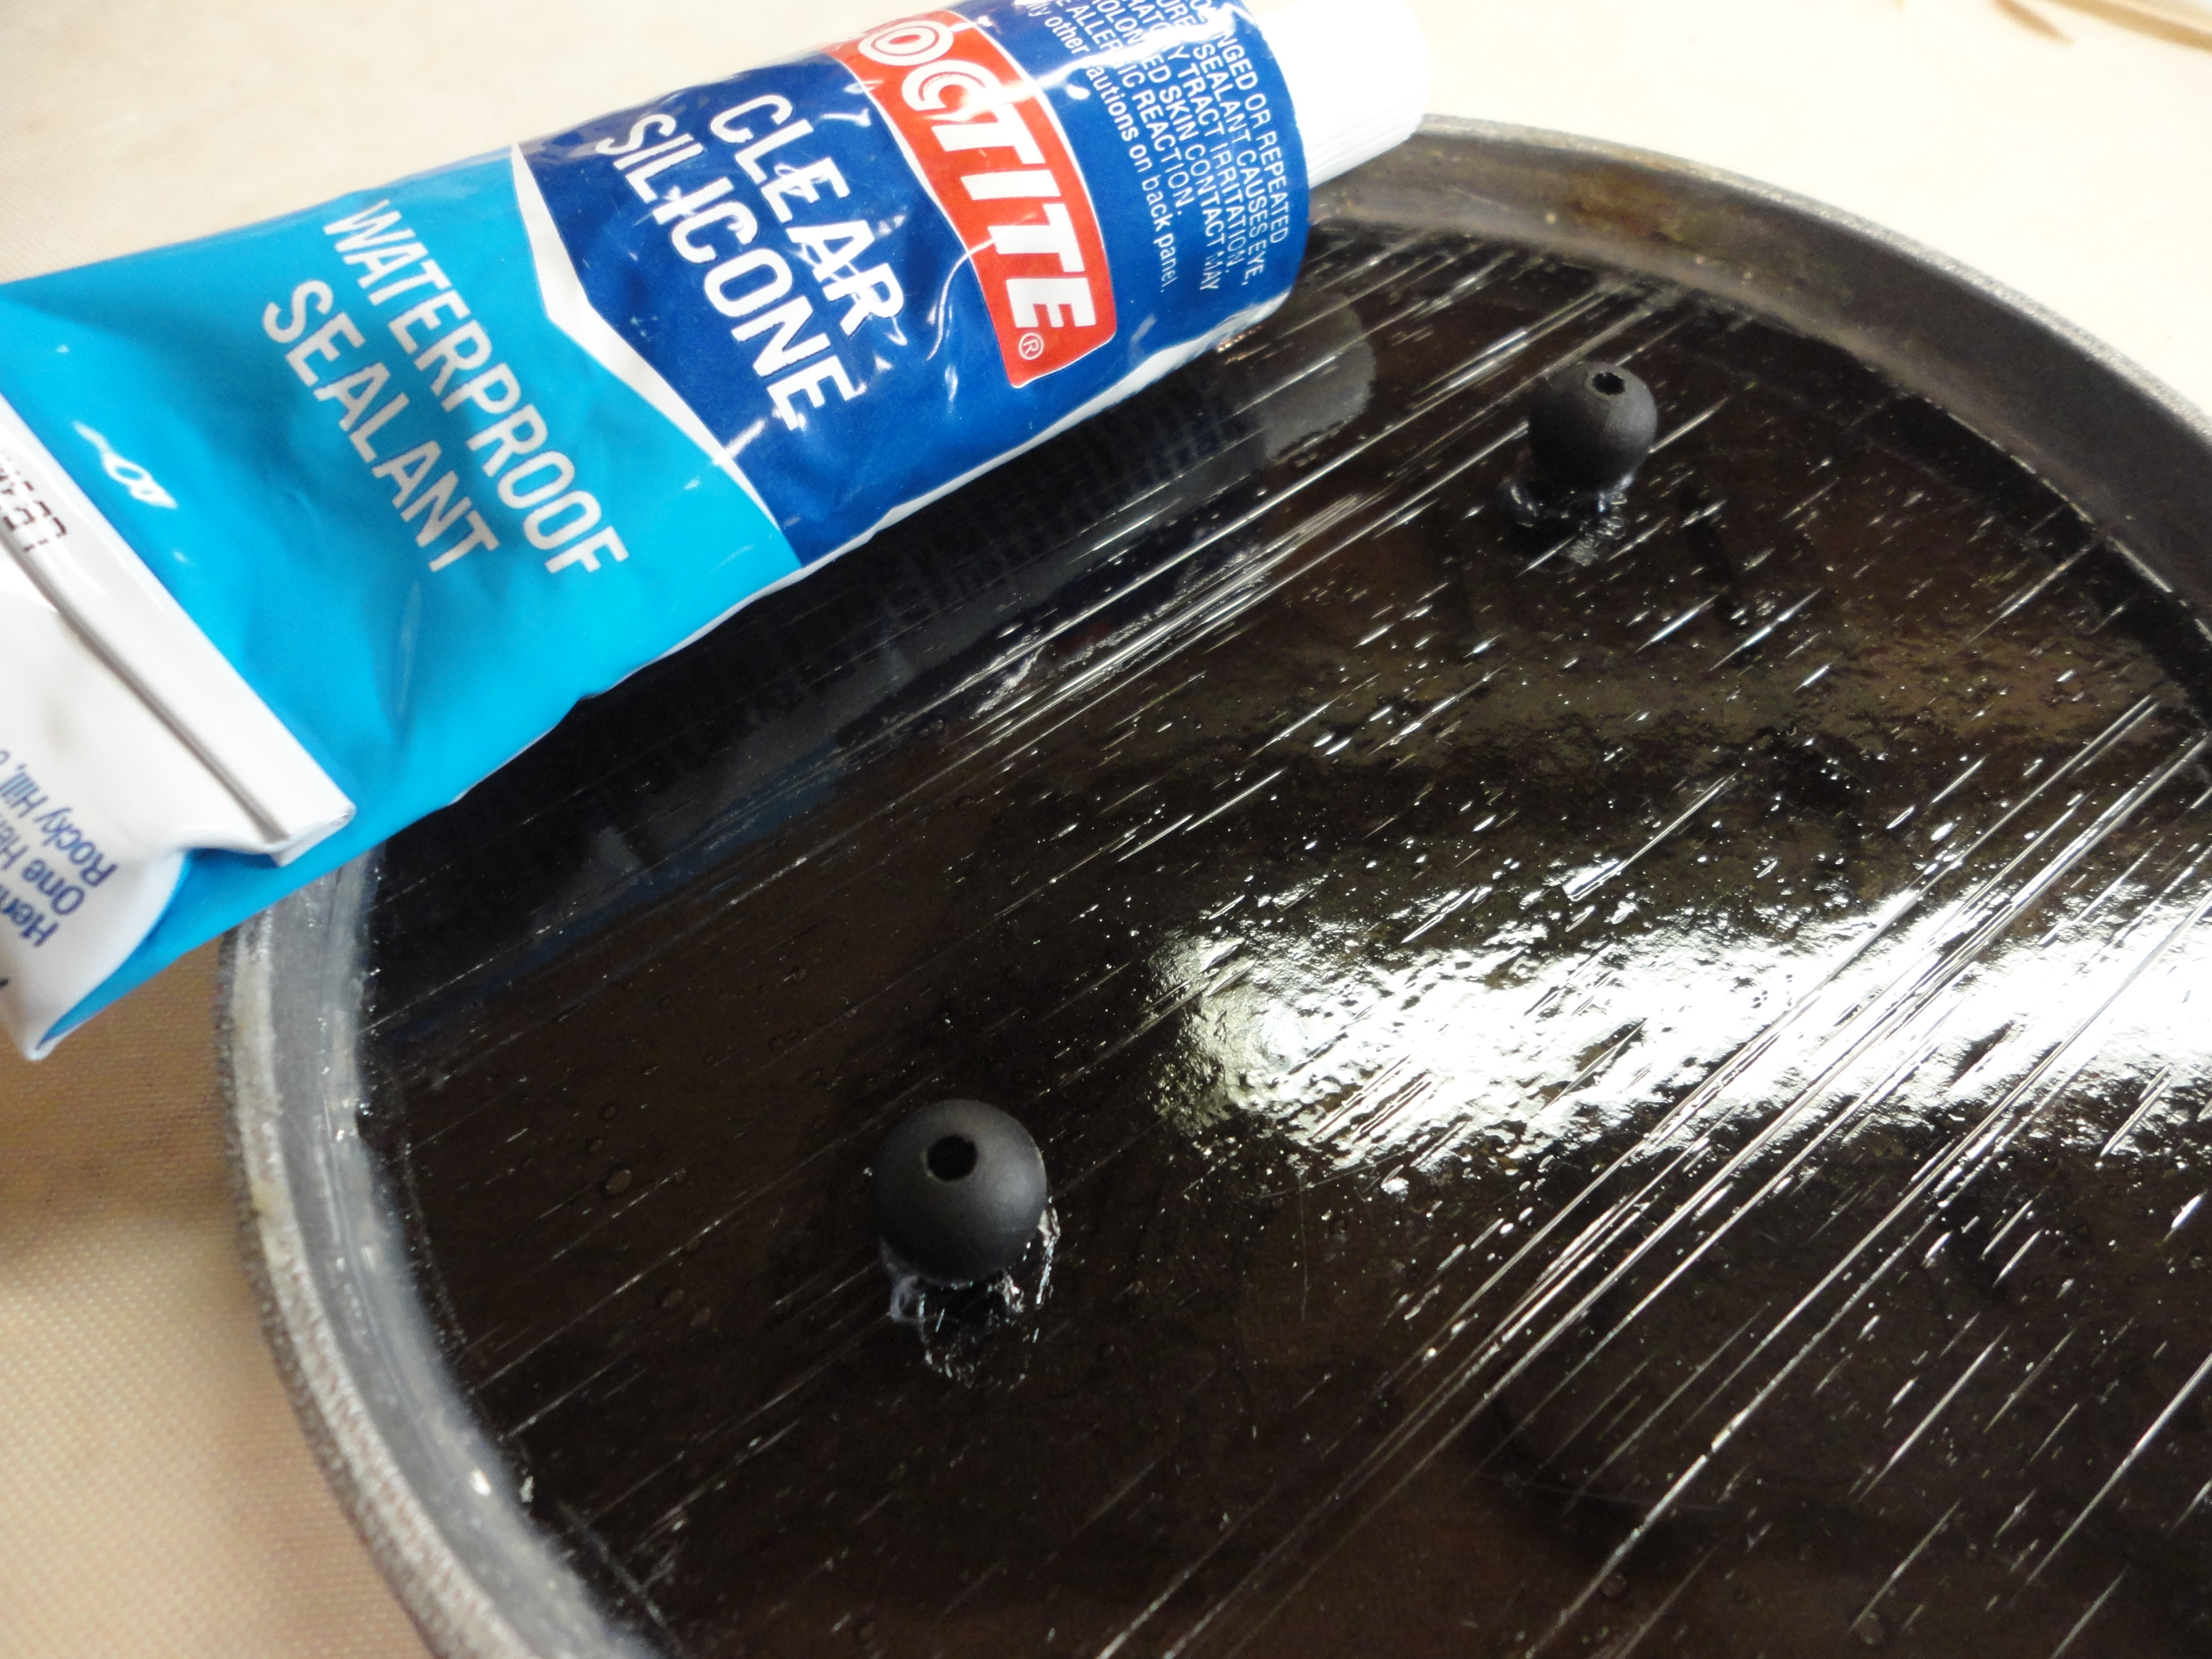
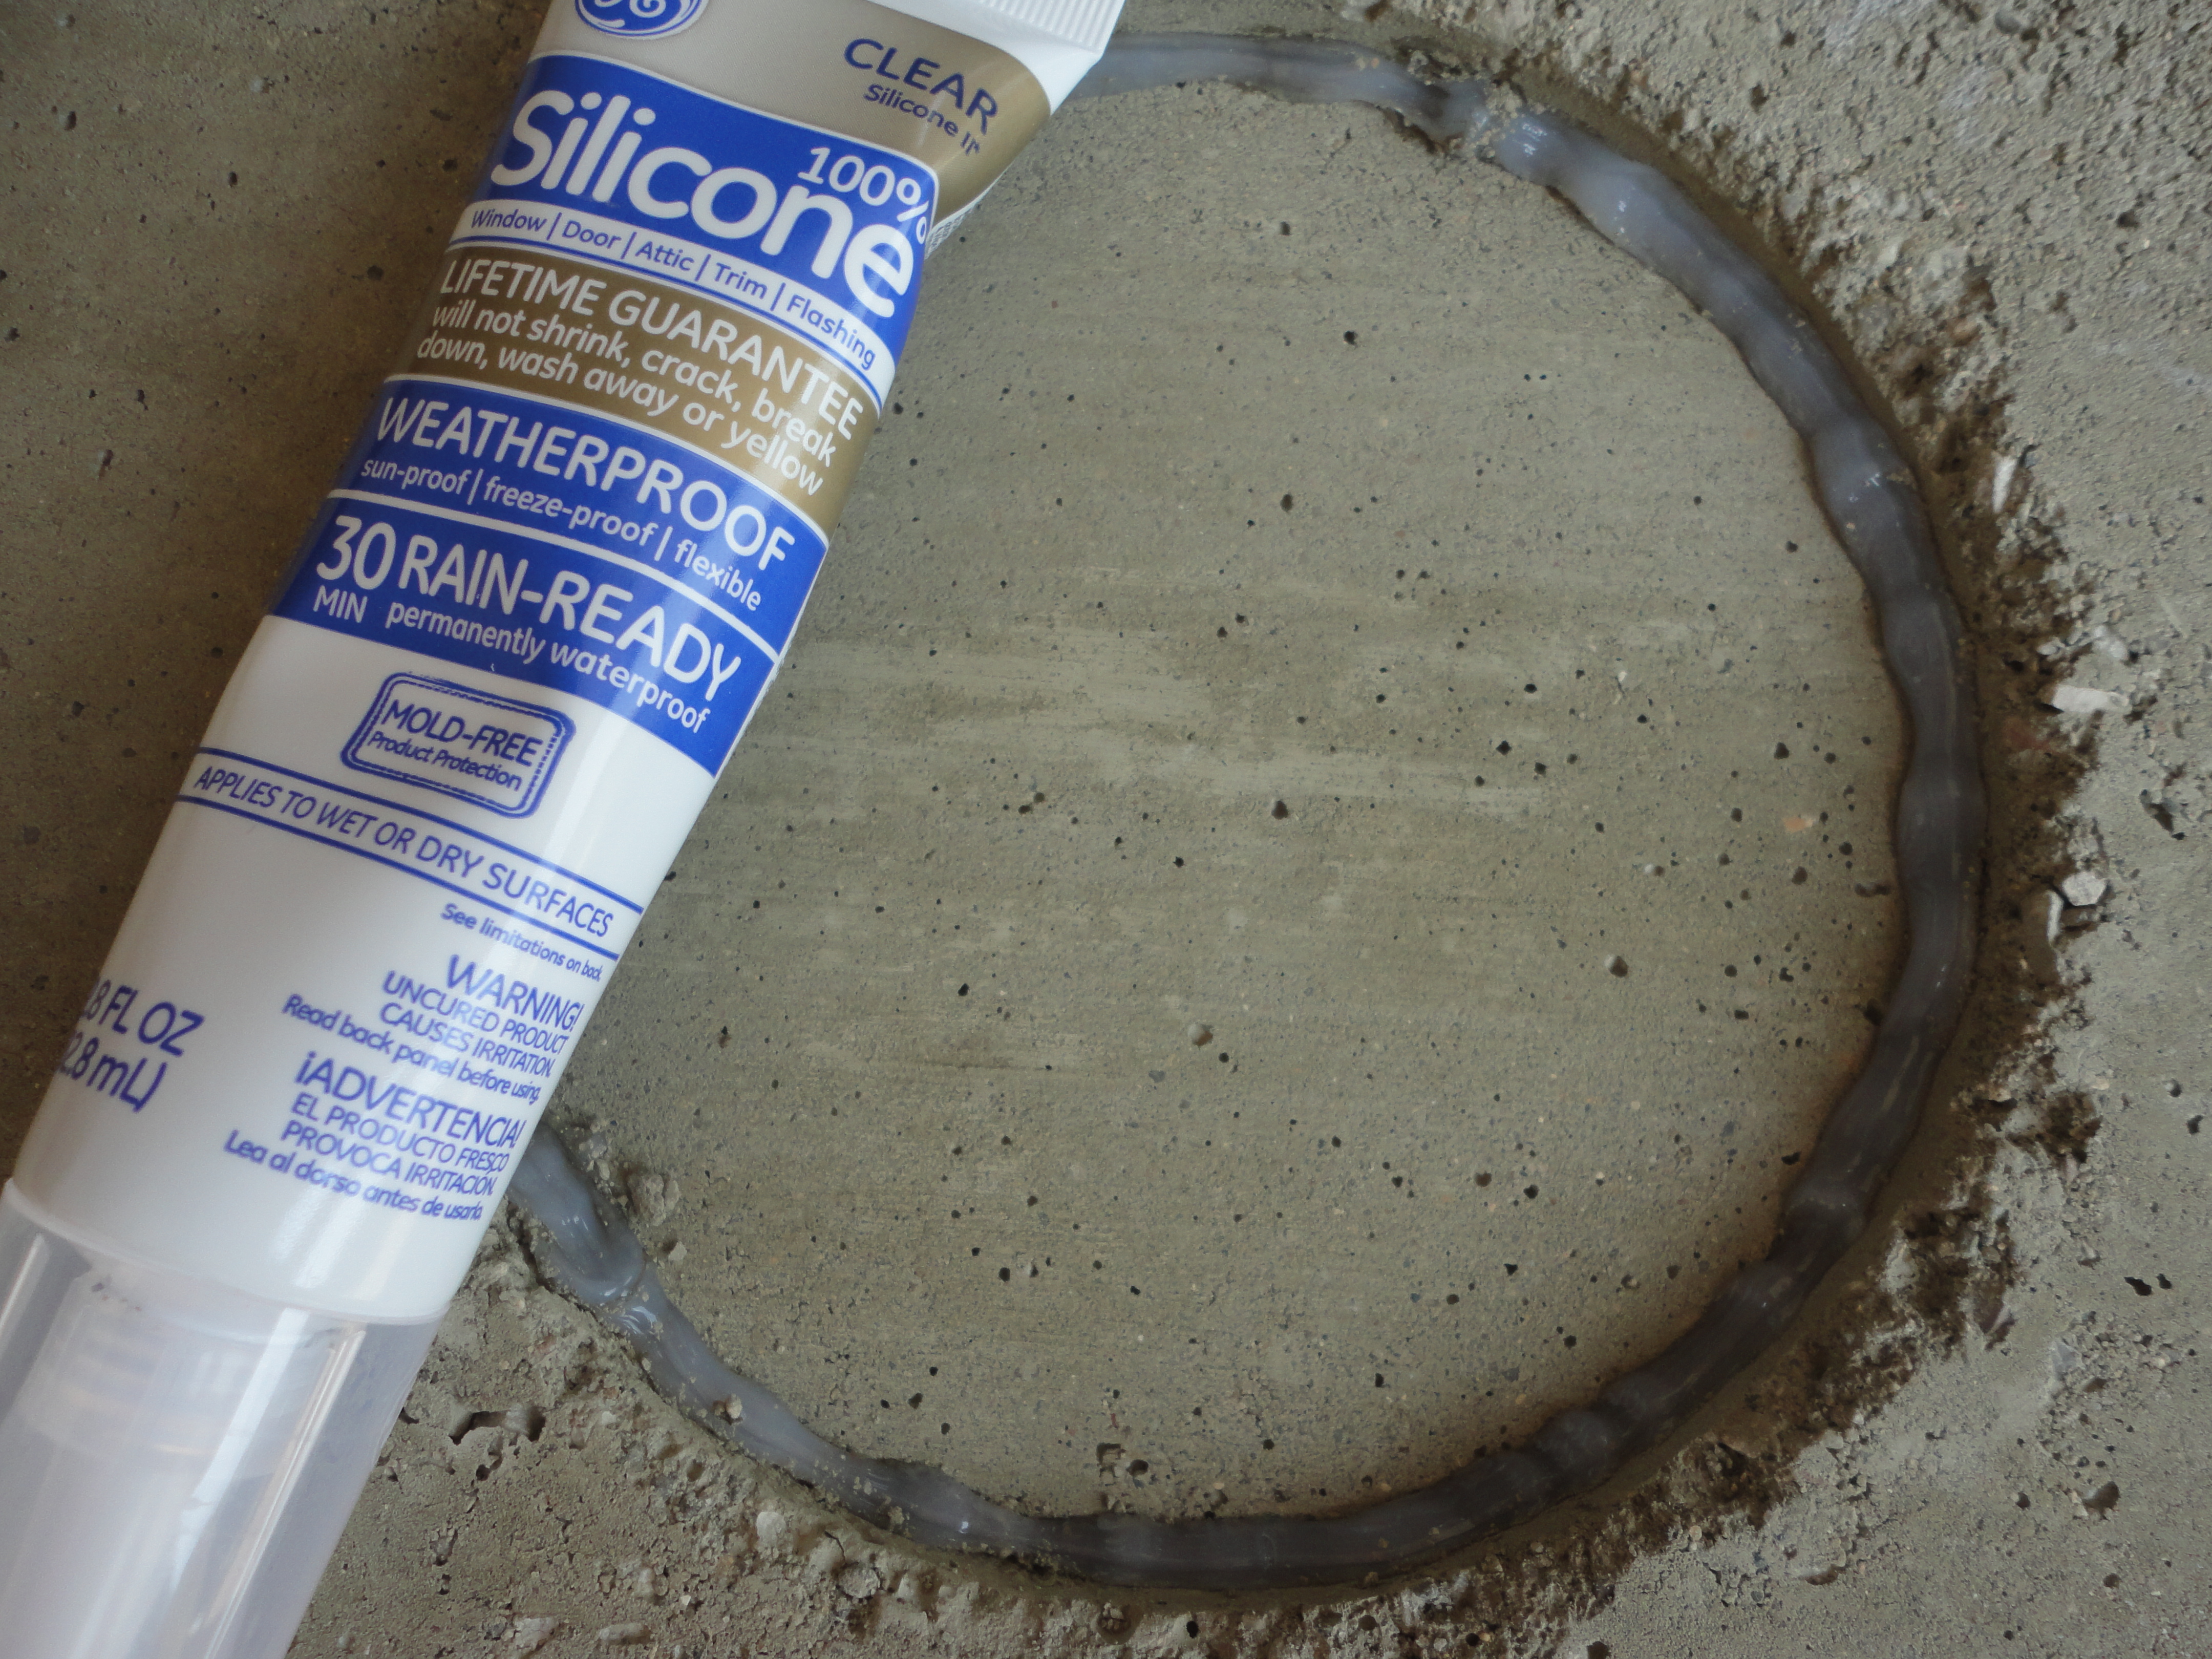
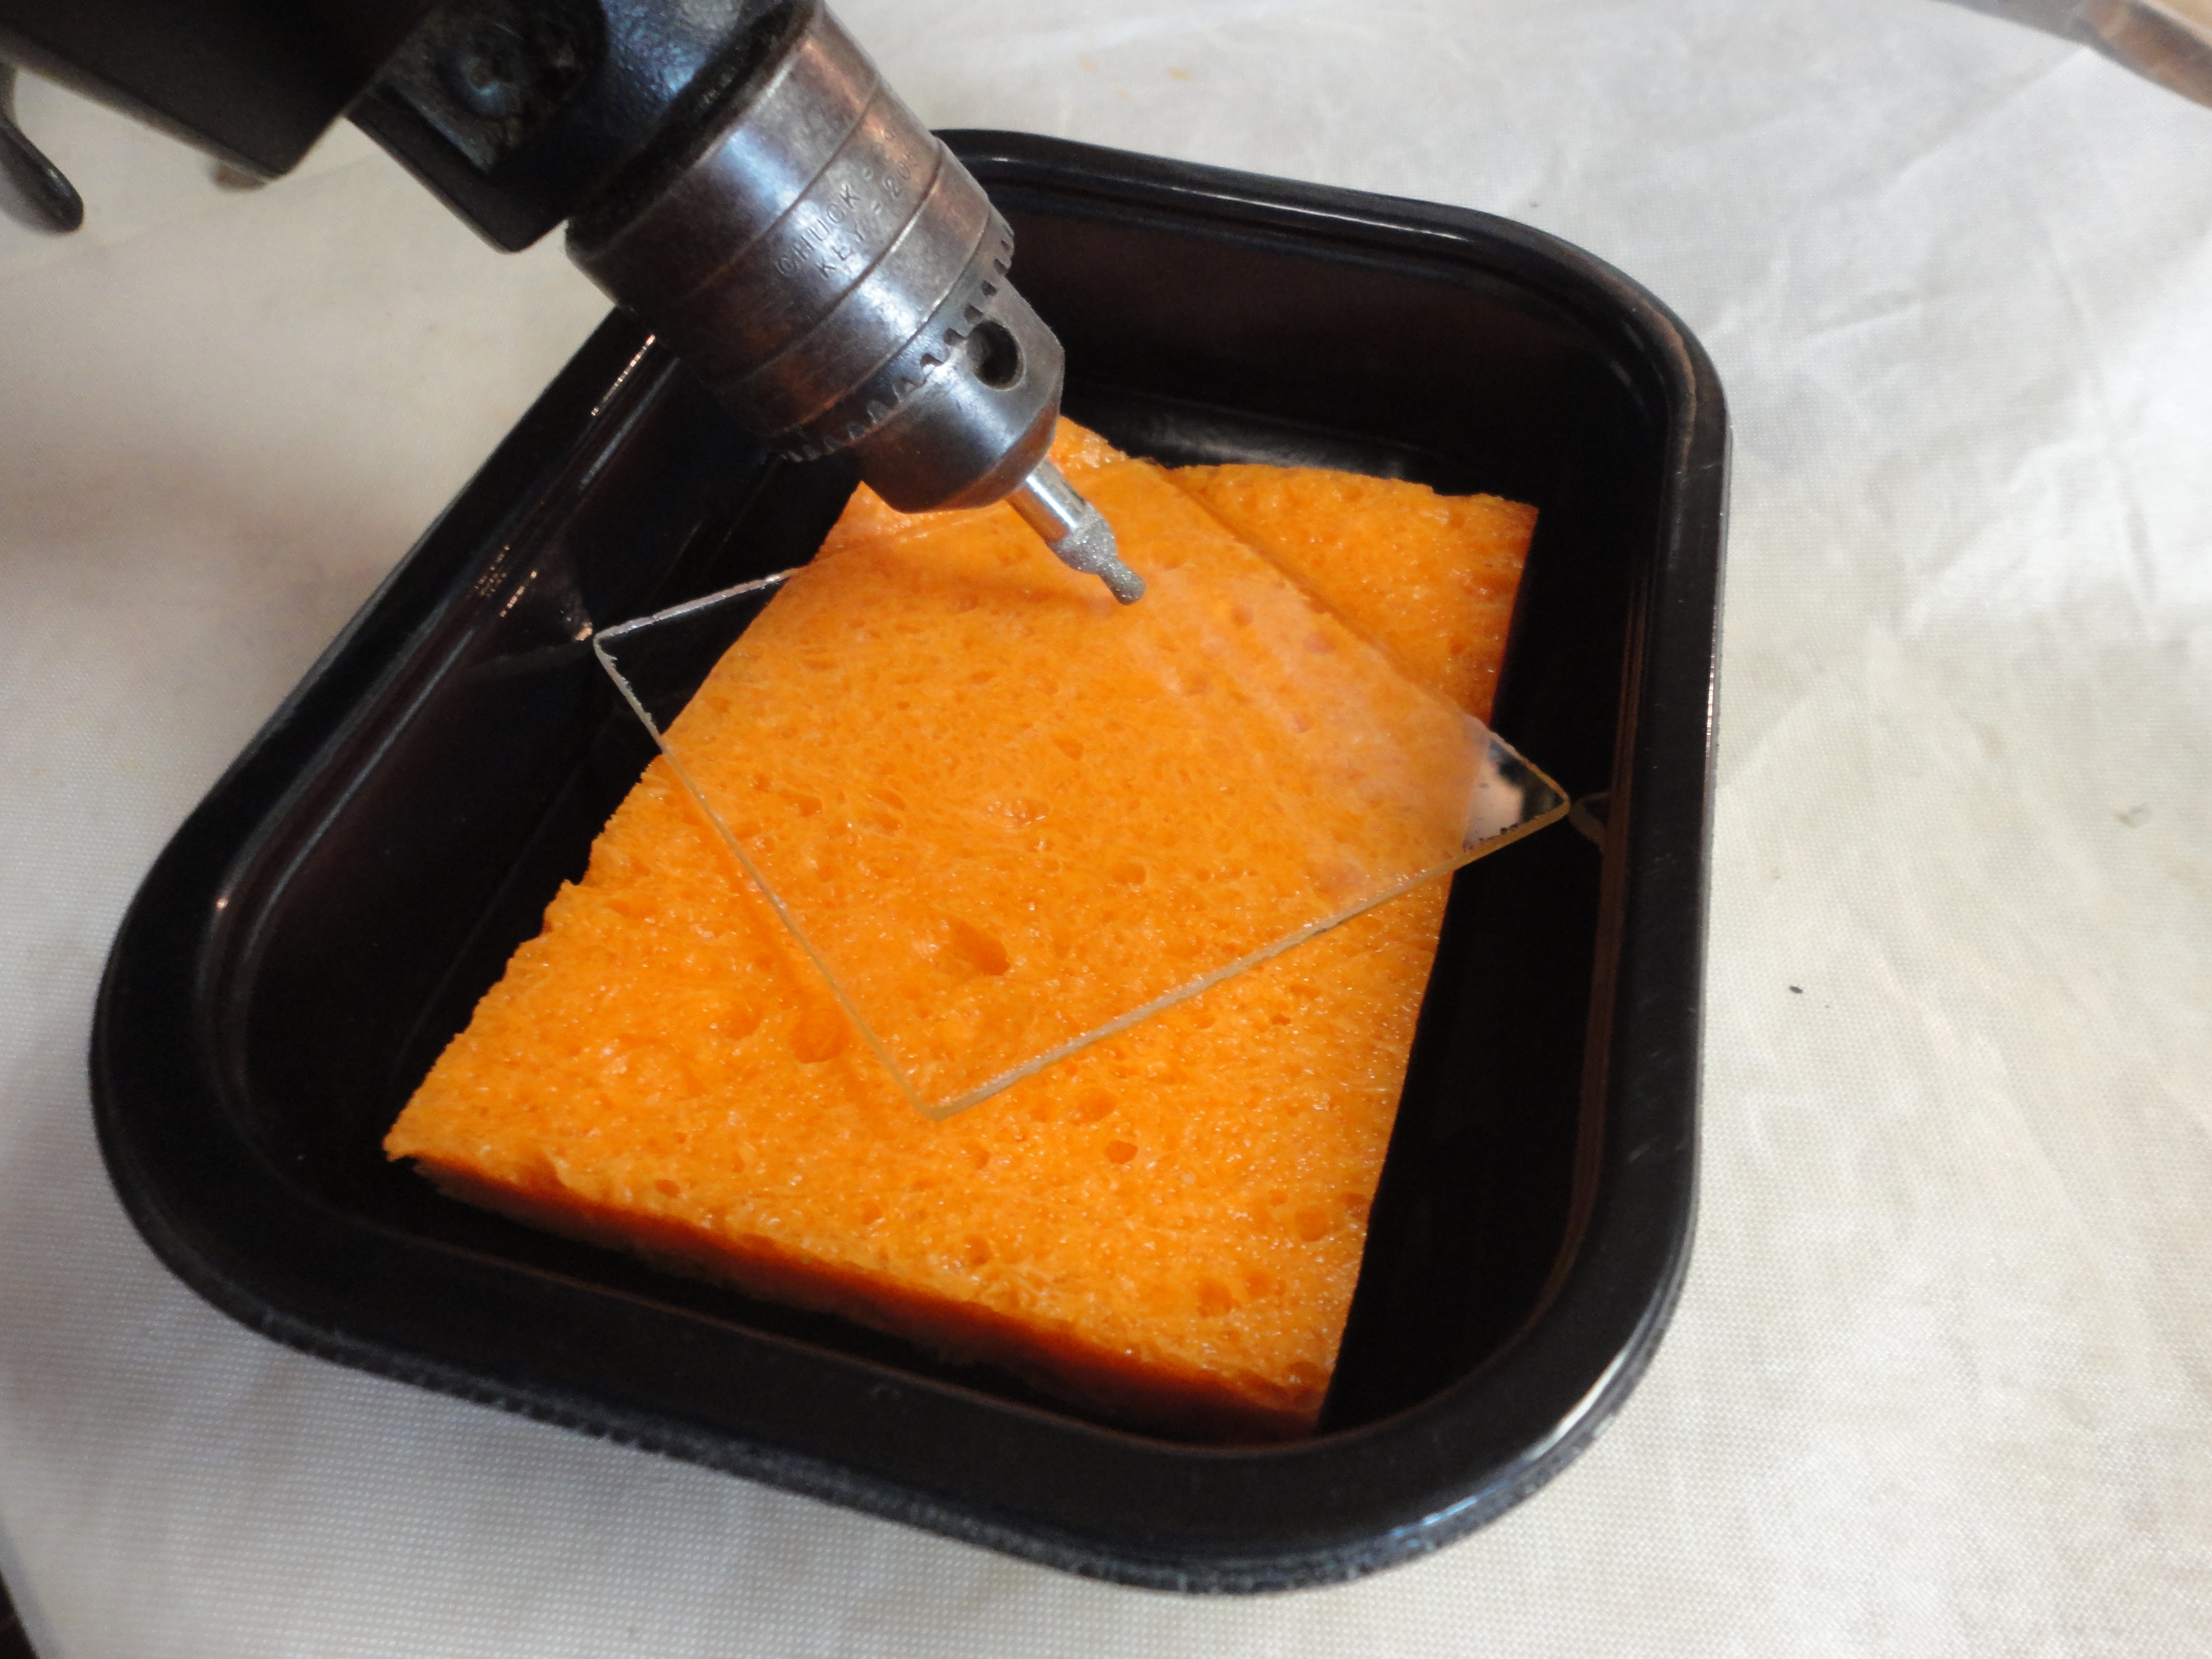
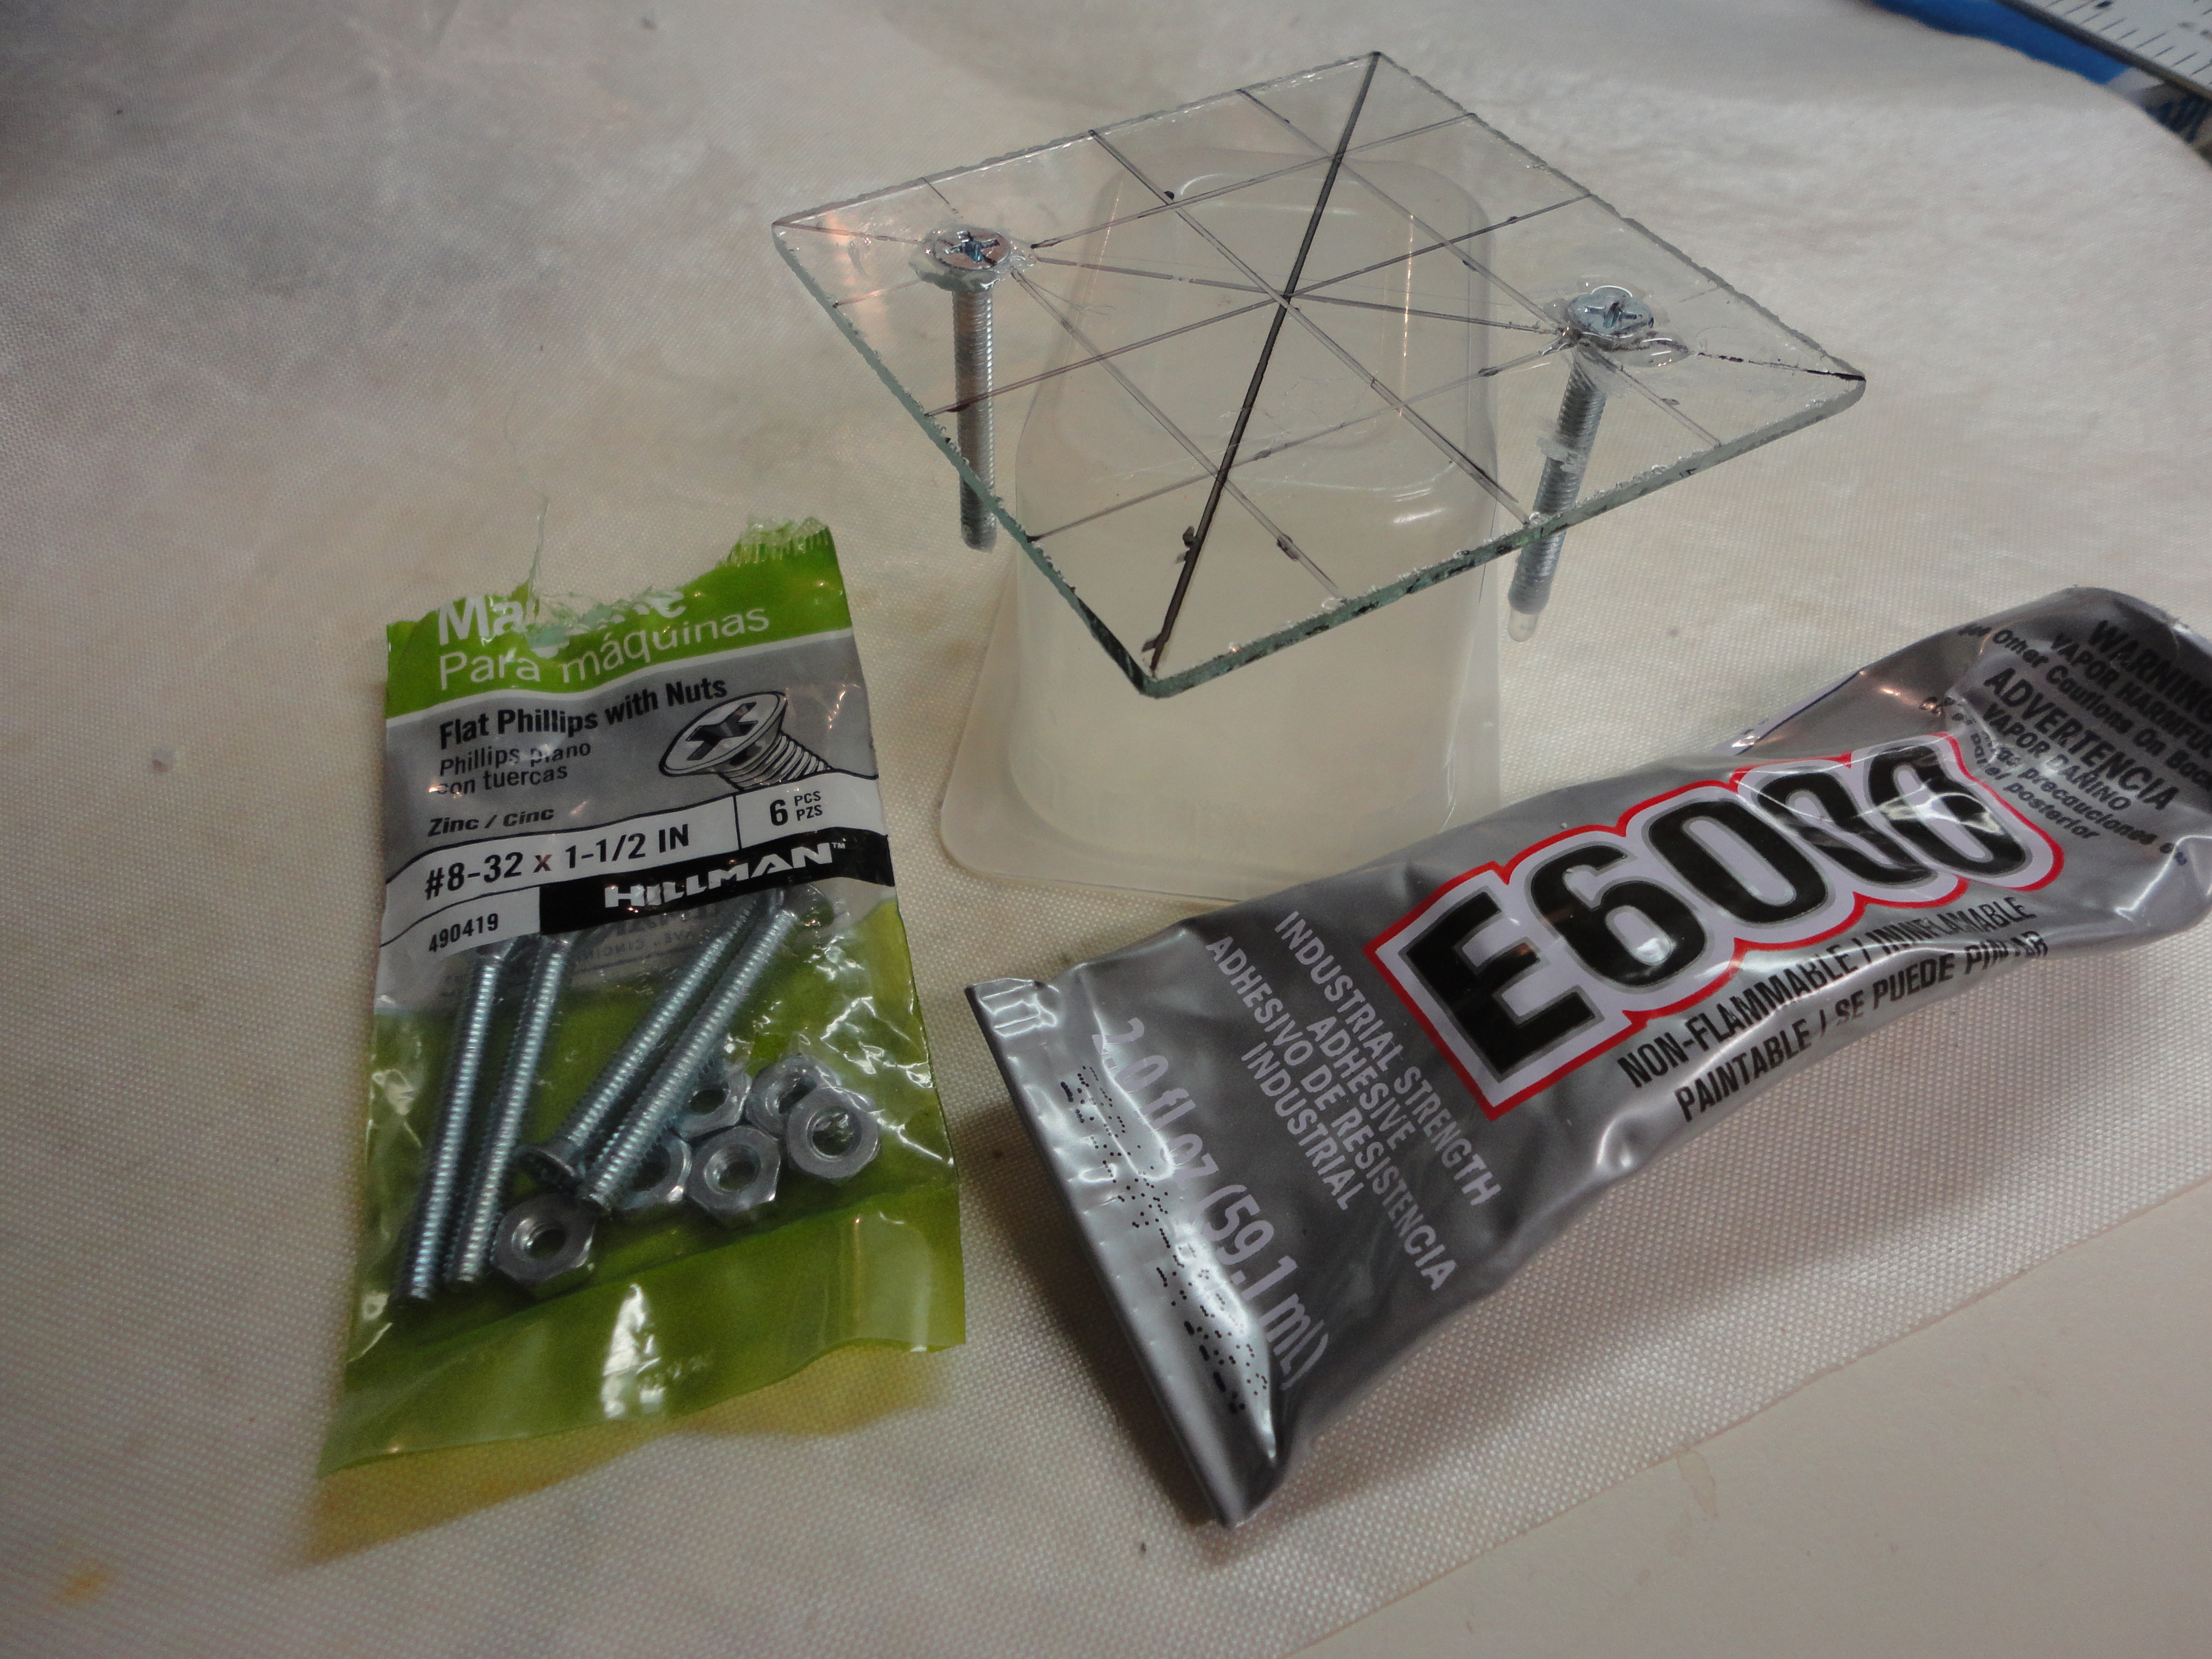
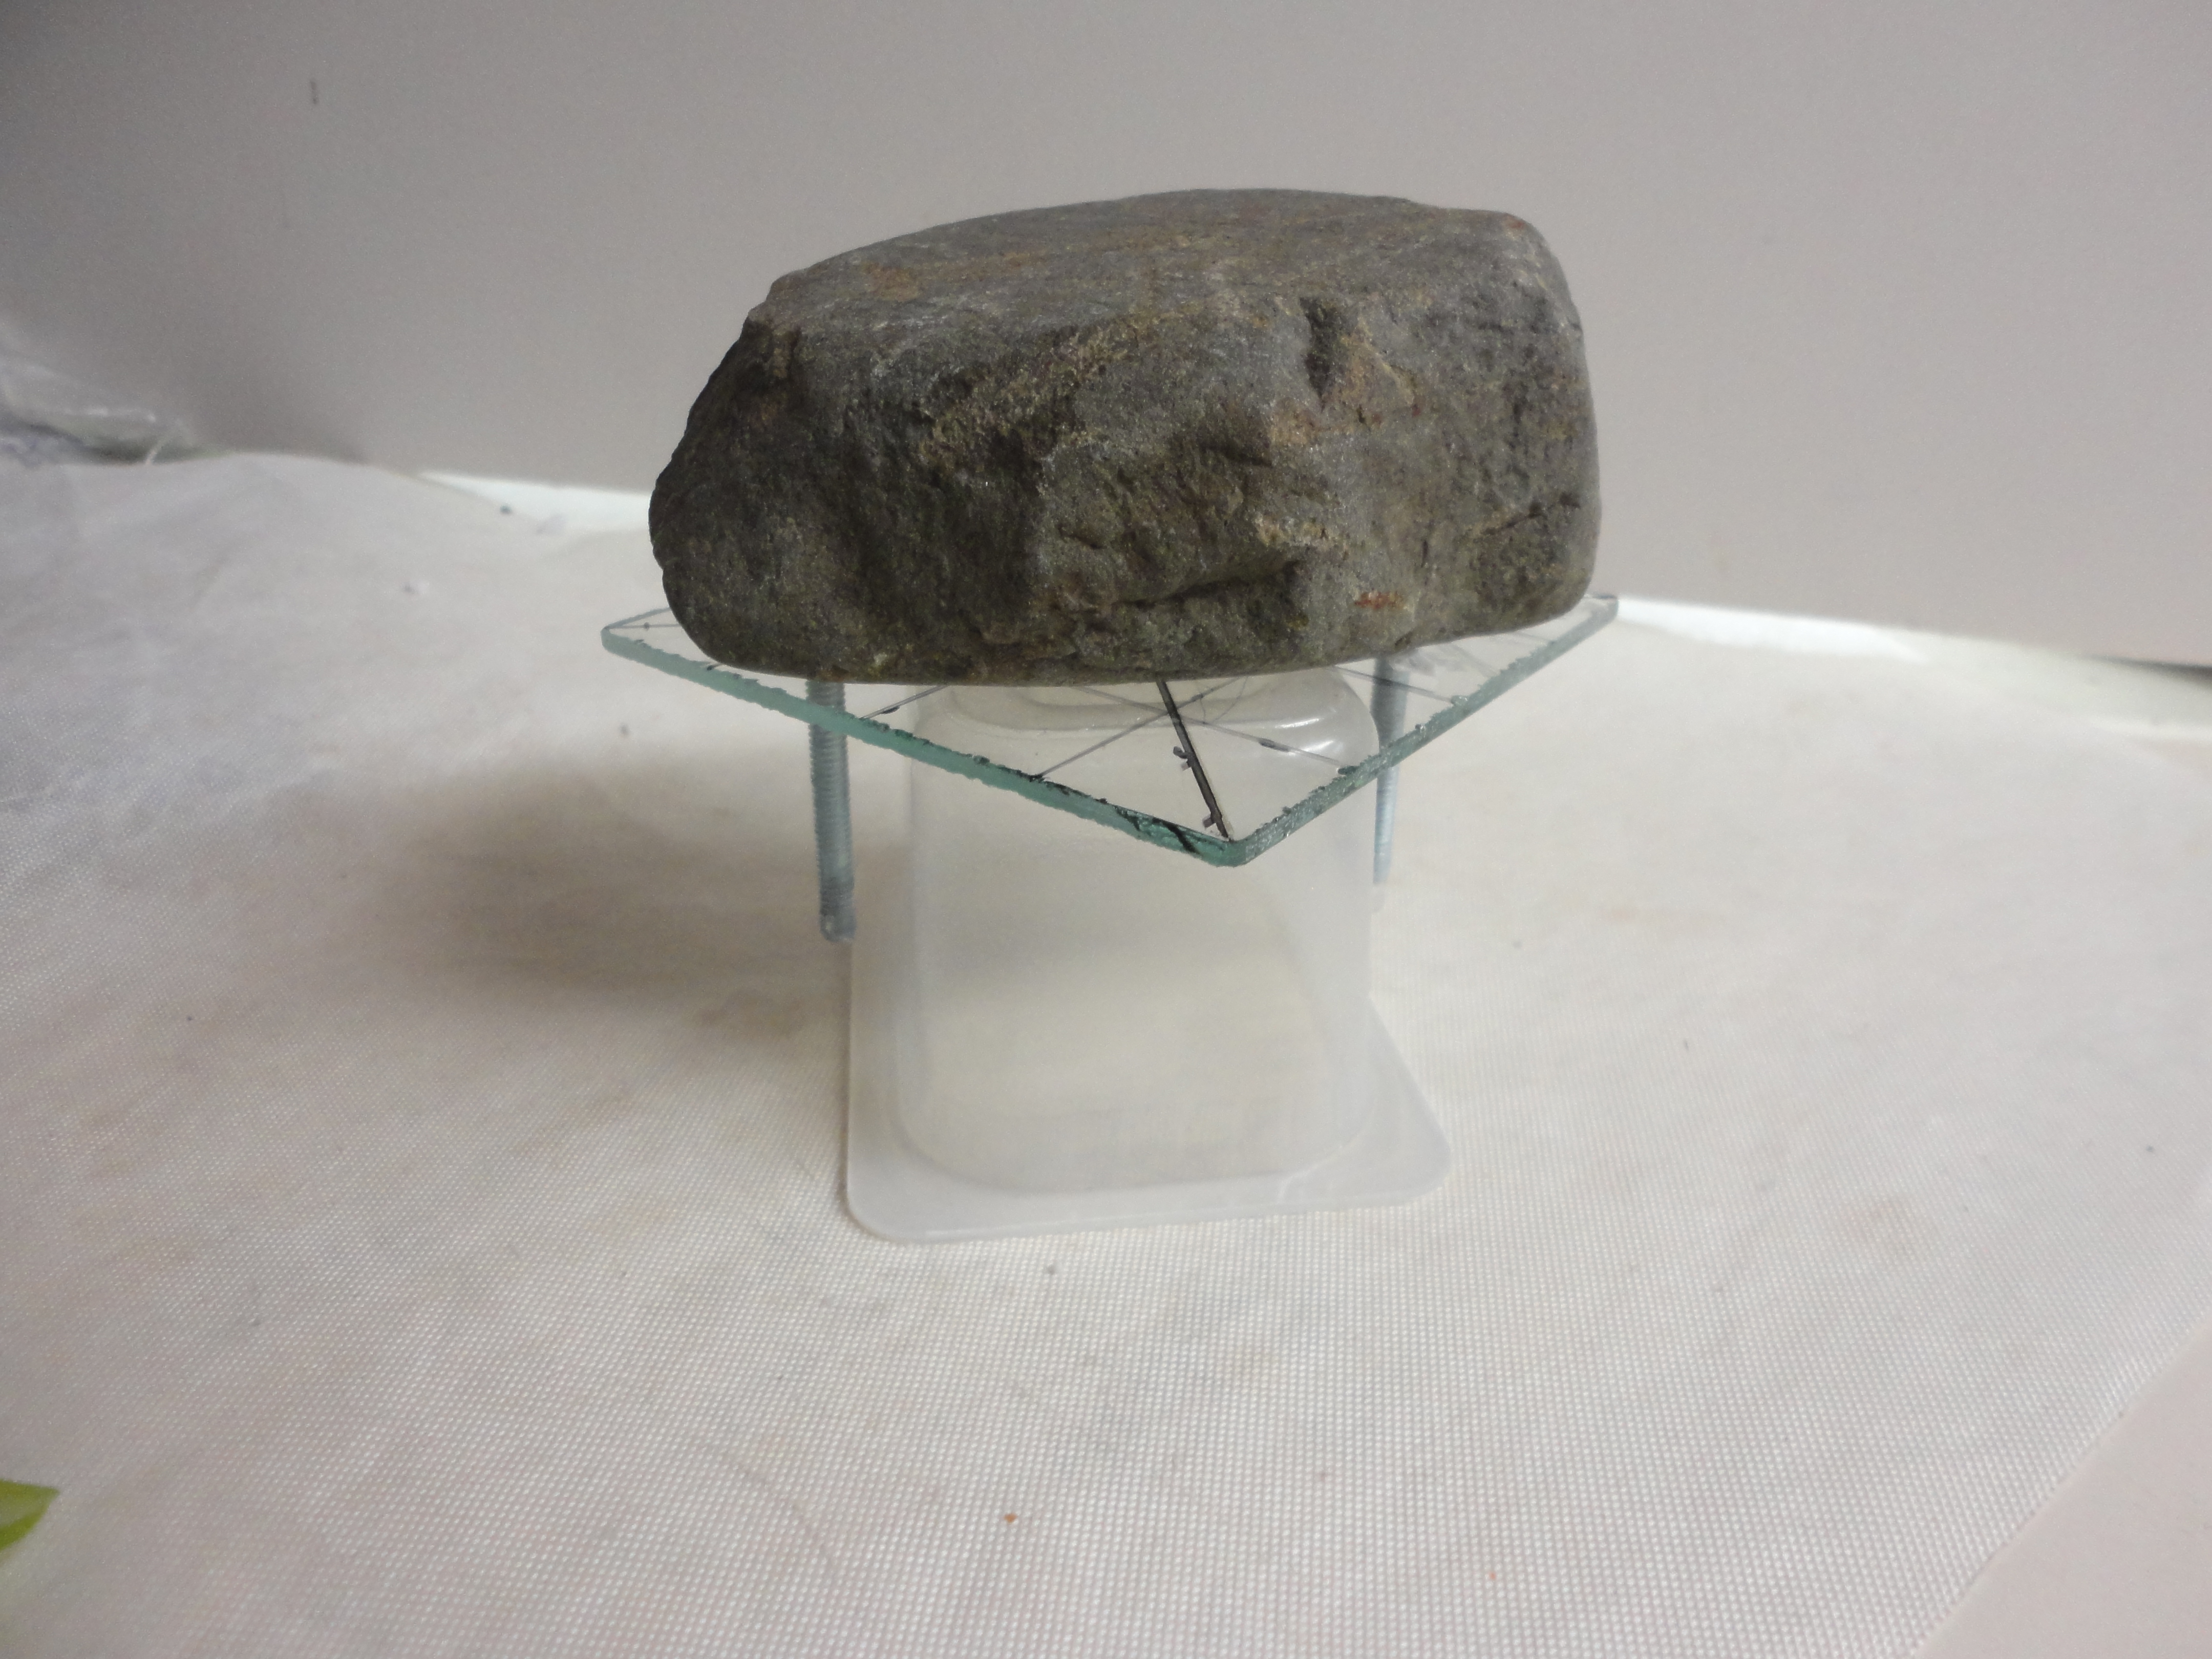
With bitter cold, icy Iowa winters, I make a habit of bringing my mosaics, glass chunks, and stepping stones inside for the winter. For this reason, I wanted my quilt removable. With a diamond head bit, I drilled 2 holes in a 3″ x 3″ square piece of glass. Then I used a coned shaped bit so the head of my screw would be inset. Always use water to cool the glass while drilling or it will break. I balanced my glass on an upturned plastic baby food container, that fit between the holes, and glued my screws in place with E6000, weighed them down with a rock, and let dry for 24 hours. With a glass marker, I drew lines from corner to corner and such so I would be able to center any design. Or, you can draw an actual design if you have one chosen.

DSC07015DSC07030

DSC07088DSC07103

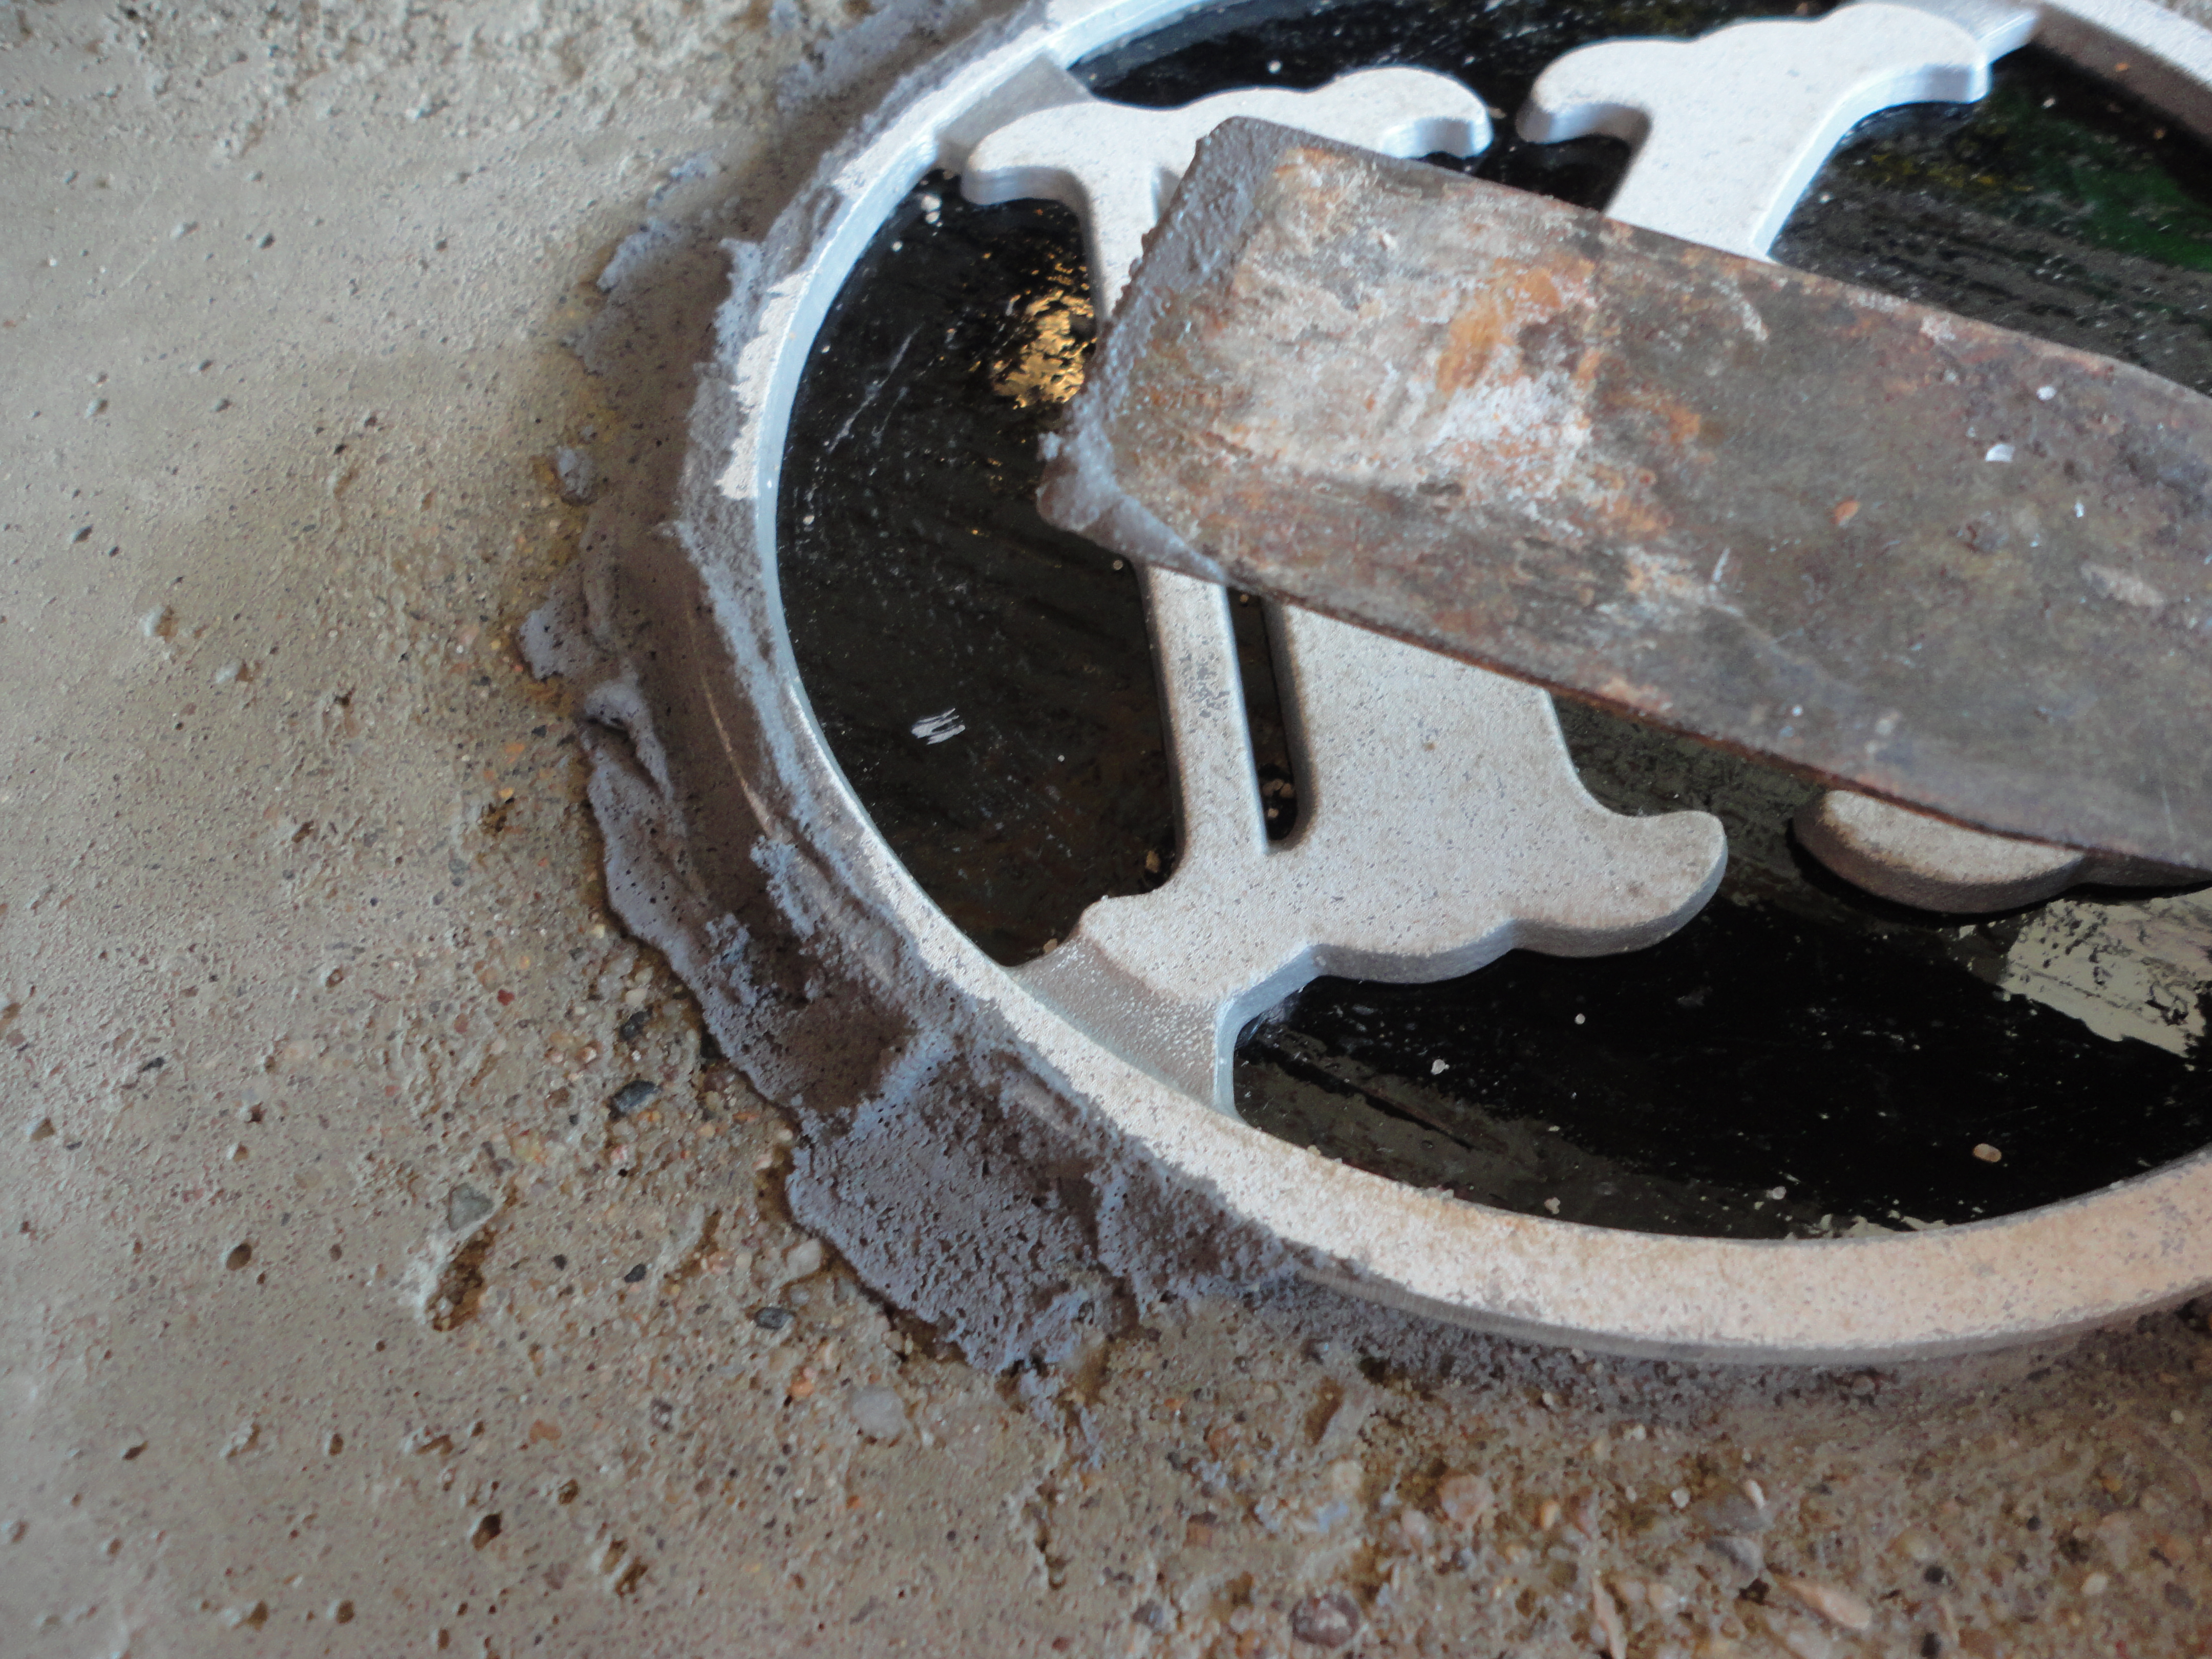
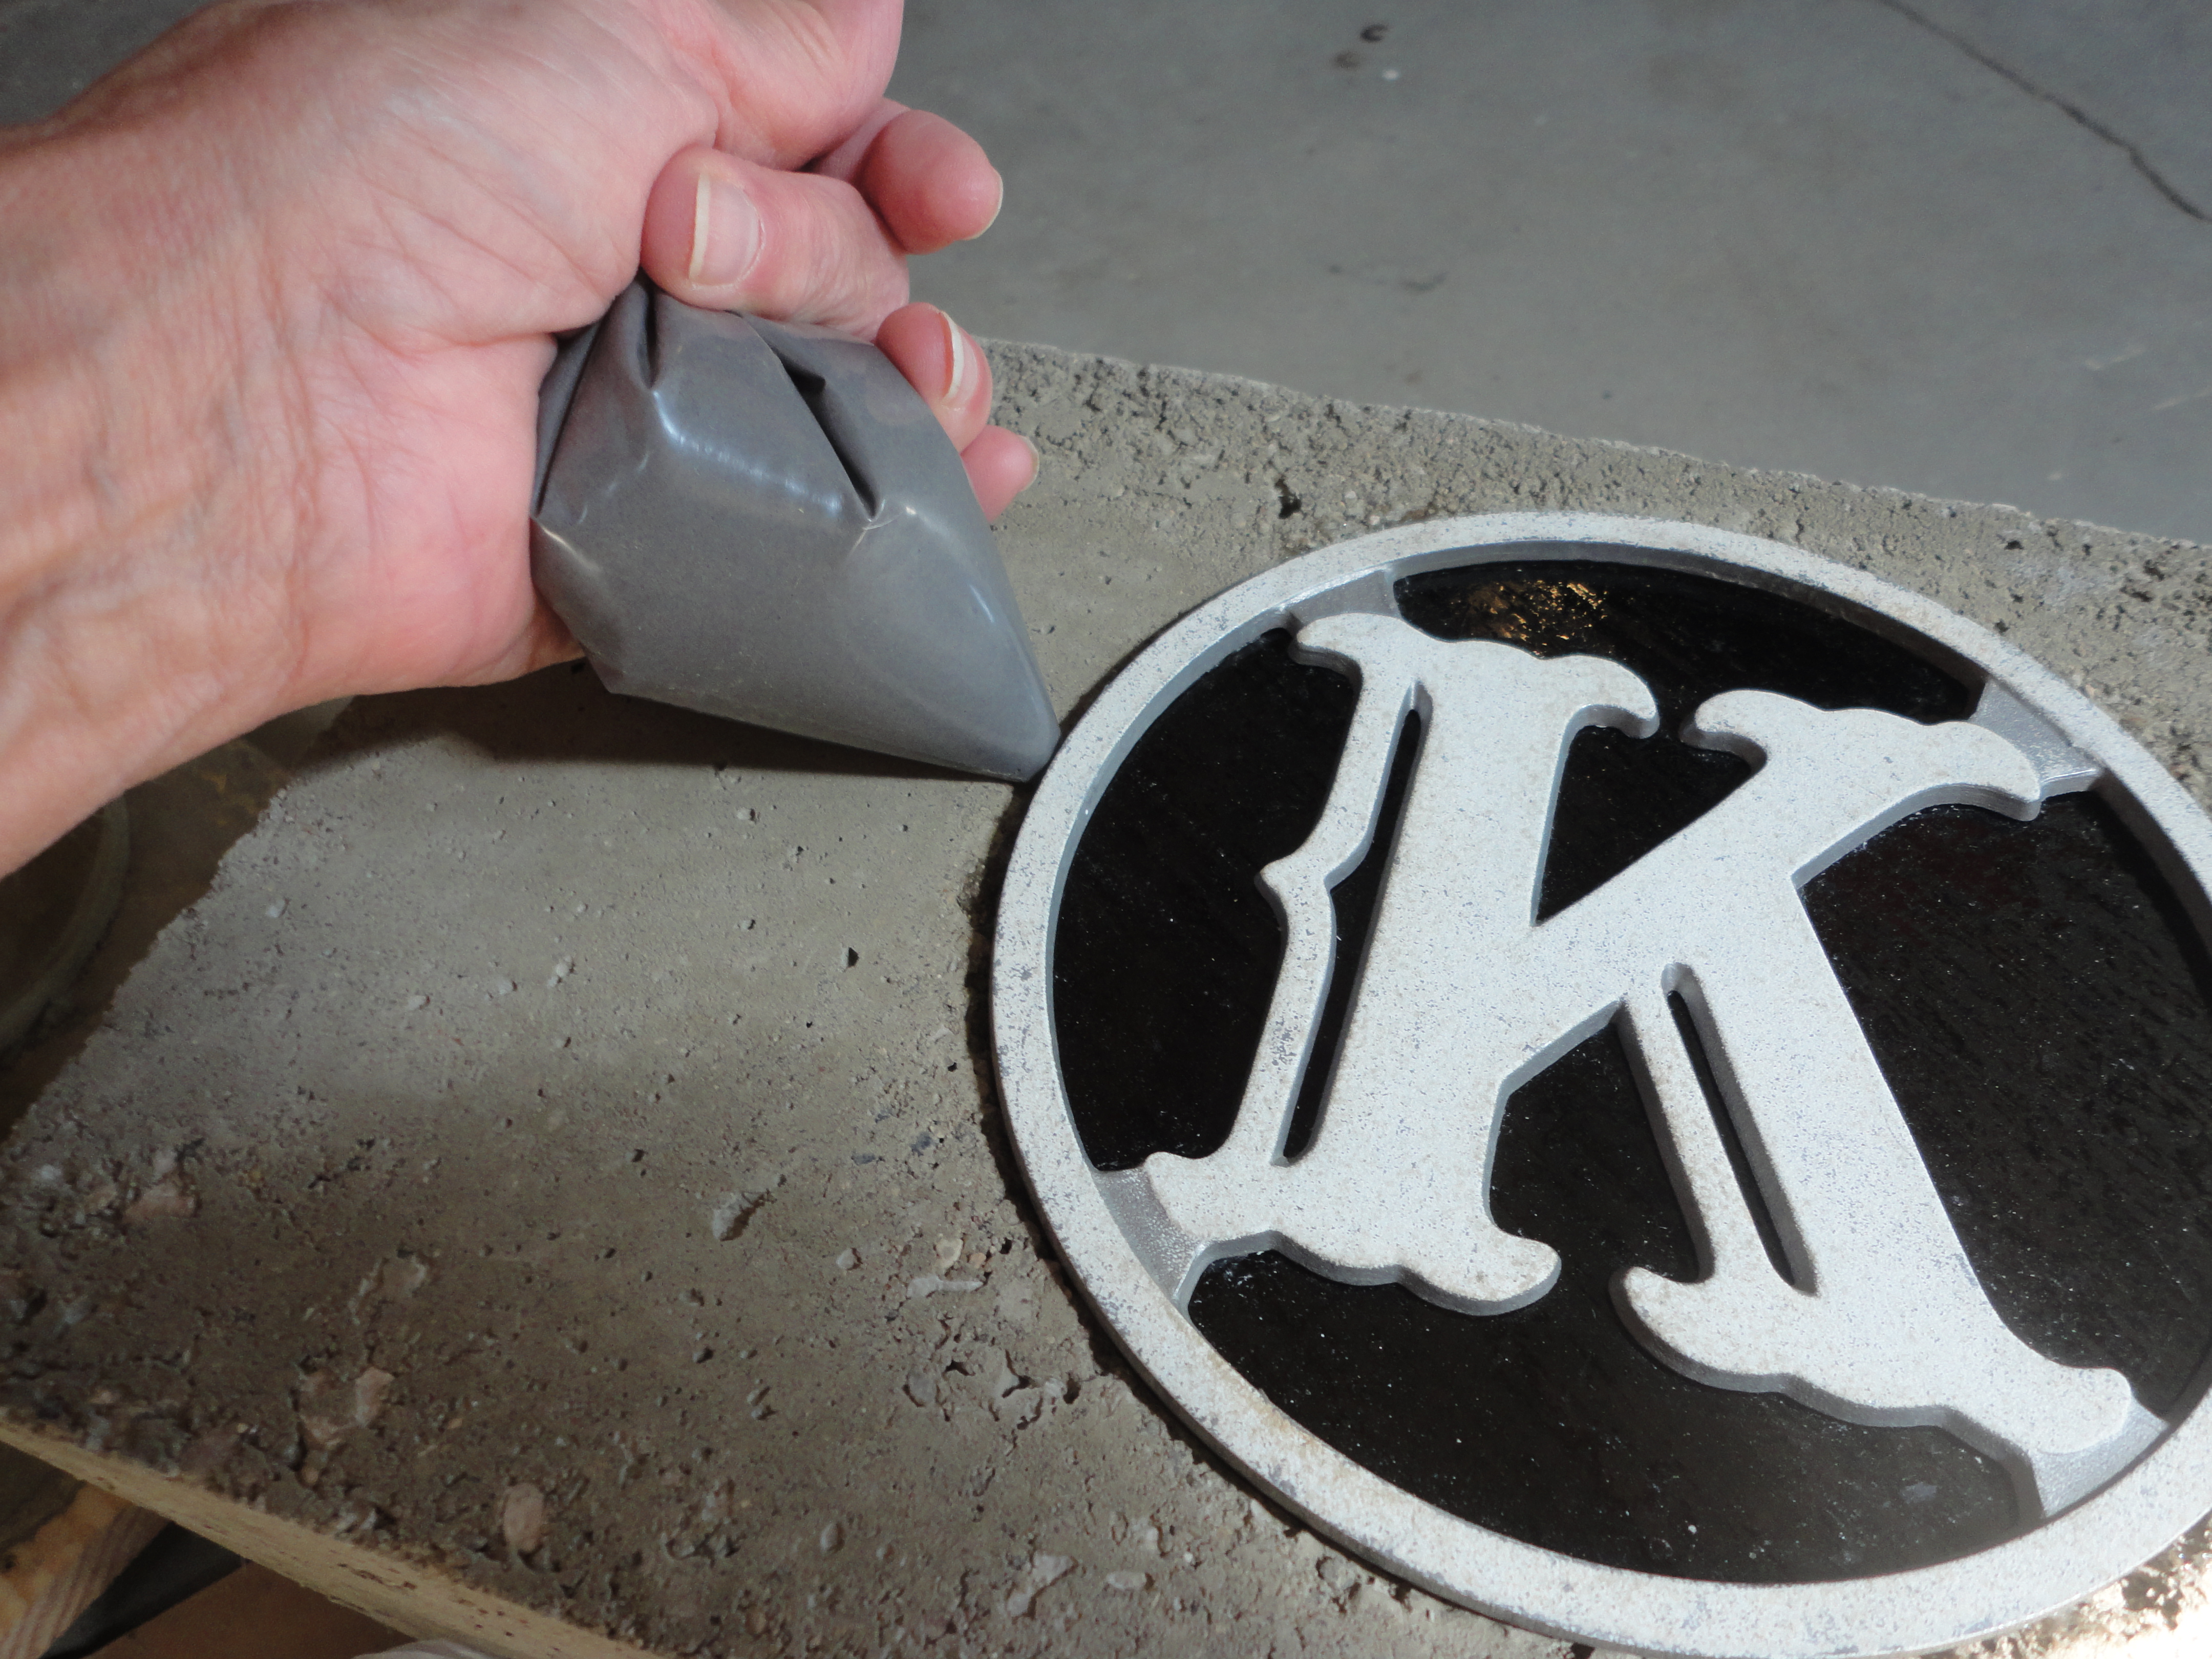
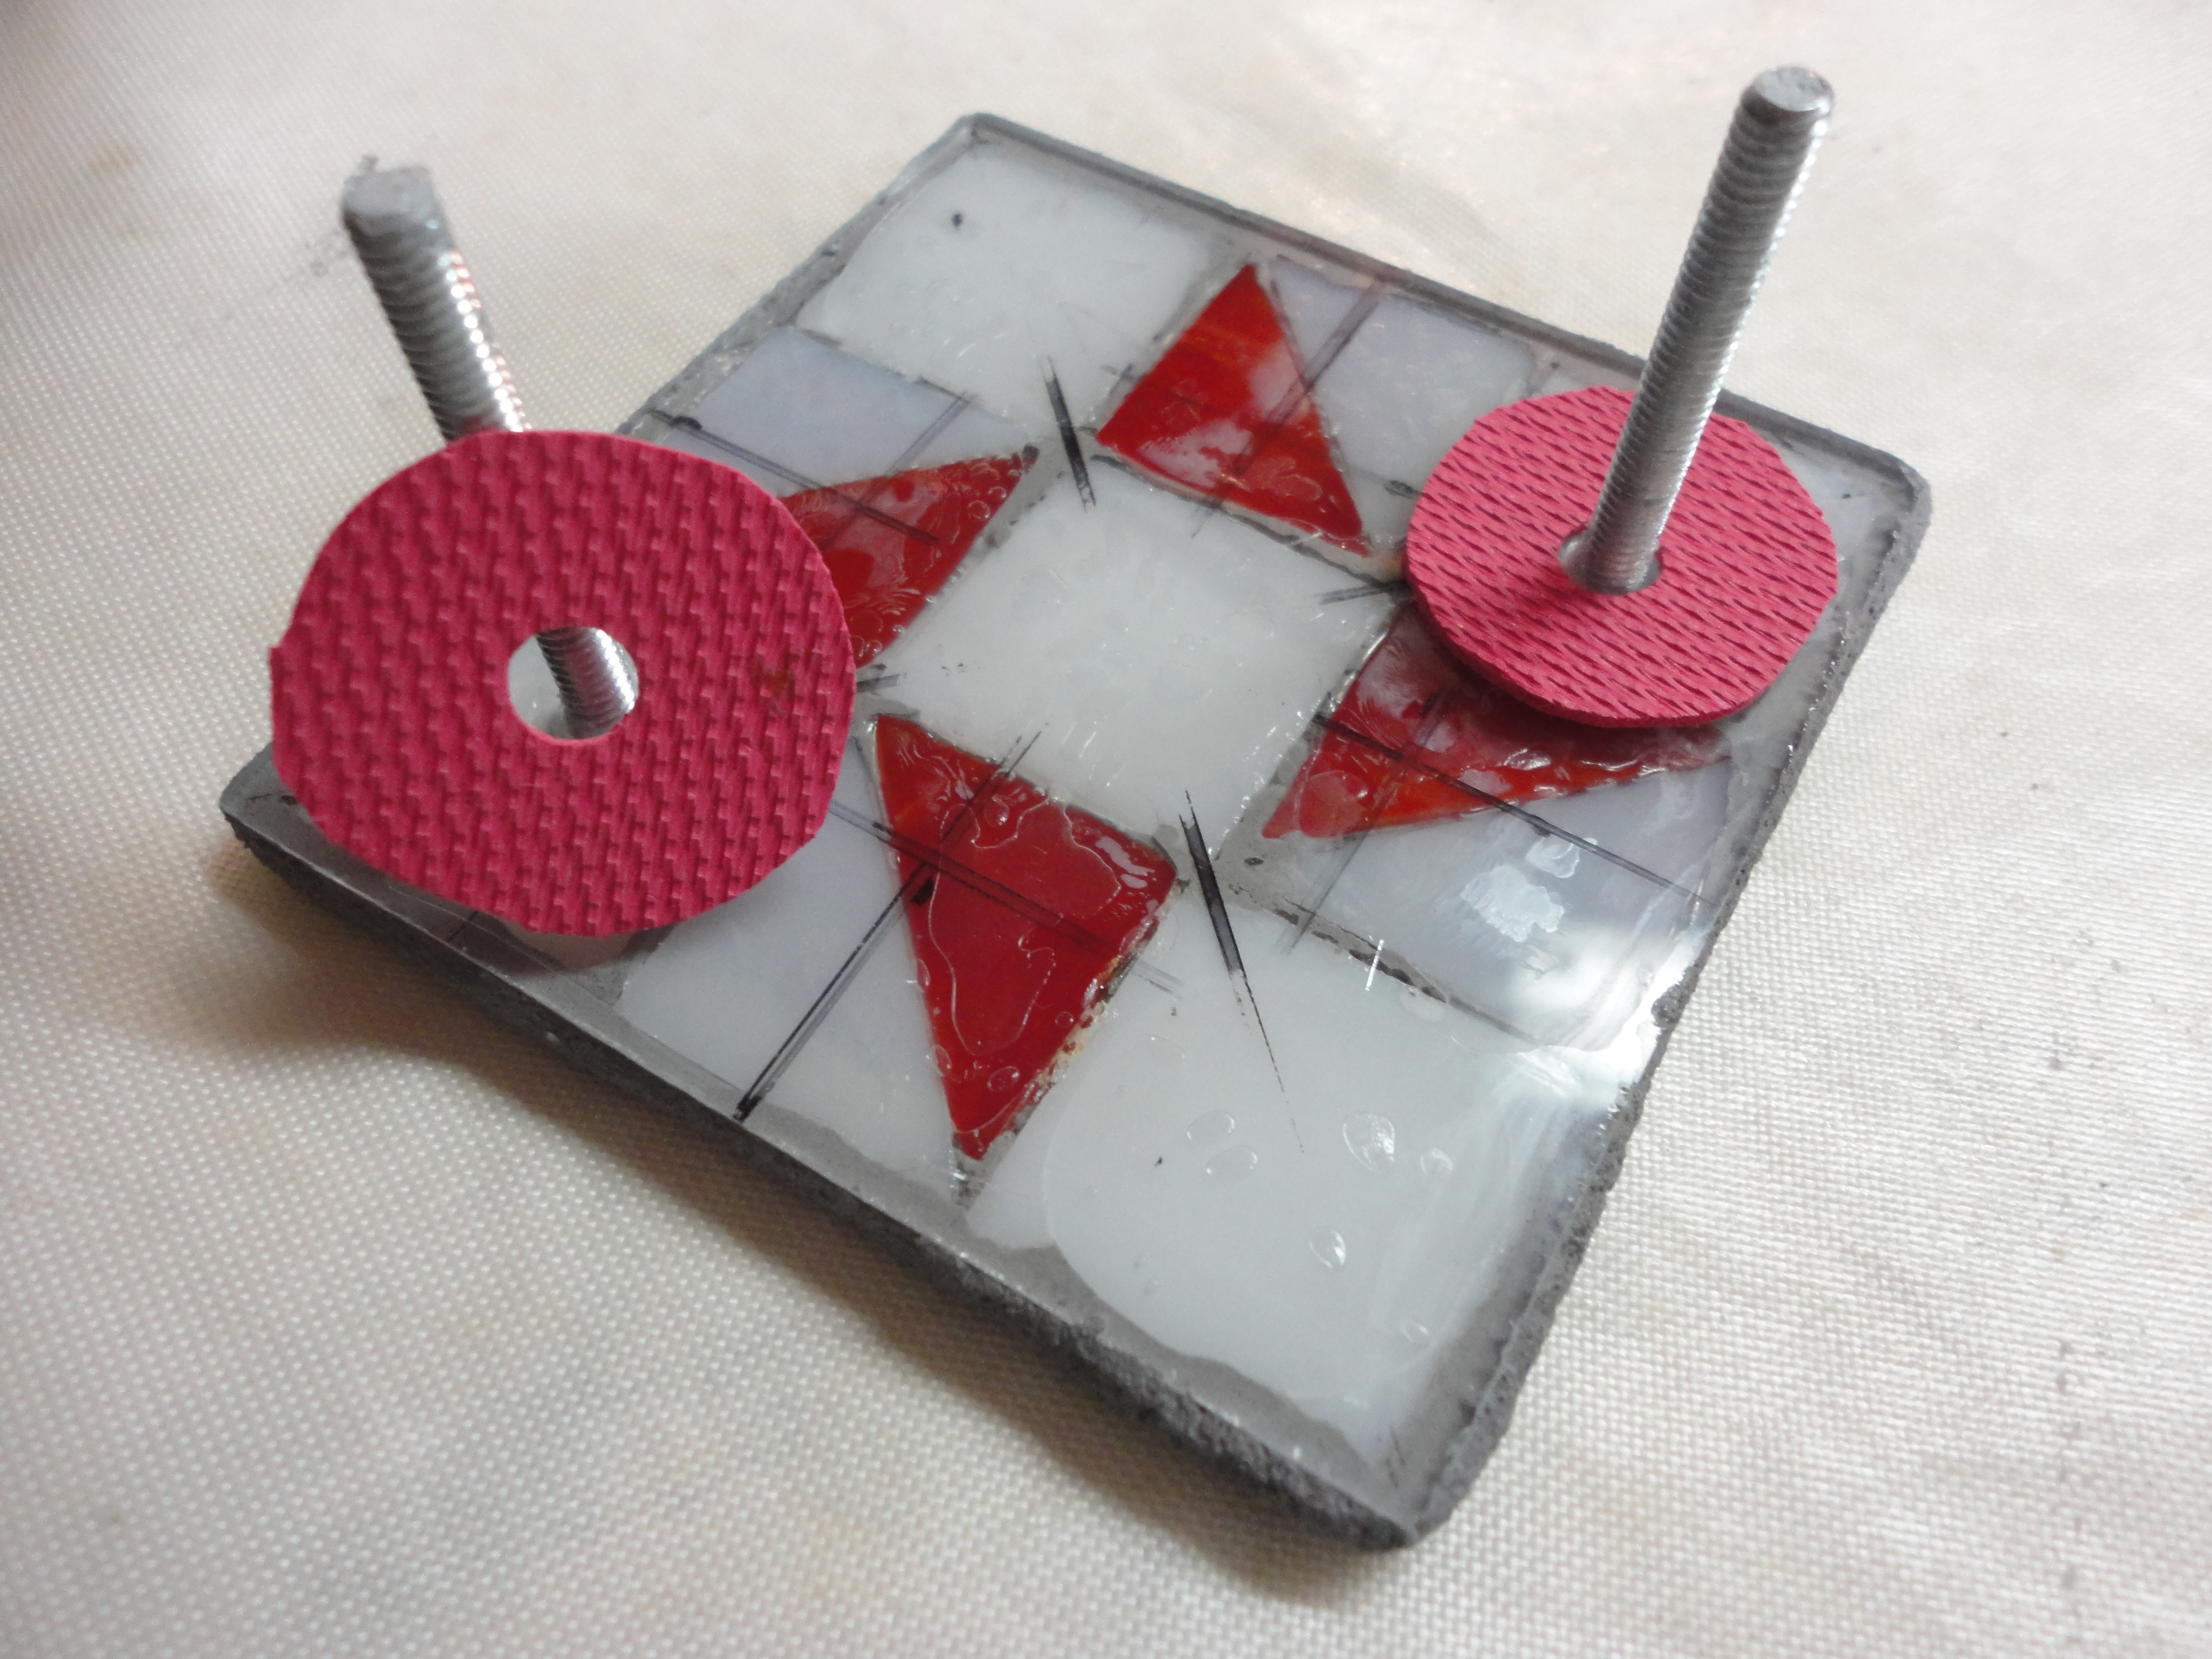
After deciding on a simple Pinwheel pattern, I cut some scrap glass and glued it on, again with E6000, and let dry 24 hours. I grouted with Interior/Exterior Sanded Gray Grout. Wanting a darker gray grout line I added a few drops of Exterior Black Primer to my water before mixing. I’ve never added paint before, so it will be a good test I guess. Let the grout dry 24 hours then seal. Follow the directions on your sealer for drying time before subjecting it to wet weather. With no light source from behind, I recommend using opalescent glass for this project to make it highly noticeable. If you do choose to use transparent glass, remember to remove any pattern lines that may show through the glass.

DSC07142DSC07199

When hanging the quilt, I added two thin rubber washers, cut from an old jar gripper, to prevent movement and add cushioning between the glass and wood. And – DONE! It’s time to toss in some bread crumbs and watch the birds while I ponder what my next project will be……

DSC07285

I hope you enjoyed my post and were able to pick up a few helpful tips while visiting here. I welcome and look forward to your thoughts, questions, or suggestions. Thanks for stopping by!